

Vladislav
-
Posts
8,043 -
Joined
-
Last visited
-
Days Won
79
Content Type
Profiles
Forums
Gallery
Events
Blogs
BMT Wiki
Collections
Store
Everything posted by Vladislav
-
Very interesting indeed. Stainless steel is a good solution either. Just remember if you're going to use repaired area outside (I don't mean any bearing assembly wich is grease packed) you should cover with SS a complete surface. Otherwise you get a common steel/SS combo wich accelerates corrosion extremely.
-
Congratulations! That's some kind of a milestone.
-
Nice scenaries! But I'm surprized seeing the river not frozen.
-
That's a good point. Hope that foam will work. You can see my original lights. I'd say it's not bad being almost always outside since 1988.
-

Aluminum wheel restoration
Vladislav replied to ranchhopper's topic in Exterior, Cab, Accessories and Detailing
I put stainless hub full caps onto the rear wheels. They have a sort of a "magic ring" as the producent calls it - the ring that closes the over the stud area. So you don't need to fight pitting there that way. -
Mack Buses
Vladislav replied to 41chevy's topic in Antique and Classic Mack Trucks General Discussion
Great work Kscarbel! Sorry I missed those original posts. Thank you for pointing me out. -
More E Models
Vladislav replied to 41chevy's topic in Antique and Classic Mack Trucks General Discussion
And that "City of Winfall St-Petersburg" picture is awesome. -
More E Models
Vladislav replied to 41chevy's topic in Antique and Classic Mack Trucks General Discussion
1940 LEND LEASE TO RUSSIA None of EH's were Lend-Leased to Russia. NR's only if we talk about Macks. The one on the picture has the number on the door starting from "L". L meant "lorry" and it was used by Britishes. -
The insulator pads to put on a roof seem of a poor quality foam material. I'd just prefere to see well shaped rubber ones instead. But chrome finish is nice.
-
Mack Buses
Vladislav replied to 41chevy's topic in Antique and Classic Mack Trucks General Discussion
The body style looks familiar but I sure have never seen any Mack branded bus in Europe. There are many ex-European buses in service in Russia, many touristic ones come from other countries either. But none of them Macks showed out. -
I think they would. Instead of Marmite it's everyday food overhere
-
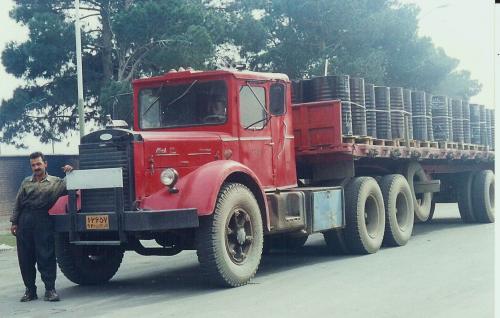
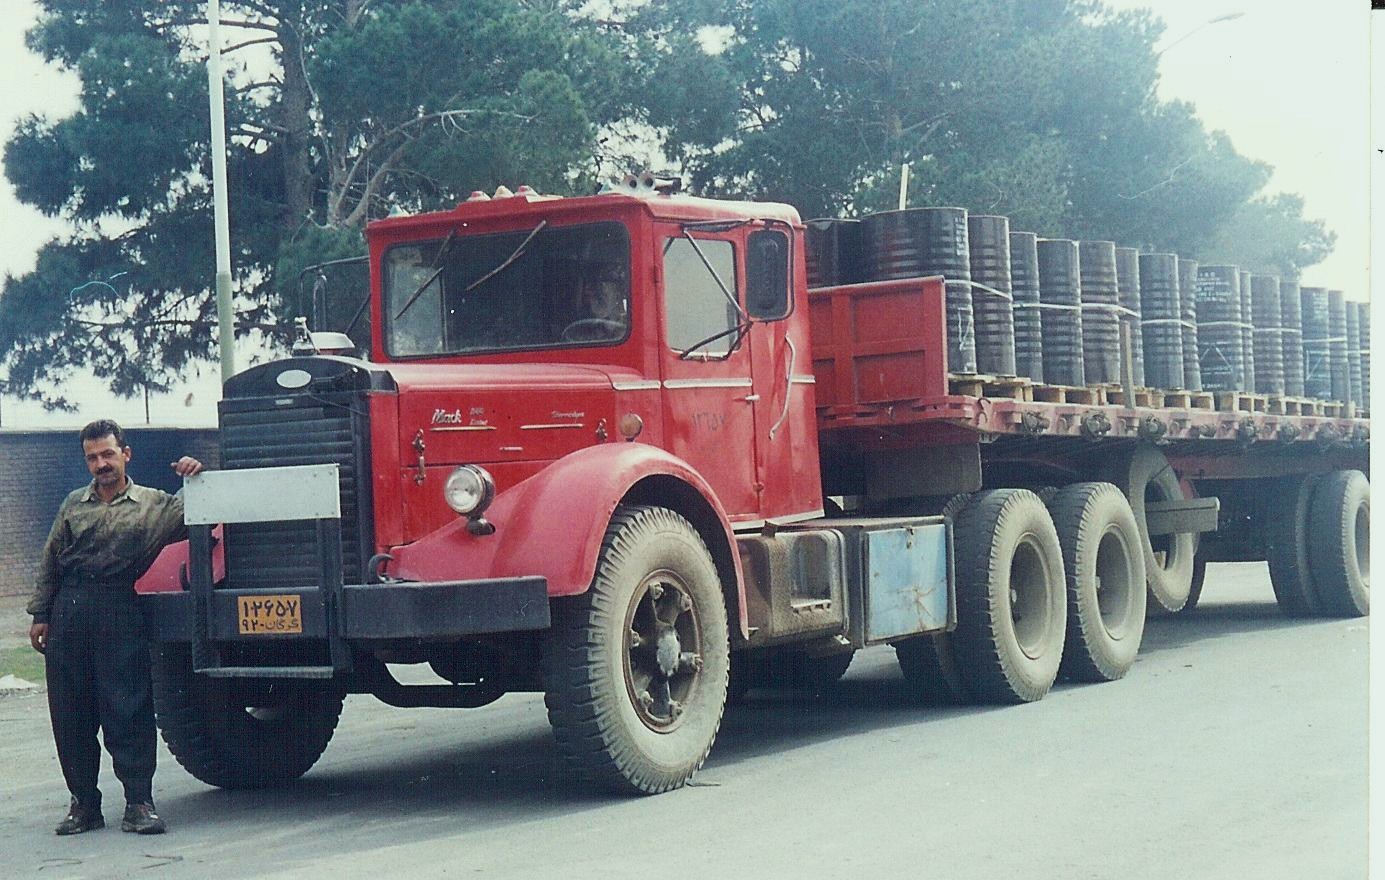
AK is one nice truck although it seems to me a bit strange about your interest to Bedford cabbed NR's since they are conversions (re-cabbed). I would add though any wish on birthday gets respect As for me if I go with some extraordinar Mack I'd import Iranian NR version. Seems like not many chances to do but I might try in the future.
-
Aluminum wheel restoration
Vladislav replied to ranchhopper's topic in Exterior, Cab, Accessories and Detailing
They look fine from the pictures. Could you delete small rusty cavits and scratches? From my experience fuel tanks are made of different aluminium (softer?) and more difficult to get polished nice. -
Mack Buses
Vladislav replied to 41chevy's topic in Antique and Classic Mack Trucks General Discussion
Paul, thank you for posting that great stuff. As far as I remember Mack made one more attempt to produce buses. It was about late 80's when in cooperation with Renault big interstate bus model was prepaired for production. I read it in a magazine those days. Don't know if it finally came into production and don't remember we had any talks on that matter on here. -
Mack Buses
Vladislav replied to 41chevy's topic in Antique and Classic Mack Trucks General Discussion
The one in the picture right above this post is at his yard. -
Take a pack of scrapples from a shelf on Sunday morning, open it and put some Vegemite on... Ughhh! Don't rmember seeing any of Vegemite or Marmite branded foods in stores overhere. Probably should look better. Or maybe it's time to put glasses on?
-
Thank you for the pictures and the story Tom. Seeing the first images I had a question on the end of my tongue "where's snow in PA?". But then I found out the things were as they should be in the winter. Wonder does that Attkinson shop makes service of Atkinson trucks?? And clothes exchange is perfect
-
A Few E Models
Vladislav replied to 41chevy's topic in Antique and Classic Mack Trucks General Discussion
That's one nice looking wrecker. I missed that old wrecker thread by some reason and haven't seen the blue one. -
I wish them an easy turn out. Doesn't sound nice at all.
-
Ufff!! I'm just afraid getting blind from seeing how that beauty shines! Congrats on the deal done. And yes, more pictures should come.
-
A Few E Models
Vladislav replied to 41chevy's topic in Antique and Classic Mack Trucks General Discussion
Are there any tandem E's still in existance? Don't remember seeing any show pictures on this matter. -
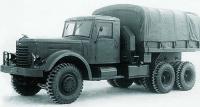
1945 Mack LM
Vladislav replied to j hancock's topic in Antique and Classic Mack Trucks General Discussion
There was also a serie of WW2 LMSW heavy wreckers produced. They were used by Canadians. Had the same style flat fenders but central positioned cabs. The later ones had military style open cabs. There are still many survivers in Europe, mostly in the UK and the Netherlands.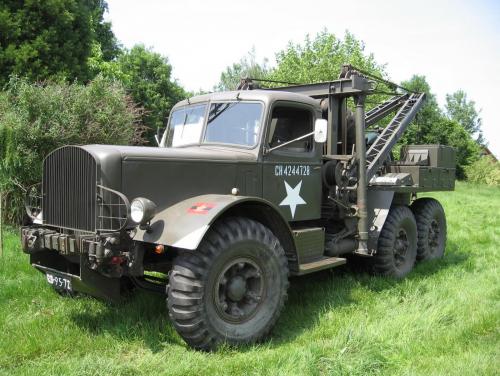
-
I have almost the same issue with one of my R688. The pressure goes up to 150 pci and than some protection valve opens in the air dryer (or somewhere below the chassis) and drops the pressure to 120 psi. I took the governor apart and than swapped it with the other off the second truck wich worked correct but had no good result. Haven't go on the fight path already yet, need to collect enough of info to start.
-
Your idea is very appreciated. We all here like old truck pictures The L-model is nice. Vlad
-
But it's cheap and as said there it's running.


BMT Forum Logo
