

Vladislav
-
Posts
8,057 -
Joined
-
Last visited
-
Days Won
79
Content Type
Profiles
Forums
Gallery
Events
Blogs
BMT Wiki
Collections
Store
Everything posted by Vladislav
-

B81 Build
Vladislav replied to DodgeMan's topic in Antique and Classic Mack Trucks General Discussion
Looks good, hope you'll end up with the frame before white flys. -
New Toolbox
Vladislav replied to leversole's topic in Antique and Classic Mack Trucks General Discussion
Looks cool Leslie. And I'm with Ray - Big "Mack" letters from the front would be good on it. I always liked your B. Does my memory serves right about it had originally V8 ? -
That's cool! Shure worth the time What's the source of that chrome tranny plate? Or did anybody make it custom for you?
-
Weekend in Maine
Vladislav replied to umodelnut's topic in Antique and Classic Mack Trucks General Discussion
Cool trucks,especially the B, thank you for sharing Vinny! And Tom, thanks to you for keeping my neck straight -
Nice to see. Although it looks to me like nobody noted another point. There's a room for at least two more big toys
-
Have a great day guys! We here don't have Labour day today but "Knowledge day" - kids go to school today after 3 months of summer holidays.
-
Welcome! Hope you'll find solution soon. Vlad
-
25th Anniversary Freightliner Argosy Revealed
Vladislav replied to kscarbel2's topic in Trucking News
Thank you for sharing. The overall view (of the stock version) doesn't look bad. The interior is impressive. And that's interesting they produced in the States. -
89 superliner clean up
Vladislav replied to 89superliner's topic in Exterior, Cab, Accessories and Detailing
Looks very nice. I know the cost, got myself over it in this past spring. Vlad -
I also liked it too much. Would like twin screwer though and didn't ready to increase the collection. So I'm glad twice - I don't need to be scratching my head and know the truck vent to the best place it ever can find. By the word, if you'd have a bit of time please post more pics of how it looks. Vlad
-
They shure look interesting and funny but, sorry, ugly. Paul, many thanks for posting, have never had an idea of something like that ever existed.
-
B81 Build
Vladislav replied to DodgeMan's topic in Antique and Classic Mack Trucks General Discussion
That'a a project you started, Paul. Looks like I missed the beginning. Can't wait to see you welding. Or are you going to find different rails? -
Siberian find is already home
Vladislav replied to Vladislav's topic in Antique and Classic Mack Trucks General Discussion
Tom, That's a perfect work! My favorit is #3 with the hat on. I'll shure send it to my Scania friend. And they use the ice crossing indeed. I was told it's officially approved up to 10 tonns although people goes with everything including loaded truck and trailers. As for the beach I just forgot to mention I didn't miss a chance and got myself in the water. Could swim about 5 meters and than back quickly. Two times though. Not shure of the temperature but brrrr.... The air was about 20 Celsias and sunny. -
Welcome! You shure have perfect chances to buy a good B-model Mack if you'd be glad to shake your pockets a bit. Here's a lot of people who can give you helpful advice on that kind of vehicle. Enjoy being here. Vlad
-
Siberian find is already home
Vladislav replied to Vladislav's topic in Antique and Classic Mack Trucks General Discussion
Thank you for sharing, I don't remember much talks about them. -
Siberian find is already home
Vladislav replied to Vladislav's topic in Antique and Classic Mack Trucks General Discussion
The city is called Pechora. To say correctly it's not Siberia. Siberia is the great territory to the East from the rocks of Ural wich devides the land into Europe and Asia. The area I was in is about 200km to the West of Ural rocks so it's European part of the country. Although it's pretty far to the North and is developed mostly due to the oil and gas fields. Look the map, I did it alot before the trip. -
Siberian find is already home
Vladislav replied to Vladislav's topic in Antique and Classic Mack Trucks General Discussion
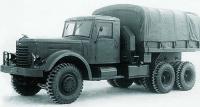
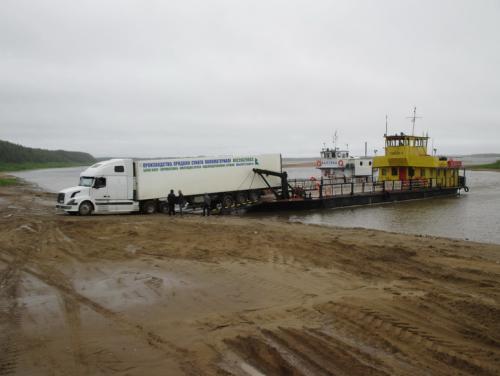
Ran out of likes already Randy, i'm afraid that area is not perfect for such a hunting. The other way I'd stay there for much longer. If you noted from the pics there's not much people there at all. Thank you Paul. It's difficult to me to recognize what that truck original was for. It's last job was a fuel transportation, its owner had the tank station locally. After I looked over the chassis I found out it was originally short and stretched out to put a tank body. So looks like it was a tracktor. Or maybe carried some equipment. Also strange it has heavy walking beam rears but single framed. The ferry trip was over the river. It's called Pechora and the city called the same. That big river follows along a big area from the South to the North and after about 500-800 km from the point I was it comes into Barents see. -
Sorry to see that. I wish you quick back on the road.
-
Damn nice looking Chrysler! Glad to hear your wife is doing better.
-
Siberian find is already home
Vladislav replied to Vladislav's topic in Antique and Classic Mack Trucks General Discussion
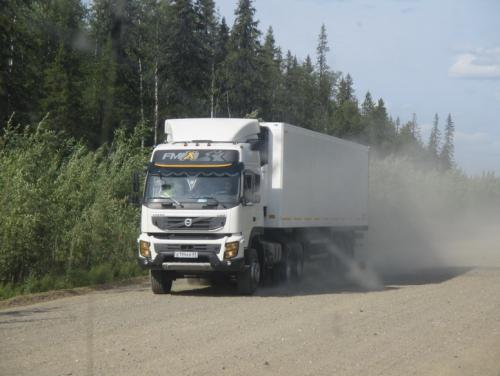
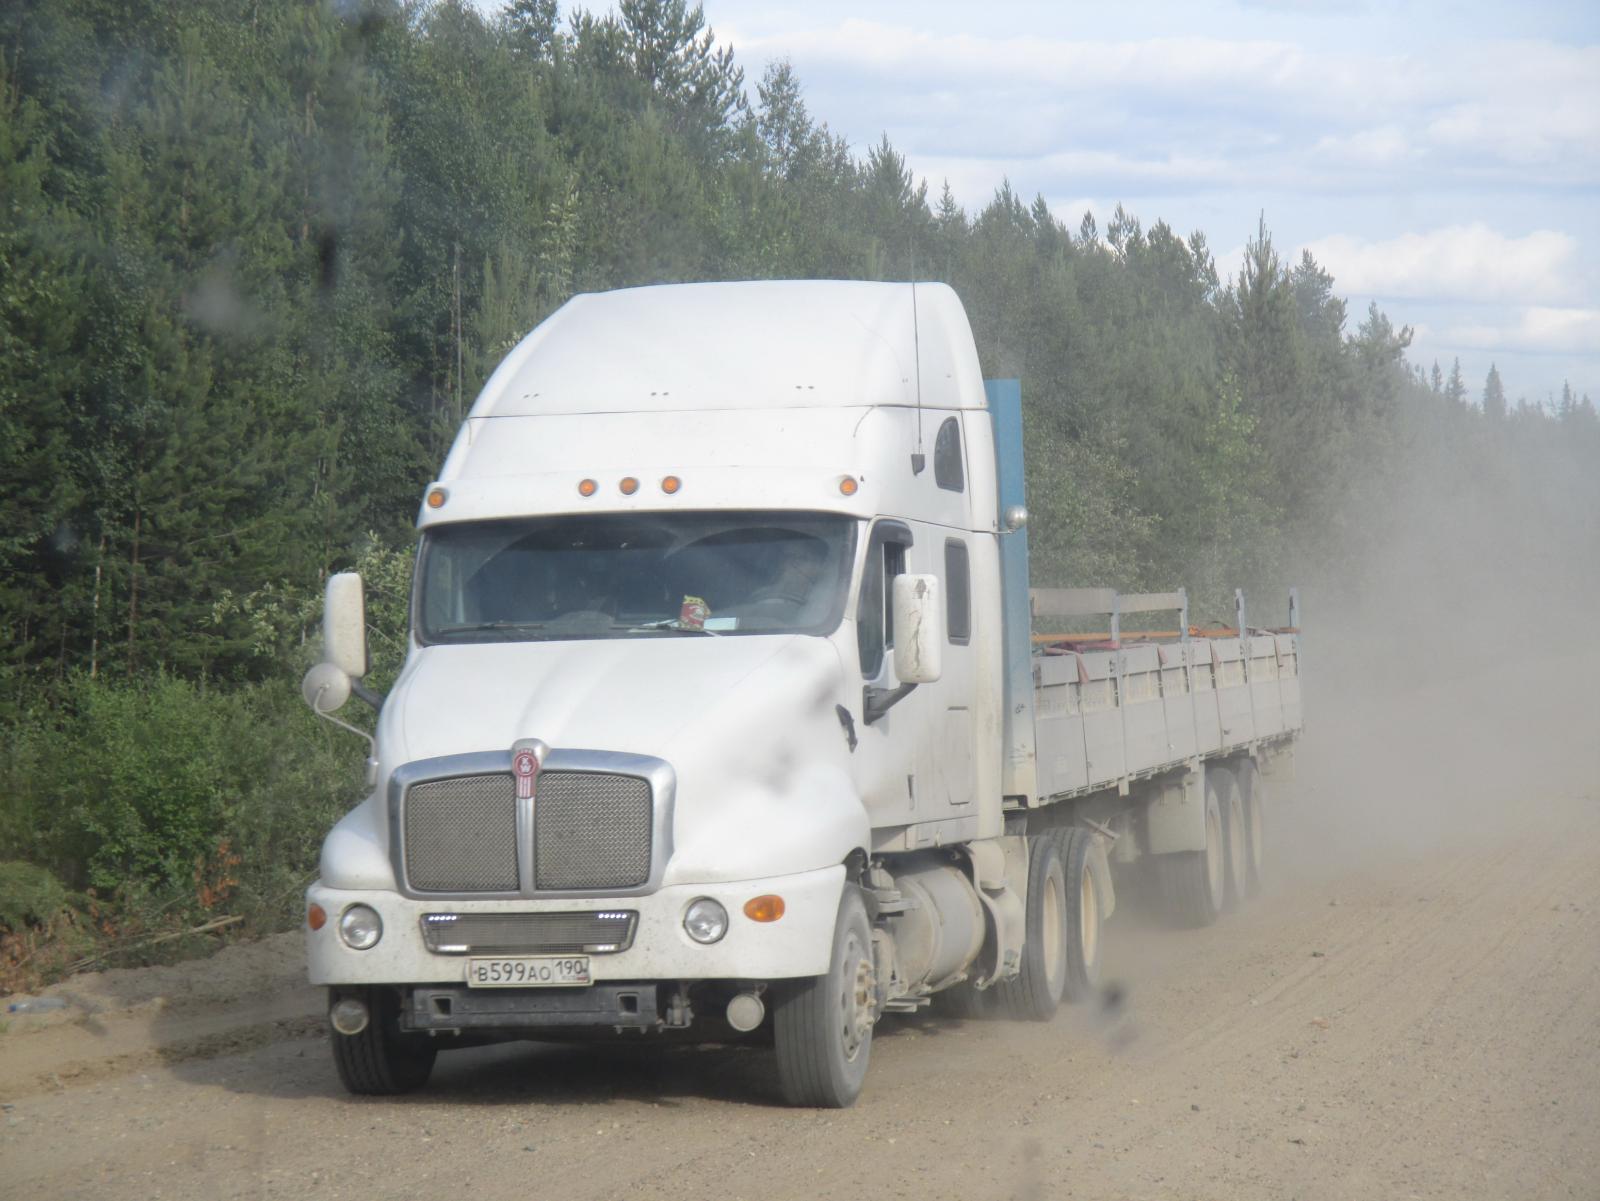
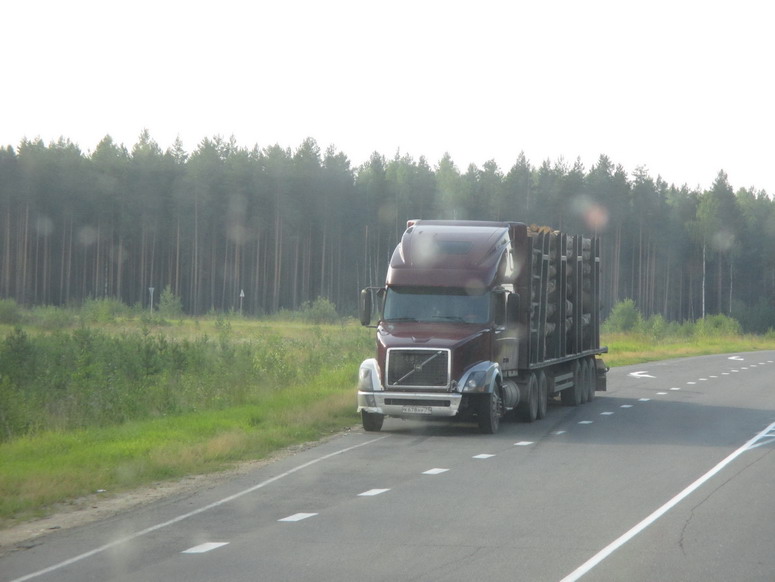
Good point. That Freightliner did his common hard work. I met many other rigs I take my hat off for their job.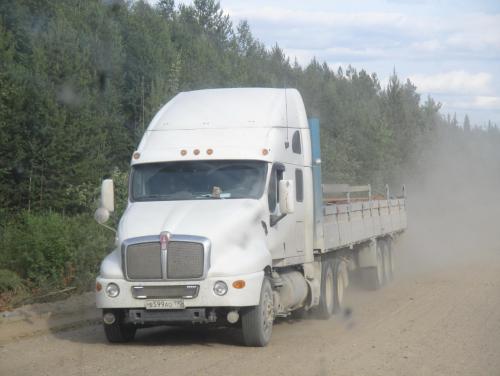


-
Siberian find is already home
Vladislav replied to Vladislav's topic in Antique and Classic Mack Trucks General Discussion
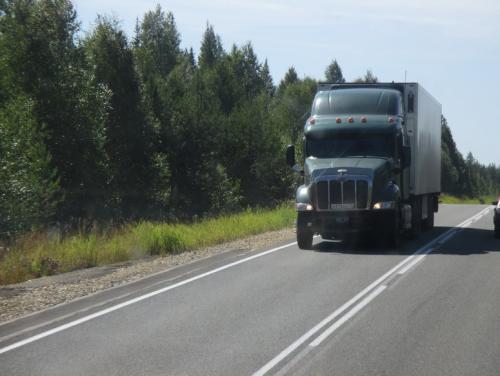
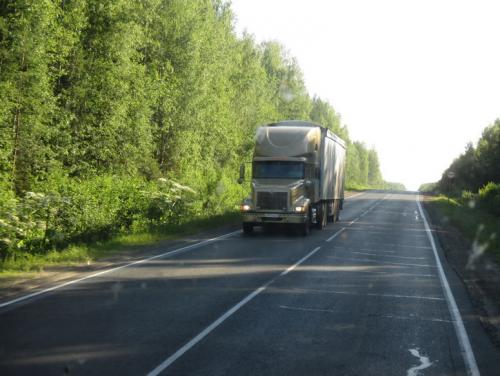
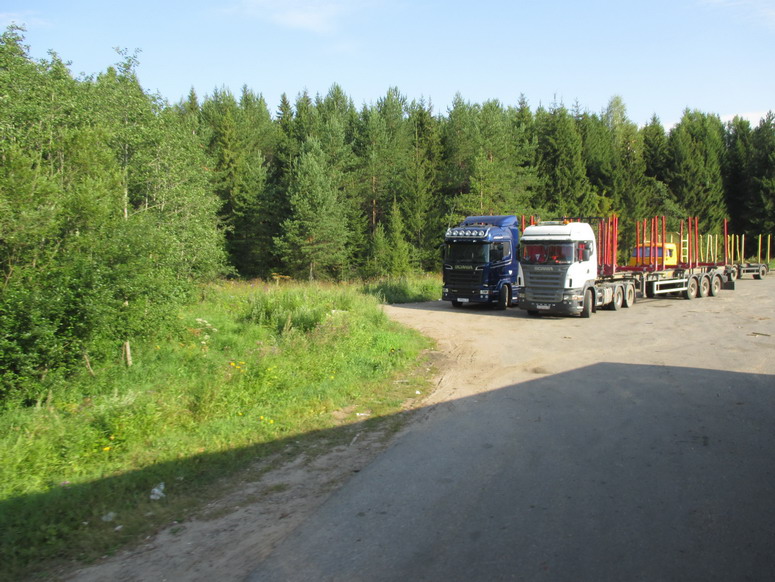
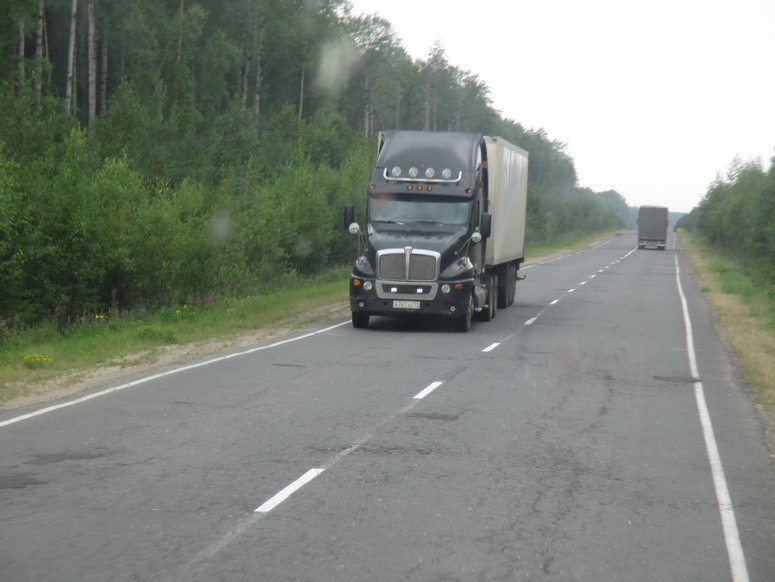
Scania is a real hard worker. With its driver. It's of 1988, 2700000 on the clock now, one mio in Sweden and the rest in Russia. Still original frame rails. V8 400hp engine was rebuilt not long ago. All the bearings in the tranny were refreshed, the same in the axle. Many minor things were done including AC wich works now. Keith, thank you for the wishes. The real reason of the story is that I not have only one around my neighbourhood but the only one around the most of the country. At least I've newer saw or heard of any more. By the word - we made more than 4000 km at all and I met many trucks along the way including many Americans. Although there was no one !! Brocky, did you do a trip over Alaska highway? There was a plan to go there but it didn't turned out. -
Siberian find is already home
Vladislav replied to Vladislav's topic in Antique and Classic Mack Trucks General Discussion
Thank you for the kind words folks Thanks, I'll contact you. Mike, you're right on the count. The stuff cost me scrap+ price. My friend with Scania got about the same for the trip. Everything else such as foods, remove the cab,crane and unload was extra. Tom, what do you think is the main source of my English lexicone? -
Matched pair of "Mud Dogs"
Vladislav replied to Superdog's topic in Antique and Classic Mack Trucks General Discussion
Congrats on the purchase Mike, the tyres look impressive. -
Looks nice! I also going to do such the thing in my MH one day. Don't forget to post pics when ready. Vlad


BMT Forum Logo
