

Wobblin-Goblin
-
Posts
593 -
Joined
-
Last visited
-
Days Won
10
Content Type
Profiles
Forums
Gallery
Events
Blogs
BMT Wiki
Collections
Store
Everything posted by Wobblin-Goblin
-
Finally got the new mack
Wobblin-Goblin replied to 86mackR-Model's topic in Modern Mack Truck General Discussion
Nice. What model is it? It's not a Titan, is it? -
B42 I looked at...
Wobblin-Goblin replied to Bigdogtrucker's topic in Antique and Classic Mack Trucks General Discussion
Absolutely. I could see maybe $8-$10k if the interior was as good as the sheet metal and it was 90%+ mechanically sound, but $18-$20k? LOL. -
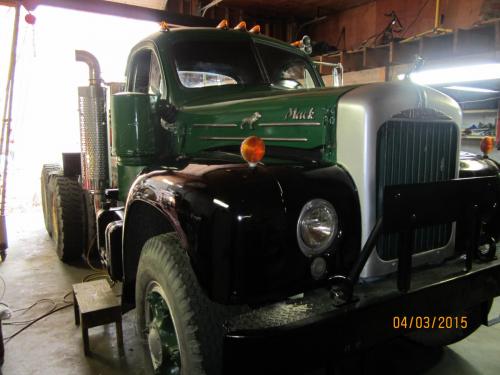
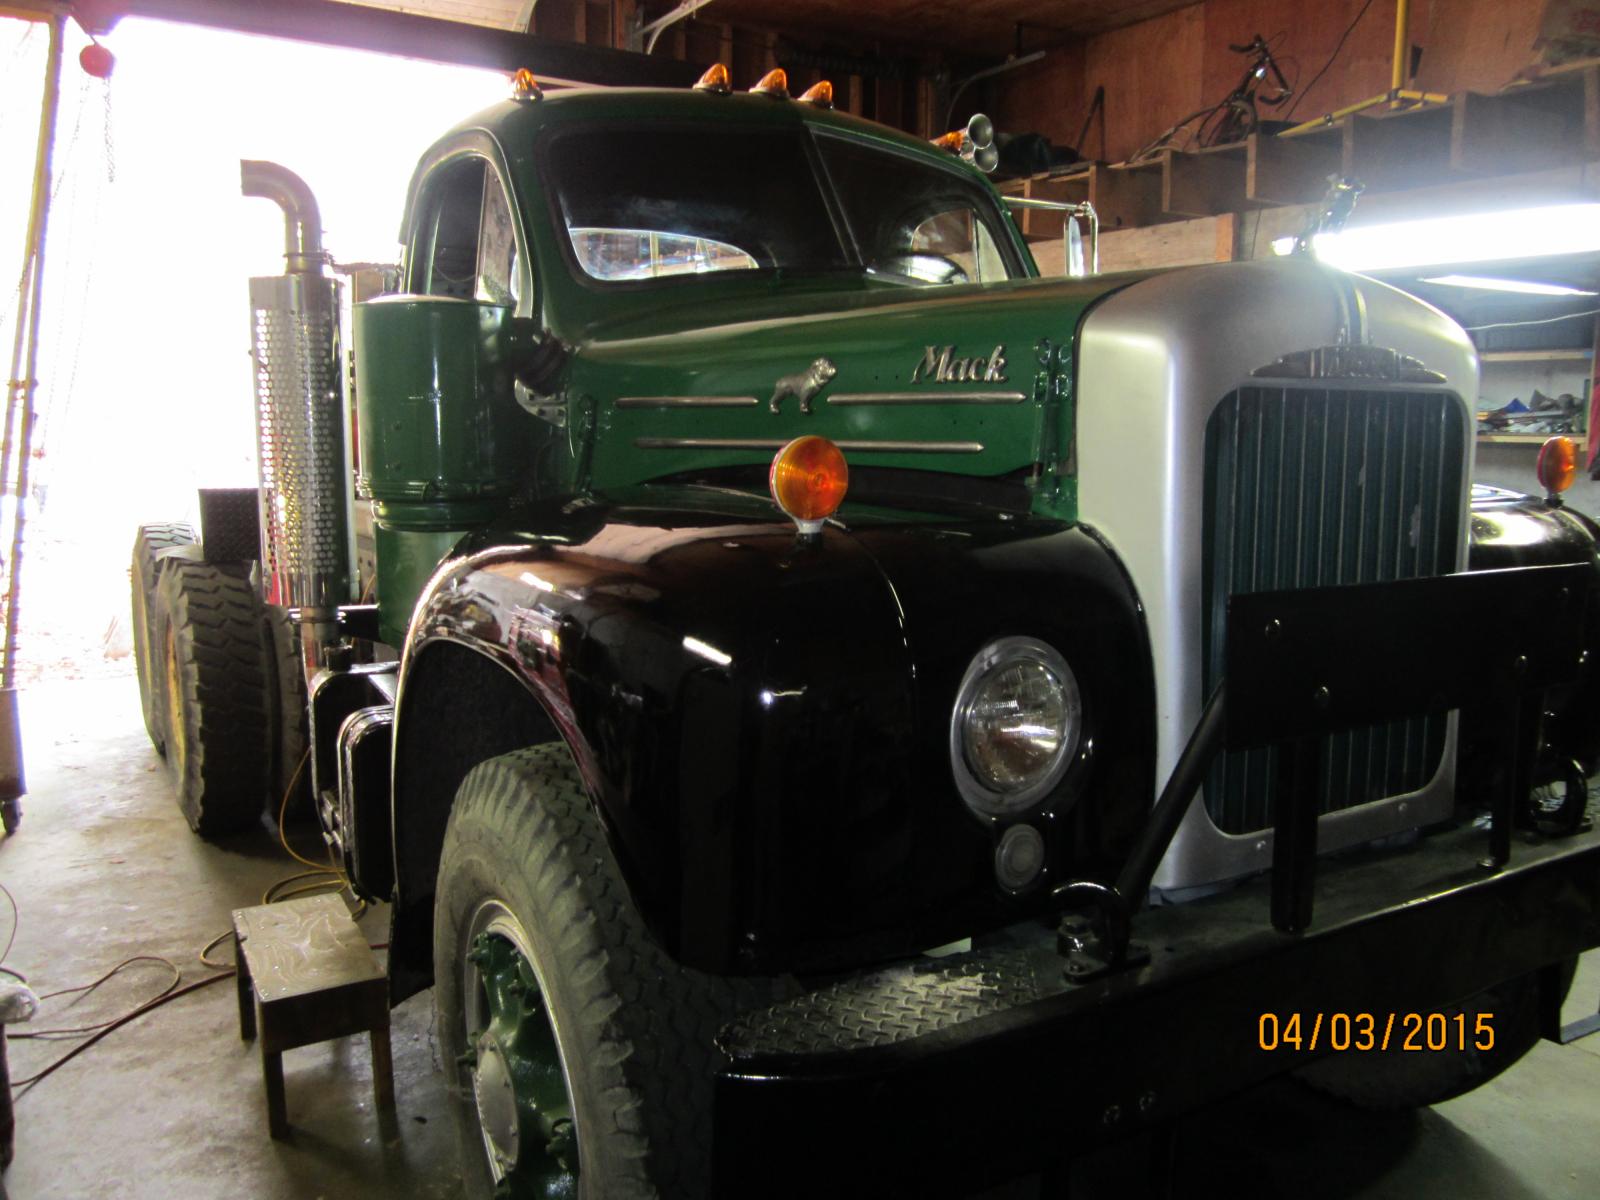
Made it down to the garage today. Here's the progress so far: 1. Had to re-mount the center cab light because the wire didn't make it through the hole last week. I noticed this when.... 2. I had to cut off about 1/2" of the screws holding the backs of the cab lights on to the cab. They were like daggers pointing down into the cab. 3. Made a way to fasten the horn chain in the cab. Drilled a hole near the sun visor base, put a small machine screw through it, and attached the chain to the screw. 4. Mounted the side bulldogs and "Mack" emblems. 5. Installed the front directionals on the fenders. 6. Installed the driver's vent window.
-
New Member introduction with a new restoration project
Wobblin-Goblin replied to firetech7459's topic in Introduction Forum
Welcome...and pics. We like pics. -
I'm all for clean air and water, but there comes a point when all these regulations do is harm the economy rather than help the environment. Then again, with this administration, nothing surprises me anymore.
-
New exhaust on the B...
Wobblin-Goblin replied to Bigdogtrucker's topic in Antique and Classic Mack Trucks General Discussion
Love seeing Bs being worked on. -
Been sick with the flu since Sunday, so no updates this week yet. Hopefully by the end of the week I'll be well enough to get back at it. I miss working on it.
-
FOR SALE 1991 RD888SX MACK TRACTOR 12800 ORIGINAL MILES
Wobblin-Goblin replied to Ezrider's topic in Trucks for Sale
Am I imagining it, or did that "not take long?" -
B30 progress
Wobblin-Goblin replied to maint1's topic in Antique and Classic Mack Trucks General Discussion
That looks great. Thanks for sharing the pics. -
Story Time
Wobblin-Goblin replied to Superdog's topic in Antique and Classic Mack Trucks General Discussion
Like the story, like the pics. -
Today's progress: 1. Installed the horn. 2. Installed the cab lights.
-
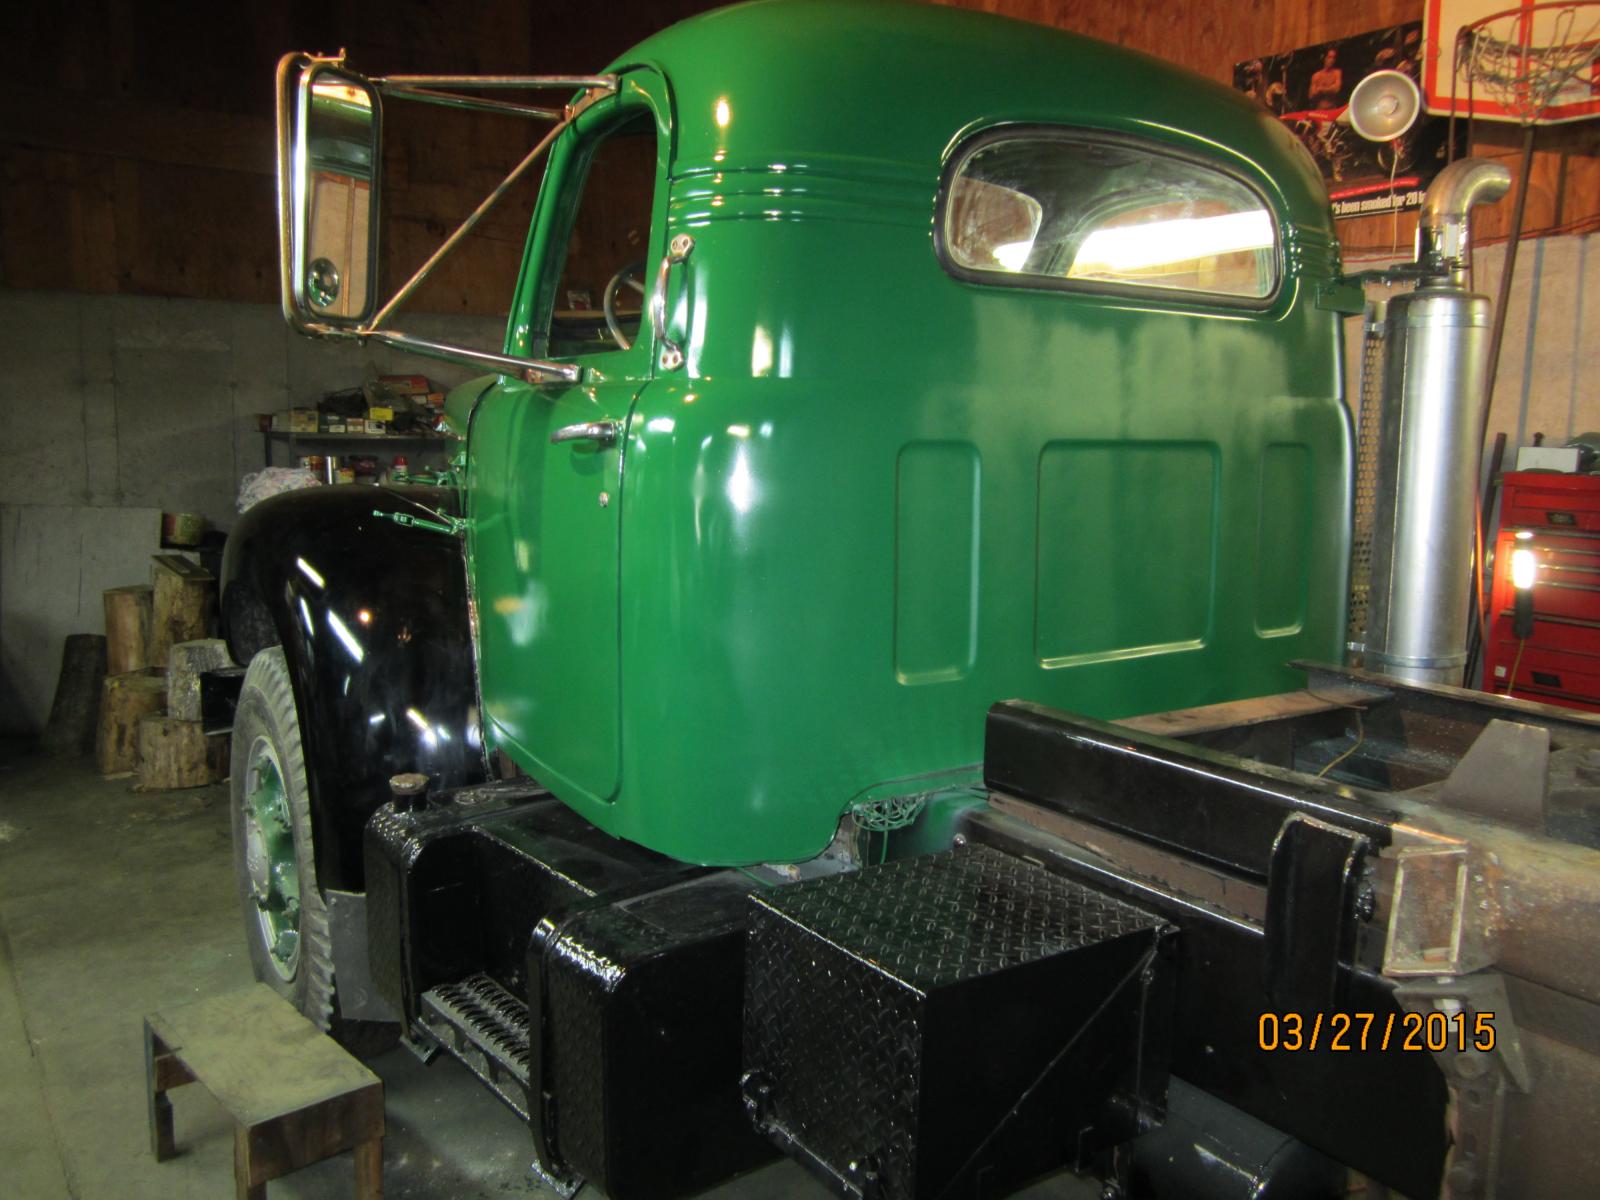
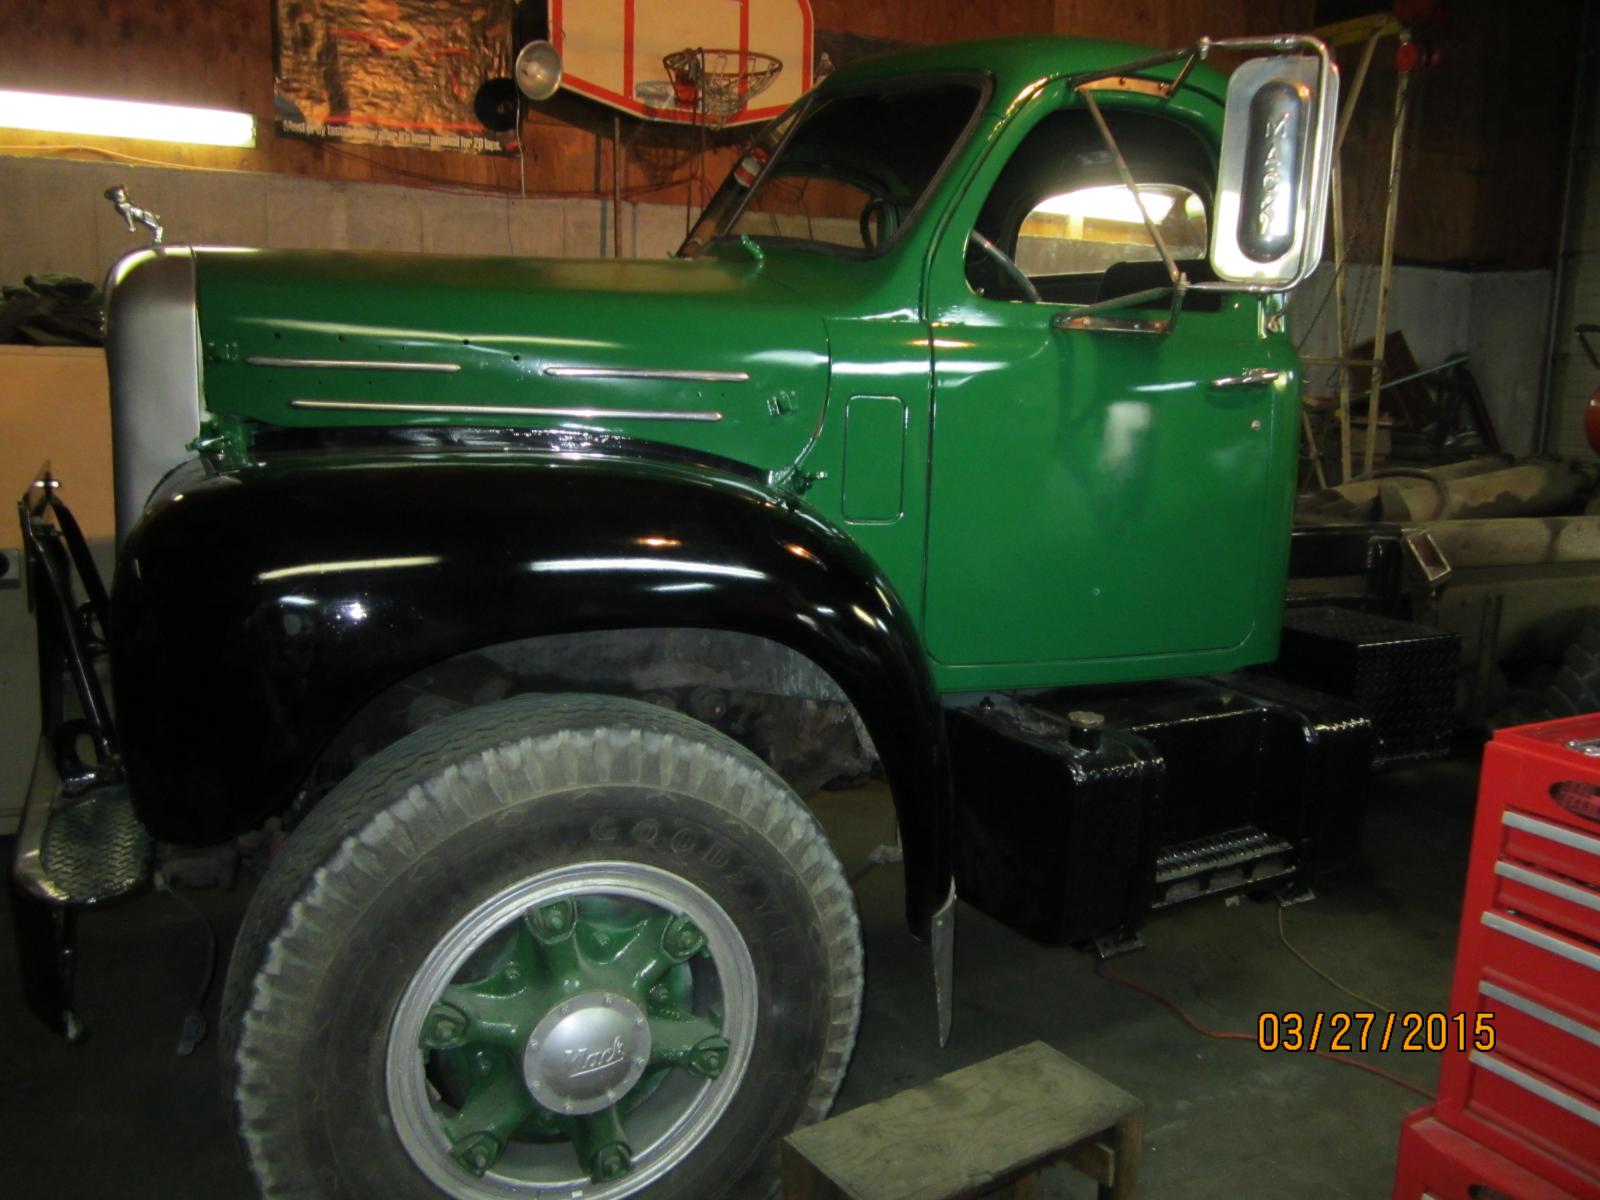
While I admit this has gone beyond a simple refurb (my uncle frequently jokes with me about "it's NOT a restoration"), it still isn't in the same class a true restoration. If I had to put a number on it, I'm guessing it's probably 50-60% of the effort of a full resto. In other words, a pretty decent refurb job, IMO. This "job" has been quite enjoyable from the beginning. It helps that I wanted to do this, and wanted to learn how to do all the things needed to make this happen. My dad and uncle have helped (and helped teach me), and for that I'm grateful, because without them, I wouldn't be this far along. If it works out, I'd like to use my fledgling skills to do another refurb job next winter.
-
Mack production line fire?
Wobblin-Goblin replied to wiserfrombud's topic in Modern Mack Truck General Discussion
It's a shame that Mack went from a company that made the entire truck from bumper to bumper to what it is today. -
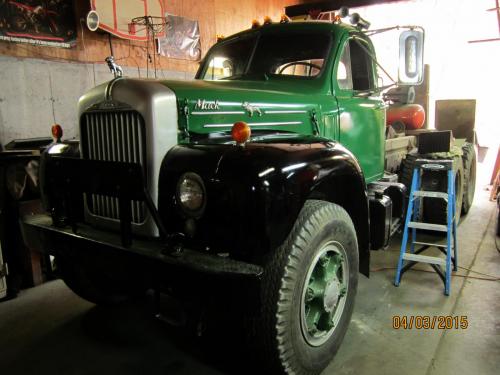
Today's progress: 1. Re-installed all the innards of the passenger door (panel/window, handles, vent window, etc.). 2. Put on the driver's side mirror. 3. Installed the air cleaner and exhaust. 4. Installed the chrome strips on the hood. 5. Worked on the horn base (freed up the adjustment screws, cleaned it, primed and painted it). 6. Cleaned the windshield and rear window. 7. Started it up for the first time in almost three months.
-
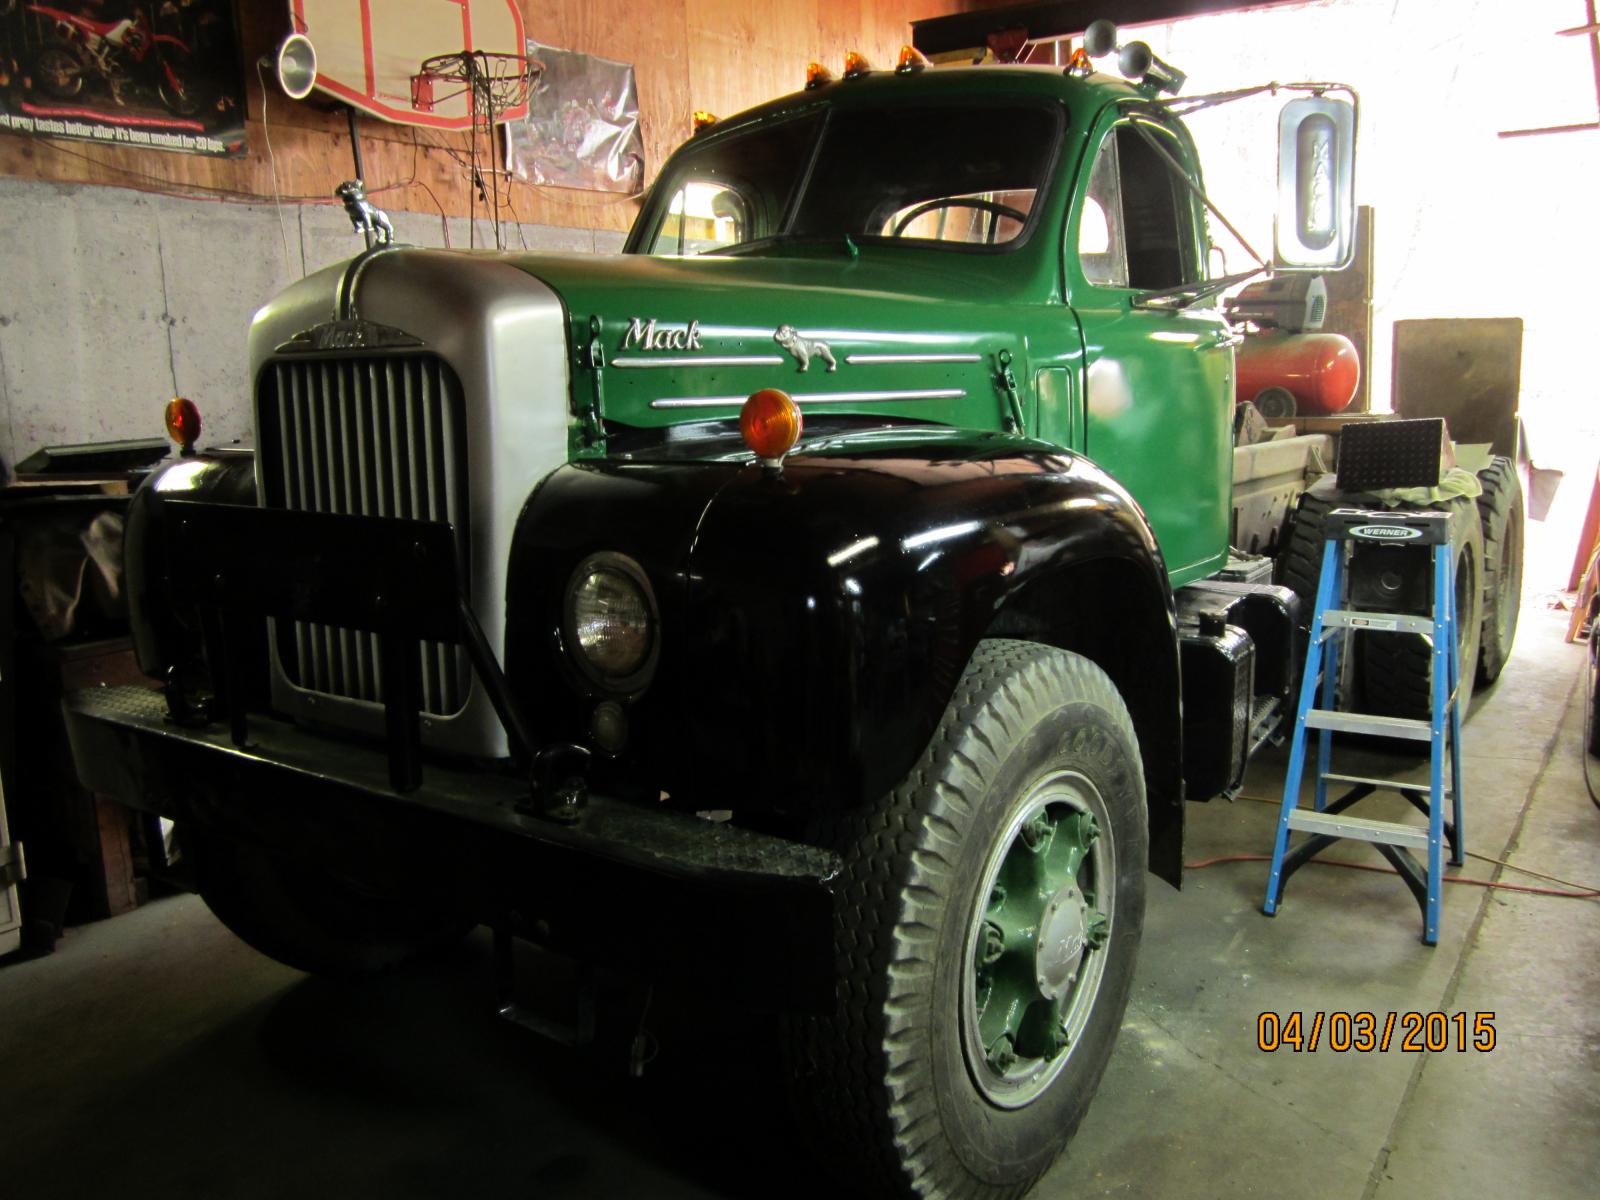
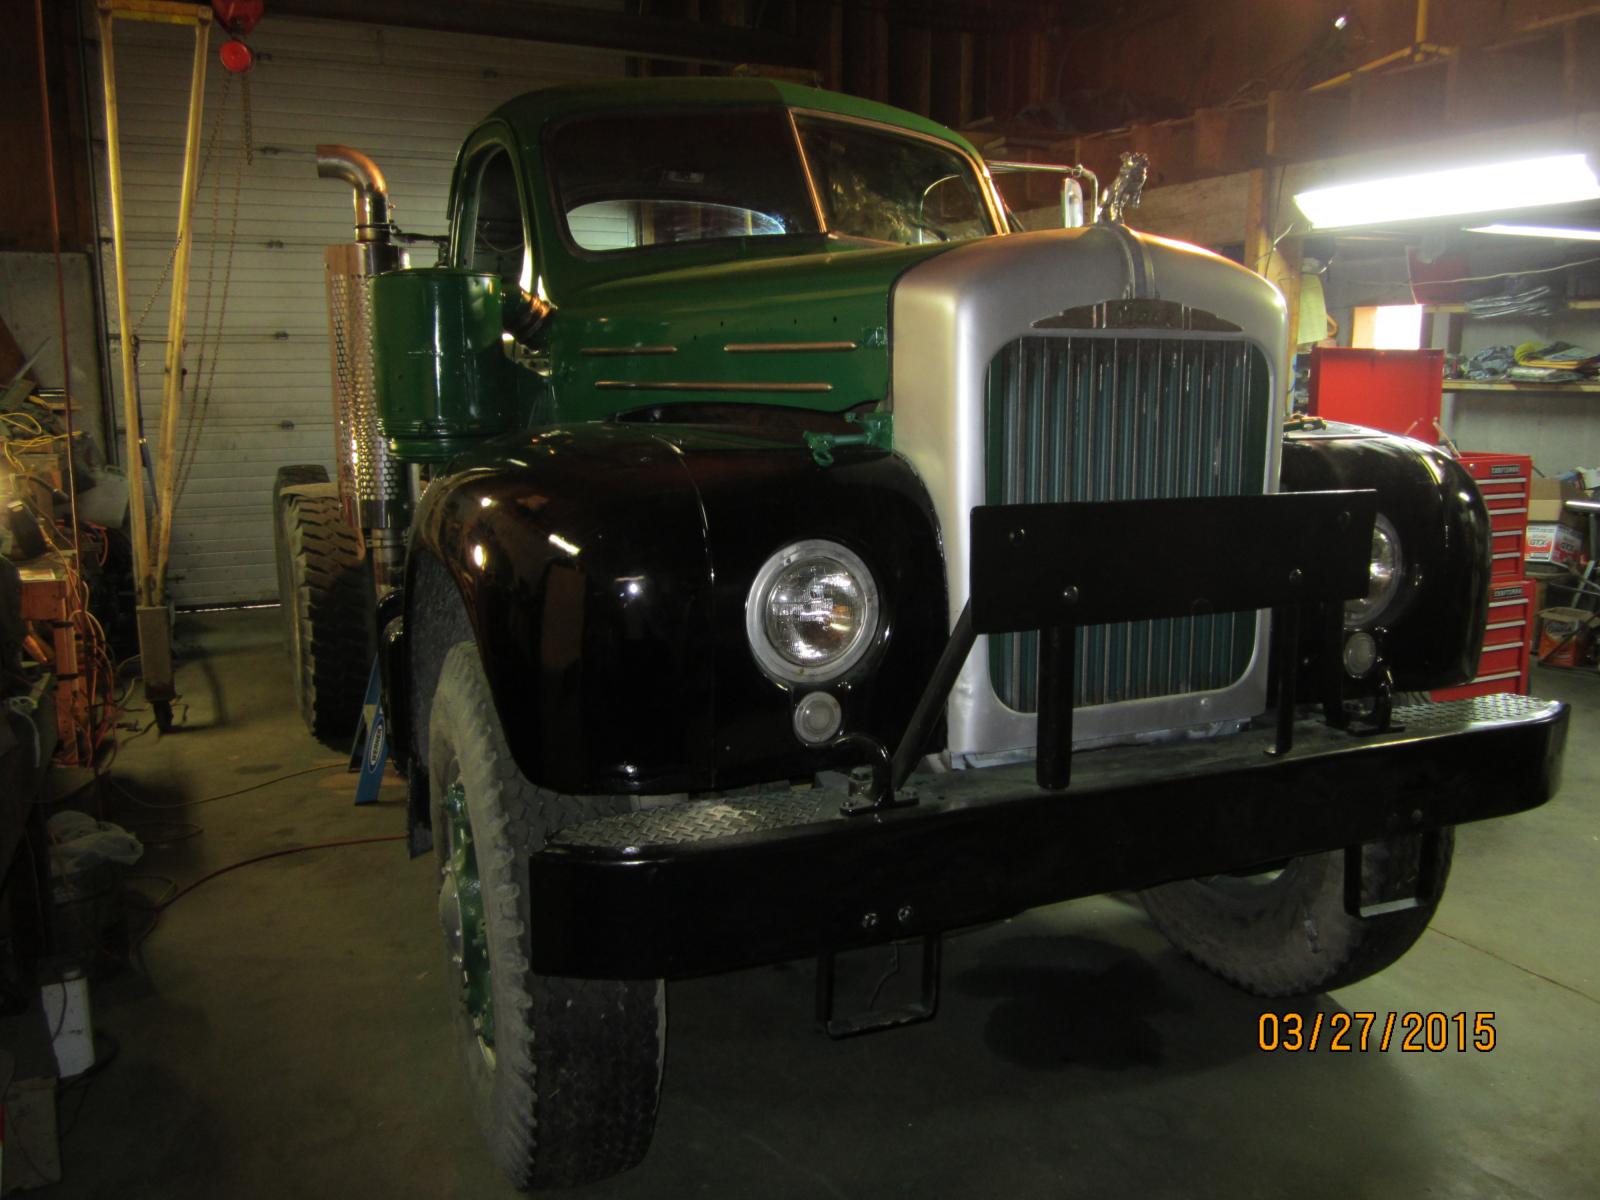
It isn't perfect, but it's pretty darn good, and especially so since this was my first paint job ever!
-
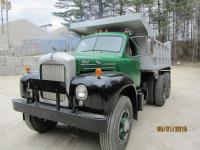
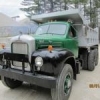
'Mater's transformation is complete!
-
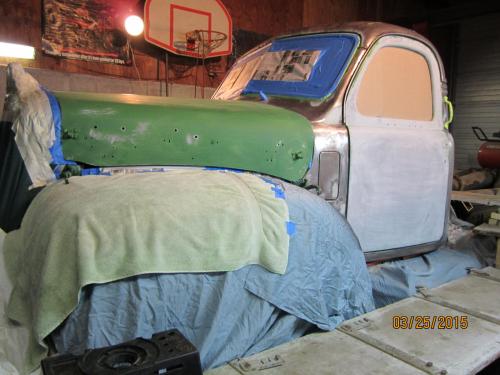
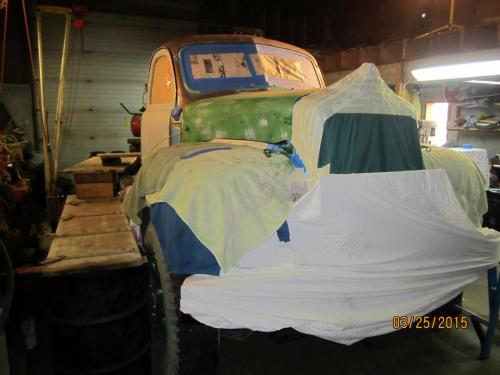
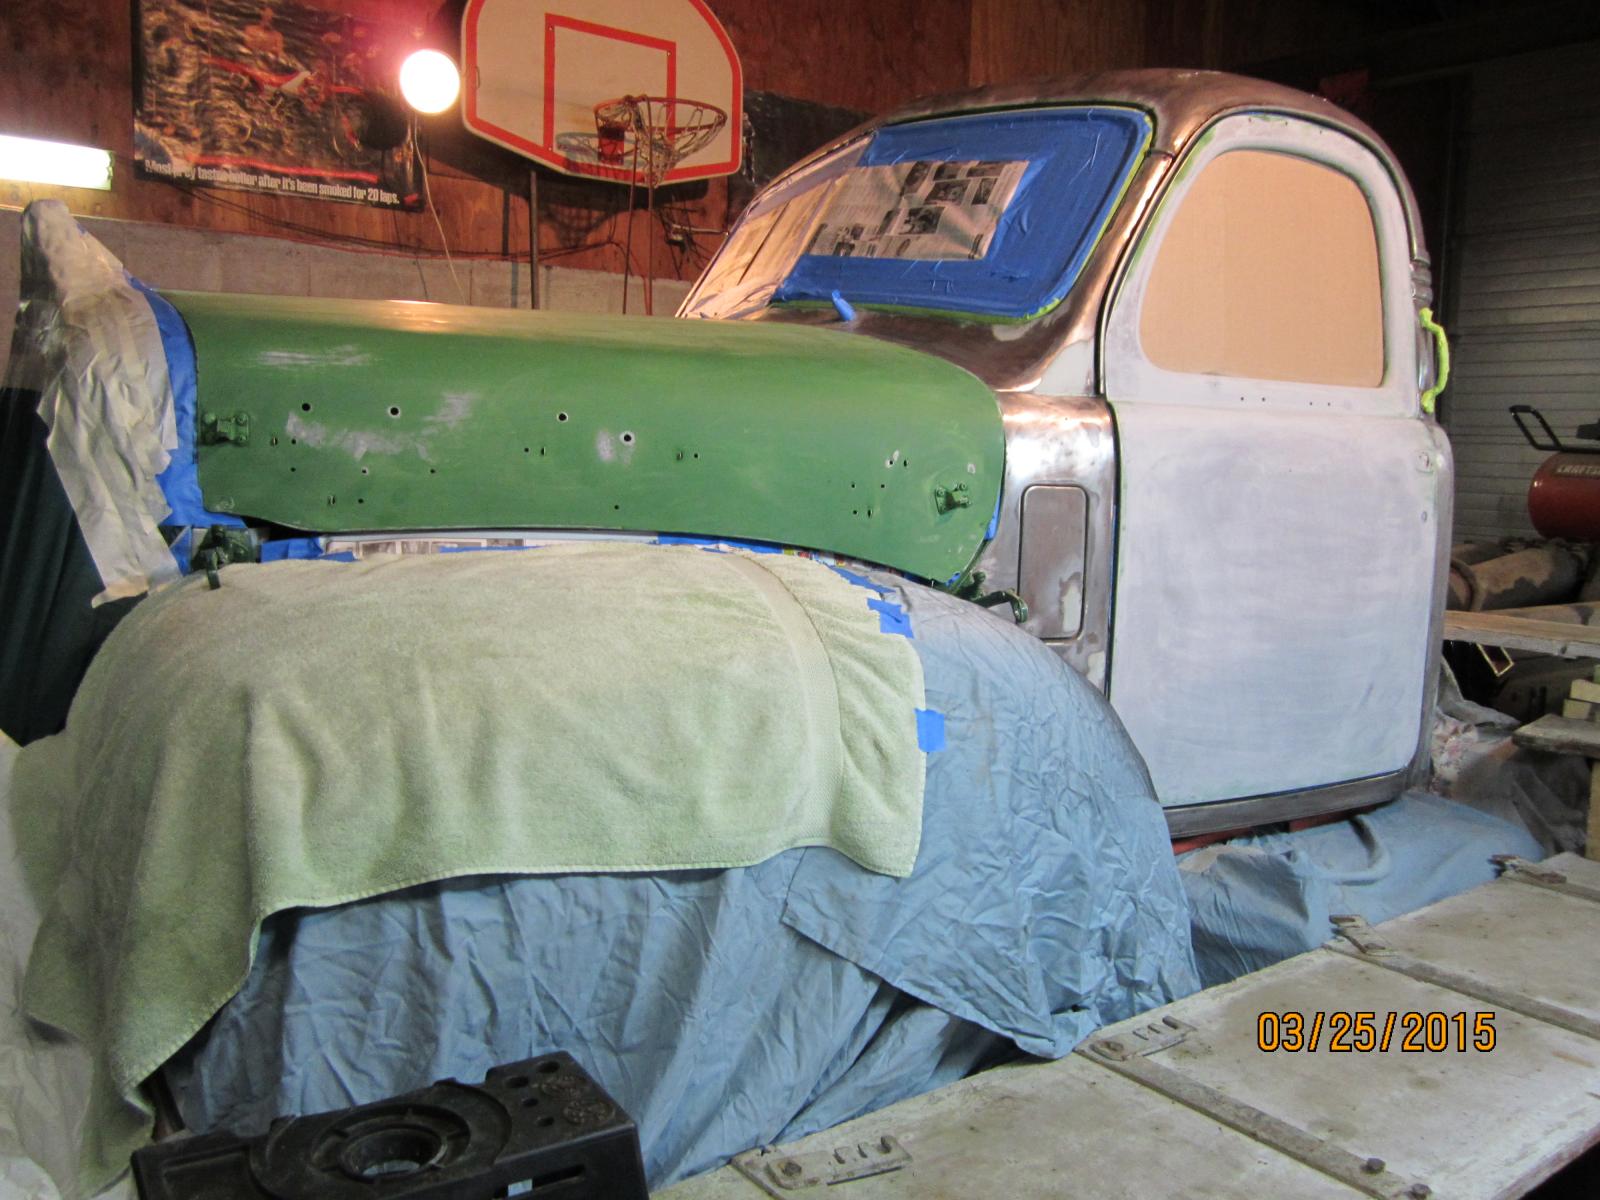
Today's progress: 1. Taped and draped the truck. 2. Wiped down all the surfaces. 3. Primed the cab with etching primer (for use on bare steel surfaces). We are ready for final priming and painting tomorrow morning.

-
Today's progress: 1. Finished final sanding. 2. Set up staging around the cab to get me up high enough to paint over the hood and roof. 3. Blew all the dust off the truck and out the garage with air hose. Tomorrow I'll finish taping, papering, and laying drop cloths in preparation for painting on Thursday morning. Pics tomorrow.
-
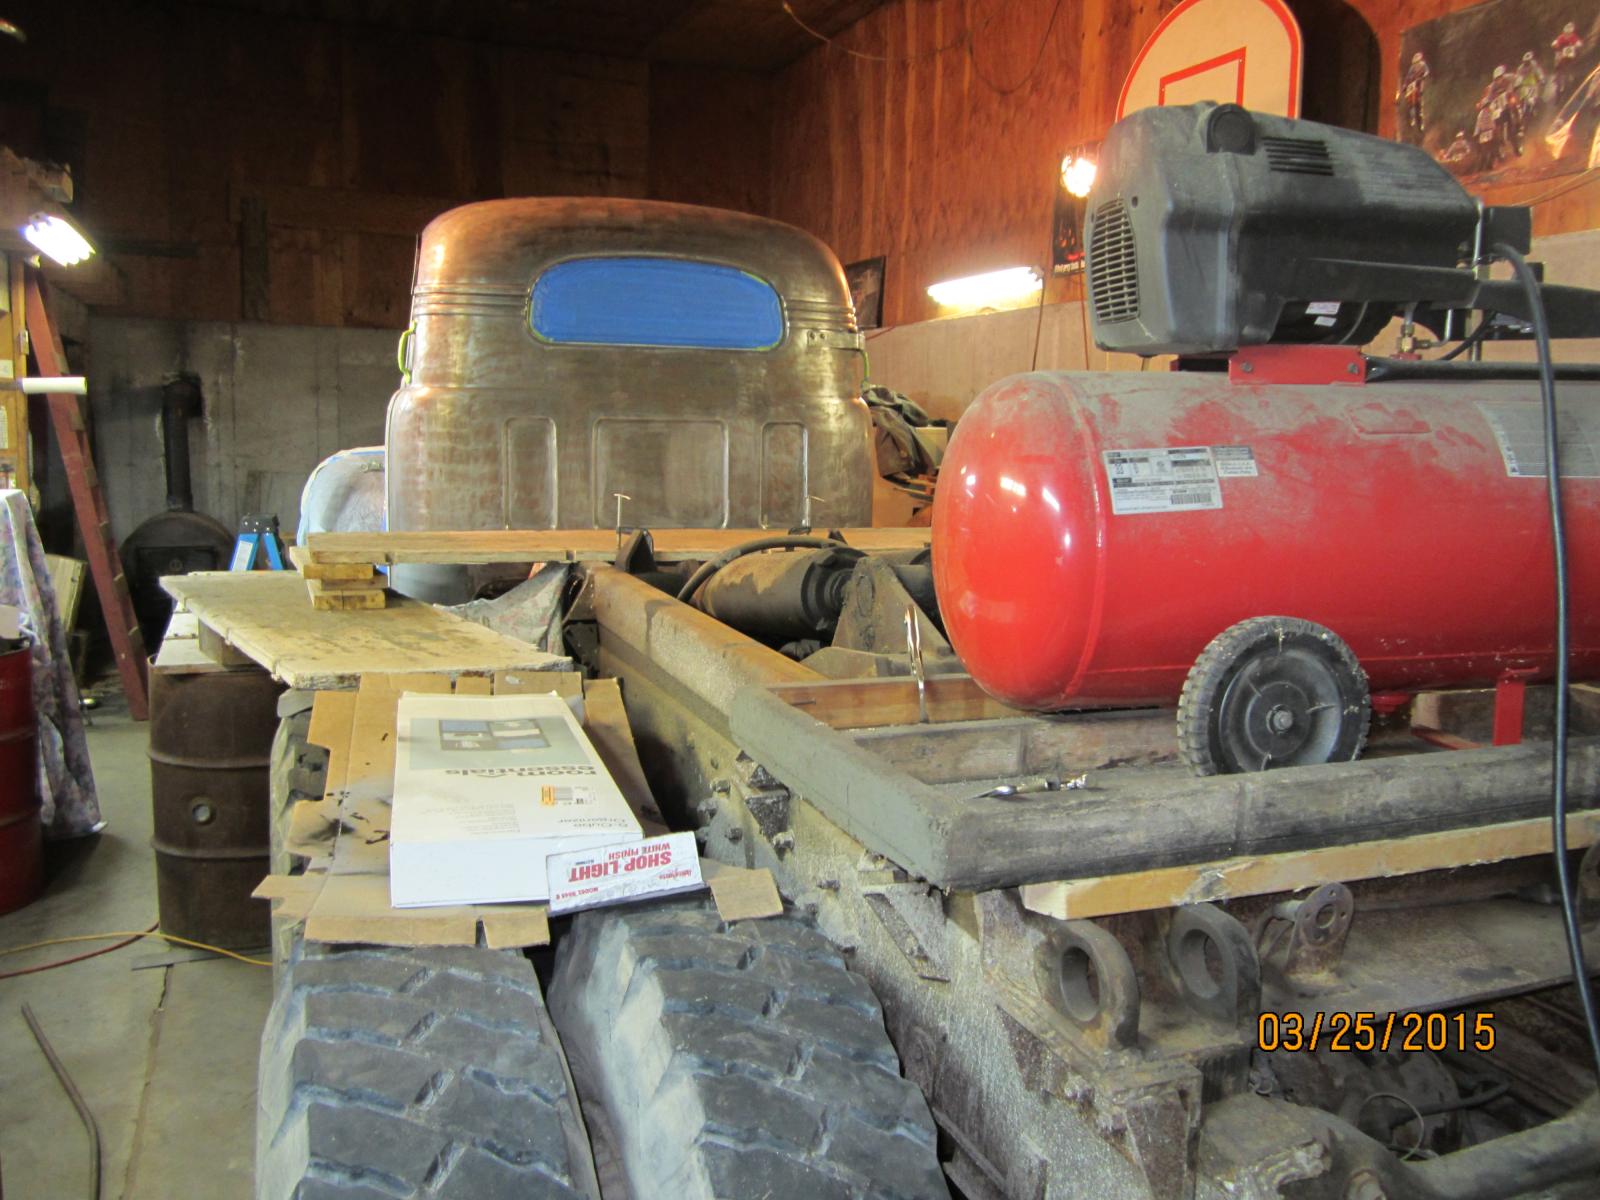
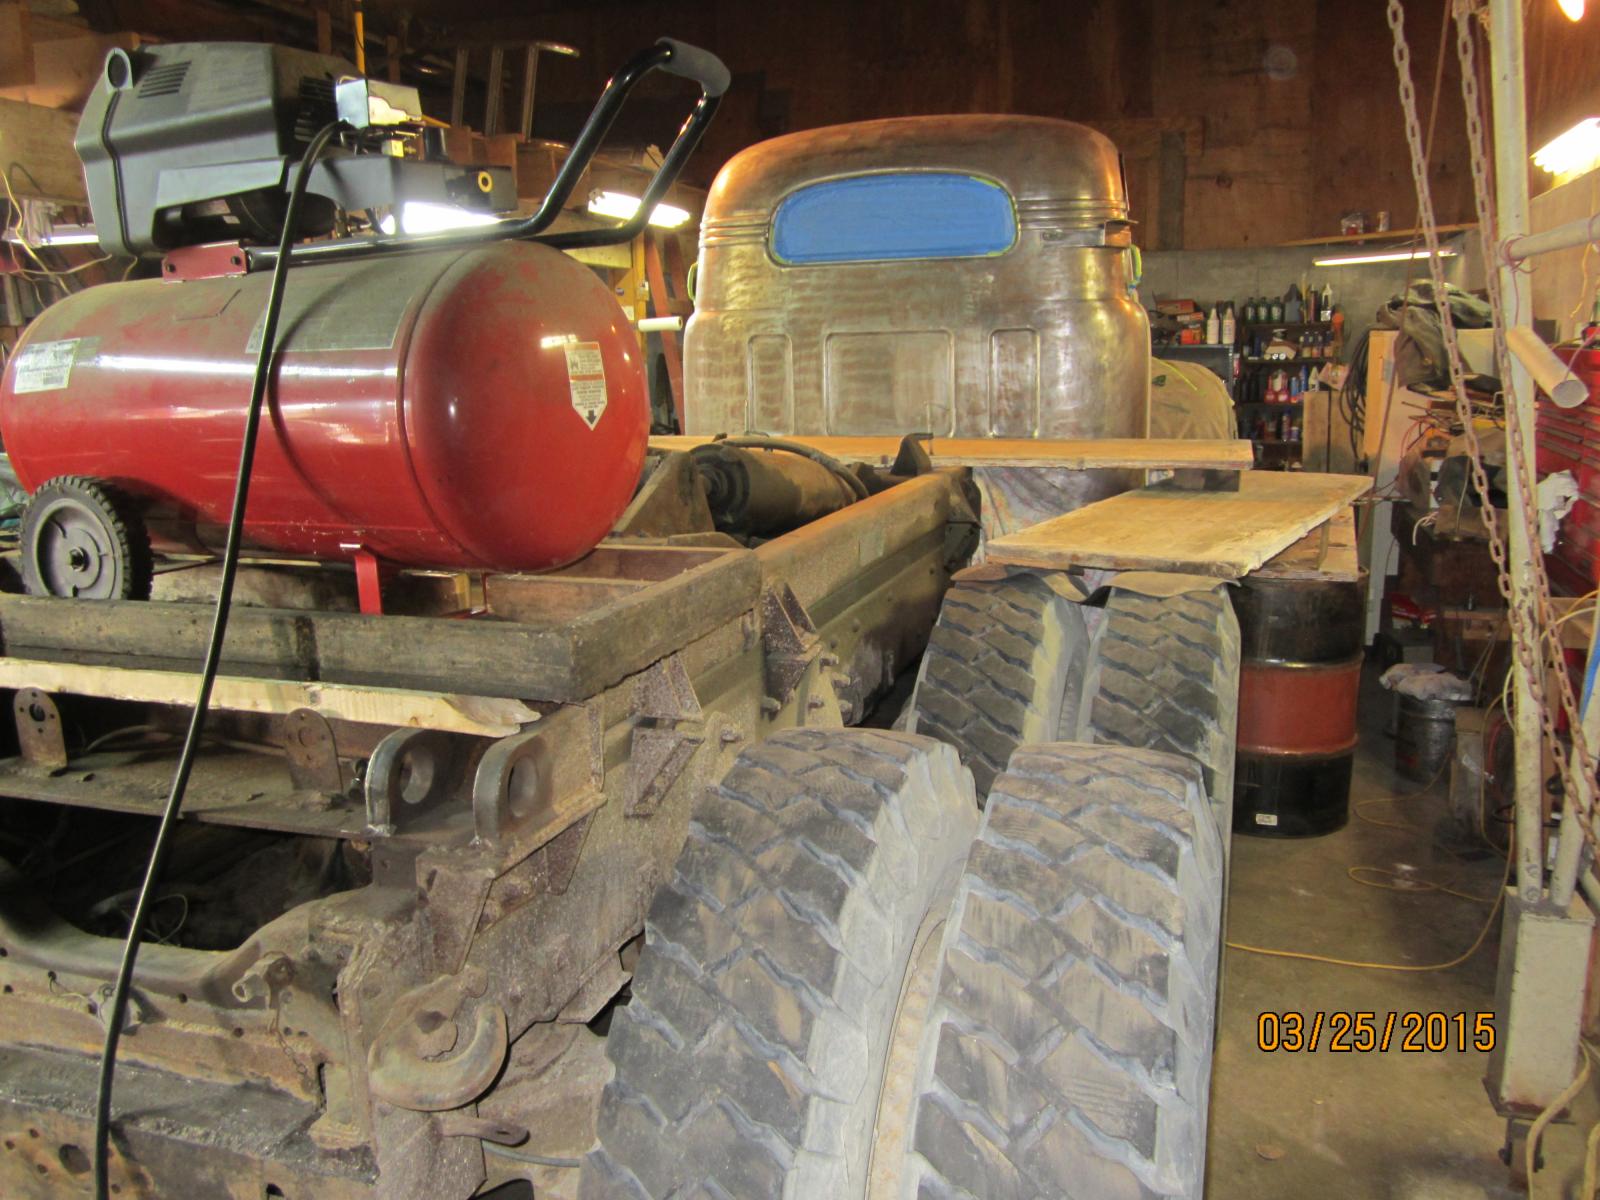
Today's progress: 1. Started taping. 2. Started final sanding. 3. While under the truck checking play in the PTO linkage, I noticed a clevis pin was badly worn. Replaced it. While there, noticed one of bolts was loose on the channel iron cross member that the fuel line between the tanks is attached to. Took it out, cleaned it up, put never seize on it, added a washer and put it back on tight. 4. Installed the two defroster pieces on top of the dash. 5. Sprayed rubber undercoating inside the doors where I had to grind off the old coating for welding patches. Tomorrow we will finish final sanding and set up staging for painting the cab, which will happen on Thursday.
-
That looks to be the "classic" Mack green, which is darker than the modern Mack green. I'm looking for something a wee bit lighter.
-
What's the best, "cannot miss" show within a few hours of New England?
-
According to the local Mack dealership, there is a "classic" B-model green that's a little darker and a modern Mack green that is lighter. I wanted something in between.
-
1992 RW613
Wobblin-Goblin replied to r686st's topic in Antique and Classic Mack Trucks General Discussion
What do you mean by "single stage?"


BMT Forum Logo
