

Wobblin-Goblin
-
Posts
593 -
Joined
-
Last visited
-
Days Won
10
Content Type
Profiles
Forums
Gallery
Events
Blogs
BMT Wiki
Collections
Store
Everything posted by Wobblin-Goblin
-
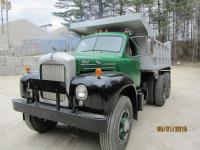
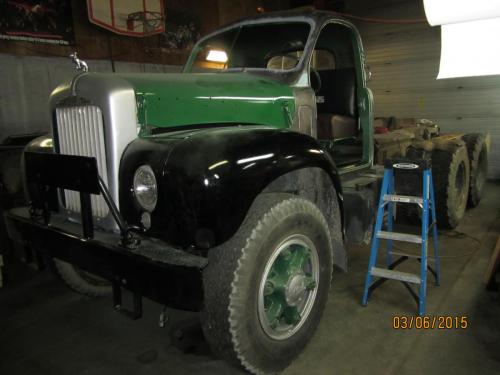
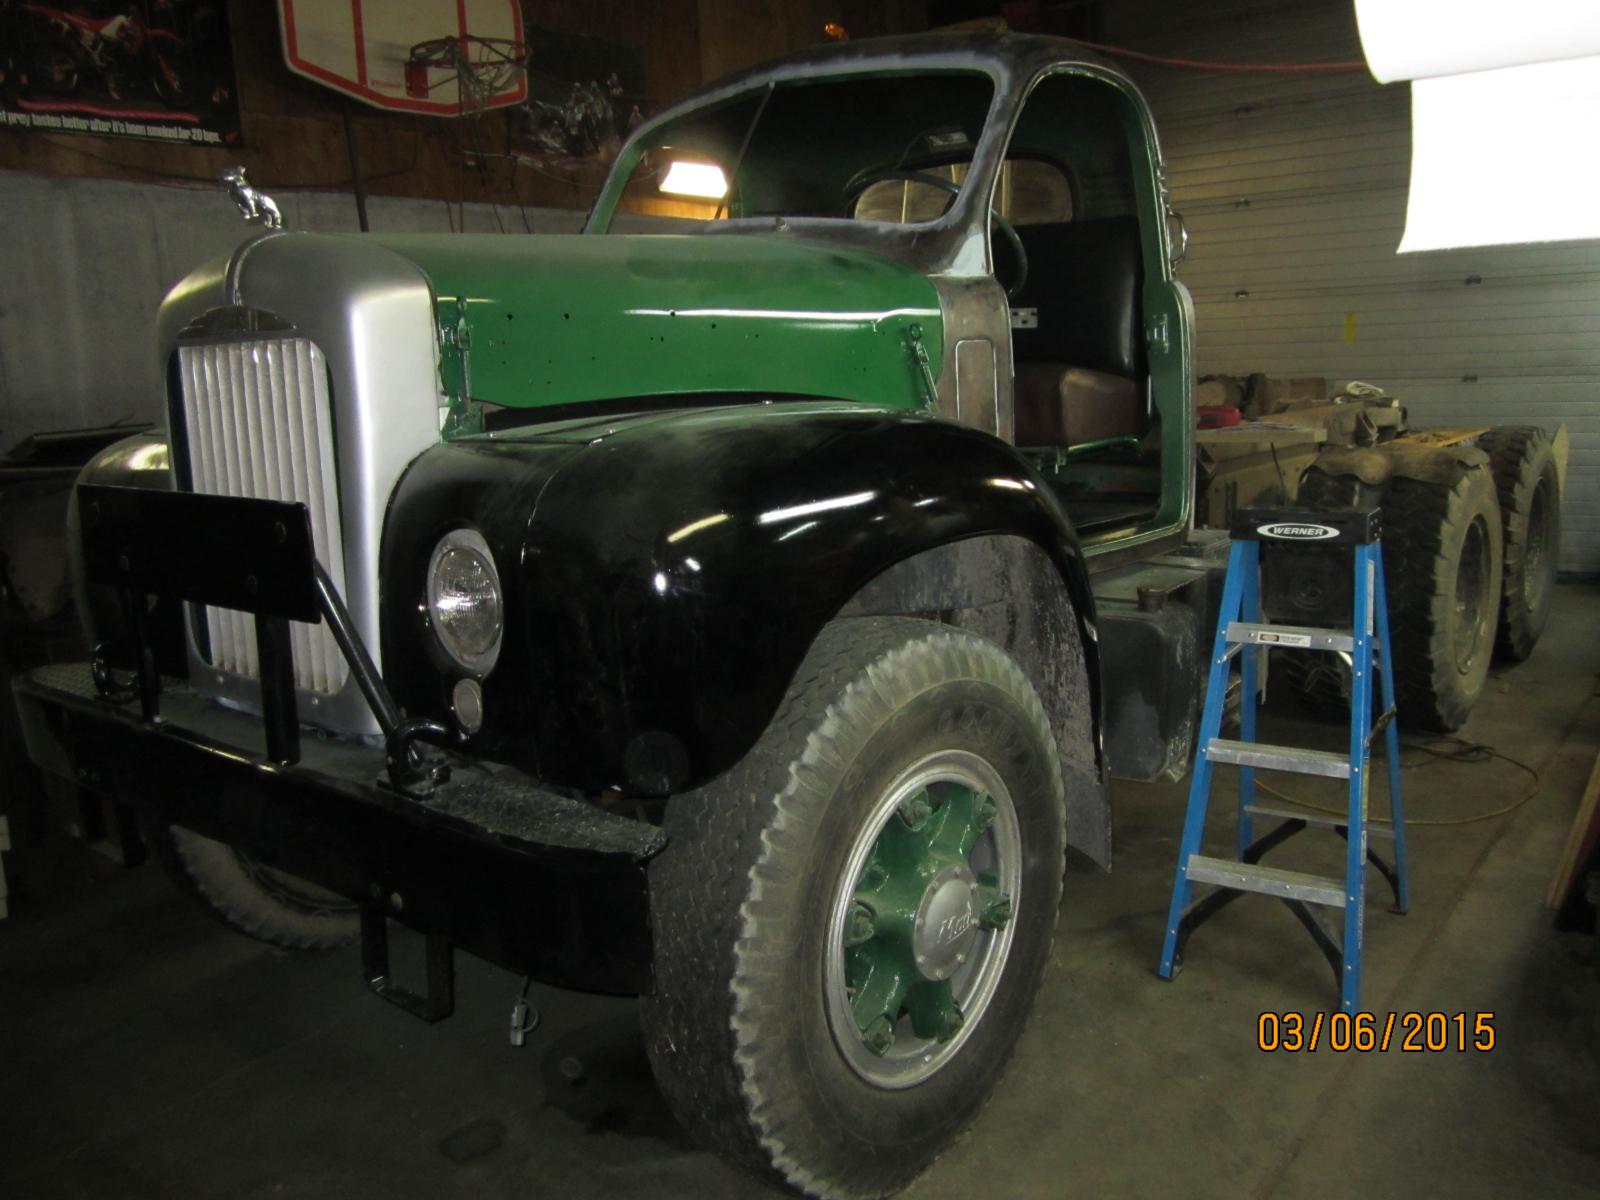
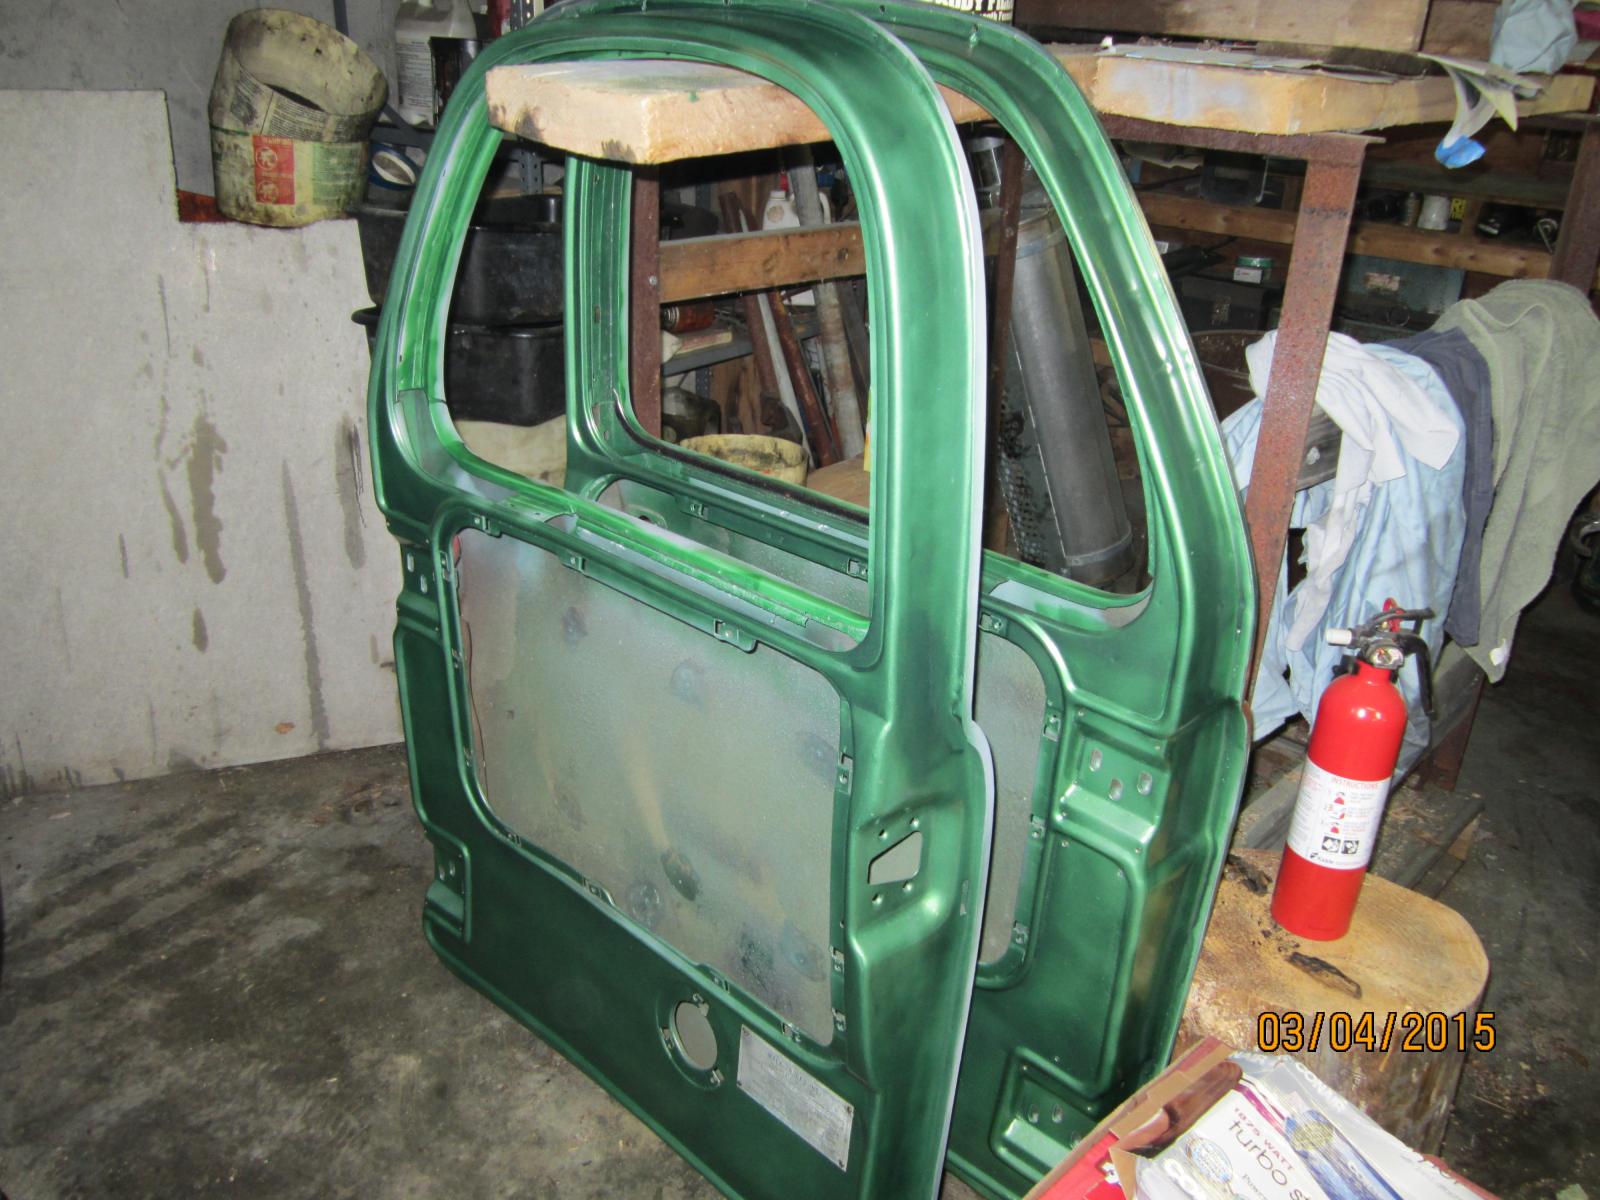
 Sort of. The paint will be NAPA's PCC, and it will be a close match to Mack green. Having said that, "Mack" green is actually two separate colors, and I'm going with a green that's sort of in between the two.
 -
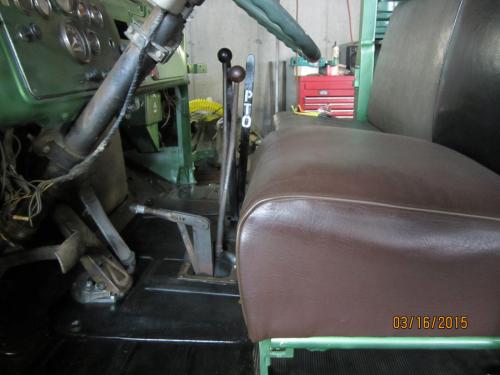
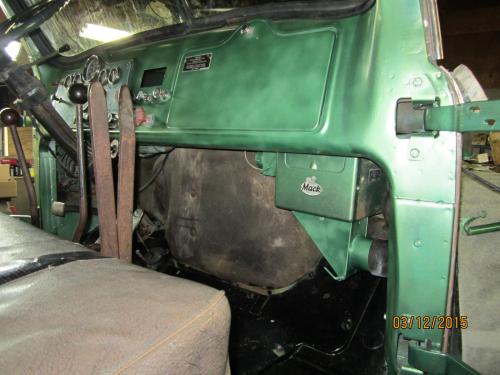
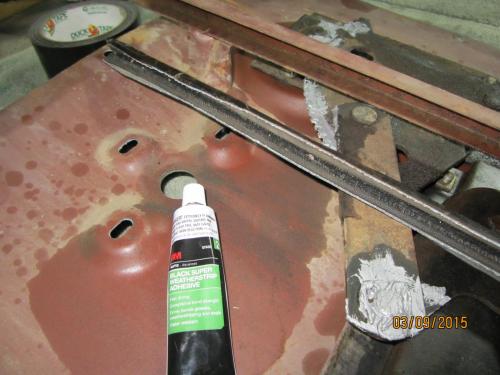
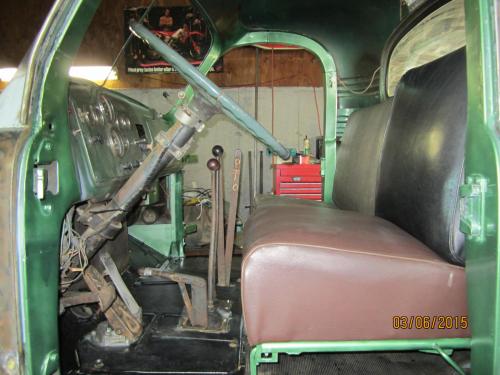
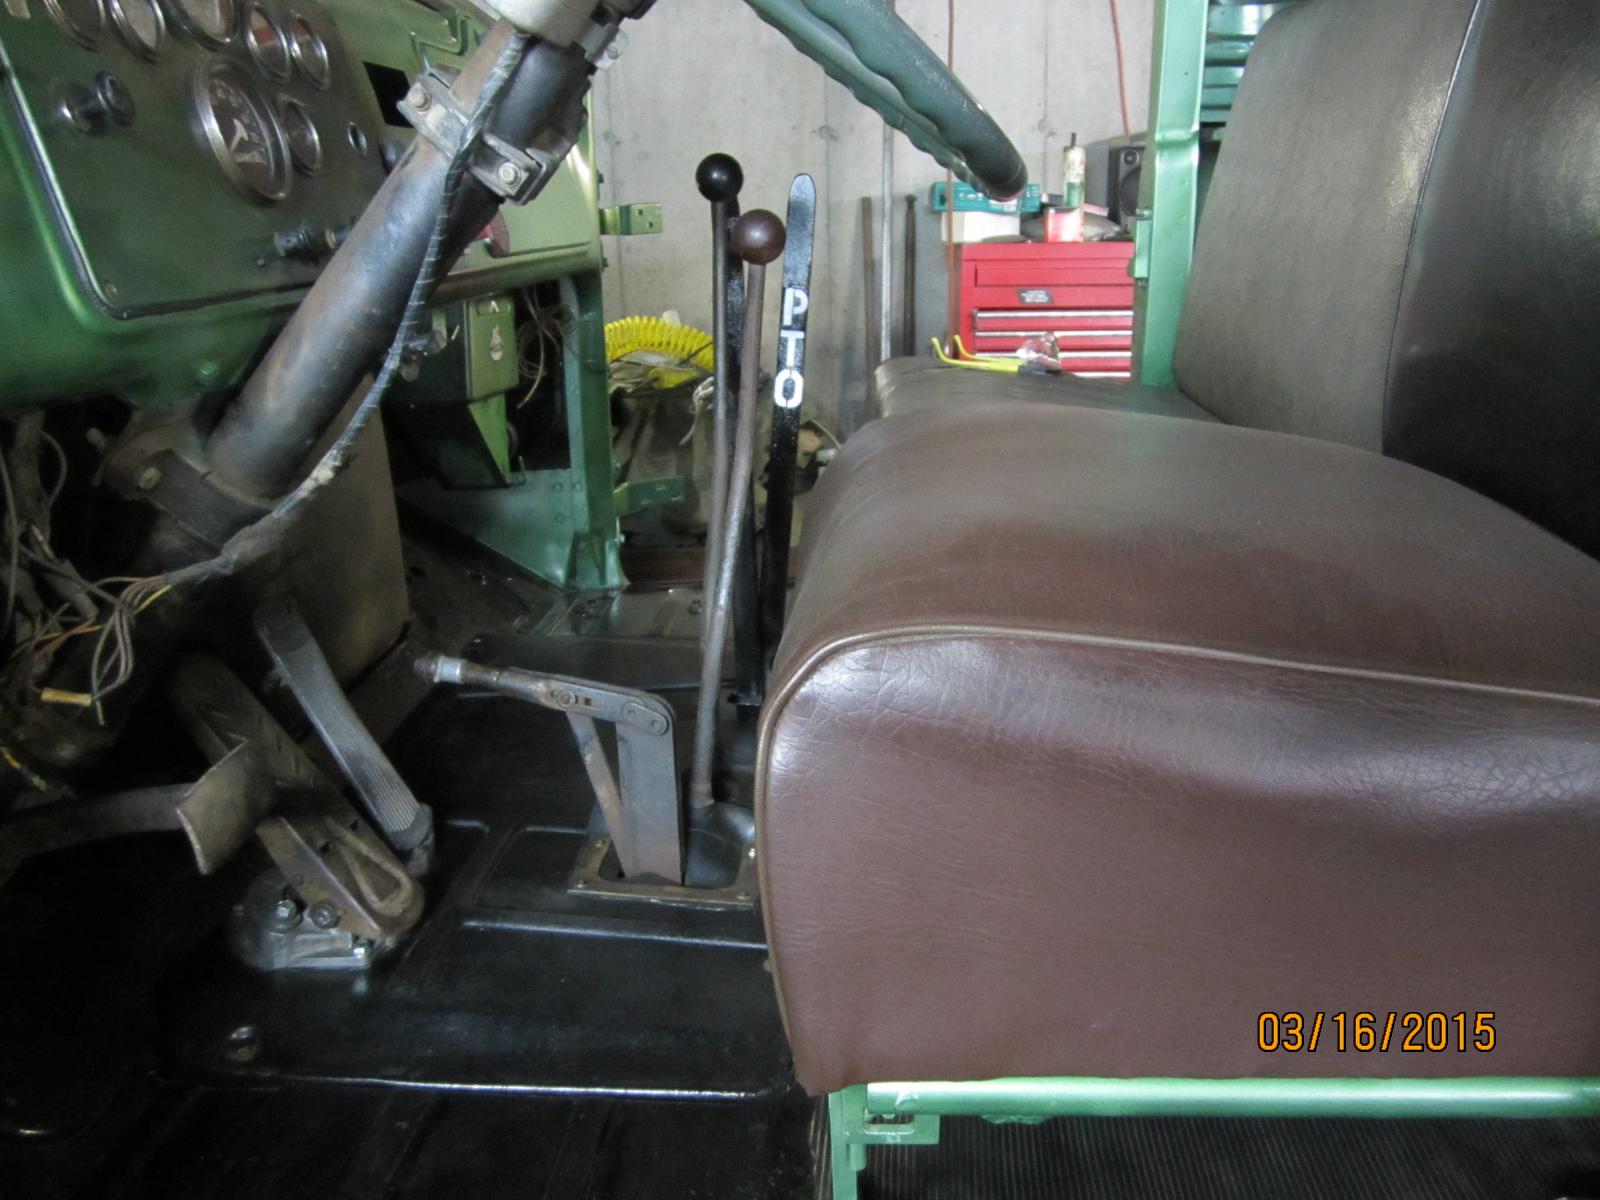
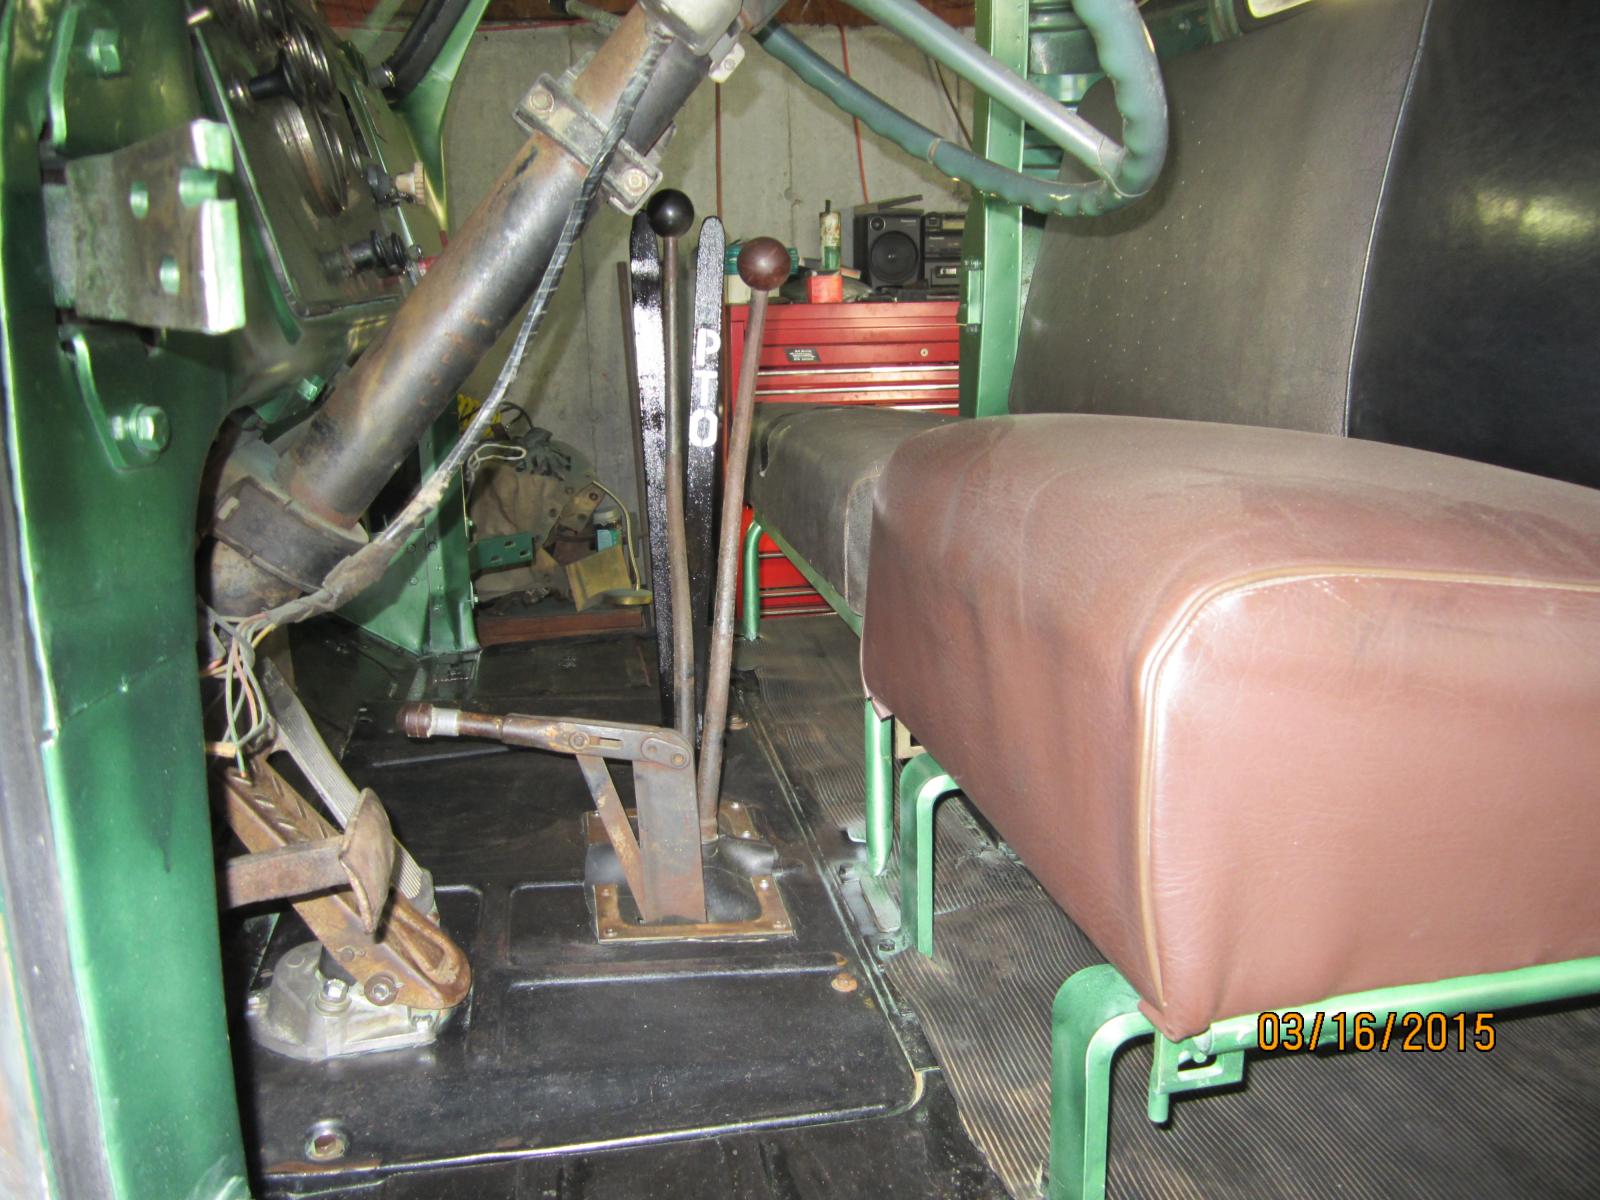
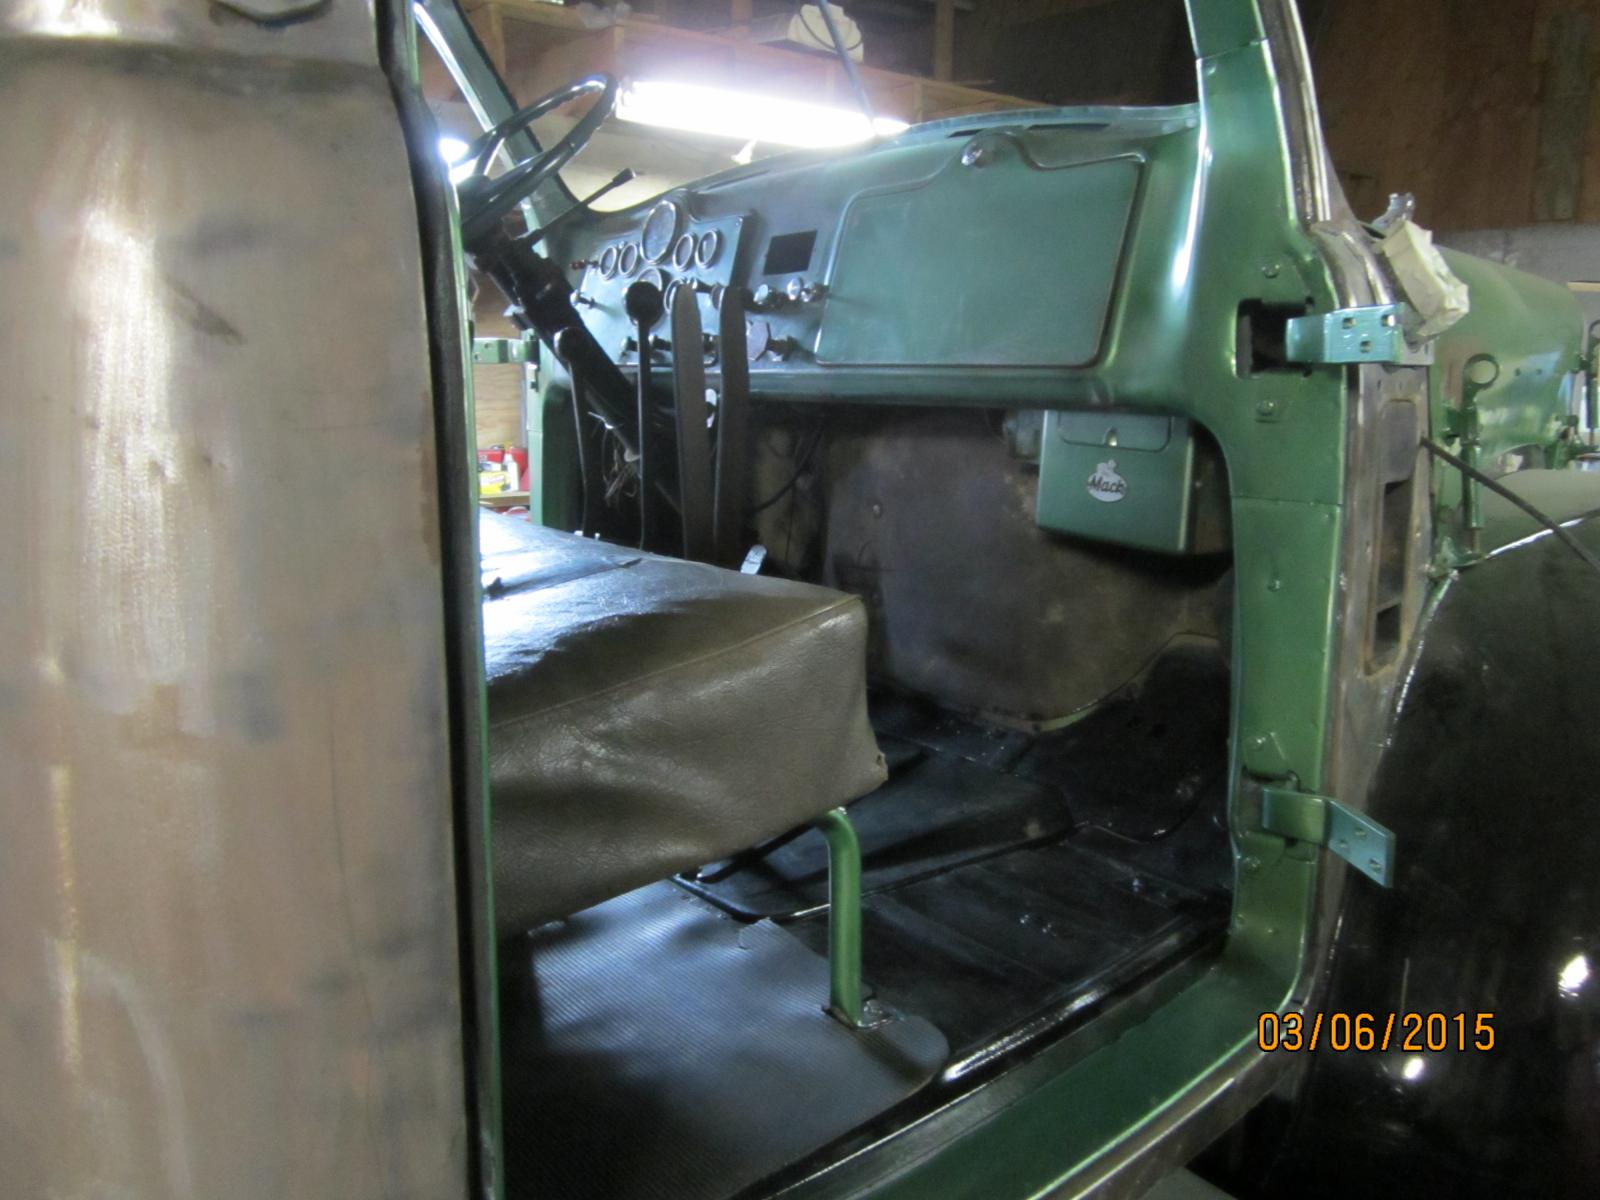
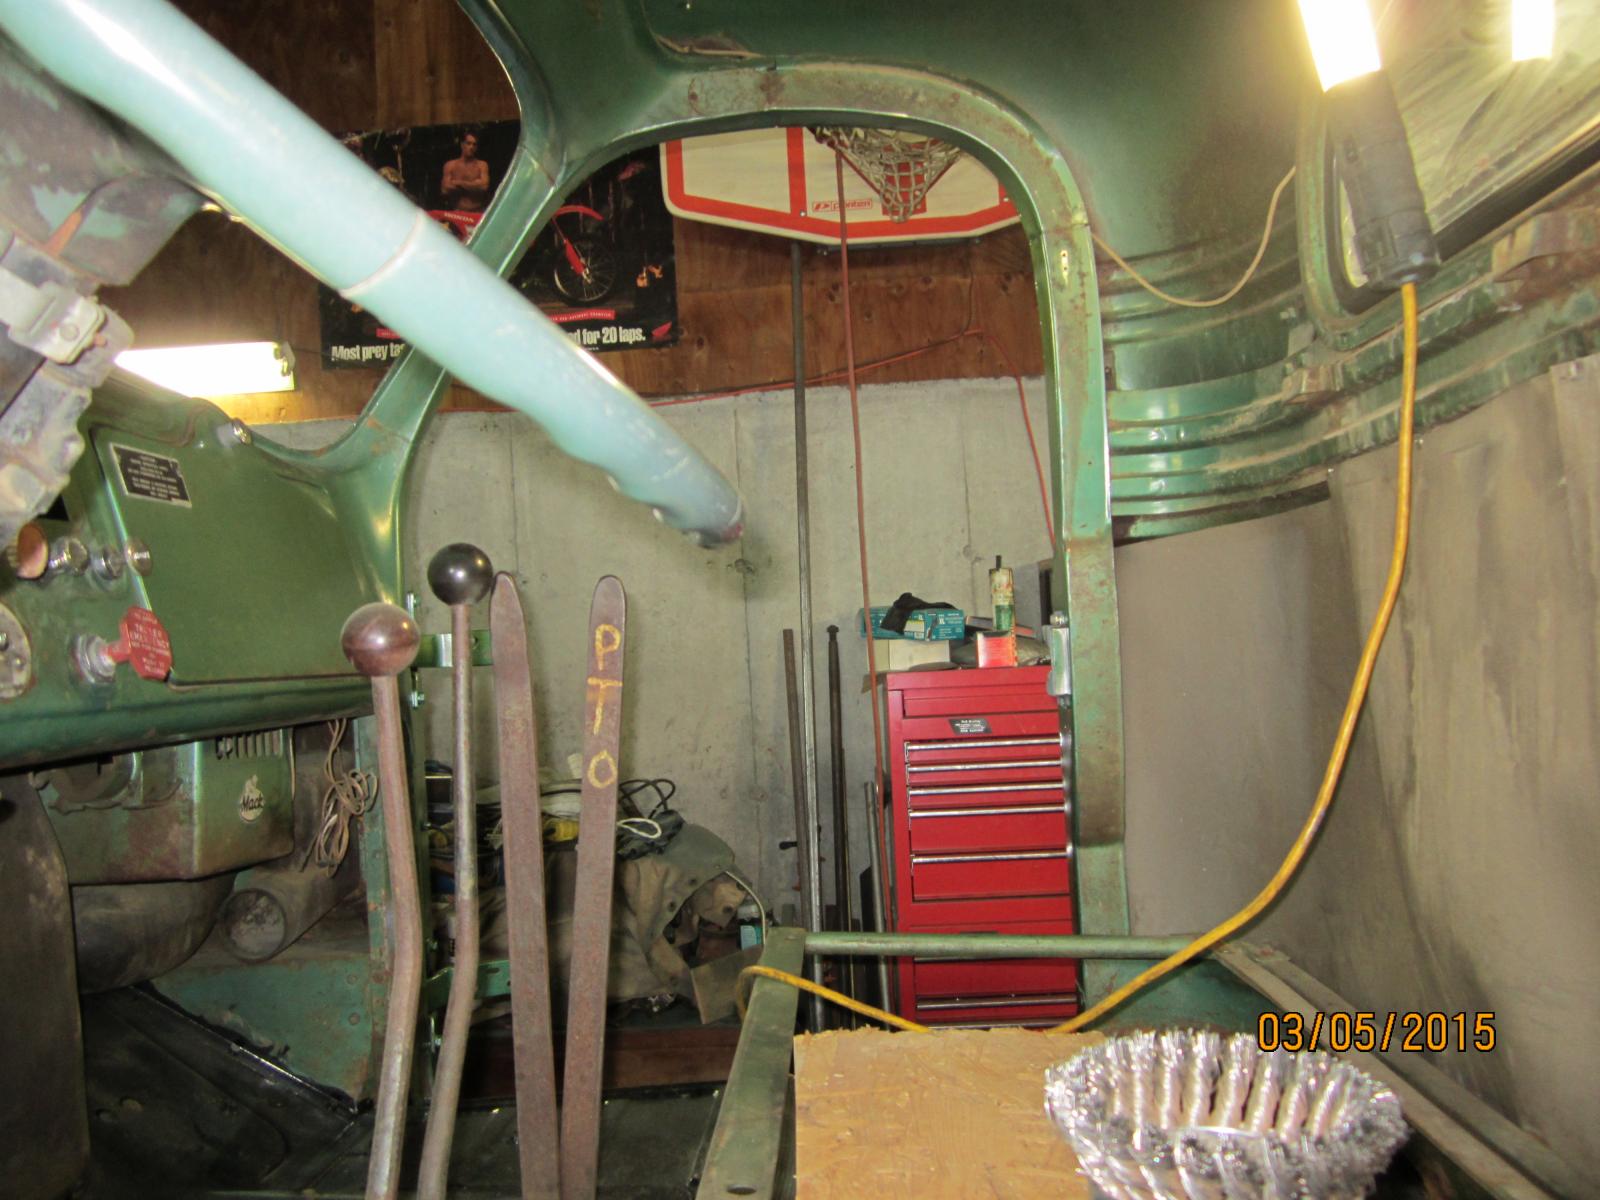
Yesterday's progress: 1. Replaced a missing bolt/nut combo on the hood support arms. 2. Put bends in the PTO/dump levers to A) give the passenger more room, make the levers easier to reach from driver's seat, and C) avoid hitting the glove box cover when in the down position. These levers are really sweet now. 3. Put a little more body filler on the cab corner to fill in some deep scratches from 40 grit paper. Sanded it down with 220 and 320. It's better now. 4. Sealed a pinhole in the rear corner by the exhaust with weatherstripping adhesive on the inside. Paint will take care of the outside. This coming week is prep week for painting the cab (tentatively) on Thursday.
-
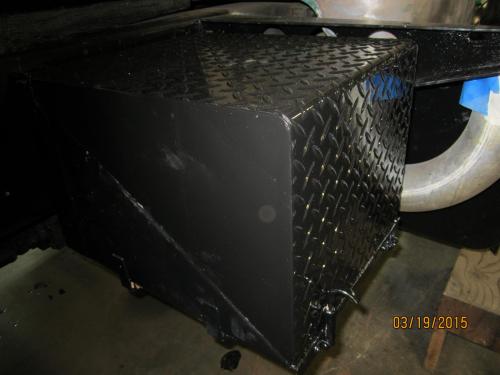
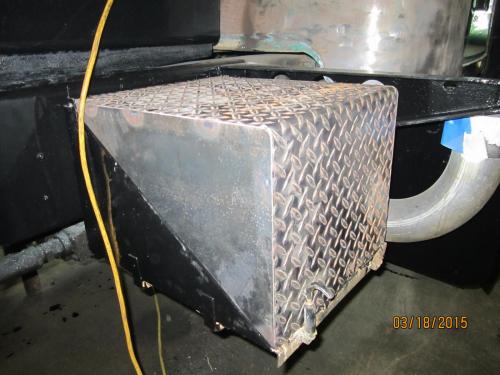
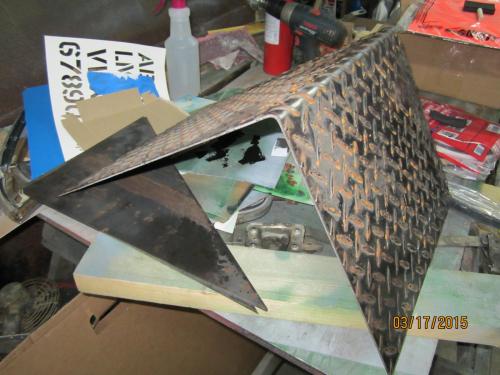
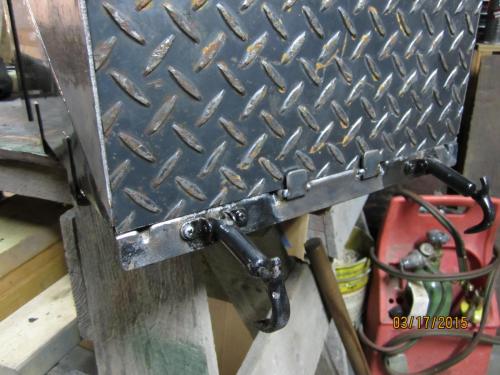
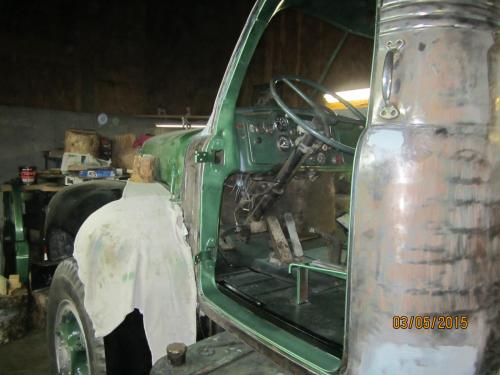
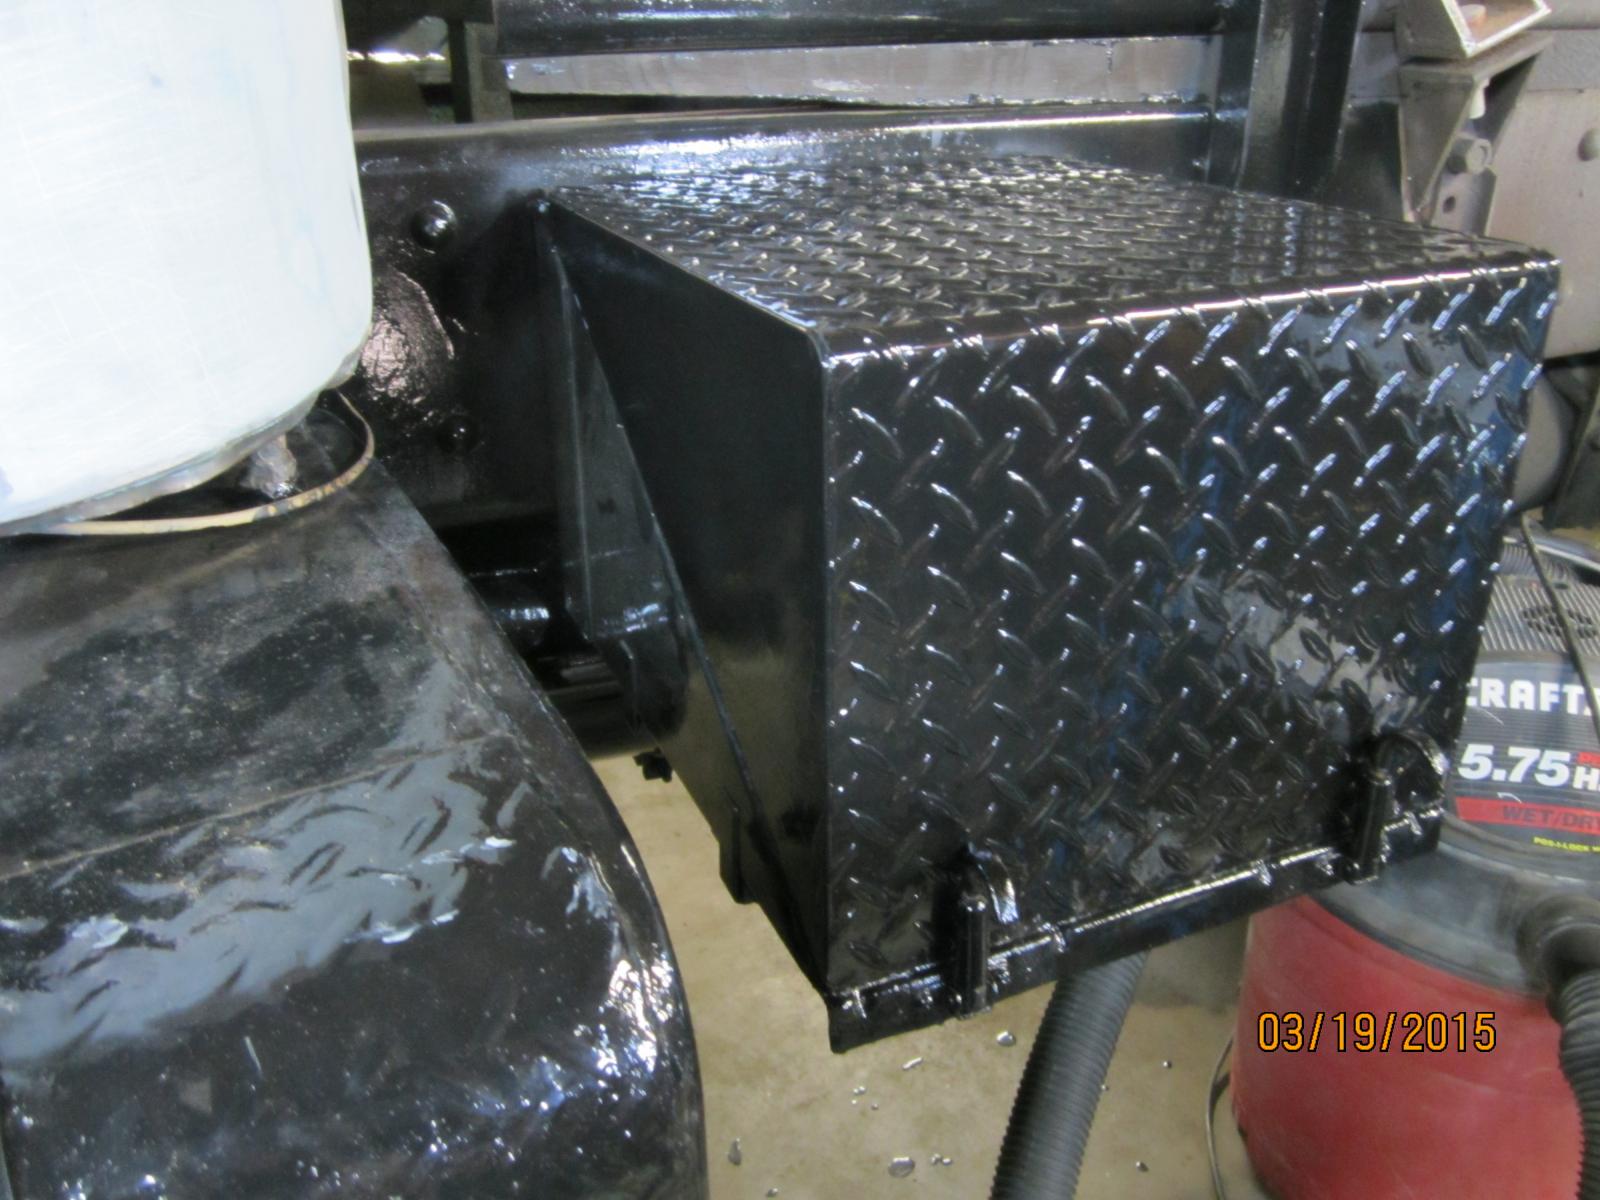
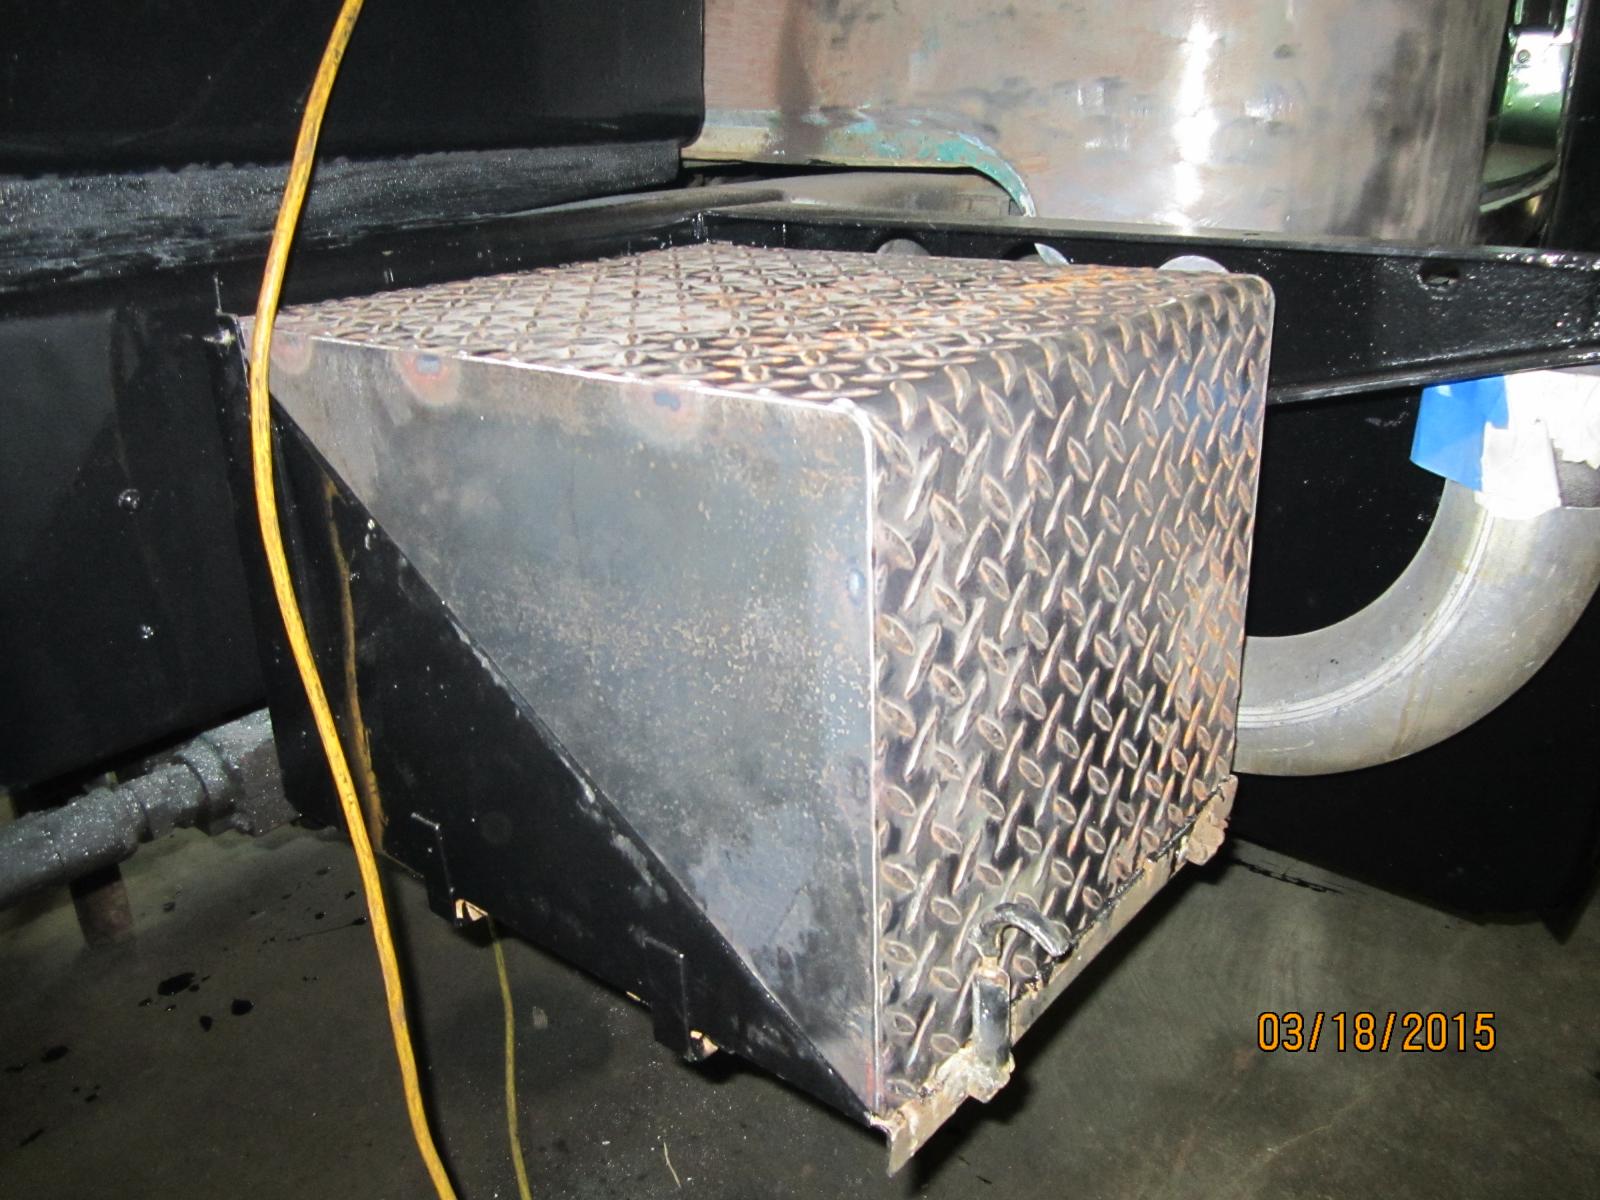
Today's progress: 1. Installed the battery box covers. They look great. Very happy with them. As my uncle said, "better than original." 2. Finished installing the windshield and the spline. It's now done. 3. Hung the doors.

-
I was going through the thread again and came across this post from NY-B61. I'm fortunate that I had all winter to work on the truck, but I can tell you I still enjoy it immensely every day. Most days I'm bummed that I have to go home for supper! LOL.
-
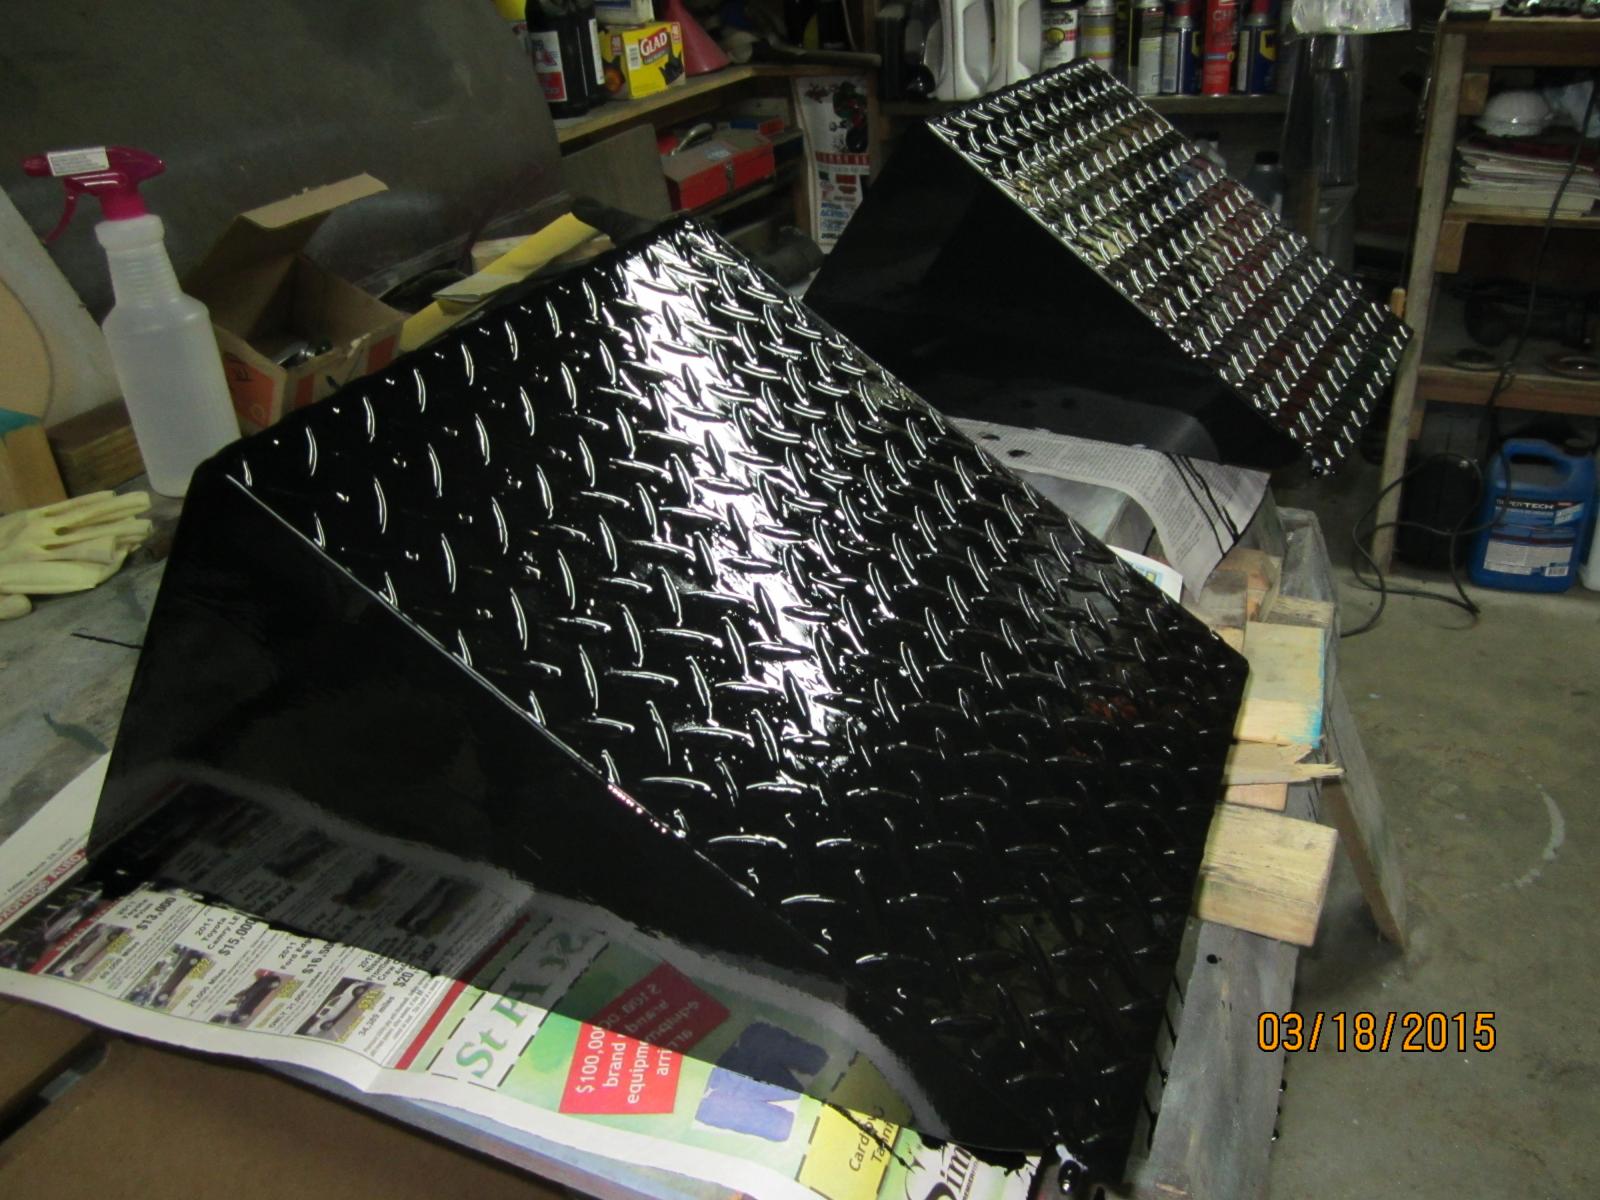
Given how low geared it is, I doubt I'll be traveling far with it, so those events are probably a no-go. Who knows, though. Brooklyn is 20 minutes up the road from me, so I'd like to at least go there with it. Also, I was rushing the paint as fast as I could by putting the covers over the big wood stove in the garage, heheheh. I really, really wanted to take pics of the completed boxes and tops on the truck today, but the paint wasn't quite ready.
-
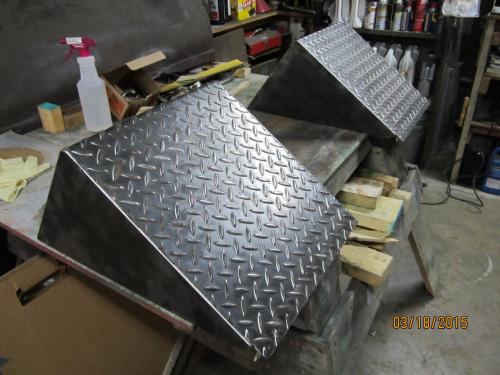
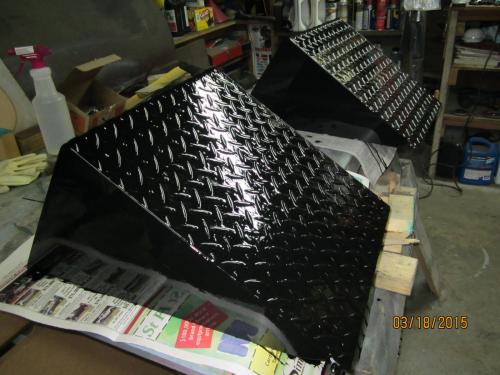
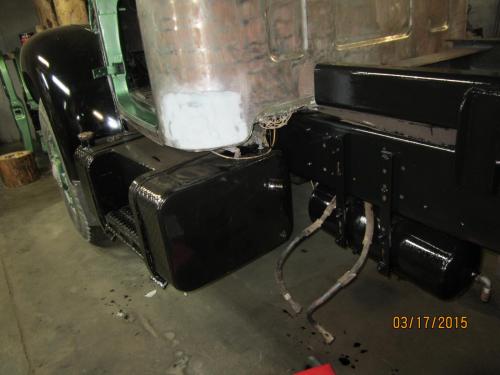
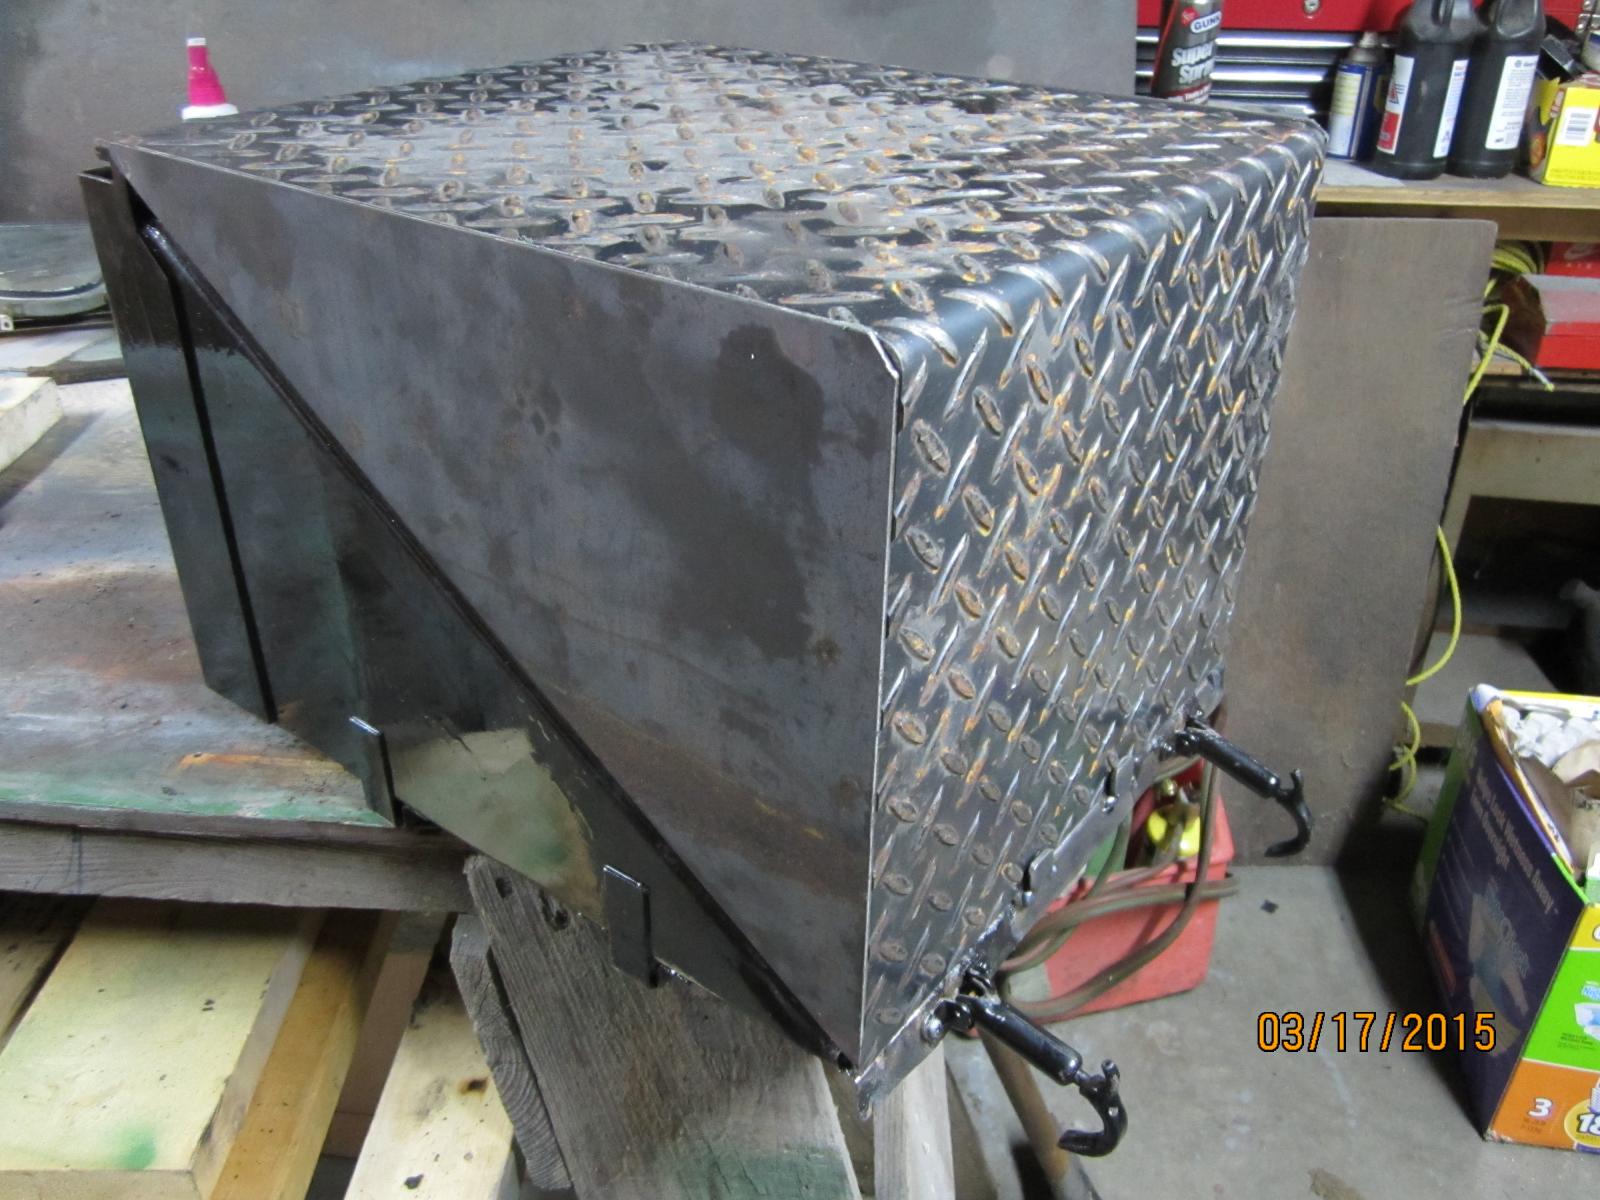
Today's progress: 1. Installed the battery box bottoms back on the truck. 2. Fabricated up a second battery box top. 3. Cleaned, primed, and painted both tops.
-
Today's progress: 1. Took off driver's side battery box (only had the bottom). Stripped and painted area around the BB. 2. 'Mater didn't come with any battery box covers, so my plan is to use the better of the boxes and put both batteries on the driver's side in one box and make a cover for it (Mack was going to charge $200 for an R model cover).

-
If we get a nice day (weather-wise) next week, we will paint the cab and hood at that time.
-
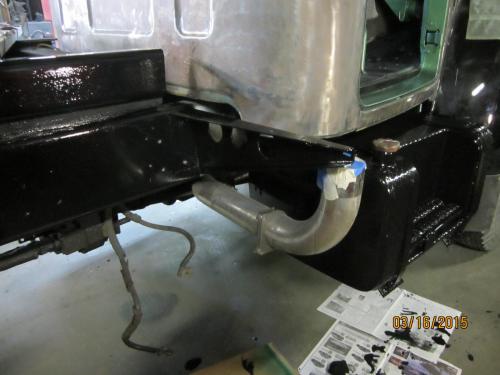
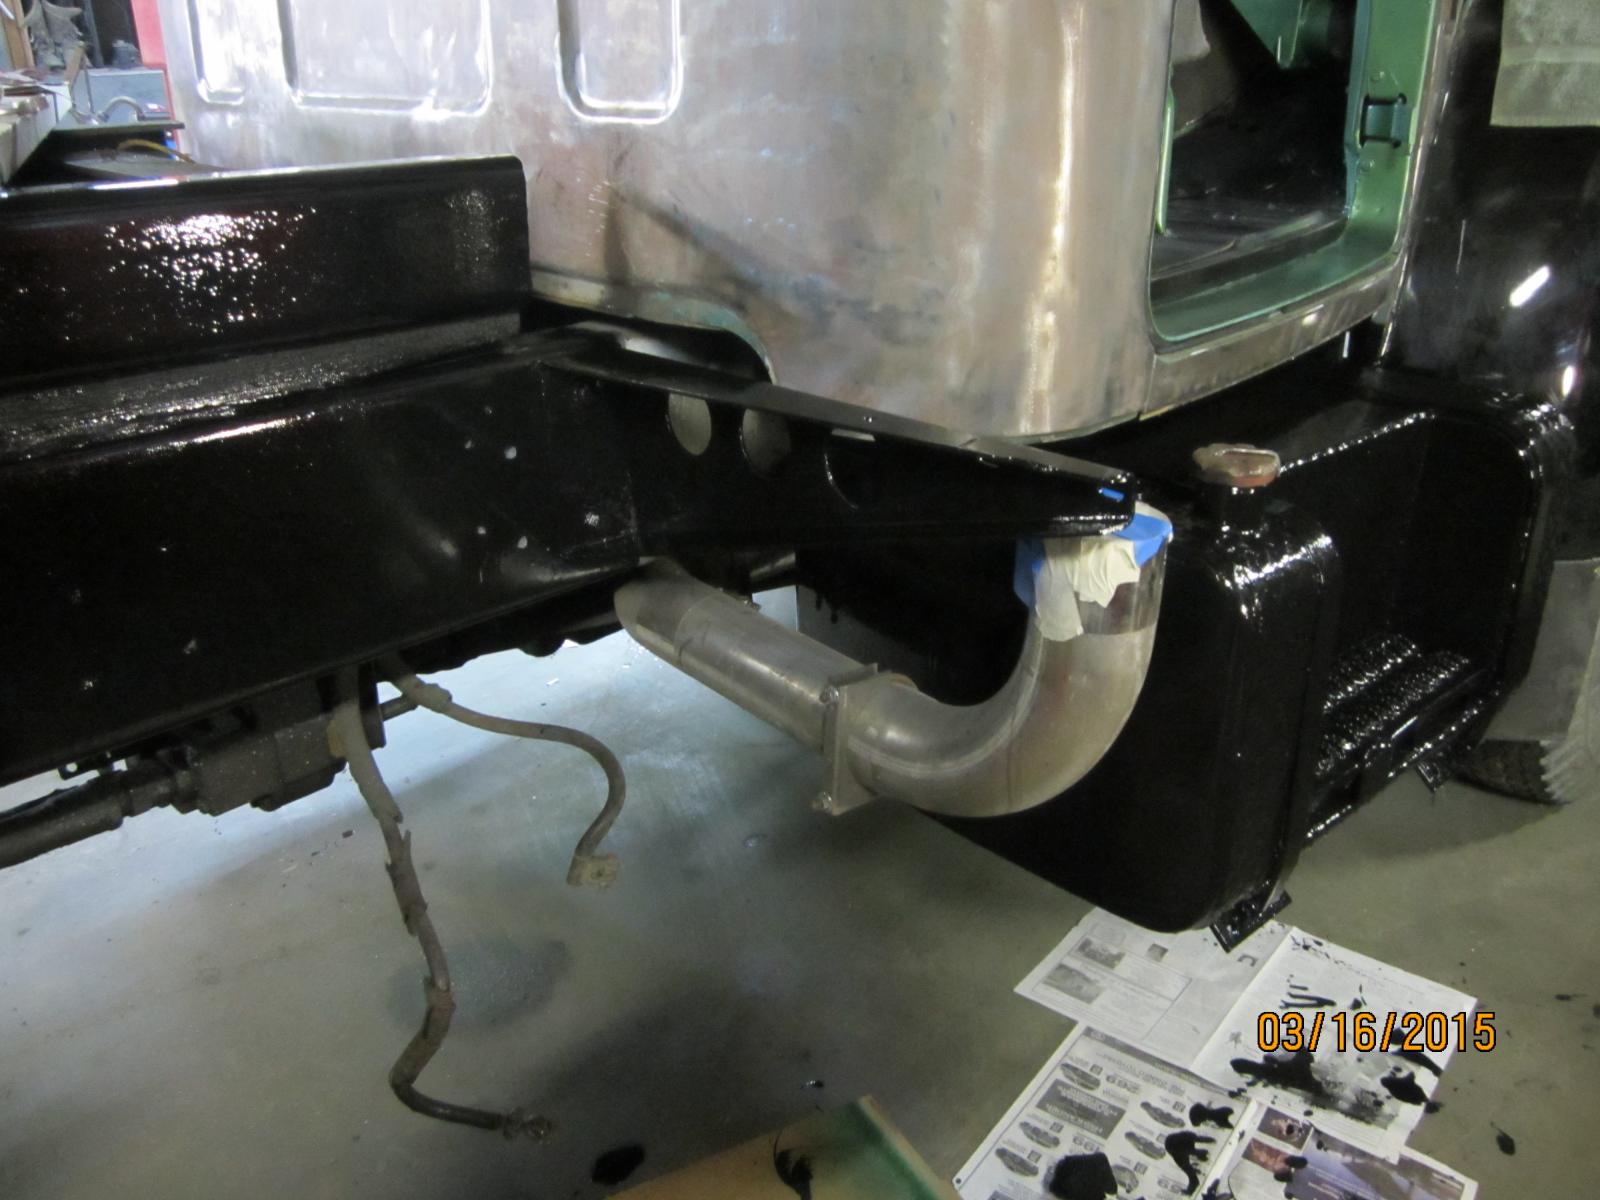
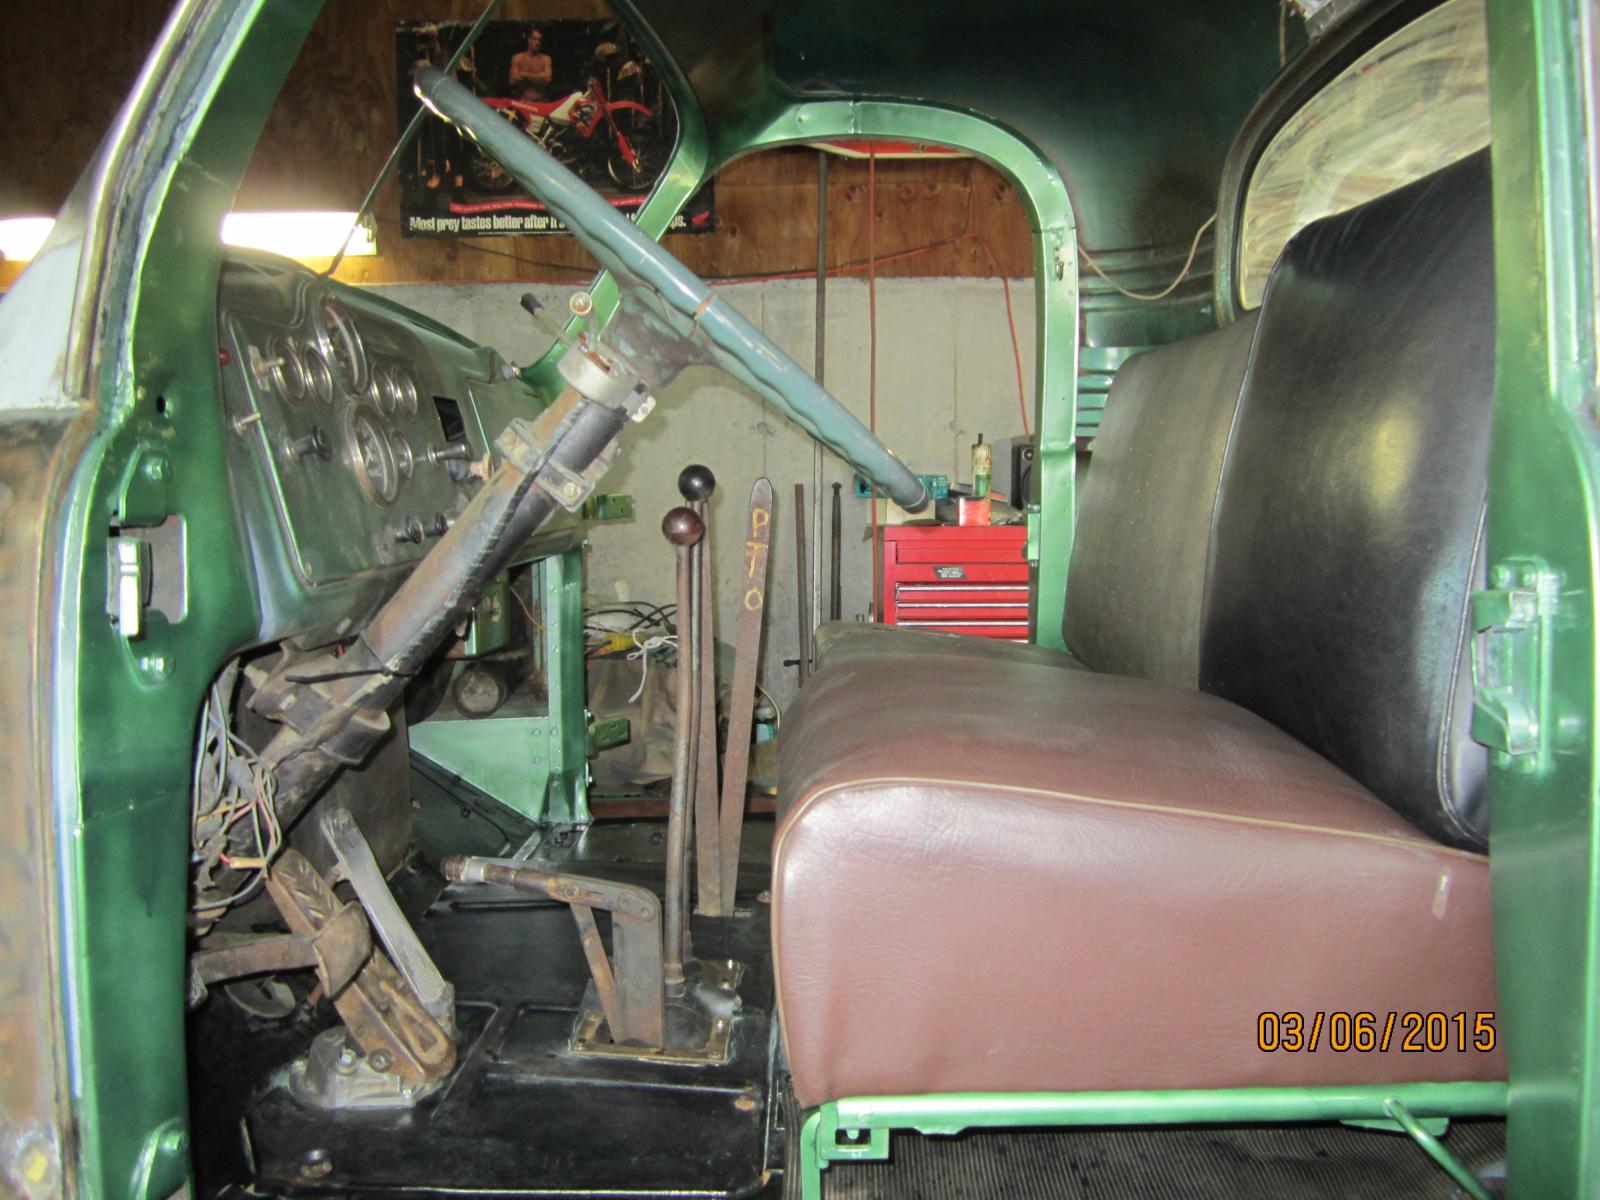
Today's progress: 1. Painted "PTO" on the PTO lever in the cab. It didn't come out as cleanly as I wanted, but it's quite a bit better than the hand-scribbled "PTO" that was on it previously. 2. Removed right side battery box (all I have is the bottom). Stripped it and the part of the frame around it, the exhaust stack mount, and the passenger side fuel tank. Painted the box bottom, that portion of the frame, the exhaust stack mount, and the fuel tank.

-
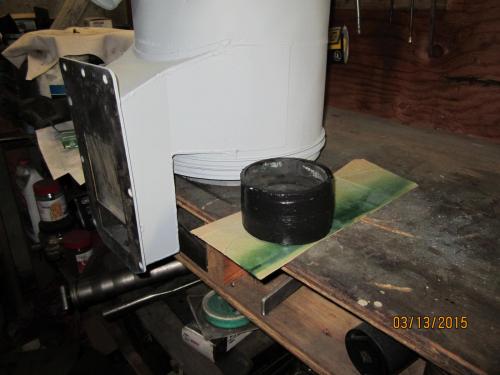
Today's progress: 1. Cleaned old paint off 4" connector from air cleaner to truck. It had a fair amount of cracks in it, so I put a coating of weatherstrip adhesive over it. Not only did this seal all the cracks, but it gave it back its natural black color. 2. Scraped, wire brushed, and wiped down the surface of the driver's side fuel tank. Painted it. 3. Wire brushed the PTO/dump levers. Painted them.


-
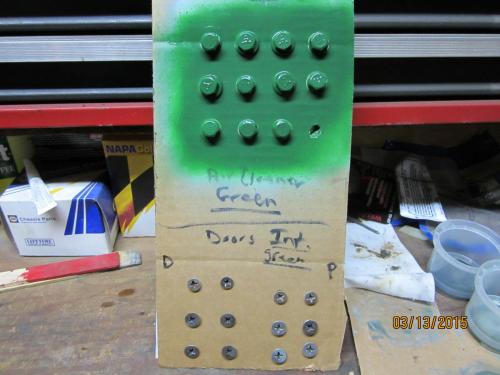
Forgot the camera at the garage. Whoops. Today's progress: 1. CLEANED the truck and garage. It was a big mess from the interior painting I did on the Mack yesterday. 2. Removed the cab lights. 3. Installed the driver's door seal (passenger is original). 4. Put a little body filler over the resin that's covering the brazing patches. Sanded it down. 5. Primed and painted another portion of the heater unit. 6. Picked up the paint from NAPA. I hope it's the right color. 7. Painted the bolts that attach the air cleaner to the truck. The plan is to paint the cab and hood on a warm day next week. If there are no warm days, we may have to wait until the following week. We're getting close!
-
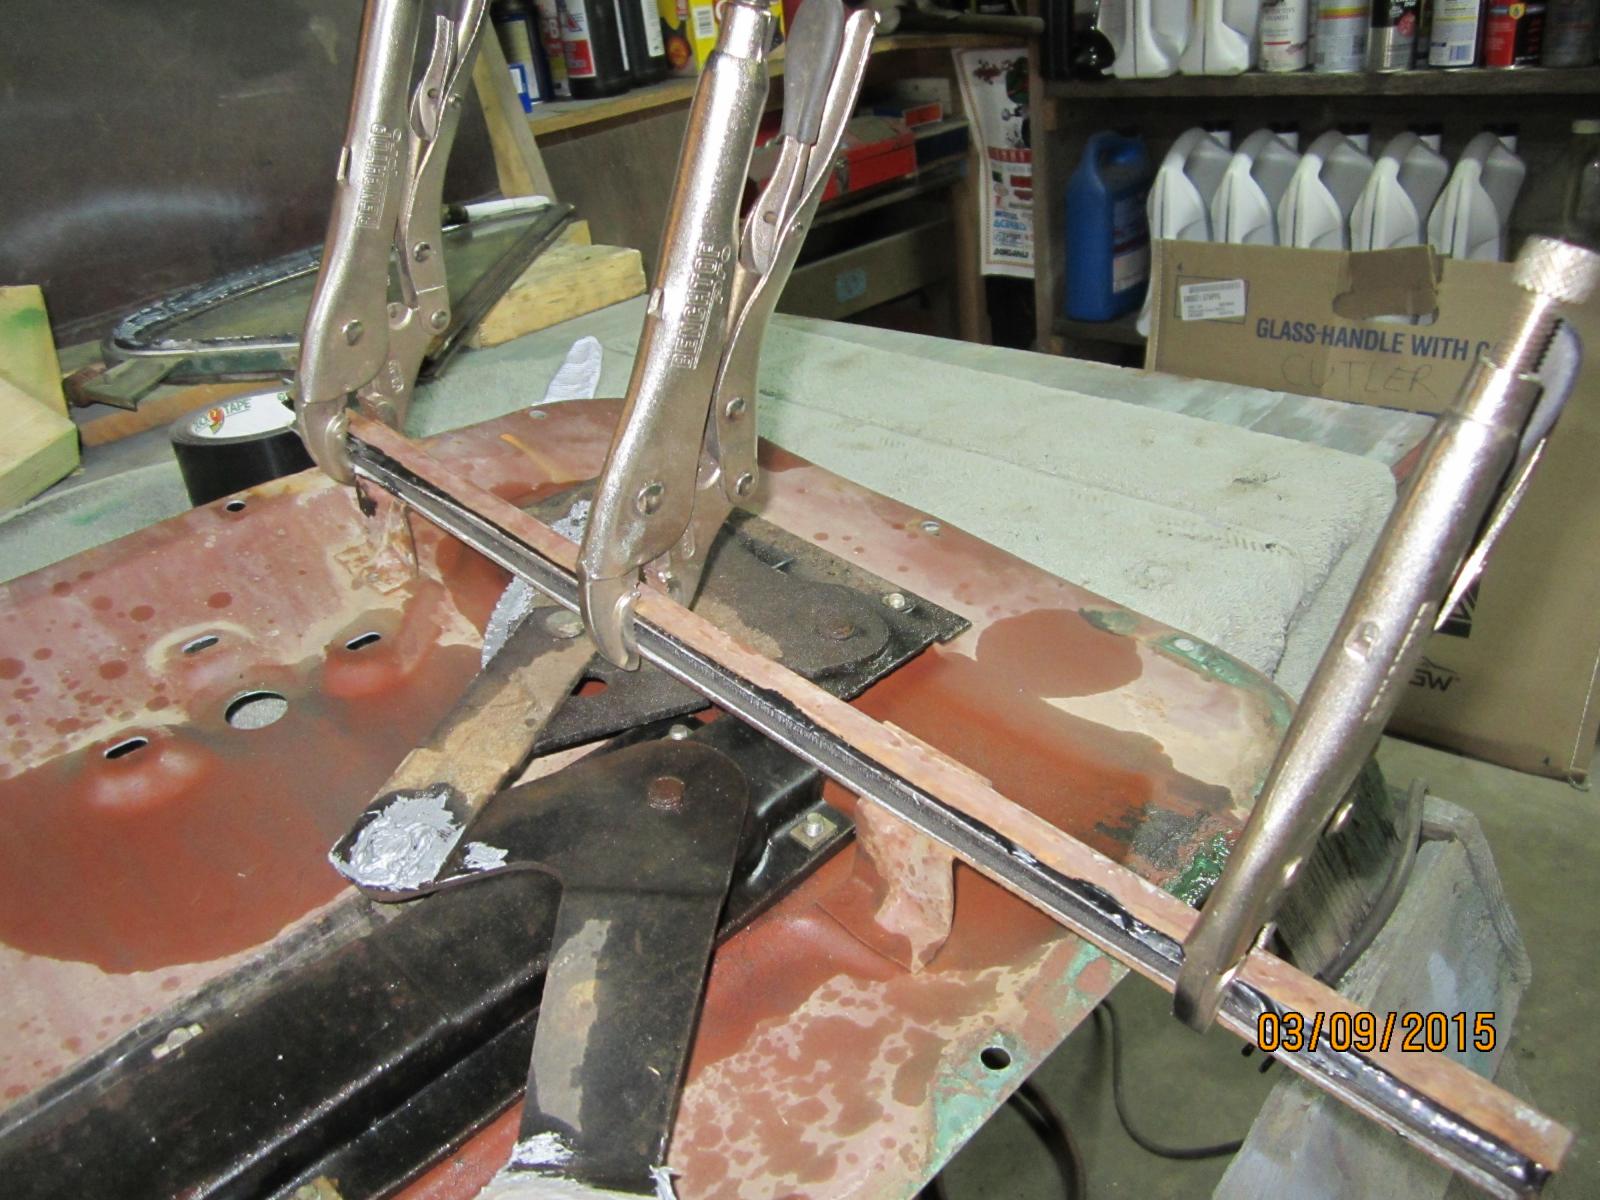
The felt channel that I had to replace the original Mack window channel (inside those to vertical steel channels) is smaller than stock, so it fit too loose in the steel. I turned the felt channel I had upside down and just kept putting layer upon layer of black tape on and over it until it finally fit snug in the steel. Then, to make sure it doesn't move while the window is rolled up or down, I glued it in place, too. After the felt fit snug and was glued, I used a razor blade to trim the excess tape that stuck out.
-
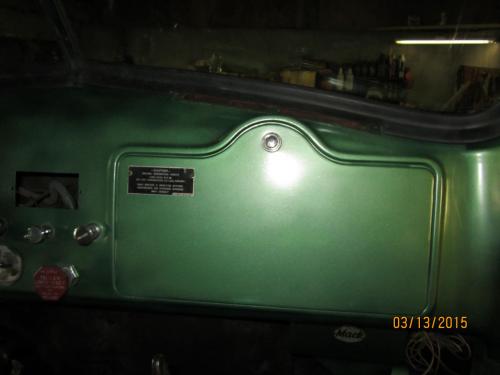
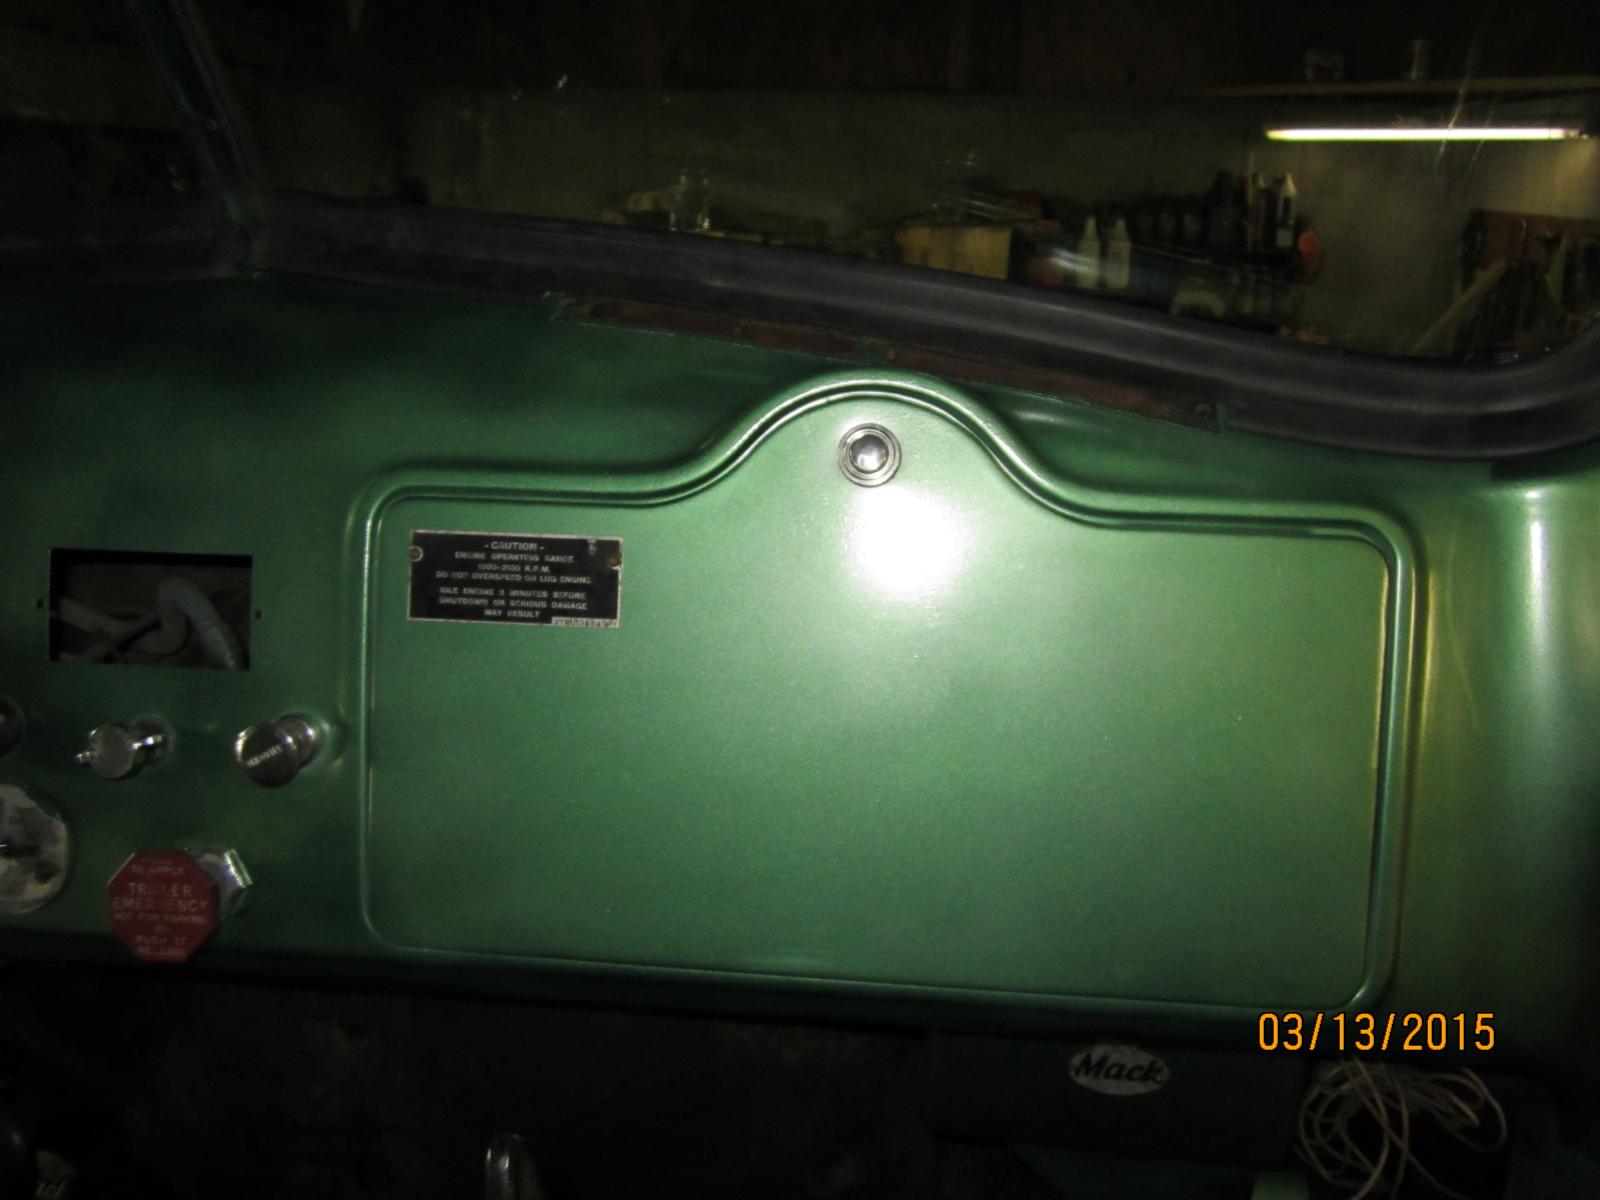
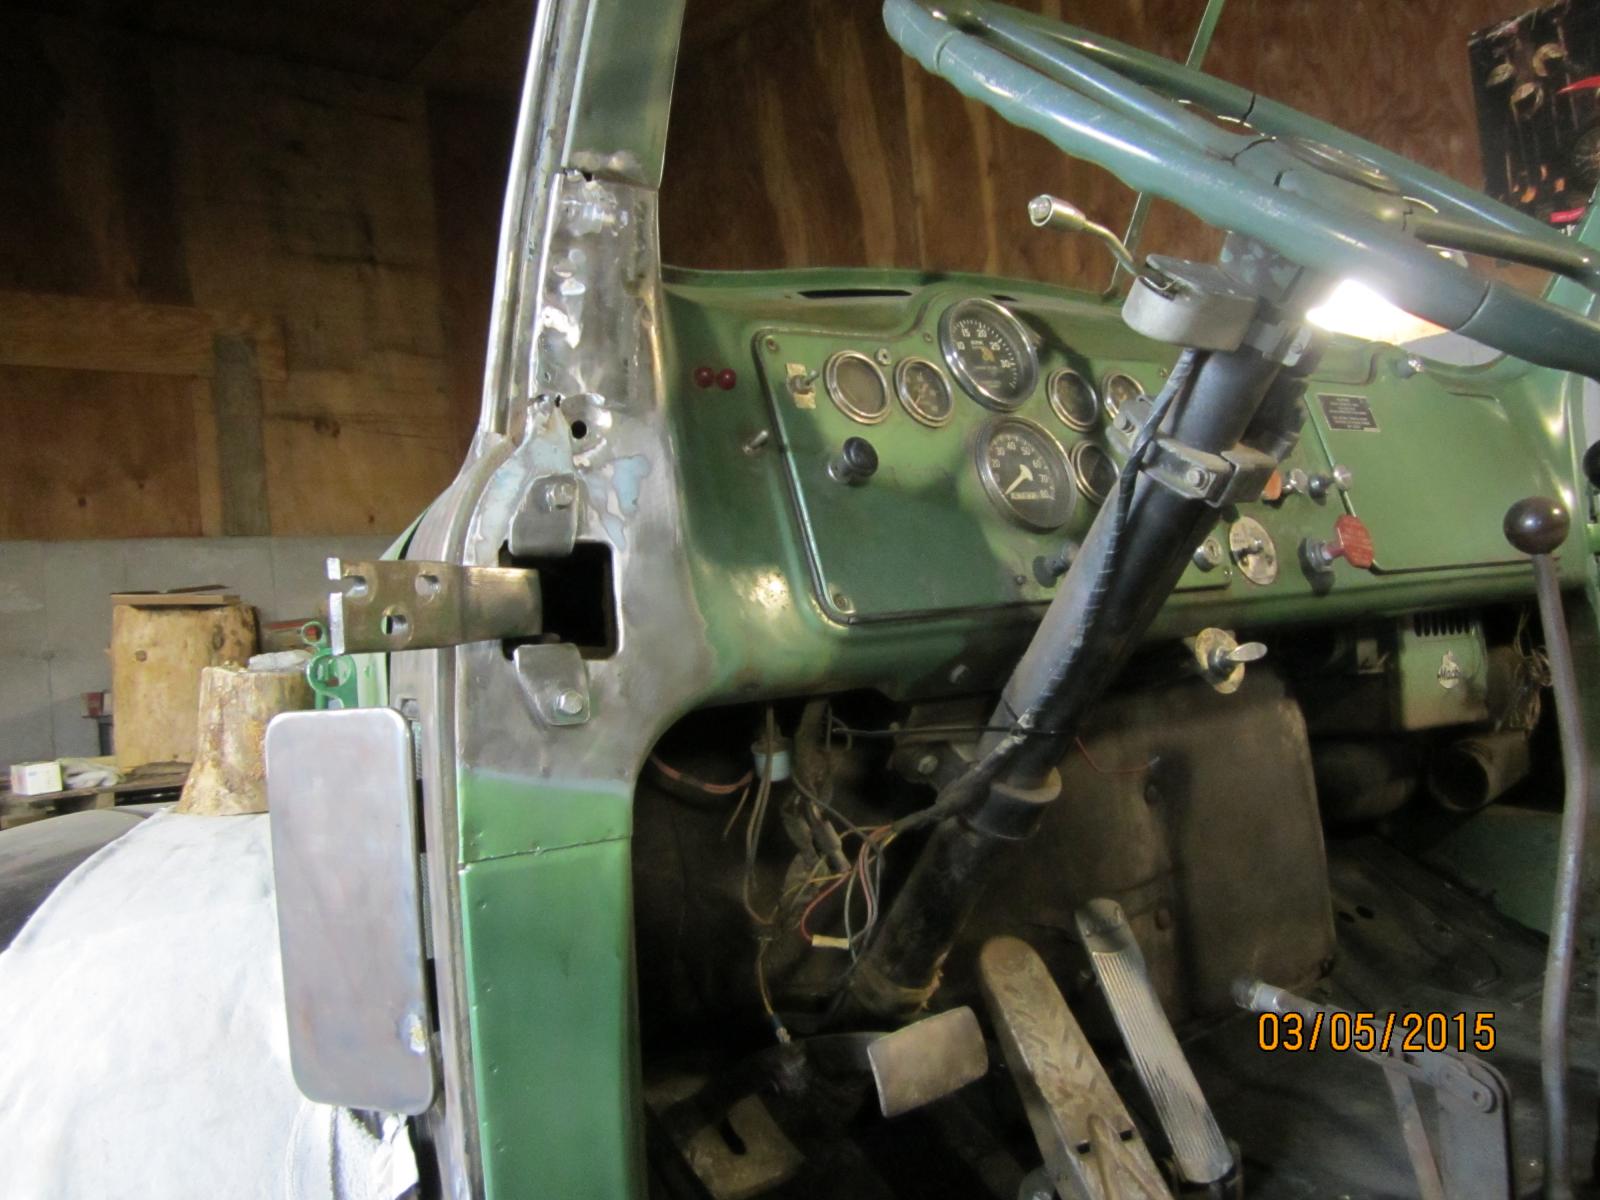
Quite a bit of progress today: 1. Cleaned up a bunch of bolts and fasteners on the wire wheel, primed all that needed priming and painted all the interior ones. 2. Sanded the fiberglass resin I put down on three brazed patches. 3. Installed five new cab lights. Will take them off tomorrow, but I had to install them to get all the extra holes drilled before we paint the cab next week. 4. Stripped the dash (except for the instrument panel), cleaned, primed, and painted it. 5. Installed the new windshield glass and rubber. 6. Stripped, cleaned, and primed a part of the heating system (the part that is under the heater fan), the metal center strip on the windshield, and the two defroster moldings. Sorry, no pics today. Too busy. Perhaps tomorrow. BTW, hopefully we will have a warm day or two next week for painting the cab.
-
Today's progress: 1. Some of the internals of the doors were in pretty bad shape, so I had to rob a few components from donor doors and MacGyver a few other things to make it all work. The bottom track on one door was beyond saving and the window crank on the other was in need of replacing. In addition to those, some of the tracks that the windows would move up and down in were terrible, too. In one instance, I had a piece of track that fit loosely inside the channel steel, so I built it out a few layers of black duct tape and then glued it in place. I did a similar thing on the bottoms of the glass where they fit into the bottom channel. Aside from that, I had to do a bunch of running around finding parts and such, so not much else got done. I also had to run to Tractor Supply Co. to find some fasteners, too.

-
I'm not sure where Mack fits in the pecking order today, but for half my adult life (I'm 45), Mack seemed to dominate the trucking and hauling industry. Seems to me that it all started changing in the 1990s, once the classic R model had more or less run its course. When I was a kid in the '70s and '80s, Macks were literally everywhere, doing every job imaginable. How can one company go from dominance to being a subsidiary of a middling manufacturer? What happened?
-
New Guy here Restoring and 1989 RW753
Wobblin-Goblin replied to Jake86's topic in Introduction Forum
Very impressive stuff you have there, Jake86. Thanks for this thread and all the pictures. -
B75?
-
Ah, I get your drift now. Yes, the passenger door warped when I was welding a patch in. I had no idea that it would happen, so my uncle and I spent a fair amount of time straightening out the mess. He then showed me a trick to welding flat sheet metal: use a water spray bottle to cool it down. Nothing else warped.
-
Yes, the plan is to paint the PTO levers. Not sure about the shifters.
-
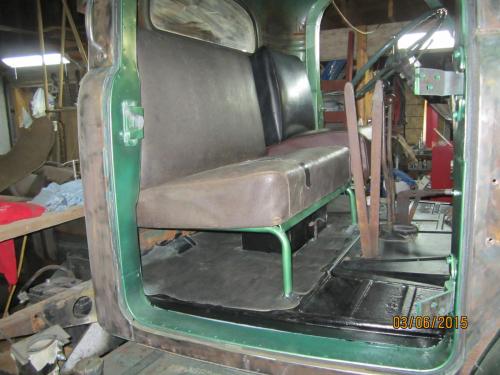
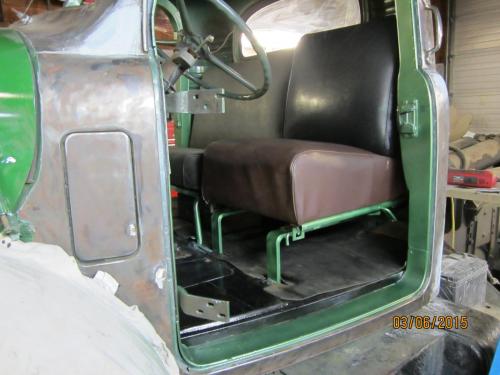
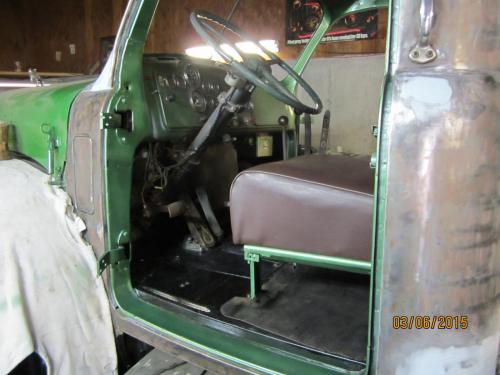
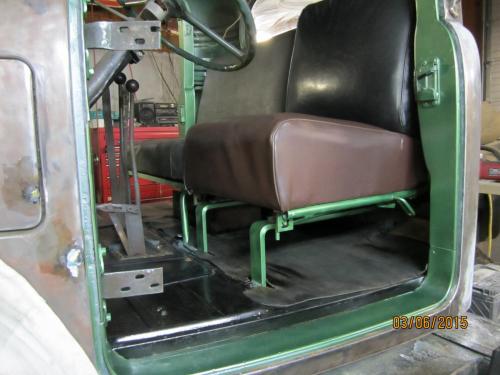
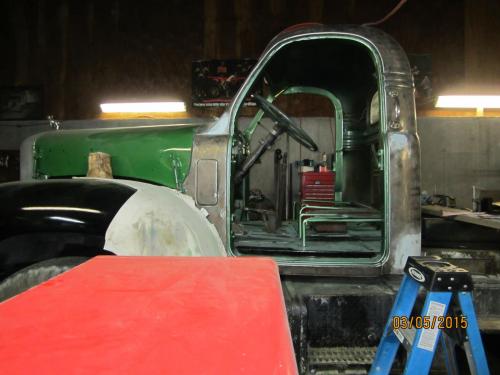
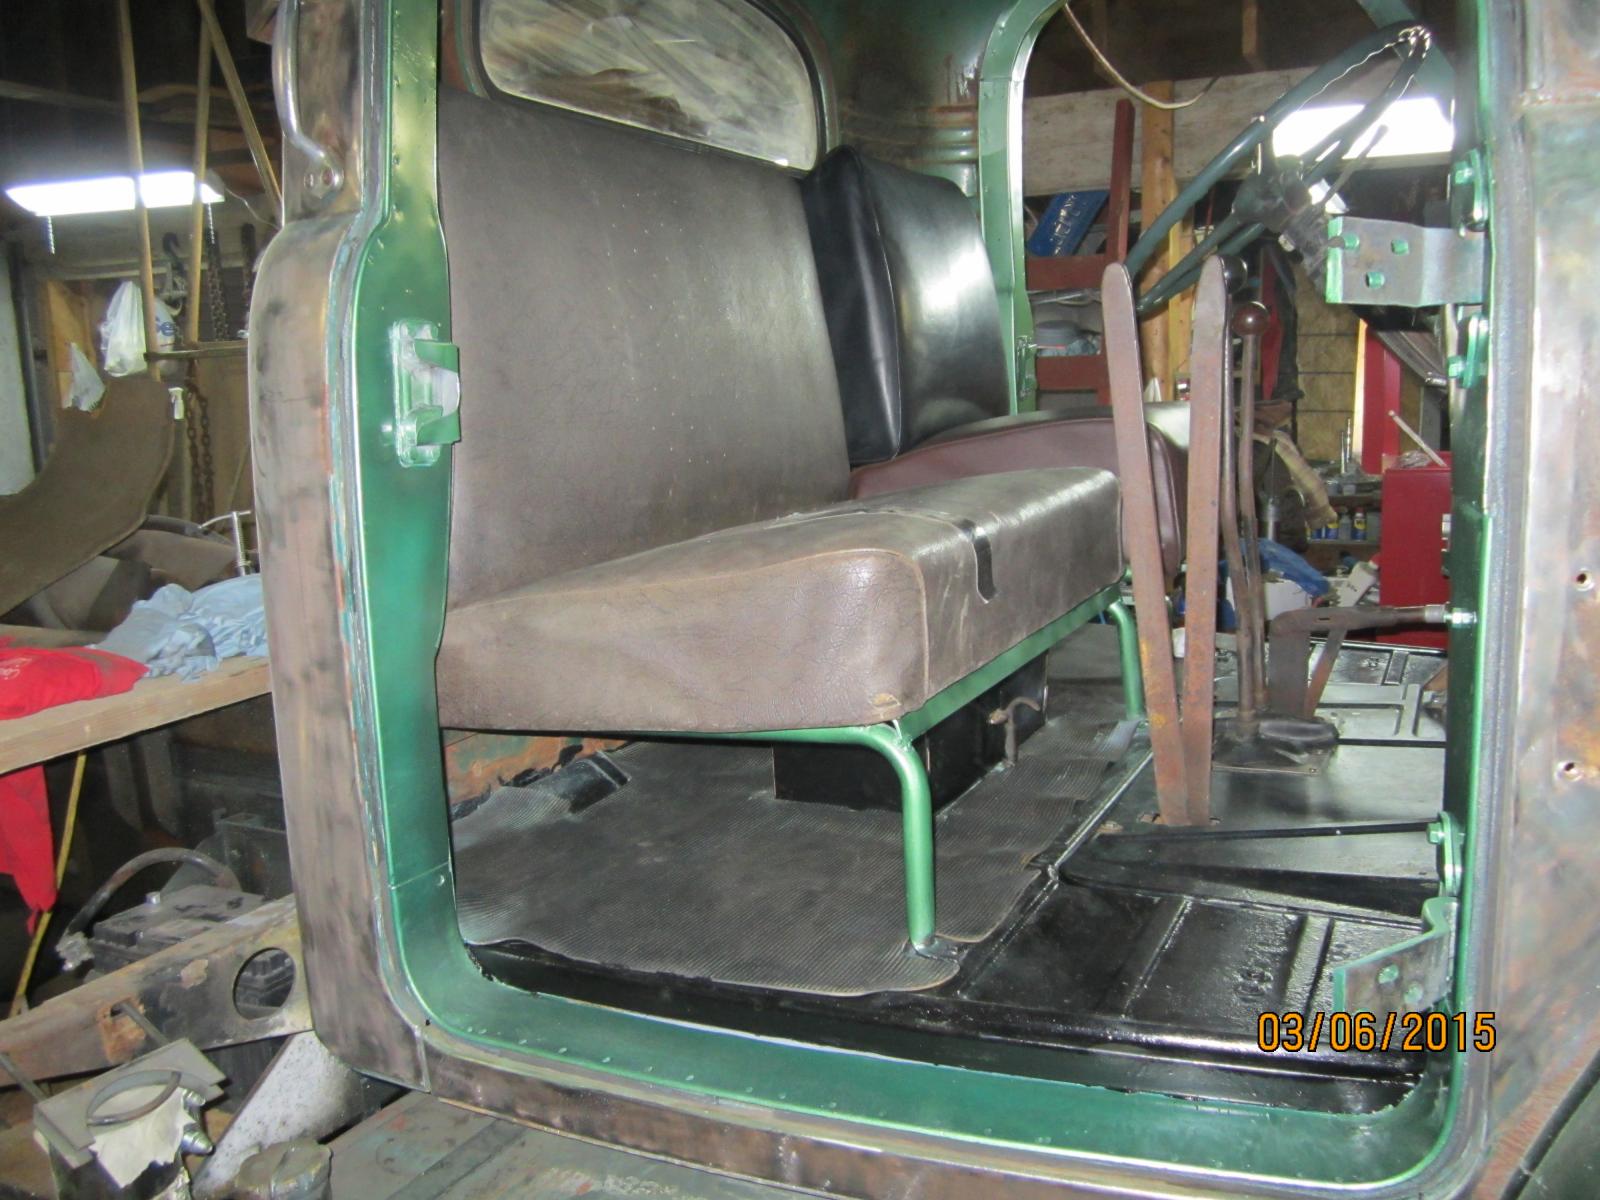
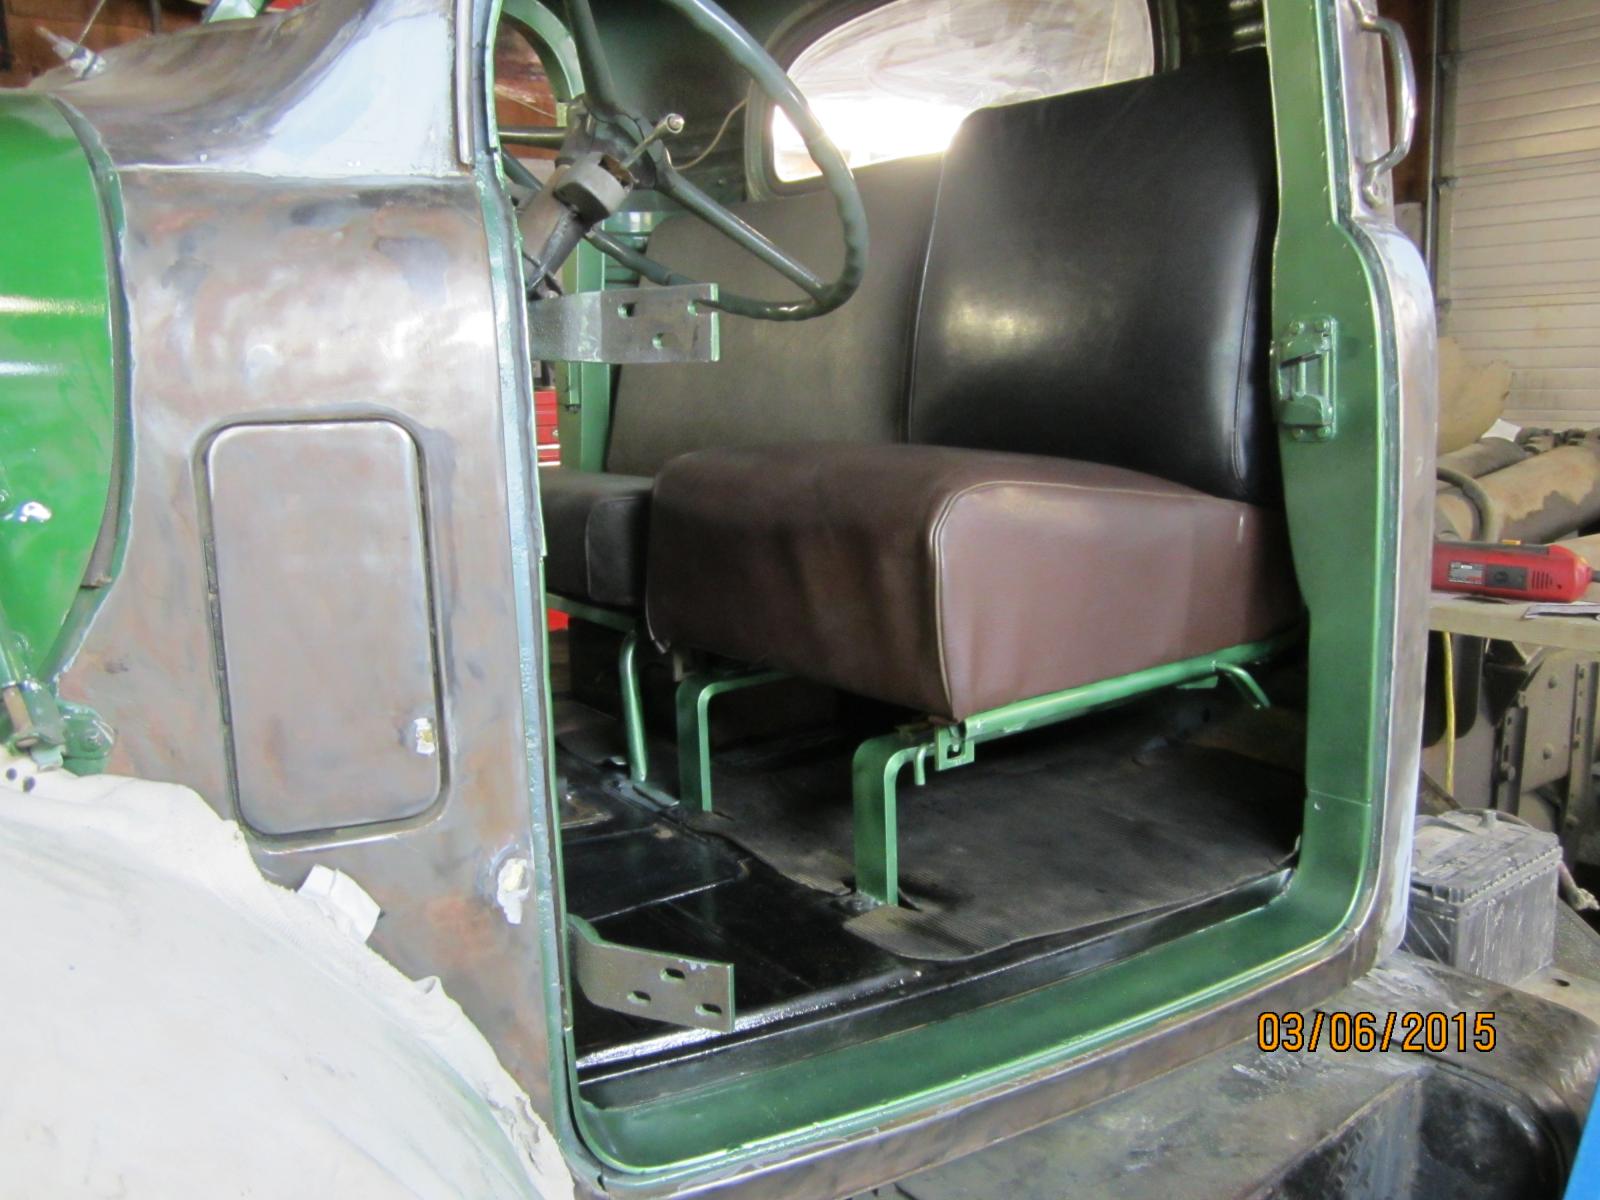
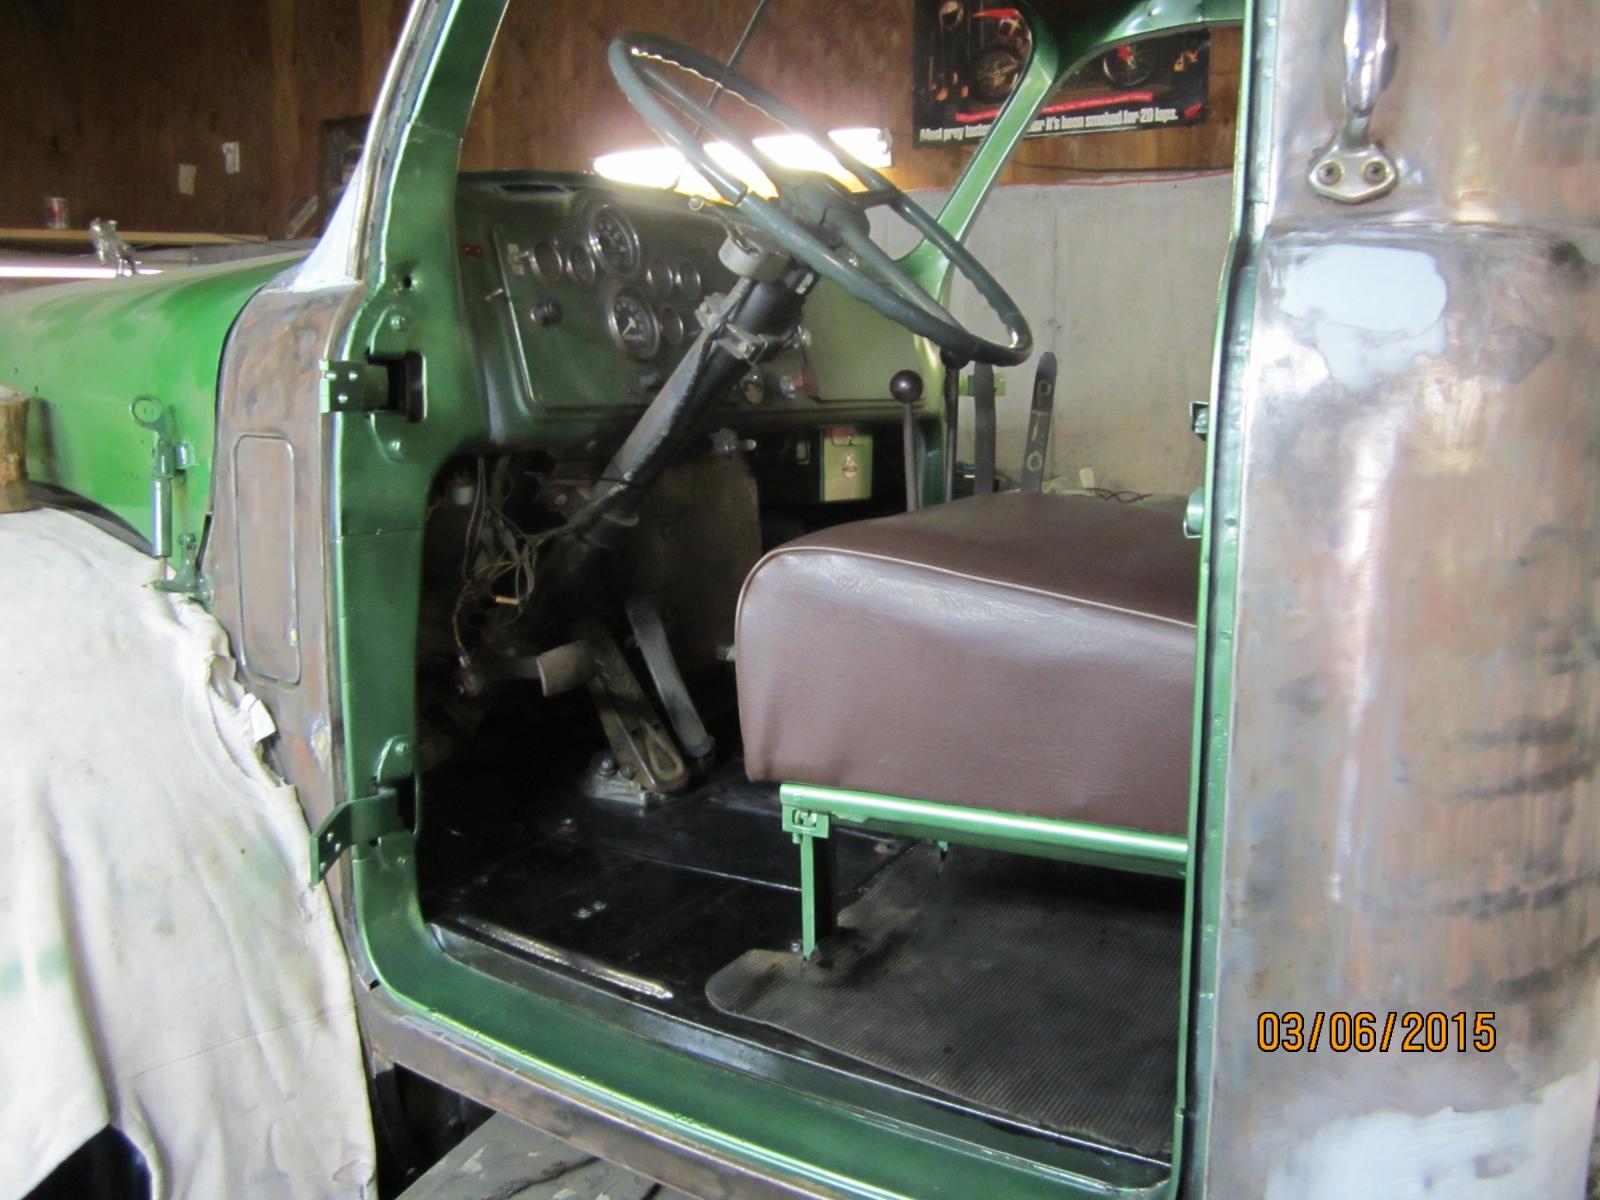
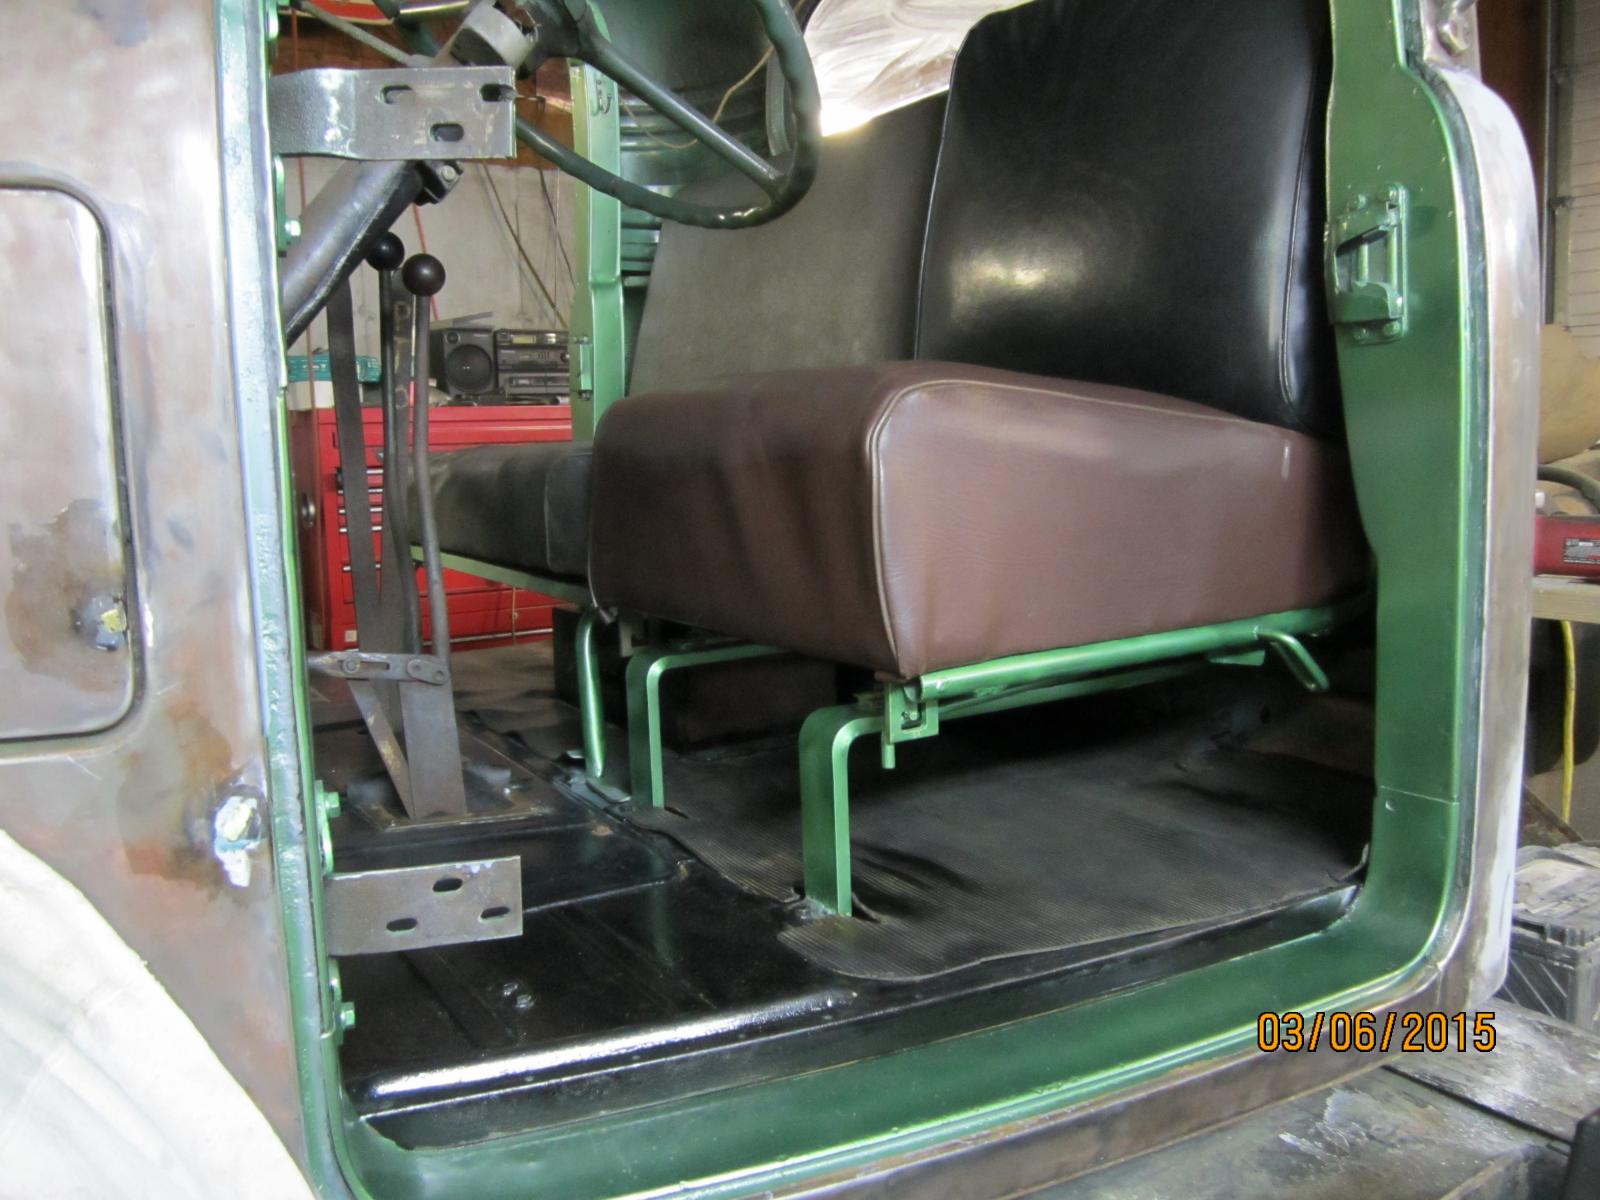
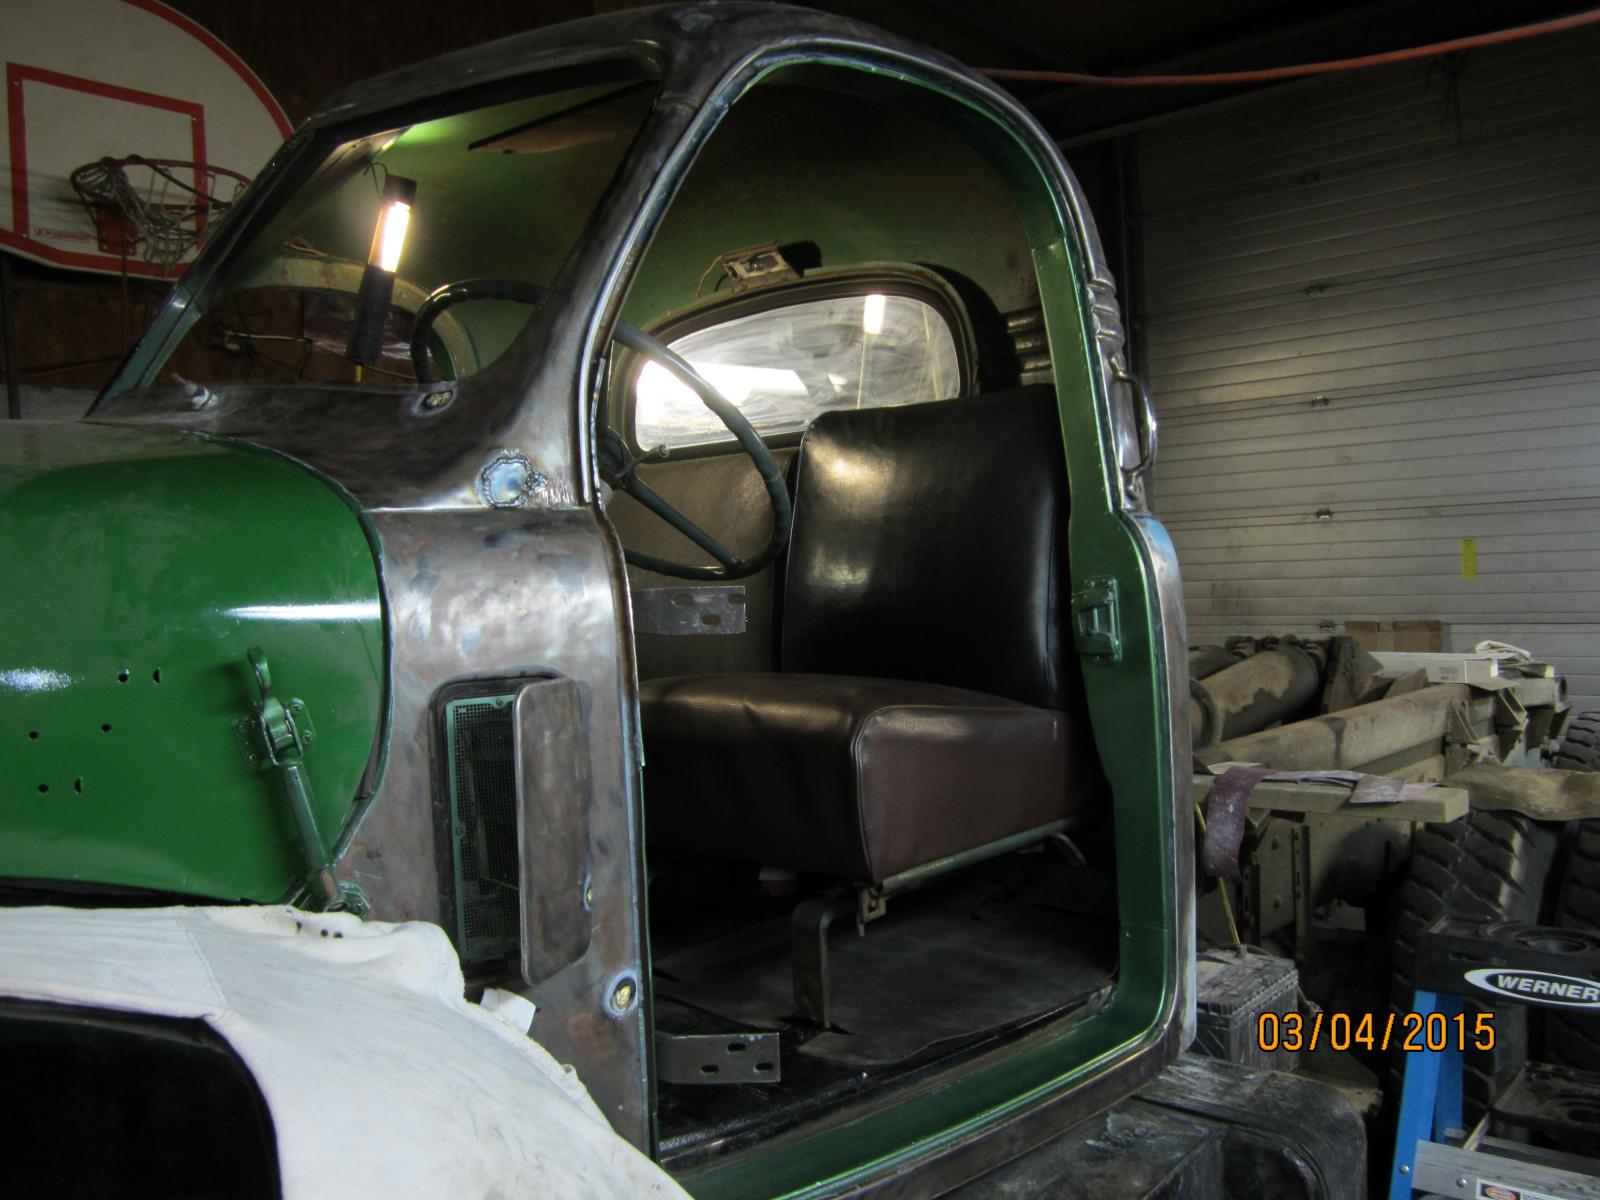
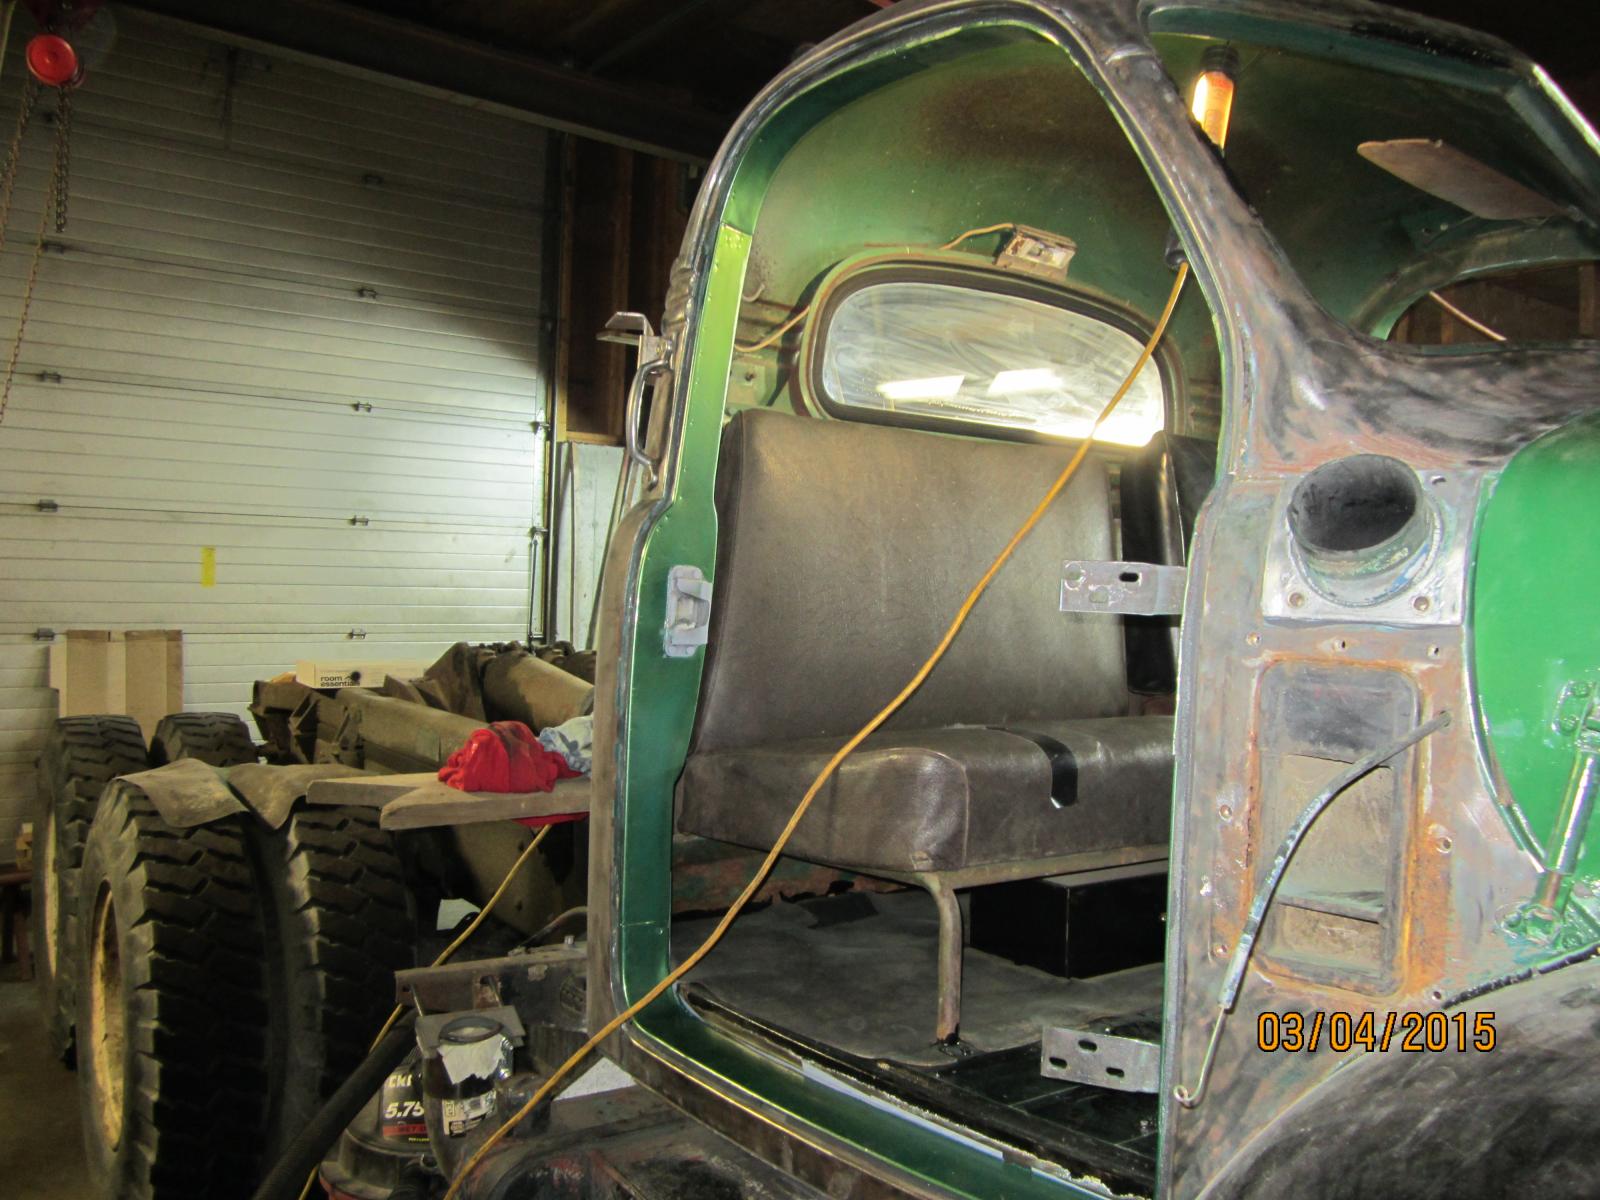
Thanks for the kind words, fellas. I wasn't sure why it was so quiet in here. Today's progress: 1. Continued with the interior. Had a lot of critter debris inside the cushions, so I used a hole saw and made one of the air holes on the back/underside of each seat bigger to shake the junk out. Lots of mouse crap, housing, and leftovers (nuts and shells) came out. Screwed 1/4" thick plywood over the bigger hole to close it up again. Cleaned the seat covers. 2. While everything was out of the interior, I pulled out cardboard backing behind the seats. It was in poor shape and probably was the source of odor, so it's staying out. Cleaned all the cab surfaces behind and under the seats. Vacuumed out everything the nozzle would fit in. This cab is as clean as a 50 year old truck can be. 3. Wire brushed, cleaned, primed, and painted the seat supports. Re-installed the seats. 4. Wiped down, primed, and painted the remainder of the sheet metal over the windshield (where the visor is mounted and the transmission shifting guide is screwed onto). 5. Cleaned the visor and painted it. 6. Put fiberglass resin over the brazing. 7. Primed the outside of the windshield sheet metal. All in all, the interior paint job isn't perfect. There are defects, but I'm not going to worry about it for now. It looks quite a bit better than it did before I did anything, so I'm happy for the time being. Perhaps in the future I'll address the couple of flaws. Then again, maybe not (LOL). Next week we should be hanging the doors and painting the cab.

-
Coffee filters? You might be looking at my hand-held grinder that's resting with the woven wire attachment facing upward. Also, what did you mean by "ant problems" and the sheet metal getting warped? I will admit that yesterday I did quite a bit. My work isn't perfect, but it's decent (my interior paint job probably grades out at a B-), and in the end, it's pretty cool that I can say I did it myself (the paint). This is the very first time I've ever attempted such a project, so I'm learning as I'm going. Part of me doesn't want this to end when my truck is done because I'm enjoying it so much.
-
Almost nobody's posting in here anymore. You guys bored with this project already? Heheheh. Today's progress: Attacked the interior. Took out the seats. Cleaned all the surfaces. Stripped, cleaned, primed, and painted the inside of the door jambs, the pillars (all the way down to where your feet go on both sides), and the seat supports. Painted the heater cover. Wire brushed the coat hangar and re-installed it. I hope to re-install the seats and work on the cab lights tomorrow.

-
42198 is the NAPA color code for the Mack metallic green paint.
-
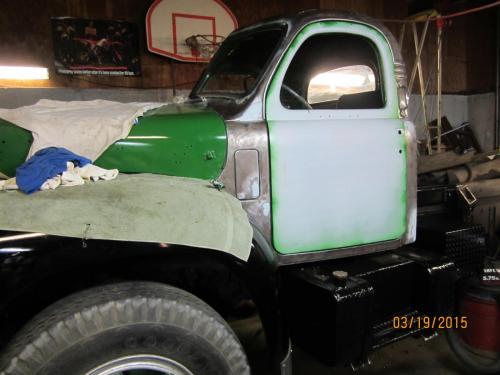
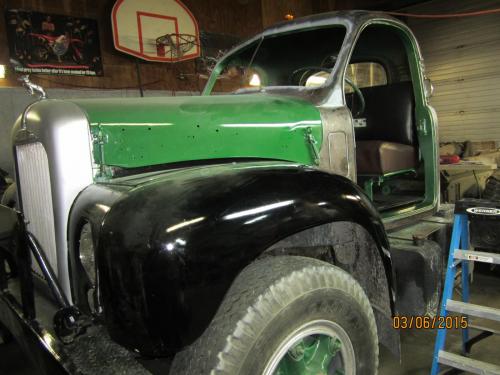
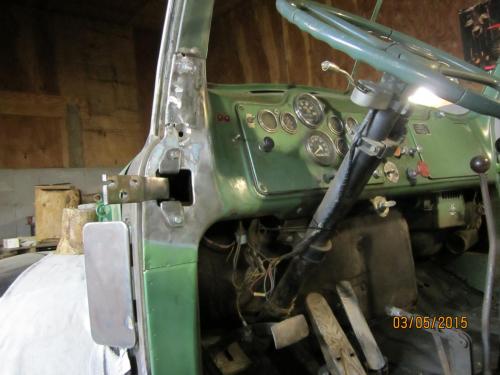
Today's progress: 1. Stripped, primed, and painted both door jambs (openings). They came out really nice. My uncle showed me a trick with the masking tape that allowed the new primer and paint to feather/fade into the old paint. You almost can't see the seam...because there isn't one. It's just a quick, gradual fade from new into old. 2. Welded and brazed five patches on the cab. You can see four in the driver's side picture. 3. Sealed the area of the windshield sheet metal lip in preparation for the new rubber and glass going on. 4. Came up with game plan on the new cab lights. Thanks for the tip about the five lights for $45, gents. It saved me a fair amount of money.


-
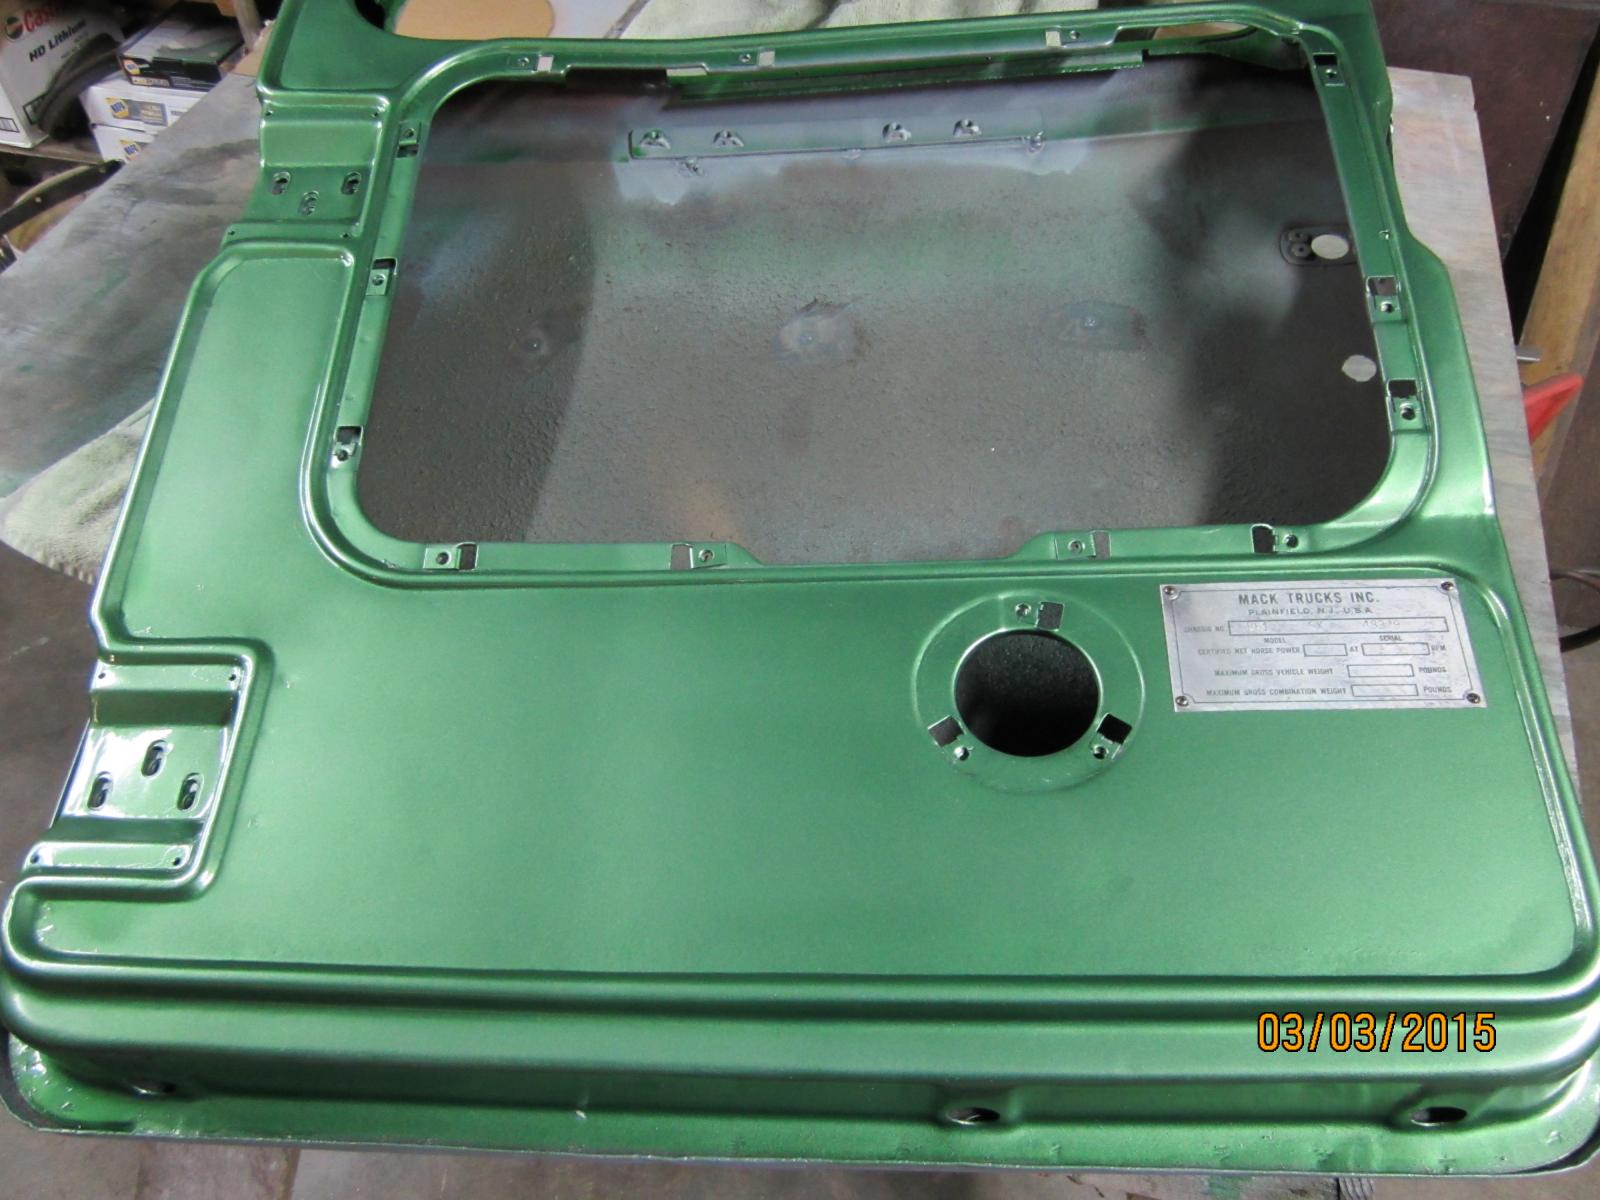
Today's progress: 1. Pulled out driver's door rubber seal and fixed a few issues underneath. Will paint the steel and put new rubber in. 2. Stripped, primed, and painted the interior of the passenger door. Put the VIN plate on. 3. Fixed a few dents in the door jambs of both sides. 4. Used a little body filler on two spots of the cab that needed it. We have to braze a couple spots around the windshield opening and then...paint.


BMT Forum Logo
