

Wobblin-Goblin
-
Posts
593 -
Joined
-
Last visited
-
Days Won
10
Content Type
Profiles
Forums
Gallery
Events
Blogs
BMT Wiki
Collections
Store
Everything posted by Wobblin-Goblin
-
 Superdog, I called about that green B61 few months ago, left a message, and nobody ever got back to me.
 -
We went to the DMV today with registration form filled out, bill of sale, DOT exemption letter, and insurance card...and walked out with plates, just like you said! Now there's one more Mack B65LT on the road again!
-
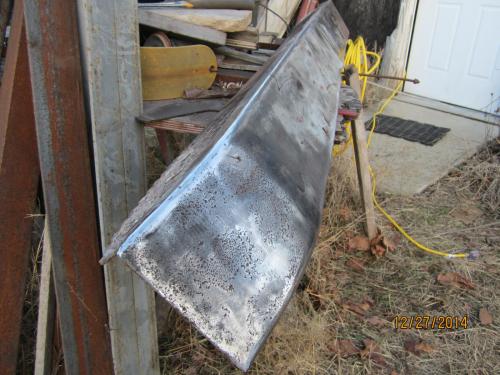
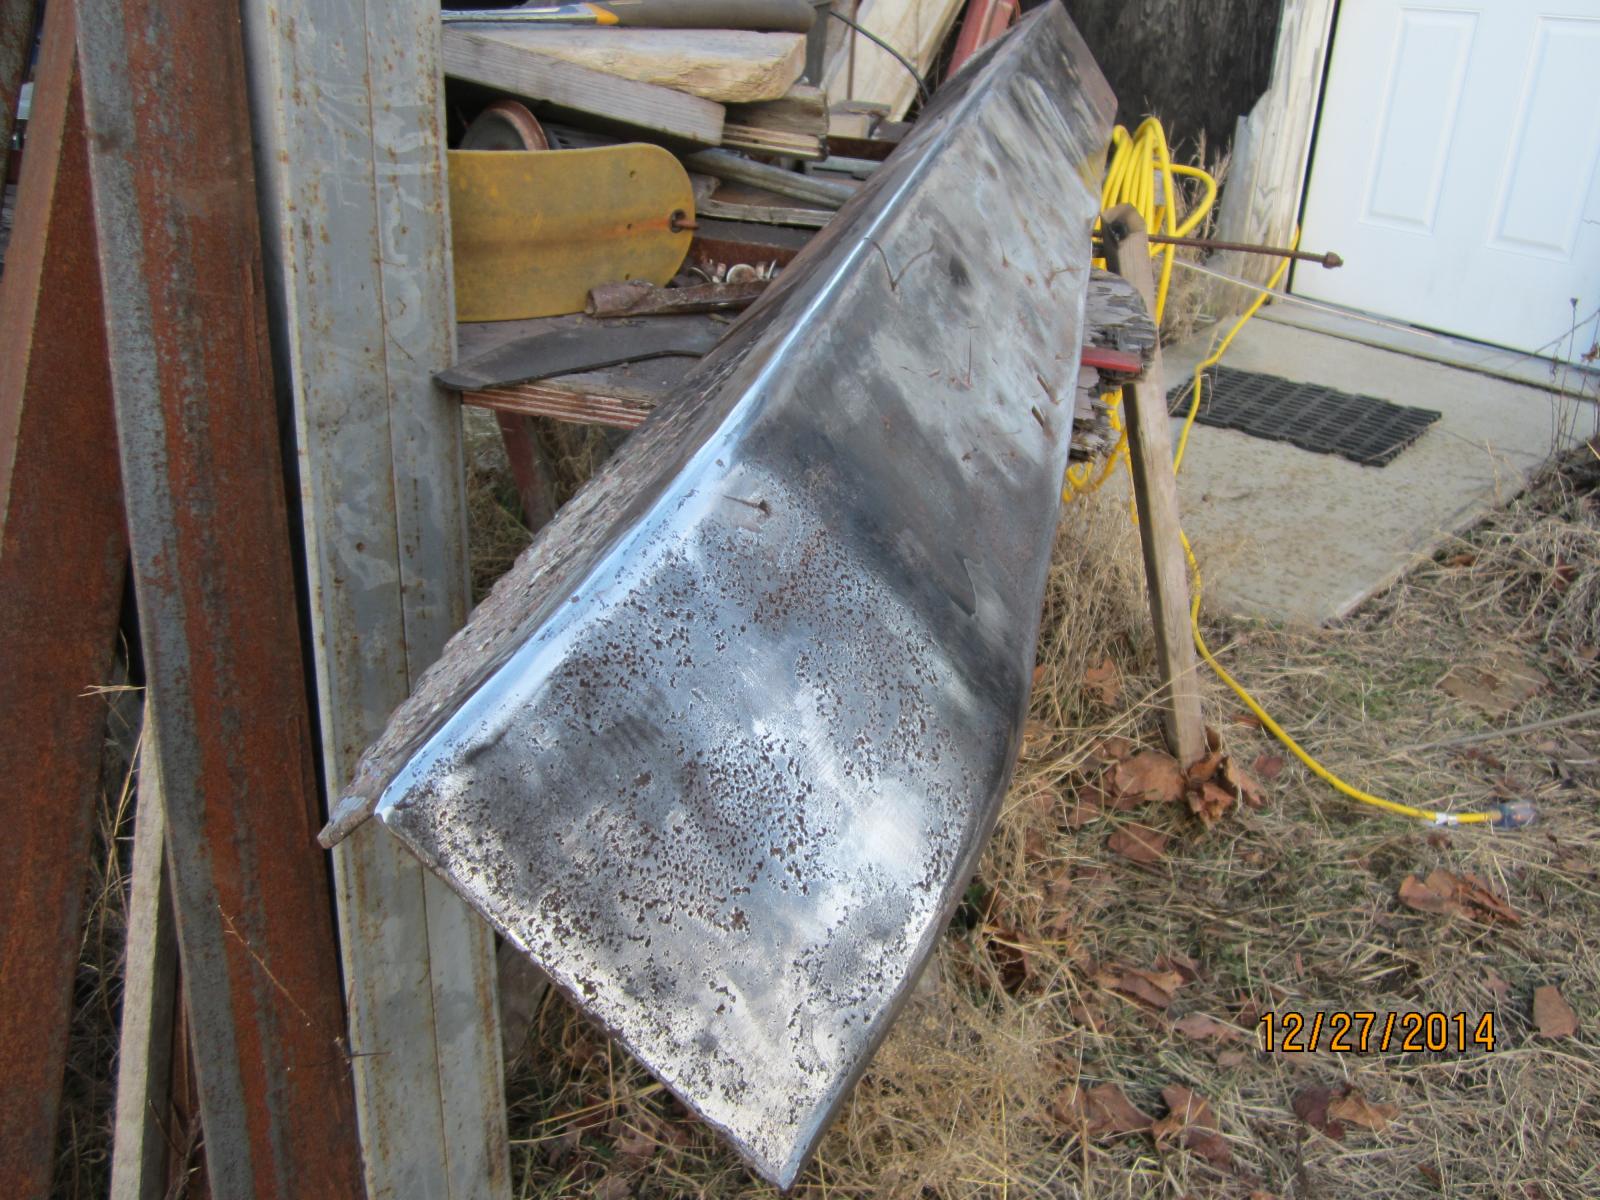
The shop that I've been doing all the work to my Mack has been closed since Wednesday, so when I left for the day, I brought the bumper with me. Today I stripped it down to metal and tomorrow plan on painting it. This should allow us to start right on the fenders Monday morning.
-
So you are saying these trucks need to be inspected before they can be issued antique plates? And they have to be inspected annually? Are you also saying the "inspector" can be him, me, or almost anyone off the street? I'm not trying to play dumb, I just want to be crystal clear about this because we keep getting different answers from different sources.
-
Anybody know the process of registering old trucks in CT? My uncle and I want to register our Macks (1958 B65LT and 1964 B61SX) as antiques but we've been getting conflicting information on whether or not they need to be DOT inspected before the DMV will issue antique plates. The trucks will not be used commercially. Thanks.
-
I'll echo what everyone else is saying: buy it NOW. I bought a similar truck just five weeks ago. For a hint at what you might be in store for, read my thread "Finally did it. I now own a Mack." The thread is a written record (with pictures) of everything I've had to do to the truck.
-
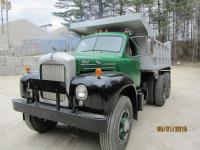
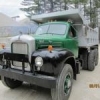
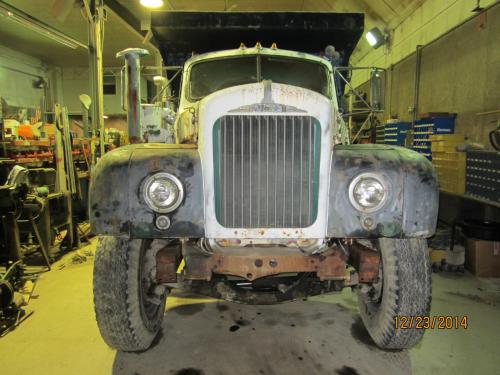
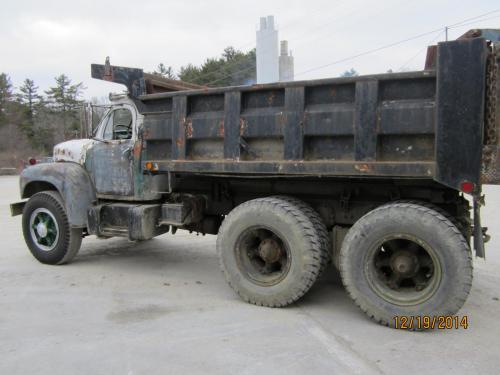
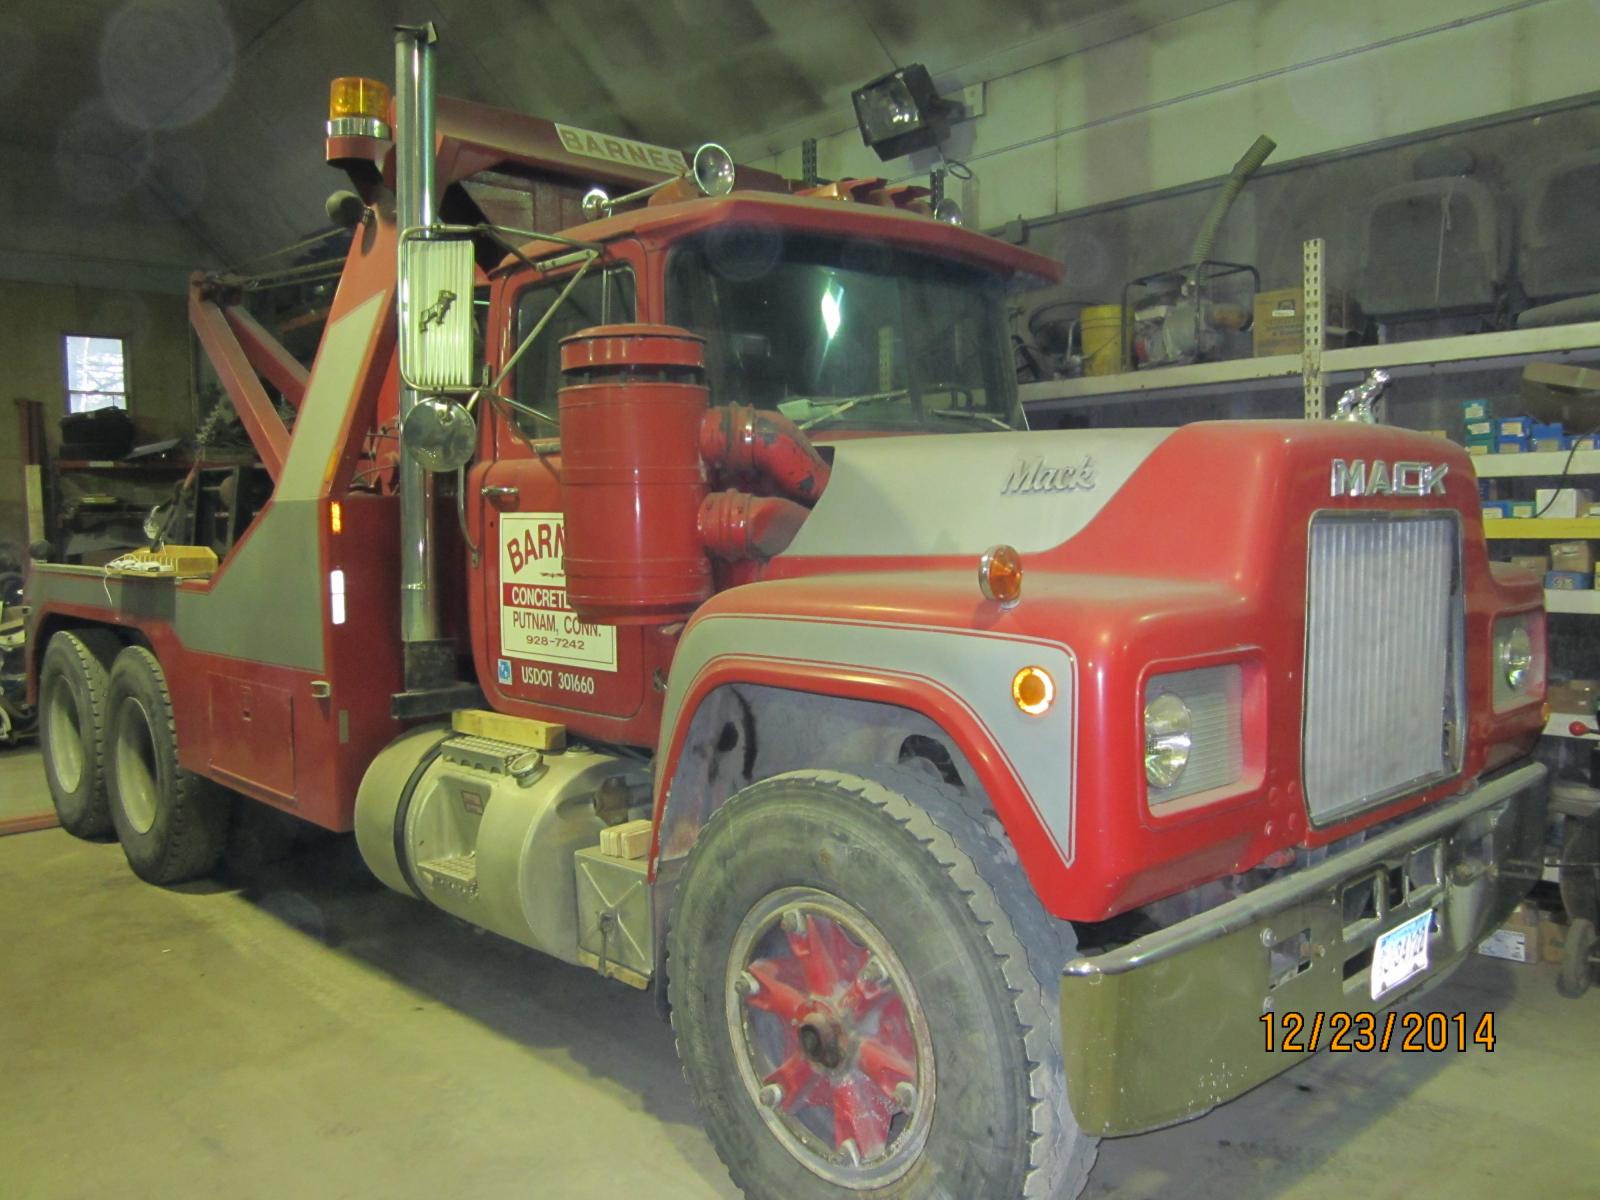
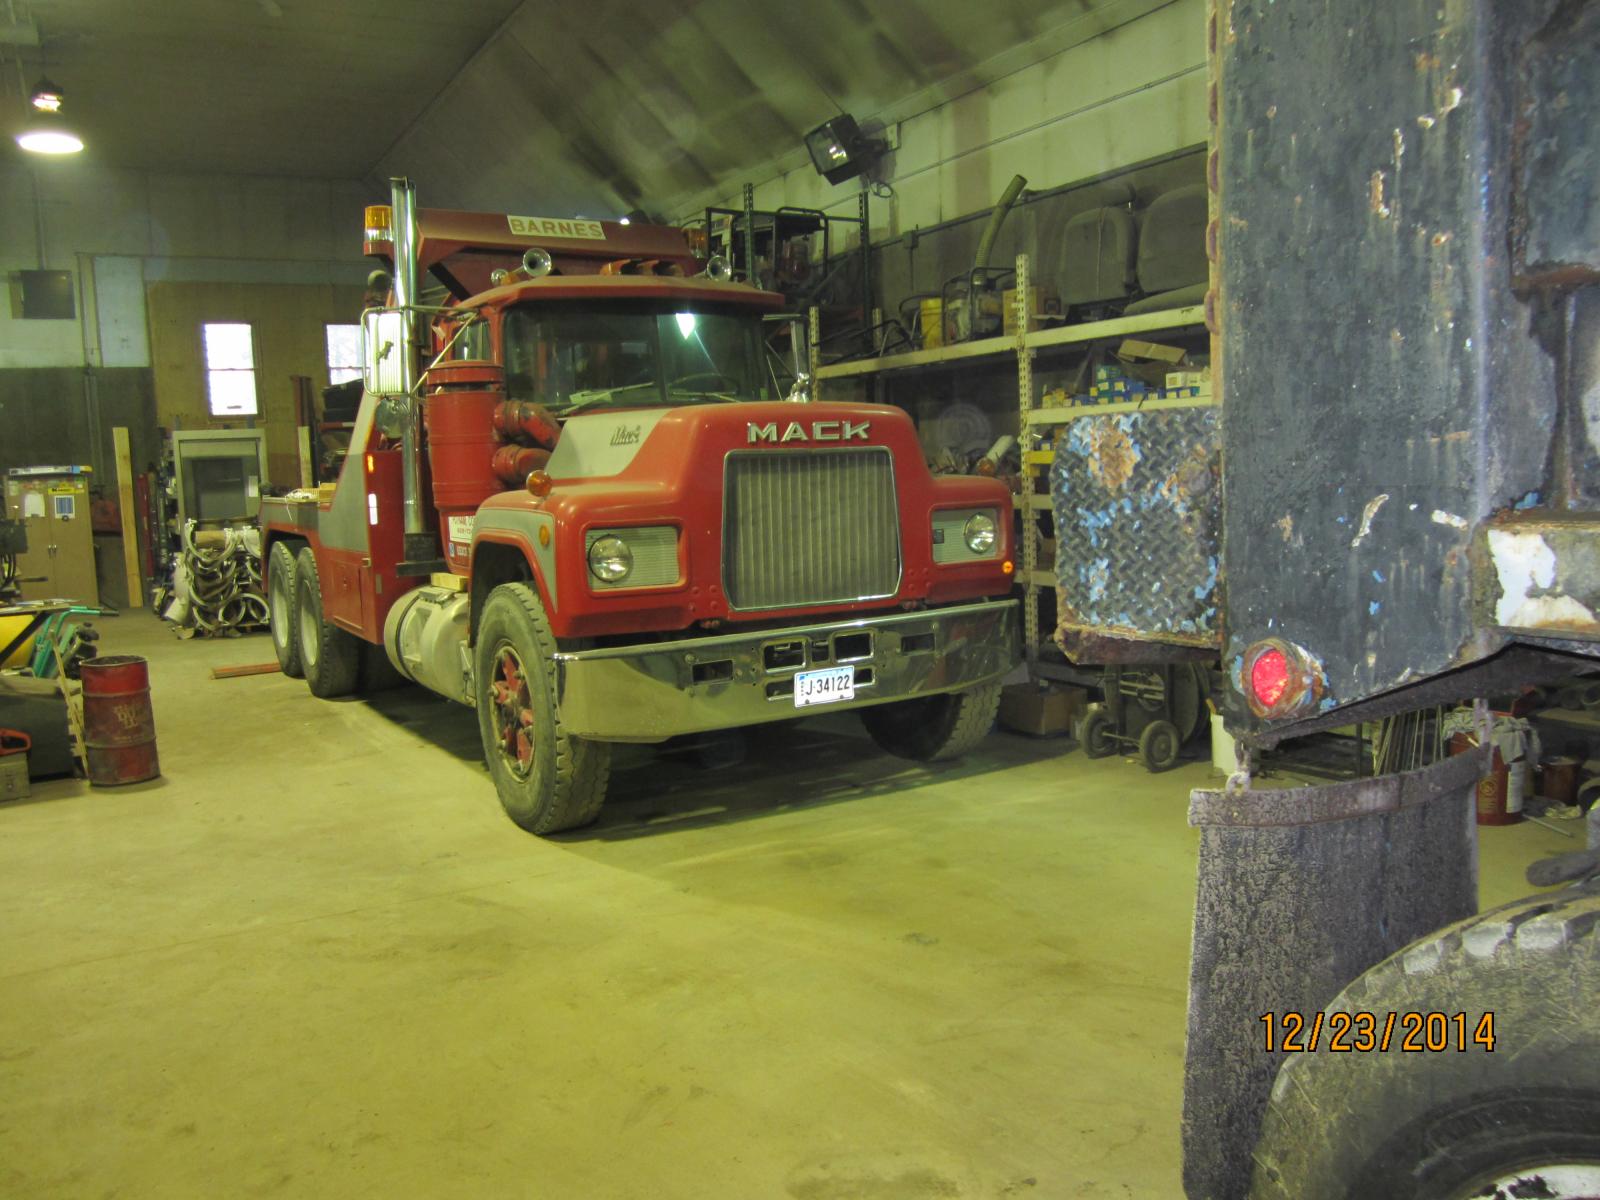
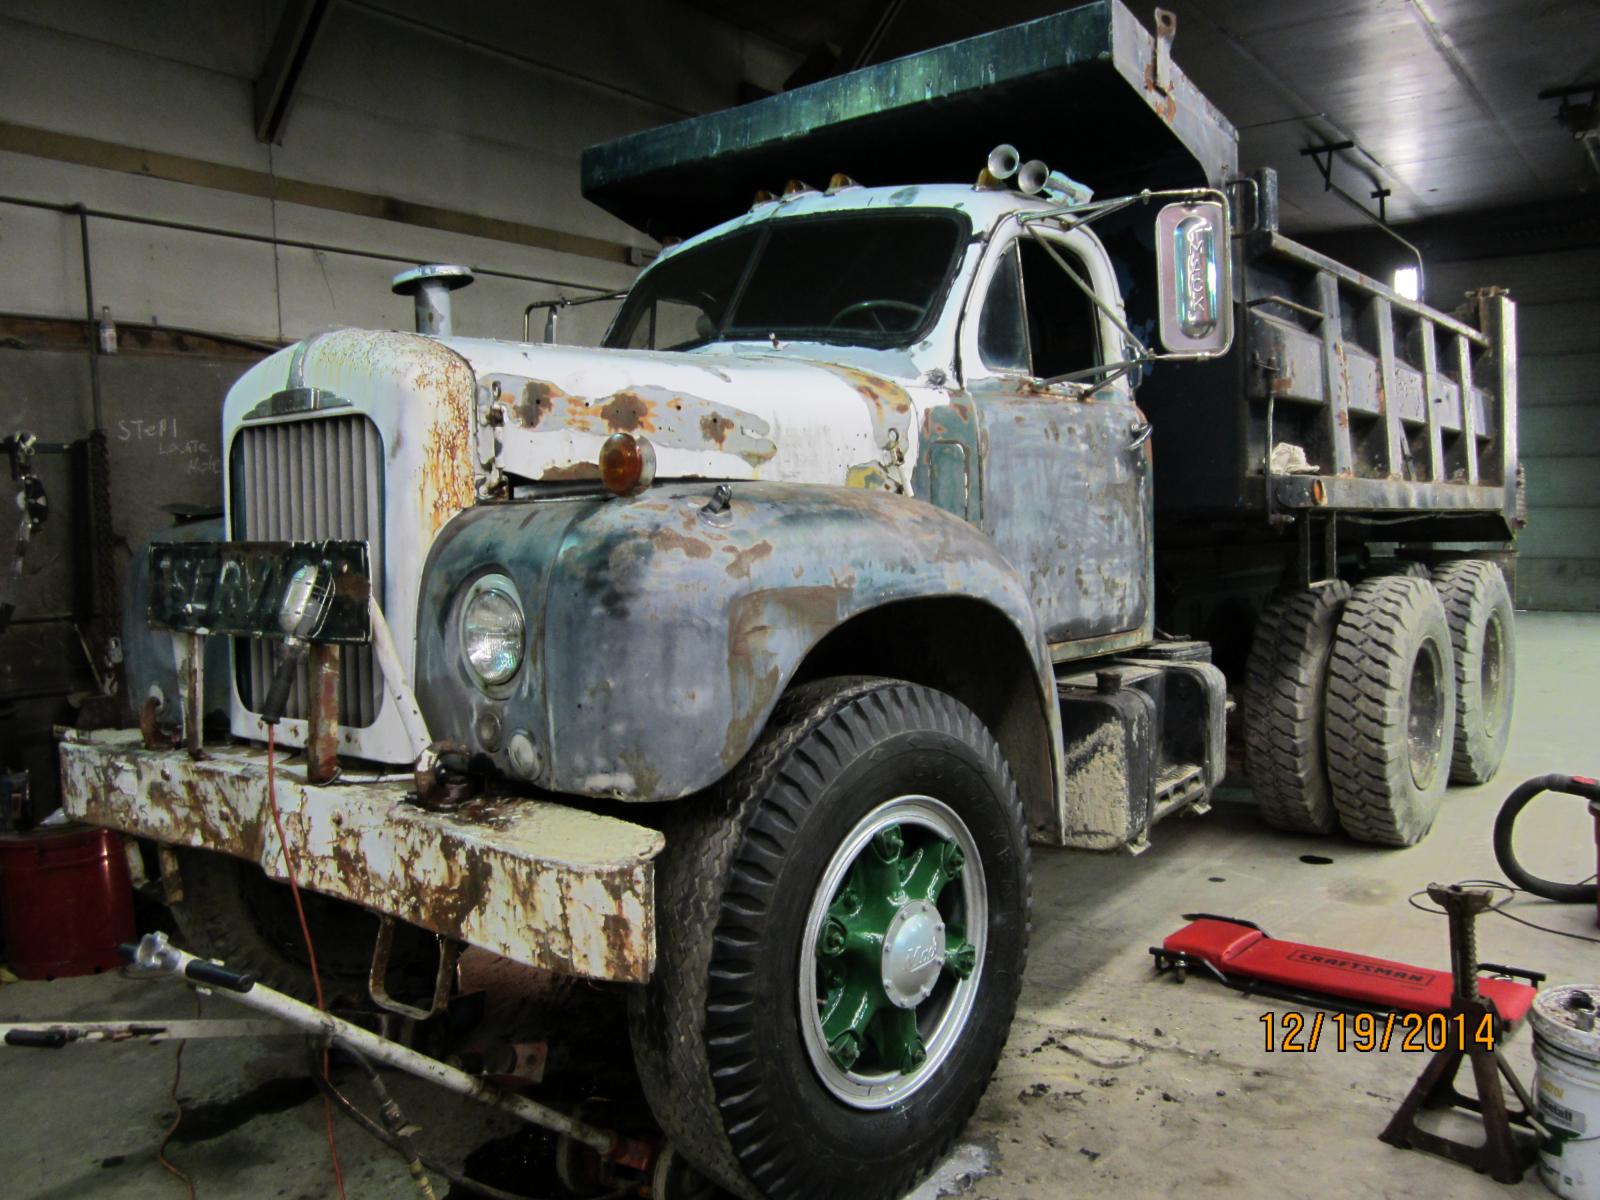
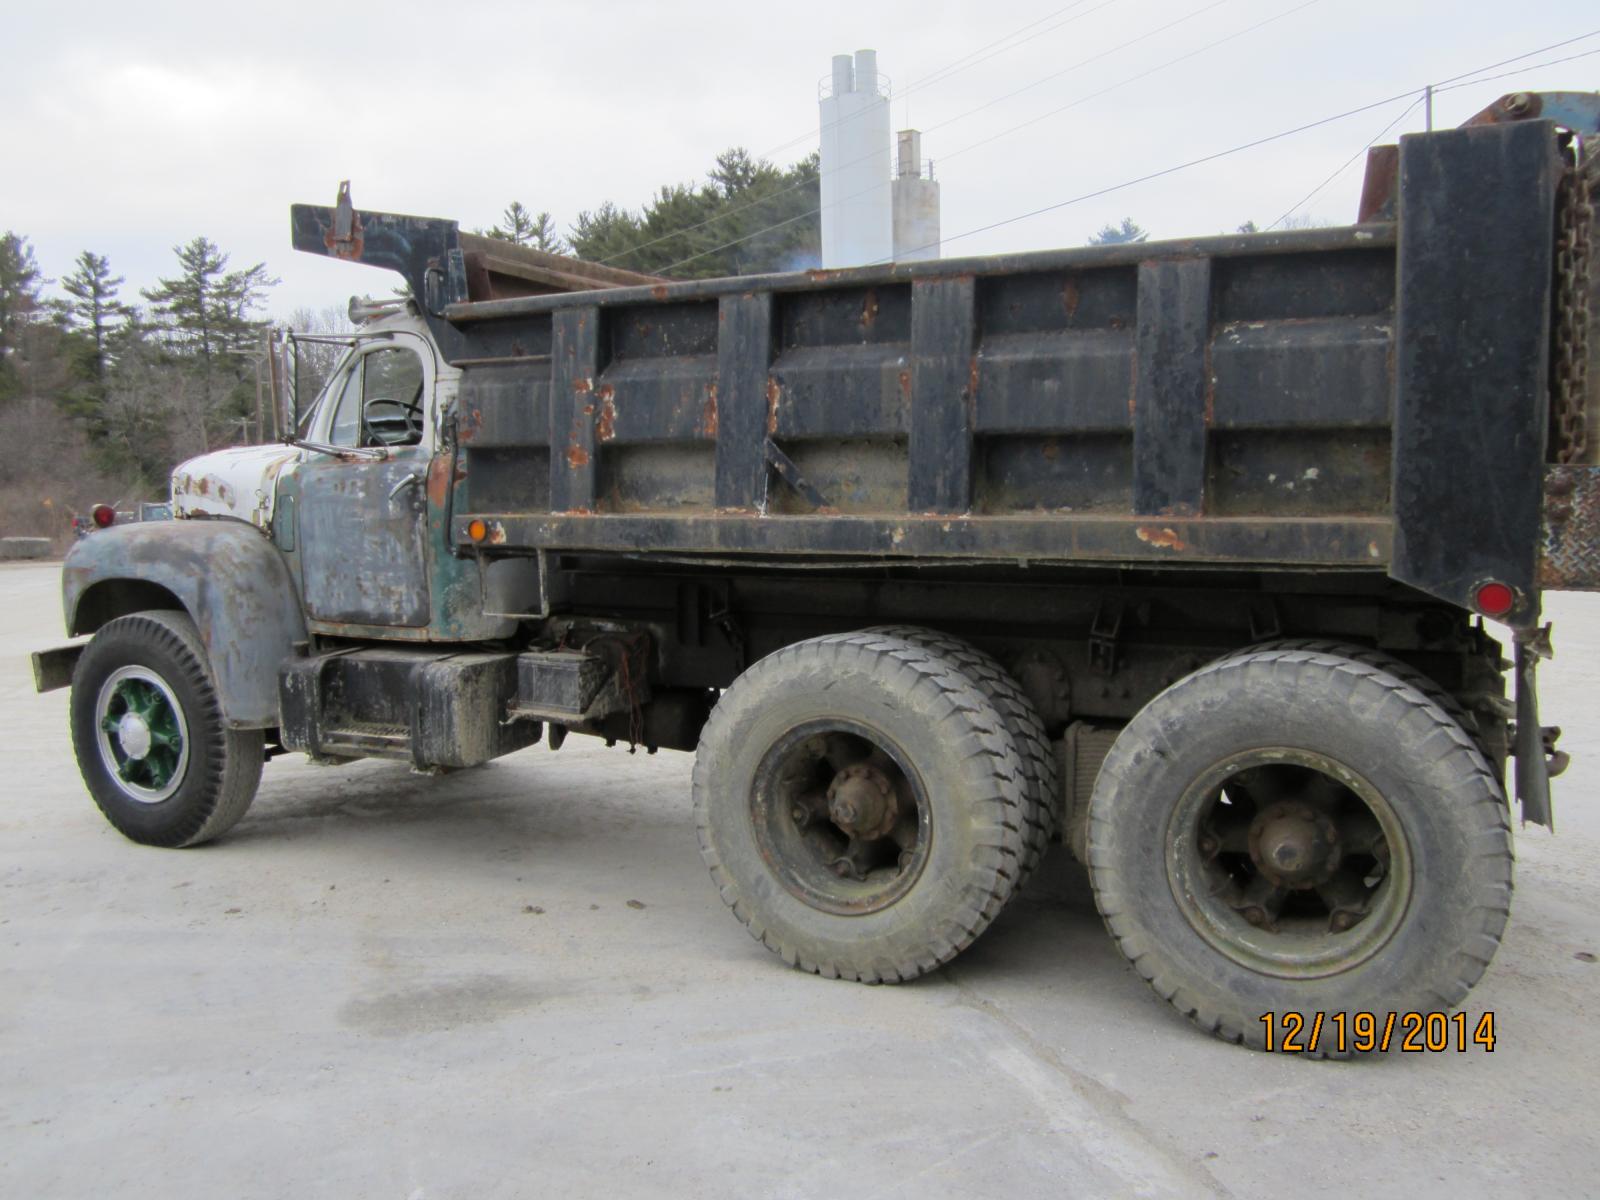
Took this picture today in the garage I am using to refurbish my 1964 B61SX. This is its stable mate.

-
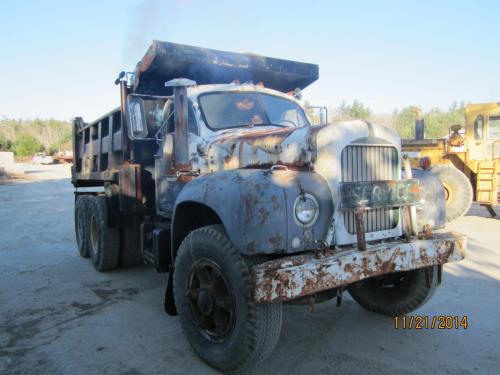
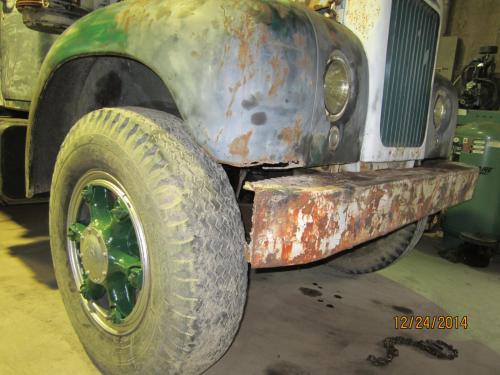
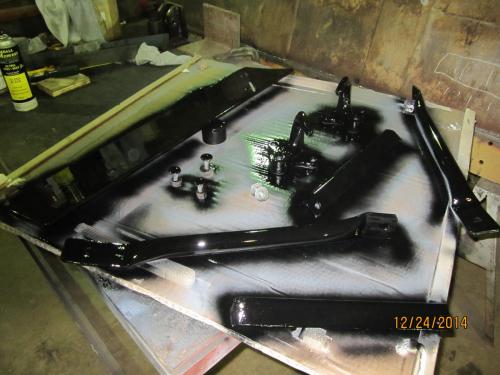
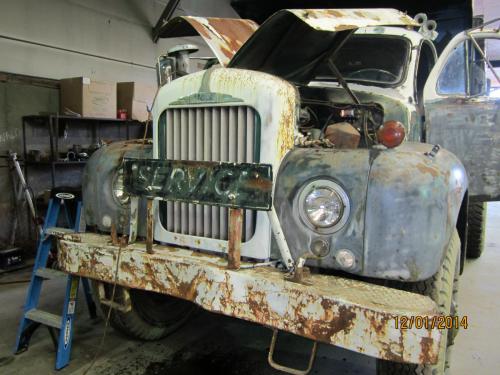
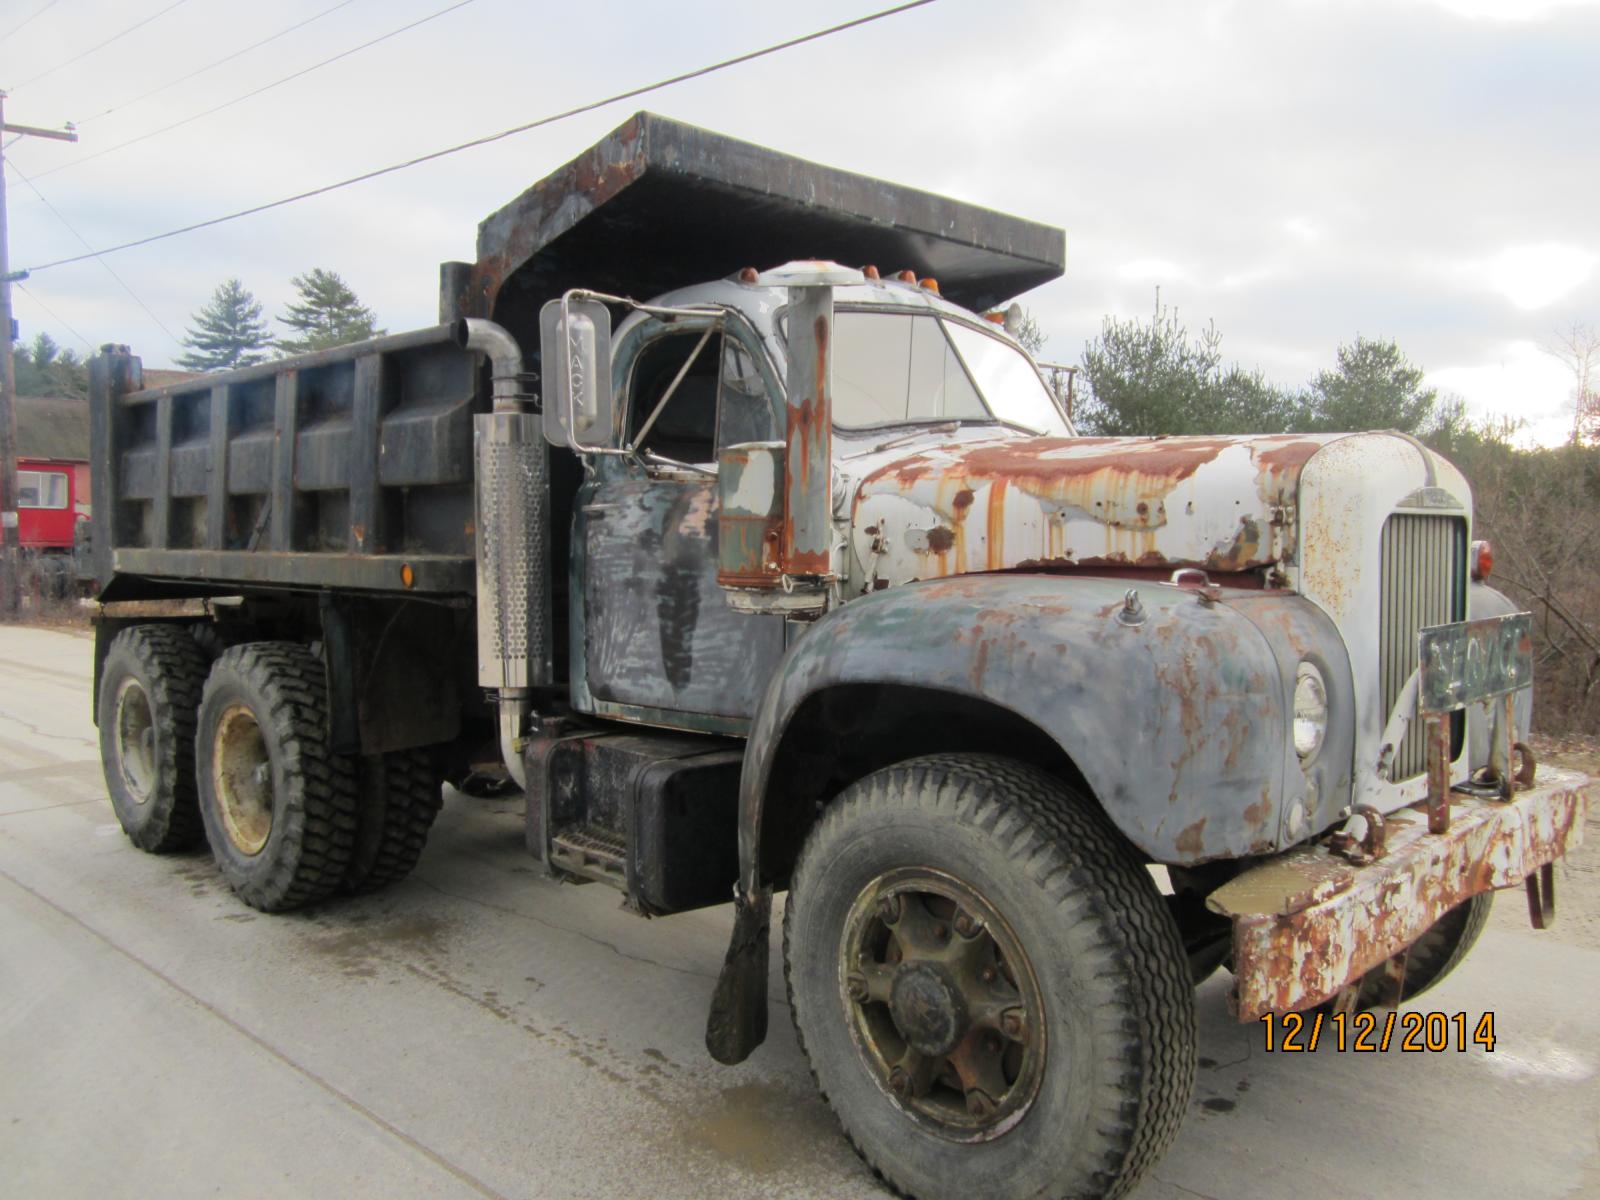
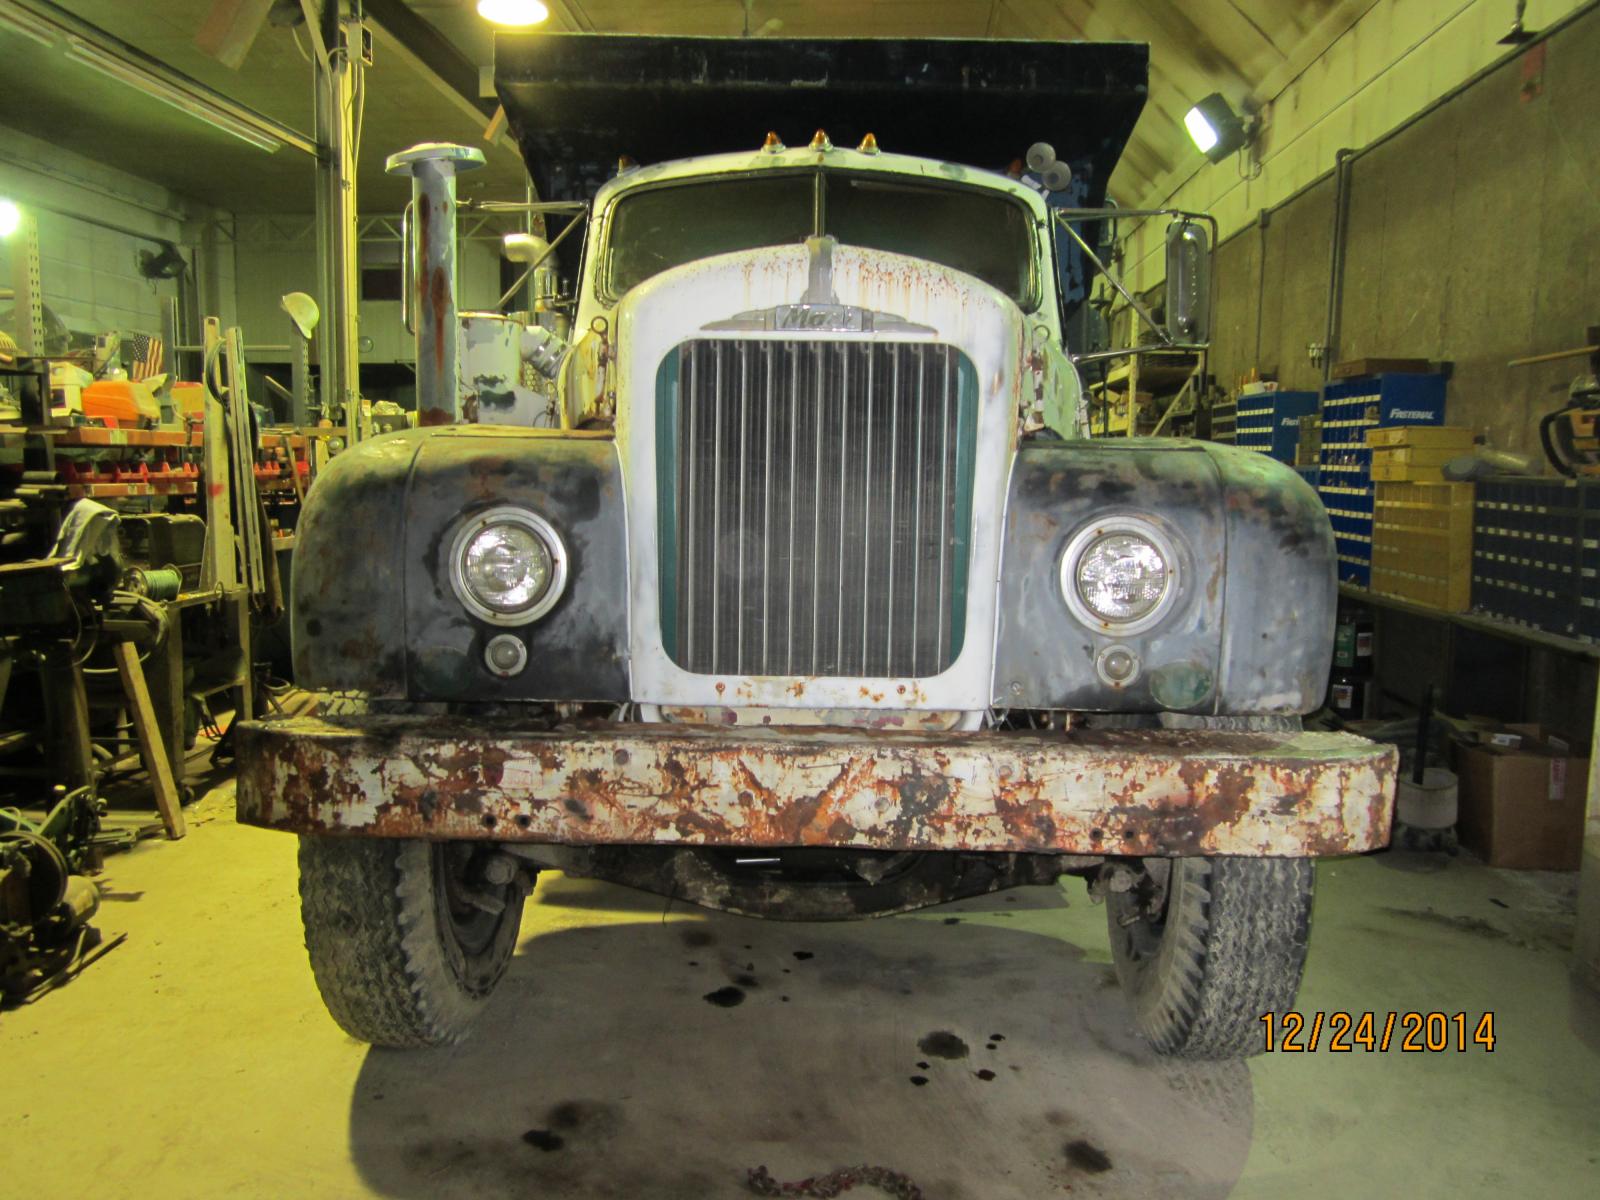
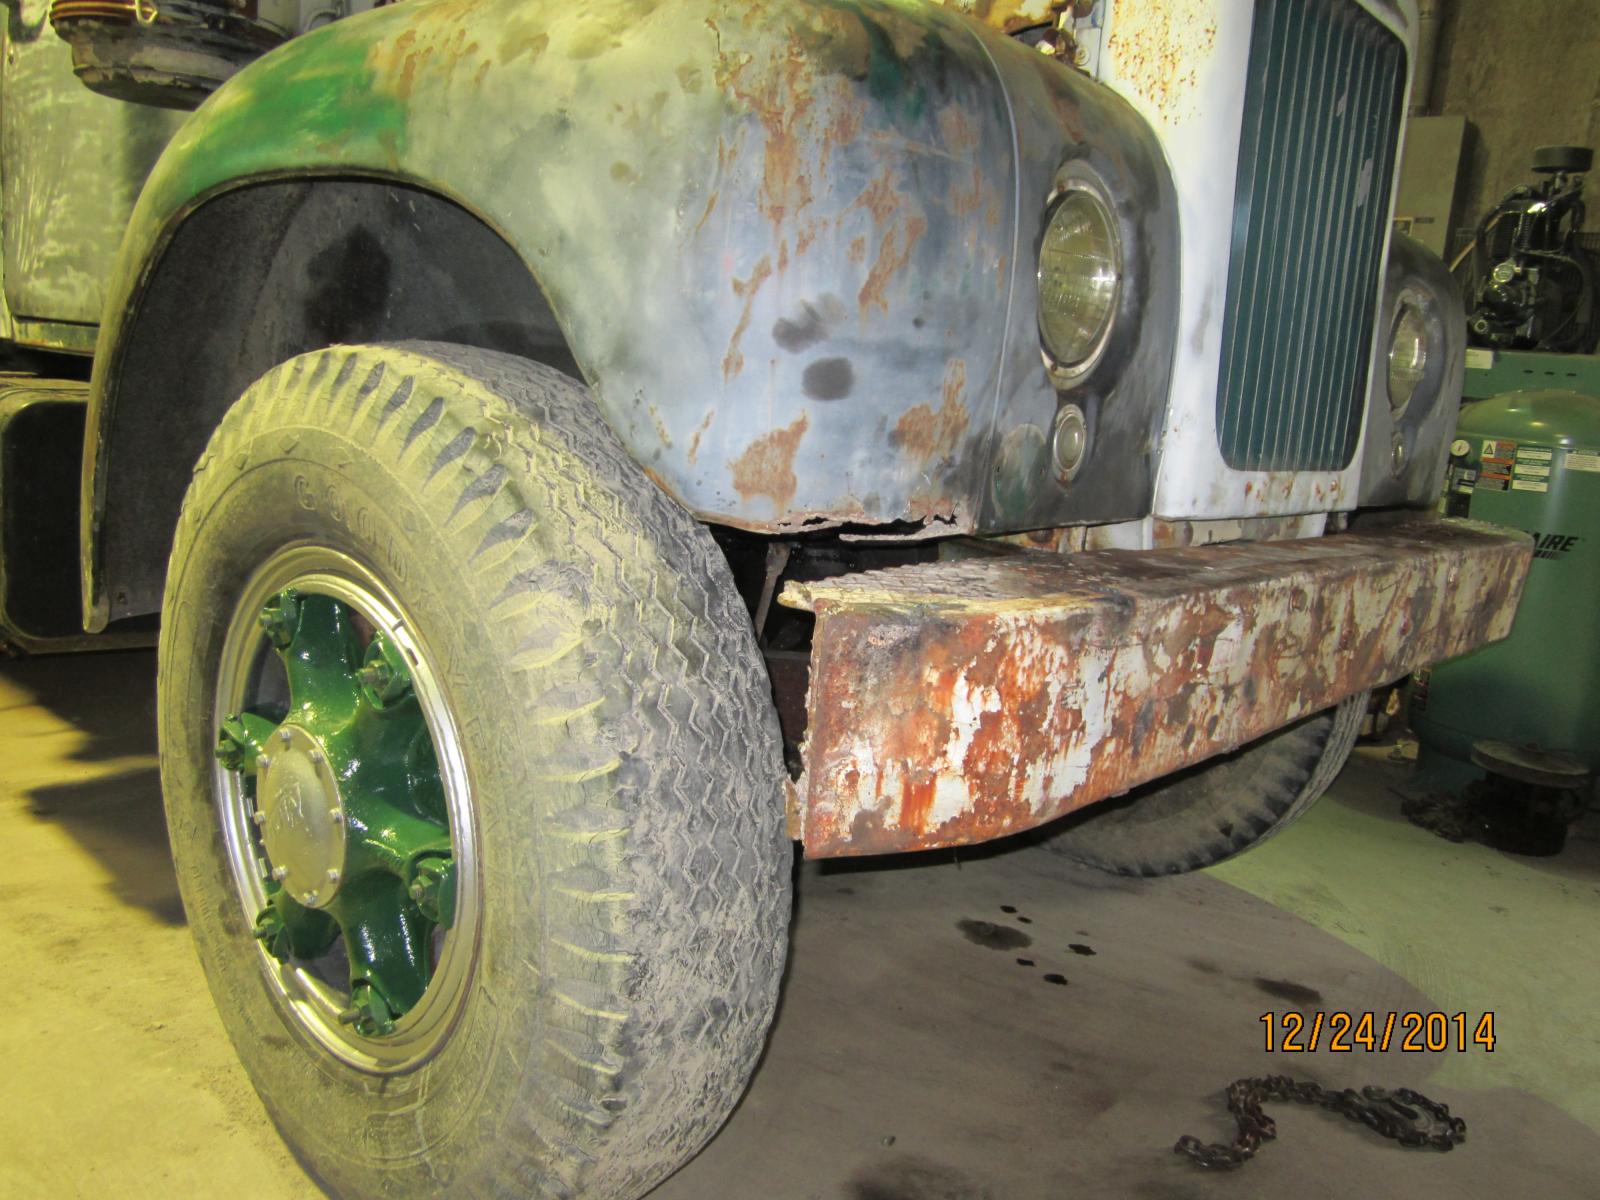
Got a few pics for y'all today. Today we finished straightening the bumper and then cut off the bent foot holds (steps) that were under the bumper. I also stripped, prepped, primed, and painted the push plate, its arms/supports, and the tow hooks. The first two pics are of the truck from earlier in the project, to show how bent up the bumper was. It was in pretty rough shape (bent, twisted, dented all over, etc.). The next pic is of the truck with the bumper, directional lights, and mirror bases off. After that is the truck with the straightened bumper back on (for photo only, not bolted on). The next pic is of the push plate and stuff painted. The last pic is of my B61's stable mate for the time being.


-
MACK in FRANCE
Wobblin-Goblin replied to 41chevy's topic in Antique and Classic Mack Trucks General Discussion
I think we just found the truck equivalent of the Chrysler Cordoba. -
I guess so. You're referring to the magazine that was posted last page...right?
-
I took the bumper off today. That wasn't the easiest job I've ever had, I can tell you that. As you can see, it's beat up quite a bit, so it had to be straightened out a little bit. My uncle and I spent about an hour or two with a 100 ton press, a sledge hammer, and a 5' iron bar "straightening the curves and flattening the hills." By the time we quit for the day, we had it looking A LOT better. Not perfect, of course, but much better. I also took everything off the fenders: directional lights, mirror bases, and the bolts that held the fender extenders. The fenders are now ready for prep. There are no new pictures because I forgot the camera at the garage, but tomorrow I'll post a bunch. I think there's a chance both the bumper and the fenders will be completely done by the end of next week.
-
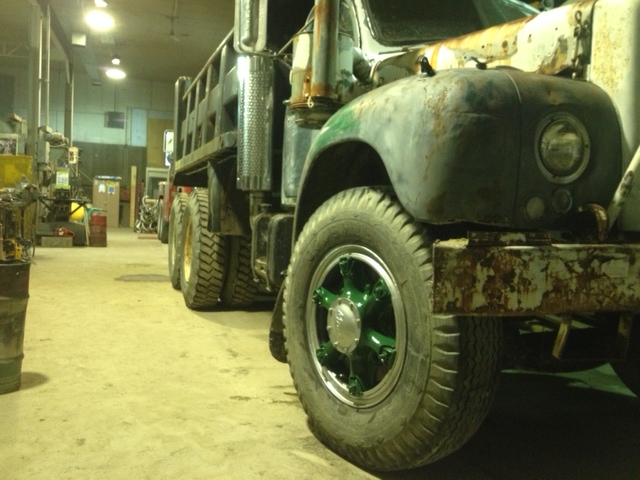
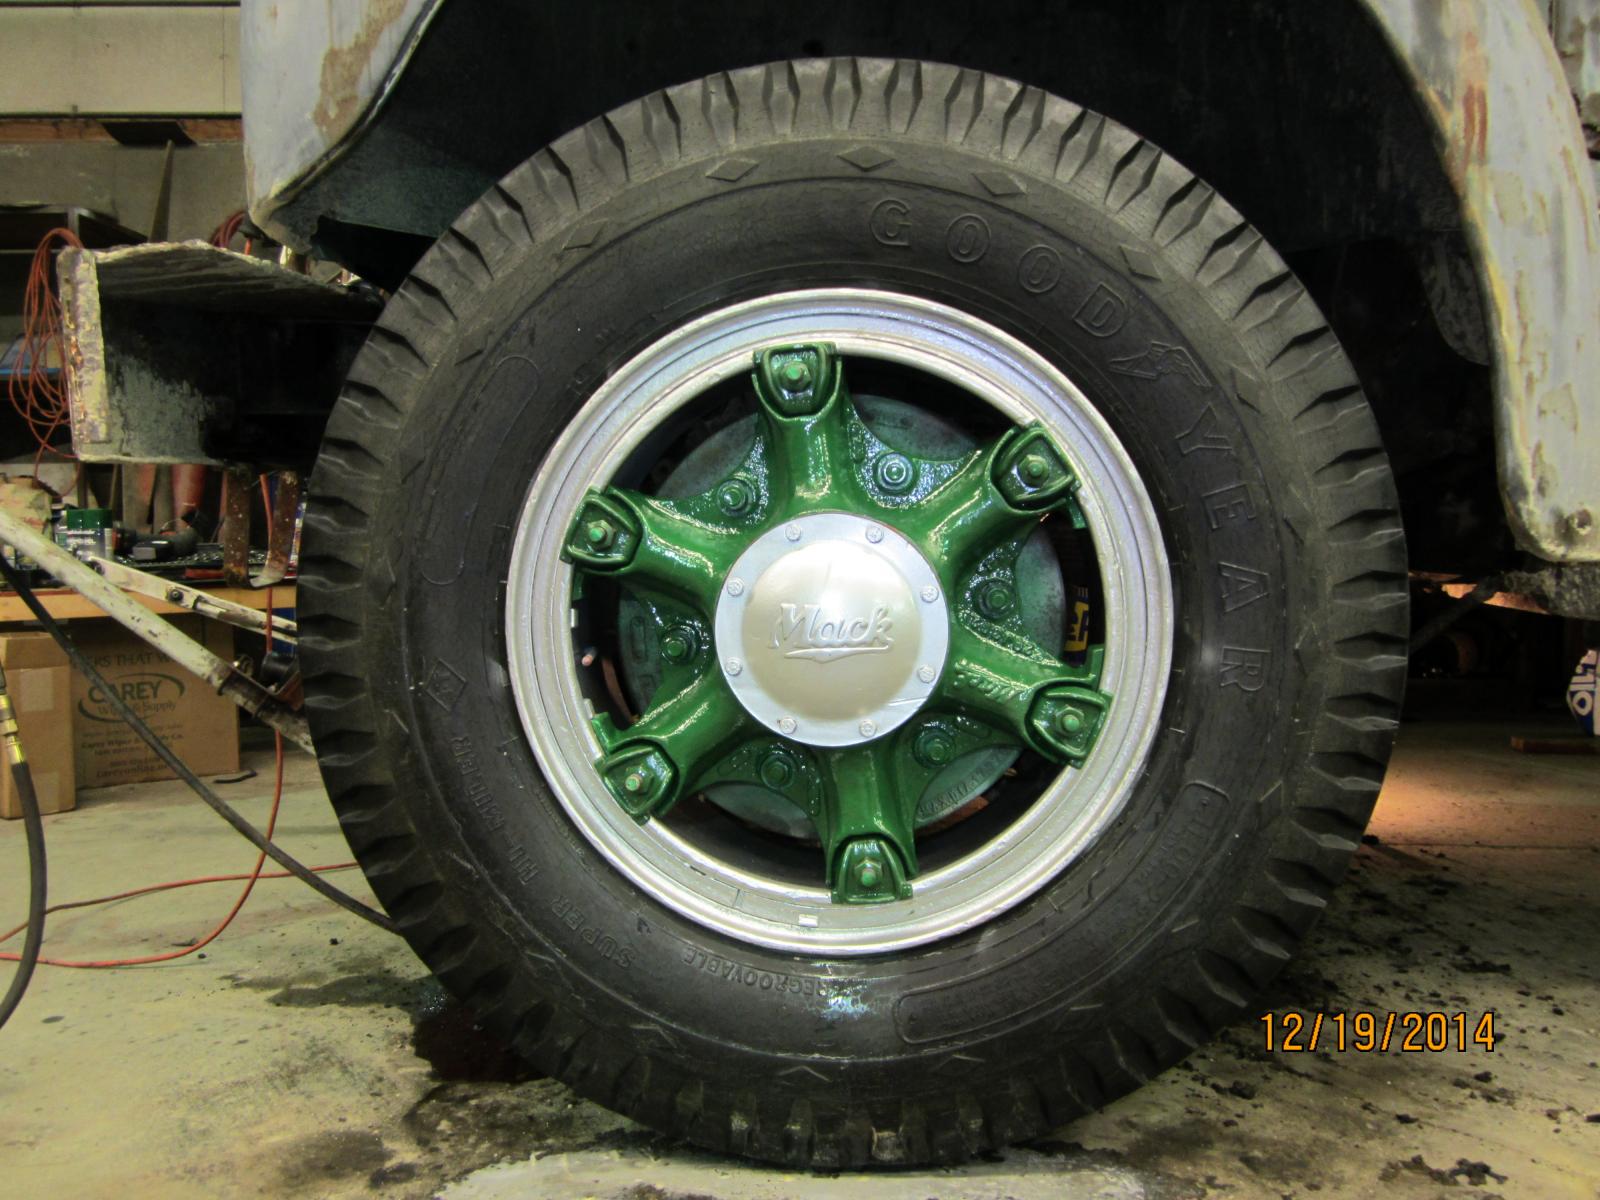
Today's progress: 1. Took off the right front tire/rim. Prepped and painted the rim, spokes, center cap, clips, and nuts. Once dry, put it all back on the truck. 2. While the tire was off, we replaced the brake line to that wheel, which was rubbing on the tire. Brand-new line is a little shorter to keep it from rubbing again. Tomorrow, I plan on pulling off all the stuff from the fenders (directional, mirror bases, etc.) and the bumper to get the fenders and bumper ready for prep and paint. Hopefully we can have them painted by the end of next week. I'm really enjoying having this project to do. I'm doing things I've never done before and learning a lot in the process.
-
B30 progress
Wobblin-Goblin replied to maint1's topic in Antique and Classic Mack Trucks General Discussion
Nice job. Really. That looks sweet. -
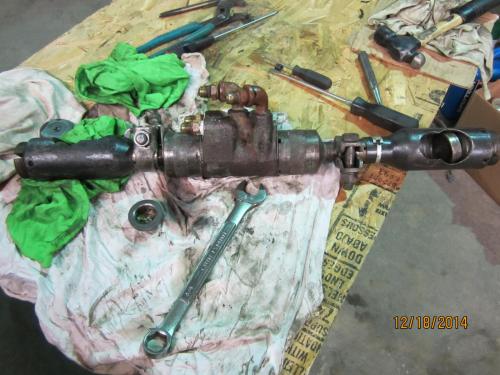
Sorry, no picture of the spring. We already put everything back on the truck and there's no way I want to take it back off without being forced to. We simply had a longer spring of the same diameter that we cut to fit length-wise. I believe it originally came off somewhere from a Model A Ford. BTW, the piece of line that was in the drag link can be seen in the picture of the drag link. It's in between the tips of two screwdrivers.
-
The cab is back on
Wobblin-Goblin replied to OakleyTankLines's topic in Antique and Classic Mack Trucks General Discussion
Wow. That's all I can say. Wow. -
I don't know what you mean by "front page." I looked at the home page and didn't see anything, if that's what you were referring to. Still rather new to the site.
-
"First page?"
-
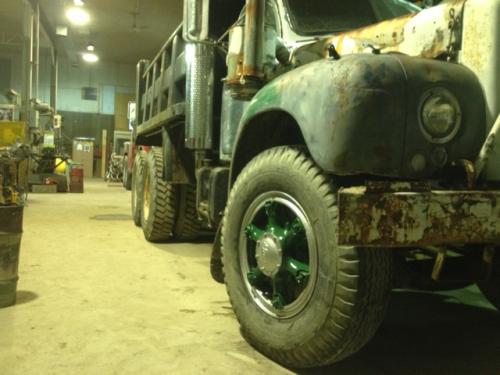
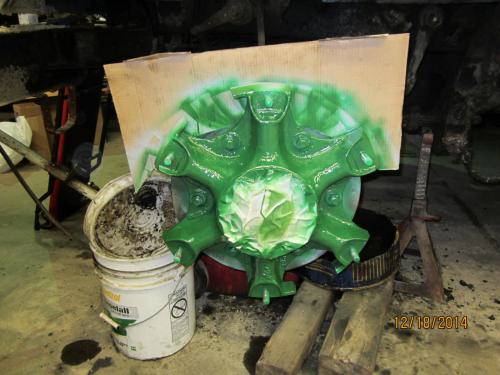
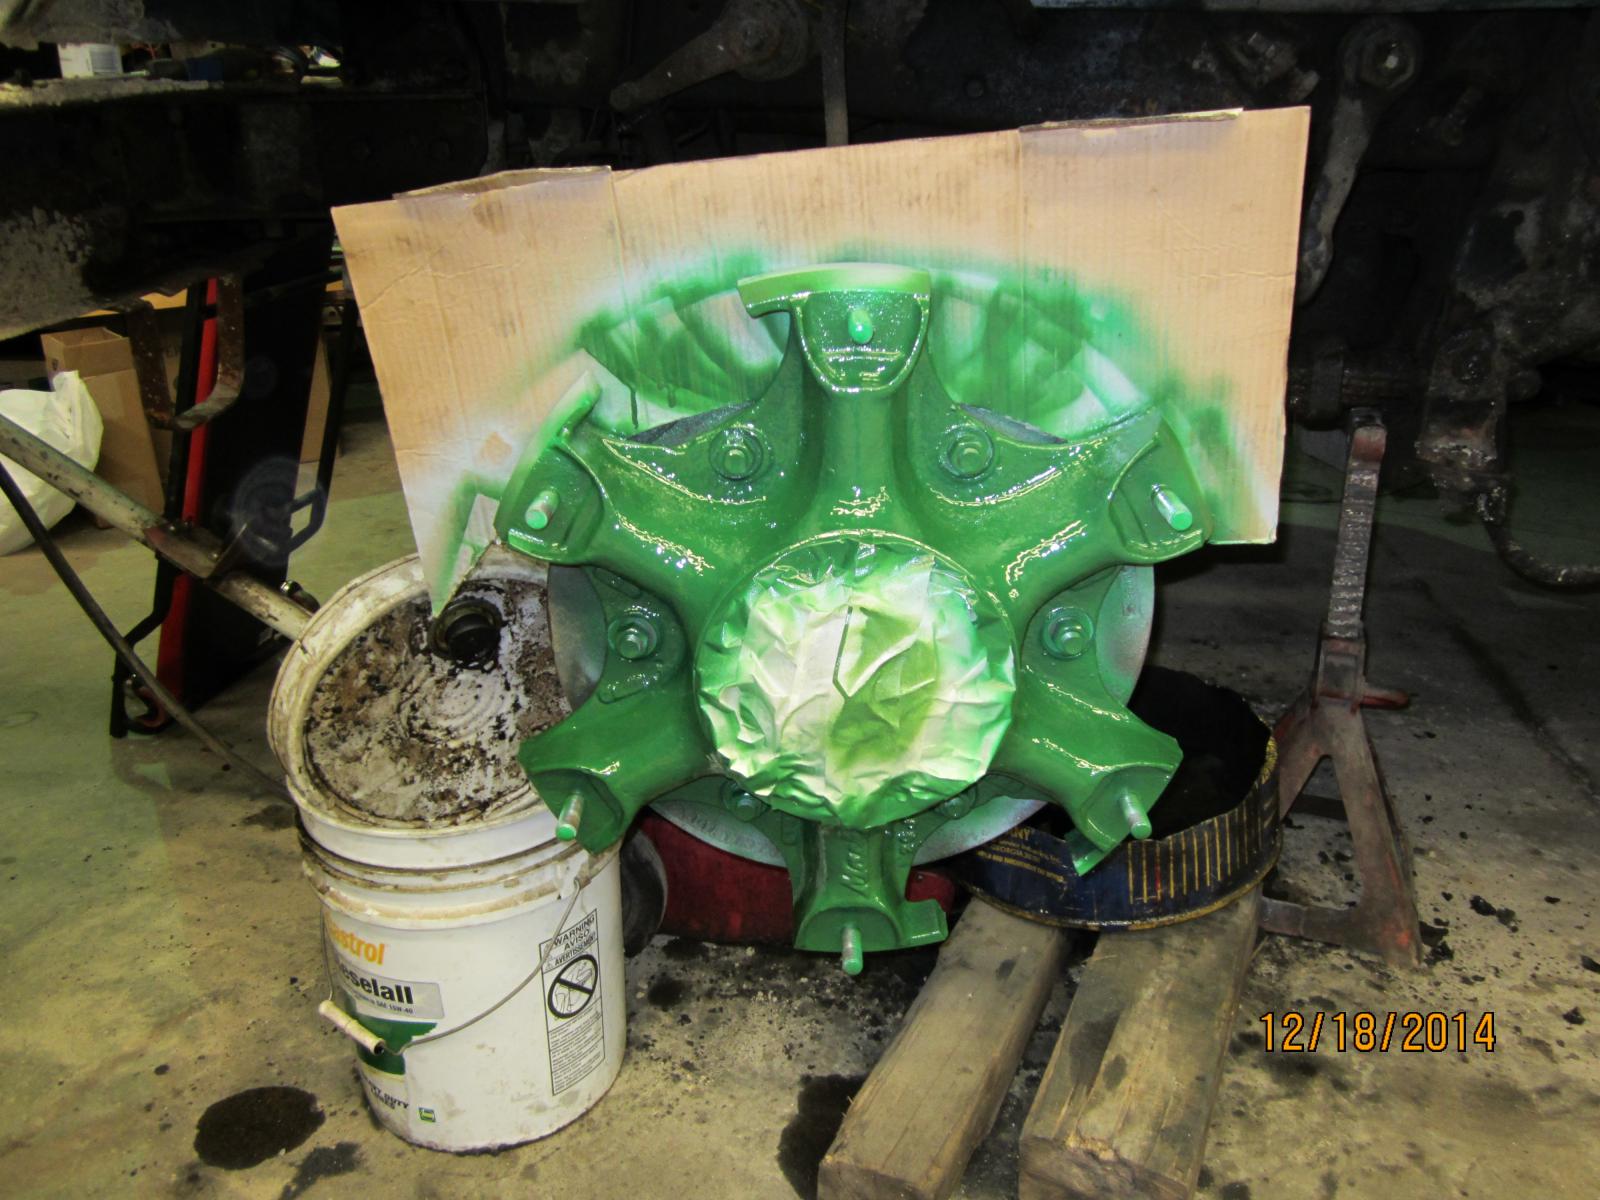
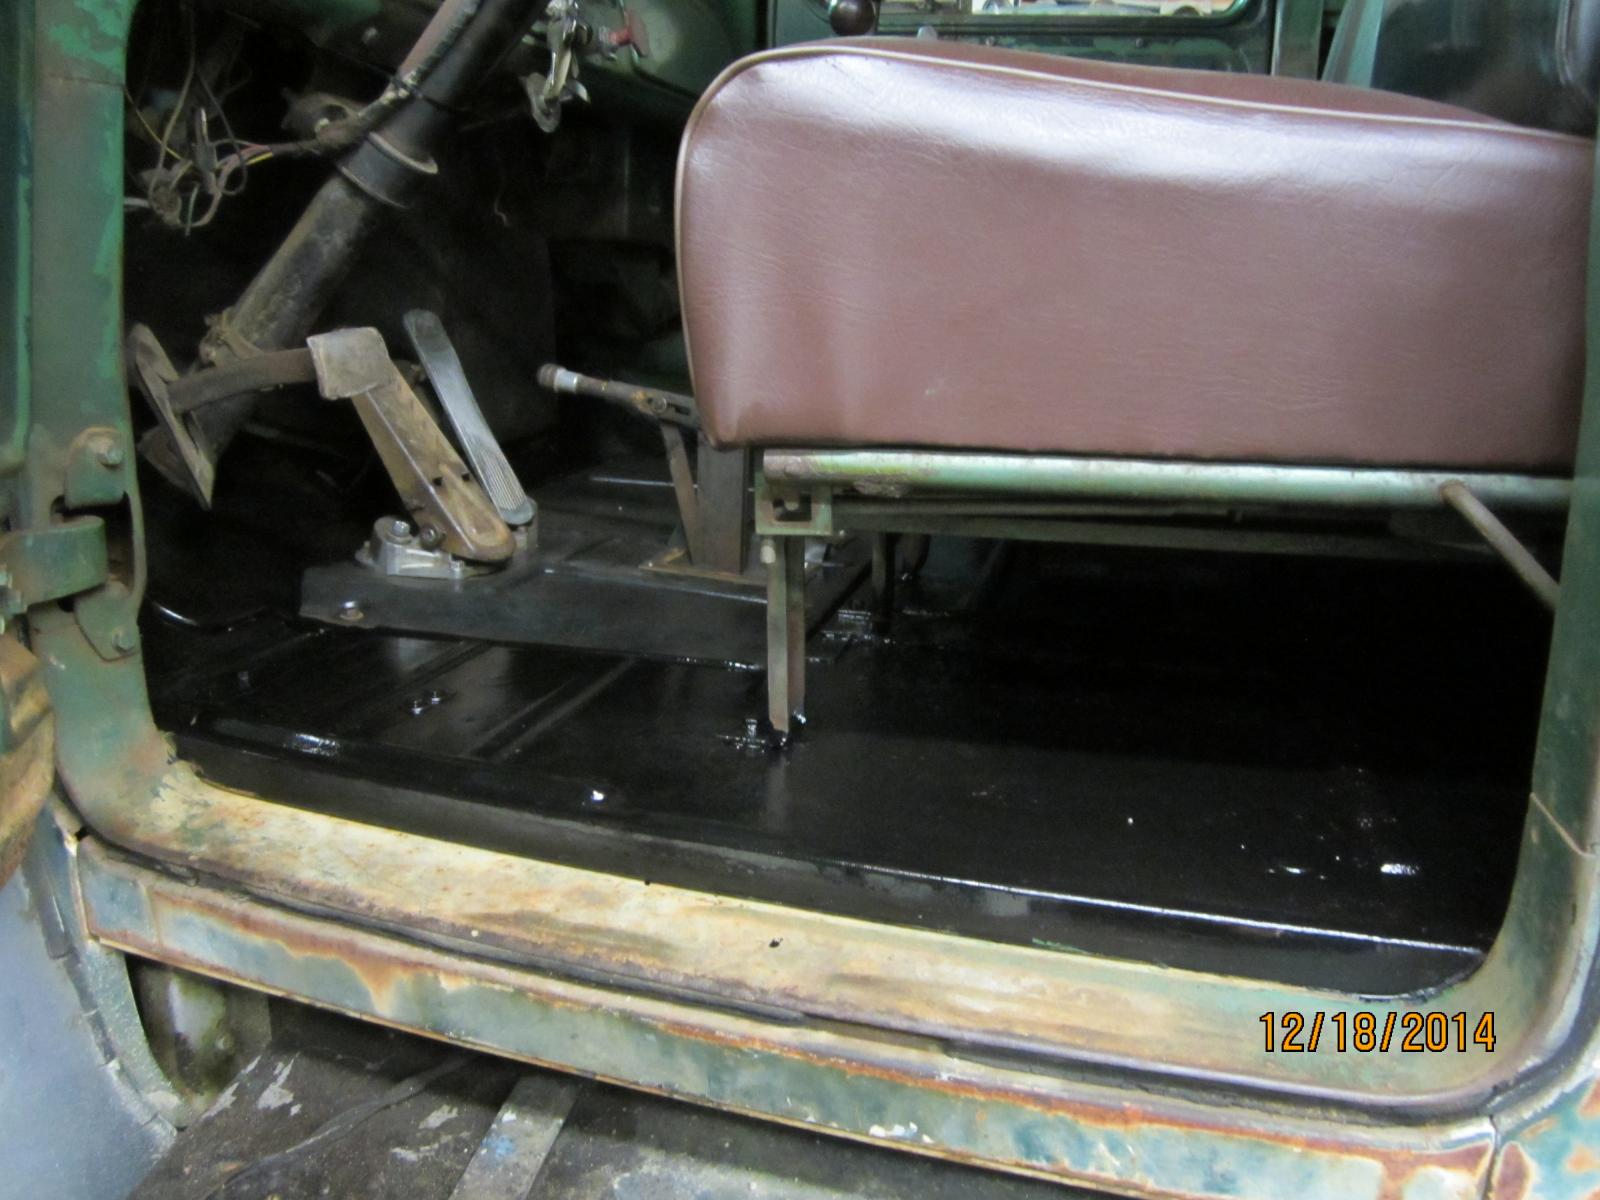
Today's progress: 1. Removed the center cap off the spokes, ran it through a wire brush wheel, primed and painted it silver to match the rim. 2. Re-assembled the power steering drag link sans the dime-sized piece of hydraulic line lodged inside and with the second spring it was supposed to have. Installed it back on the truck. The power steering is still a little wonky, hopefully it's because there's still some air in the lines. 3. Put tire and rim back on truck along with the center cap. Armor-alled the tire with tire foam. 4. Checked the steering box to make sure it had oil (it did). 5. Noticed the cross member that connects the back spring mounts of the front axle was loose on the driver's side. Replaced one bolt and tightened everything up. 6. Used a wire brush attachment on my power drill to clean the decades old grit and grime off the original floor mat (the part that goes under the seats), then cleaned it with a solution and installed it back in the cab. 7. Chipped the remaining bits of asphalt that were clinging to the bed extender off the back of the dump body. All in all, it was a good, productive week. We got quite a bit done (again), this time with some eye candy (the wheel/rim) for good measure. The paint job isn't perfect, but by my eyes it's pretty darn good. If you stand back about ten feet or so it looks downright museum quality, and I've never painted anything vehicle-related in my life. Actually, I'm rather stunned by how good it looks. I'm hoping that by the new year this truck will have a straightened, painted bumper and painted fenders.


-
Today's progress: 1. Scraped and wire brushed the entire floor in the cab a couple times, then wiped it down and brush painted it with black Rustoleum. Pic below. 2. Removed left front tire and rim to get at the power steering drag link. Power steering hasn't been consistent. It'd work (somewhat) and then it wouldn't, so we removed the drag link and found some garbage in the form of a piece of hydraulic line lodged inside and also a set spring was missing. We removed the trash and made a spring. Will assemble it all and re-install it tomorrow. 3. While the rim was off, I cleaned it (and the spokes) and painted them both. The rims will be silver (same color as the radiator cover) and the spokes will be green (same color as the cab and hood).


-
I have some leads, Barb, but nothing definitive yet. BTW, didn't get to do anything (other than drive it!) on the Mack today, but on tomorrow's agenda I have: 1. Replace right front brake line. 2. Remove left front wheel and address the power steering drag link. 3. Clean remaining floor boards and paint them black. 4. Spray down all the bolts attaching the bumper. This will help make it easier to remove it so we can straighten it and paint it soon. Of course, I'll be posting pics.
-
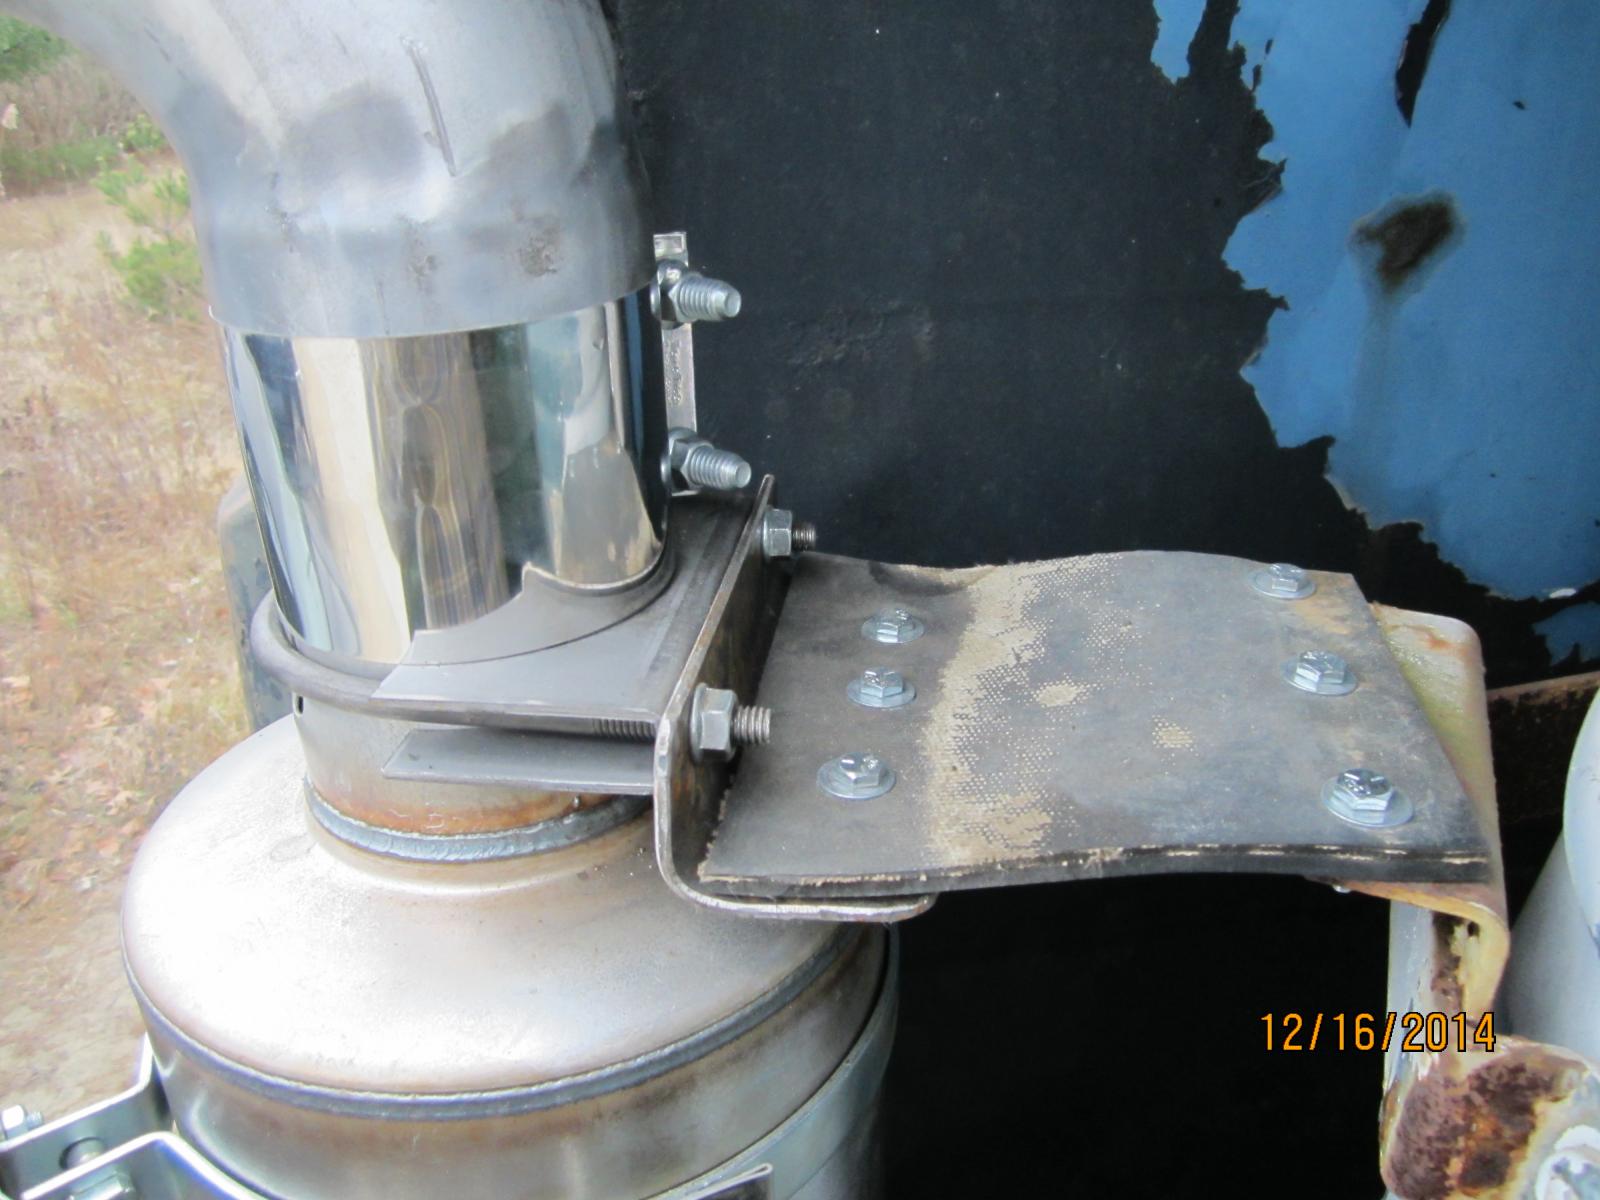
Believe it or not, the flap is almost square. The cab mount makes it look out of square. It's an optical illusion. Besides, I was working with a scrap piece of belt that was free. Any time I can get something at no cost, I happily accept it if it does the job. As you probably know, you can rack up expenses pretty quickly with projects like these. Sometimes I look at a product, part, or accessory longingly...only to put it back on the shelf or not hit "submit," LOL.
-
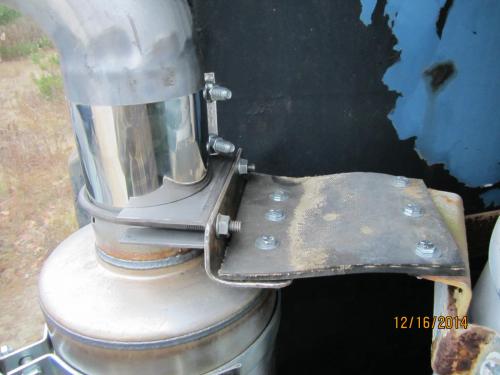
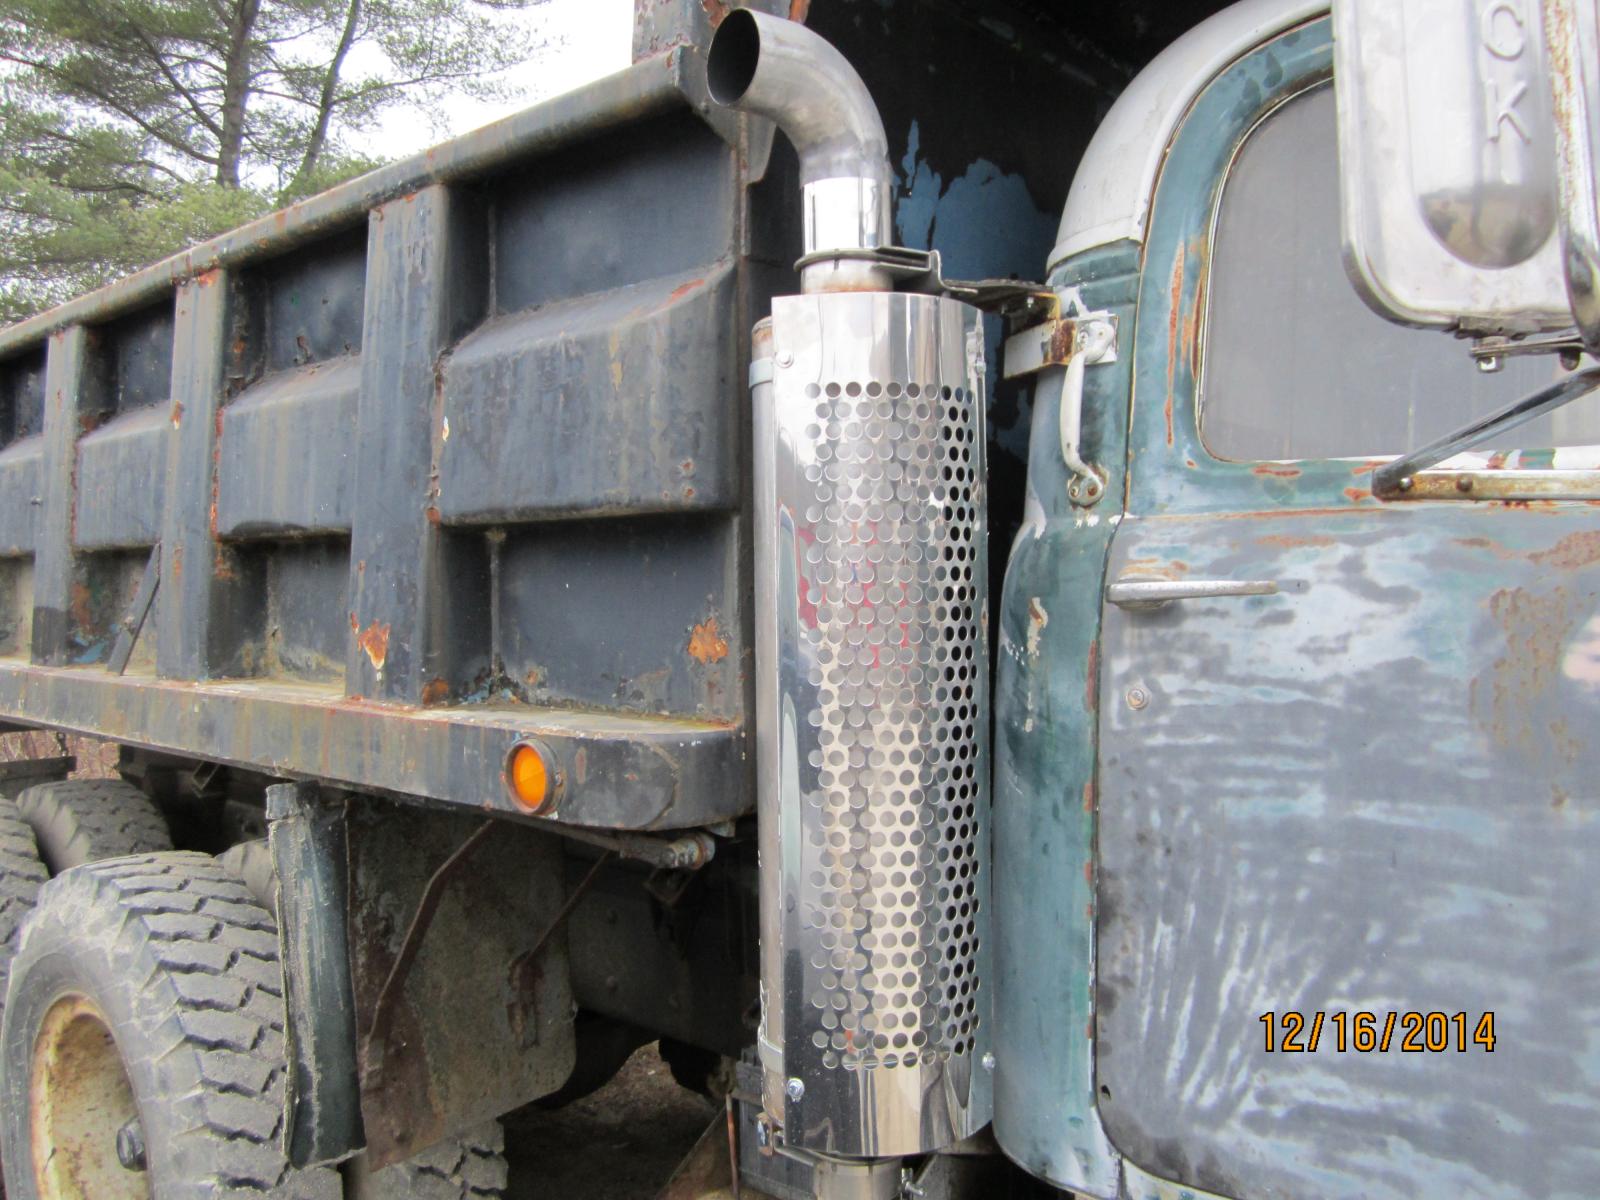
No, no straight pipe. It's loud enough as it is. No need to blast my eardrums (or anybody else's). Plus, I really like the look of the muffler with the heat shield around it. It just looks right to me.
-
Here are a couple close ups of the new exhaust. The top is secured by a piece of conveyor belt; very strong, yet still flexible material. Today I purchased a genuine Mack B-model floor mat and windshield rubber molding. Stay tuned for more progress.

-
Having this thread is good for me, too, because it's also a written record of everything we've done to the truck. As you can see, the list is quite extensive already and we haven't even touched the exterior body work/paint yet. Today I swapped out the top exhaust clamp (that holds the 90 degree elbow tip above the muffler) for a band clamp. It's a cleaner look. Also, I finished the entire exhaust job by installing the top flex mount (where it mounts to the cab). I made it out of a piece of conveyor belt, which is about as rugged a material that I could find that was still somewhat flexible. I'll post close up pics of the exhaust tomorrow. For the remainder of the day I helped my uncle on his B65. While he was finishing up some wiring and lights, I attacked the interior of the cab to clean it.
-
Welcome...and where are the pics?


BMT Forum Logo
