
mechohaulic
-
Posts
4,344 -
Joined
-
Last visited
-
Days Won
68
Content Type
Profiles
Forums
Gallery
Events
Blogs
BMT Wiki
Collections
Store
Everything posted by mechohaulic
-

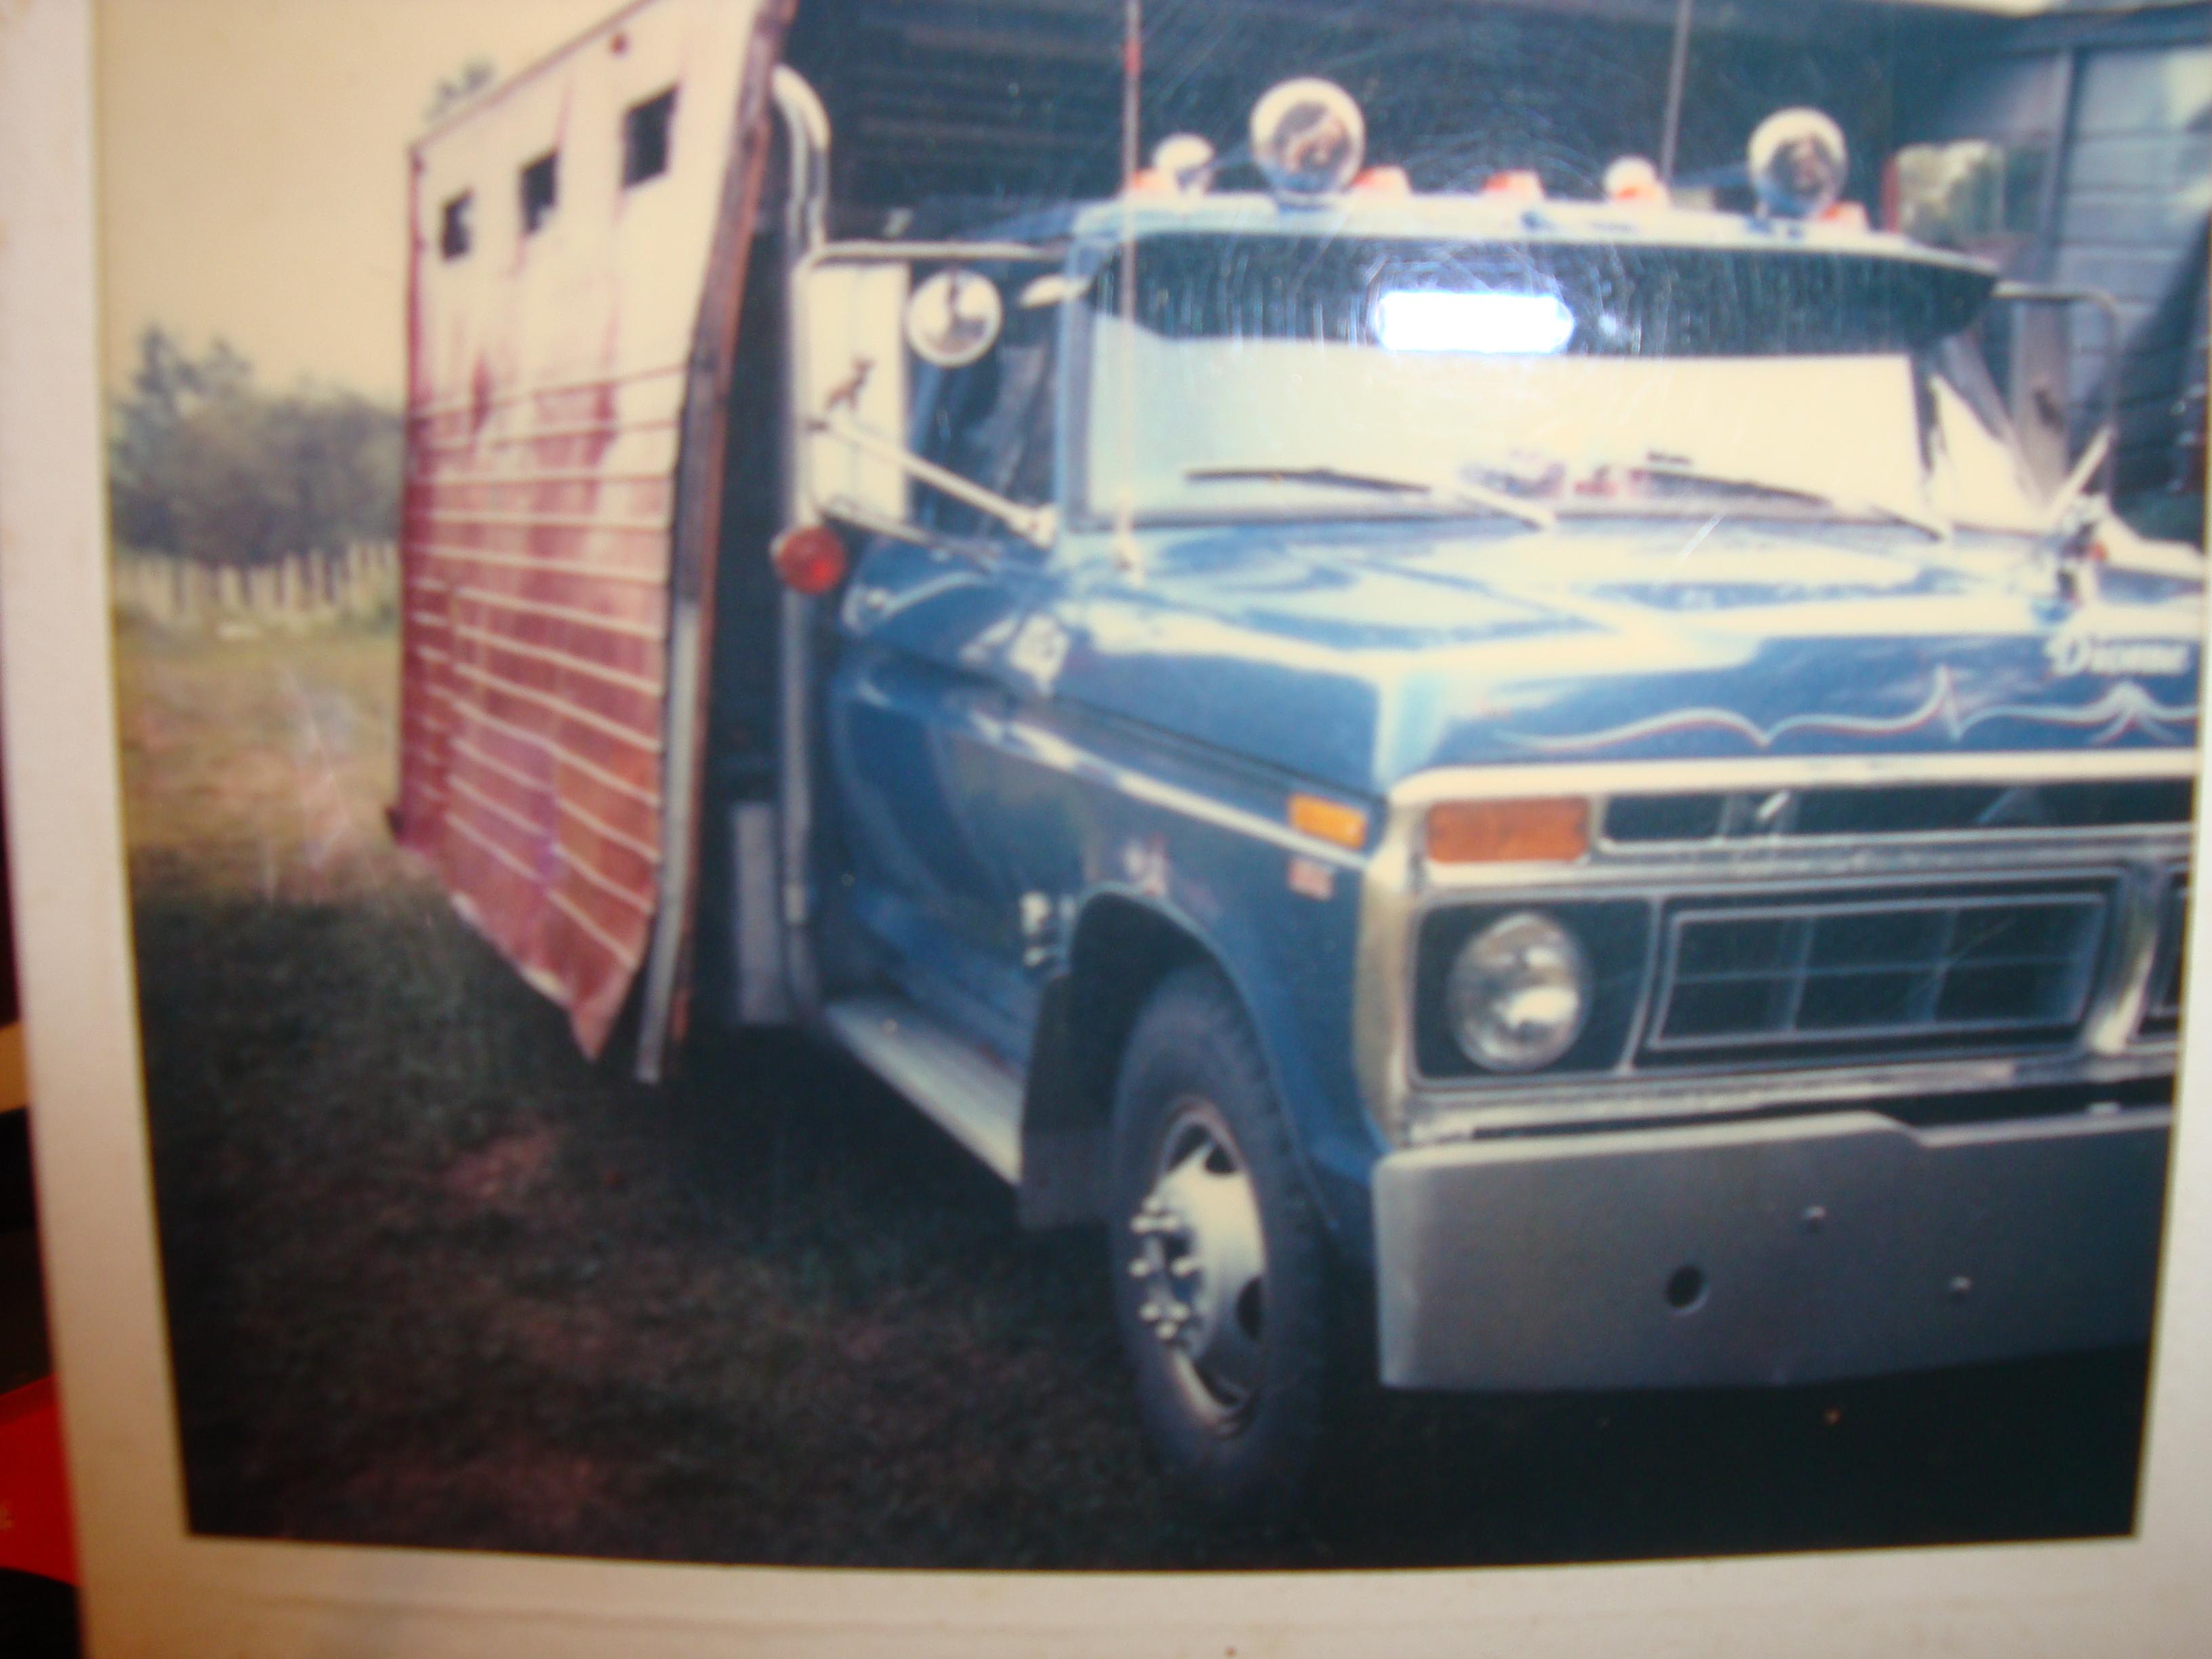
Connecticut Construction Trucks
mechohaulic replied to BKrois's topic in Antique and Classic Mack Trucks General Discussion
back a" few "years ago while at Mack I installed at least 8-10 osculators on Blakeslee massive DM's. don't recall exactly but they may have been a modern day Apgar. two lock pins rear of deck similar. not sure of the locking slot on turn table. -
Starting DM800 plastic model
mechohaulic replied to mowerman's topic in Mack Scale Model and Diecast Corner
AC an option ?? built in or roof mount?? you mentioned it so we will ALL be waiting in excitement for regular updates. LOL -
Starting DM800 plastic model
mechohaulic replied to mowerman's topic in Mack Scale Model and Diecast Corner
how do you plan on "detailing the interior more";; changing color or high rise seats. -
the rear "helper spring on transmission not only depends on location of rear engine mount but also transmission being used. I removed a junk 6+2 from IH having DT466(?) installed a 8LL removed from an identical IH having same engine/bellhousing . the 8LL had the rear spring assist both engines had motor mount on engine.
-
Connecticut Construction Trucks
mechohaulic replied to BKrois's topic in Antique and Classic Mack Trucks General Discussion
can't enlarge picture enough , looks as though it has an osculating 5th wheel. appears to be a cable both sides of front. be interesting truck to see side view as to whether the rear pusher axle is connected to the chain drive, which some were. -
seeing the picture , I understand the issue better. thinking "damaged" ;question how? , the picture better describes the situation as "worn" , with the front thrust bearing having a slightly wider gap allowed for it to rock back/forth wearing the bearing and steel pin.
-
once again this forum proves no matter your age or years of wrench pushing, the world of mechanics has no age limit to learning new knowledge. having replaced ???? number of thrust washers through the years never associated the clutch free play with why one side worn not the other.
-
another cost cut back. early bellhousings had the bottom inspection/ grease cove also the top ribbed vent cover. excessive heat in some bellhousings was lessened with top vent. easier/ cheaper to manufacture bellhousing without top vent
-
I better go back to page one "check on the damaged thrust bearing, then make a second Yukon . to have with my Chinese lo mien. someone dumping the clutch regularly would possibly effect the crankshaft.
-
think I need another Yukon Jack BUT the pilot bearing wear would have very little to do with the push/pull clutch arrangement. clutch disc sliding on a pilot shaft SHOULD have slight wear on a bearing. that much movement on the pilot shaft would indicate another problem with transmission front bearing ???yes/no ??
-
spot on with that response.;; Mack to Mack power trains the rear engine mount is on the transmission. when a "foreign transmission "is used having rear engine mounts ON the engine bellhousing< a rear support hanger is used on the transmission. as always there are exceptions to the rule . a Mack engine with rear bellhousing mounts coupled to a RR could possibly eliminate the rear hanger mount.
-
way over due.
-
"pretty weak"is associated with lifting weights. building engines doesn't matter if one or ten are built. each one becomes a learning experience. to the builder. the self willingness to learn more is the difference between a "mechanic" and a professional engine technician. fortunately this site has many professional technician for us to learn from.
-
only in certain areas
-
where is pointer , where is pointer ?; here we are ,here we are. got my vote for sure.
-
Connecticut Construction Trucks
mechohaulic replied to BKrois's topic in Antique and Classic Mack Trucks General Discussion
the better days when new England was Mack country. -
Connecticut Construction Trucks
mechohaulic replied to BKrois's topic in Antique and Classic Mack Trucks General Discussion
who did the impressive build?? not a stock kit having the double lug front hubs. AIM or AITM kit. -
Connecticut Construction Trucks
mechohaulic replied to BKrois's topic in Antique and Classic Mack Trucks General Discussion
the long black "burn barrel" a dead give away it's asphalt, hopper chute behind the loaded Mack. back then 2 - 5 ton drops common. beard asphalt derby .Ct had the low 2 ton drops; I had to back in there also with the DM800, -
not only are there 4 =5 houses next to each other , ever notice the kids don't come out of the house till bus in front and parked !! unfortunately it can also be a sign of the times ; not safe to let children stand near the road with all the sick bast---ds prowling the streets. yrs back us kids were outside working or playing ;it was a neighborhood thing= we all knew each other. seems todays world kids stay inside on electronic games .
-
winter school bus riding back in CT more then once it was :: everyone to the back , need more weight on the tires. and we had bus stops =rain/snow/ etc it was a 1/4 mile walk to the bus stop NOT bus stopping at every driveway,
-
jim beam /jack daniels on all the shelves ; personal preference is Yukon Jack fire. taste better then the other two, 100proof, difficult to find (like the Moxie soda). local package store keeps small inventory of Yukon for me. did find some Moxie in Big Y grocery store; apparently it is owned by Coke now; nothing more then soda taste.
-
bought two cans of SPAM yesterday! even they make different flavors now . slice it thin / fry it up put it between two pieces of 1/4 thick tofu. the "golden yrs my ass!!
-
stating CT DMV is a nightmare definitely is being polite!. based on experience at one ; another factor to consider is ask around to those who had the unfortunate time at them. I spent hrs at one only to be told "paperwork is wrong" ,drove directly to another 20 minutes away (located in smaller town ) :: in /out 30 minutes with all documents I needed. some locations are known as places to stay away from. the classic vehicle plates seem to be another gimmick in CT lately. long as they meet stated requirements plates are given, many of which are NOT true classics. another joke is the use of camper plates; trailers hauling wood on flat deck !!
-
thanks; that's why it's still open=two different tracks being discussed.
-
yrs back having the two "49 Macks , I became a member of both ATHS/ATCA, Macks are gone so are both memberships. I came across an issue of Double Clutch recently :what box it's in =anybody's guess . few challenges at the moment , going through boxes of items scaling back personal belongings.


BMT Forum Logo
