


mattb73lt
-
Posts
1,415 -
Joined
-
Last visited
-
Days Won
146
Content Type
Profiles
Forums
Gallery
Events
Blogs
BMT Wiki
Collections
Store
Everything posted by mattb73lt
-

Coca Cola LJ Mack colors
mattb73lt replied to 1961H67's topic in Antique and Classic Mack Trucks General Discussion
No direct answer, but inquiries to Coke or Mack archives for photographs? Or maybe a Coke product collector's club as another source? Barring that, maybe some light sanding in key areas, like you've shown on the radiator shroud, to determine break points and colors of the paint scheme? My cab was painted mostly green over the factory red for the company it was leased to, with a LOT of pin striping to dress it up. Most of it lost to time and repaints and not how I wanted to go with it, just the overall red. Just some thoughts.
-
B-73 Restoration
mattb73lt replied to mattb73lt's topic in Antique and Classic Mack Trucks General Discussion
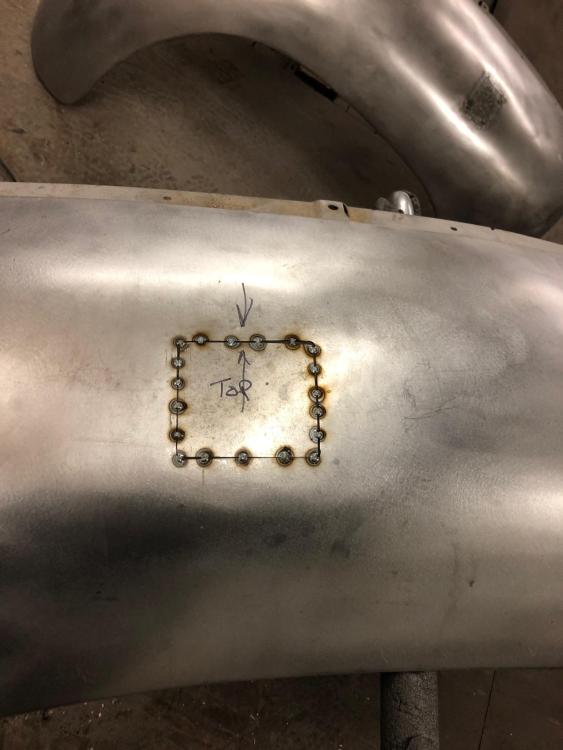
Try to leave a little more of a gap in spacing the pieces together, don't butt the edges together before you tack them. It helps with alignment, expansion and will give you a better/flatter weld. -
B-73 Restoration
mattb73lt replied to mattb73lt's topic in Antique and Classic Mack Trucks General Discussion
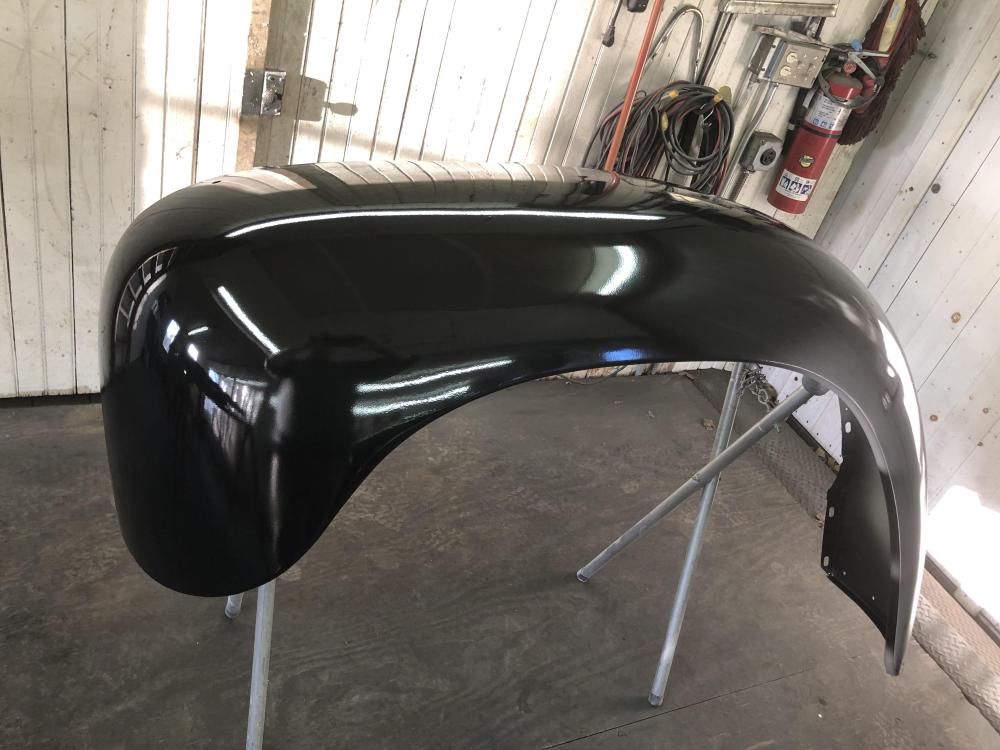
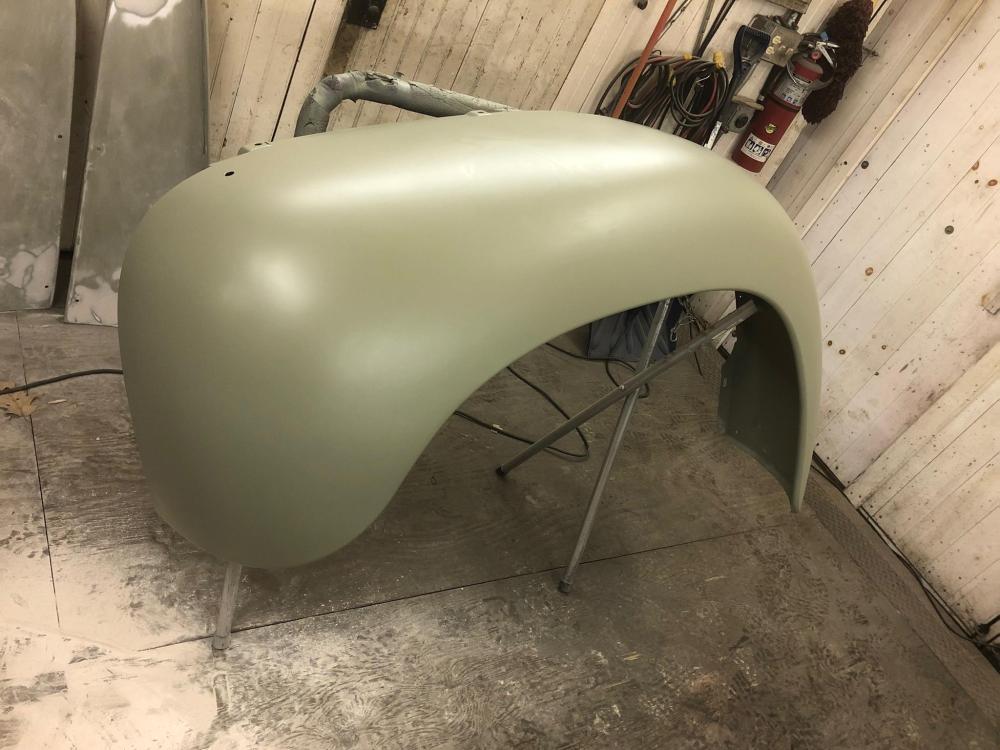
The good news is those horrific patches are invisible, now.
-
B-73 Restoration
mattb73lt replied to mattb73lt's topic in Antique and Classic Mack Trucks General Discussion
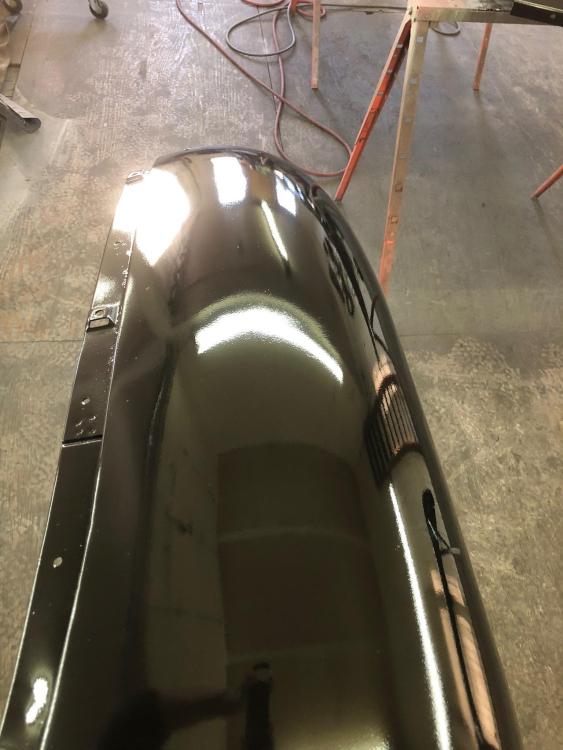
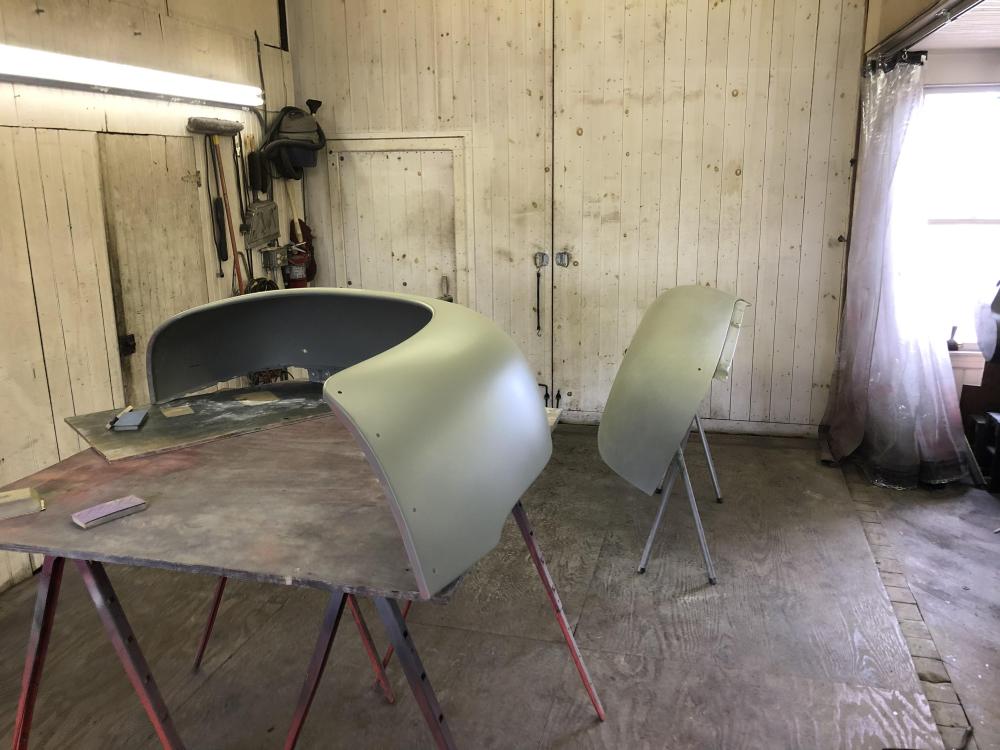
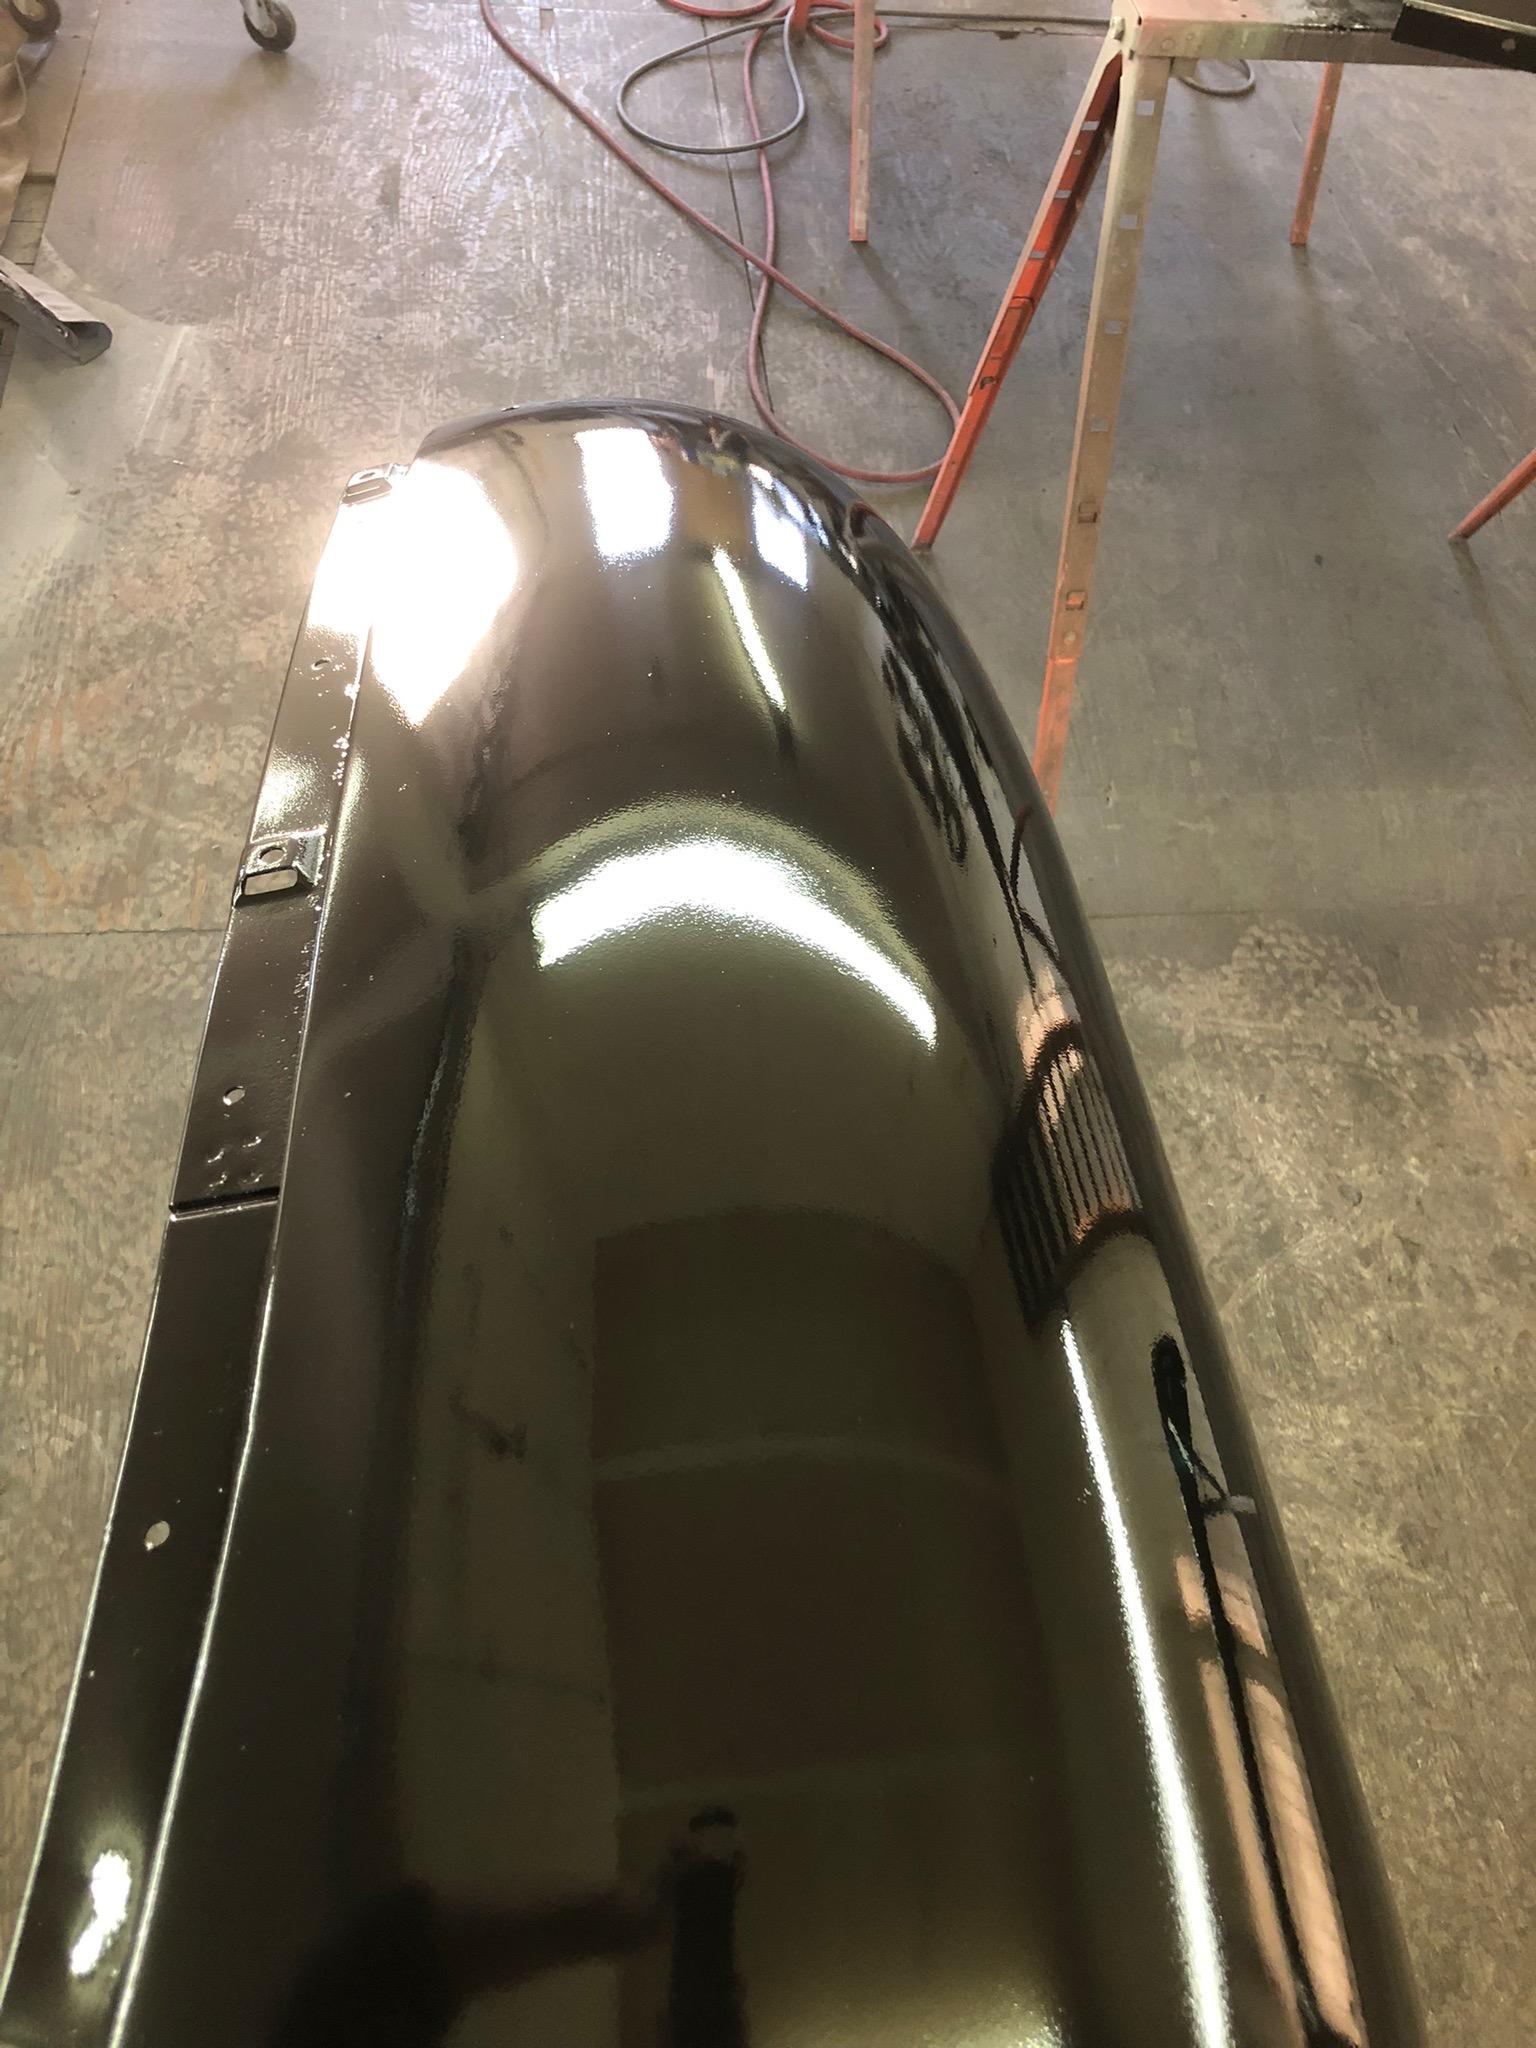
It was still a little wet when I took those pics, it'll flatten out a little when it cures up. Once wet sanded it makes a really good base for color. -
B-73 Restoration
mattb73lt replied to mattb73lt's topic in Antique and Classic Mack Trucks General Discussion
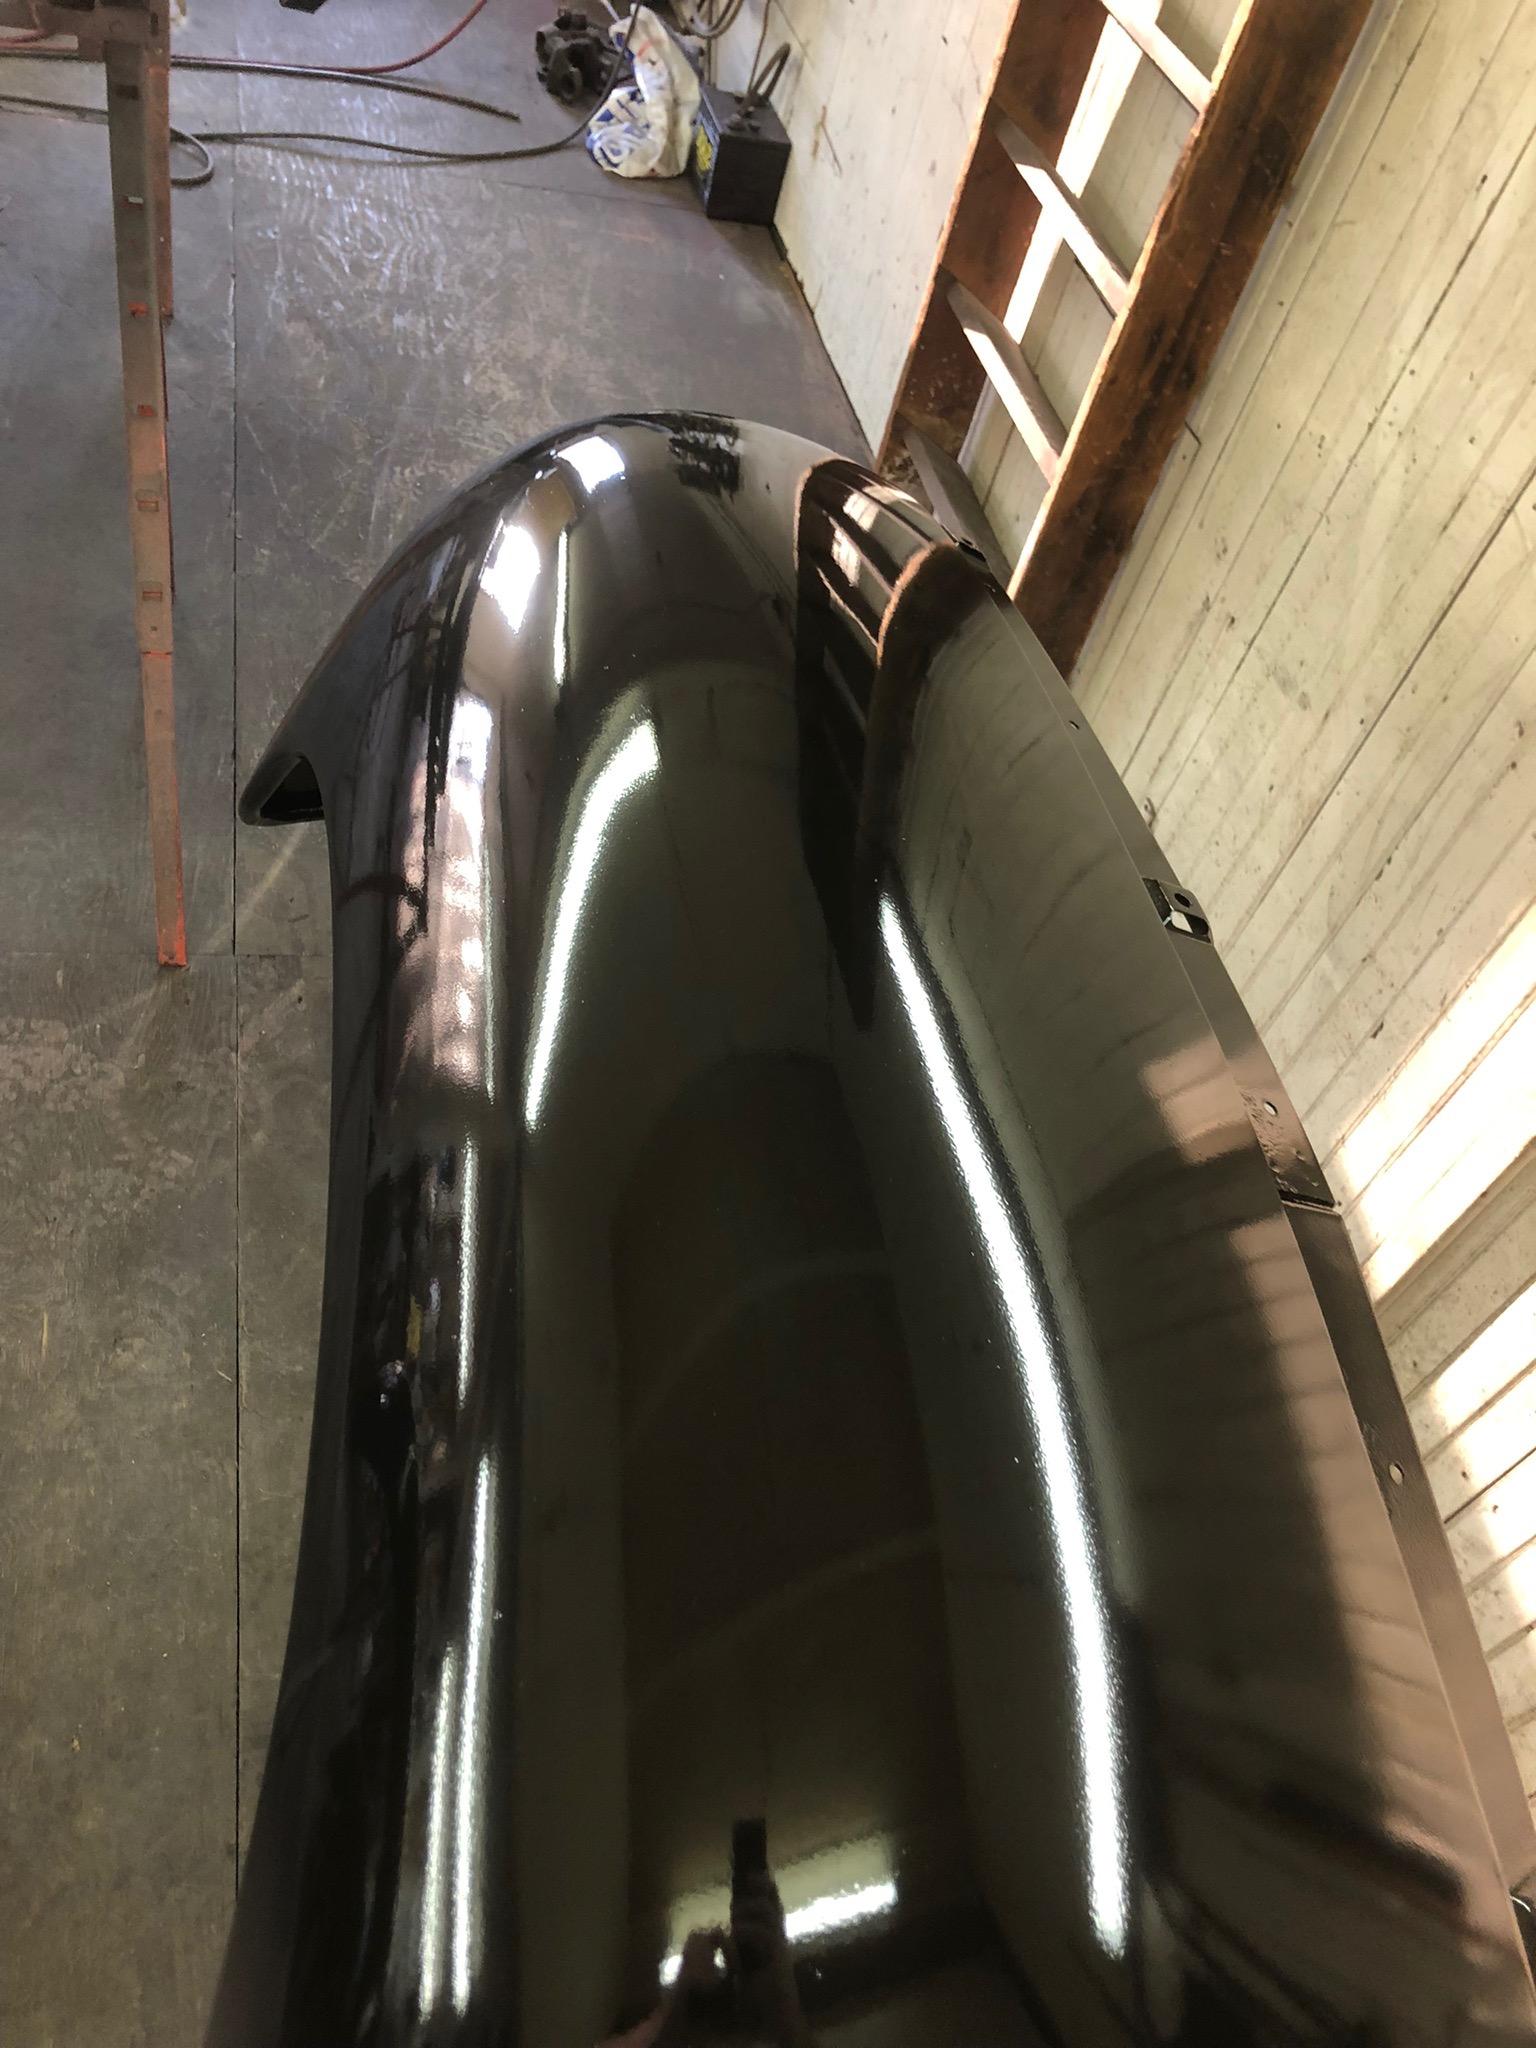
doubleclutchinweasel, this should whet your appetite for progress a little more! Epoxy primer I just laid down. Enjoy!! 😂🤣😂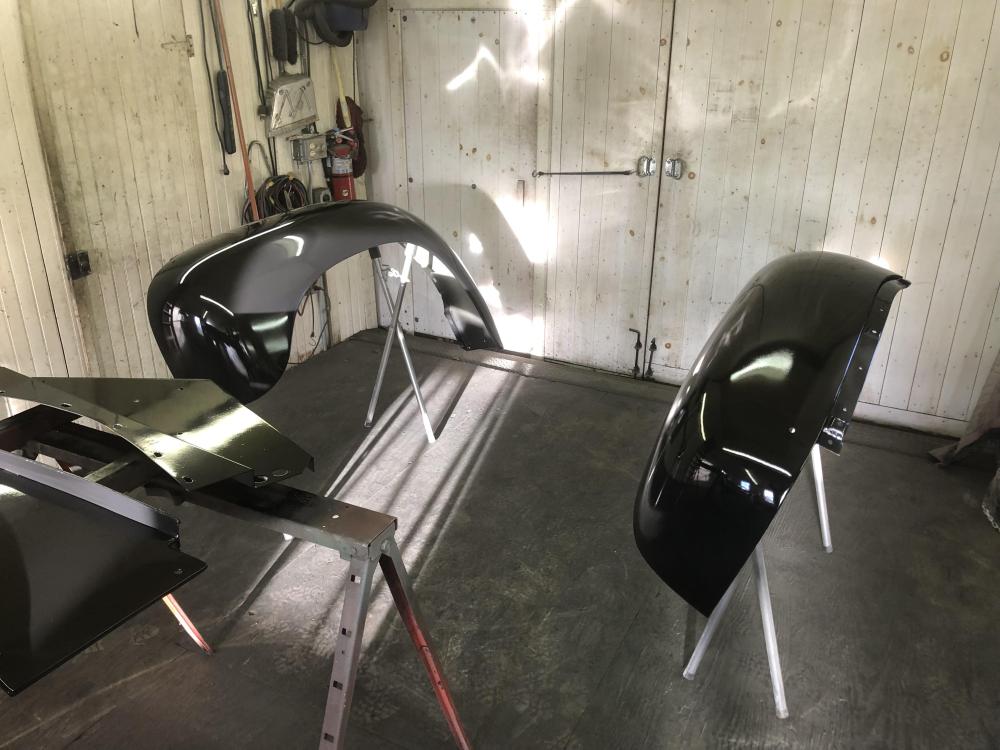
-
B-73 Restoration
mattb73lt replied to mattb73lt's topic in Antique and Classic Mack Trucks General Discussion
And the cab is raring to go, too!! It’s just sitting there waiting for it’s rebuilt home!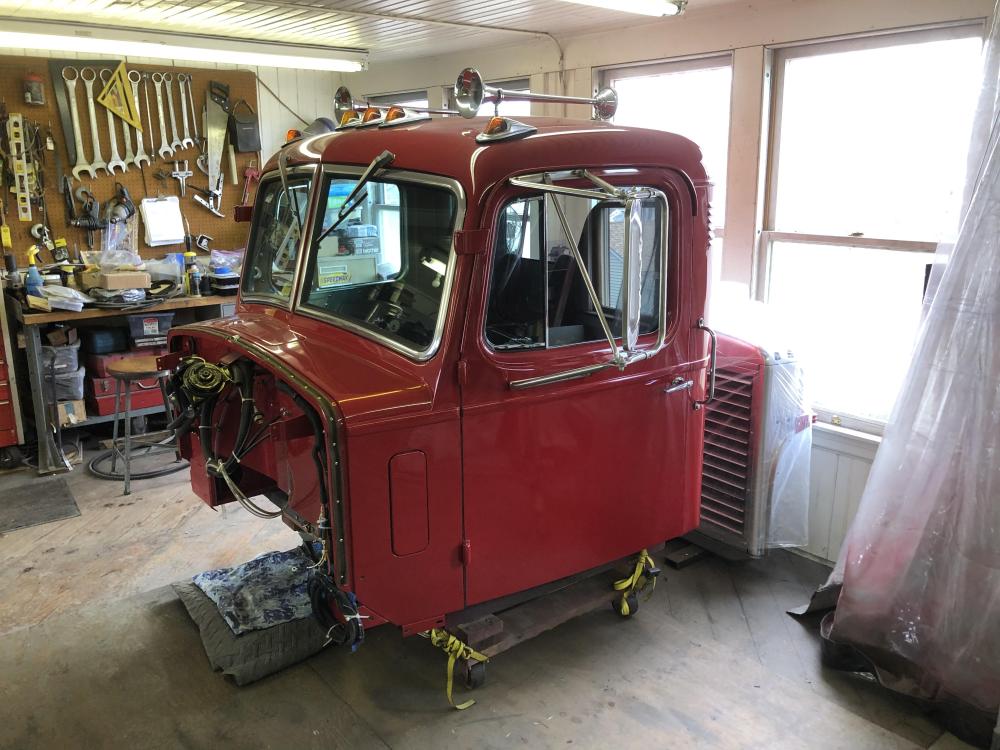
-
B-73 Restoration
mattb73lt replied to mattb73lt's topic in Antique and Classic Mack Trucks General Discussion
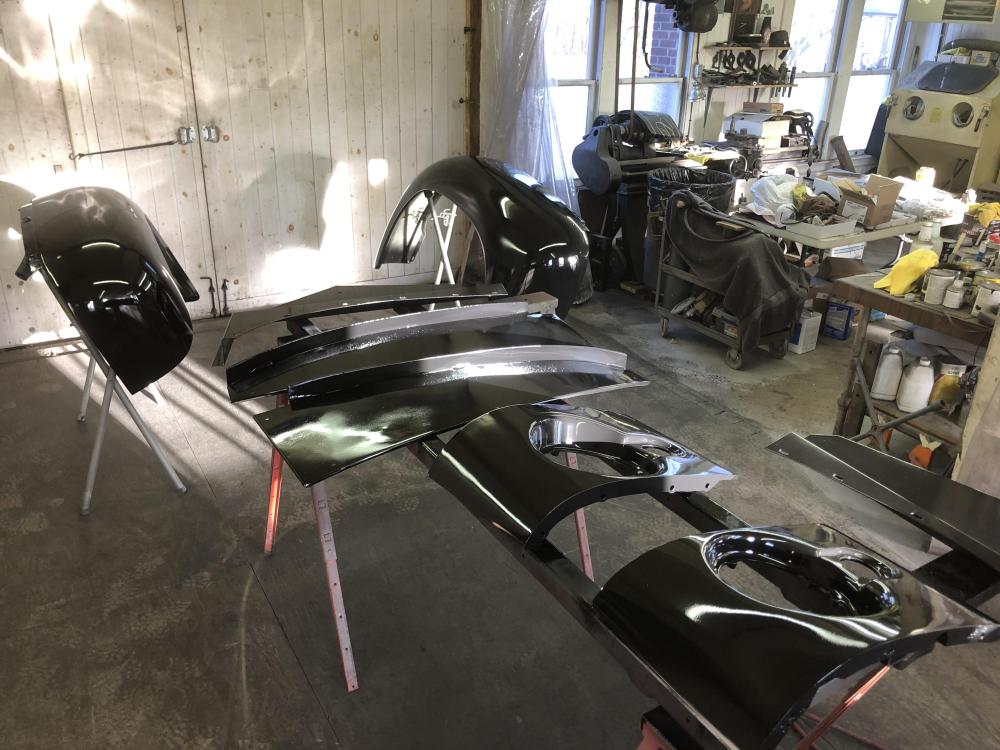
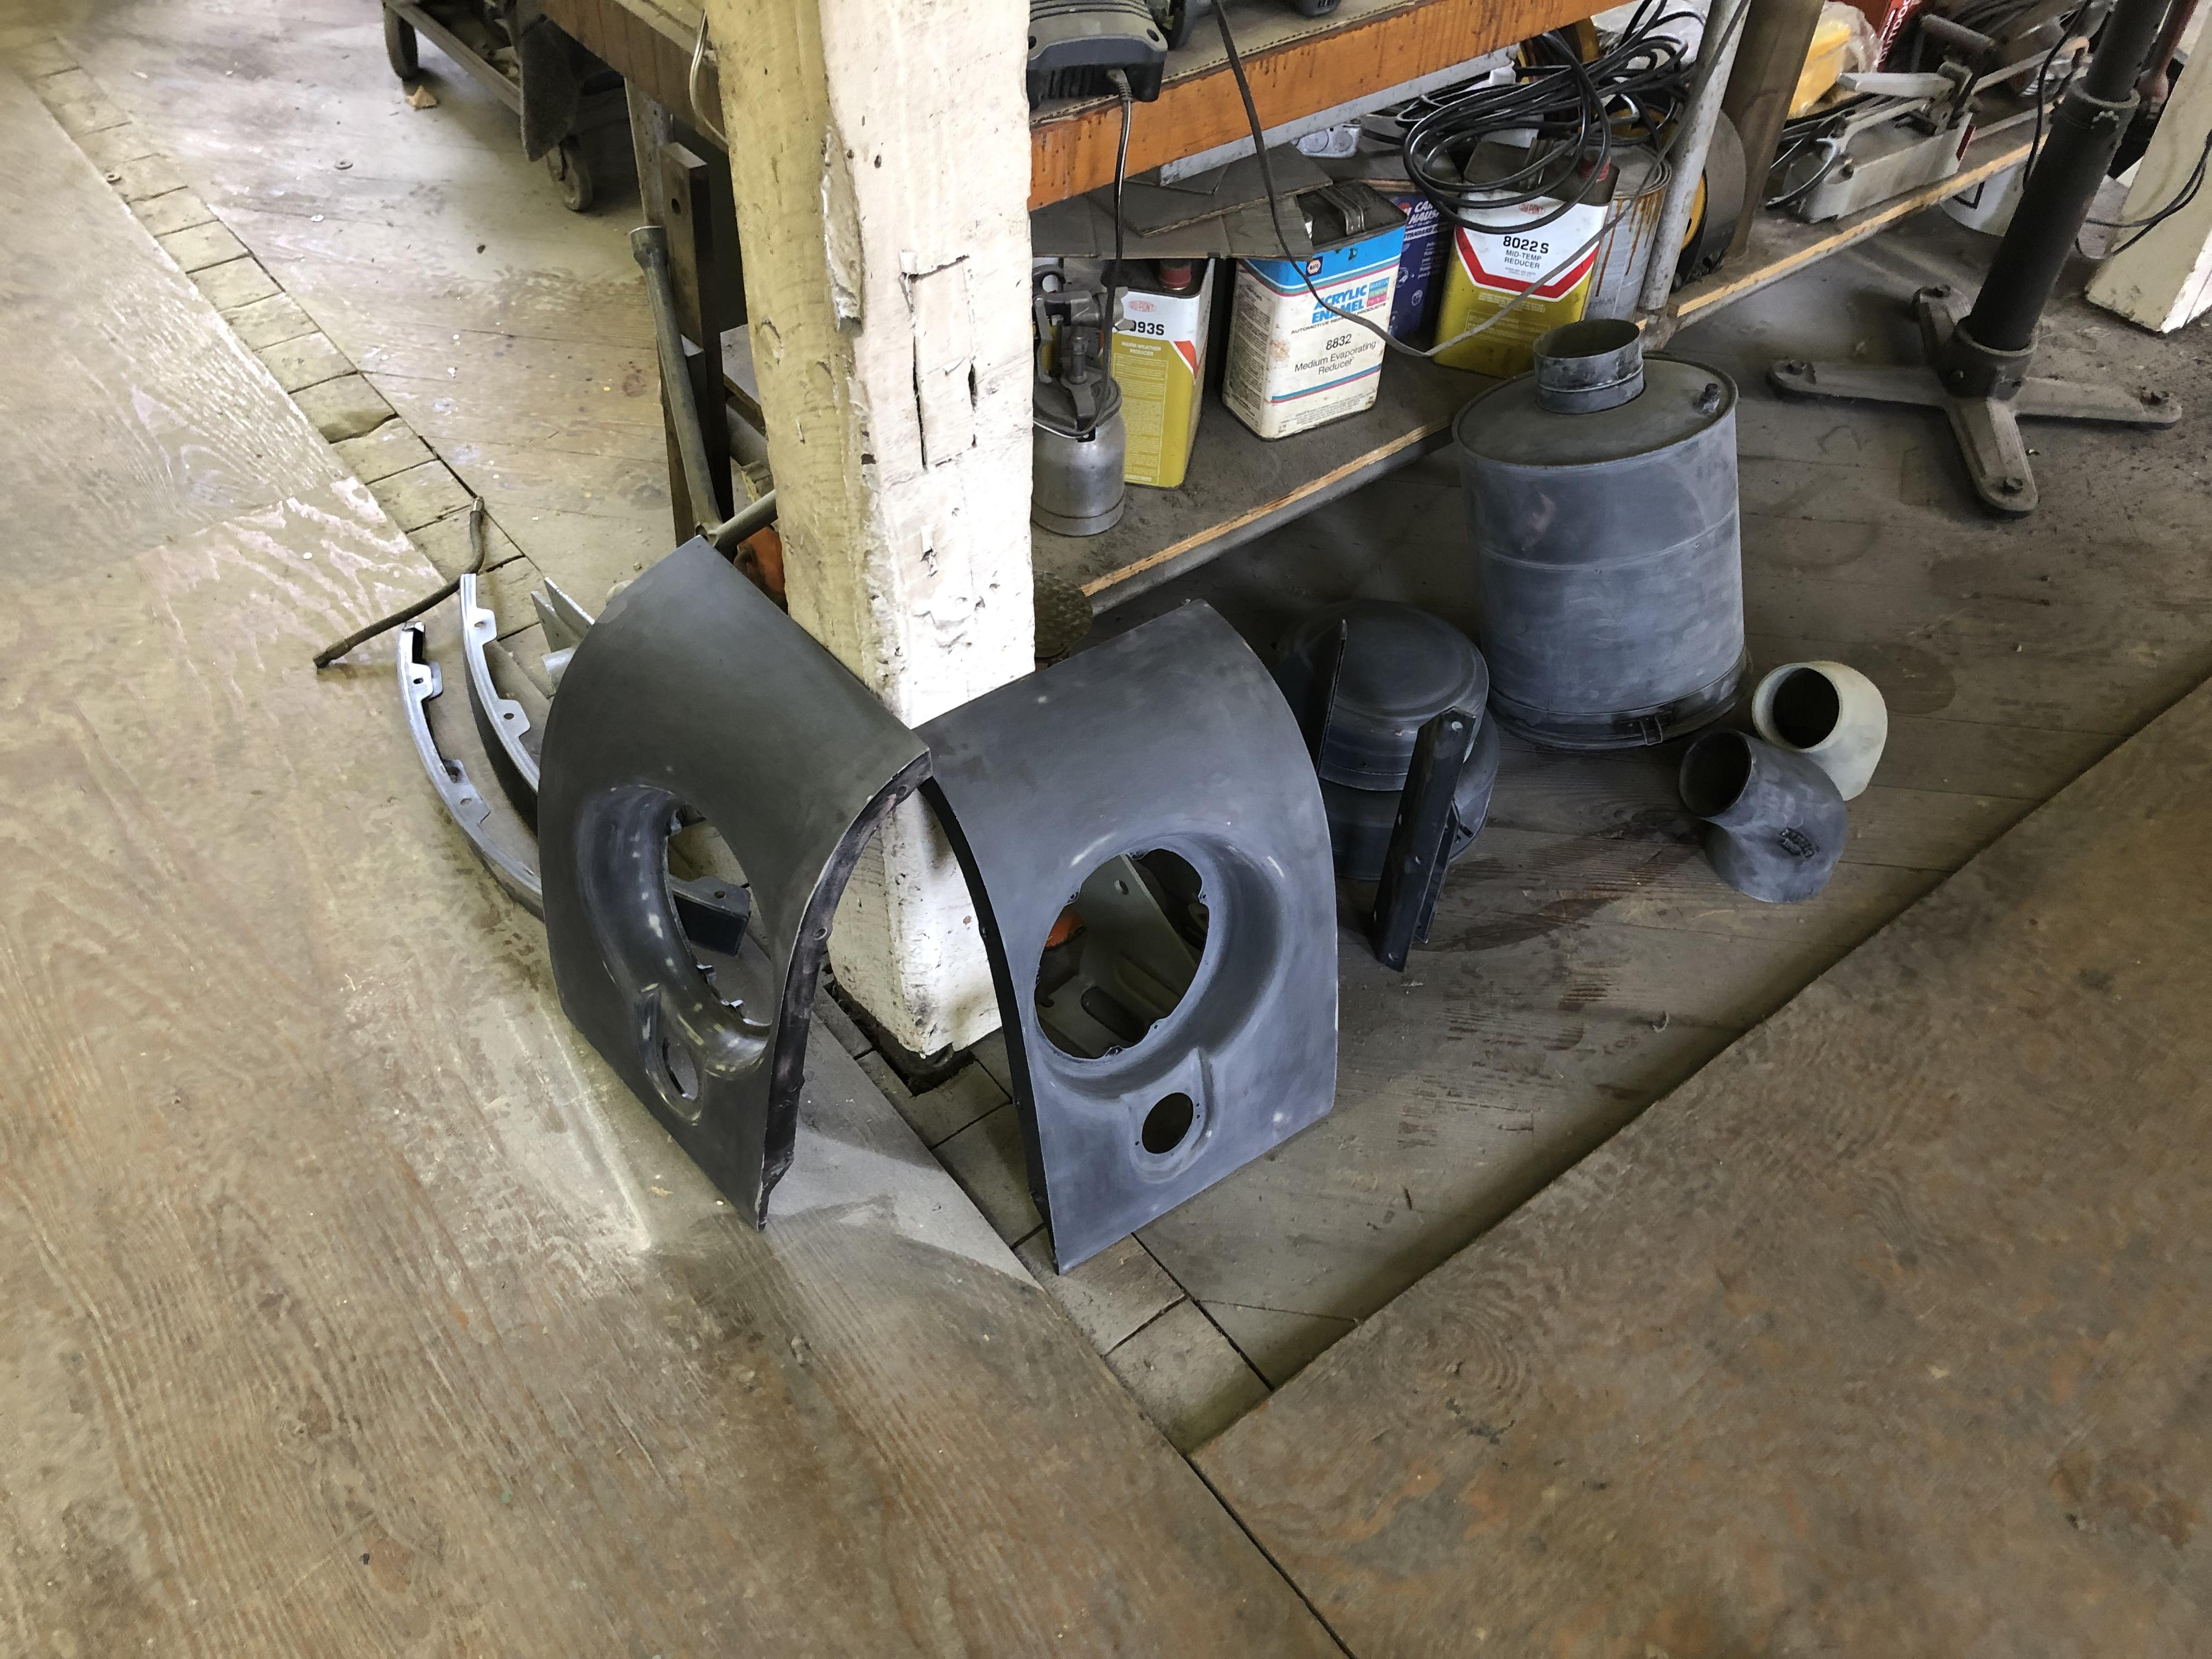
Ok, here you go!! Toiling away on this breath taking work, kinda like watching paint rust. Sanding, sanding and more primer. This part sucks and I hate the mess, but about to turn the corner and throw down some color in a week or so!! Today’s grind and some black epoxy primer to lay down later today! Lots of pieces just about ready!
-
B-73 Restoration
mattb73lt replied to mattb73lt's topic in Antique and Classic Mack Trucks General Discussion
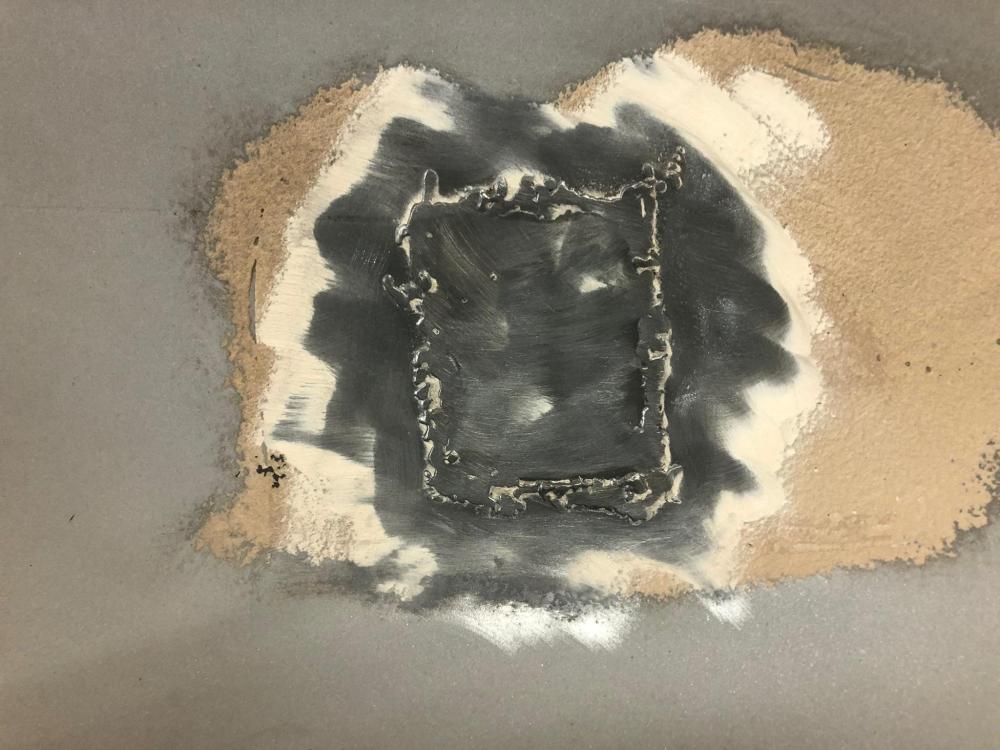
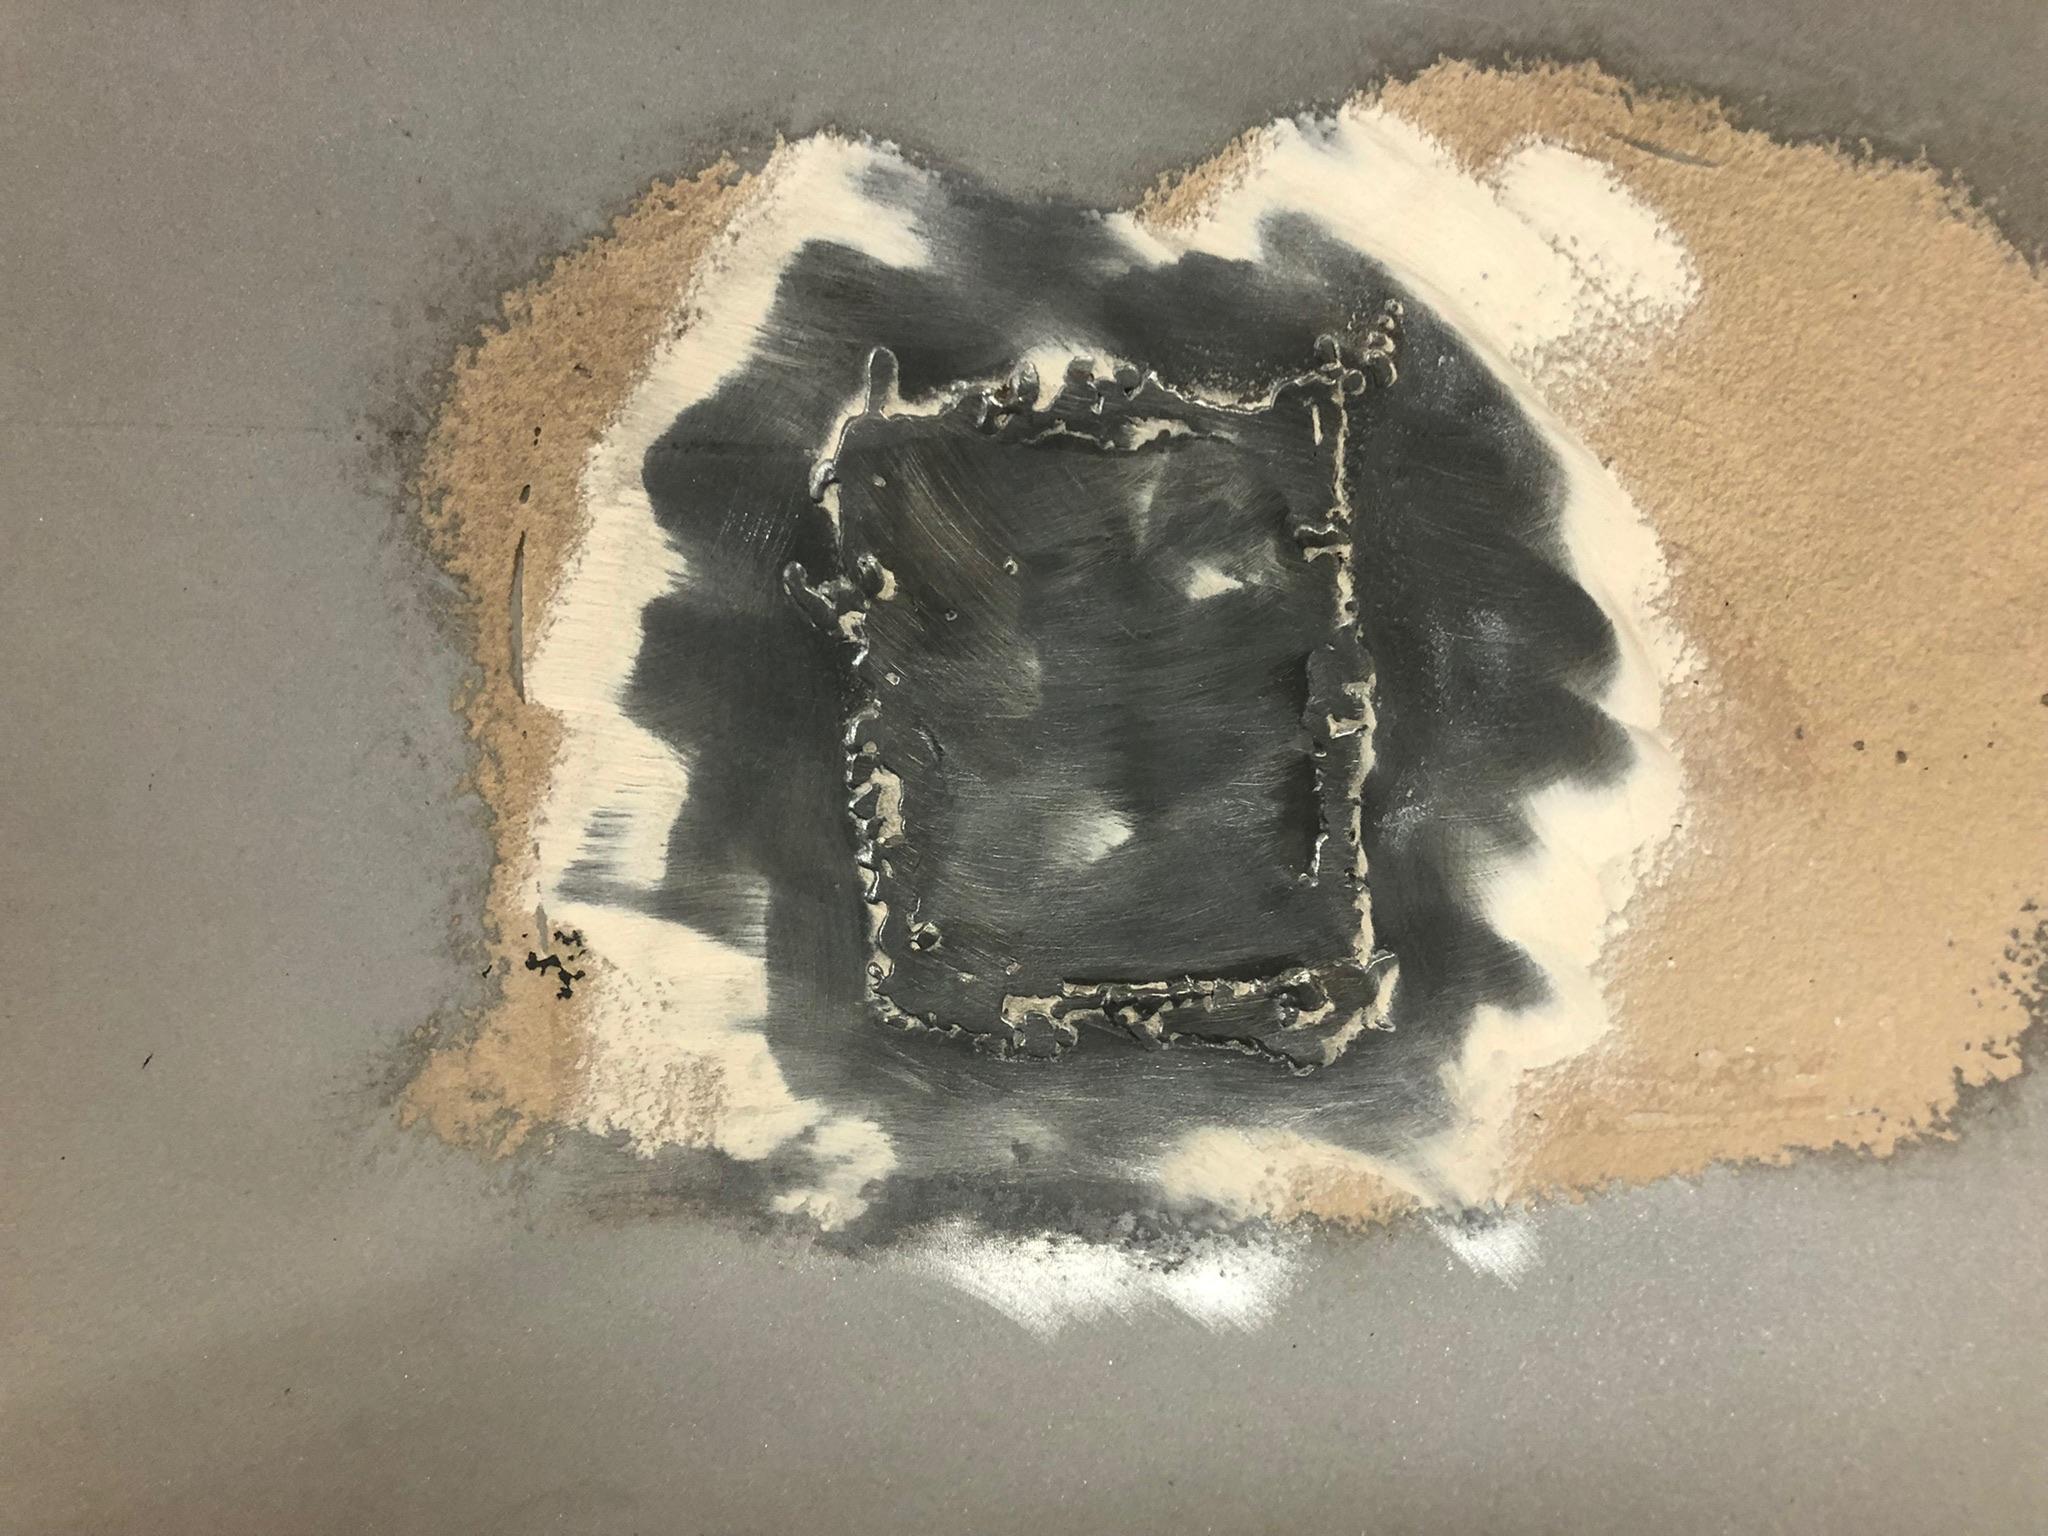
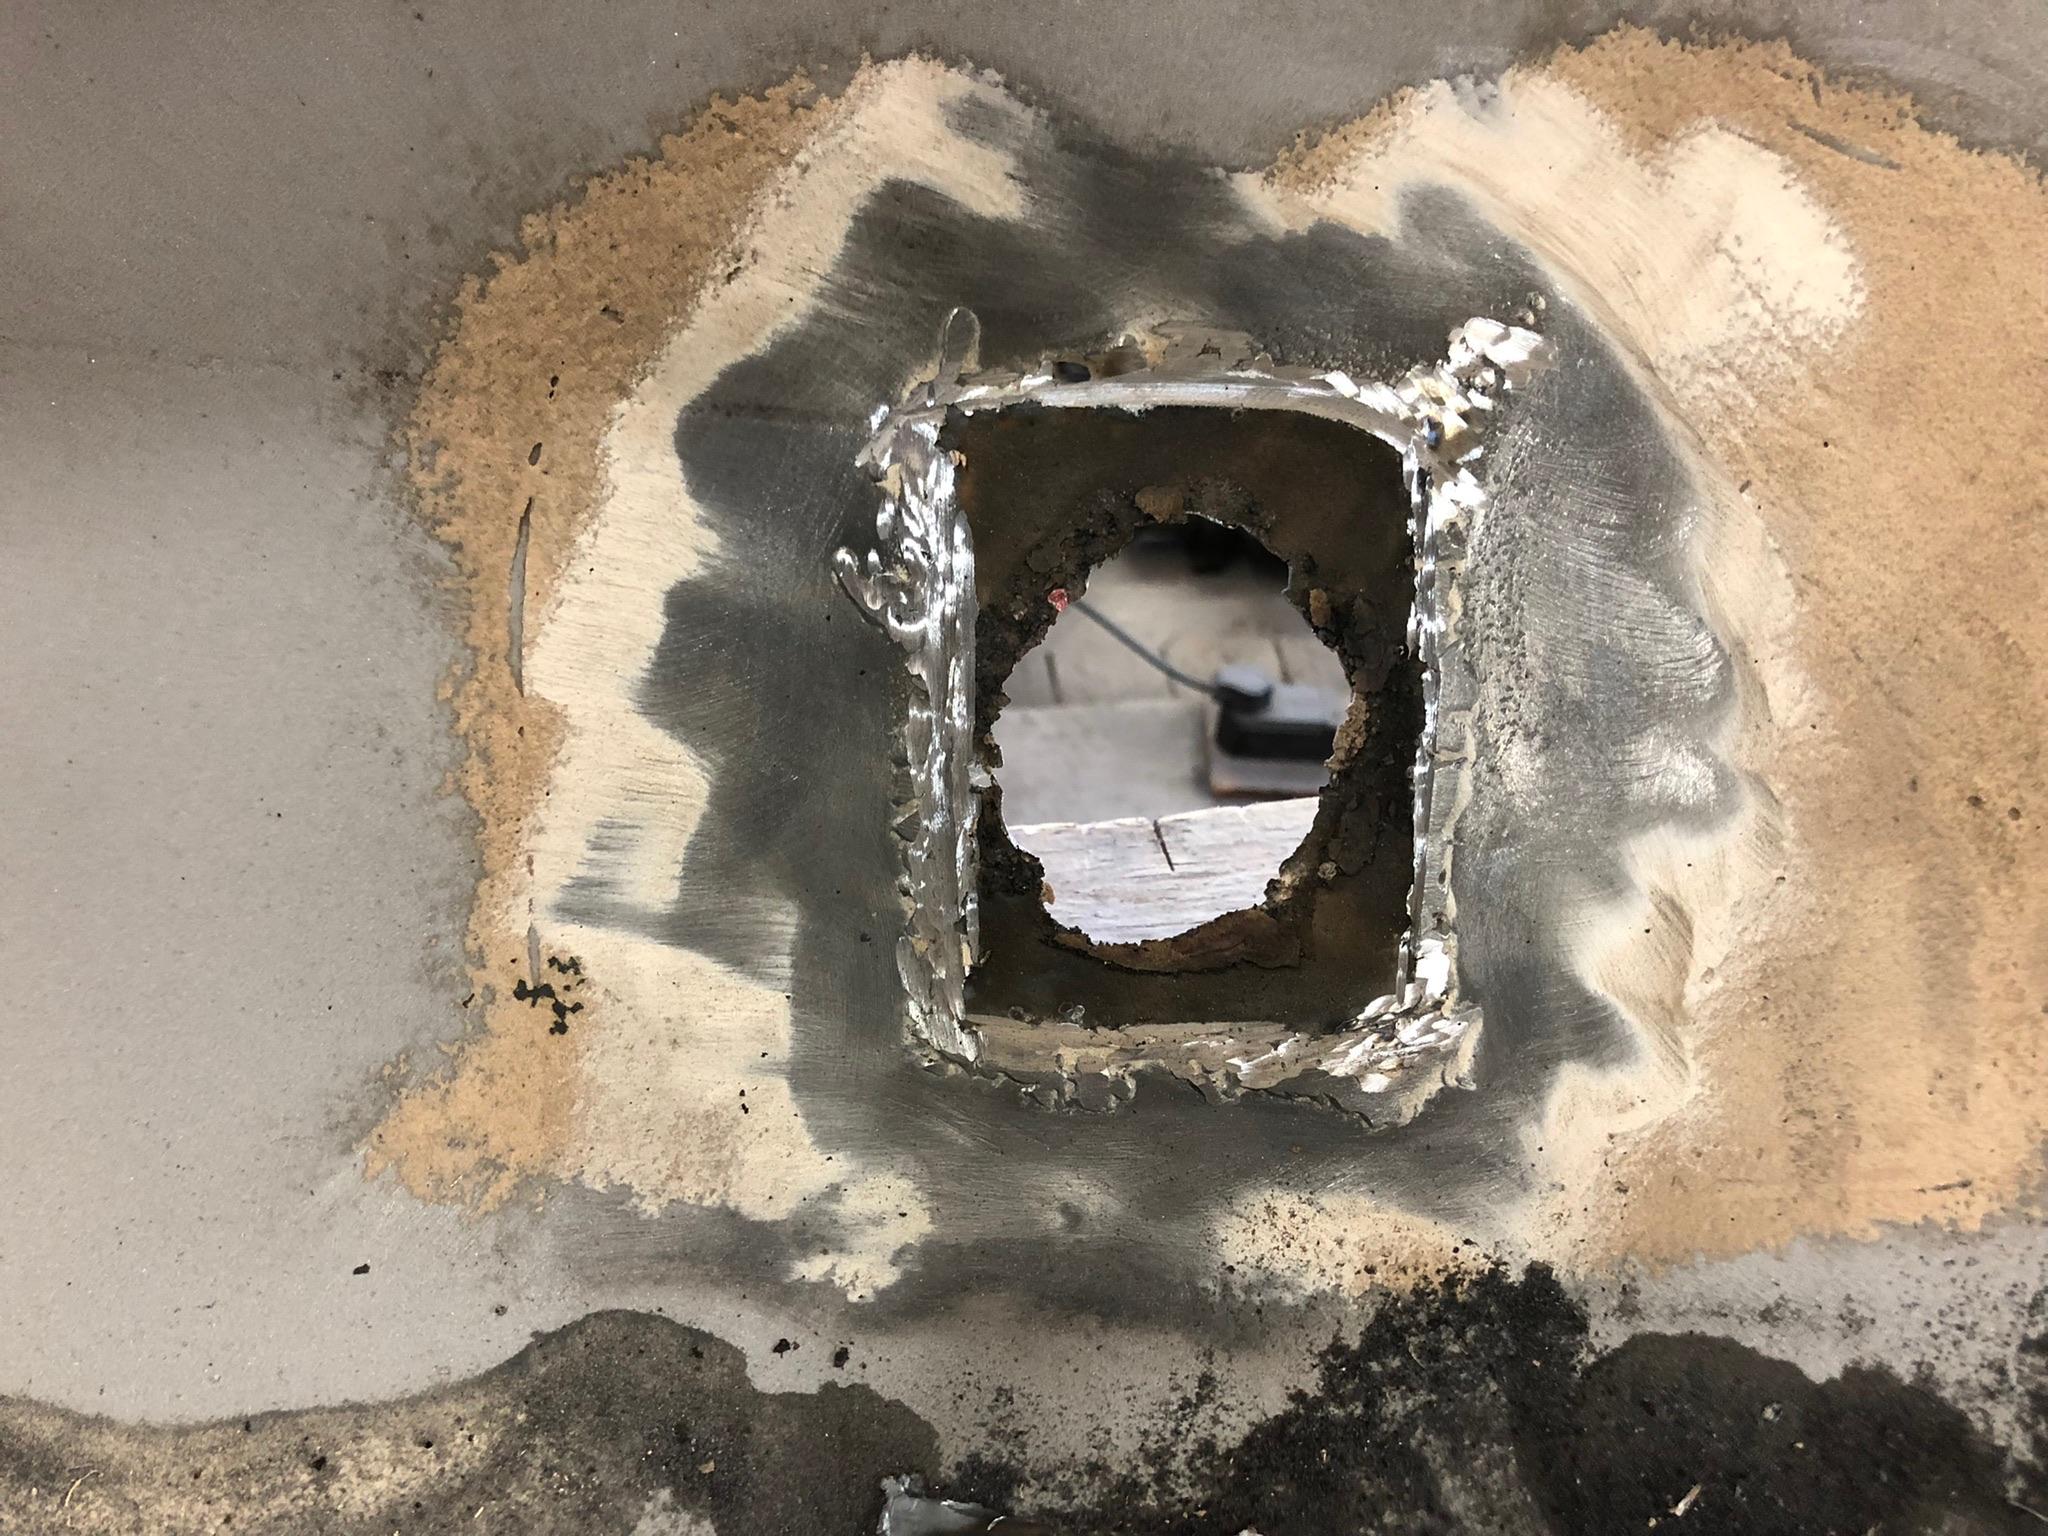
This is the problem with this type of quick fix, continued rust. This repair was about to fail and get real ugly. If you overlook it, it’s going to ruin your work. The dark area was entrapped rust under the patch. Fix it right and it’s permanently gone. Both fenders were done this way.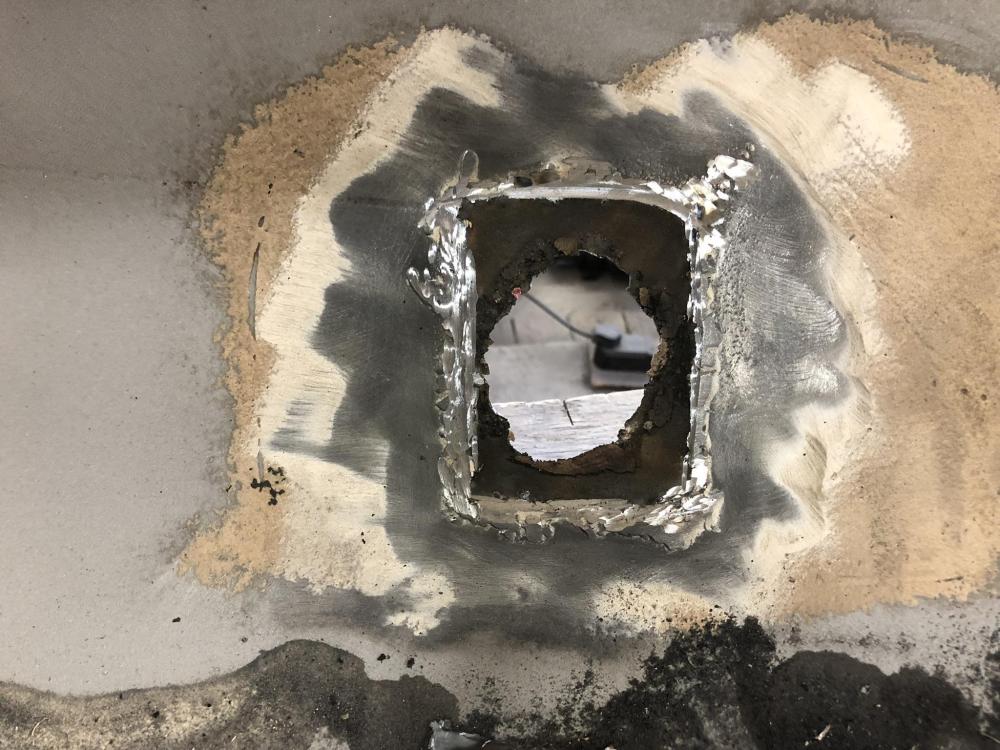

-
B-73 Restoration
mattb73lt replied to mattb73lt's topic in Antique and Classic Mack Trucks General Discussion
It’s called stitching. Once aligned and tacked in place, you work your way around the repair. No more than an inch at a time, depending on thickness of material and never next to the last weld. I usually work several separate repairs at once, so I don’t heat an individual repair excessively and cause warping. -
B-61 Battery Cable Routing
mattb73lt replied to Frank Y's topic in Antique and Classic Mack Trucks General Discussion
Are you running a 12 volt starter? When I converted my B42, I added two R model battery boxes. I probably only needed one with two six volt batteries in series. Anyway, I ran the cables under the boxes and up the left frame rail on the left box. Out of the right box, underneath the box, up the right rail to the cross member under the cab back, then over to the left rail to join the others. So I have four cables to the starter, 2 pos and 2 neg, attached to the studs on it. I used 2/0 AWG welding cable as it easy to form the bends needed. -
B-73 Restoration
mattb73lt replied to mattb73lt's topic in Antique and Classic Mack Trucks General Discussion
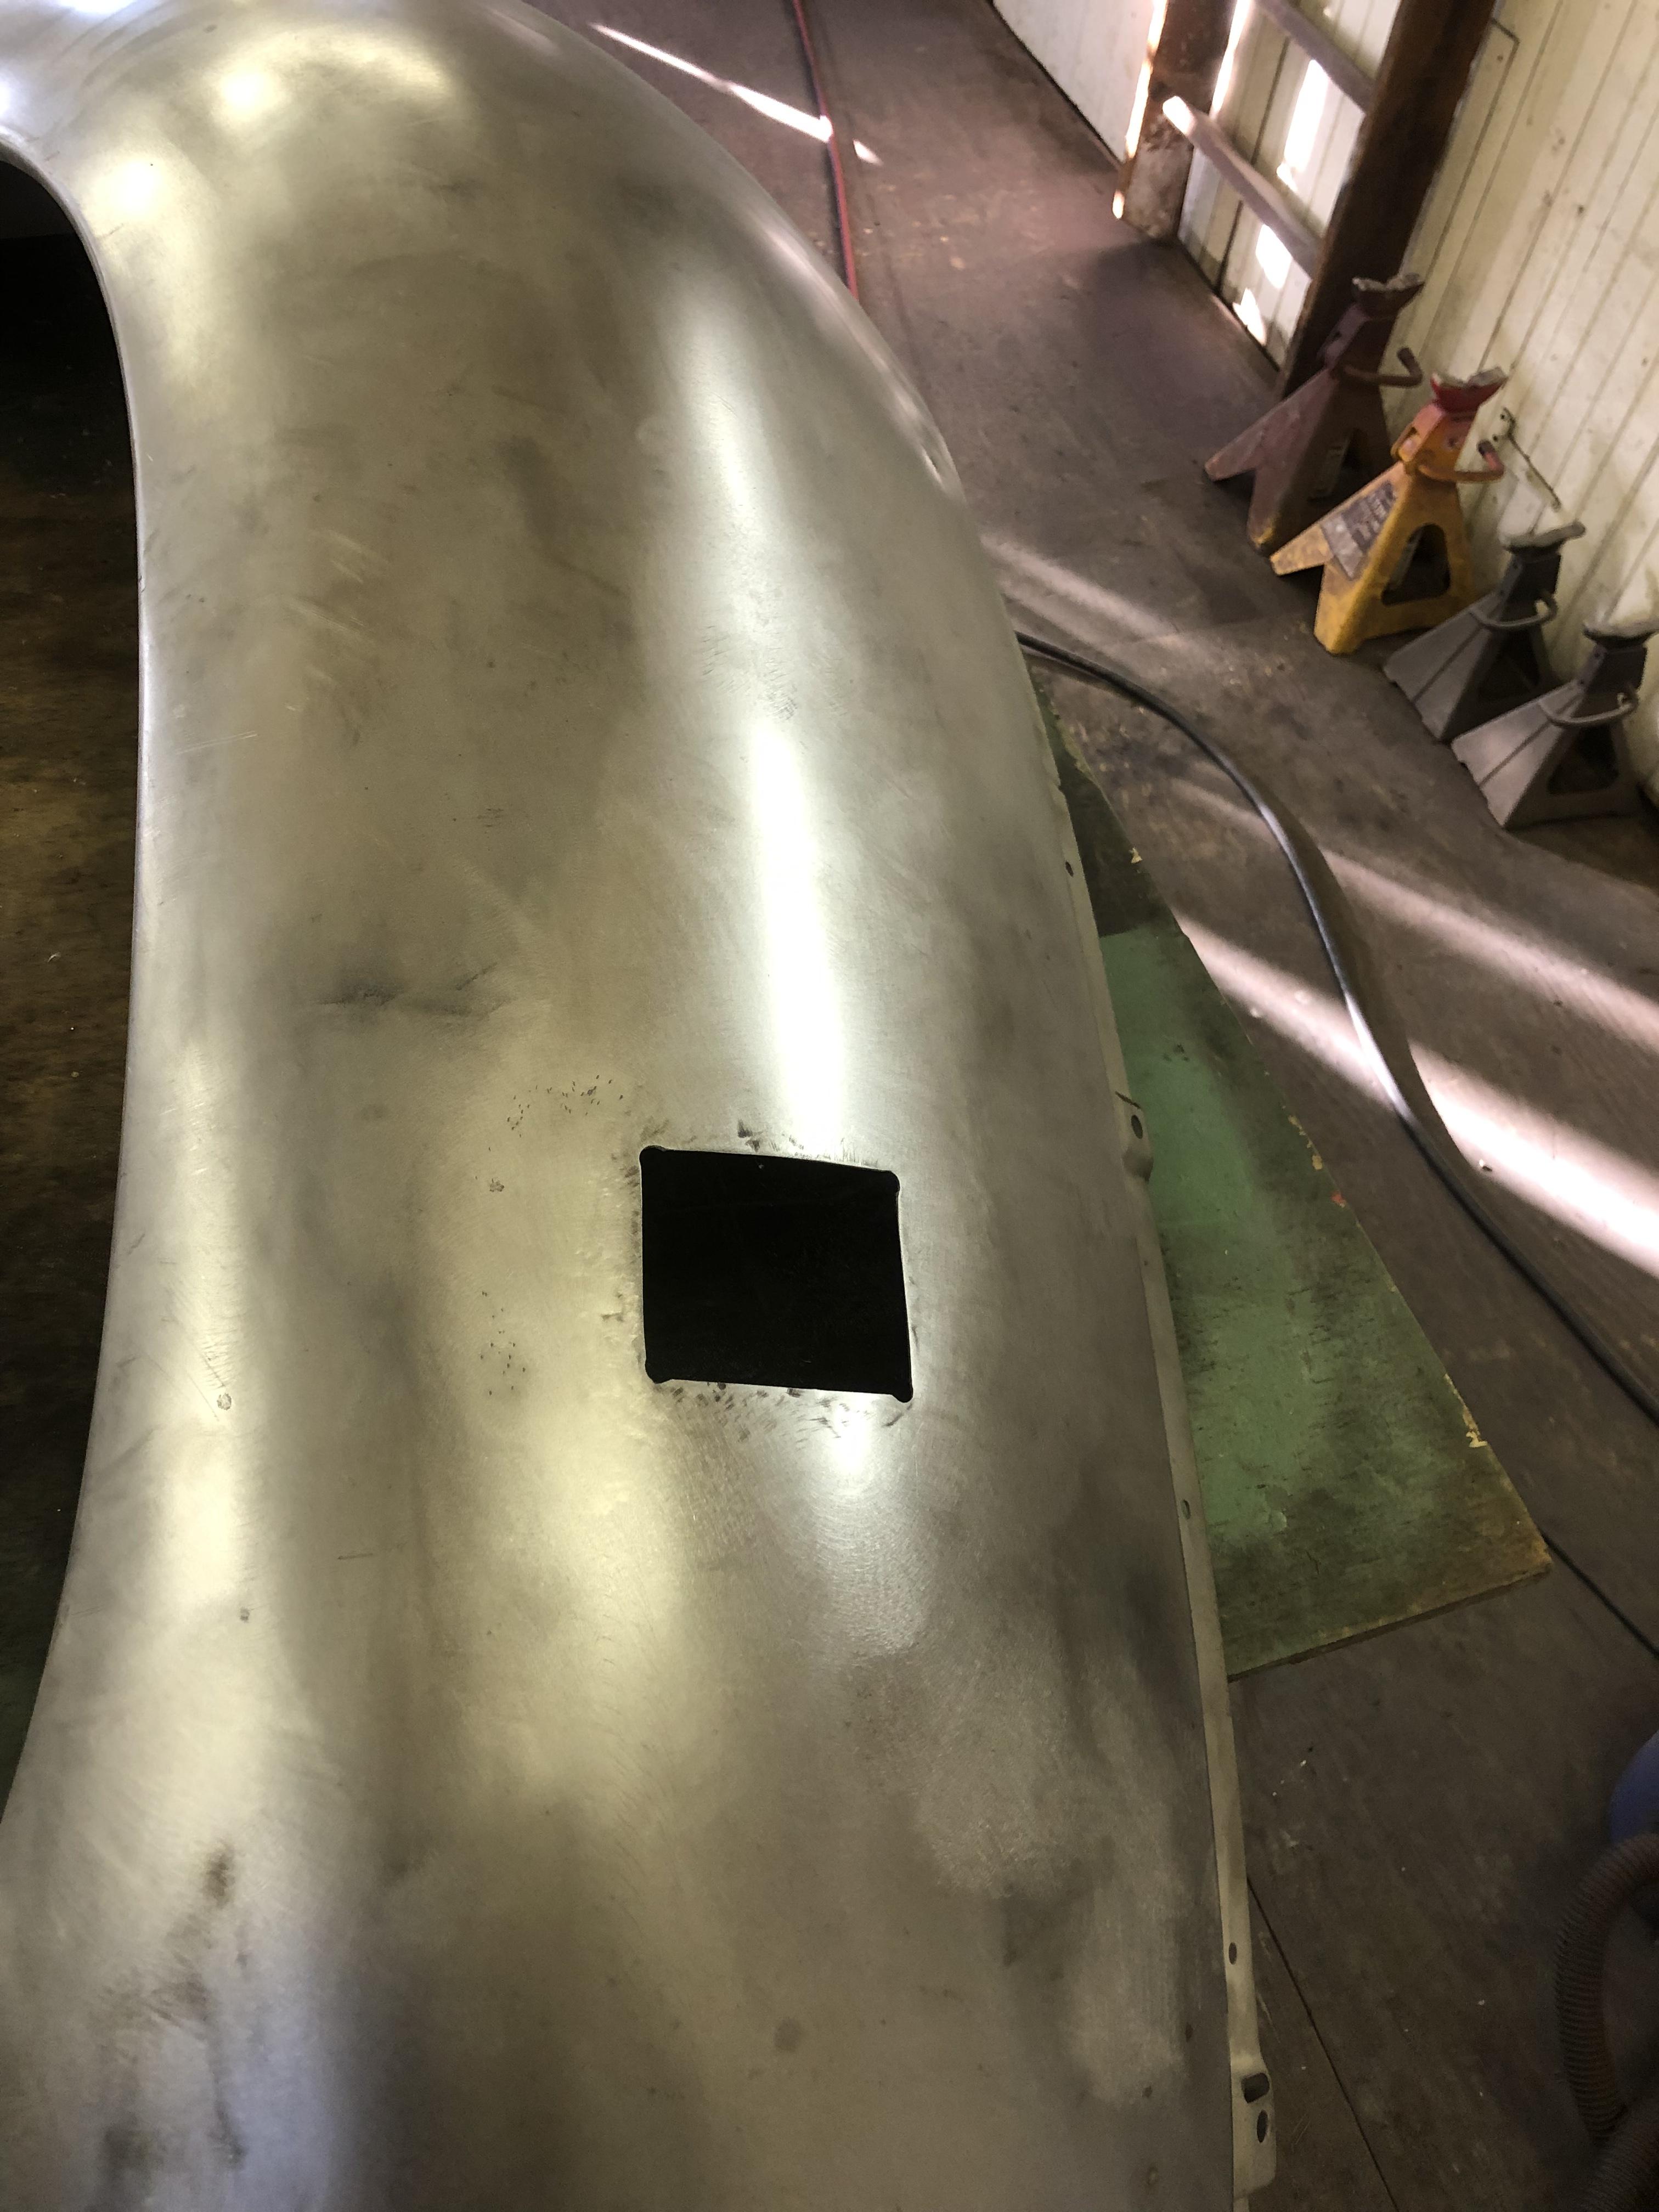
Another reason why this takes so long, fixing other people’s crap repairs. When the fenders came back from blasting there was still a few large patches of filler in the center of both of them. I knew something was hiding in there and there was. Someone scabbed over where the turn signals were and they rotted through on the under side with a patch, pounded the repair down on the top side then bondo’d over it. The only way to really fix it is to cut the whole thing out back to good metal and form a patch to fill it. After hammering to form and then welding it in, it only takes a few skim coats of filler to finish it off.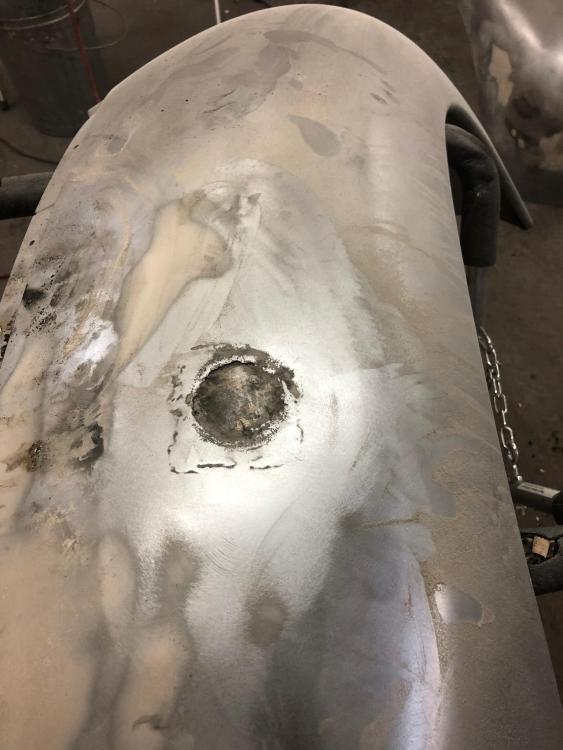

-
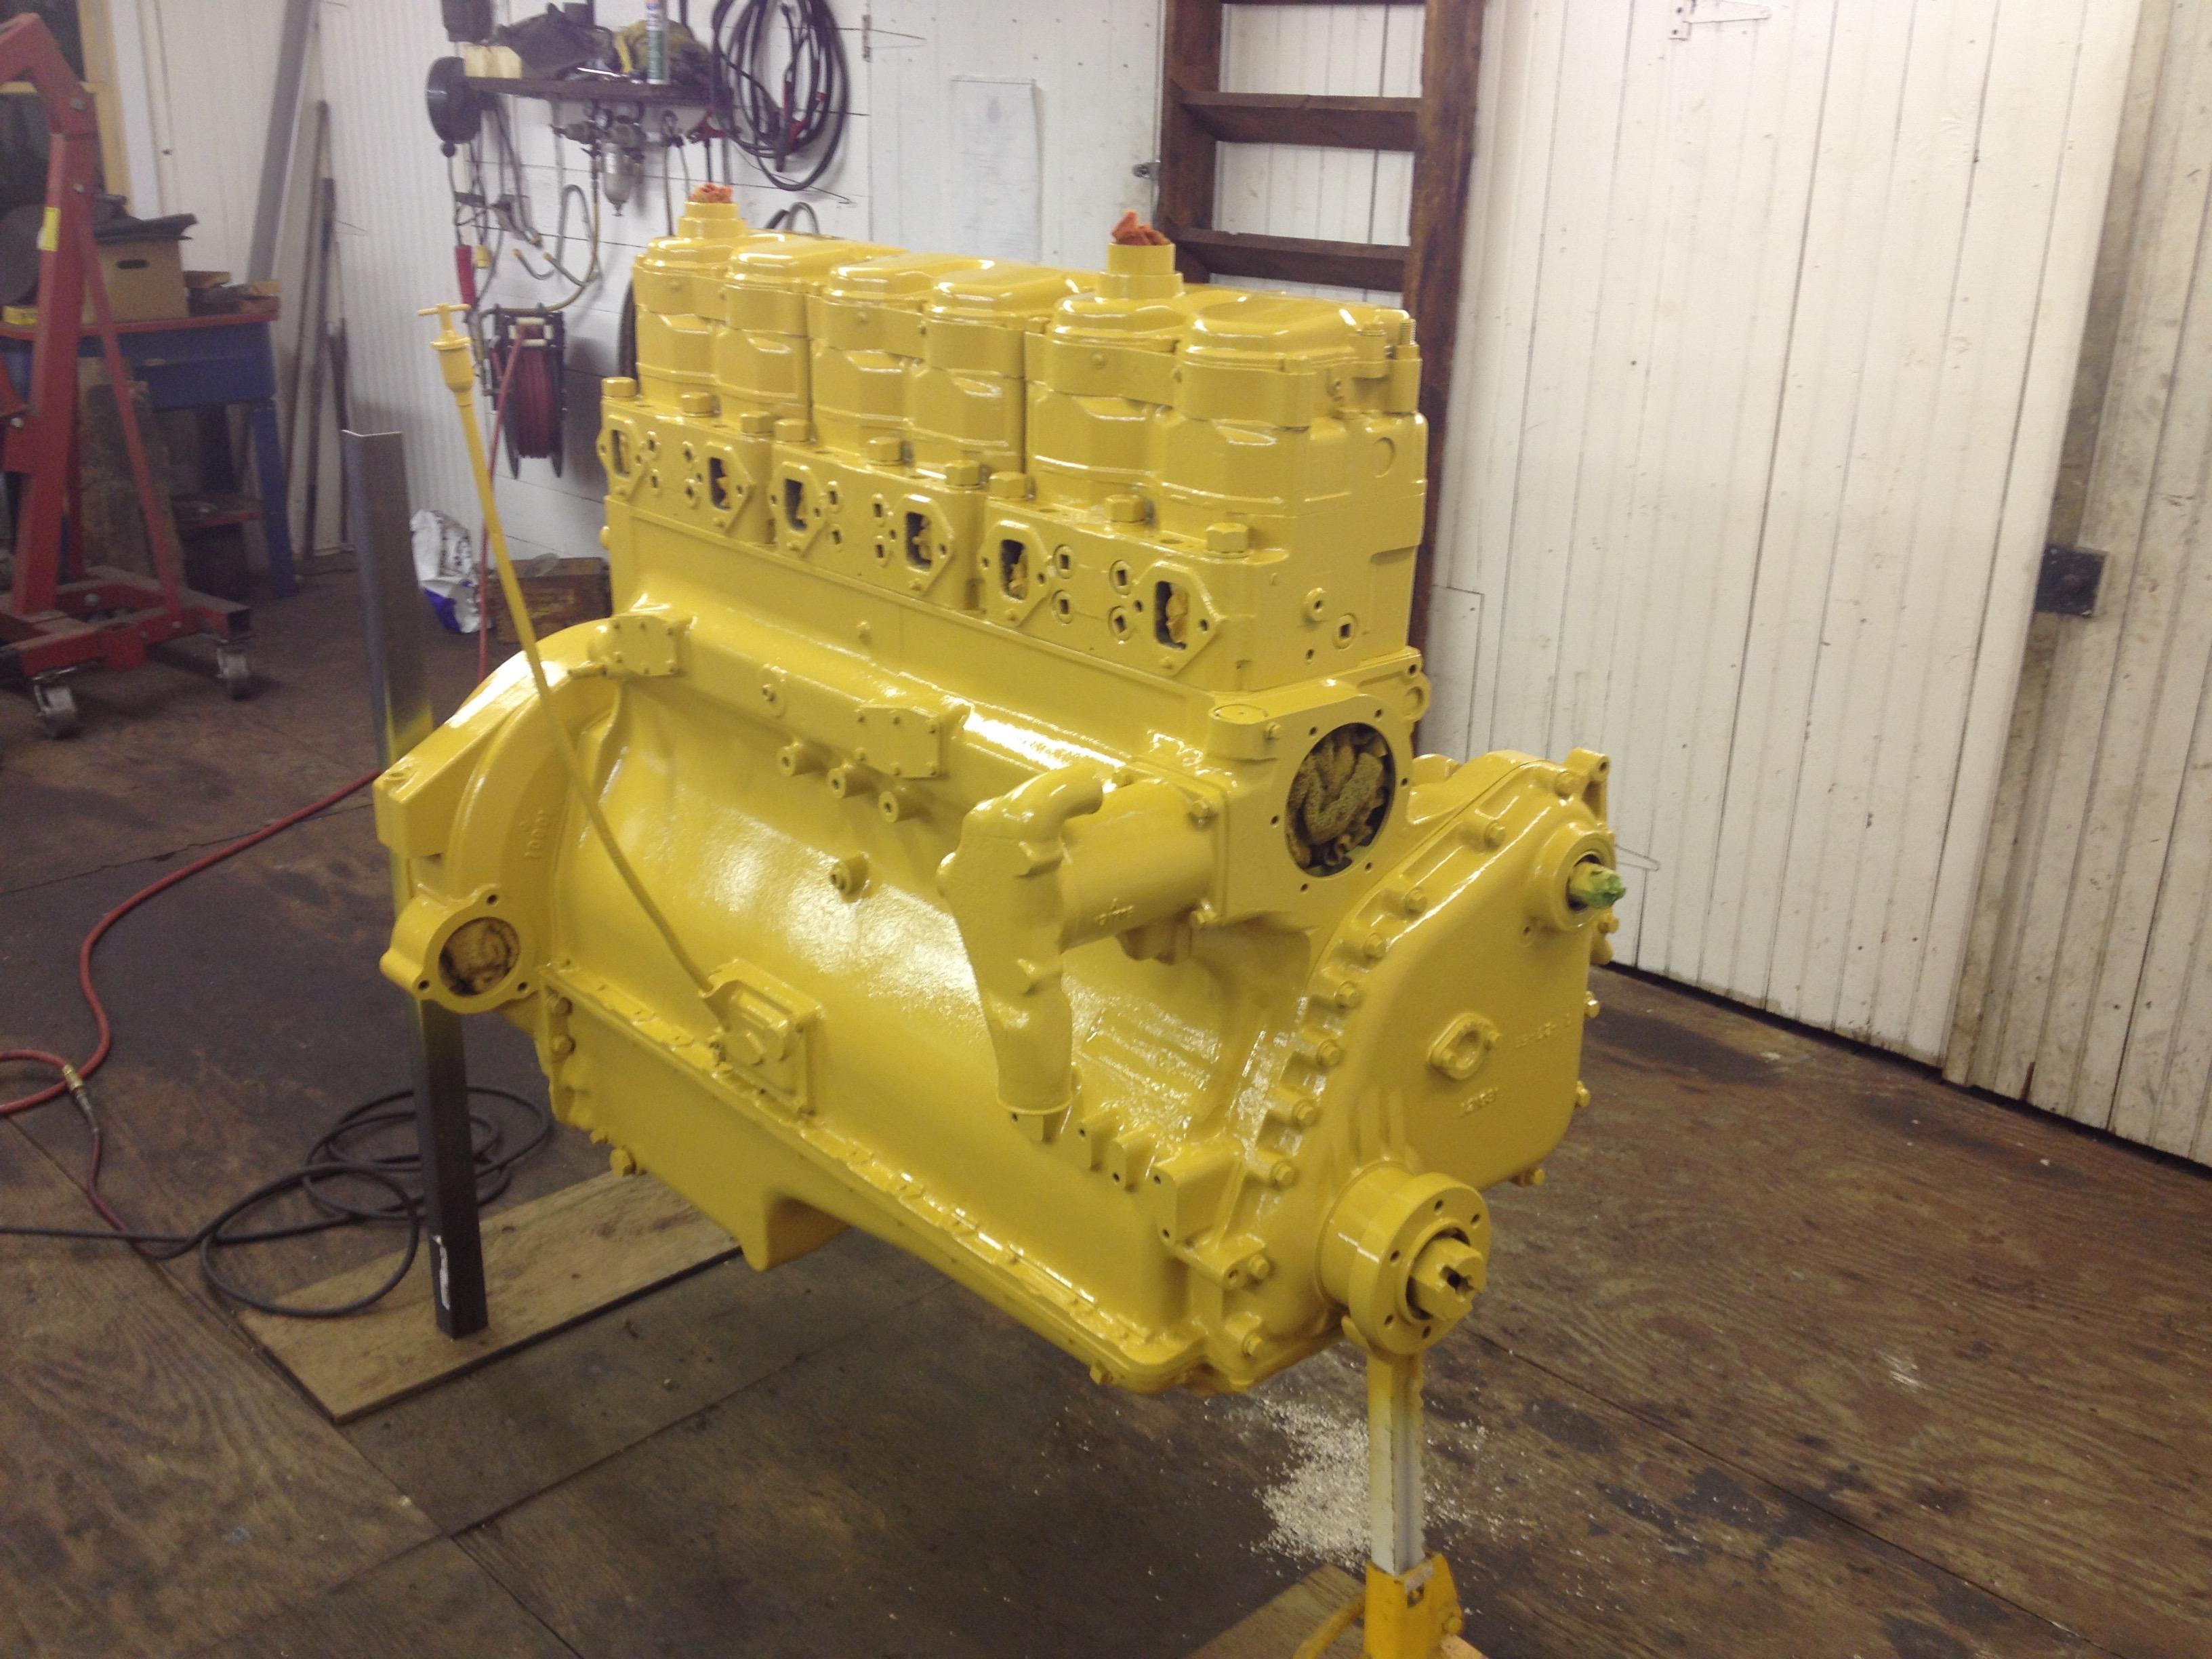
Mine had that green paint on them, almost like Detroit Diesel color, but were painted over in what was close to a Cummins old gold color. When I did some test spots, I ended up with the color I painted it. It should probably be more of a hue like yours. But, it’s done now. Did you get any more pictures of his trucks? I love that L cab B77 he has.
-
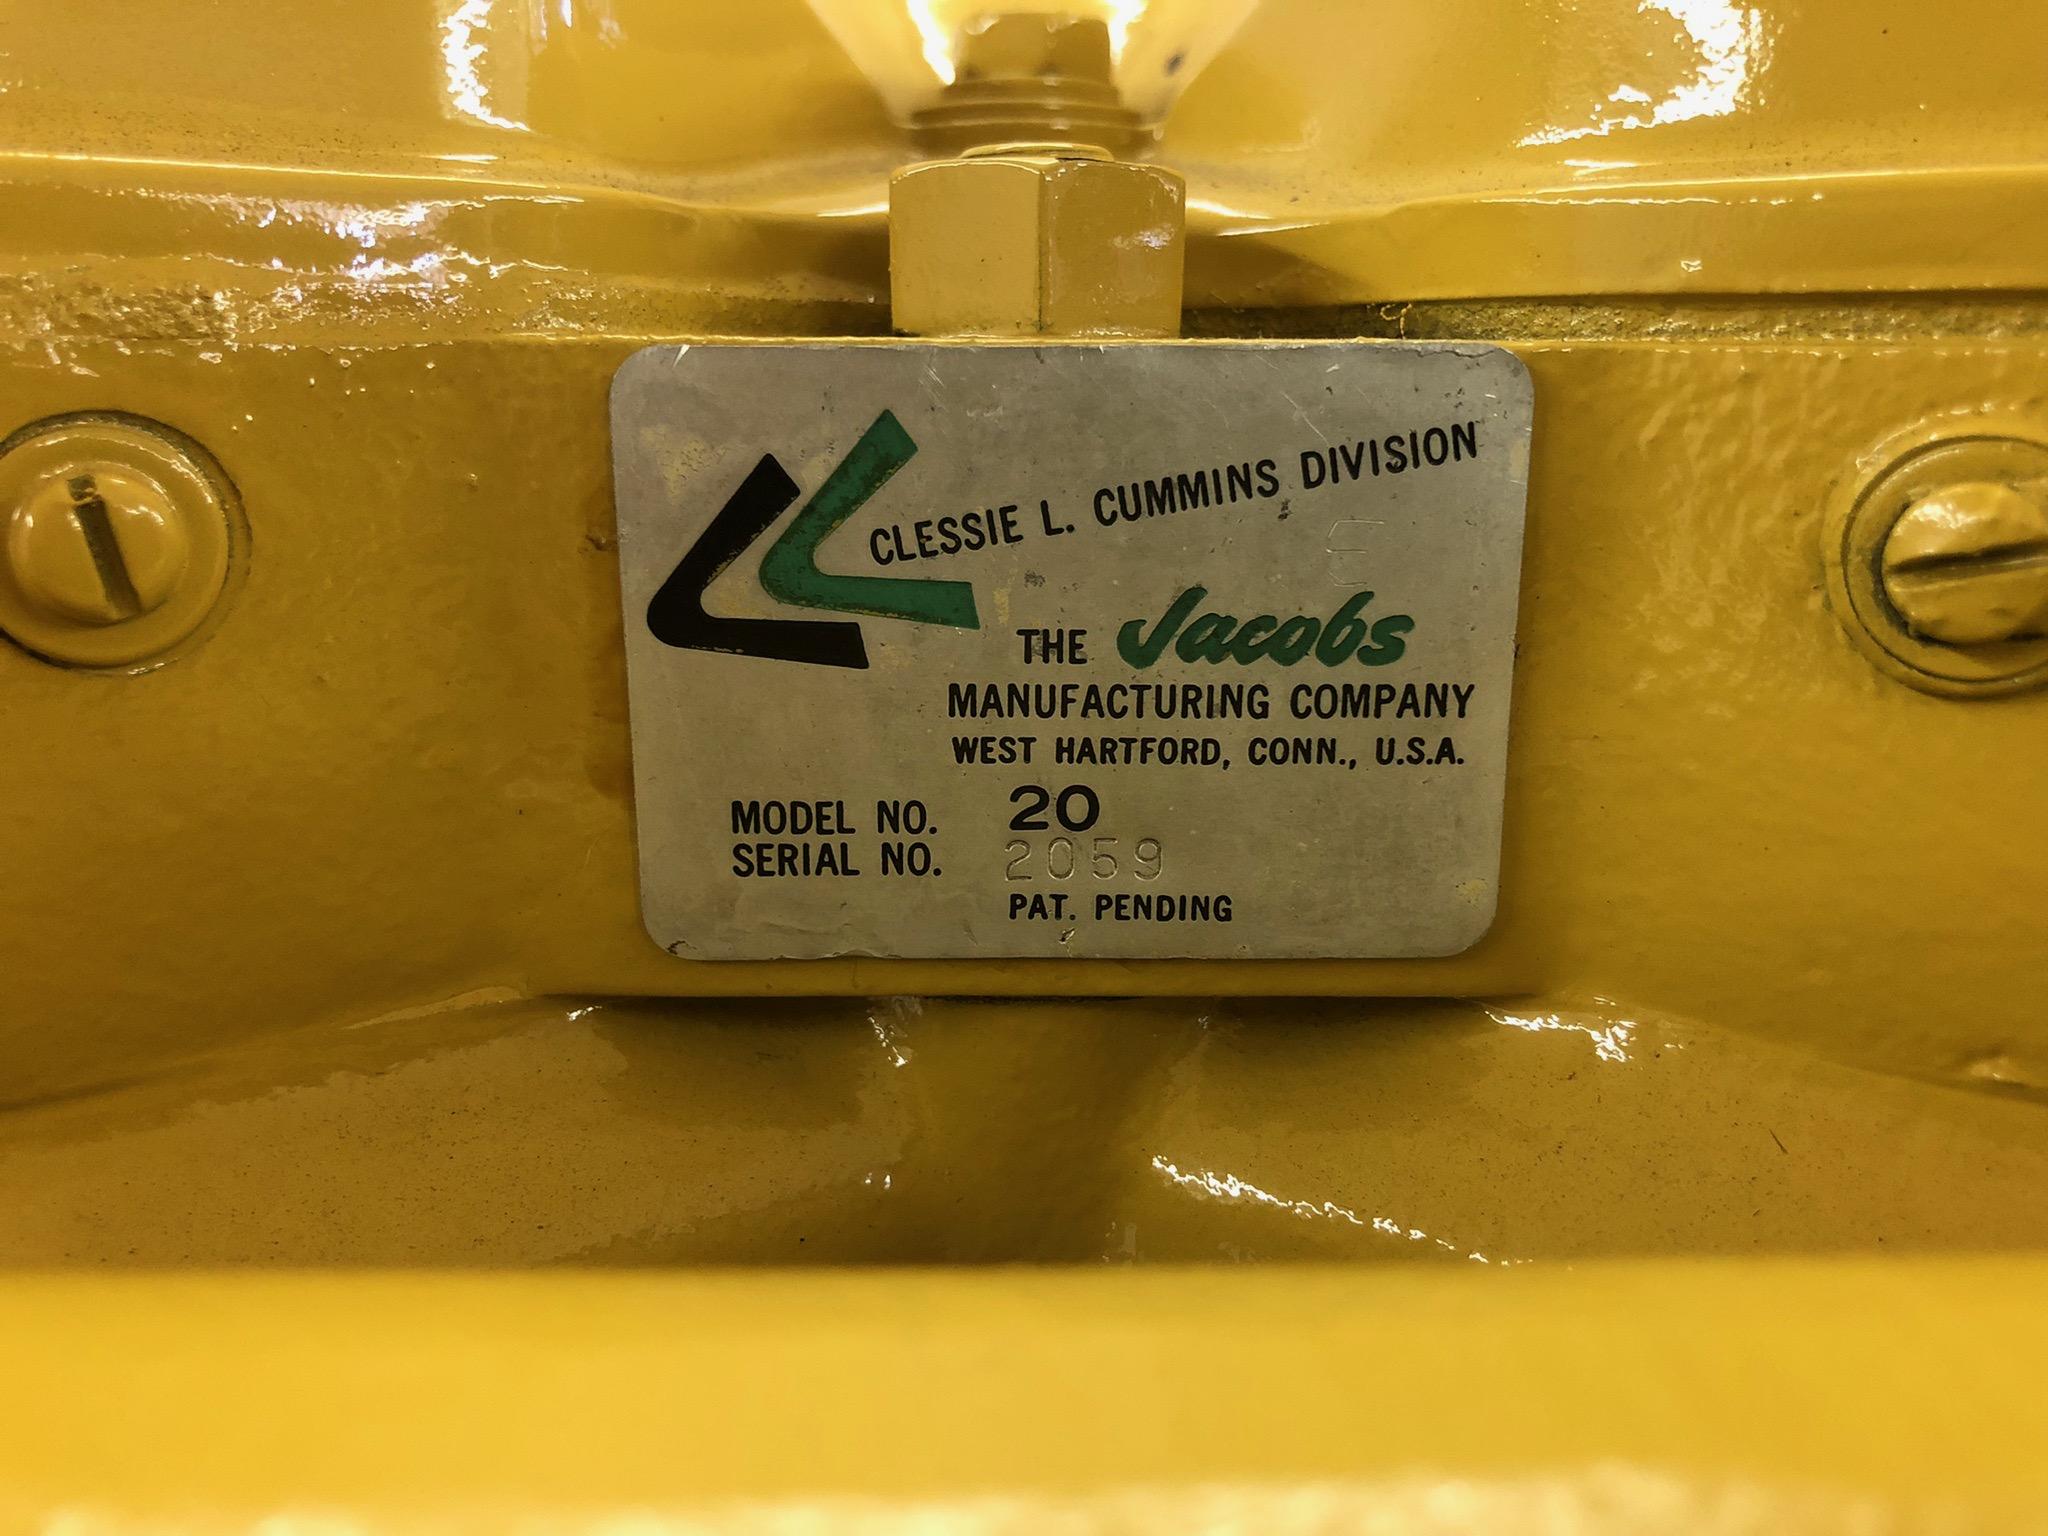
I dealt with Mahoney and Son almost twenty years ago when I put my Jake on. Tom was fantastic to deal with. He was able to get all the parts I needed to get it done, gaskets and a few internal parts I needed to swap out. What blew me a way, was that he loaned me the fixture to grind the rocker arms to accept the Jake. He didn't know me from Adam and mailed it to me!! Then, I got talking to him about adding a T590 turbo to it that came with it. He gave me his retired father's number in Florida to call about the details of doing it. I called him and had a lengthy conversation about adding the "Smoke Kit" to a 220, as he called it. I was fairly new to the hobby, then, and was so amazed they would help a total stranger out so willingly! I did notice a slight difference in the castings of out two Model 20's, in the recess area between the two cylinders. Yours has a cast flange, where mine does not in that area and the electrical pickups are in different spots. They'll still do the same thing, though.


-
B-73 Restoration
mattb73lt replied to mattb73lt's topic in Antique and Classic Mack Trucks General Discussion
Yes, It was a standard B model I modified to fit. There is a company that has L & B series, Rhode island Wiring and I think one more I just can't remember the name. Or, you could make your own. Then there's after market places like Painless Wiring that make hot rod harnesses that could work. The original style ones are not cheap! I bought mine back in 2005 i think and the price has skyrocketed. -
B-73 Restoration
mattb73lt replied to mattb73lt's topic in Antique and Classic Mack Trucks General Discussion
The quality of all the aluminum castings was poor. When I was doing the repair work on most of them, it was surprising to see the seems, voids and fissures in them. My radiator tanks do have their issues. -
Sweet, I just saw your video on FB. Nice work!!
-
B-73 Restoration
mattb73lt replied to mattb73lt's topic in Antique and Classic Mack Trucks General Discussion
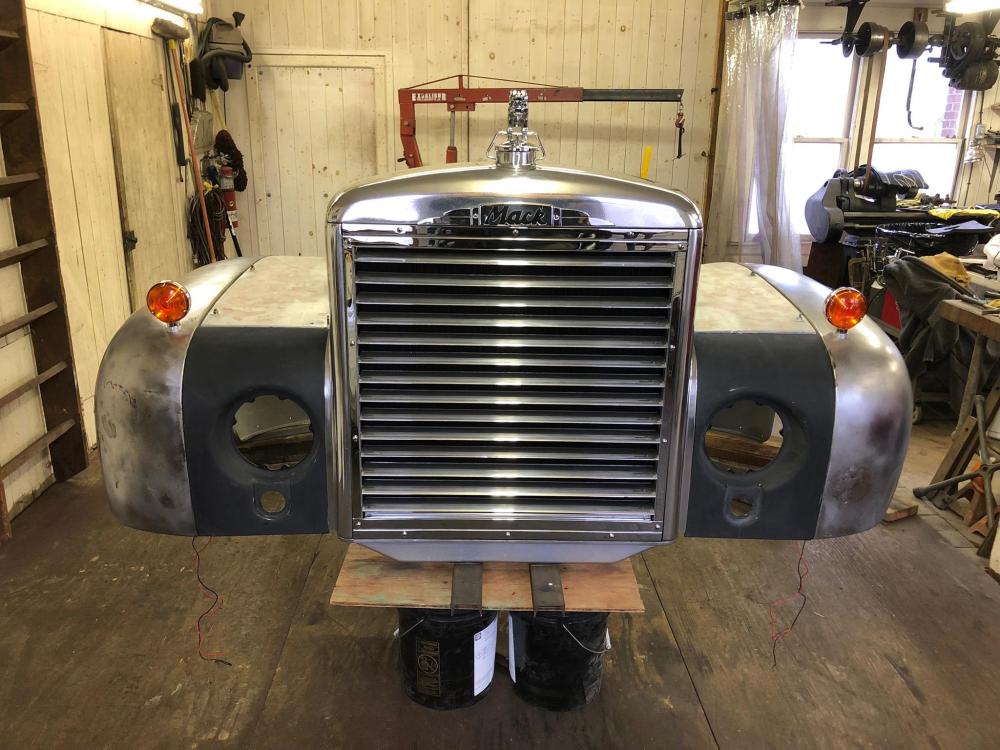
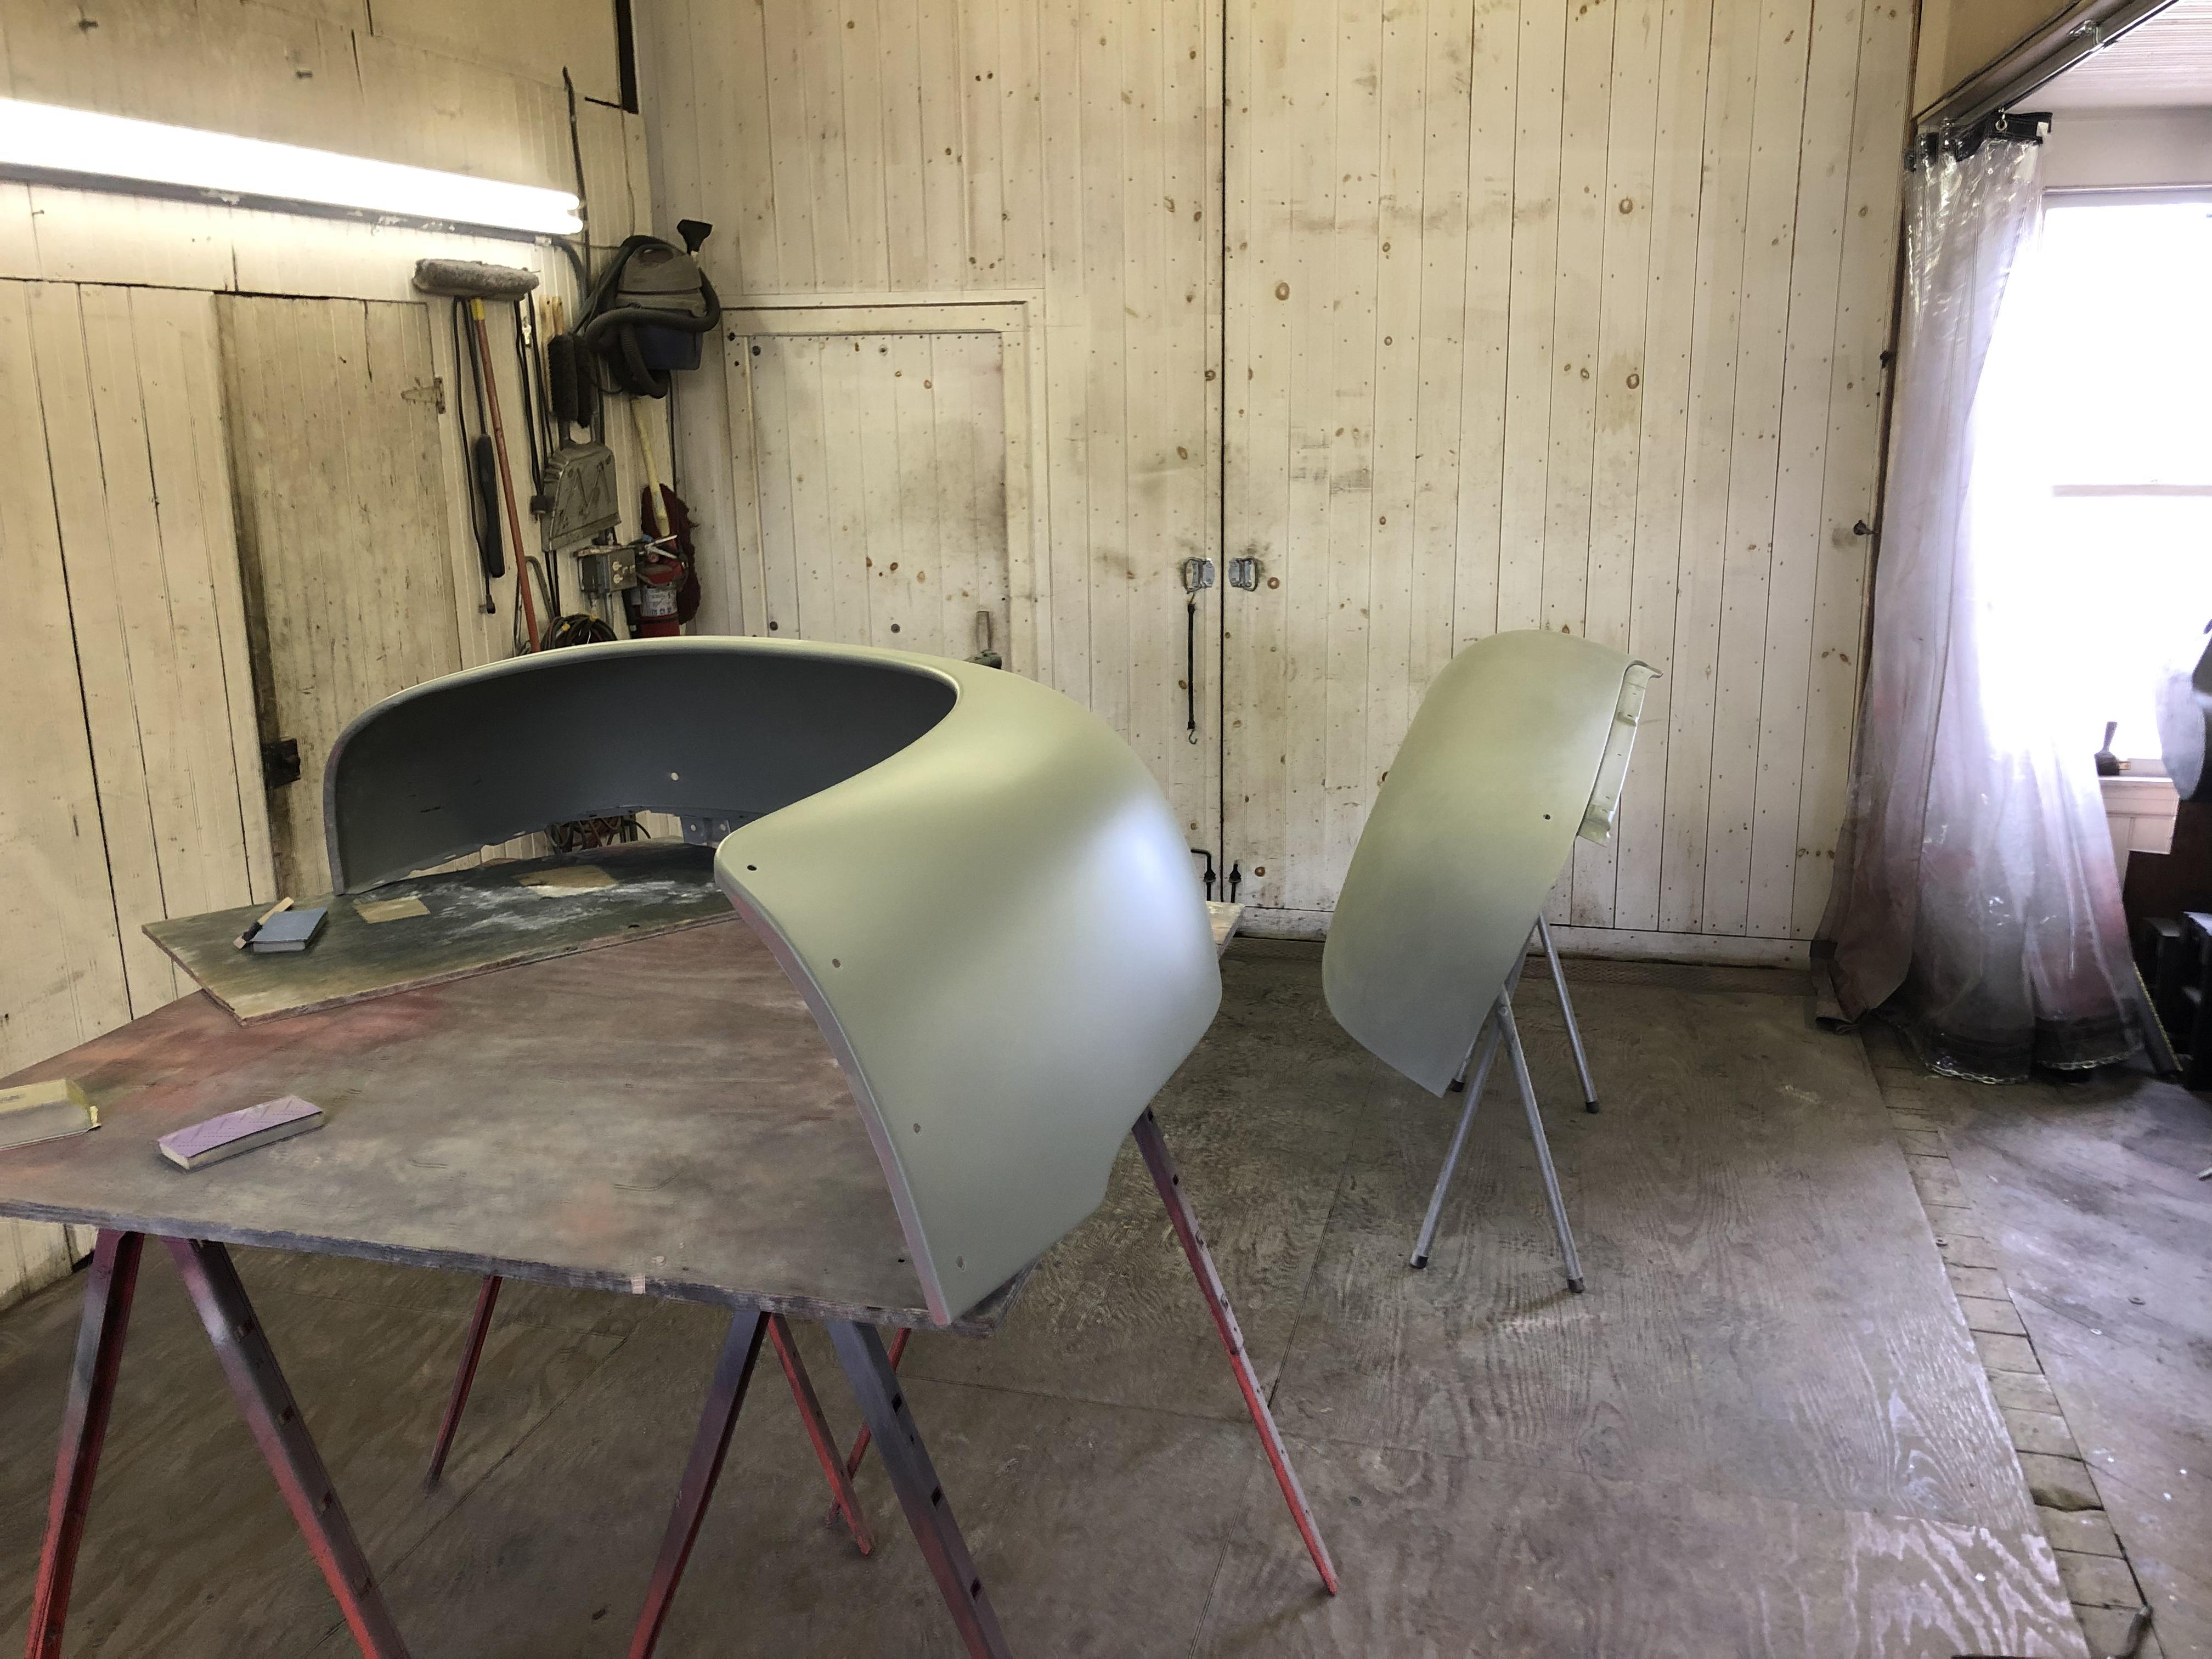
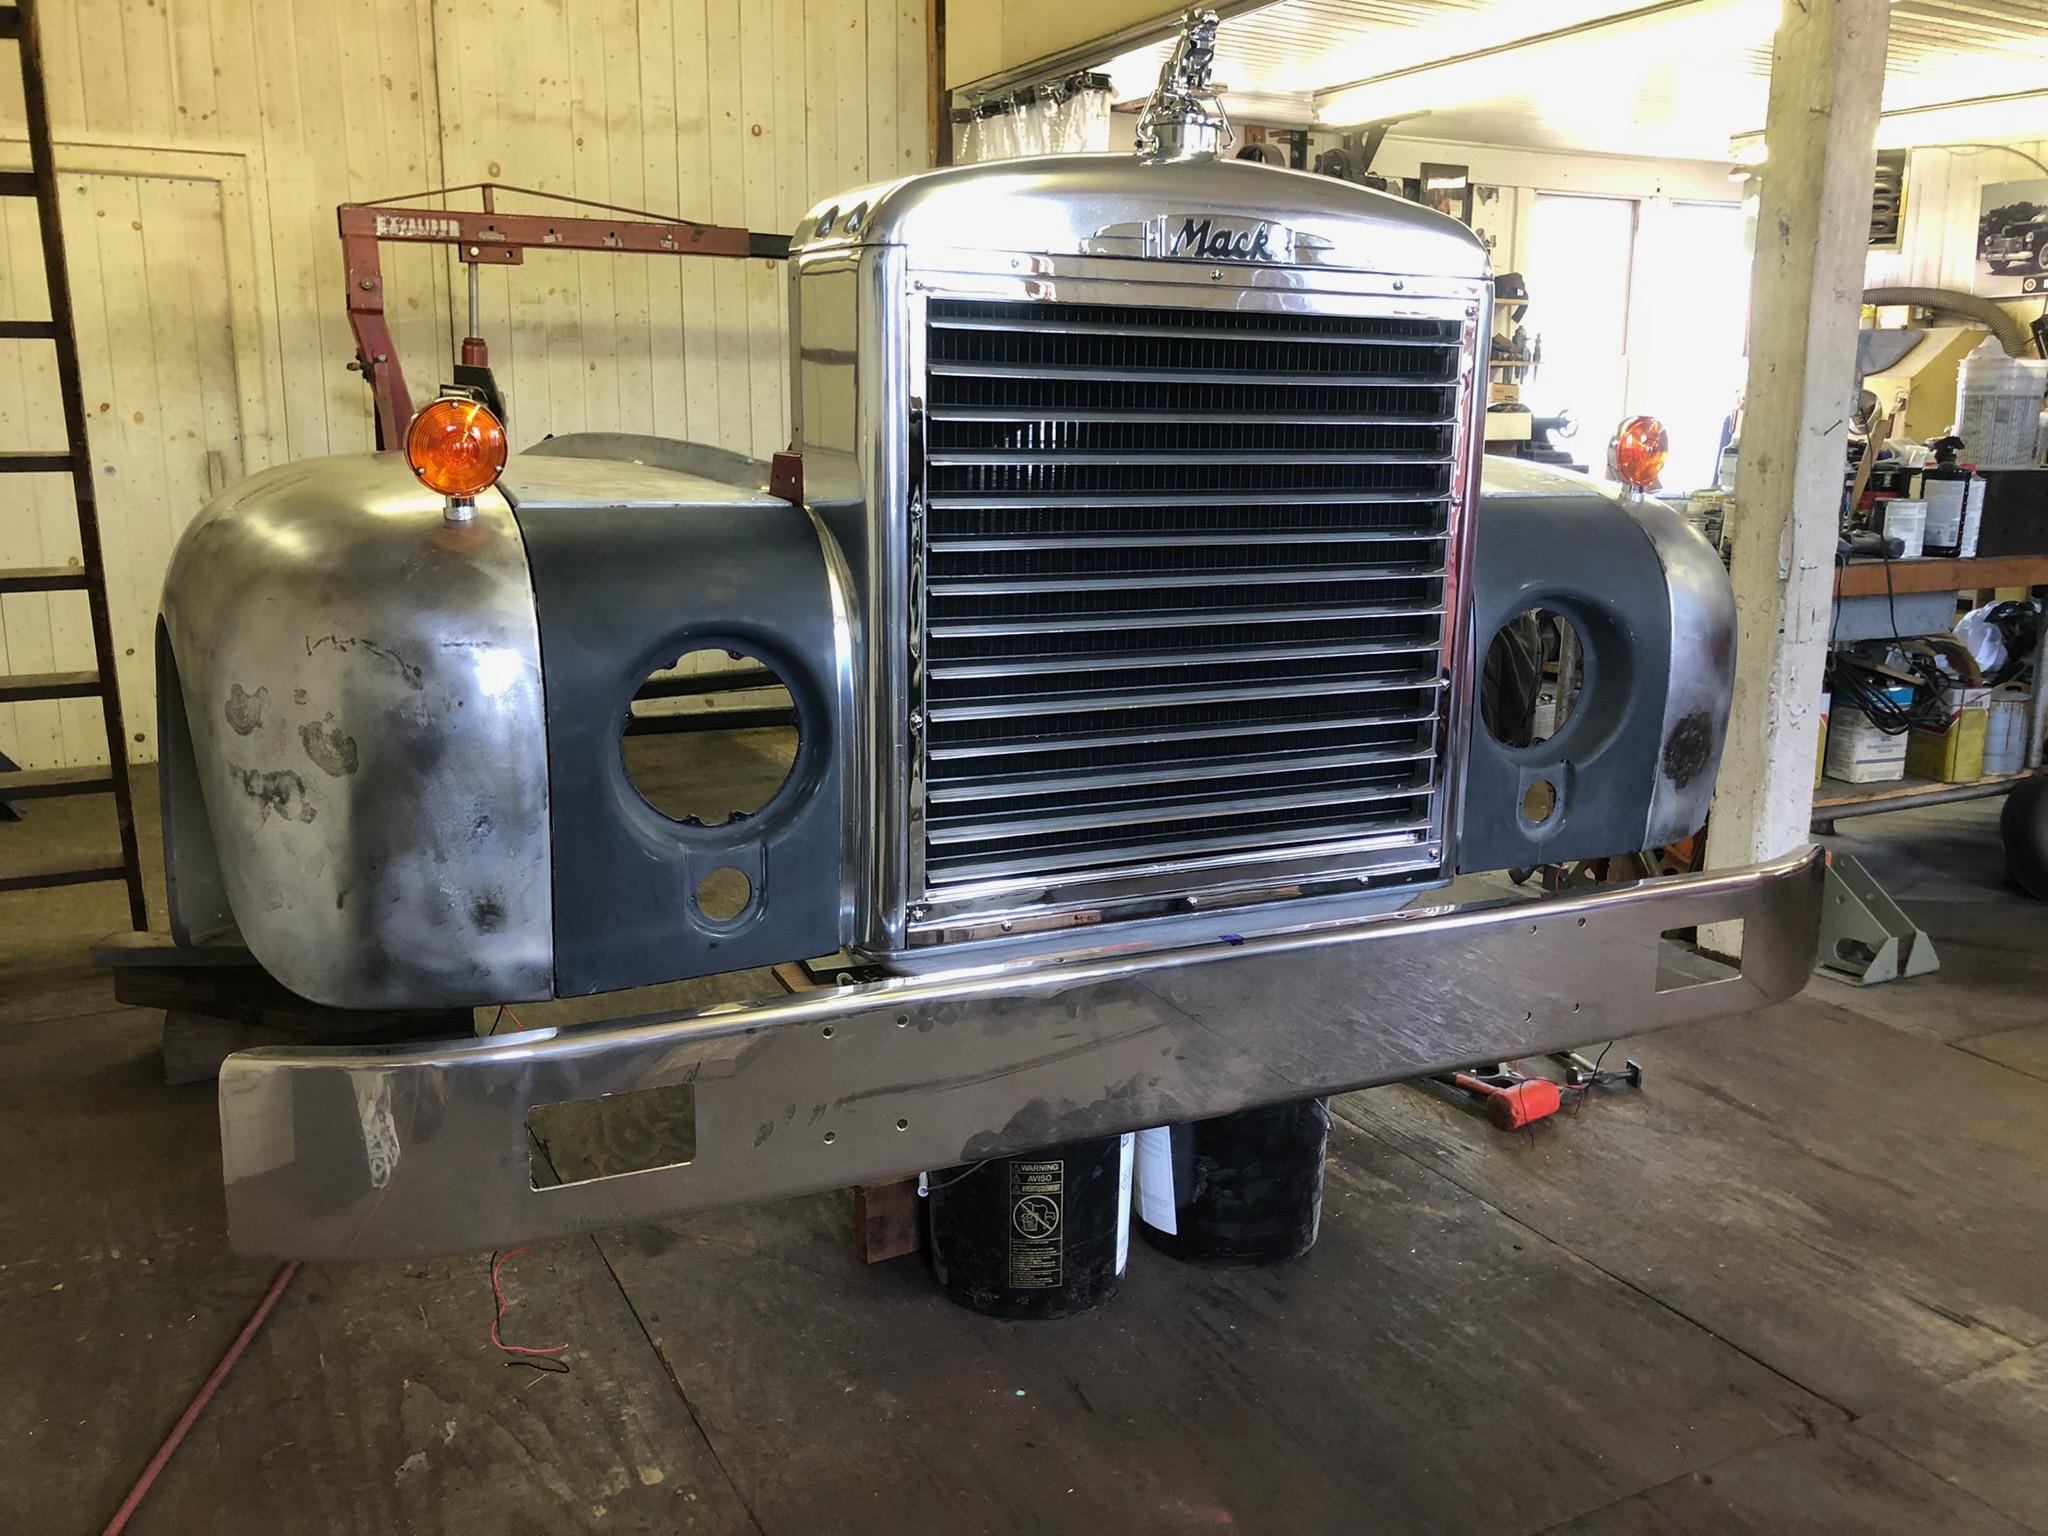
One more picture, with the new bumper propped up on it. Now onto the primer and body work!!
-
B-73 Restoration
mattb73lt replied to mattb73lt's topic in Antique and Classic Mack Trucks General Discussion
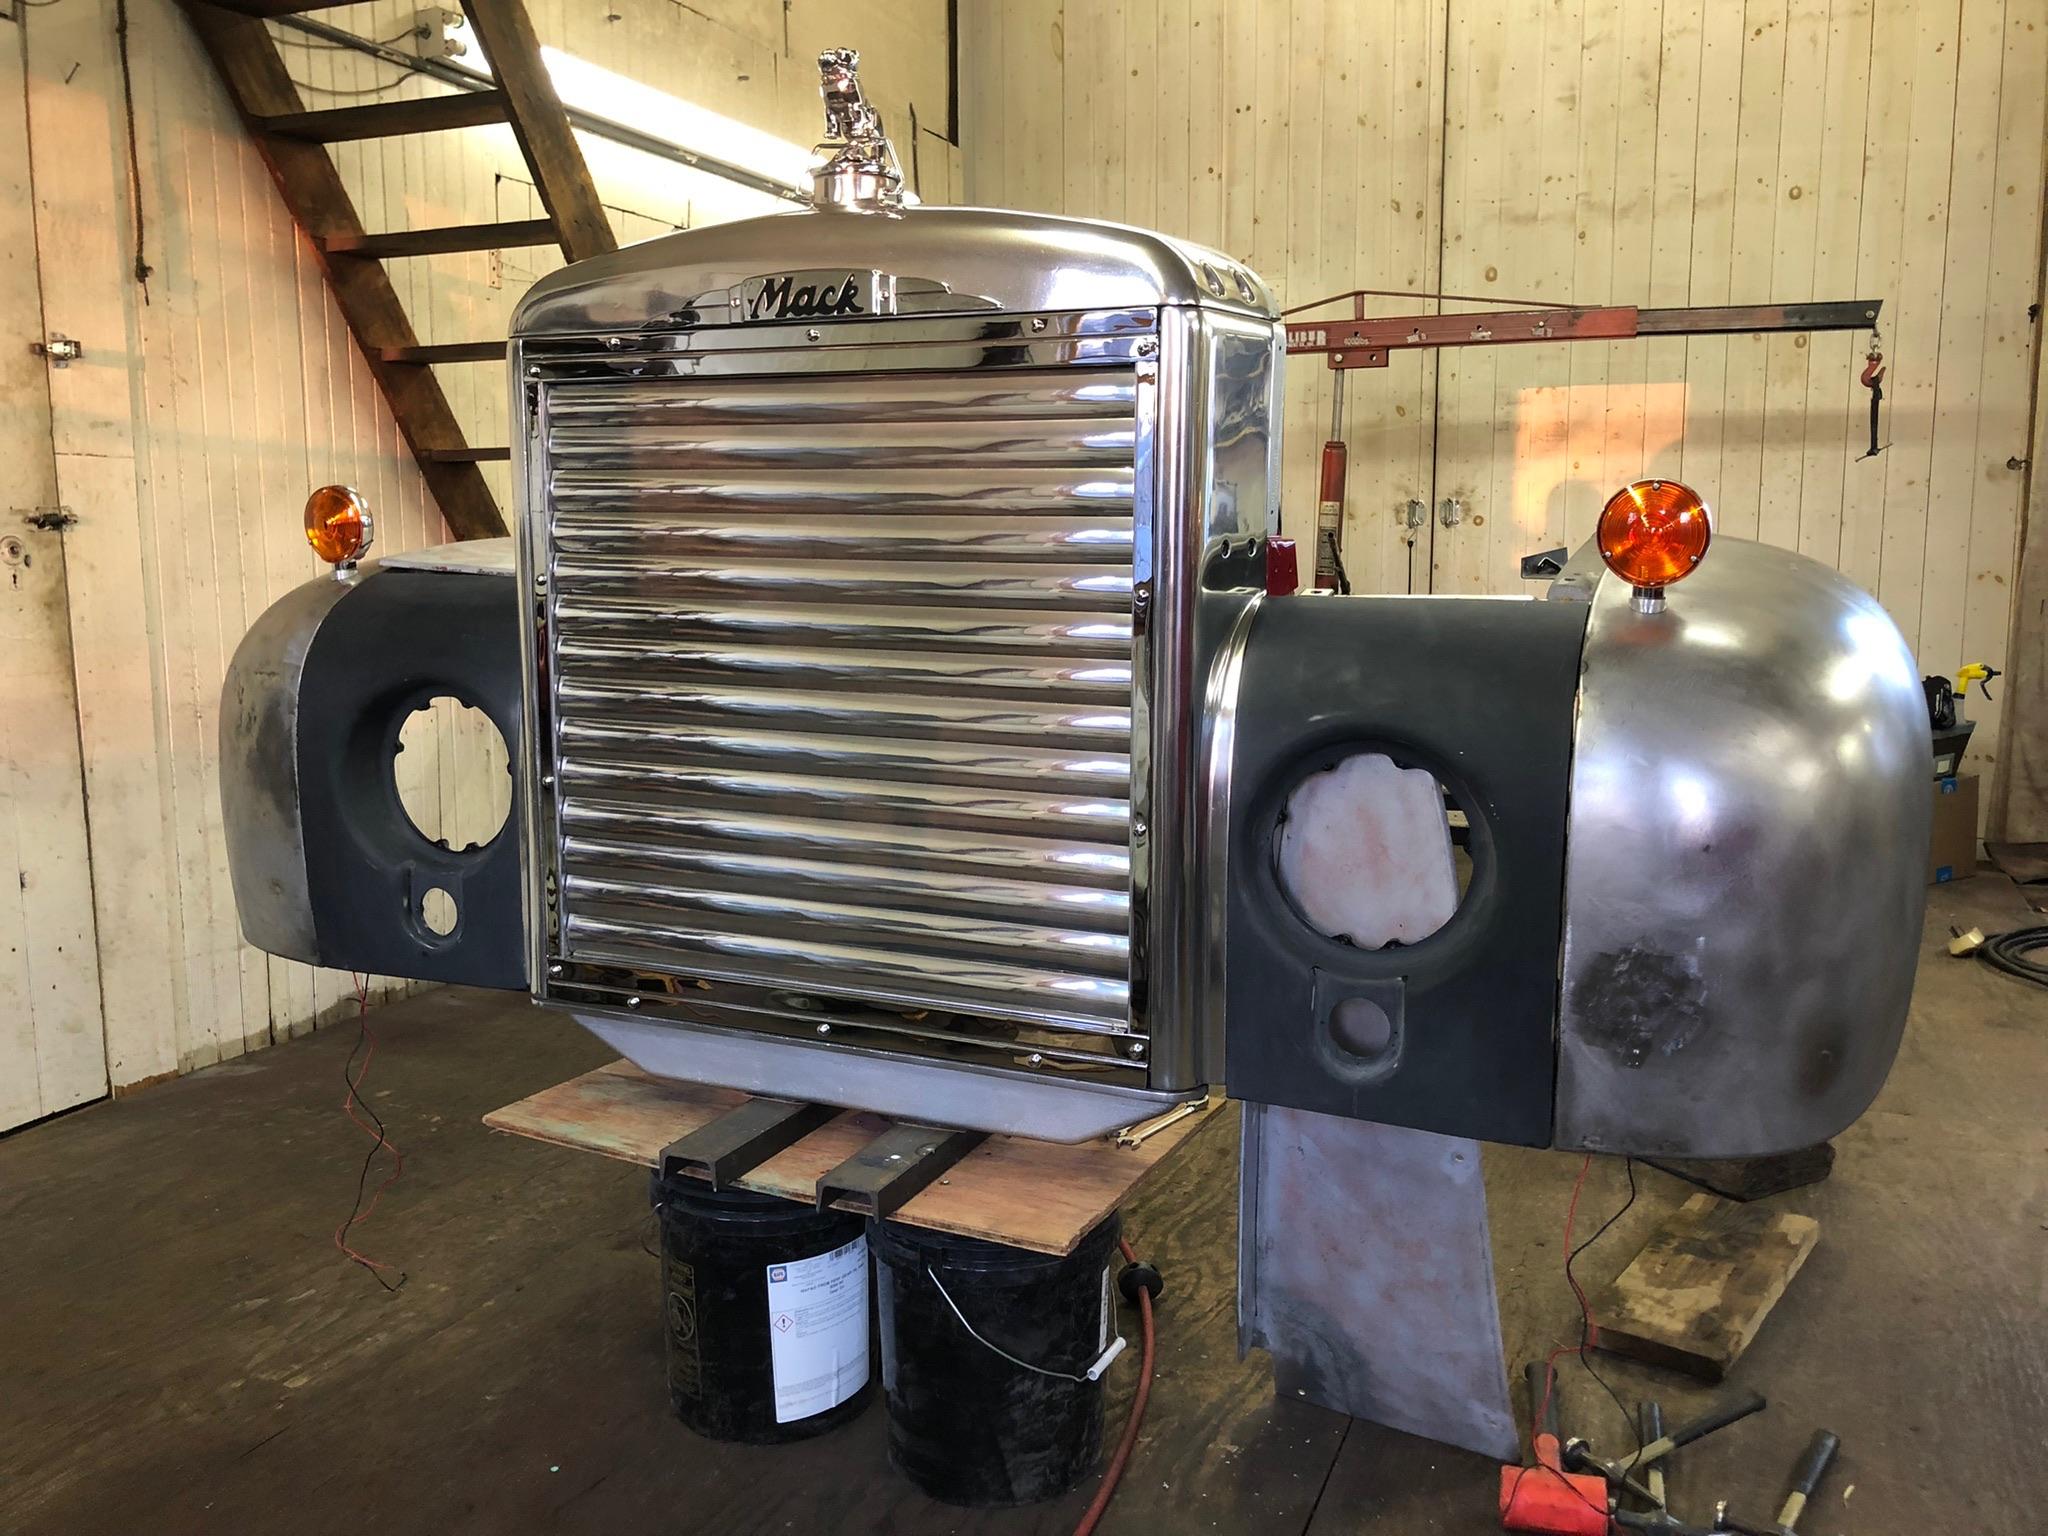
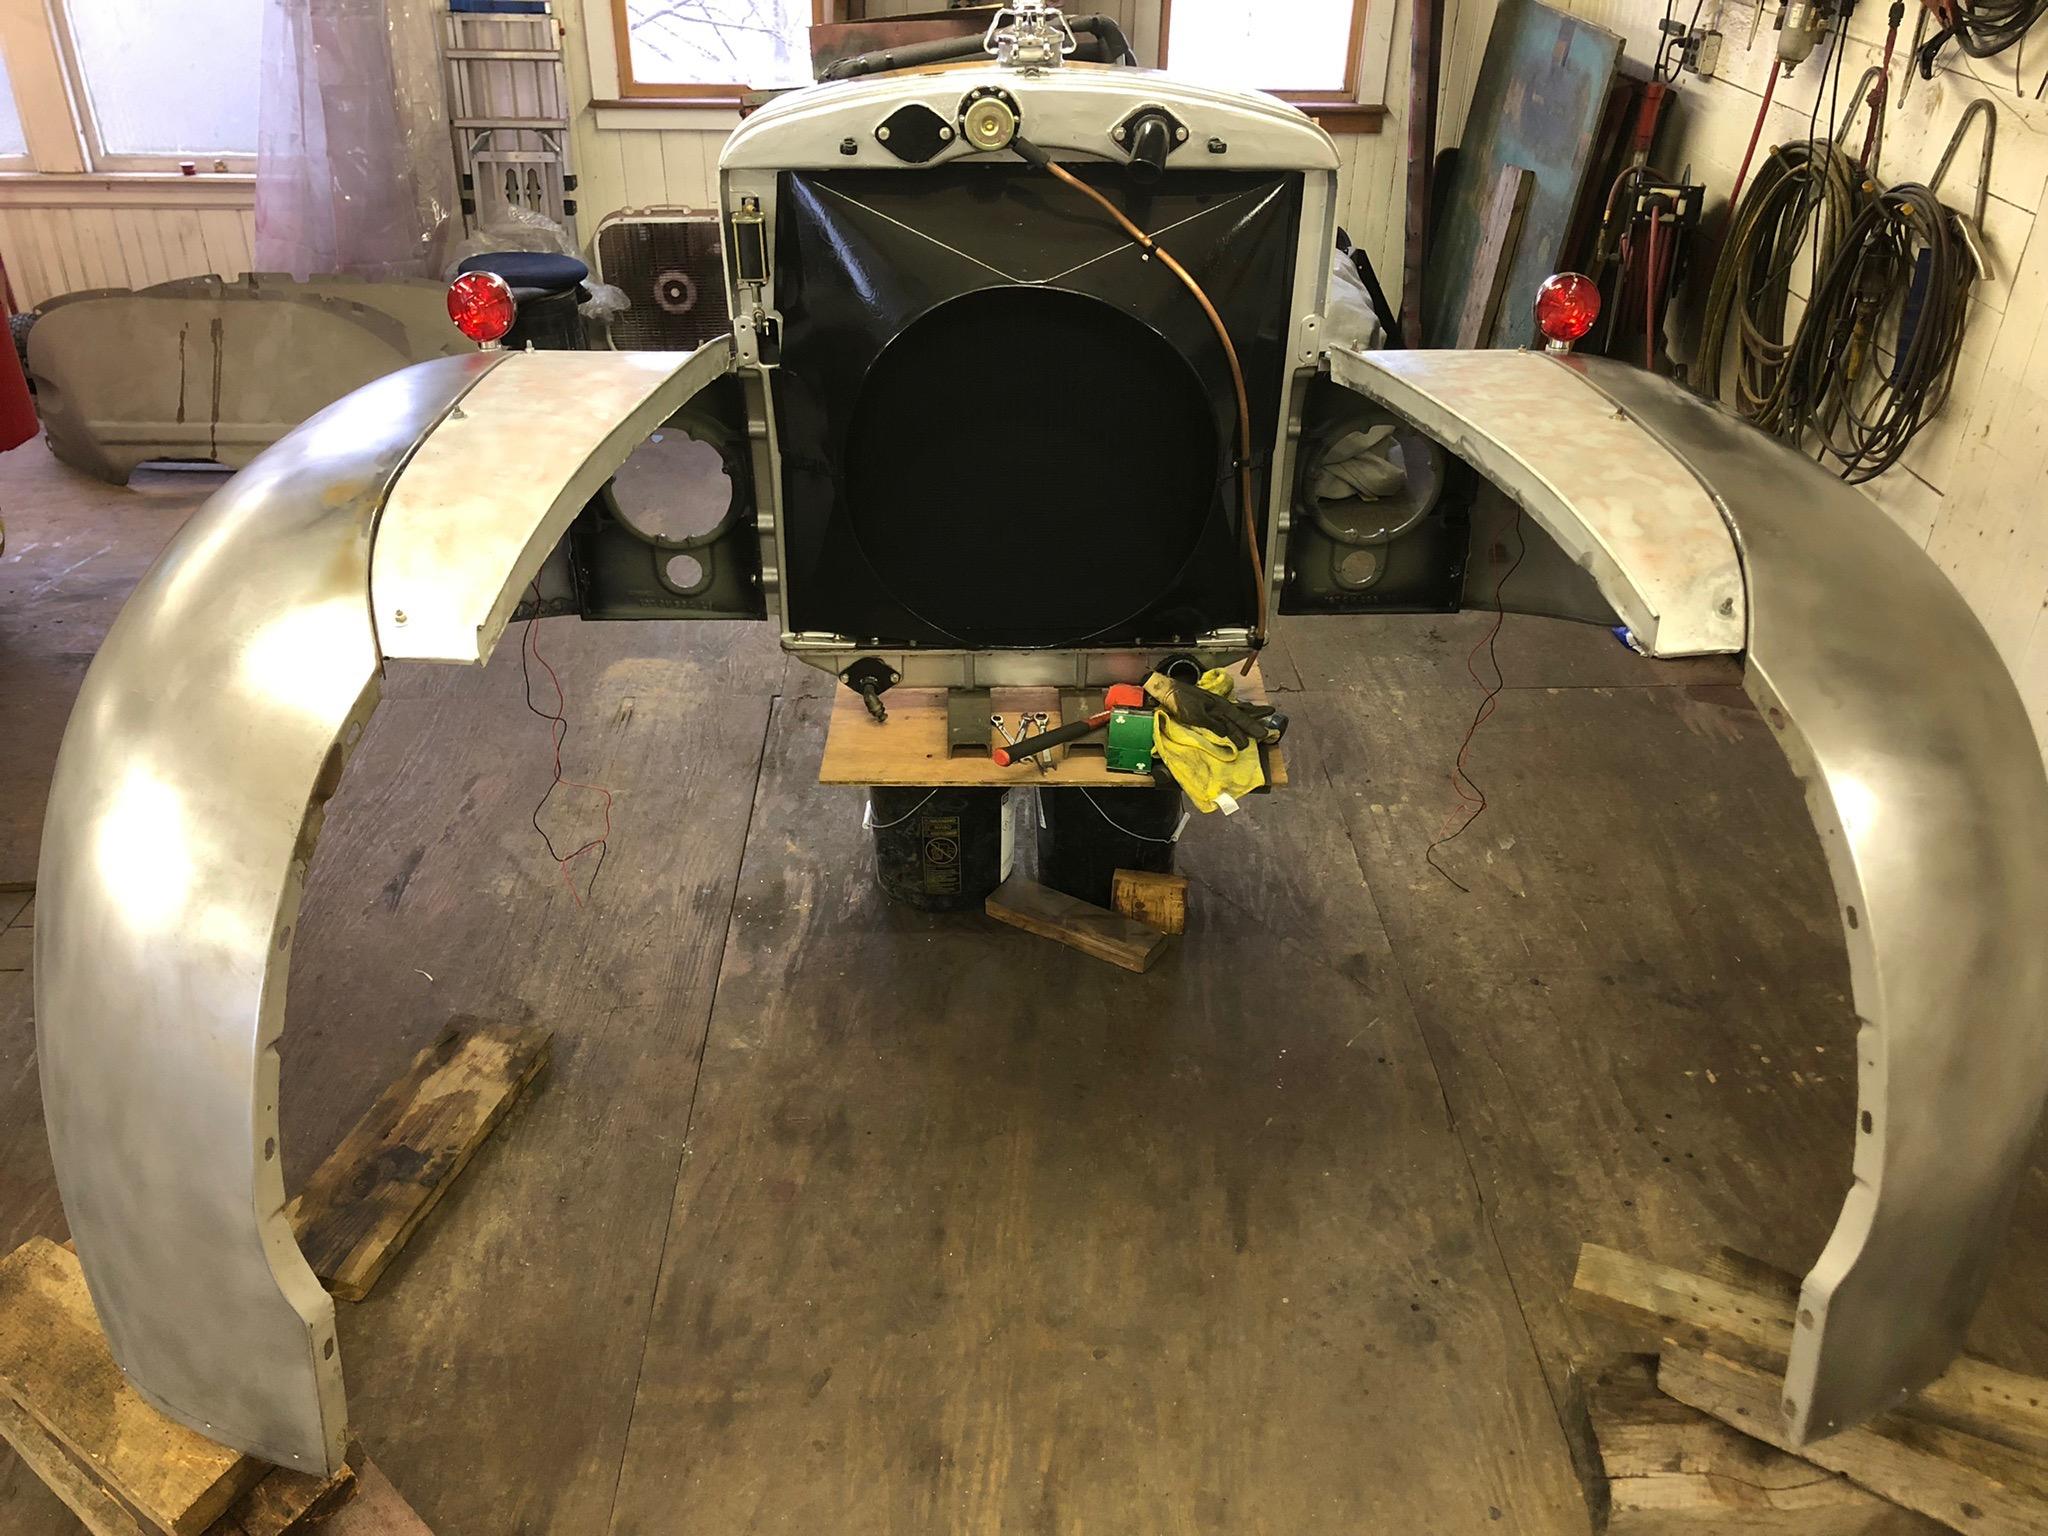
One of my favorite things about this truck is this huge radiator. I gave it a little cleaning today, as I really haven’t touched it since I finished it a few years ago. Put some air to it to close up the shutters and damn, it looks even better! I like these later model shutters over the earlier ones with the divider, they just look sleeker. The fenders look good and align well. This will all come apart tomorrow and work will continue... Again, I’d like to thank everyone for their comments. I never thought this story would be this long, but it’s getting towards some big assembly work in the very near future.
-
B-73 Restoration
mattb73lt replied to mattb73lt's topic in Antique and Classic Mack Trucks General Discussion
Wow, that’s awesome! I’m so glad that those parts are helping you out. The work looks great, by the way. -
B-73 Restoration
mattb73lt replied to mattb73lt's topic in Antique and Classic Mack Trucks General Discussion
Thanks!! It really finished off the cab and was well worth sending it out to get done. -
B-73 Restoration
mattb73lt replied to mattb73lt's topic in Antique and Classic Mack Trucks General Discussion
Thanks for the complements! Probably from massaging them. These were donor fenders from a truck I parted out. Better than what was on it due to rot, but the repair work that was done to them was less than stellar. There's also some pitting from corrosion that discolors the metal. That'll all be fixed before paint, though. -
B-73 Restoration
mattb73lt replied to mattb73lt's topic in Antique and Classic Mack Trucks General Discussion
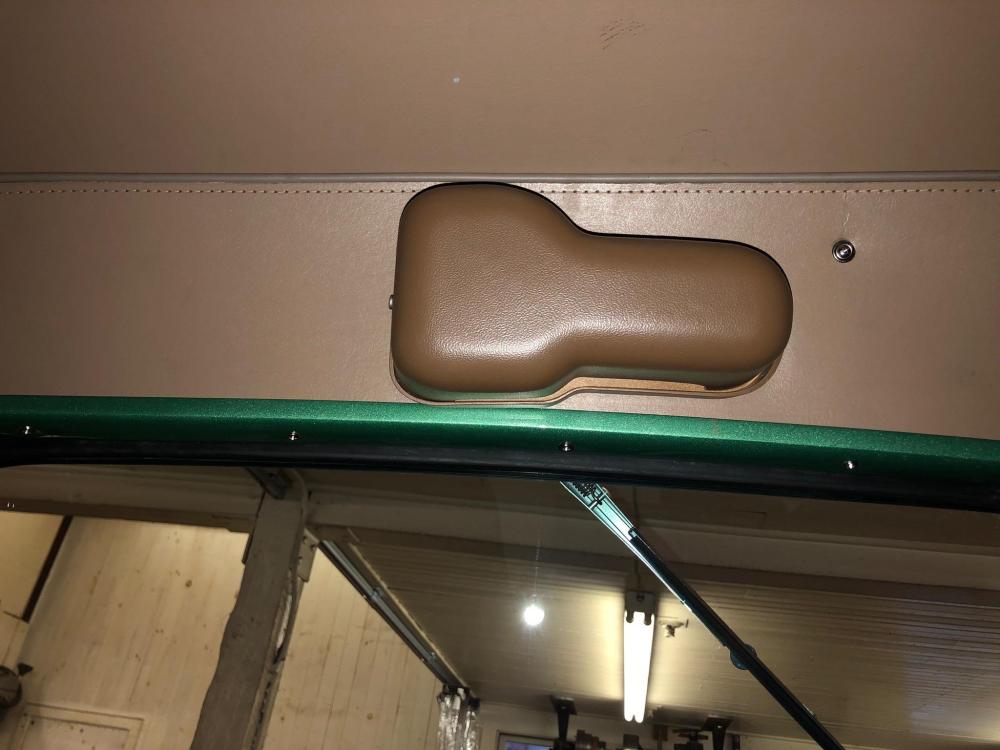
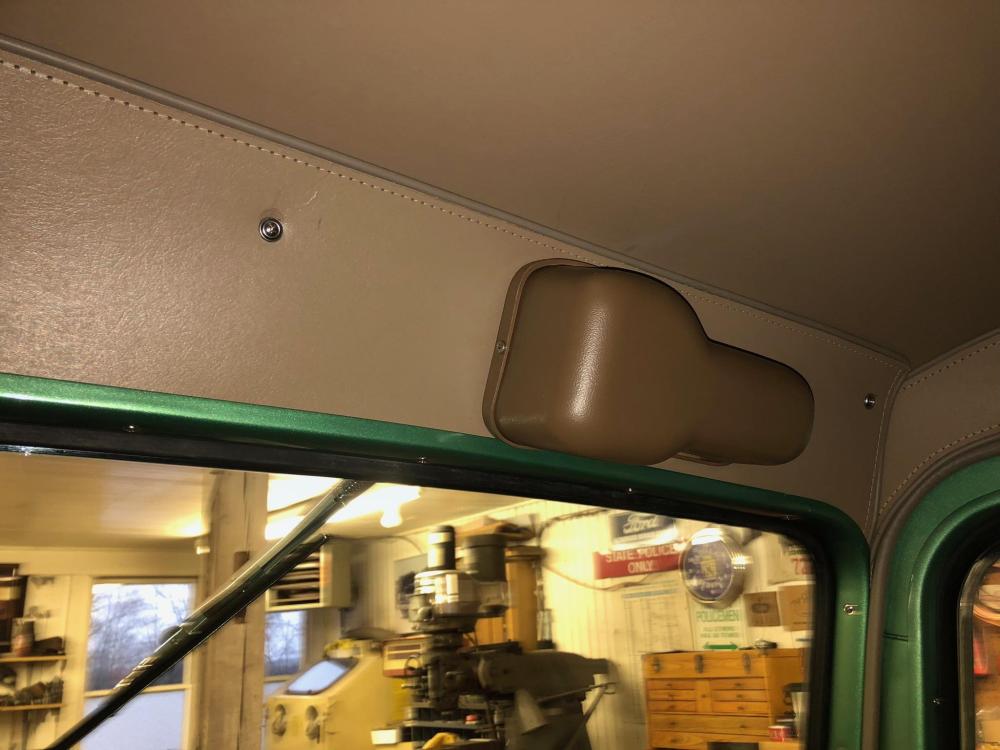
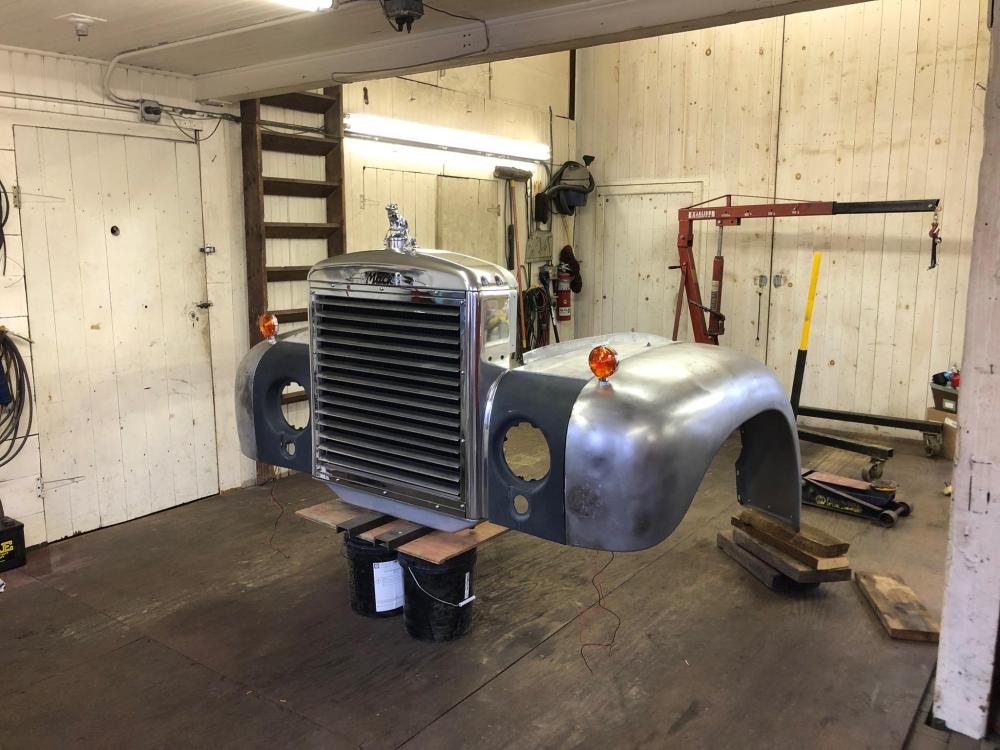
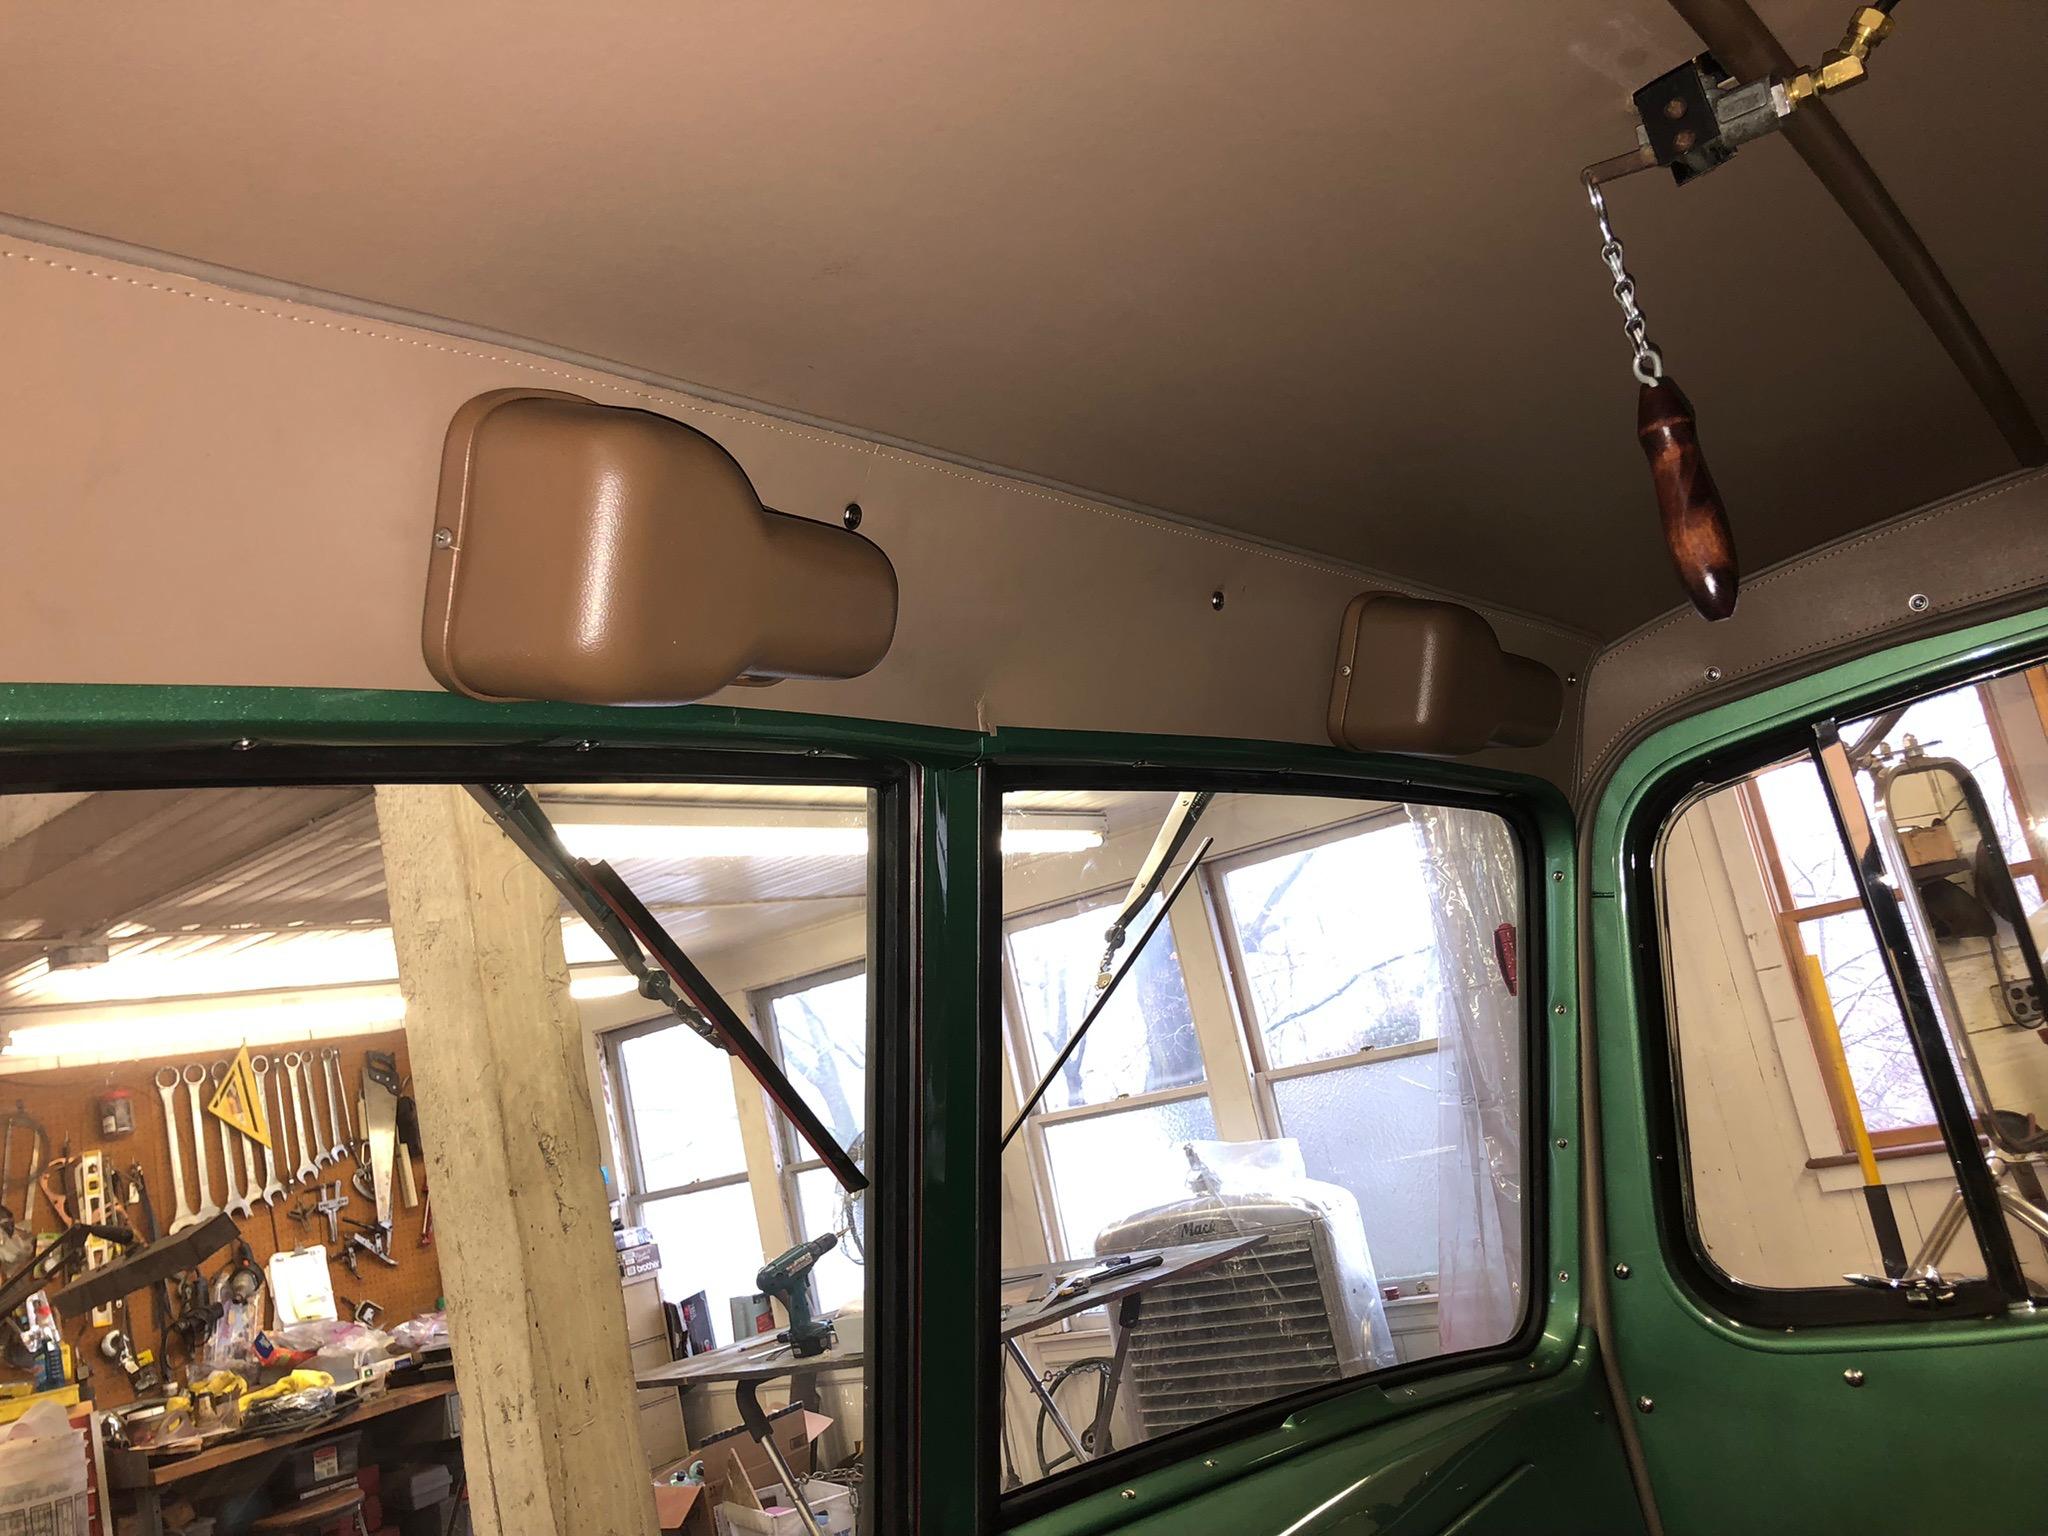
Lots of irons in the fire, parts on order, hardware coming in and some stuff still on order or awaiting return from being repaired. Accomplishing a lot of little detail stuff and finishing off some smaller projects on it. Waiting for the weather to warm up a little for body work and paint, but have been doing a lot of metal work on the front end items and fenders. I've got a couple of loads of paint to do, also. The goal is to get all this stuff done so when the weather improves to work outside, I can jump back on the frame to finish all the plumbing, wiring and mechanical work and then start final assembly!! So much to get done. I did finish off my wiper system by adding some covers to the motors. All the wiring is hidden and they really neaten up the installation. Today I was mocking up the front end to get the fender profiles right before final body work. The front end looks pretty cool temporarily back together. Nothing really earth shattering, but a lot of little stuff done.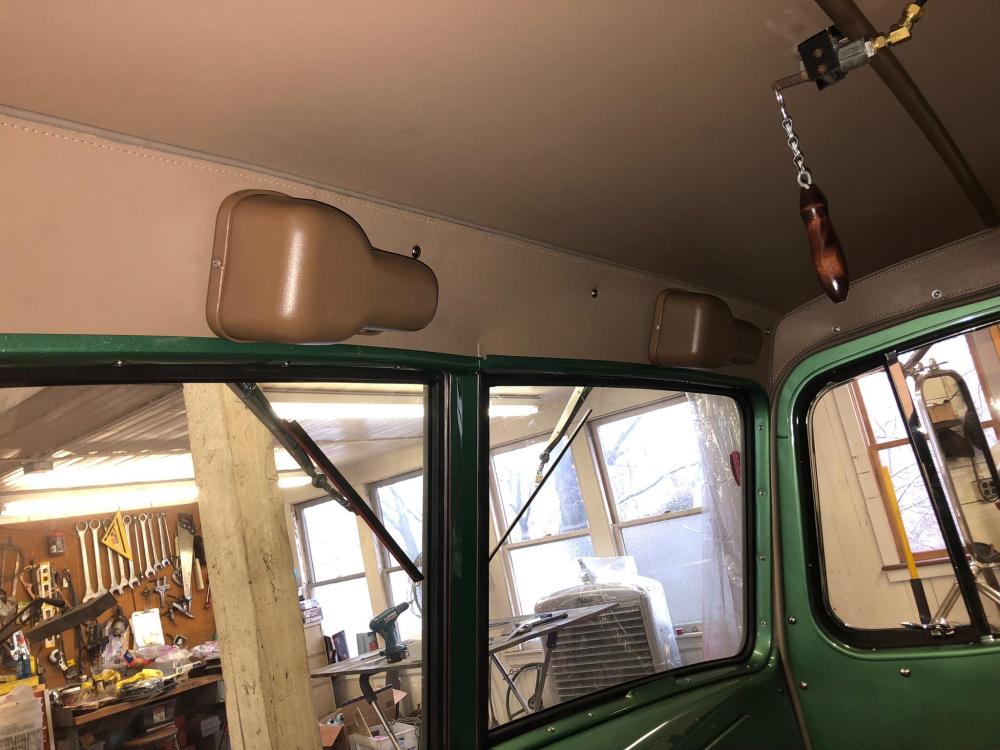

-
H Model Restoration
mattb73lt replied to h67st's topic in Antique and Classic Mack Trucks General Discussion
It's starting to look more complete!! Nice work! -
Nice work.
-
B-73 Restoration
mattb73lt replied to mattb73lt's topic in Antique and Classic Mack Trucks General Discussion
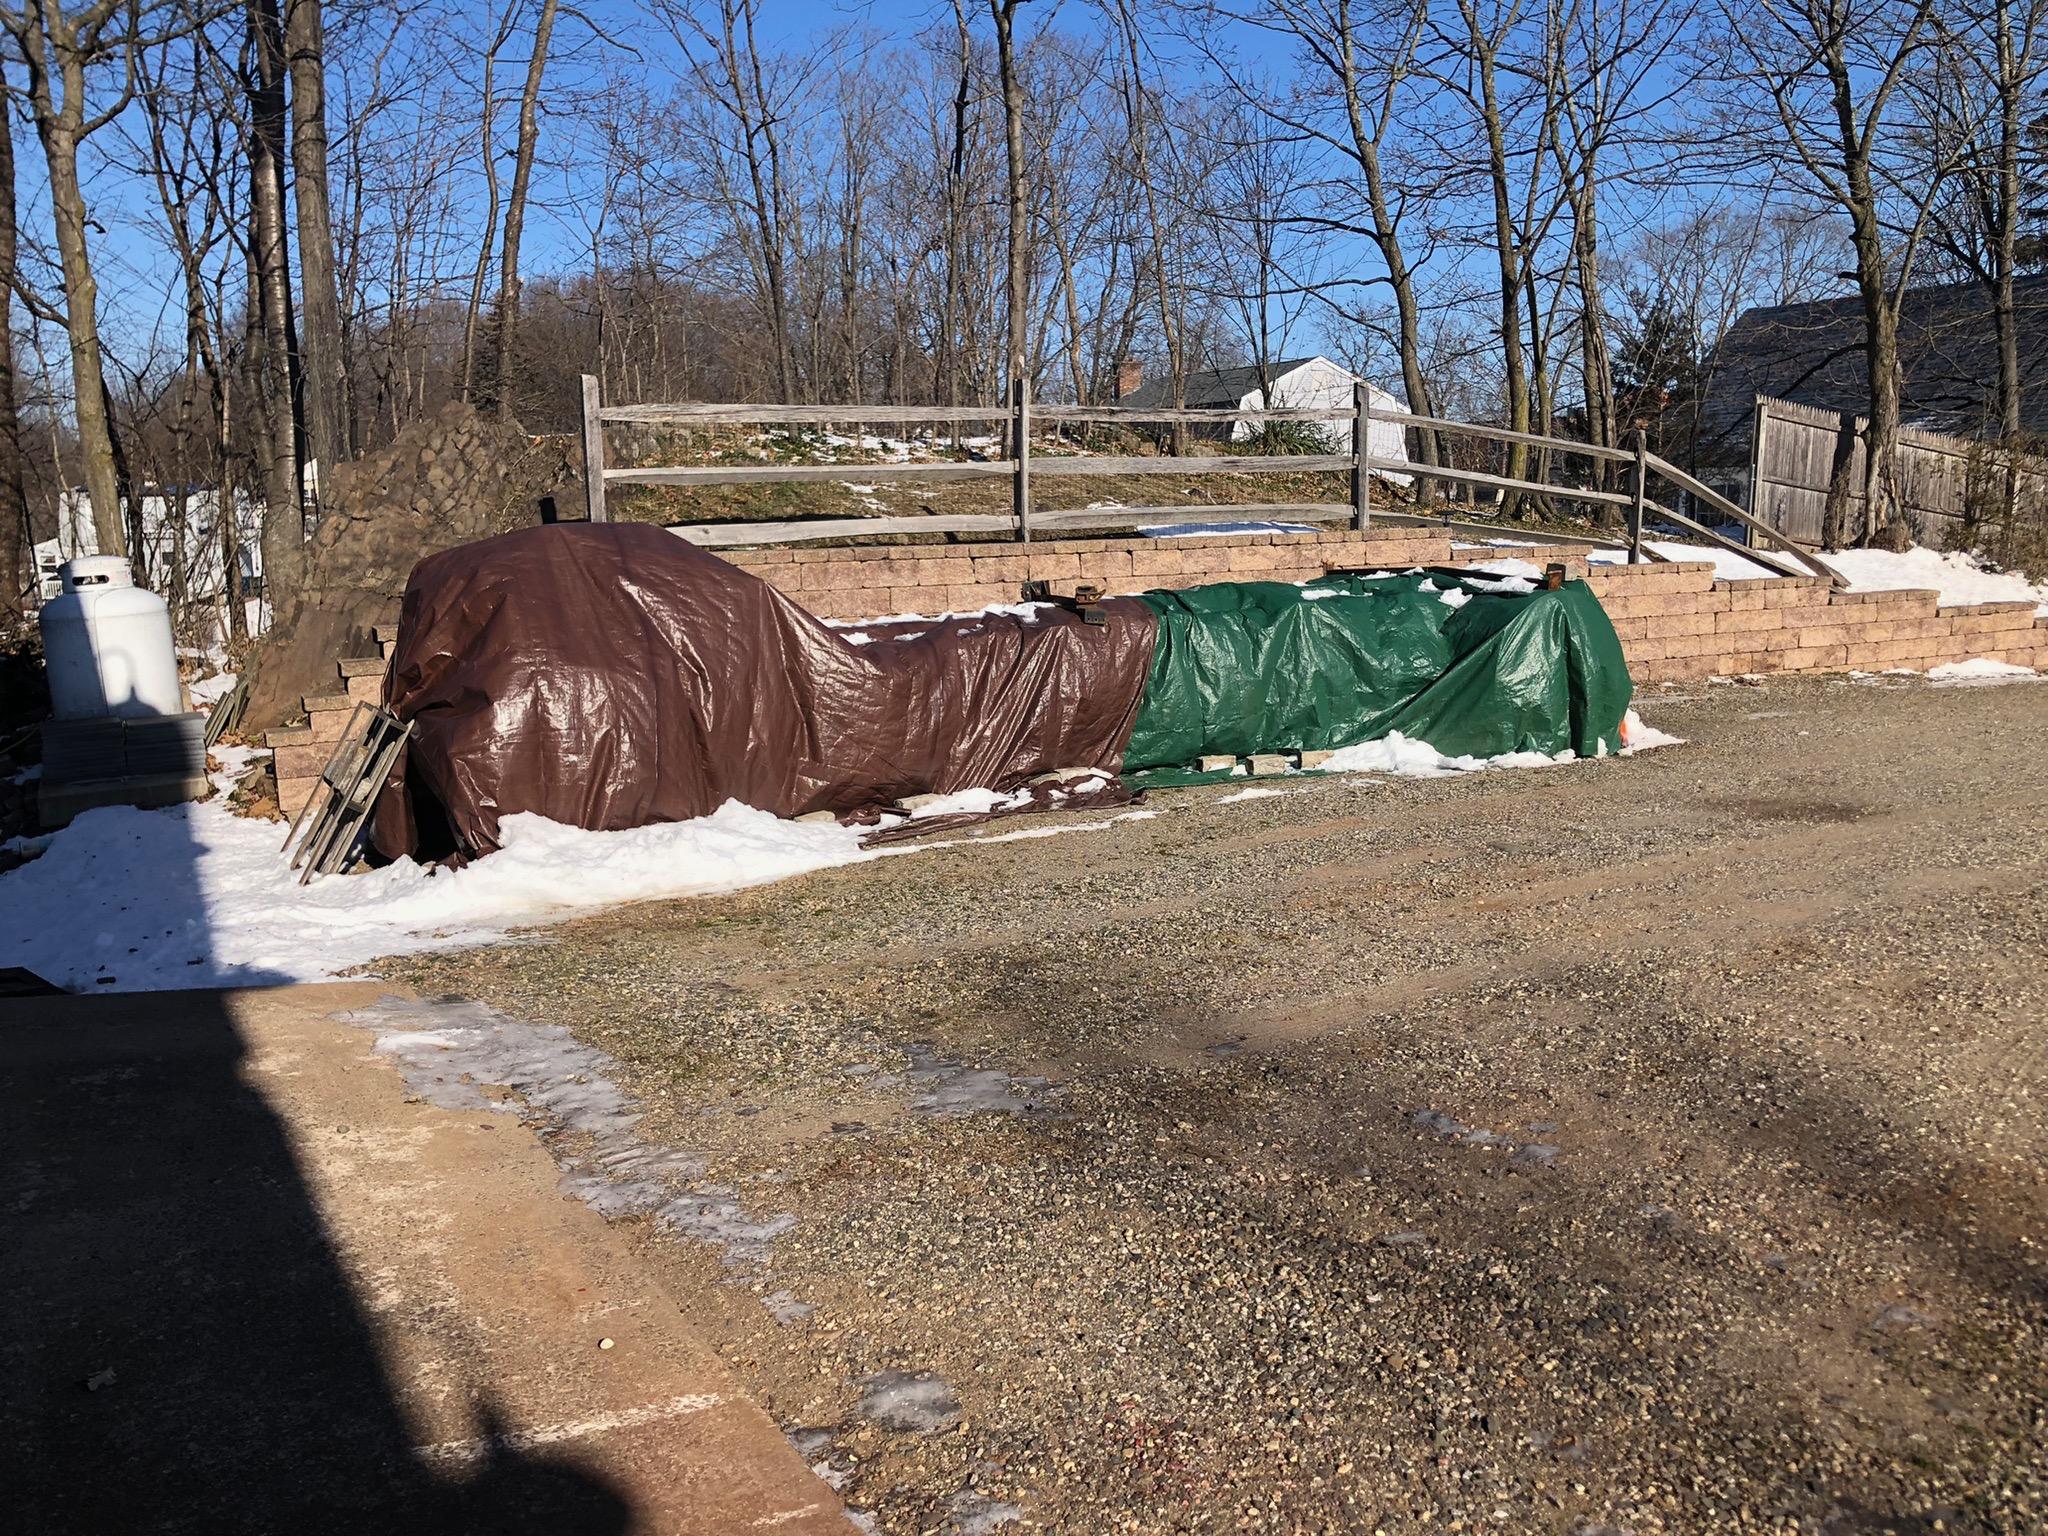
Trying to be productive, but when it's about 10*F everything is cold and takes so long to warm up!! Getting some small stuff done and if it were little warmer, I could be doing some work on the hood and fenders. Waiting on some parts from the hydraulic shop for the power steering unit and got the shop cleaned and a little more organized after the fall push on the frame. But there it sits, all wrapped up and waiting for more work to be done to it.


BMT Forum Logo
