


mattb73lt
-
Posts
1,427 -
Joined
-
Last visited
-
Days Won
146
Content Type
Profiles
Forums
Gallery
Events
Blogs
BMT Wiki
Collections
Store
Everything posted by mattb73lt
-
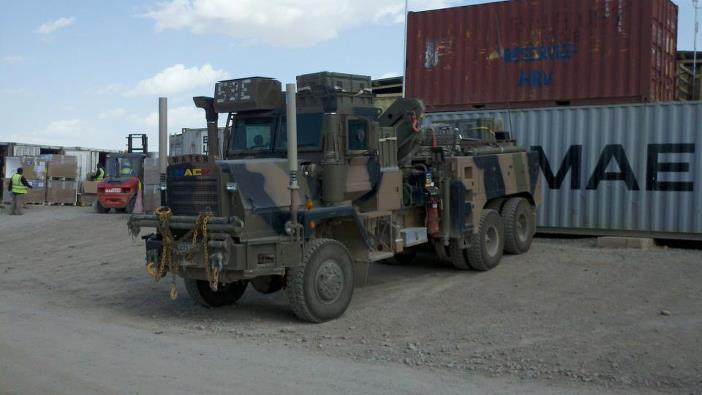
I always liked these trucks. Never drove any, but was stationed with an Australian Special Forces Unit and they had a whole fleet of them at Tarin Kowt, Afghanistan in 2013. I didn't have a camera, so was limited in pictures I could scrounge of their trucks. All of them had air conditioned armored cabs. Other than the radiator, they didn't look a lot like those you posted.
-

74 Mack Rmodel Project
mattb73lt replied to JBushneck's topic in Antique and Classic Mack Trucks General Discussion
Great progress!! It's really coming along. -
Mack B873sx restoration
mattb73lt replied to hicrop10's topic in Antique and Classic Mack Trucks General Discussion
Dynamat and Lizard Skin are your friends for some soundproofing and heat reduction, once you get to that point. It's worth doing if you're going to drive and enjoy it. -
B-73 Restoration
mattb73lt replied to mattb73lt's topic in Antique and Classic Mack Trucks General Discussion
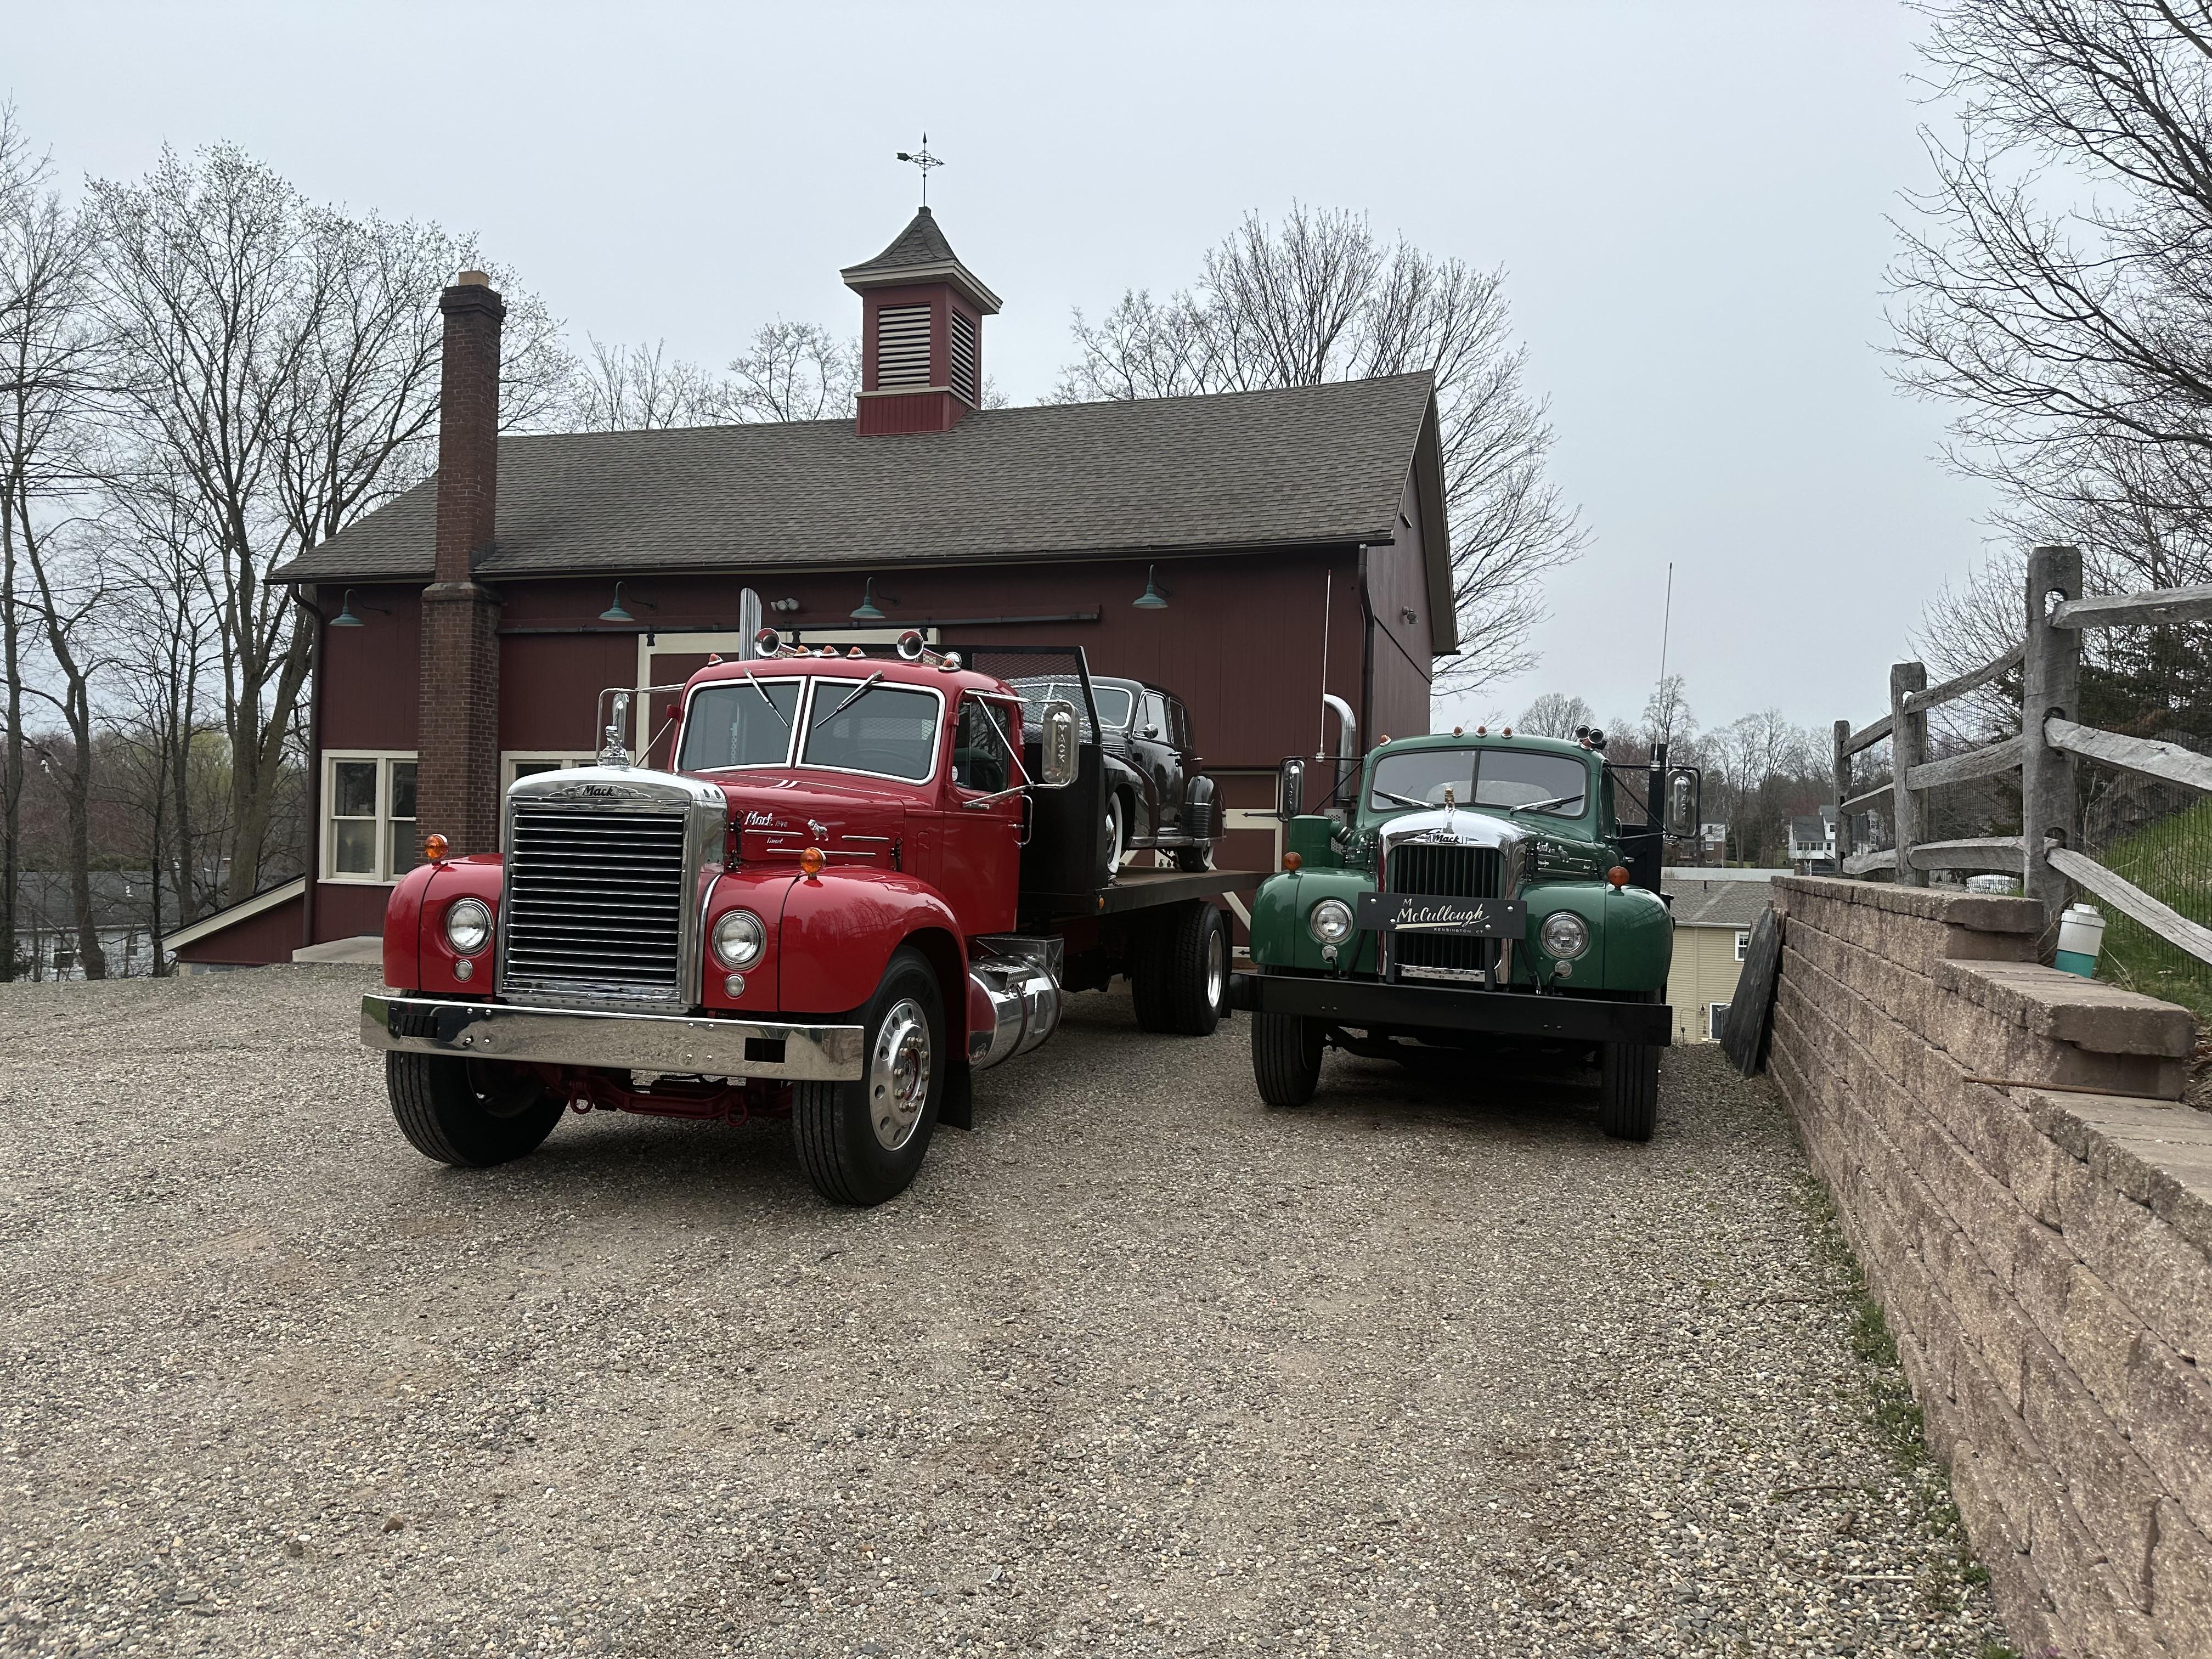
When I first got it I wasn't sure how I would redo it. All green was one way, red with black fenders, green cab and fenders with red frame. But, in my minds eye, I always liked the stock look. So after a while I settled on the original all red. I was always going to polish the radiator and fuel tanks and I wanted the right mix of bright work. I picked certain things to polish, like the windshield frames, to brighten up. Added the bumper and really lucked out finding a complete set of stainless mirrors and brackets. The other thing I went back and forth about was switching to aluminum rims to finish the brightwork off. I like the Daytons but wanted the aluminum rims for this project. The B42 has them and finding the hubs is no easy task. That swap was a whole separate project. To finish it, my next headache and worry will be the lettering and pin striping. Again, I have a picture in my head of what I want and hopefully that will really make it complete. -
B-73 Restoration
mattb73lt replied to mattb73lt's topic in Antique and Classic Mack Trucks General Discussion
The guy I thought was going to cut me off couldn’t get away from me fast enough!! It was crazy loud!!!! IMG_9364.mov Here’s a video of me leaving the house in October. Please excuse the hop over the curb, I had a car coming and the truck requires a second shot out of the driveway due to length. You can hear the truck echo through the neighborhood. It was only partial throttle as it wasn’t warmed up yet as I disappeared behind the neighbors house. Let me know if it doesn’t post and I’ll redo it when I get home. -
B-73 Restoration
mattb73lt replied to mattb73lt's topic in Antique and Classic Mack Trucks General Discussion
My little cheat sheet until I get my RPM/speedometer set right. On the flats it just chugs right along. Not going to get close to 2100 in 5th Hi Split. I did push it once, downhill, to 1900. That was enough.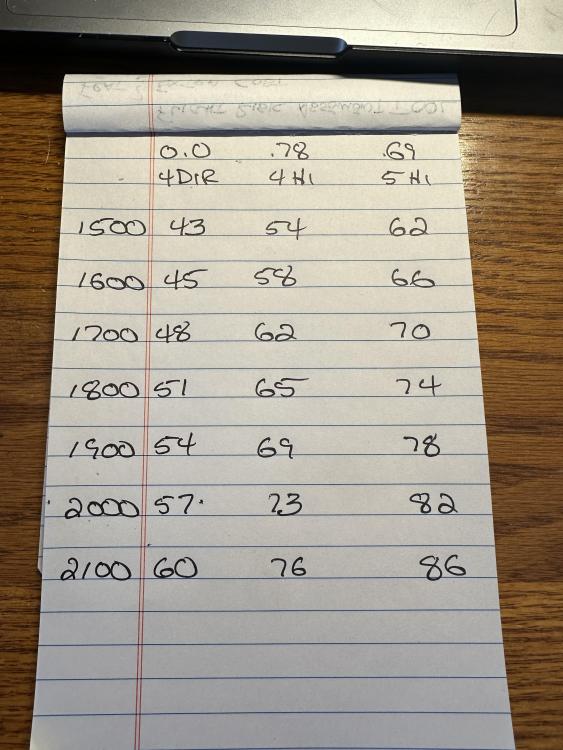
-
B-73 Restoration
mattb73lt replied to mattb73lt's topic in Antique and Classic Mack Trucks General Discussion
IMG_9364.mov Here’s a video of me leaving the house in October. Please excuse the hop over the curb, I had a car coming and the truck requires a second shot out of the driveway due to length. You can hear the truck echo through the neighborhood. It was only partial throttle as it wasn’t warmed up yet as I disappeared behind the neighbors house. Let me know if it doesn’t post and I’ll redo it when I get home. -
B-73 Restoration
mattb73lt replied to mattb73lt's topic in Antique and Classic Mack Trucks General Discussion
The best thing about the loud exhaust is it keeps assholes away from you. Several times I thought I was going to get cut off on the highway by some idiot 4 wheeler. I set the Jake off to start to slowdown and the car rapidly left or slowed down to leave my vicinity. Yesterday I did it in the Hartford tunnel on I84 West. It was mind numbingly loud in there. Everyone stayed far away from me!! -
B-73 Restoration
mattb73lt replied to mattb73lt's topic in Antique and Classic Mack Trucks General Discussion
I have an insert in the vertical stack. It helps, but it is very loud. I'll probably end up with an under frame muffler or resonator to preserve my hearing. It does sound awesome the way it is. -
B-73 Restoration
mattb73lt replied to mattb73lt's topic in Antique and Classic Mack Trucks General Discussion
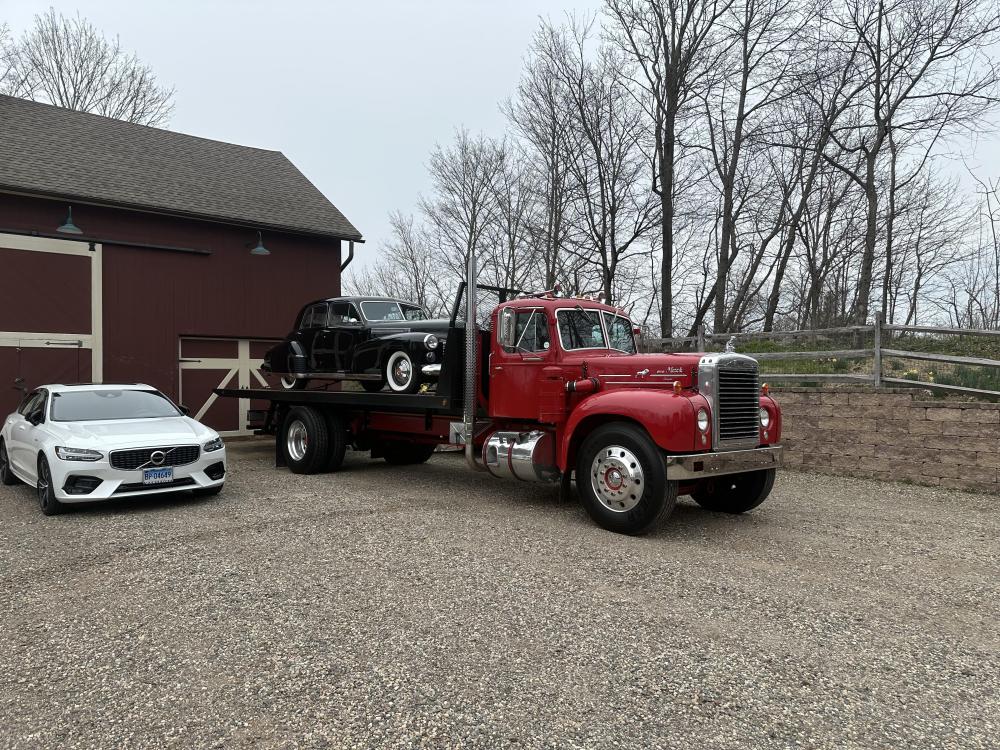
Good work out for the truck today. Empty, I ran up I-84 eastbound to the state line in Massachusetts and back to the house. Ran with some moderate traffic up I-91 through Hartford to I-84 to Manchester, where the road opens up and traffic gets lighter. Up through Tolland you run into some pretty good grades with rolling terrain and you climb up towards the Mass Pike. The return trip is easier as you're coming down a lot of those grades. The truck did well staying with the traffic. It does fall off a bit on some of the hills, but a quick downshift to 4th, Hi-split will carry you over. It falls off like other naturally aspirated engines do, like my old END-673 I had in the B42. Adding a T590 turbo to make it a 262 would give me a little more Power and torque, but I don't think I'll do that. I ran it pretty hard and put over 120 miles on it, to push it. The drive line is pretty quiet, the compound gearshift rattles kind of loud at certain RPM's. Post test run, the driveline is dry. The rear axle pinion seal may need some attention in the future as it had a little oil on it. Wheel bearings are cool and nothing got hot. The upper tank on the radiator was hot to the touch, but the bottom tank was almost cool. So, it does a really good job losing heat. That was kind of a surprise as I thought it would be pretty warm. The temp gauge was showing about 160* the whole time and really didn't move much, up or down hill. Only one grade caused me to drop two gear, to 4th Direct, but it still kept up with traffic. The good thing is the top couple of gears are so close that the down shifts are effortless. and with no clutch. The clutch does need to be adjusted, again. Some of the free play I had in it tightened up. I just need to keep driving it and and adjusting everything to get it dialed in. Upcoming things for it are a complete alignment check at a nearby shop. When I assembled the frame, I checked all my alignments with a tape measure and had everything within 1/16" to include the toe-in and checked it several time as everything was tightened up. It just needs to be checked for my piece of mind. It holds the road very well, no shimmy, pulls or drift and after 1400 miles I see and feel no obvious wear on the tires. My underbody storage boxes should be in soon. The winch needs to be installed and a cable added. Some electrical work needs to be completed, too. I've got a local sign painter I've contacted about Lettering the doors and a pinstripe job to dress it up a little, but nothing too flashy. It's all coming together and the truck is very comfortable to drive. As I get used to it, my B42 seems smaller every time I drive it. I really love both trucks, but that L cab is a home run for comfort and visibility.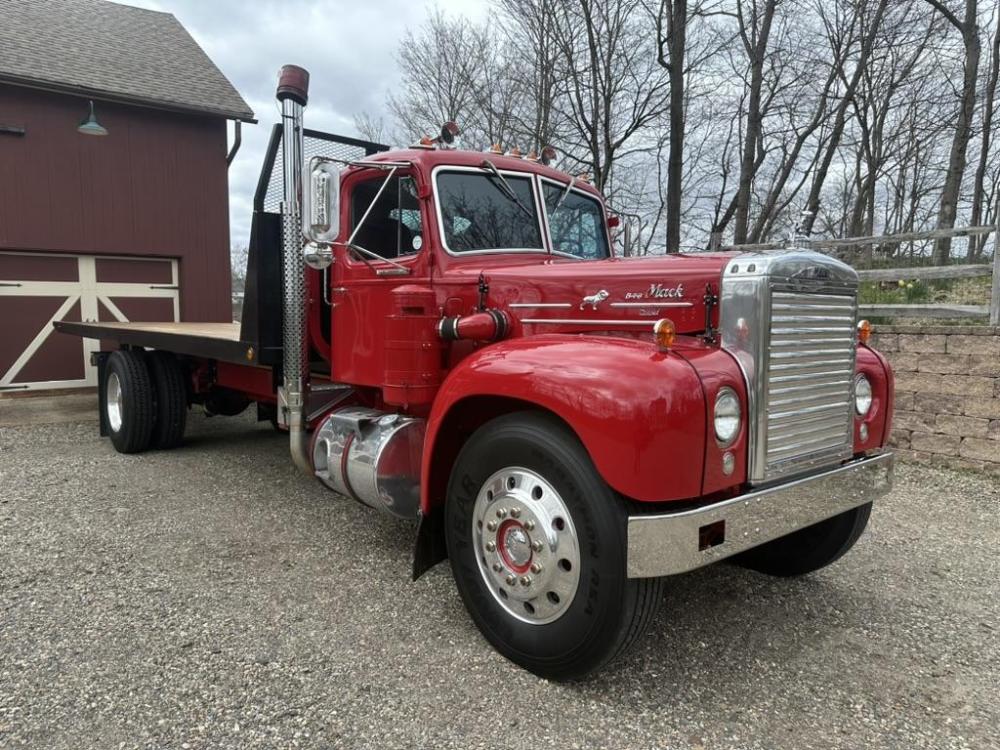
-
Mack B873sx restoration
mattb73lt replied to hicrop10's topic in Antique and Classic Mack Trucks General Discussion
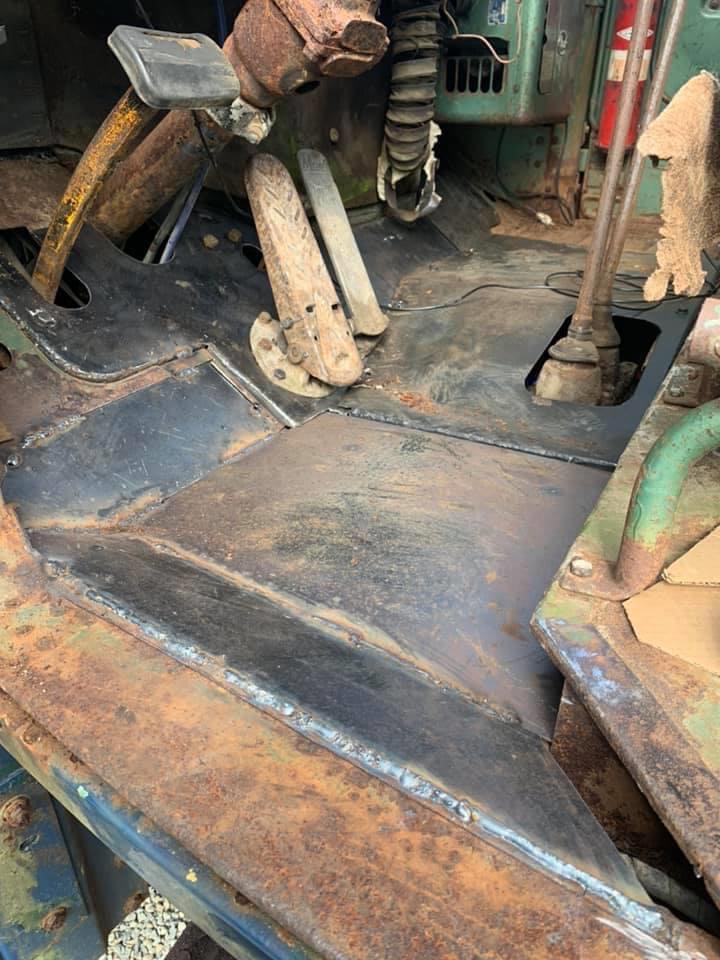
Both cabs are identical and would interchange without much issue. One difference is the cowl area on the passenger side depending on the air cleaner arrangement, it may or may not have cut outs for them. Most B81 arrangements pass through the rear corner of the hood. The main difference is the depressed floor under the driver's feet. Those couple of extra inches really make the cab more comfortable for taller drivers. I saved this picture from somewhere on the internet of a repair someone made to their depressed cab floor. I thought it was a decent repair using heavier material to do it.
-
B-73 Restoration
mattb73lt replied to mattb73lt's topic in Antique and Classic Mack Trucks General Discussion
Good, they're on order. I'm putting two 5' long by 2'x2' Merritt boxes on each side. Later, I'm going to add two DEF storage boxes to the header board for additional chain storage on the deck. That should give me a huge amount of storage and fill the undersides of the body. I'm hoping they show up in time so I can mount them before the show. -
B-73 Restoration
mattb73lt replied to mattb73lt's topic in Antique and Classic Mack Trucks General Discussion
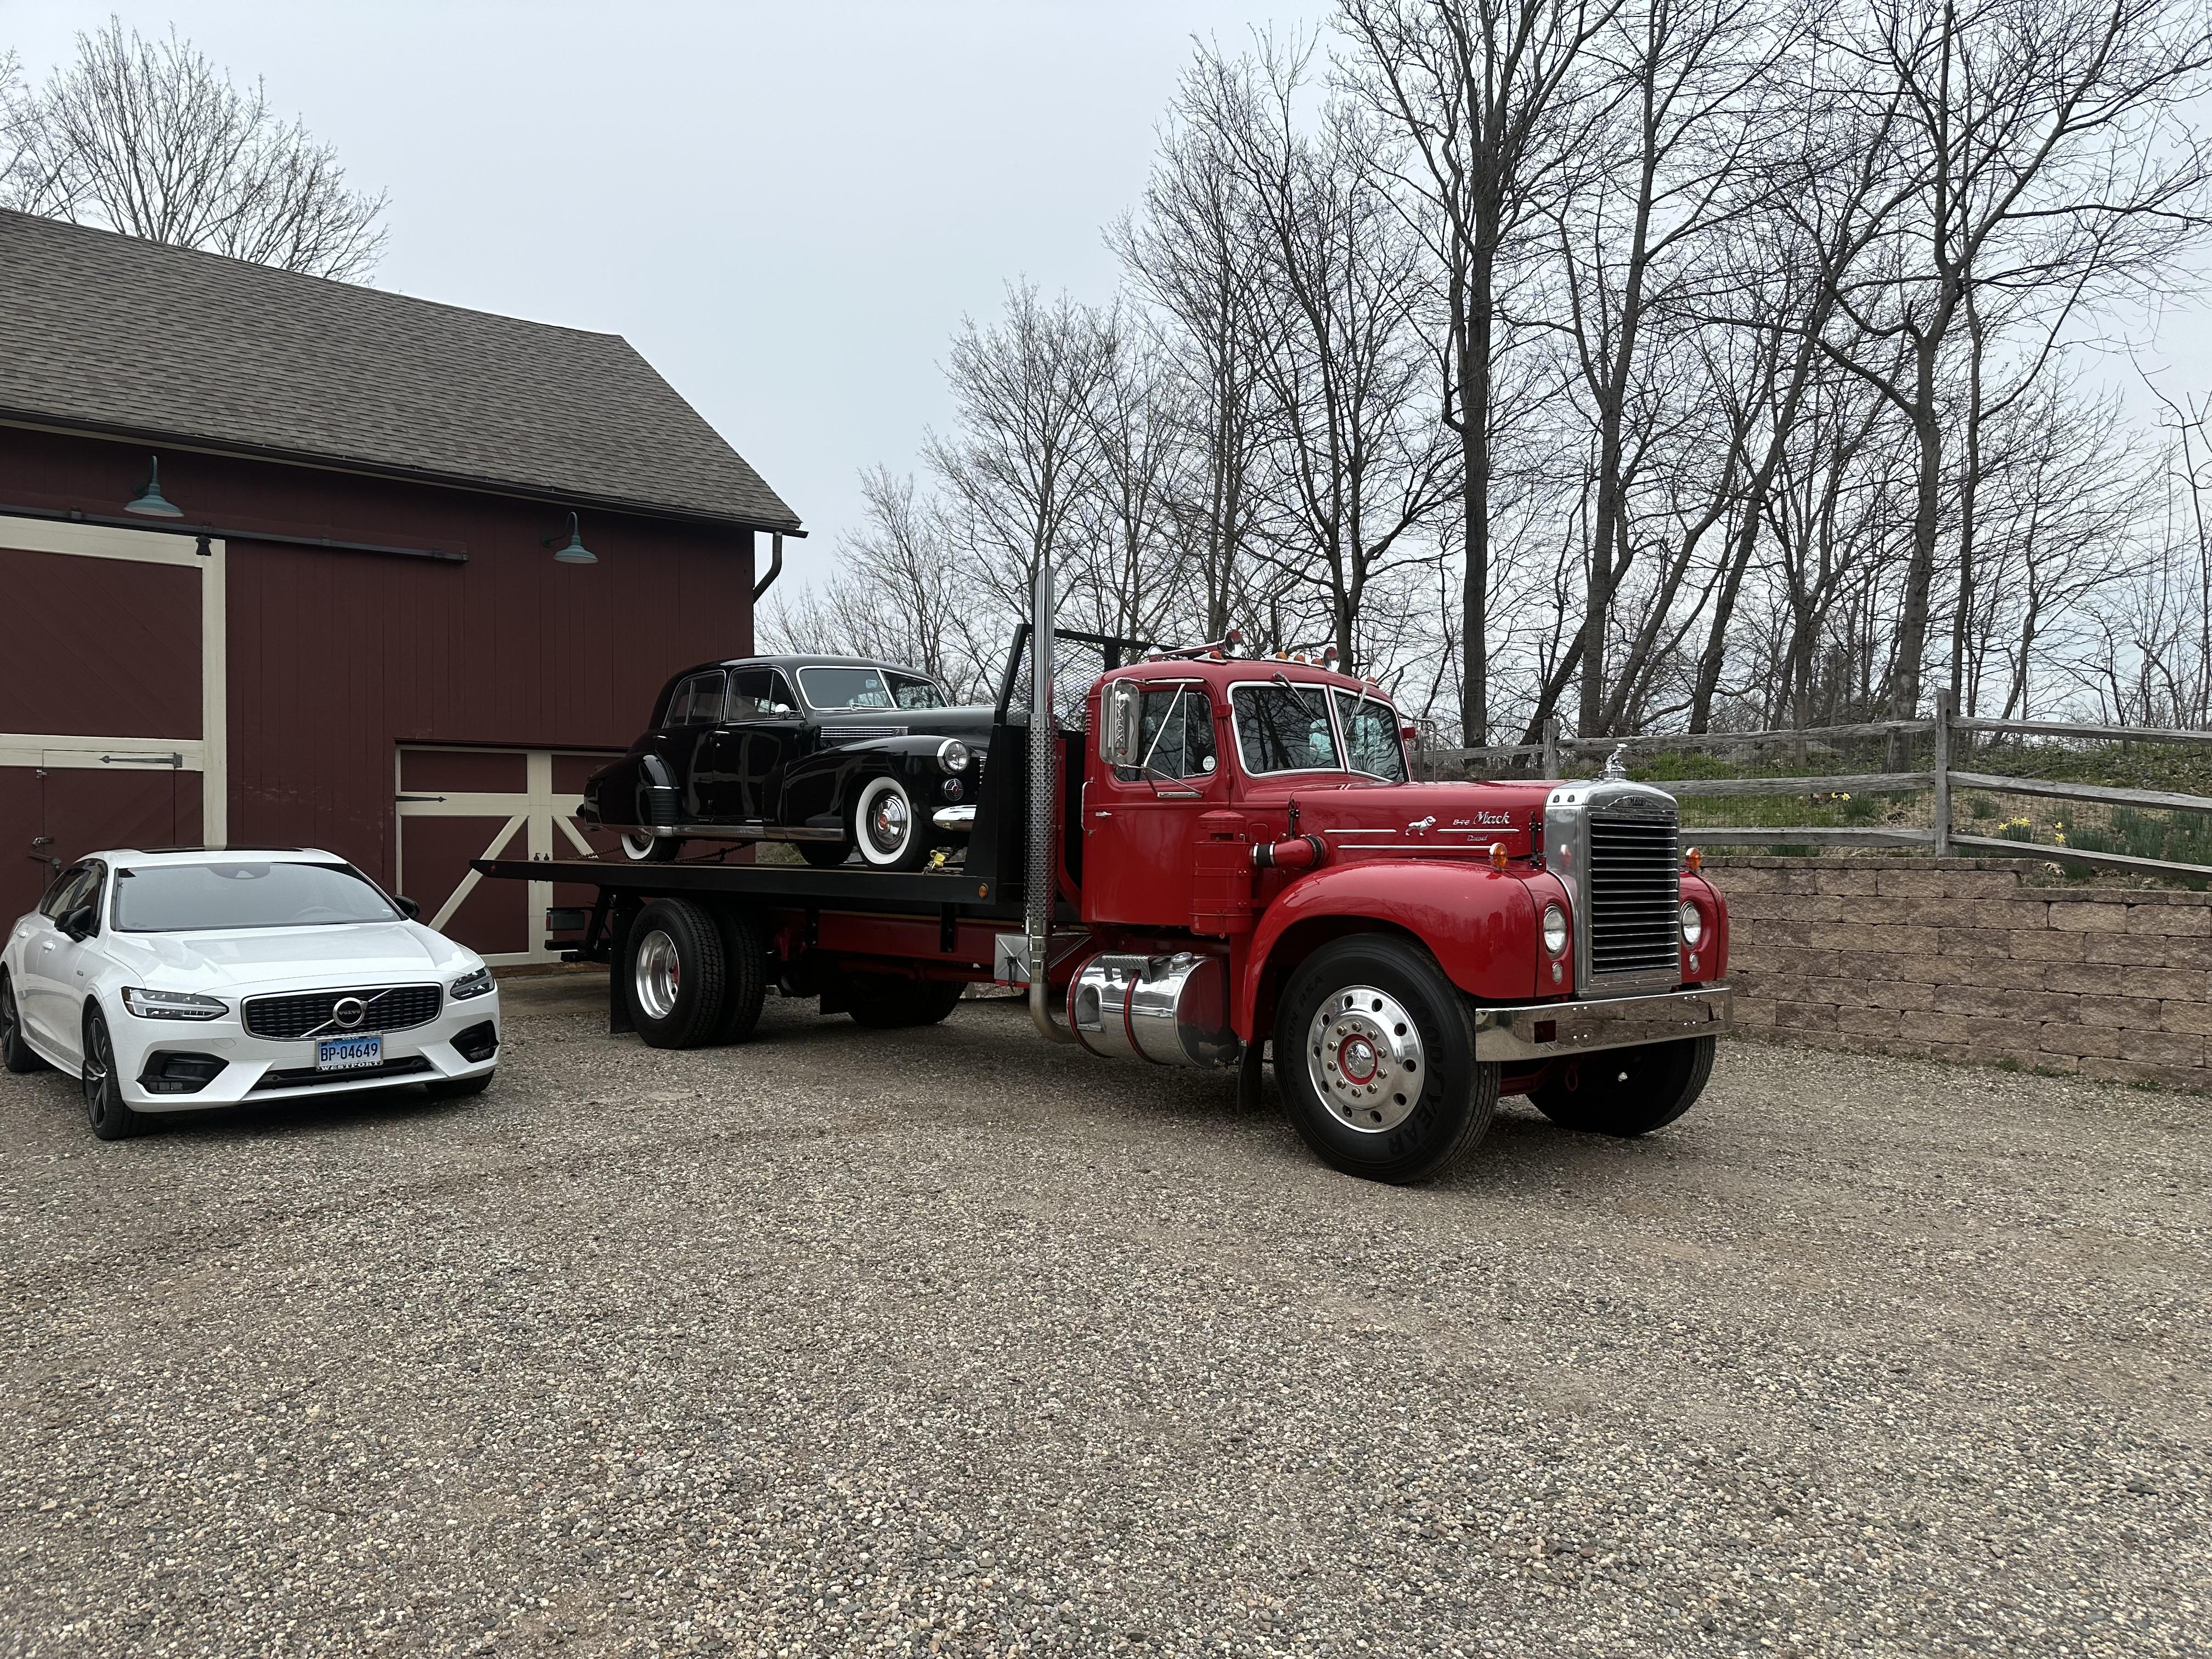
Back home again after a four month slumber. After checking it over it fired right up after very little effort. I had a friend go with me to drive my car back. He said,”Damn, that thing is fast!”. I thought I was just chugging along and shifting it easy, keeping the RPM’s down while I got used to driving it again. The speedometer is a little off and I was just moving along in traffic, but he said we almost hit 80 a couple of times. It really doesn’t feel like it at all. But, now to get a few things wrapped up on it for its first real truck show at Yankee Candle on 5/5!!
-
Anytime you need a staircase to climb up to the driver's seat means it's something BIG. They said in the video narration that they were not taking the trailer. I hope that changes or it'll probably get cut up for scrap.
-
Pretty impressive. I've seen some pictures around the internet of this truck sitting in this yard. I'm glad it's not getting scrapped. The size of that truck is daunting, I mean what do you do with it? That looked like Gary Mahan in one of the scenes. If restored, I would guess it would be a static display, because how would you move it around?
-
Mack B873sx restoration
mattb73lt replied to hicrop10's topic in Antique and Classic Mack Trucks General Discussion
That looks like a decent base to hand off to someone. Nothing hiding there to discover later. You'll need to spray it with something to keep the surface rust off it before he starts. I can only zoom in on a little of that gutter above the driver's door, but it doesn't look too bad and might be reworked. If the other side isn't too bad you could use it to form some short sections of round stock to fit and then use them as dollies on the other side. Weld some flat stock to them to create a handle and then use a body hammer to reform them. But, if you're sending it out, a good body man should be able to work on them. If you think they're too deformed/damaged, then some donors would be in order like you said. Soda blasting would really get that clean, in and out. The plus side of soda is that the residue it leaves on the bare metal will preserve it short term before body work starts. -
Finally some DM progress
mattb73lt replied to mowerman's topic in Antique and Classic Mack Trucks General Discussion
A good weekend to do other things! Thats the only area of rust? If so, that’ll clean up easy and save a bunch of time and money!! -
Mack B873sx restoration
mattb73lt replied to hicrop10's topic in Antique and Classic Mack Trucks General Discussion
Nice! I did my B42 cab by sanding. A lot of work and dusty, but you'll end up with a great surface for primer. -
74 Mack Rmodel Project
mattb73lt replied to JBushneck's topic in Antique and Classic Mack Trucks General Discussion
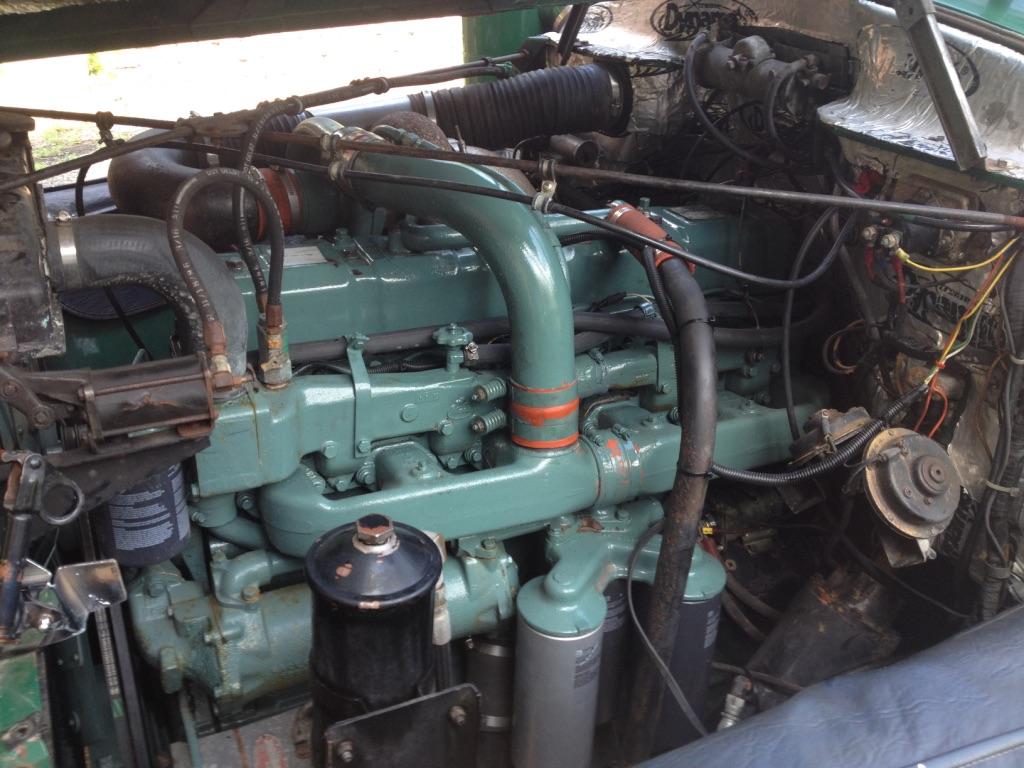
I ended up painting my 237 the original blue/green color when I upgraded from my old END-673. Really nice work you're doing and at a great pace!!
-
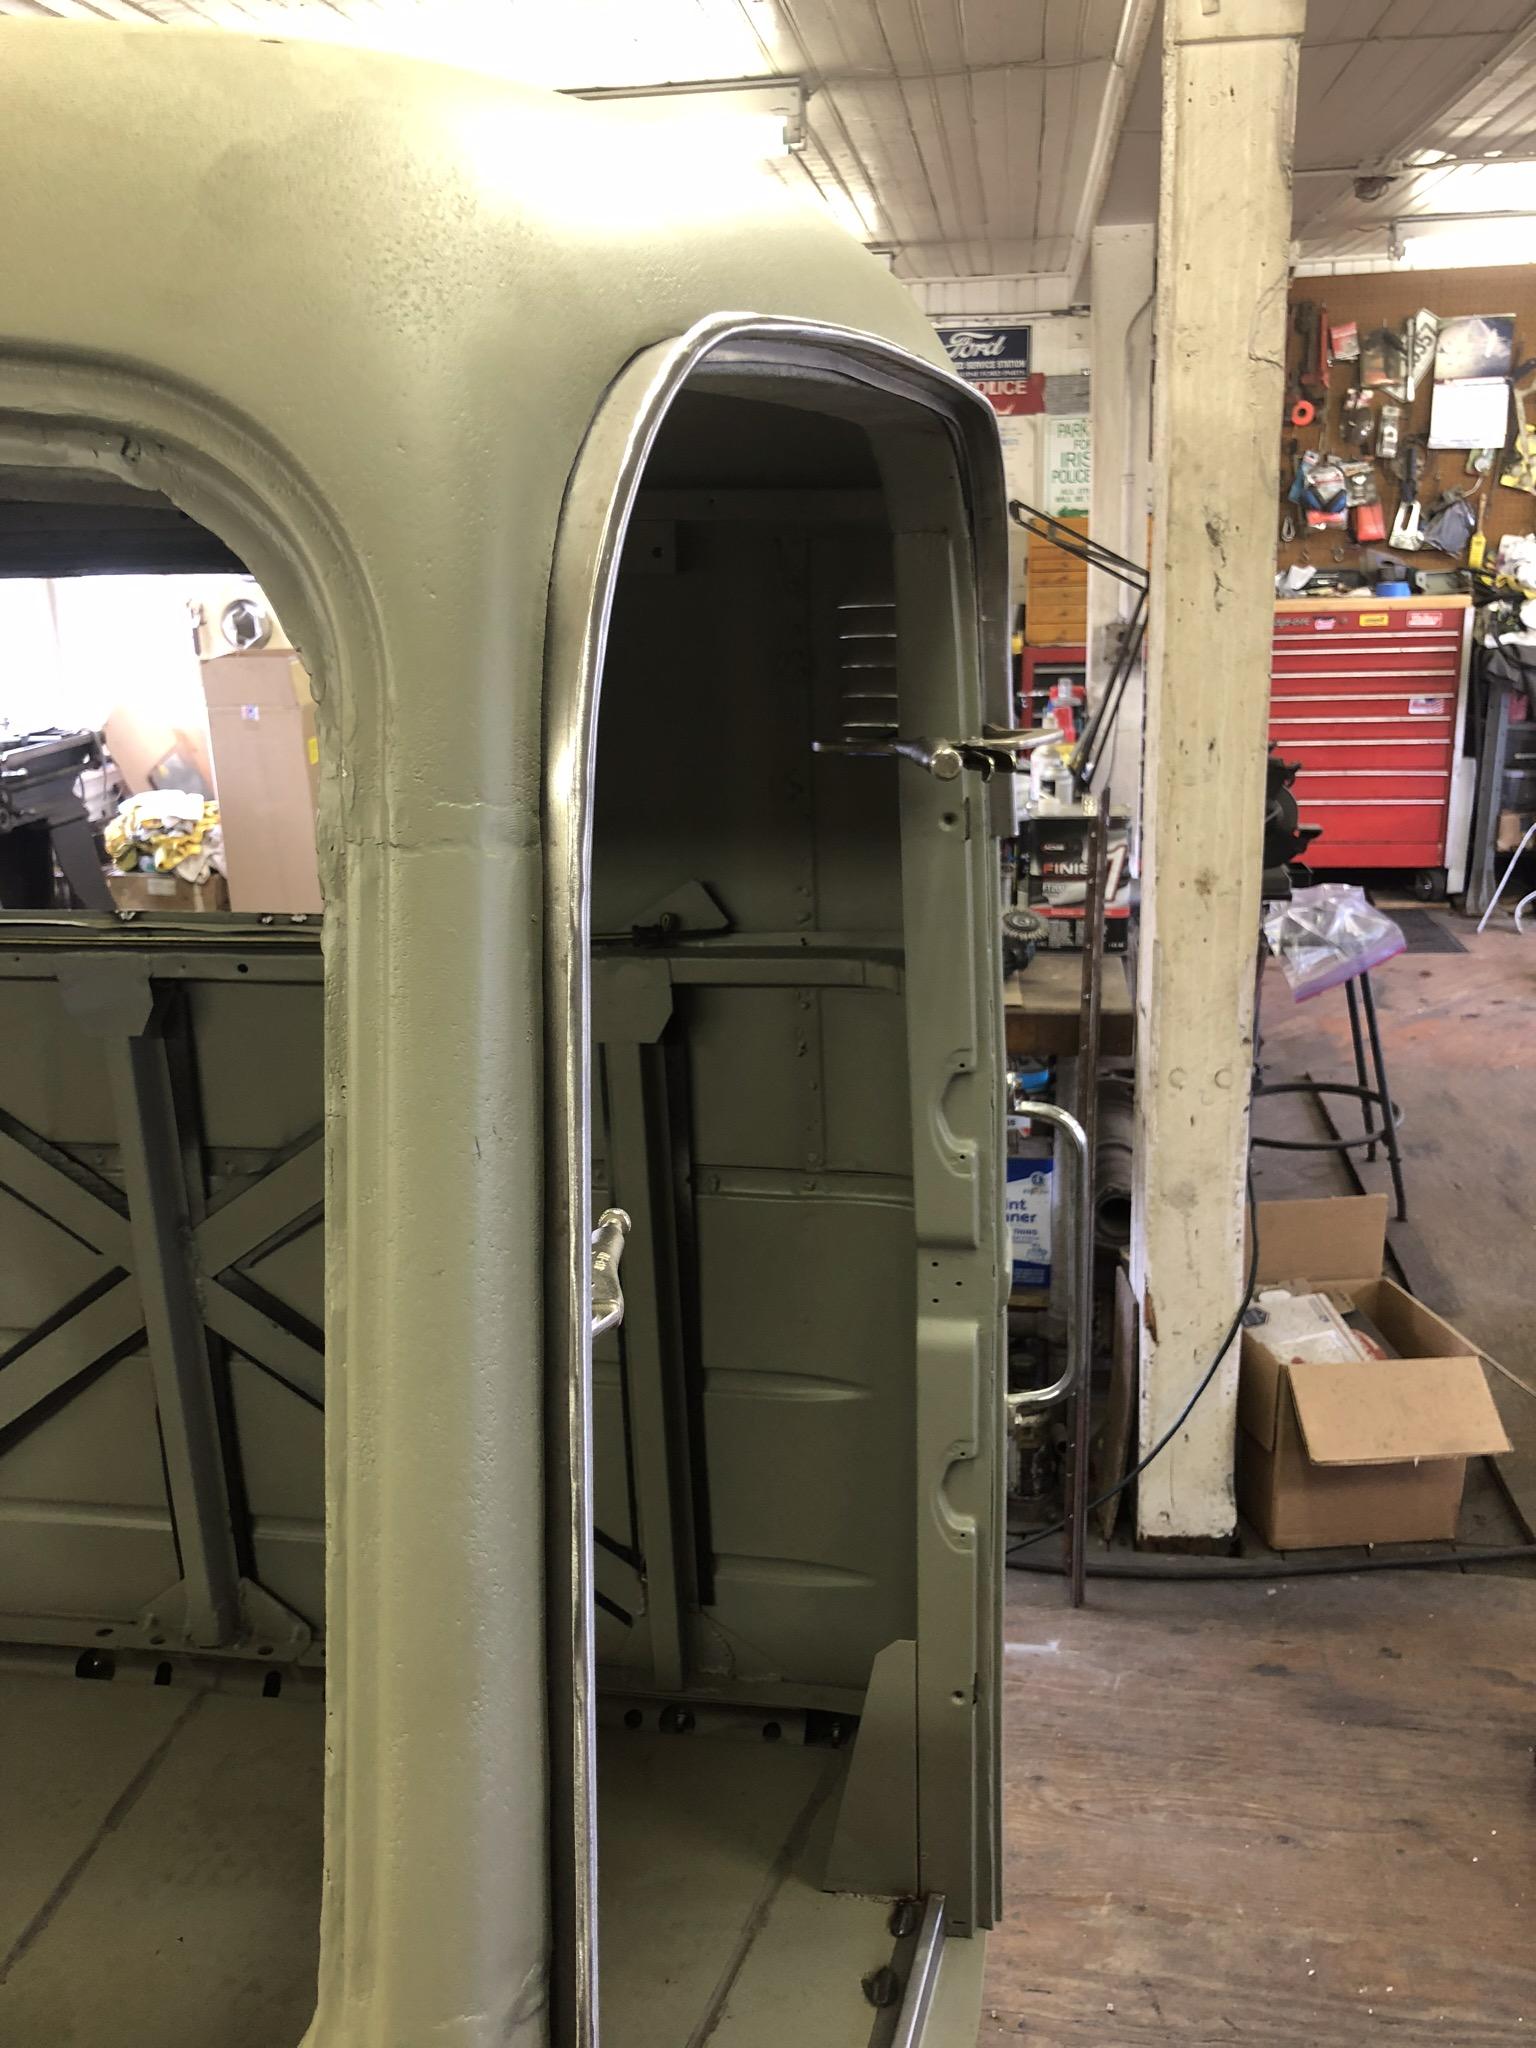
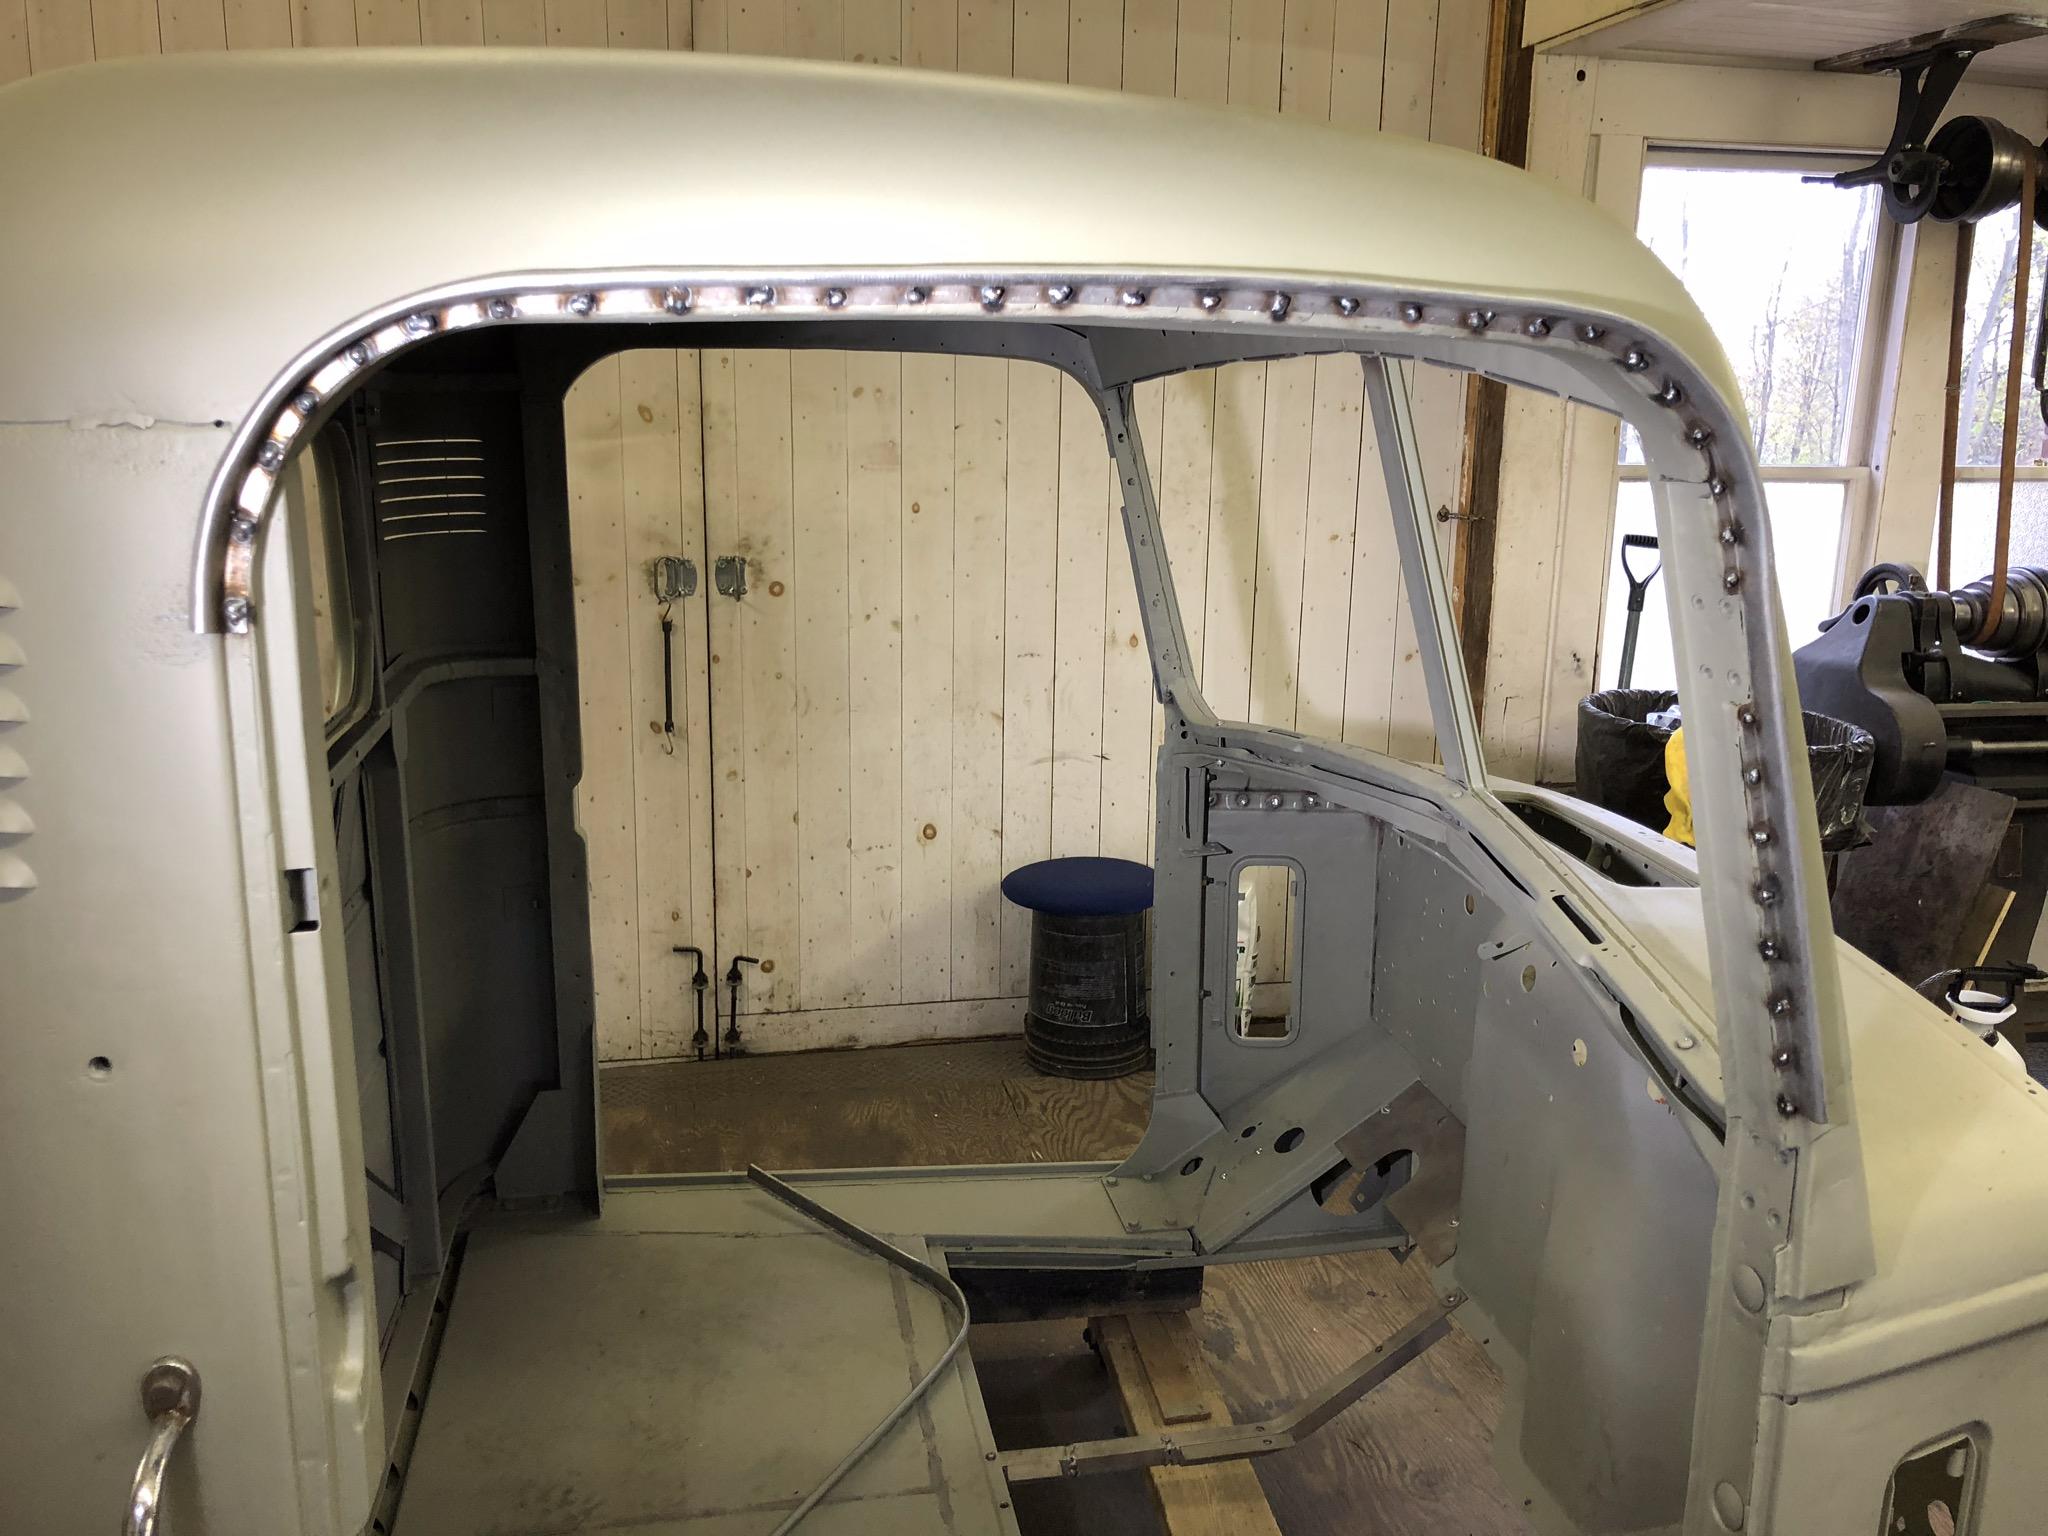
Rain gutters
mattb73lt replied to hicrop10's topic in Antique and Classic Mack Trucks General Discussion
Here is another pair of tools I used to work my gutters. Two small slip joint pliers. Because of their twist I could reach inside the gutter lip and work small sections back into shape, then I used my little dolly and smallest body hammer to finish off the gutter. That small hammer is probably my most used one out of my set. Light taps, backed up with a dolly can do a lot of straightening.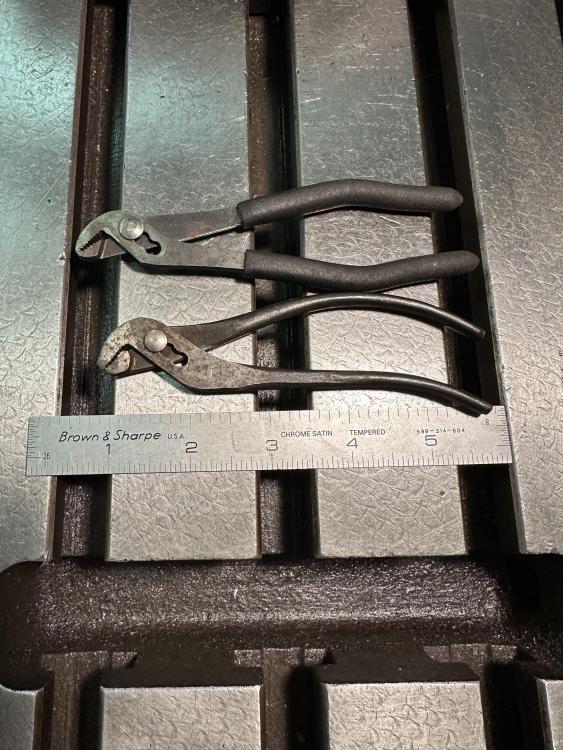
-
1960 Mack B61T Restoration
mattb73lt replied to eightup's topic in Antique and Classic Mack Trucks General Discussion
Ask around to locate a good spring shop. A good shop can do a lot to get them back in shape. From the pictures you posted it looks like only a couple of leaves are broken. You can have a shop just replace what's broken, if the rest are OK. I have two rear springs sitting on my barn floor you could have, but I'm farther away from you than Yarnall. .I've seen several trucks with air ride setups under the rears at shows. I think they're OK and if you run empty will probably give you a much better ride. Especially if your truck is a short wheelbase. Lot's of bucking when going over bumps. -
Mack B873sx restoration
mattb73lt replied to hicrop10's topic in Antique and Classic Mack Trucks General Discussion
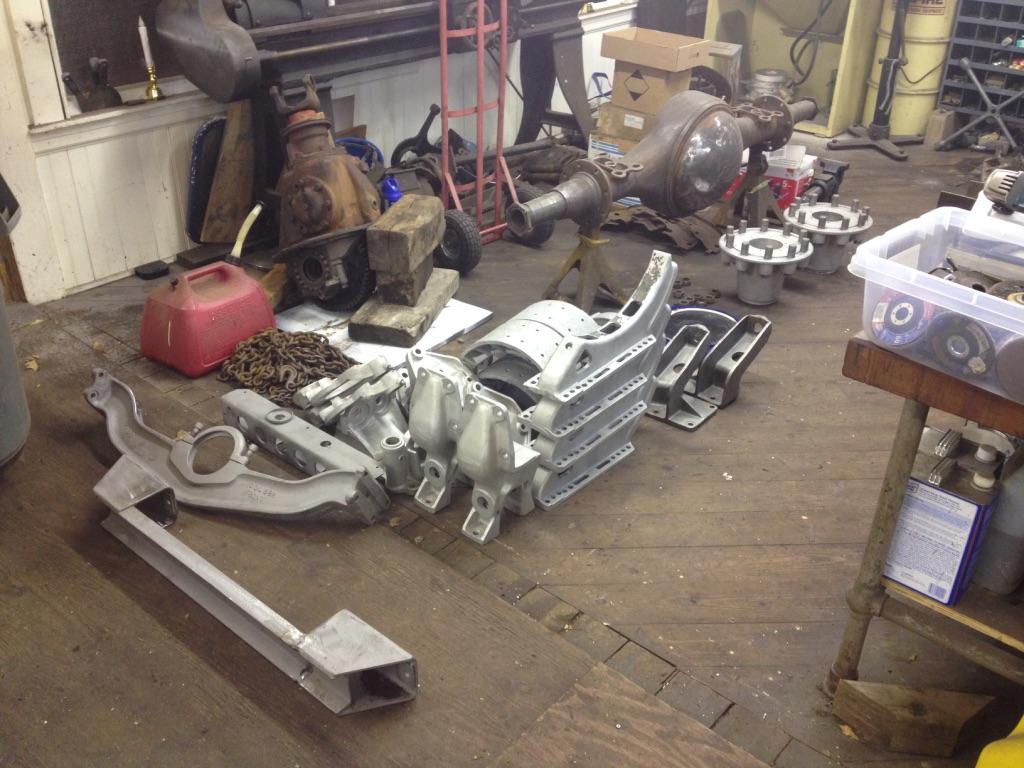
I've used several different media's on my restorations. For heavier materials I'll go with actual sandblasting (frames, axles and heavy bodies like my steel deck on my B73), to glass beads on sheetmetal that's got some corrosion. If it's sheetmetal that you're looking to remove mostly paint I'll go with soda blasting. I did the entire front clip and doors on my B42 that way and the metal looked like it came right out of the presses, minus damage/dented areas. On the cab I did mostly mechanical methods, a DA sander with some heavy grit discs to remove layers of paint. Chemical is OK, I've done other vehicles that way, my '27 Model T I did that way. So it depends on what you're working with. Find a good dry stripper business and see what they offer. I used an Aerospace company that does dry stripping on the side that I've used on both B models for sheetmetal and aluminum parts. The B73 had a lot of aluminum castings and sheet metal they did. Most of the parts below were done by that Aerospace Parts company I mentioned.
-
Rain gutters
mattb73lt replied to hicrop10's topic in Antique and Classic Mack Trucks General Discussion
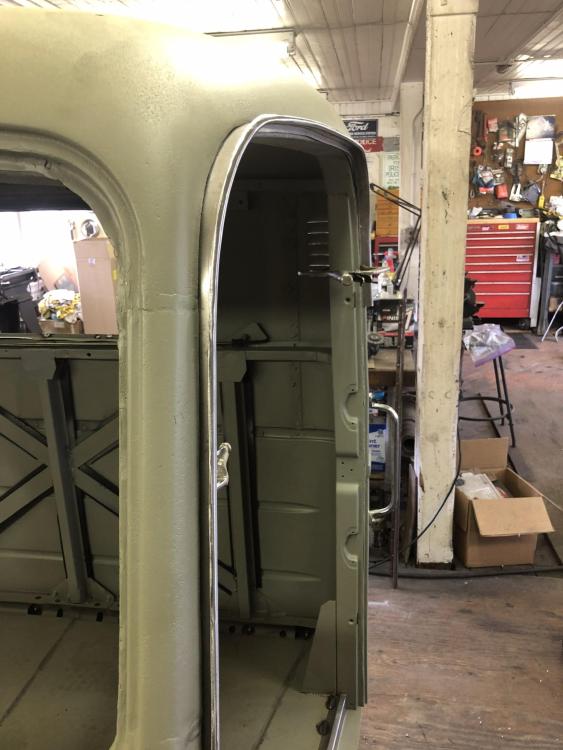
I had to fabricate new ones as the originals and a pair I salvaged were only good for patterns. They’re fragile once you cut them off due to corrosion and loss of material from the spot weld cutter. If you can fix them in place or just repair small segments, that’s a little easier. -
Rain gutters
mattb73lt replied to hicrop10's topic in Antique and Classic Mack Trucks General Discussion
I had to on my L cab, but that needed a lot of work. On my B42, I just worked them in place. I made a few dollies out of round bar stock and flat stock. The round stock fit inside the lip and the flat stock was used as a handle, welded together. If there’s no rot or other damage, I would try to work them in place. If there’s signs of rot, I would look at removal to get in there and stop it. Clean up both sides of the gutter as best you can to expose the seams and spot welds to come up with a plan to cut them apart. A wire wheel on a 4” angle grinder and a good quality spot weld cutter are your friends there to open it up.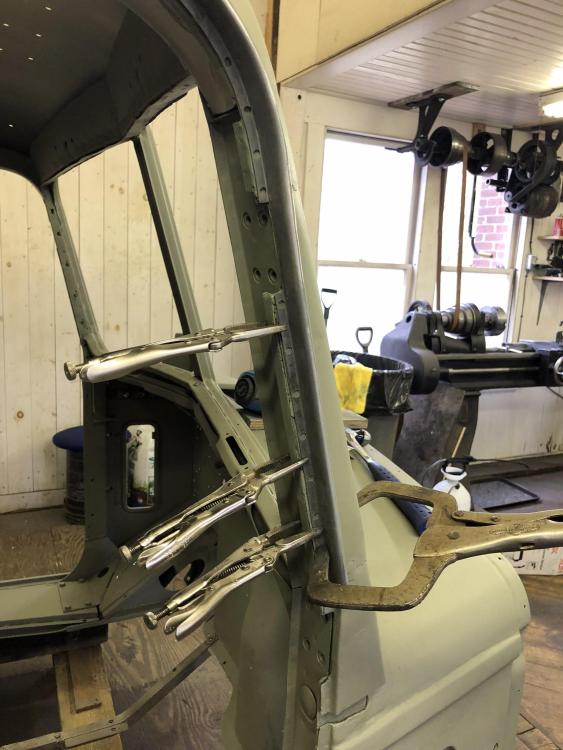

-
Coca Cola LJ Mack colors
mattb73lt replied to 1961H67's topic in Antique and Classic Mack Trucks General Discussion
A lot of history in those layers of paint! They look pretty solid.


BMT Forum Logo
