


Mackpro
-
Posts
3,029 -
Joined
-
Last visited
-
Days Won
10
Content Type
Profiles
Forums
Gallery
Events
Blogs
BMT Wiki
Collections
Store
Everything posted by Mackpro
-
Rebuilding 2002 ETECH 460P ccrs ideas
Mackpro replied to BottleHauler84's topic in Engine and Transmission
Sadly it was only for the first generation of ETECH’s 1998.5 through 2001.5 then the CCRS started and they dropped the 460 XT. They did have the 460 performance and 460 economy for the CCRS but both were prone to the wastegate turbo derate issues. Had a buddy with a 1999 CL713 with the 460XT , I copied that engine data file and reflashed a lot of ECM’s to the 460 XT many years ago. -
Rebuilding 2002 ETECH 460P ccrs ideas
Mackpro replied to BottleHauler84's topic in Engine and Transmission
In my notes from 2010, one of the best running engines we drove was a CCRS 427 HP with 460 injectors. But also Mack did a software change to a different data file that really made it come alive. Best I remember it was originally a 460 CCRS with the classic random derate due to the turbo issues. Detuned engine software to 427 and installed a 427 turbo while leaving the 460 HP injectors. Performance took a hit more than we thought it should, corporate sent us a different data file and bam we gained it all back and then some. -
Some of the delete programs also do the EGR valve and some don’t. I would unplug the EGR valve and run it. The deletes on Mack’s are so hard to get right because of so many changes between every 2 years of production. 2008-2009 were DPF only. 2010-2012 DPF and DEF/SCR non-OBD. 2013-2014 was a big jump in wiring and in software to OBD. 2015-2016 was the GHG greenhouse gas emissions years with different software and injectors. Then common rail started in 2017. Biggest complaint after a delete is the fan clutch either won’t come on and the truck over heats or it’s stuck on all the time. Followed closely by the truck has no power now after the delete. Usually caused by EGR deleted and not unplugged and blocked off. Even if EGR is deleted and blocked it the valve still need to be unplugged. Also on some years the turbo actuator was on the same data link as the DEF level sensor. Wrong delete gets put in to kill the DEF level sensor and it also kills the turbo actuator.
-
Suspension clunk when braking
Mackpro replied to annmax's topic in Modern Mack Truck General Discussion
In the last few years we have seen that the factory doesn’t grease or tighten any thing very good. As in no grease on the king pins and front steer axle U-bolts loose. Sometimes the dealership catches it , sometimes not. I vote spring eye bushings or loose U bolts -
Check fuses up in top of dash, there should be a bigger square on for the blower motor then one for the control panel. Also there is also one labeled something like sleeper AC or Sleeper HVAC , check this one as well even if you don’t have a sleeper. If all that is good see if the control panel lights up if you push the fresh air / recirculate button or the AC button. The HVAC unit has its own wiring harness that plugs into the main cab harness, you can see this harness connection to the left of the HVAC unit, well below the dash fuse box. The harness is known to rub on the metal braces and brackets in the area around the harness connector.
-
Blower motor not working on level 4
Mackpro replied to Cpitt32's topic in Modern Mack Truck General Discussion
The lower fan speeds go through the resistor. High is usually direct straight from the switch. Usually the back of the switch is melted. This is usually because the cabin air filter is clogged/dirty and the blower motor is trying to pull air through the dirty cabin air filter and it over heats the wires, switch and connector on the HVAC control panel. The cabin air filter needs to be changed at least every year. If it’s a farm truck or used in dusty environment then every 3 to 6 months. The older trucks came with a blue mesh screen filter that you could wash out. It’s now been replaced with a fabric house style filter that you just throw away. Super easy to change except on the older CXU, CHU and GU trucks. A little harder to change on the AN, PI and GR trucks due to kick panel redesign. Also alway run in recirculating mode keeps from drawing in dust and other stuff that clogs the filter . -
It’s one of the most hated things about the MP engine from a technician’s point of view. Getting that floating collar lined up and sealed can be a pain. Sometimes you get it the first try or you spend an hour messing with it. If the elbow is ever completely removed I use a wood splitting wedge between the elbow and back timing cover to hold the elbow in place while you get the clamps started. I also smear a very light coat of grey RVT on the metal gaskets to hold them in place.
-

-
-
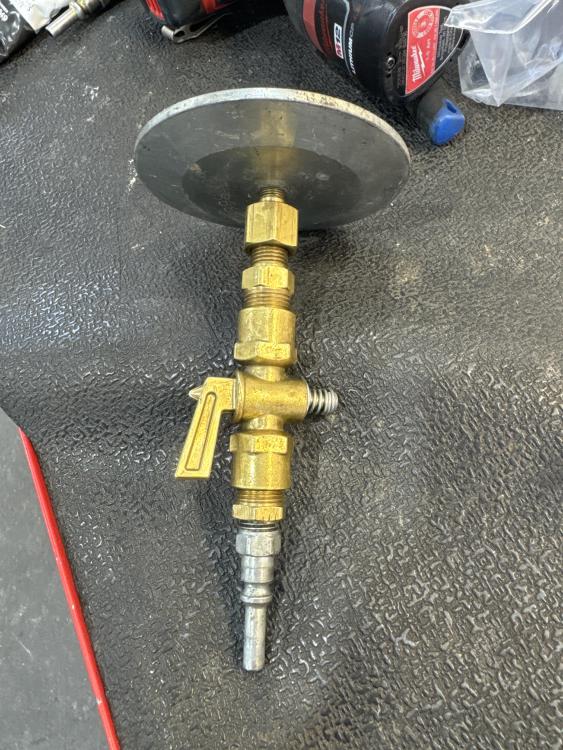
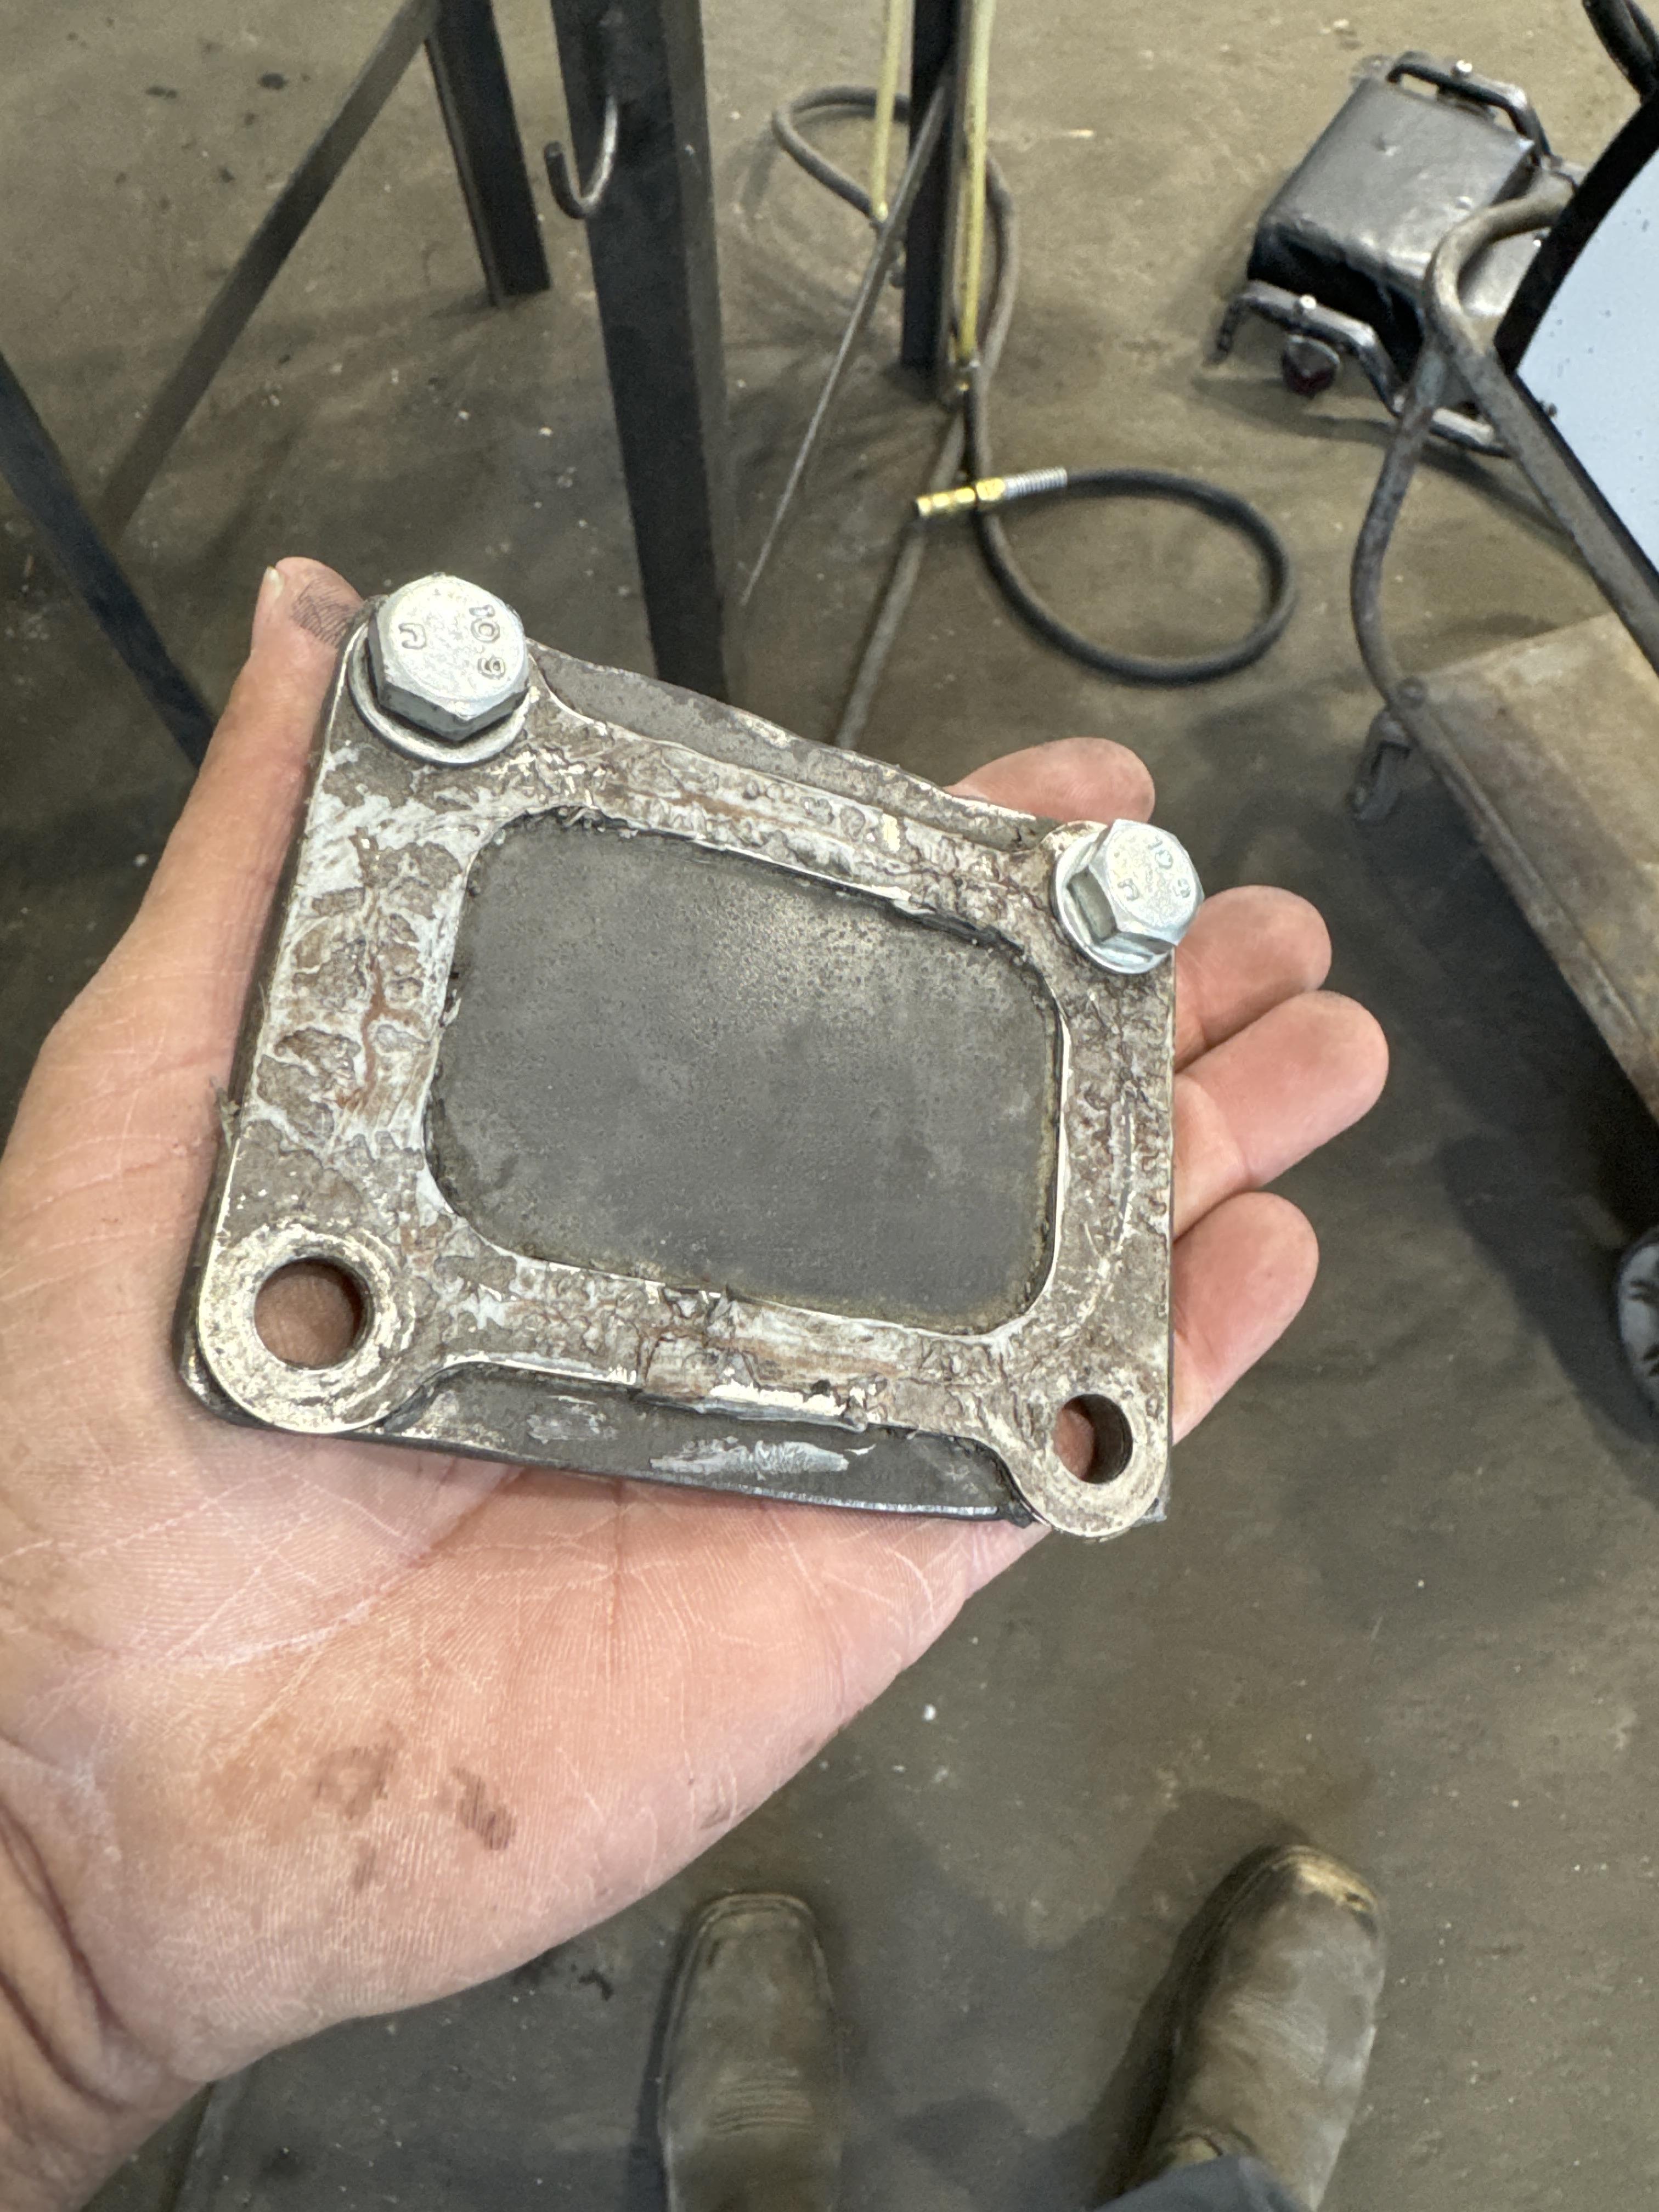
Yes. We always pressure test before putting turbo back on . We clamp on the Mack/Volvo 9998288 aftercooler test plug on the RH side of the aftercooler. We made a turbo /exhaust manifold block off plate out of some flat steel. We bolt it in place of the turbo. We then pressure up the after cooler pluck off plate so it pressurize the aftercooler , intake manifold and EGR system. The leaks show up quickly.
-
Issues with PTT on CXU 613 Mack Emissions system
Mackpro replied to Justinizme's topic in Engine and Transmission
Exit Inducment is only on the 2013 OBD trucks with the 16 pin OBD connector. On the 2010 emission trucks we do the reset and 2 regens and if the engine sees good NOX readings it will unlock the Derate. You can start a regen then unplug the 9 pin Doag adapter and back out of the regen screen . Plug the diag connector back up and go into Test and then Monitor sensor and choose the inlet and outlet box sensors and view the nox readings while the regen continues -
Issues with PTT on CXU 613 Mack Emissions system
Mackpro replied to Justinizme's topic in Engine and Transmission
It’s called SCR Dosing test (For Derate Reset) that is the closest thing to Exit inducement . I think we used to do the Derate Re-set , then 2 regens and a 45 minute test drive . I can’t get the picture to upload for some reason -
Issues with PTT on CXU 613 Mack Emissions system
Mackpro replied to Justinizme's topic in Engine and Transmission
I’ll see if I can screenshot it off my PTT tomorrow -
Mack service bulletin SB-214-017 covers testing the testing the wastegate. It’s pretty detailed on testing and when it should be opening and staying closed. Be sure to pressure test the complete intake system. Thoses years had paper intake manifold gaskets that were later changed to steel core gaskets due to blow outs. The air compressor can get its fresh air from the back of the intake manifold. This metal pipe and hoses can leak which leak boost pressure. Unit pumps and injectors are wear items and can weaken over time.
-
Issues with PTT on CXU 613 Mack Emissions system
Mackpro replied to Justinizme's topic in Engine and Transmission
Your on the right page , you have to you have to scroll the slider down on the right hand side of the screen to see the bottom of the screen. It might be called something like SCR re-set but it’s with the DEF dosing test. Is this an actual version of Tech Tool or a bootleg copy? -
Issues with PTT on CXU 613 Mack Emissions system
Mackpro replied to Justinizme's topic in Engine and Transmission
If a pre OBD 9 pin , it’s under “Test” then go to “Intake and Exhaust”, then I believe “SCR test” scroll down and it’s at the bottom of the page. You have to have the DEF doser loose as it will dose DEf fluid when it does the re-set. -
Issues with PTT on CXU 613 Mack Emissions system
Mackpro replied to Justinizme's topic in Engine and Transmission
Is the diagnostic connection a round 9 pin or rectangle 16 pin OBD connector? -
Does your 470 CCRS have a wastegated turbo? Over here in the states our 2001.5 to 2003.5 CCRS 460 had a wastegated turbo and was a royal pain to get it to run right . We detuned several to 427 and replaced the wastegate turbo with a standard 427 turbo and no issues. With the 460 CCRS program over here, the engine ecm looks at the boost pressure sensor readings at different engine load, throttle pedal and other sensor readings and there is a narrow band of what the boost pressure readings would be. If the boost is not in the correct range then the engine pulls the fuel back and usually sets a fault code. When all was correct they ran great , if not then it was about like having. 300 or 350 hp.
-
Looking for a vmac 1 cartridge for pro link
Mackpro replied to dependable dirt's topic in Engine and Transmission
If you got a VMAC 1 truck then you definitely need the Vmack 1 cartridge. The Heavy Duty cartridge had the individual chips. We had the “credit card chips” for the VMAC 3 for the early Etechs and a Detroit 60 card and possibly maybe some Abs cards for Waco and Bendix. The VMAC 3 cards didn’t work very good on the ASET engines . -
Looking for a vmac 1 cartridge for pro link
Mackpro replied to dependable dirt's topic in Engine and Transmission
eBay is usually the best bet . The guys that I know that have the ProLink stuff treat it like gold. -
On trucks where the air compressor gets it’s fresh air from the piping between the air filter housing and the turbo, we see guys running dirty air filters and the engine is sucking for fresh air so hard it pulls oil up past the rings on the air compressor which pumps it into the air drier/air tanks. Very common on the 2003.5 -2007 Aset Ac engines . Could also happen to any truck with air compressor getting its fresh air this way.
-
Yes , if the dash cluster software update was done It should buzz when the diff lock is engaged.
-
Here the bulletin, click on view file . https://macktrucks.vg-emedia.com/ProductDetail.aspx?ProductId=11698
-
If an MP8 then you can easily pull the elbow and hose off the EGR cooler outlet ( towards the front of the truck) and look directly into the EGR cooler and look fir dried and crusty antifreeze. MP7’s are harder to do because you can’t get the EGR cooler outlet pipe out of the way with out pulling the fan clutch to look inside the EGR cooler. There is a radiator pressure cap on the left side ( not the right side) of the coolant expansion tank on top off the radiator . It has a small overflow drain hose on it . If the cap is blue it needs the new black cap on it . If it has the black cap , get a 1 liter clean Sprite bottle and put the end of the hose in the bottle ans zip tie it up and run the truck for a day . See if it’s actually blowing the coolant out or burning it,
-
MP7 or MP8? And are you sure it’s a GU and not a CTP?


BMT Forum Logo
