

Vladislav
-
Posts
7,459 -
Joined
-
Last visited
-
Days Won
68
Content Type
Profiles
Forums
Gallery
Events
Blogs
BMT Wiki
Collections
Store
Posts posted by Vladislav
-
-
Thank you for the warm words guys.
I'm going to put the R inside for the next cold season but actually have no place for.
Thinking about rebulid the front wall of my garage to make lager gates. One big instead of two small ones.
The only serious worry is... my living area is upstears and I must be shure to not destroy the building I built 10 years ago.
Ken, let me know please who
the hellis OSHA? -
Not so bad Ray.
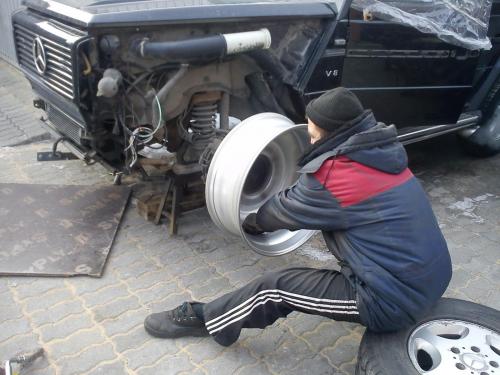
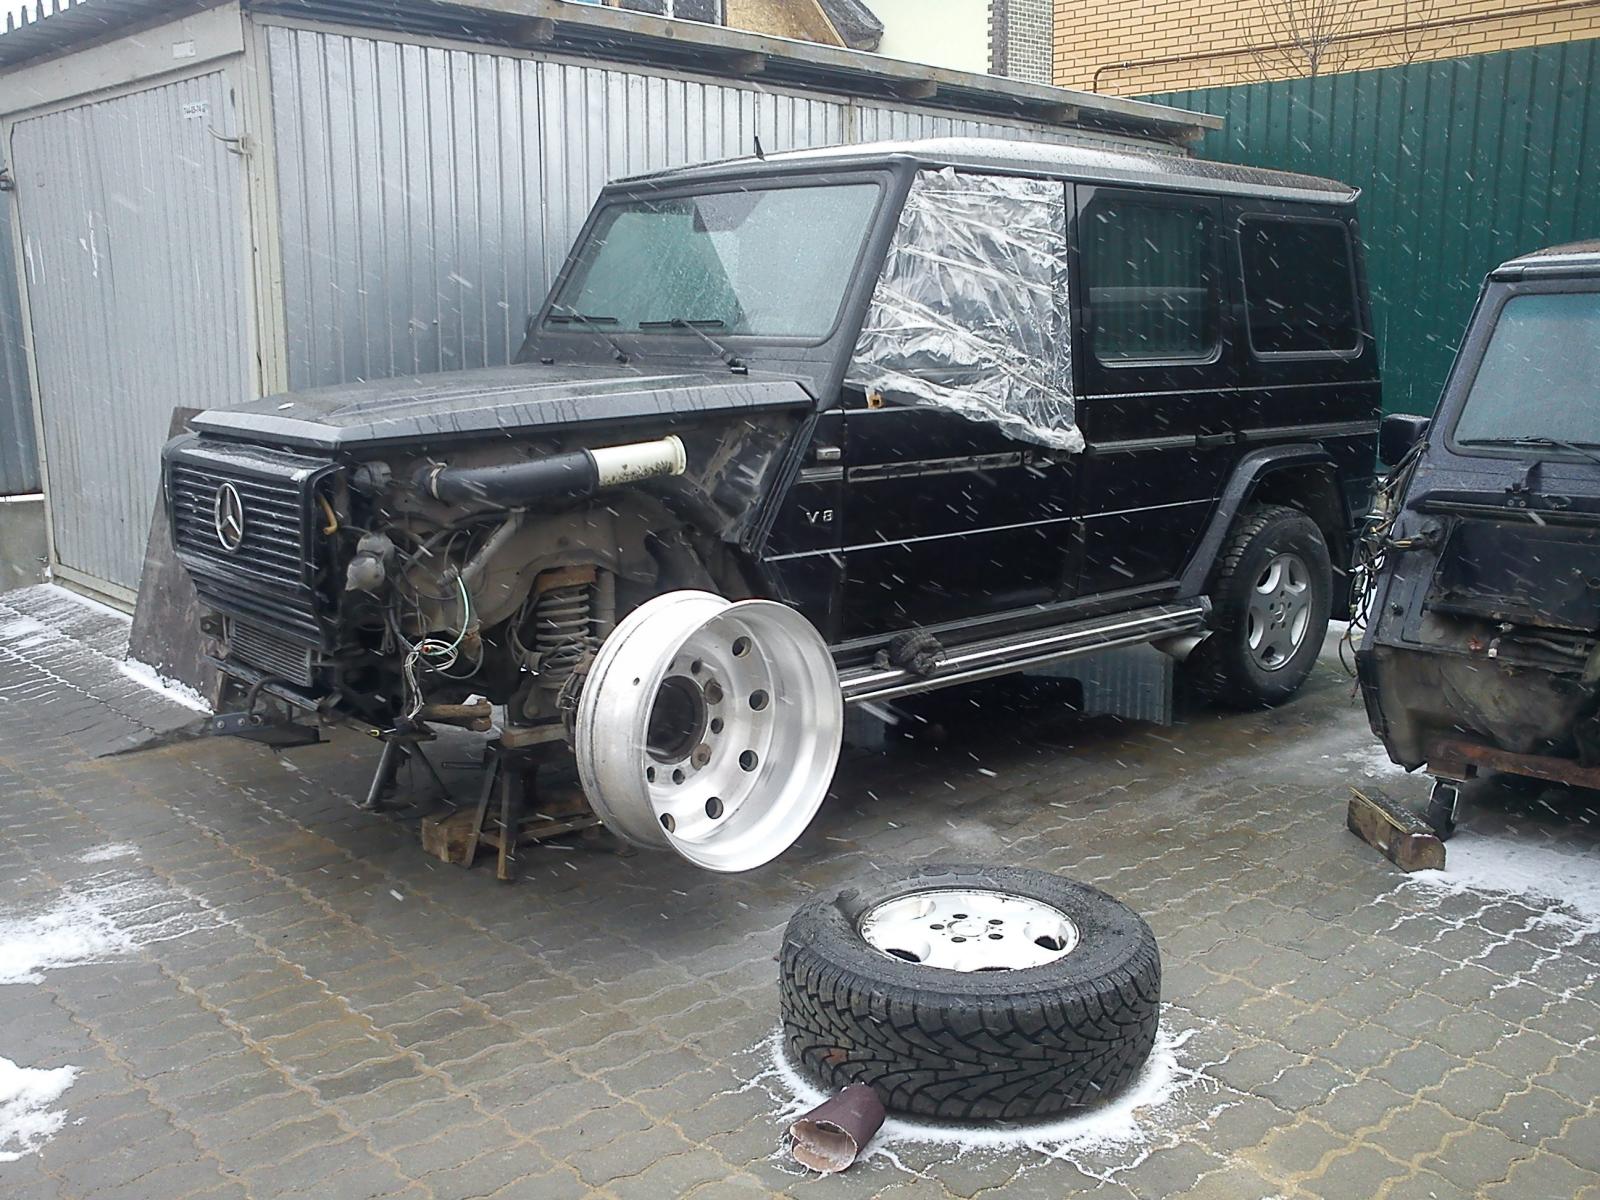
There were no real lug nuts, just 19 mm bolt heads. I took the extra brake disk off Mercedes, cut it around with a lathe to form a seat surface for Alcoa.
Than bolted that part onto the existing Mercedes disc with Mercedes wheel bolts. Then put Alcoa with common bolts to the disk through the holes I drilled for.
Had to block Mercedes interaxle diff to not weld it up when spinning, had to remove the rear prop to get the vehicle unmoving.
Than had to block the front diff for the same purpose and jacked the other wheel.
Car did about 50-60 mph during the work, got 1000+ miles on it and spent 50 liters of gas. It's G500, 5 liter V8.
By the word if you ever catch an eye on a wrecked Mercedes Gelandewagen please let me know.
I might need them more when continue to polish.No kidding, that's my current business, I part them out for spares.
-
Vlad, your rims look real sharp but all the polishing makes me want to keep mine painted white. I have had my one fuel tank polished only 1 year but it seems it always needs attention.
Yea Fred, I'm agree with you.
My truck is not for a work, it's a hobby one so I hope to keep it off snow and salt.
Gteat amount of labour was spent to delete deep corrosion cavits before polishing itself.
But it seems to me I should keep the truck inside for the next winter.
Or at least the tank and the wheels

Thank you for your comment.
-
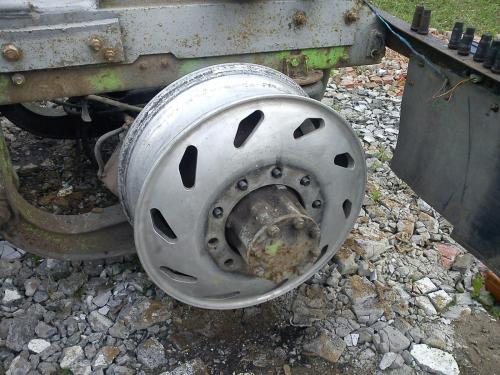
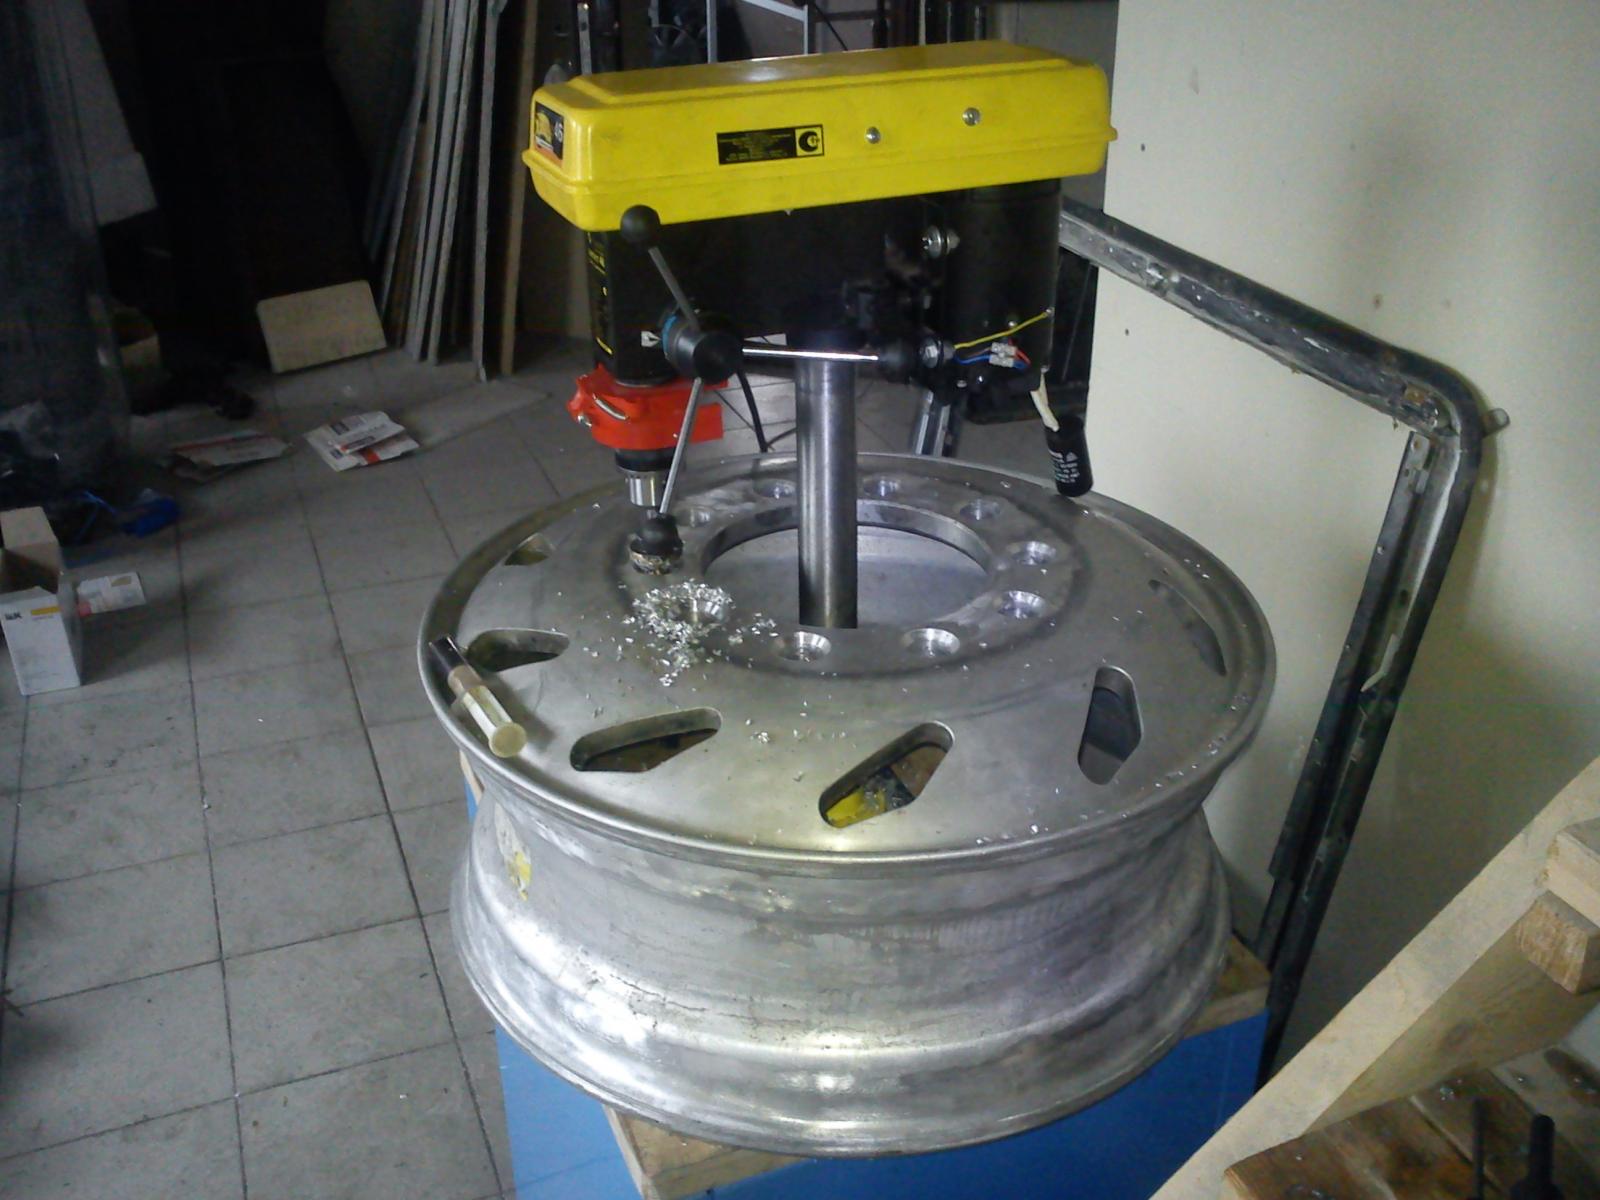
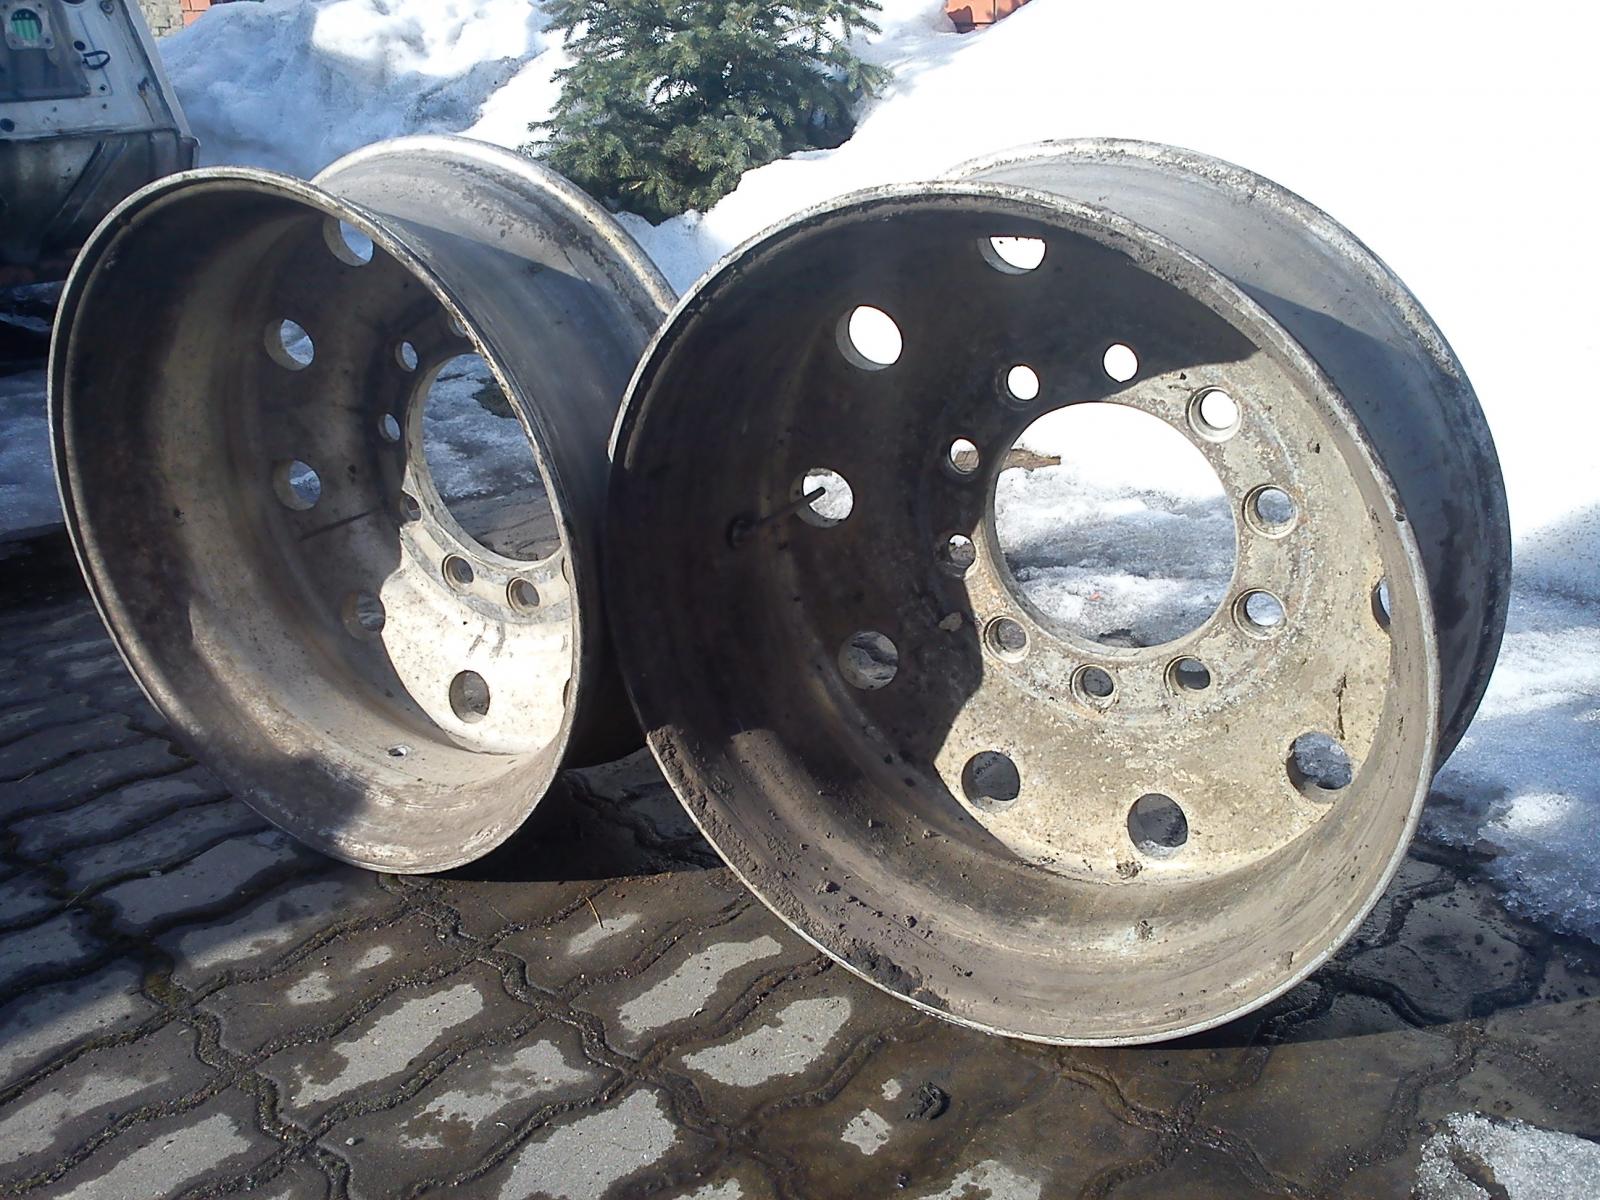
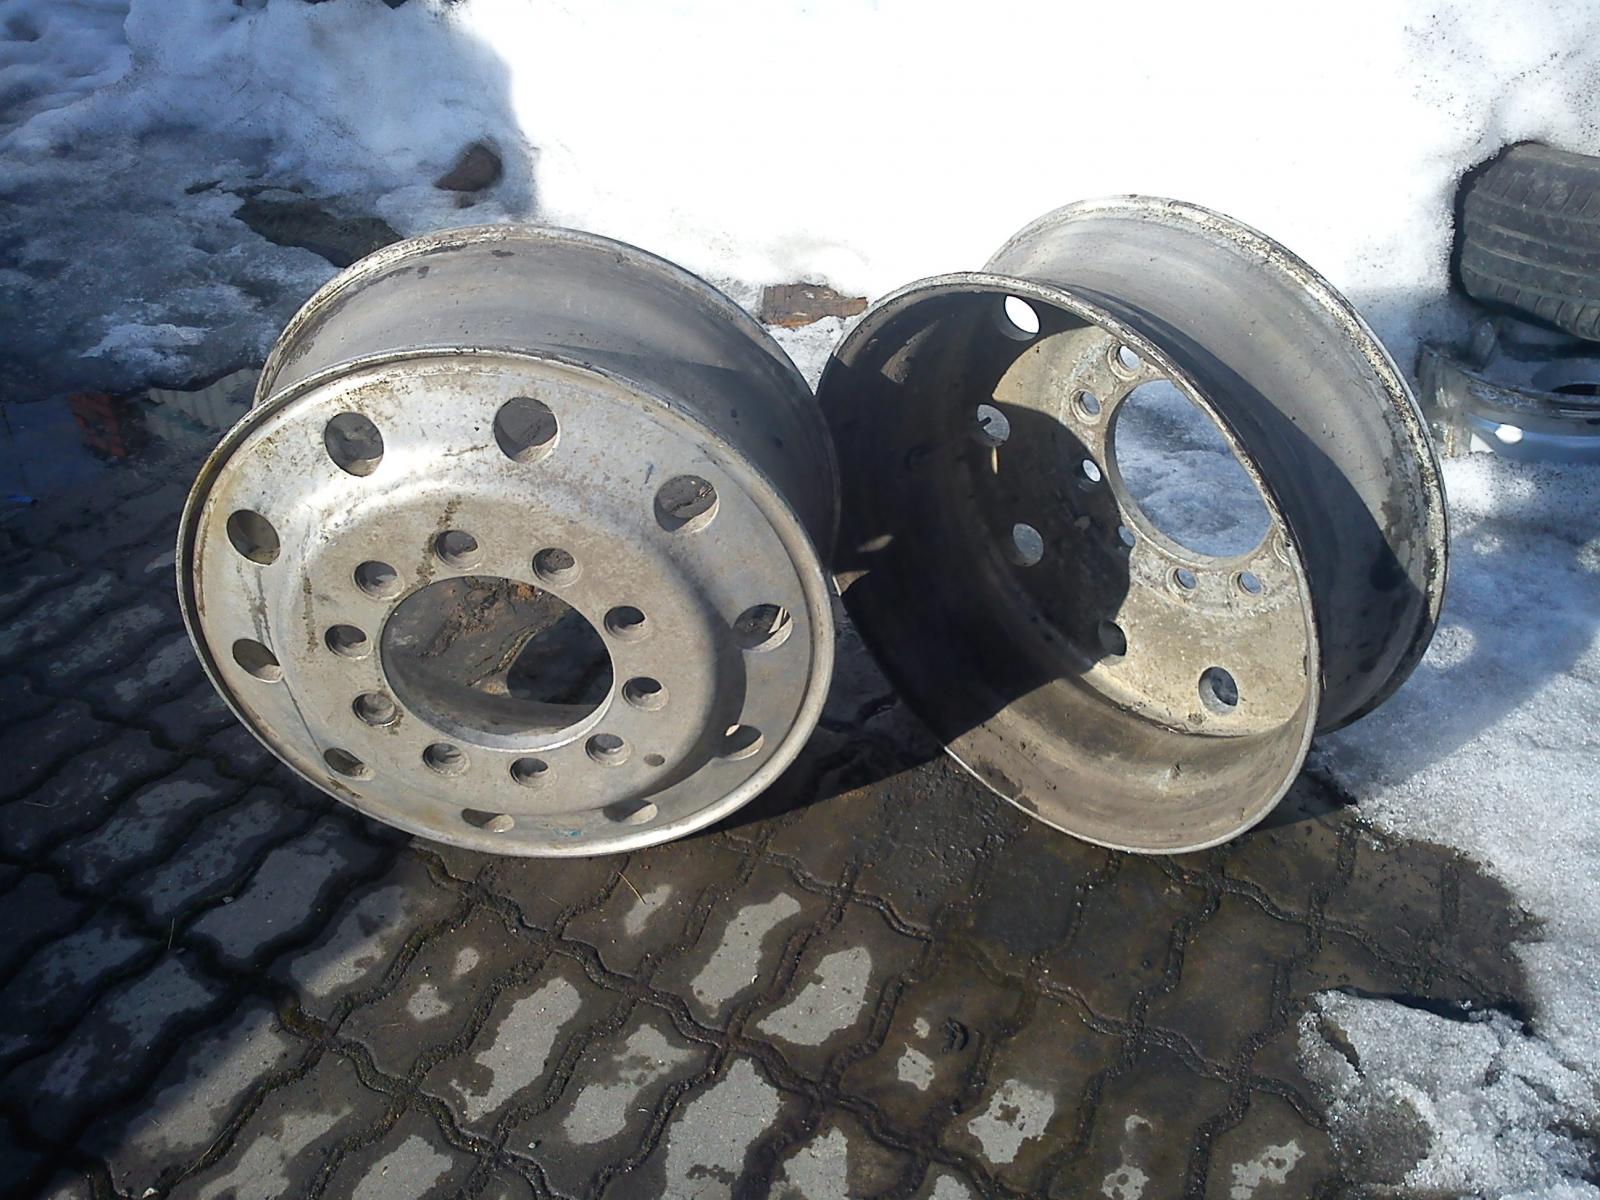
By the way re-drilled the holes in the hub-piloted wheels to put them on studs.
Had to increase the hole's ID and made 45 degree tapered cavits.
Put those wheels as the inner rear ones.
Long while ago I asked on here of how to do it and Mike Superdog said me "You can not put hub-piloted wheels on studs".
Now I know he was almost true about that.


-
 1
1
-
-
- Popular Post
- Popular Post
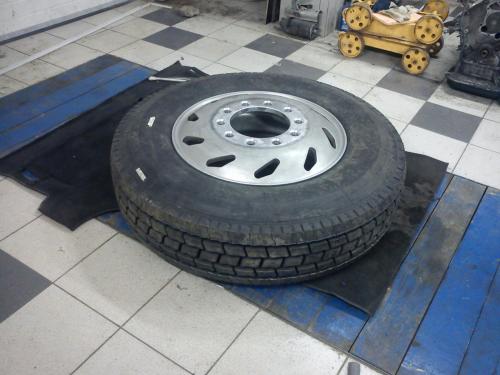
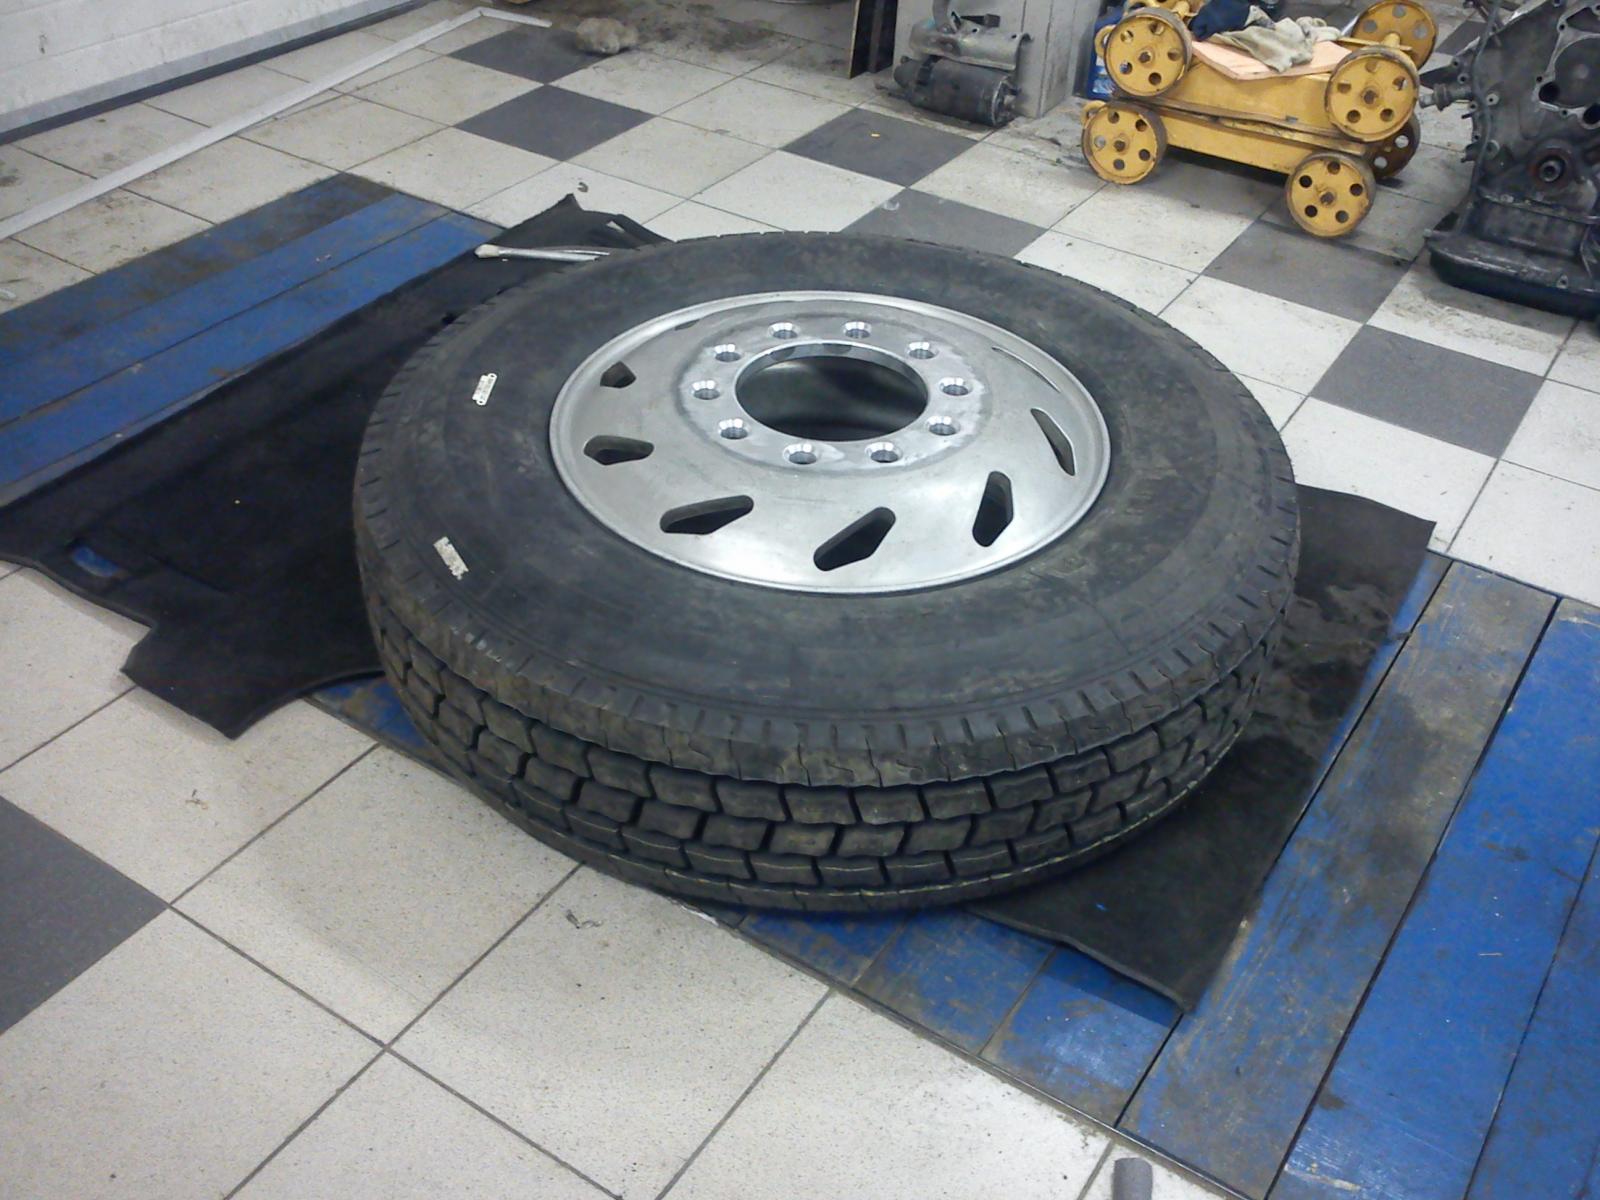
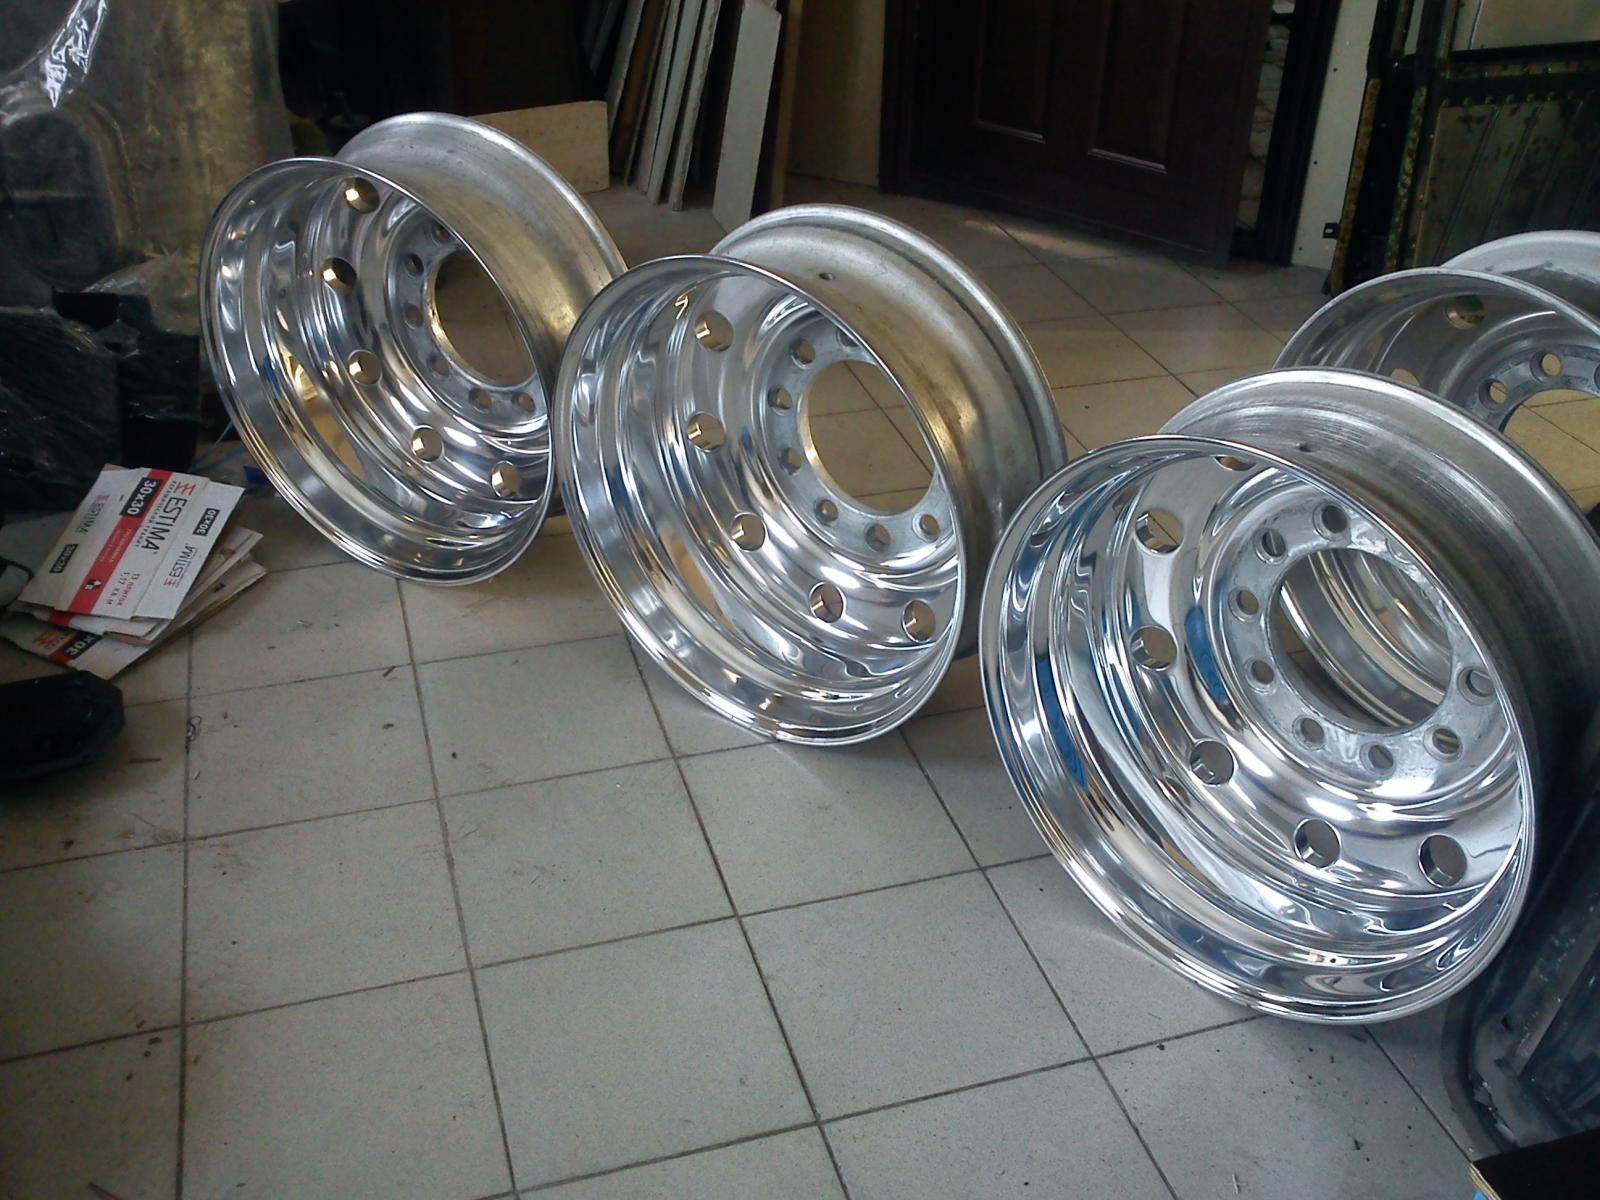
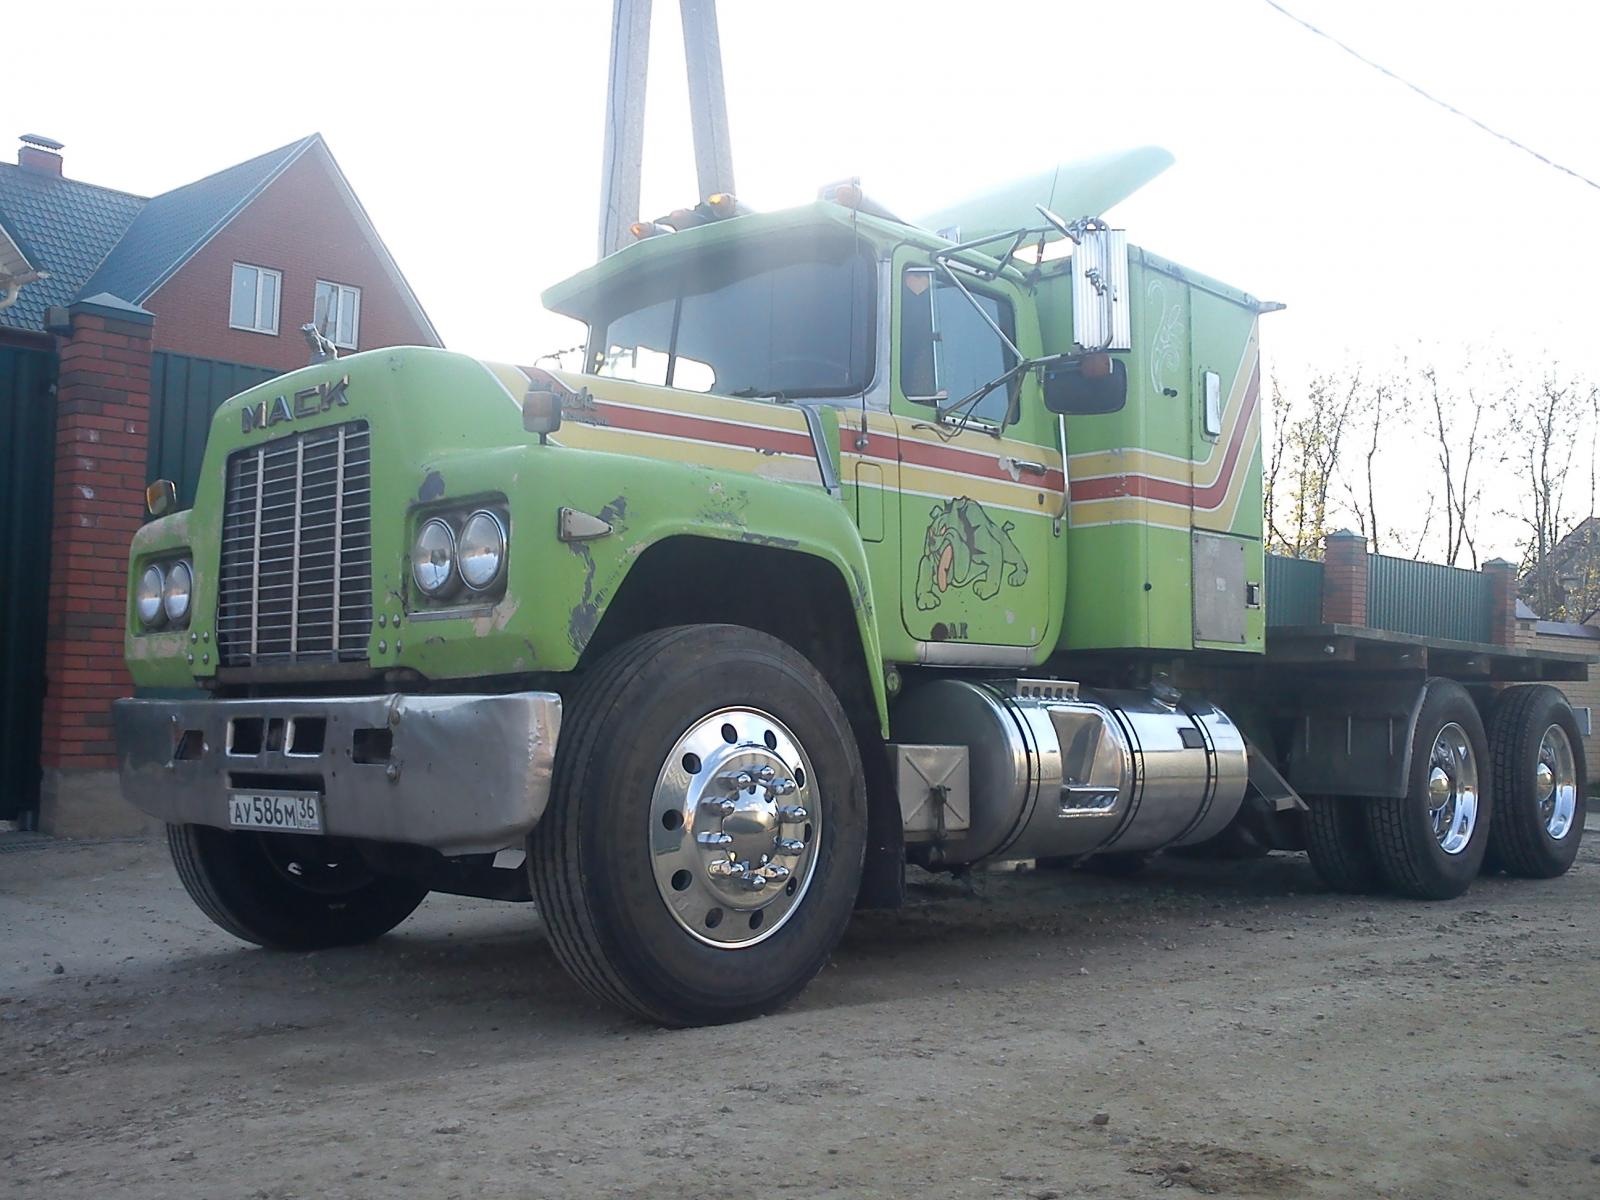
Finally ended up with the wheels on my ex-SGT R-model.
Had to make a special "tool" to fix a wheel to a car's hub to get it turning.
Than one of my guys spent about 4 days on the each Alcoa with a grinder and lots of sand paper.
Than a couple of hours with 3M polishing paste.
Put rubber on and fitted the wheels to the truck with all chrome additions.
Also got the left hand (polished) tank in its place.
The right one is waiting for his time.


-
13
-
Not a nice cash off.
At least I hope you feel better now.
-
Would be nice to see some pics of the LJ.
Not many left with origilal gassers.
Vlad
-
1
-
-
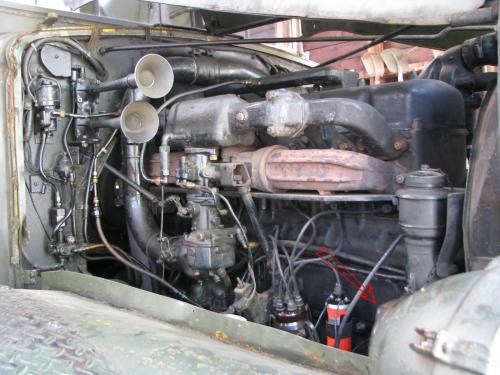
At the right side of an engine's front.

-
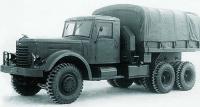
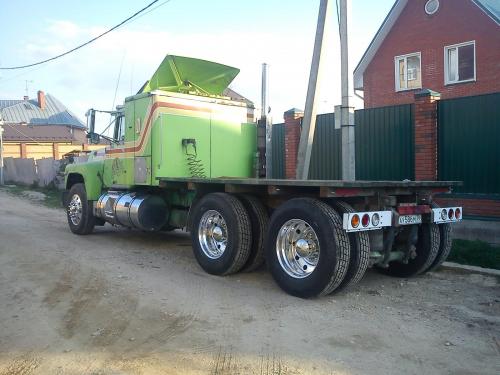
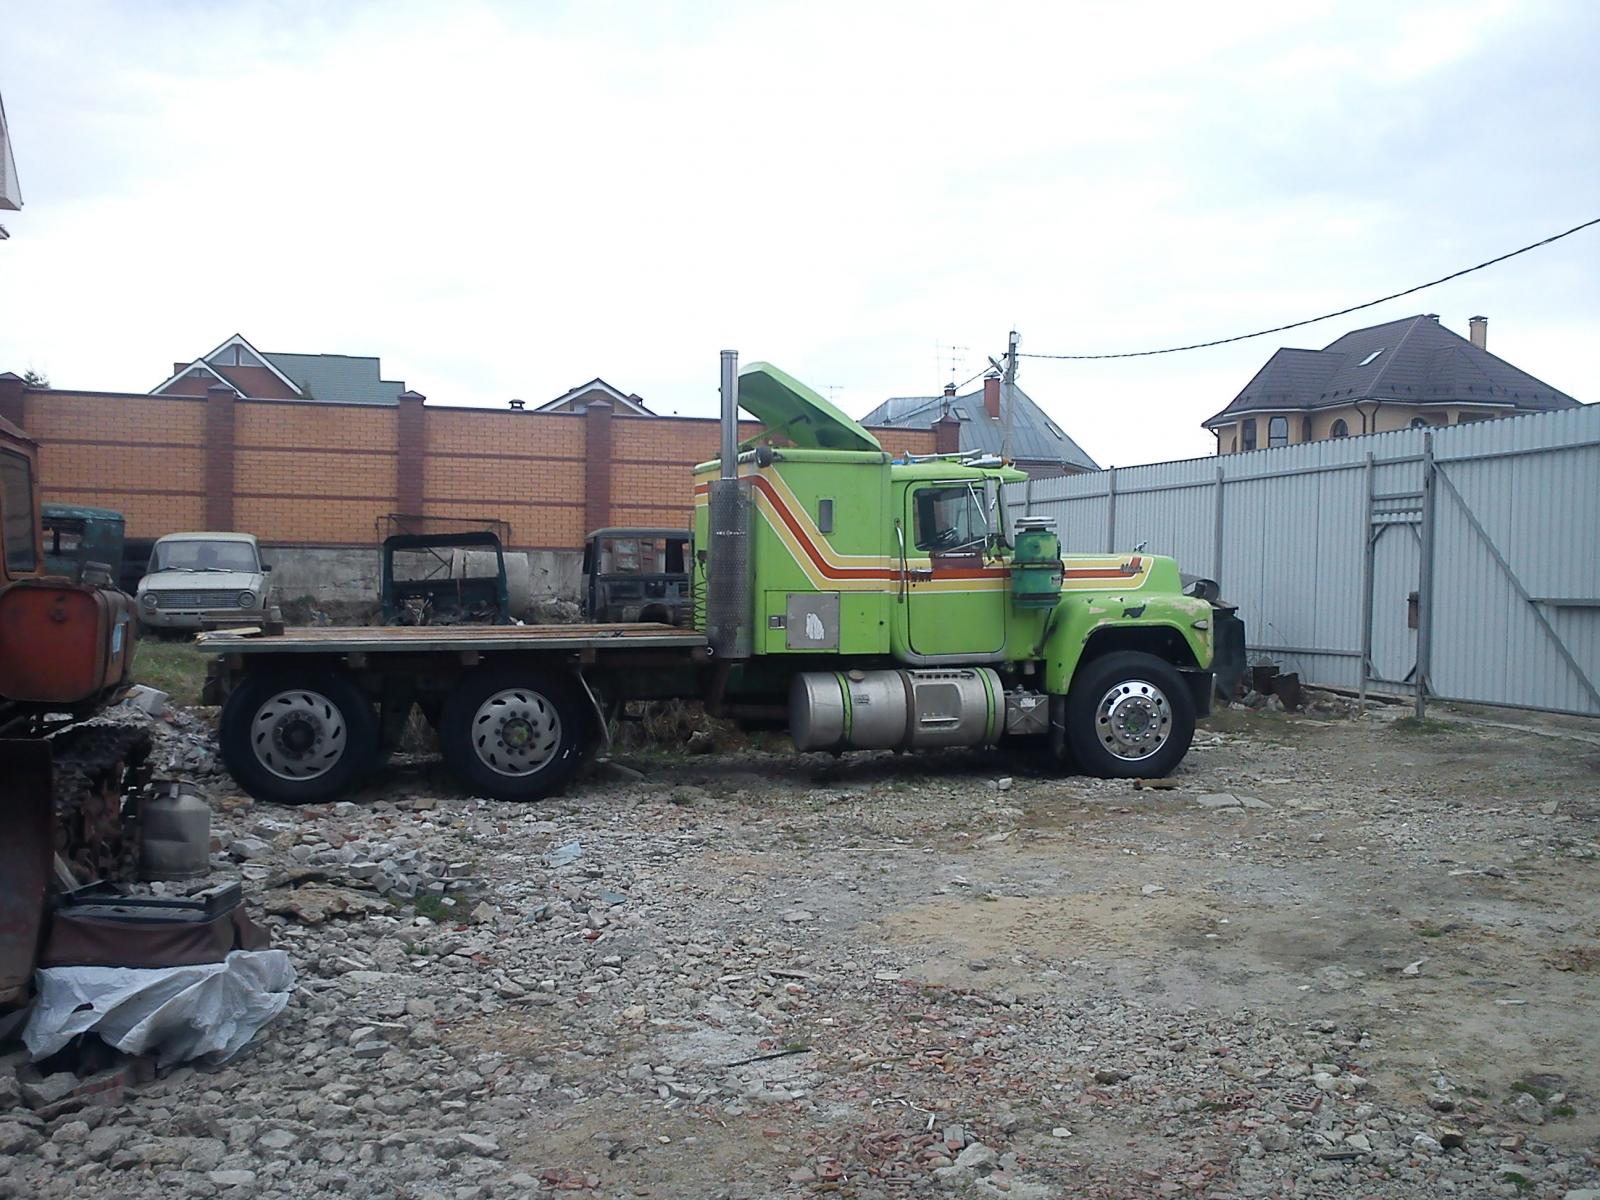
Cool looking rig

-
Looks solid but slightly pricy for its condition.
I might be interested in the carriers if some one would get it for parts.
Thank you for sharing it.
-
Looks like a lot of useful things in it.
Just needs time and labour to keep them.
Sorry to see such a mighty piece of machinery going to its end.
-
The last one looked mighty
Every thing has its end.
Sometimes it's changed into a better one.
As long we live as seldom it happens..
-
Sorry to see the blue truck damaged (again) but I think (again) it's good you wasn't with the RW (again)
Too like the MH paint scheme.
-
Little note Pawel.
I think it would be good to modify the front alloy wheels.
Those ones off the kit don't look too realistic on my mind. Better to say look bad, especially in relation to all the model.
As for me I'd like to make them whole new with a lathe of a piece of aluminium.
But that's me and that's why I still have no ready models.
So maybe to put some real small srews with nuts on them?
Or imitate chrome plated lug nut covers?
Vlad
-
Congrats on the fresh look
-
We all waiting for pics!
-
1
-
-
That's really cool, congratulations!
Glad to know everybody is Ok.
And.. What's a trouble of having a girl as a nice addition to the boys collection?
Just something new in the life again.
Best wishes to the family!
-
Hell...
I thought you guys live happier.
And... It was not me buying the water pump across the border

-
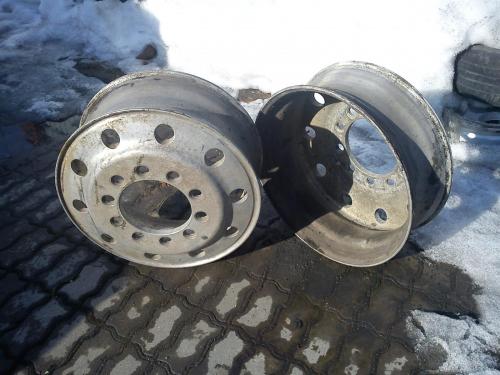
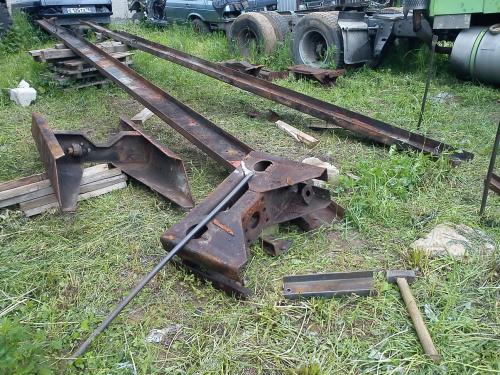
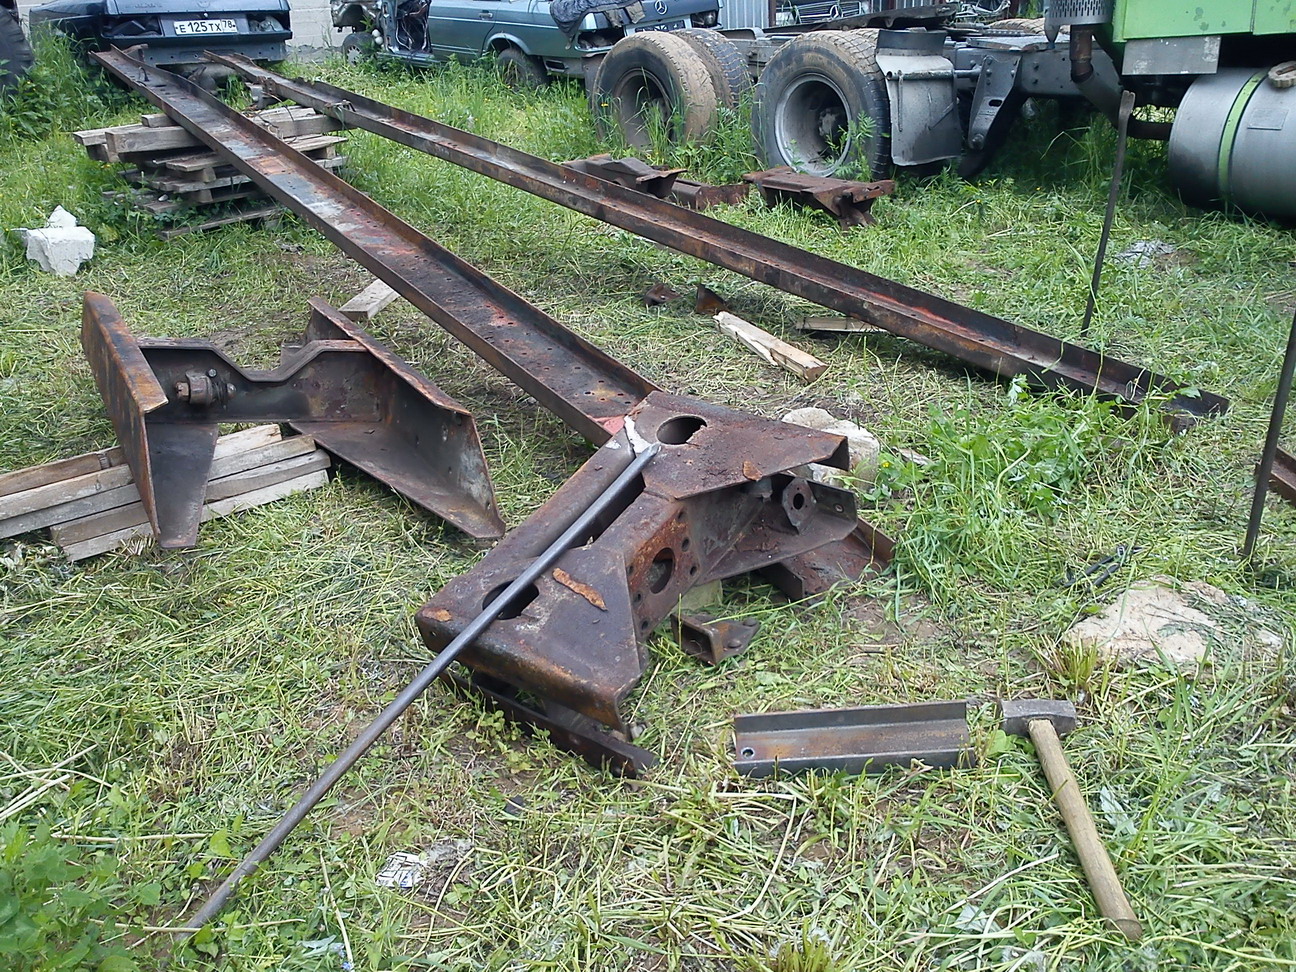
The one in the picture seems to me as a perfect double frame.
Just no spread as far as i can see.
There were many talks about them double's issues and I too liked the idea of drilling holes from an inside and putting grease fittings in inner rails. So you can fill up in between. Just don't greaze it before painting.
Happily I have the single frame in my R.
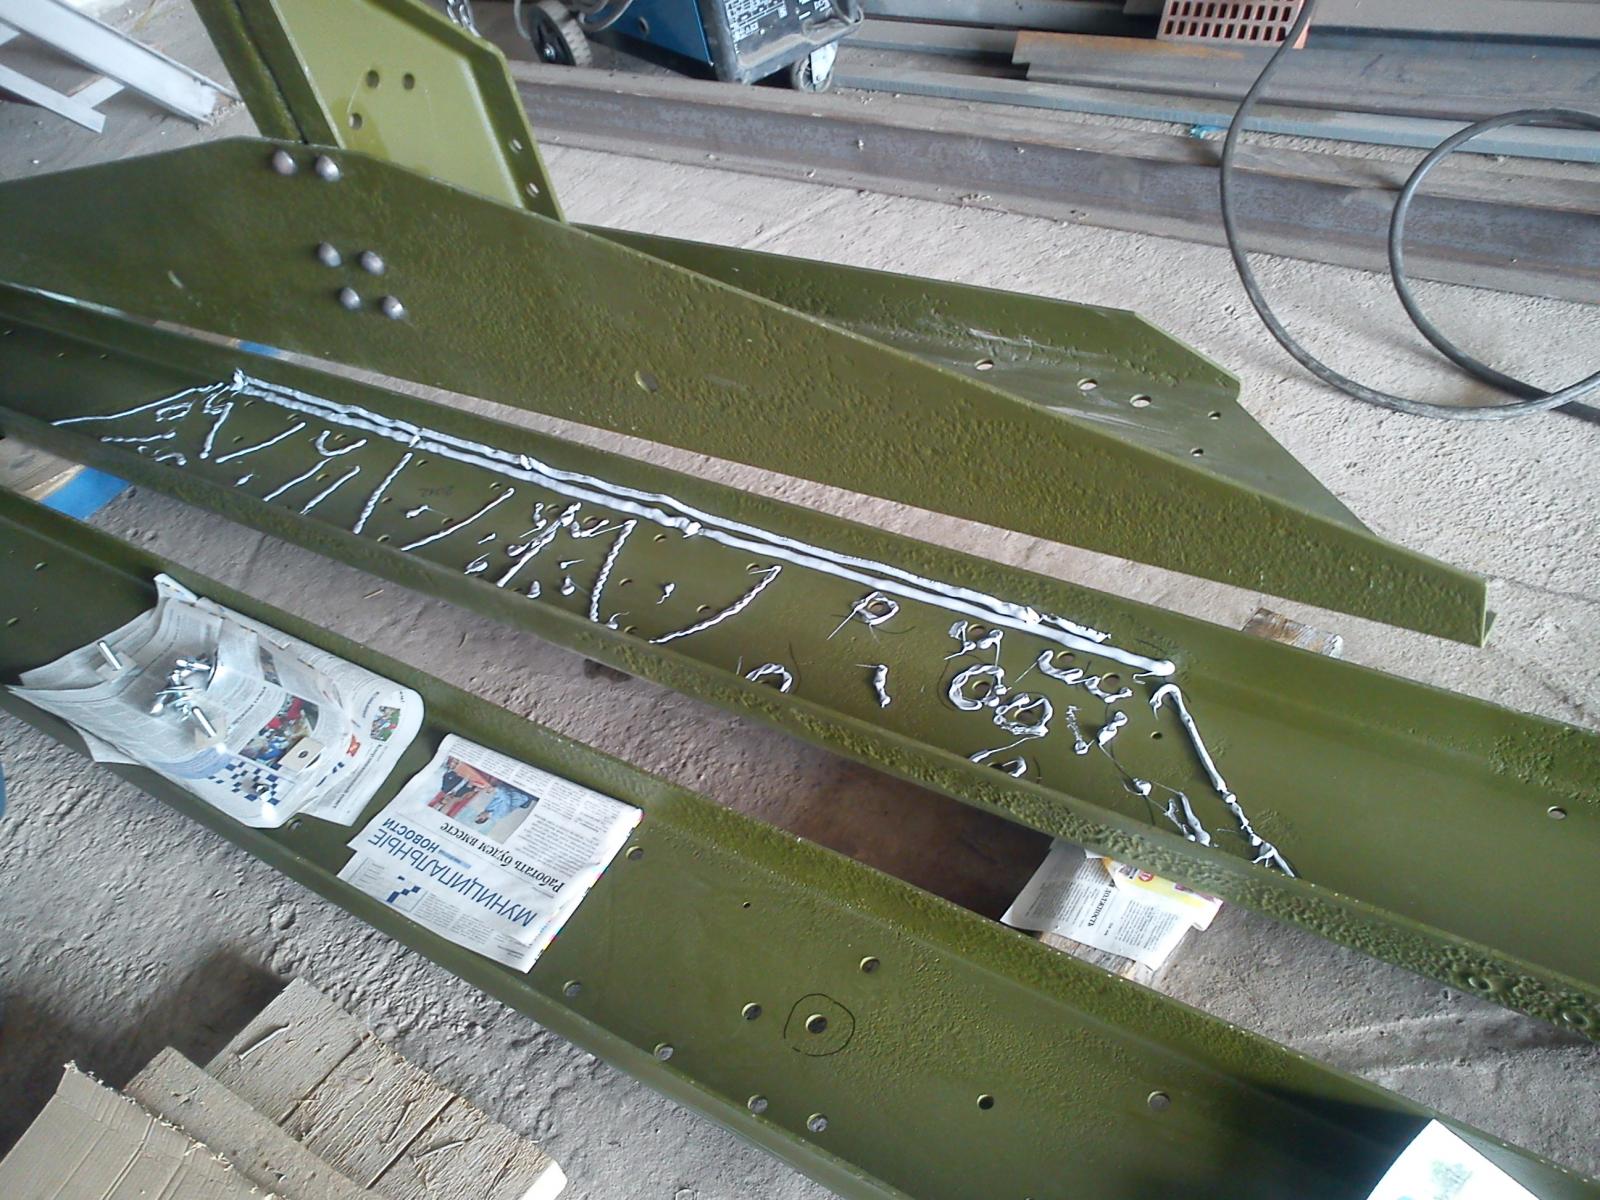
I also provided repair of the frame on my 1945 Mack. It had the single rails but with a big "butterfly" crossmember in the bogie area. There was a lot of rust and spread. I had it apart totally an sand blasted. Than painted everything separately and applied liquid seal in between.

-
1
-
-
Oo!! Looks like I missed something interesting.
Shure there's a strong light in the end of a tunnel.
Hope to see the baby finished soon.
Watch out a little bit of info in the "asking for help" thread.
-
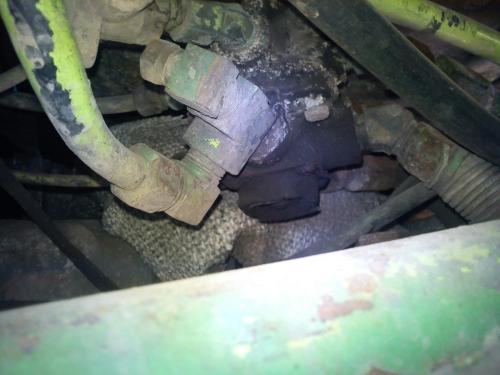
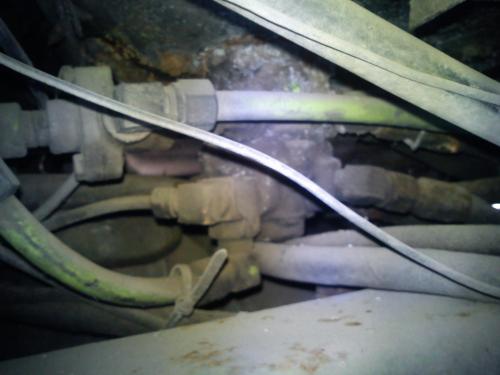
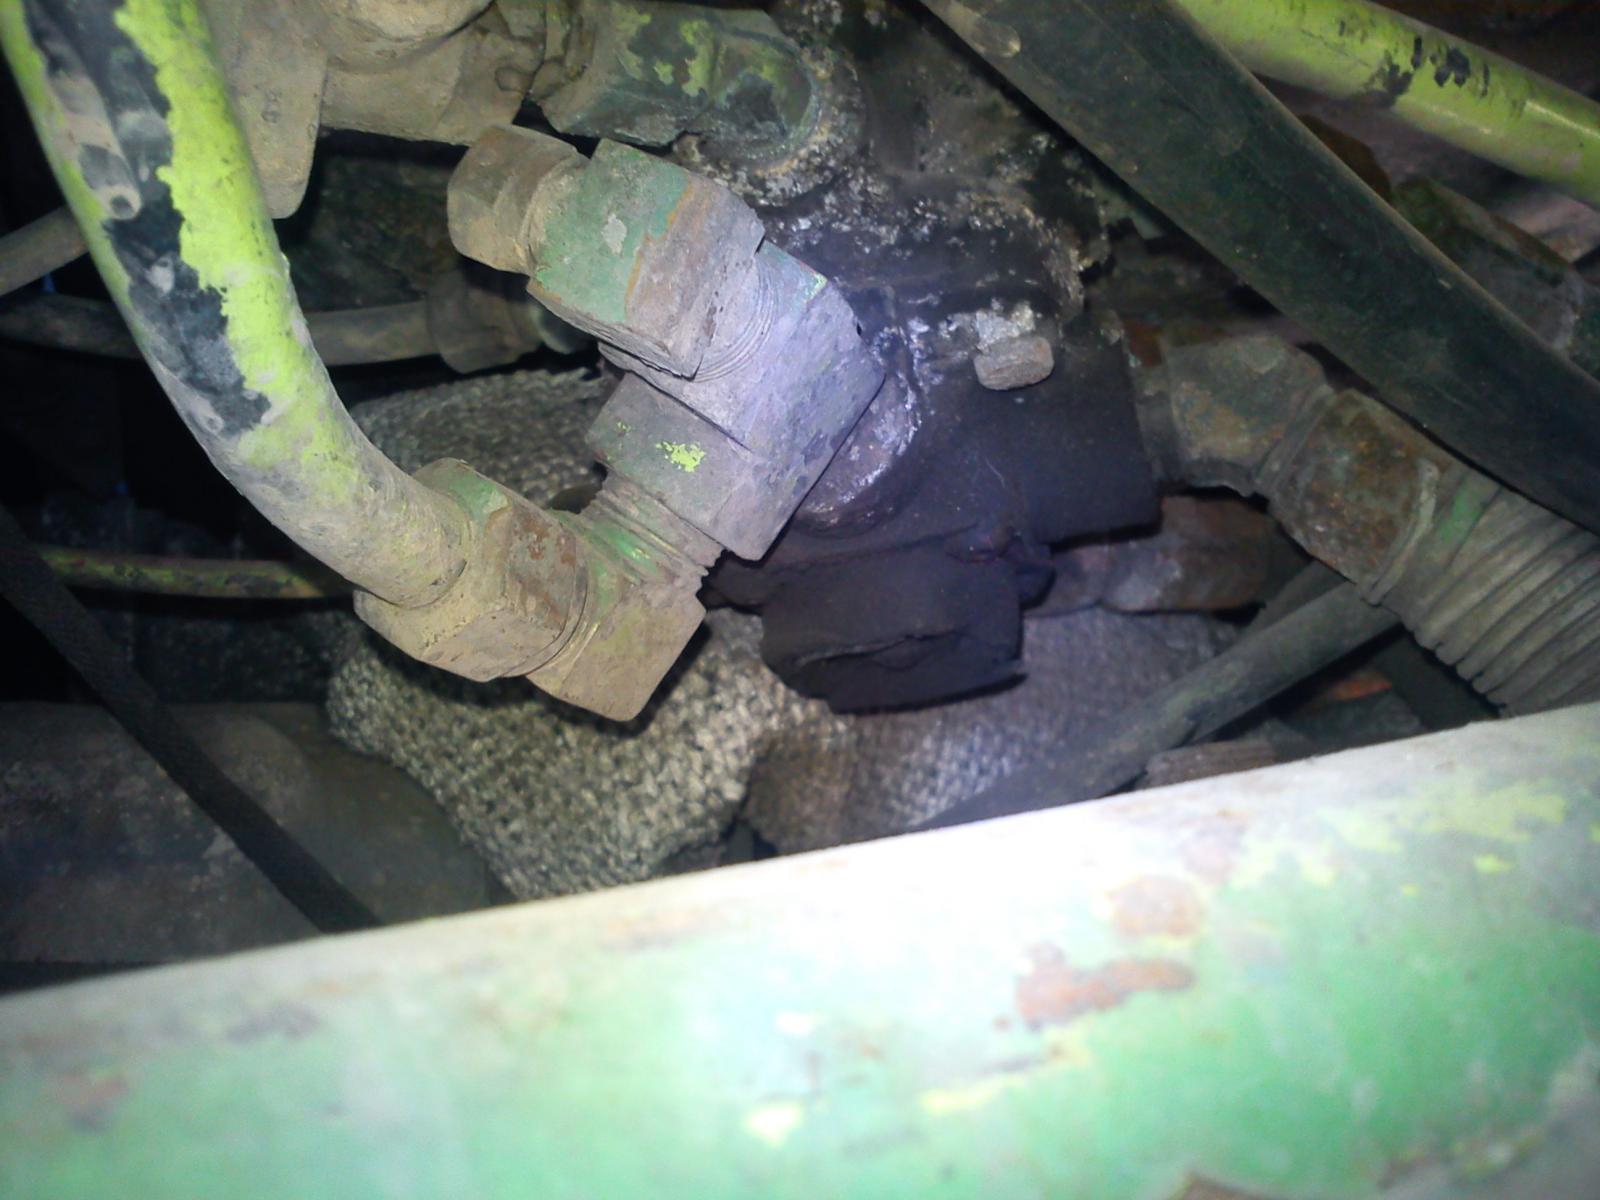
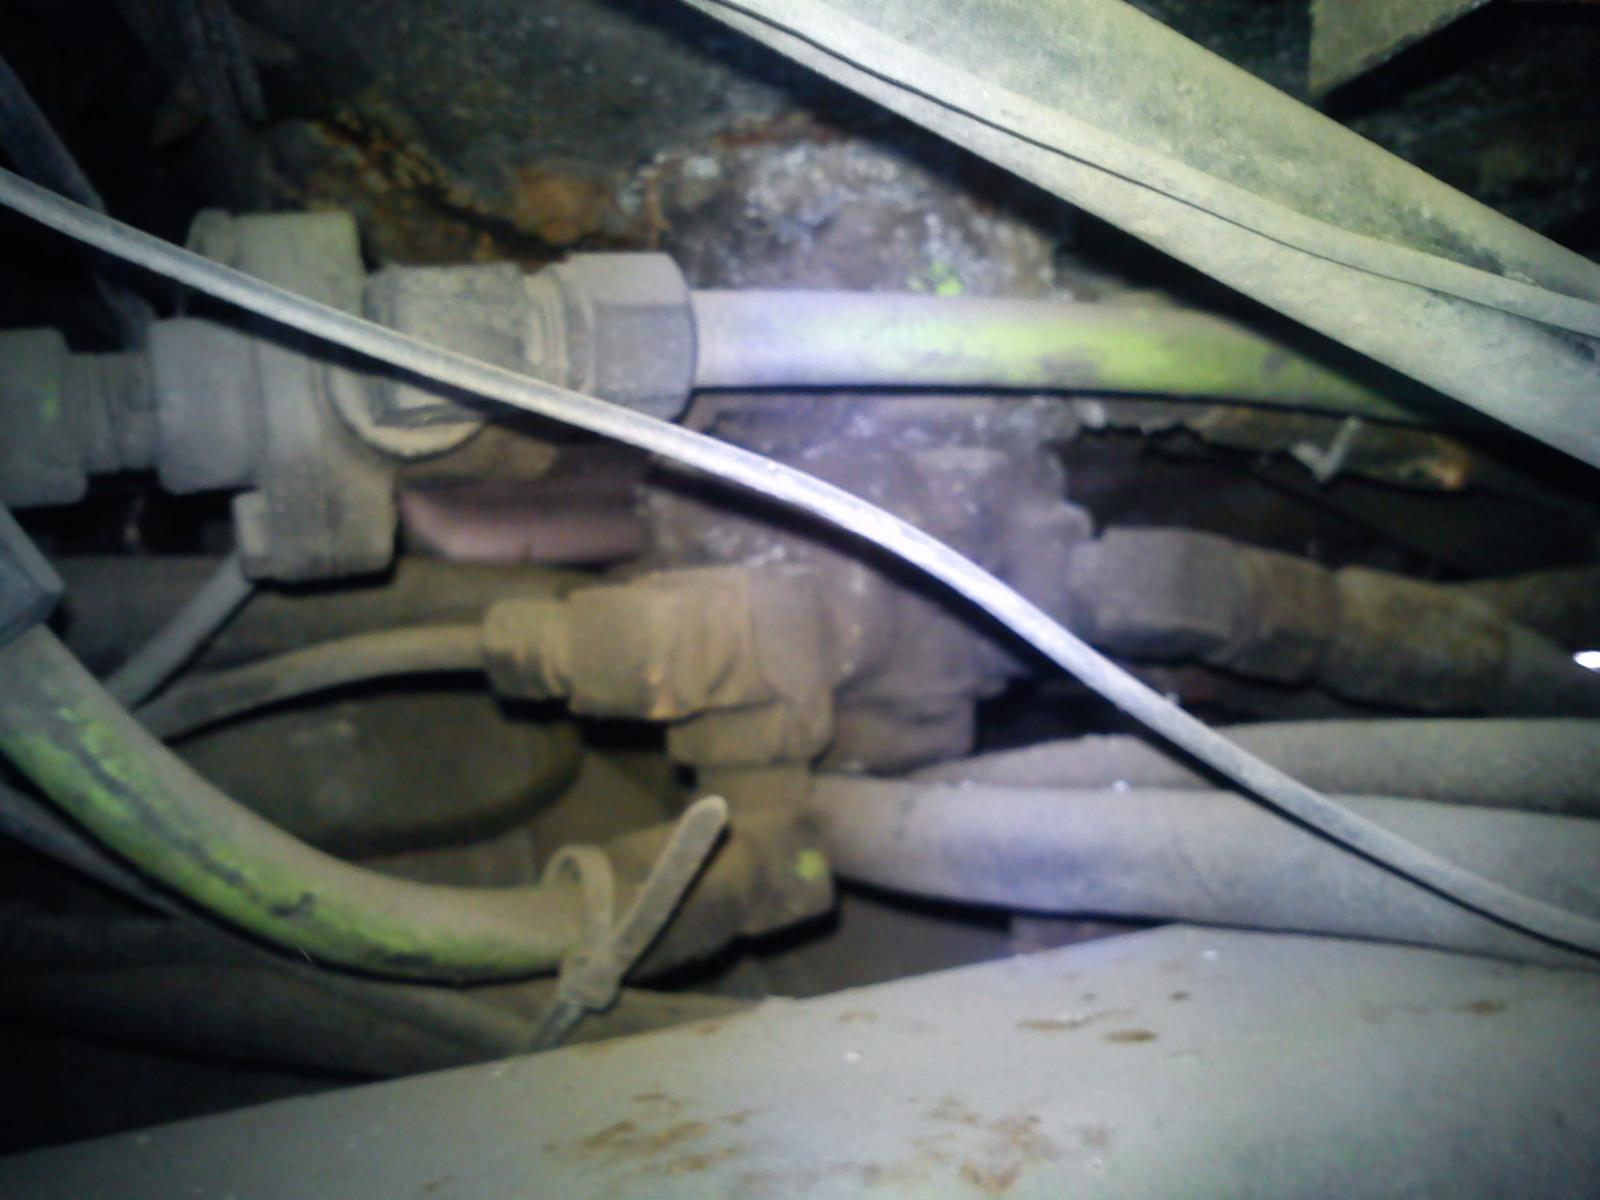
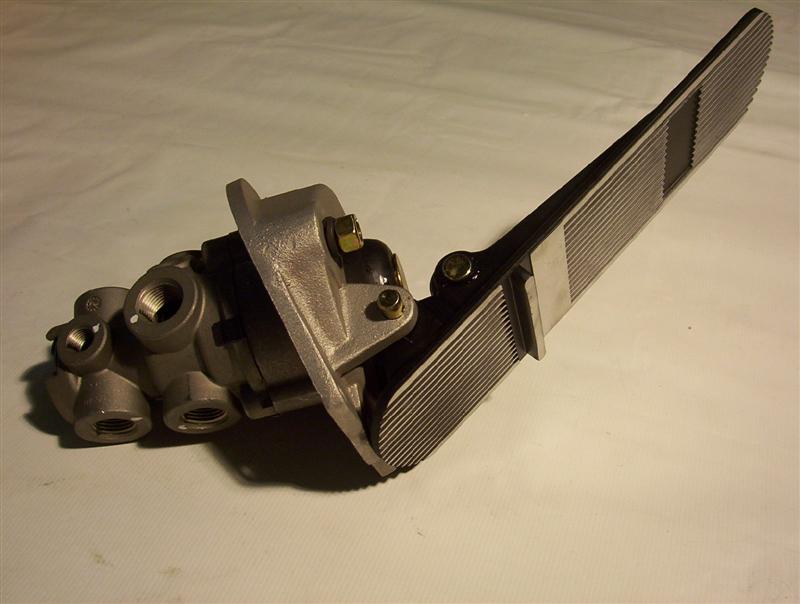
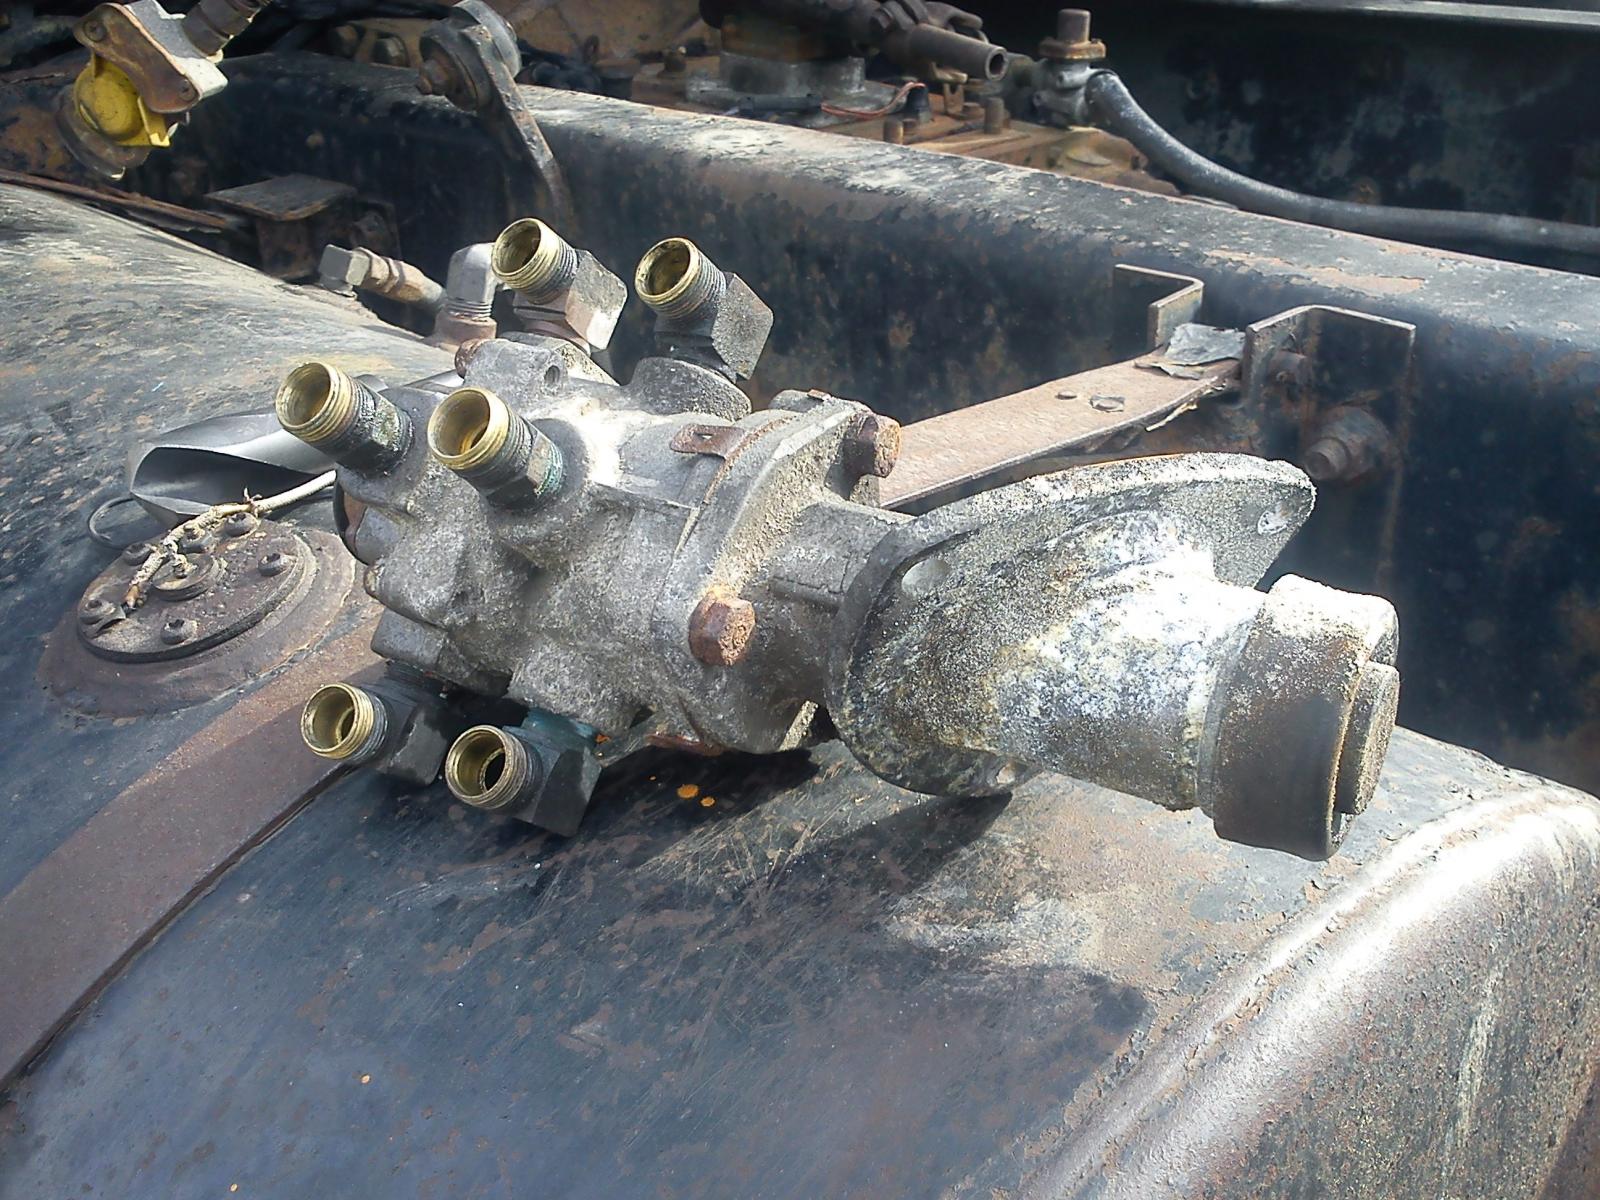
Update on a threadle valve.
Here you can see it on my R-model, I was going to provide revision of it and looked over with the camera (first 2 pics.)
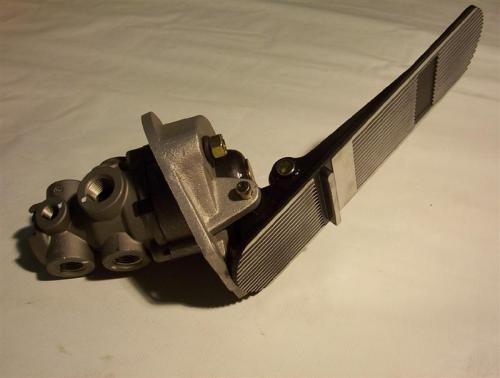
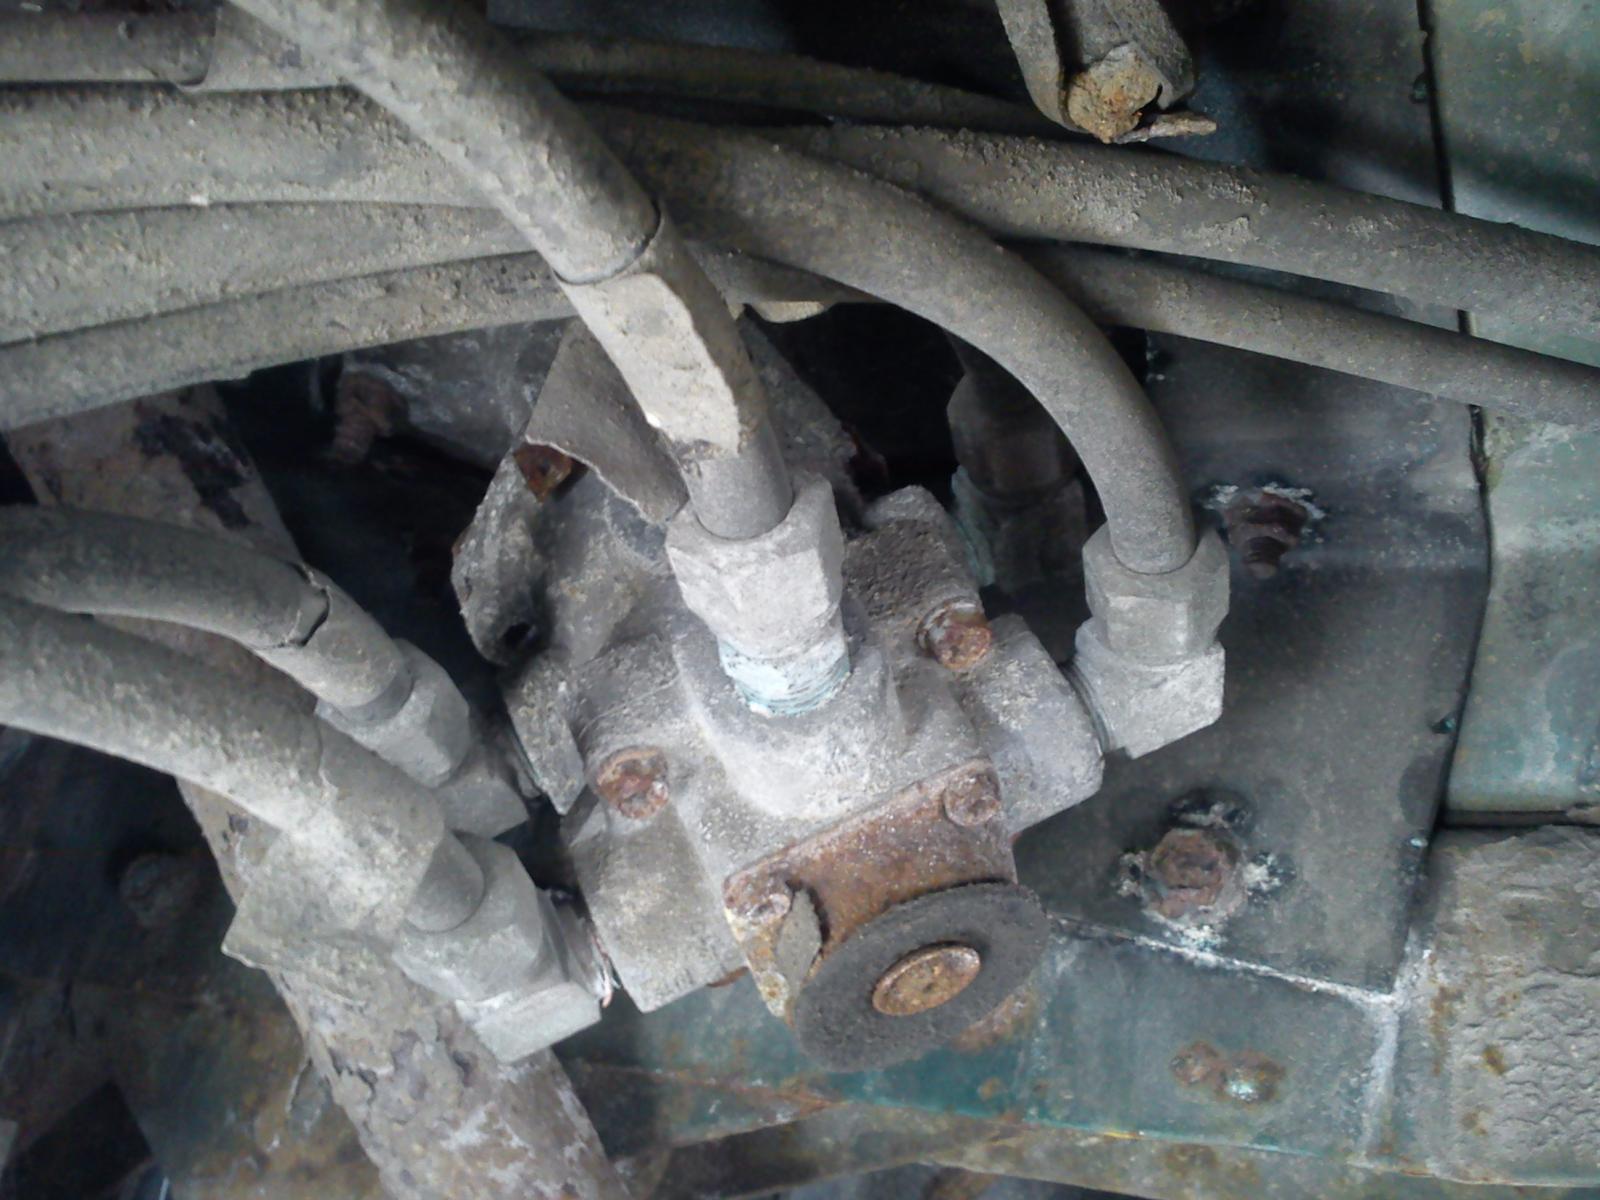
Than there's the pic from Watts web site (there's the better one there). This one is slightly different, has lower part of the less size then the upper one.
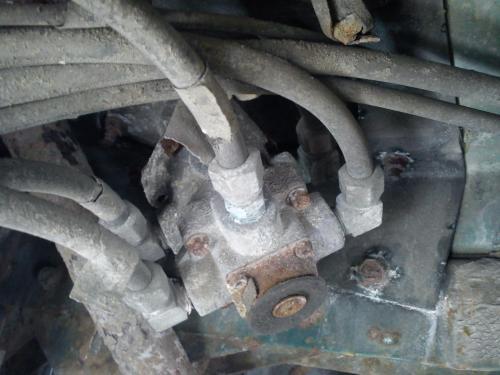
The valves on my R's and MH (the last two shots-MH) are almost the same with exception of difference in upper section wich fits to the cab's floor by different way in a conventional and cabover, and the pipe ports.
The ports: both valves have them 8, of 2 on 4 sides. My R has 8 pipes attached to. The MH has 6 pipes (of 2 on 3 sides) and just two plugged up ones on the 4th side. A R-moder and a RW has pedal with a pedestal mounted on a floor with a valve body under it. MH has additional section to fit to the floor from underneath. As for the pipes... You should carefully look over the red truck pics trying to figure out their ways. Step by step. Any pipe diargamm might help. I have it not, sorry.

-
Looks incredable!
Those people who spent their time and labour must be proud of, it worth the result.
The color combo with black strip is nice.
There were other Mack's pictures from the museum posted here and I'd like to say they all looked perfect and nice.
Marked that place on my future trips list, sorry it's a long ways off.
-
Hello everybody, some explanation, all the Mack B in this topic are made in France, in the Bernard factory. The black and marroon was completely rebuilt by an friend of mine, in the north of France and he exposed it in different show in Europe. I think the Nederlands guys see it in the Mackdag recently. The red B has an sleeper cab made in the west of France, in Brittany by Pelpel. Concerning the light, you in the US have sealed beam, in Europe these lights are prohibited so we have beam with bulbs (h4, h1 or something like that)
I try to explain to you with my bad English and I hope you understand what I want to said, be gentle with an little french
Cool info!
I'm shure you must be an expert on this matter.
-
I think $600 for the 9 speed is fair.
As for me I haven't resolved yet to keep my truck with T2090 wich is original or swap to T2070 7 speed.
It's not a question of the day so I pass the 9 speed now.


BMT Forum Logo

Polishing again, again and again...
in Antique and Classic Mack Trucks General Discussion
Posted
Happily we here are free from such an organizations.
At least I am behind my fence. It's the private property and I'm free to do many things.
Until nobody knows. Or something wrong happens that must come out to a public.