


Mackpro
-
Posts
3,029 -
Joined
-
Last visited
-
Days Won
10
Content Type
Profiles
Forums
Gallery
Events
Blogs
BMT Wiki
Collections
Store
Everything posted by Mackpro
-
I just deleted a post here as I was forgetting which truck I was referring to . I talked to some guys today at the dealership. They are having a rash of EGR coolers cracking and or clogging on the 2019 to 2021 MP8 trucks . Both in the GR and Anthem trucks . 4 in the last month or so. I wonder if this could a issue. I can’t remember if you posted if the engine software was up to date.
-
Egr fault mass flow to high
Mackpro replied to mdixon's topic in Modern Mack Truck General Discussion
When was the valves adjusted last ? I had this MP8 a while back and had low power and constant regen requests. 2012 was the last time the valves were adjusted. Engine brake plungers unscrewed themselves and caused some weird issues. This can happen on all pre-common rail engines. Top one is flush, middle one is starting to back out and bottom one is way out. Mack sent out tools to all the dealers to tighten and loctite them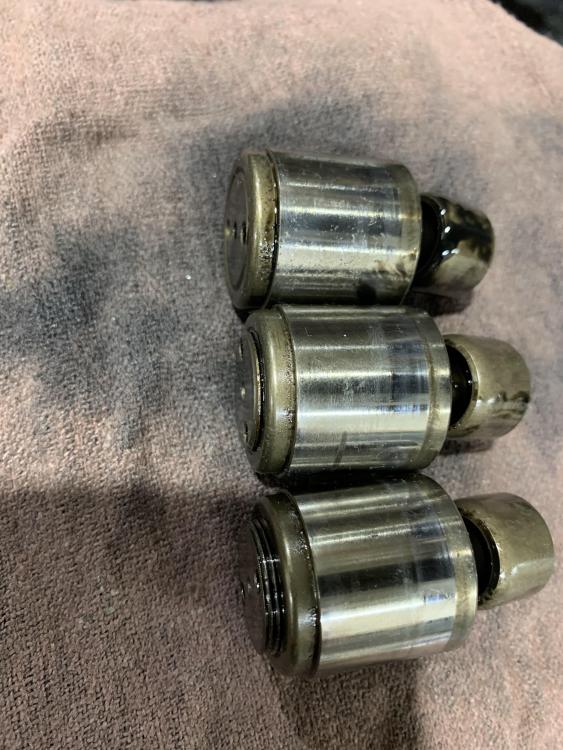
-
Egr fault mass flow to high
Mackpro replied to mdixon's topic in Modern Mack Truck General Discussion
In my notes for your model . The fuel doseing rate should be between 5% to 19% to be normal. Your is at 12% which is perfect. 22-29% usually mean clogged 7th injector. This is only for your year model. Other years are much higher. With the key on/engine off , what is your EGR differential pressure? And also what is the DPF differential pressure reading key on/engine off? -
The first few years of the common rail the removed the fuel pressure sensor from the filter stand. Only way you could view it was by looking at the AHI fuel pressure sensor ( all in the filter stand now). Finally Mack/Volvo gave in and started putting a fuel pressure sensor back on the filter stand. I also thought if the EPRV had not already been deleted, what would happen is the EPRV was stuck open?
-
Egr fault mass flow to high
Mackpro replied to mdixon's topic in Modern Mack Truck General Discussion
I always like to see the T2 temp at 880 . The DPF Differential pressure is not to bad at .367 if it was above .6 or higher I pull the filter and have it cleaned. Are the turbo codes new ? -
It’s a cruiser and pretty fast for its size . We stay/sleep on it Friday and Saturday nights through the summer months. The dock life is so much fun we sometimes never leave the marina. We roam around KY and Barkley lakes. 37 footer and probably the easiest boat to drive I’ve ever had. Some days I barely touch the steering wheel. Just use the throttles to steer. 342 Rinker Fiesta Vee is the model, popular model around here. There are 2 others here at the marina.
-
Injector cup issues
Mackpro replied to james j neiweem's topic in Modern Mack Truck General Discussion
https://static.nhtsa.gov/odi/tsbs/2021/MC-10186476-0001.pdf Here the bulletin on what need to be replaced and cleaned . -
That boat was about 50’ long and 14’ wide and so there was room but when I’m there it’s to play and not work, lol. Mines 12’ wide with twin 5.3’s and I pay someone to service it, I hate working on my own stuff
-
I keep forgetting that they actually put the D12 ( and possibly D11/D13 ) engines in boats. The marina I keep my boat at has Carver yacht with twin D12’s in it. The owner talked to me about hooking my laptop up to it .
-
The tool would be handy as getting a depth mic up in there would be no fun .
-
Looking for brake switch on 2006 ct713 granite
Mackpro replied to Kevin Twombly's topic in Air Systems and Brakes
Low air pressure switches and parking brake switch is above throttle pedal. The actual Brake light switch is on fire wall behind clutch pedal. -
Injector cup issues
Mackpro replied to james j neiweem's topic in Modern Mack Truck General Discussion
Yes. DEF in the fuel is a super expensive mistake. Mack has a bulletin on every thing that’s needs to be replaced and cleaned. -
https://pdf4pro.com/cdn/service-bulletin-mckenzie-tank-lines-7fe6.pdf The measurements are taken on the front drive axle . Truck on level ground . Brakes released. I always lowered the suspension then raise back up with the dash switch. Measure from bottom frame rail to the bottom of the Z spring between the U bolts . Make sure your measure the bottom of Z spring and not the saddle that the Z spring sets on . There are many heights depending on suspension type and frame rail height. I believe there is a newer bulletin but this should cover most trucks before 2015 Some old R models and Superliners with dual leveling valves are not included in this bulletin.
-
https://www.bigmacktrucks.com/topic/34802-04-vision-coolant-push/ Also this old thread has some more bulletins for this issue.
-
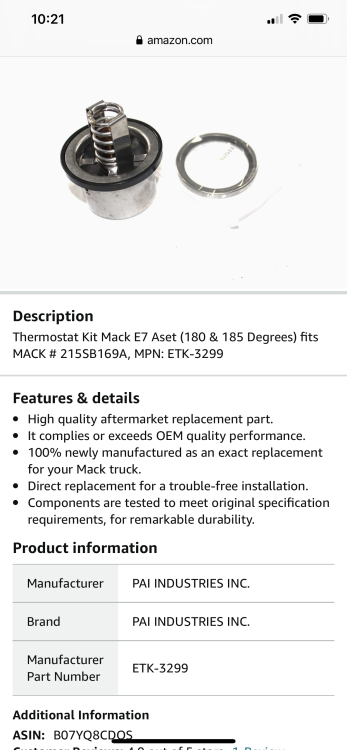
Amazon has the 180 and 185 thermostat kit from PAI . Mack found that when both thermostats opened at the same time it could cause a coolant push problem. So they recommended the staggered opening temps
-
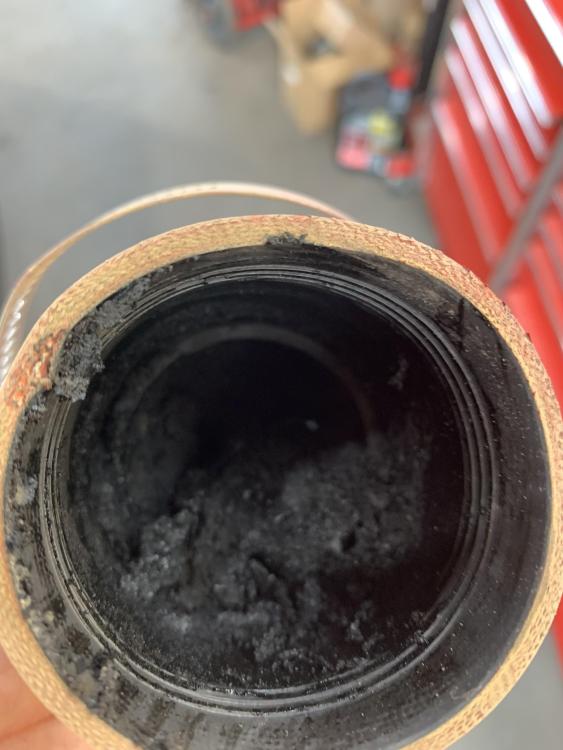
http://www.engineprofessional.com/TB/TB011816-1.pdf One one cause of ASET AC EGR cooler failures is this screen getting clogged and blocking coolant to EGR cooler causing it to overheat and crack
-
https://f01.justanswer.com/HeavyEquipmentTech/6bc71206-6fd3-4357-bdfd-e51101cf15ec_Mack+cooling+system+revisions+SB215025.pdf Thermostat housing update
-
https://f01.justanswer.com/HeavyEquipmentTech/9c63171c-1162-4f60-93c3-75b9bbaba99c_Mack+surge+tank+update+sb232026.pdf one piece surge tank bulletin
-
The radiator pressure cap should be a 16 pound cap. Some people put a 10 pound cap on them and cause them to open to soon and push coolant. The ASET AC engine you have uses the 16 pound. The ASET AI and all other Mack engines ( gray engine) use a 10 pound cap. Lots and lots of bulletins on coolant push with your ASET AC engine out there . I was a Tech and Warranty Administrator at a dealership, we averaged about 250 warranty claims a year , in 2004 when the ASET engines came out our warranty claims jumped to almost 700 a year. Lots of updates came out and by mid 2006 and 2007 the failures dropped as updates were installed at the factory and existing truck were updated. Updates included new thermostats ( one opens at 180 the other at 185), new thermostat housing and piping. One piece aluminum expansion tank and better service procedures to test and correct on going issues
-
Injector cup issues
Mackpro replied to james j neiweem's topic in Modern Mack Truck General Discussion
I guess I should not have praised the common rail injectors on Thursday. Had a #.2 pumping injector go down . At least it wasn’t a cup issue. If you ever get multiple injector faults check for DEF in the fuel . Lucky it was just a faulty injector this time . But we have had drivers talking on the phone/ distracted while fueling up and put DEF in the fuel tanks and eat the injectors up
-
https://volvotrucks.vg-emedia.com/FileImageDisplay.aspx?FileId=6030&DisplayType=attachment The tool number is 88800031 but no ones seem to make it other than Mack/Volvo . However I found on the Volvo side , it list the measurements from the tone wheel tooth to outer edge of the upper timing gear cover. Just line the tone wheel teeth up to the middle of the hole use a depth mic to get a reading and choose the number of shims you need . I don’t remember the Mack bulletins showing the actual measurements, only to use the tool .
-
2005 CV713 Maxitorque T310M/MLR Synchro Help
Mackpro replied to Detailed0707's question in Mack Truck Q & A
I always hated working on mack manual transmissions but as Joey said the in chassis repair can be done with the special tools but it’s still no fun . There are 3 things we have found that cause synchro failures in the Mack manuals trans . Number one thing is the set screw for the high/low range fork backing out. This is a common problem. The 107 series and early 200 series transmissions had a set screw that was drilled for safety wire. I remember the old guys rebuilding them in the 80’s using the safety wire, wish they still used it . Second thing is the stupid rear yoke bolt and washer set up . This has been a pain for years . A lot of the time we find the yoke bolt and washer missing and the only thing holding the yoke on is the pressure from the driveshaft/carrier bearing . These two things greatly affect the high low synchro. The third thing is driver error. Upshifting not so much but when downshifting and flipping the hi/low range to low at to high a speed seem to make cause a lot of bad noises. I only range shift from high to the low side when I’m almost to a full stop. -
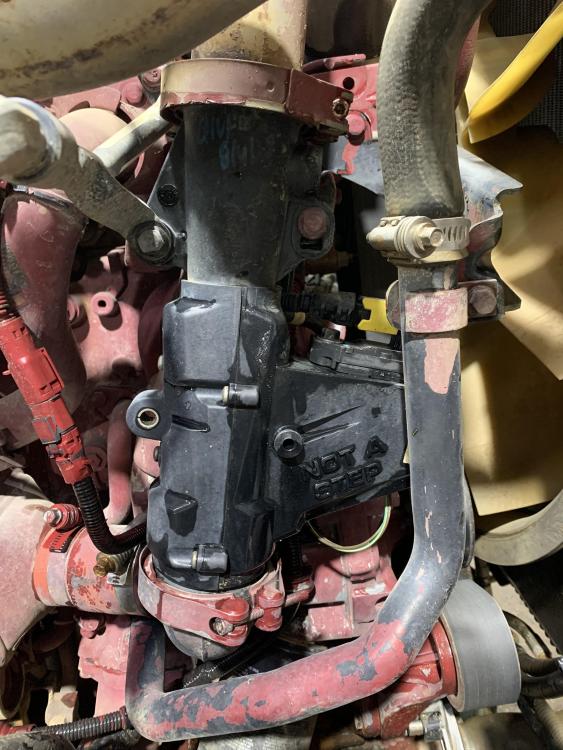
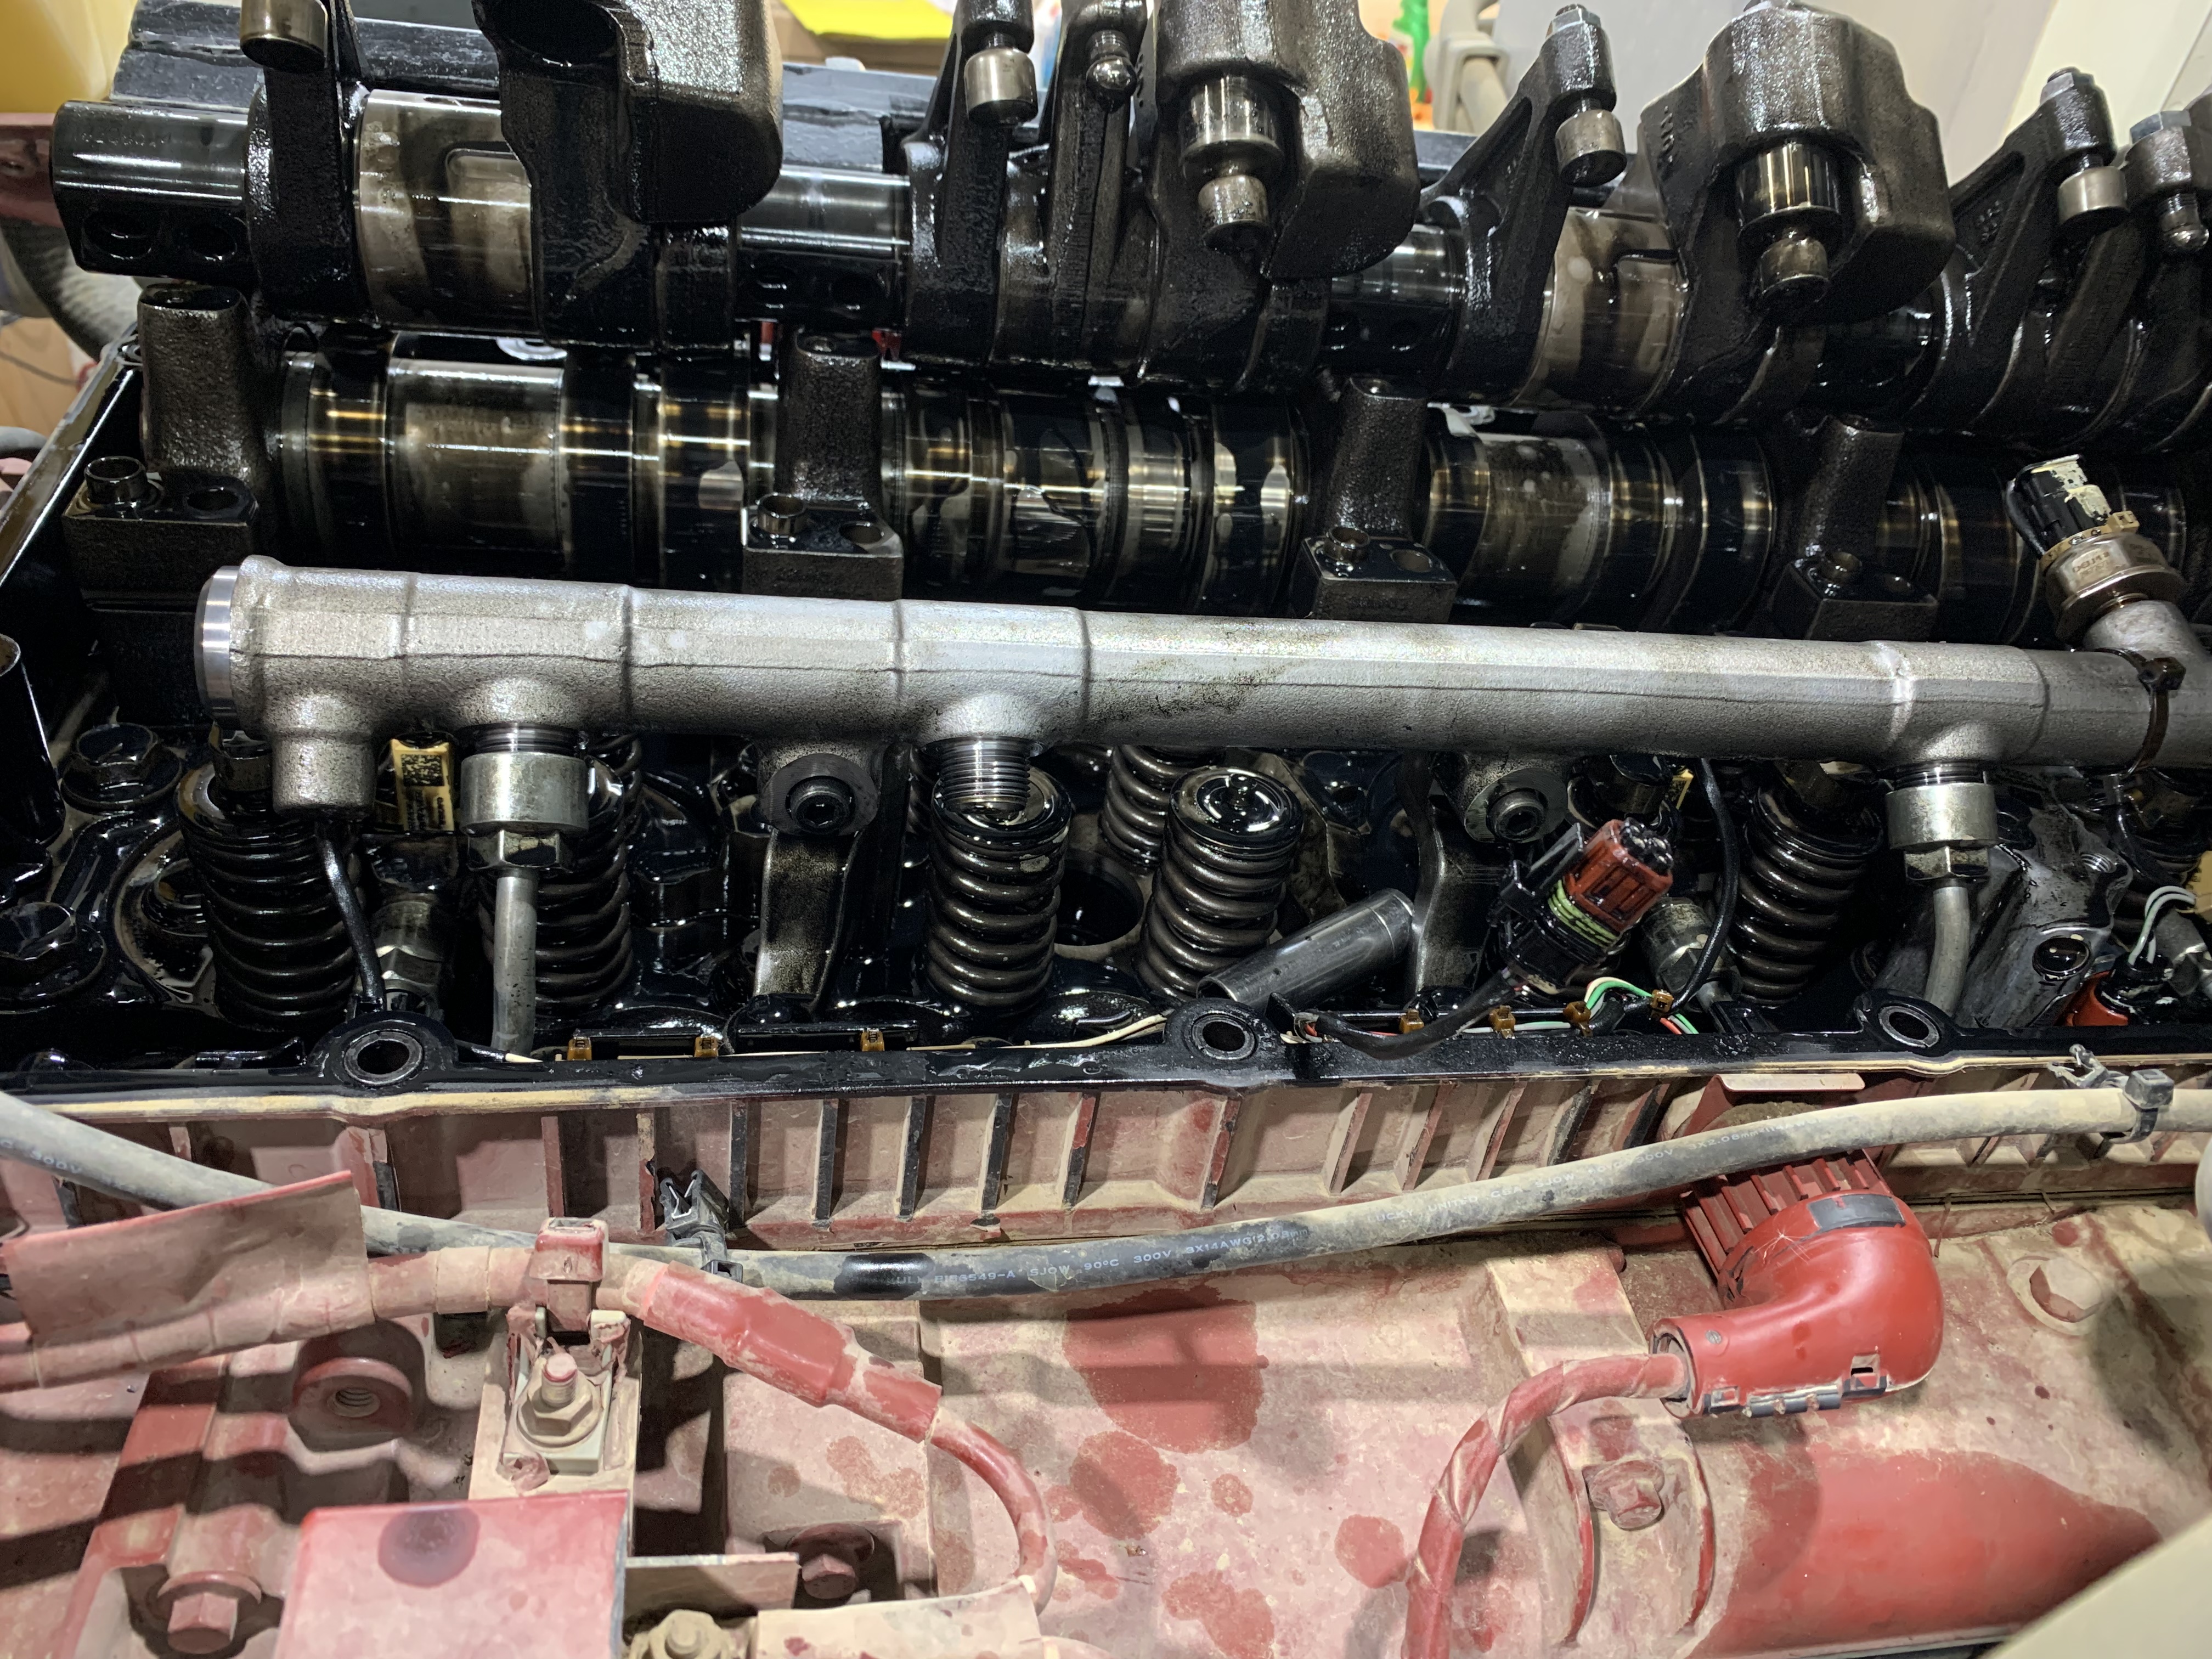
If the ports are getting clogged on the Venturi pipe where the EGR differential pressure sits it tell the engine ECM that the EGR flow is below the target flow rate. Even though the actual flow rate probably within specs , the engine ECM will command the EGR valve to open more to meet the target flow rate . So now you got more than needed EGR flow( dirty exhaust) going back through the engine. This produces more than usual soot to clog the DPF filter. I have had this happen on the MP8 even with the newest EGR diff sensor/Venturi pipe set up. Below is a picture of the newest sensor/ pipe for the MP8. I usually pull them off and clean them on the inside.
-
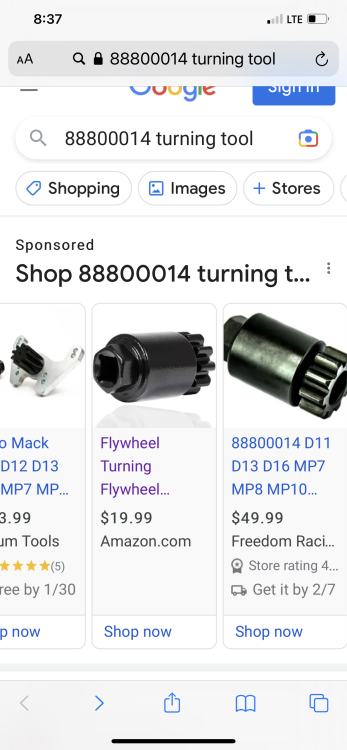
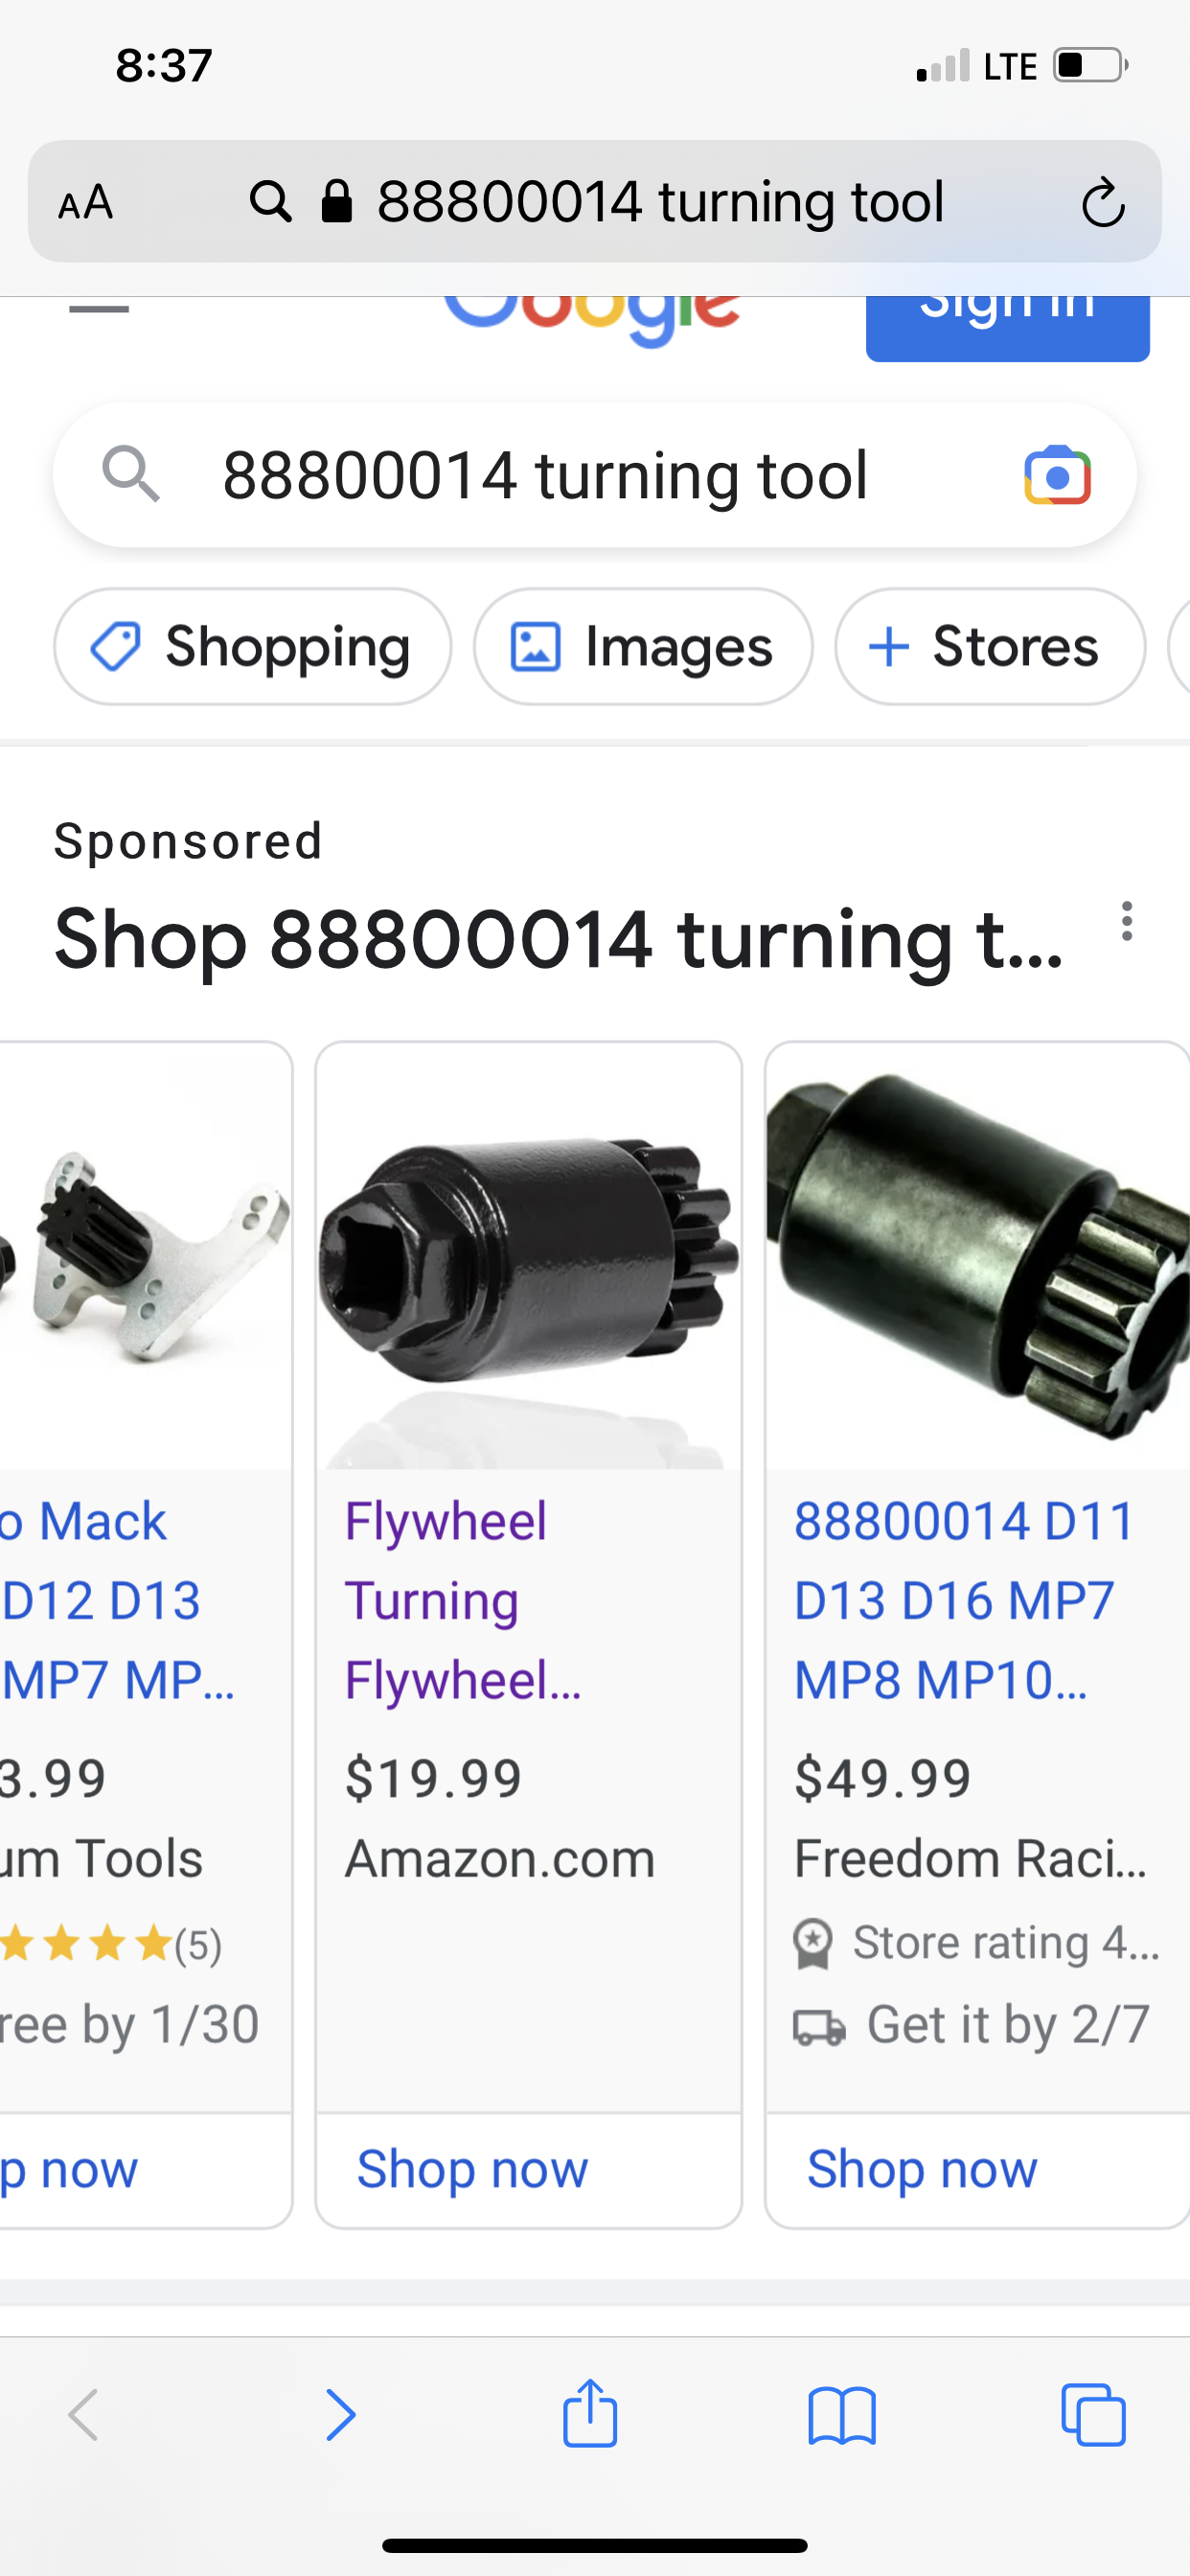
Like the MP8 engine turning tool. Part number 88800014 , $268 at Mack . Amazon is $20 . This fits all MP8’s . Unsure on MP10. All the MP7’s I’ve seen use a different turning tool.
-
Yes I agree 100%


BMT Forum Logo
