

thomastractorsvc
-
Posts
3,065 -
Joined
-
Last visited
-
Days Won
16
Content Type
Profiles
Forums
Gallery
Events
Blogs
BMT Wiki
Collections
Store
Everything posted by thomastractorsvc
-
Back in the late 80's I drove a IH R-210 with the 450 gas engine it was a good running truck, I think it was an old mixer truck, it looked like the b 81 series, it was used on a farm to haul bulk potatos and pulp wood, it was a tandem axel that we put a rear floating tag on, it had twin sticks, good running truck for a gasser.
-
 Maddog, Thanks for the tip about the bolt, I have done that in the past and made guide pins for transmission and hydraulic covers and such. The fenders are so bulky and I dont have a lot help so any tip to make it easy is helpful. 41chevy, Thanks, thats what I will do
 -
Makes sense, that what I'll do thanks
-
Did you tape the rubber gasket?
-
What works best getting ready to shoot some primer than paint, is it best to put the fendors on then paint or leave them off and wrestle them on afterwards and touch them up?
-
What I remember is truck needs to be marked not for hire and buy fuel sticker if crossing state lines and you need daily inspection sheet
-
Olive Gel coat is what you need about $50 for a gallon. Gel coat can be applied with a standard paint gun with primer nozzle (70-80 thousandths) at 40-50 psi or Preval sprayer. Make sure that the catalyzed gelcoat does not set up inside the sprayer. The sprayer needs to be cleaned with acetone before the gel coat gels. The gel time is typically 17 to 20 minutes. Gel coat can be also applied with a brush or a roller. My father in-law owns a marina/repair and I have help in the past while visting. Not real hard to put on.
-
FOR SALE Mack B-61 and couple trailers
thomastractorsvc replied to thomastractorsvc's topic in Trucks for Sale
Got an email from Scott yesterday, he has sold the B-61 Thanks -
B61T upgrade to Springbrakes
thomastractorsvc replied to thomastractorsvc's topic in Air Systems and Brakes
So true, I changed the yoke and rod on the old park brake but no luck, plenty of "meat" but no holding power, it is easier to do the spring brake set up then mess around with new shoes and disassembly of the old drum brake, just glazed I am sure, but money and time wise I am sure it would be more, had about $30 in the rod and yoke. -
1959 B 61
Images added to a gallery album owned by thomastractorsvc in BMT Member's Gallery - Click here to view our member's albums!
1959 B 61 restoration -
-
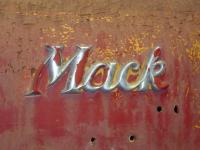
mack 017
thomastractorsvc posted a gallery image in BMT Member's Gallery - Click here to view our member's albums!
From the album: 1959 B 61
-
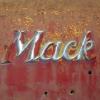
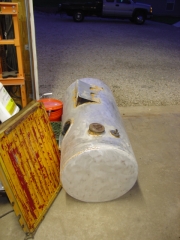
mack 016
thomastractorsvc posted a gallery image in BMT Member's Gallery - Click here to view our member's albums!
From the album: 1959 B 61
-
mack 014
thomastractorsvc posted a gallery image in BMT Member's Gallery - Click here to view our member's albums!
From the album: 1959 B 61
-
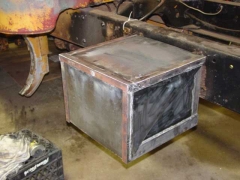
mack 013
thomastractorsvc posted a gallery image in BMT Member's Gallery - Click here to view our member's albums!
From the album: 1959 B 61
-
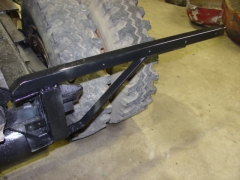
mack 012
thomastractorsvc posted a gallery image in BMT Member's Gallery - Click here to view our member's albums!
From the album: 1959 B 61
-
mack 011
thomastractorsvc posted a gallery image in BMT Member's Gallery - Click here to view our member's albums!
From the album: 1959 B 61
-
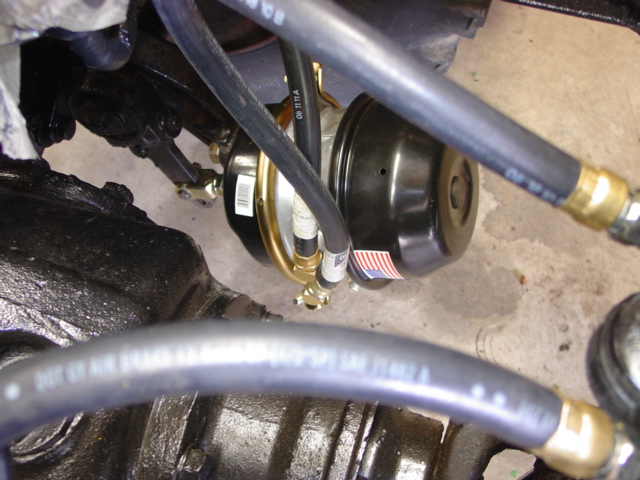
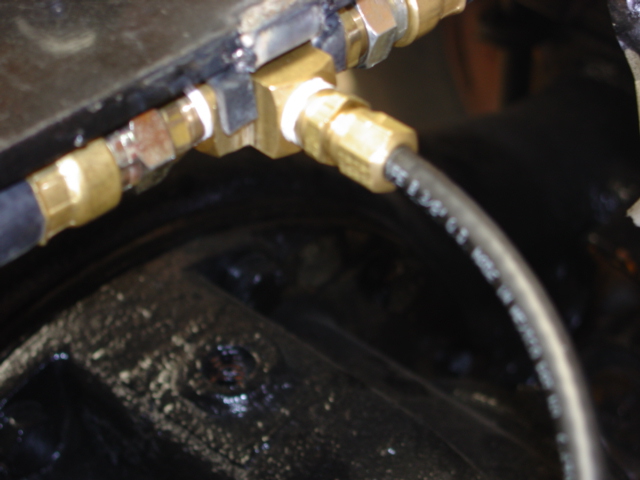
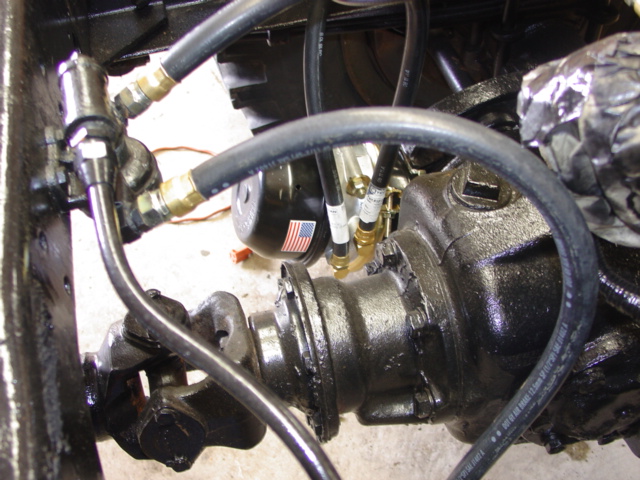
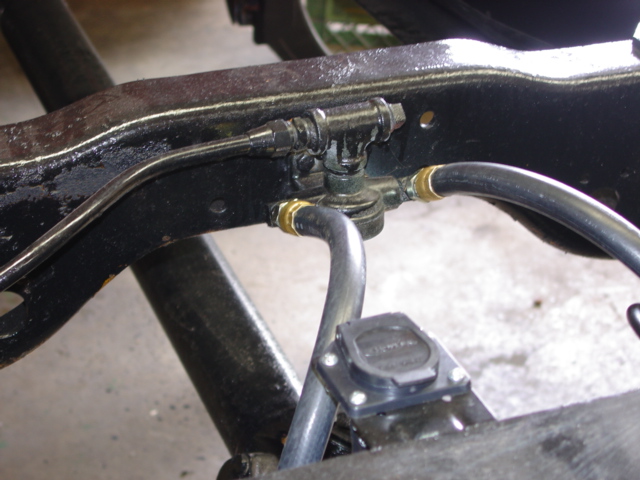
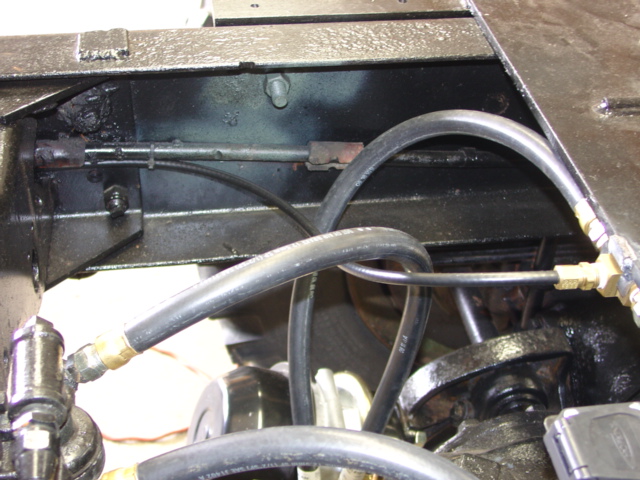
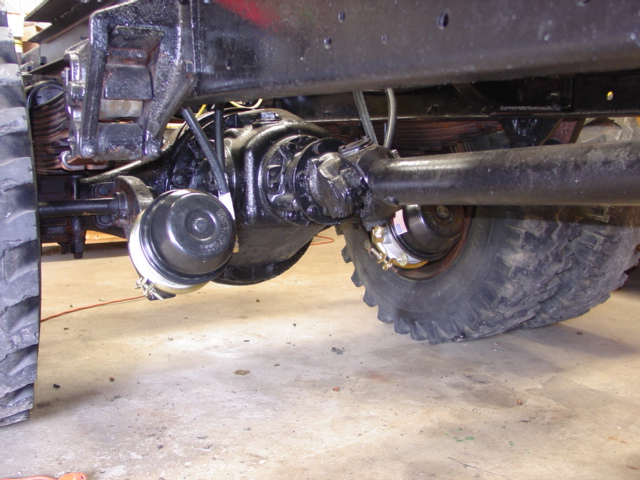
B61T upgrade to Springbrakes
thomastractorsvc replied to thomastractorsvc's topic in Air Systems and Brakes
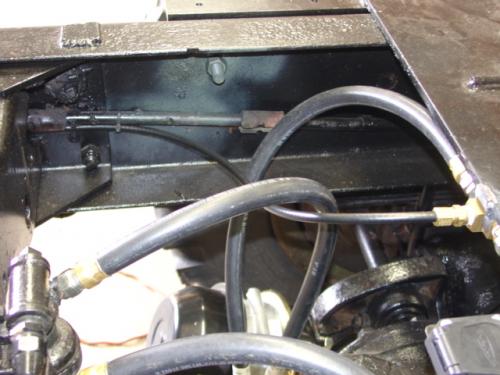
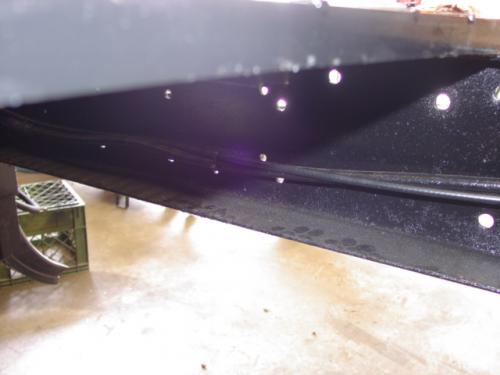
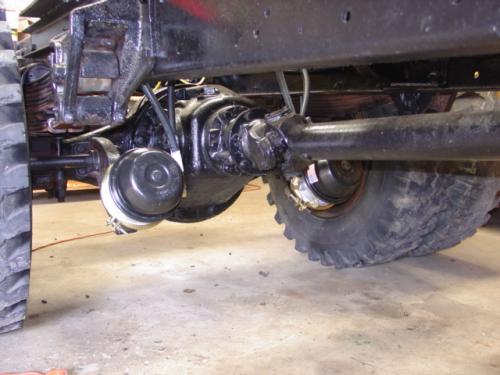
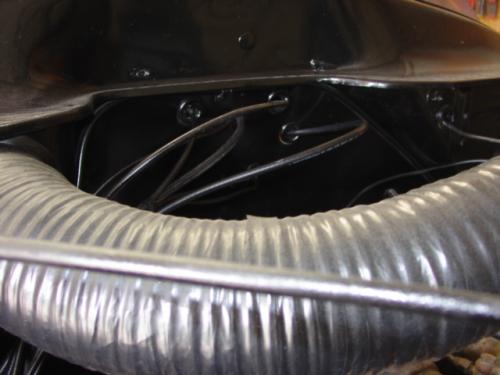
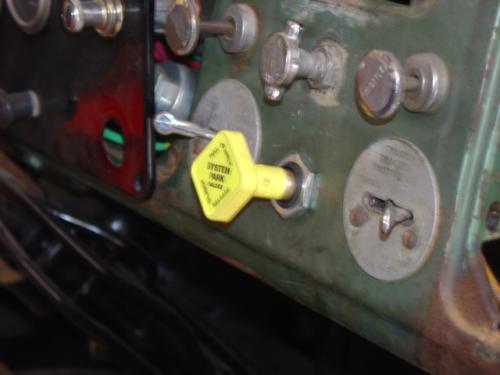
Alright got all the parts 2 30/30 Brake Chambers $58.47 ea (Short Stroke) 2 30” Rubber Brake Hose $10.61 ea 2 32” Rubber Brake Hose $10.86 ea 20 ft 3/8 Air line $1.14 per ft 1 Push Pull Valve with knob new $33.61 Miscellaneous fittings, plugs and tees $21.35 Time about 1.5 hours, probably could have done in about an hour but had to heat the old mounting nuts on the left side chamber. 1. Remove existing chambers and hoses 2. Measure length of old chamber push rods from chamber back to center of yoke, cut new rods to length. (remove yoke leave jam nut on rod and turn until it is close to chamber, this way you can chase the threads if you get a burr after you make the cut) 3. Thread on yoke and adjust to proper length 4. Mount new chambers (watch orientation to keep hose fittings to the inside) 5. Put pins in yoke to slack adjusters, (depending on your brake adjustment may have to adjust slack adjusters) 6. Mount tee fitting for Spring Brake Hoses ( I made a simple bracket to hold the Tee Fitting and welded to the bottom of my hitch plate, keep centered, as not to interfere with drive shaft and/or hoses may not reach) 7. Run air line to cab area to where you will mount your push/pull valve ( I ran mine along the existing copper lines and zipped tied, make sure to keep it away from anything that spins or gets hot) 8. Mark location for valve and mount valve. (the valve will be marked and depending on your valve will require a supply air and the delivery air line to the Spring Brakes, my valve required 1 plug, the back port on my valve is left open for discharge/vent it is not marked) 9. Select air supply line to tee into. (must have a constant air supply at all times, I tee'd in my air pressure gage to this line so I now have Air Pressure Gage and Spring Brake Valve on the same supply line) 10. (Chock wheels) connect all fittings and check for leaks, tighten as required or repair. (check for proper brake adjustment and movement) Now you are Done, pictures to come see If I had a tandem I would do the same except instead of using a tee I would buy a R6 or R12 valve for ease of connecting the 4 hoses for the Spring Brakes.


-
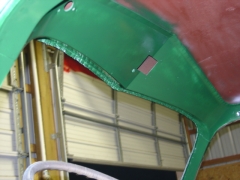
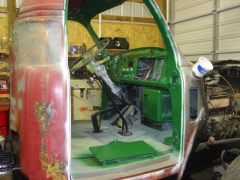
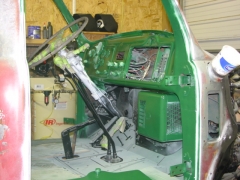
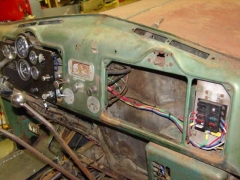
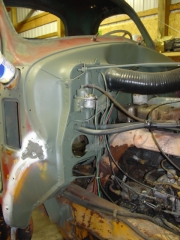
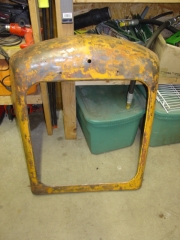
rear Cab
thomastractorsvc posted a gallery image in BMT Member's Gallery - Click here to view our member's albums!
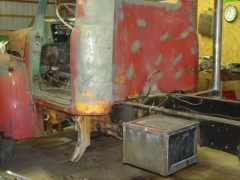
From the album: 1959 B 61
-
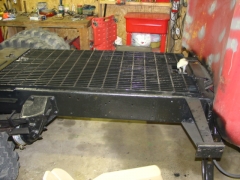
New floor3
thomastractorsvc posted a gallery image in BMT Member's Gallery - Click here to view our member's albums!
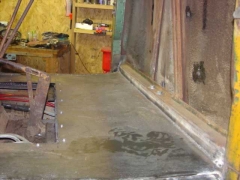
From the album: 1959 B 61
-
New floor2
thomastractorsvc posted a gallery image in BMT Member's Gallery - Click here to view our member's albums!
From the album: 1959 B 61
-
New floor
thomastractorsvc posted a gallery image in BMT Member's Gallery - Click here to view our member's albums!
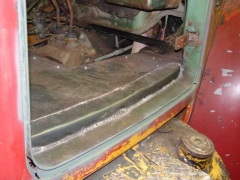
From the album: 1959 B 61
-
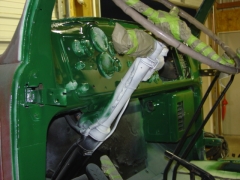
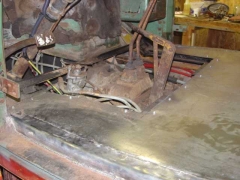
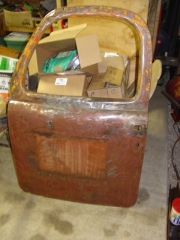
missing door
thomastractorsvc posted a gallery image in BMT Member's Gallery - Click here to view our member's albums!
From the album: 1959 B 61
-
Just Got home 3
thomastractorsvc posted a gallery image in BMT Member's Gallery - Click here to view our member's albums!
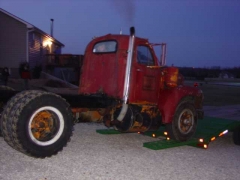
From the album: 1959 B 61
-
Just Got home 2
thomastractorsvc posted a gallery image in BMT Member's Gallery - Click here to view our member's albums!
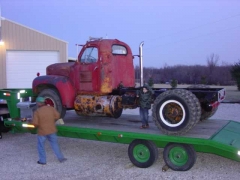
From the album: 1959 B 61
-
Just Got home
thomastractorsvc posted a gallery image in BMT Member's Gallery - Click here to view our member's albums!
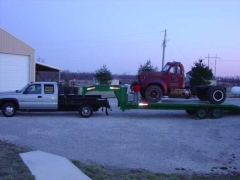
From the album: 1959 B 61


BMT Forum Logo
