

Licensed to kill
-
Posts
534 -
Joined
-
Last visited
-
Days Won
9
Content Type
Profiles
Forums
Gallery
Events
Blogs
BMT Wiki
Collections
Store
Everything posted by Licensed to kill
-
E6-285 2VH problems and solutions
Licensed to kill replied to allfritz123's topic in Engine and Transmission
A few things to consider if you are going to do an engine swap. First, as I recently found out, there is a significant enough difference between a "maxidyne" and "Econodyne" engine (their torque curve specifically) that they require different tranny's to perform properly. 5 or 6spd for the Max and 12 Spd or more for the Econo so unless you plan to change the trans also OR don't care about performance, make sure both the engine you are taking out and the one you are putting in are of the same series. Second, again, this is related to getting the best performance, you can not take an engine designed for an "up front" air to air and just put a tip turbine on it without changing injectors and likely the turbo. The "tip turbine" is less efficient and therefore will provide less air to the engine than what the injectors and turbo were designed for. It will run OK but you will likely be "rolling coal" as it will be overfueling to some extent and MAY run into EGT issues when pulling hard. -
Back when my Dad started "legally" driving commercial, all that was required in Alberta was to go to the DMV, pay $15 and get a "Chauffeur" button (I have two of then sitting on my desk). The buttons I have are for 1954 and 1955. That made you legal to drive anything in the province if I'm not mistaken. I am something of an "old soul", I do not like all the modern stuff and prefer old, that is why I shoot flintlock rifles, drive Ford model A's and am doing up a B-61. A couple things on my "HIGHLY unlikely to fulfil" bucket list are a steam locomotive (I would LOVE to have one as yard art) and a bi-plane. Always threaten to get a bi-plane (easier to come by, use and transport home than a steam loco) and my wife says "You can't fly a plane!!!". I tell her "Sure I can, I have a class 1 license that says I can drive anything except a motorcycle AND I have my "air endorsement". She just rolls her eyed and says "well you won't get me up in it". No worries, I plan on getting a single seater.
-
Boost or pyro????
Licensed to kill replied to Licensed to kill's topic in Antique and Classic Mack Trucks General Discussion
I like that gauge Larry. However, like everything else these days, can't find one anywhere on the net. I swear, 15-20 years ago whatever you wanted just type it in and up it would come. Now, search engines are so screwed it doesn't matter how vague or specific a description I type in I get page after page of shit that isn't even related to what I am looking for. "No problem" says my internal "common sense" "I'll just go to the company web sight". I can not remember that last time I went to a company/business web sight that was the least bit user friendly or useful. I can't believe that companies actually PAY people to create these worthless webpages. Now, to be fair, after wasting an hour searching for something and coming up empty, I usually tell my wife what I am looking for and within 5-10 minutes she finds it. I ask what she typed in and it is ALWAYS the exact same thing I typed in word for word but the sights/pages that come up for her don't come up for me. Probably why I am so happy to drive my model A fords and will be happy to drive my B-61 Mack and any vehicle with an ECM is to me like sunlight is to Dracula. THESE things I understand. -
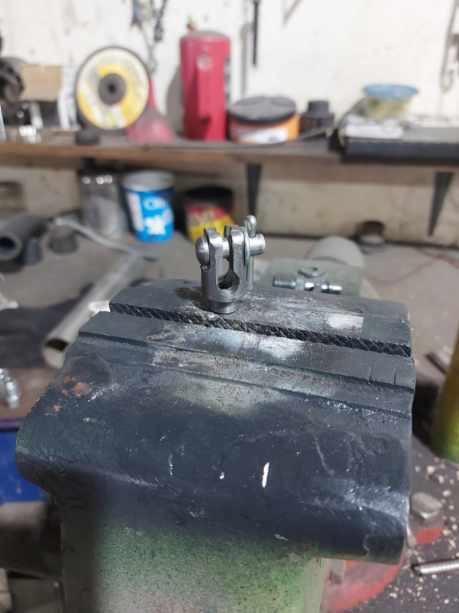
I clamped a piece of wood in the vice on my drill/mill table then clamped the small scrap sheet to the wood with vice grips. Will do the same with the gauge panel. I will take a couple pics when I do the panel and post them.
-
Well, the gauges are 2 1/16" so I bought a 2-1/16" hole saw last time I went to town. Tried it on a piece of scrap and a gauge "fits" but is quite snug, have to use a fair bit of force to get it on there all the way (then had a bear of a time getting it back off) and the saw itself was quite sloppy in the original gauge holes. So, next week when I go to town (to pick up the drive shaft) I will get a 2-1/8" hole saw and that should work perfect. I would much prefer an annular bit but one of those in 2-1/8" would be $$$$$$$ just to make a couple holes so........that's a hard "NOPE". The brand new Milwaukie 2-1/16 saw made a perfect hole when used in the mill and everything clamped down well and run slow so I now feel confident that the 2-1/8" hole saw will be the ticket, just need to get to town to get one. P.S. I SHOULD be able to finish the welding on the cab today, just have to weld in the driver side front 1/4 and change out the rockers so then I can wheel the welder back to the bench and weld up the unwanted holes in the cluster panel. I HAVE to get the cab done as my son called and he needs the lift to do the brakes on his wife's buggy and my oldest daughter needs her winter tires put on and I am too old (and lazy) to do that sort of thing on the floor any more.
-
As I am doing the body work on the cab for my B-61 project I am always pondering other aspects of it. I have been giving thought to what I want for gauges I the limited space available (8 not counting speedo and tach) and, while I would LIKE to have a boost gauge and a pyrometer, due to lack of Realestate, I may have to eliminate one (I already have to eliminate the diff temp). For what I am using this truck for, neither boost nor pyro are REALLY necessary but I would like them anyways. So, if I have to choose, I'm thinking that the pyro is more practical as it monitors something that actually matters, even though the chance that I will encounter dangerously high exhaust temps pulling a holiday trailer is....lets just say "unlikely". Boost, OTOH, while not really critical, to my way of thinking, it serves like a vacuum gauge on a gas engine (only opposite) in that it gives an indication of relative fuel economy. So, the first 5 places are fixed (dual needle air pressure, oil, temp, volts/ampres and fuel), I really want to add a third air pressure and another fuel which leaves one vacant spot for the pyro, boost or diff temp. NONE of these are really important (which is why they are at the bottom on the list), diff temp only because the diff has the sender in it already and pyro and boost because...well its a diesel so........they would be nice. I would like to hear thoughts from the forum on what should get the final spot and why. There IS the option of placing gauges outside of the gauge panel, either in the dash somewhere (in place of the ash tray perhaps) or on a panel mounted under the dash but I never cared for the looks of an "add on" panel. I suppose I could put the boost and pyro in pods on top of the dash but I would prefer to stay with a cleaner, more conventional look. So, what do y'all think???. What other options have I missed or what gauges should get the boot?.
-
E6-285 2VH problems and solutions
Licensed to kill replied to allfritz123's topic in Engine and Transmission
I was shocked to find that plastigauge was rather difficult to find when I rebuilt the flathead in my '35 ford a few years ago. Most auto supply places had no idea what I was talking about. -
Haven't done it yet. Might be awhile as I don't have the correct hole saw yet and have other things on the go as well. I did make the plug for the lighter hole, just have to weld it in.
-
E6-285 2VH problems and solutions
Licensed to kill replied to allfritz123's topic in Engine and Transmission
On the topic of bearing size, the first engine I ever assembled was back in the early 80's. I redid a SBC for my '57 chevy at a friends place. When it came time to assemble the engine, he was not home so I did it myself. Looked at the back of the bearings and they were not marked, no stamp on the crank so I bought STD bearings. While Chris HAD plastigauge in his tool box, I did not know how to use it so I assembled the engine and when he got home a couple days later, we put the engine in the car. We fired it up, set the timing and idle and Chris told me to button up the headers but, as a young, dumb kid I decided to drive it the 20 miles home with the headers open. Got pulled over for loud exhaust (of course) but the guy let me off as I told him I was just heading home to bolt up the exhaust, then, the "gen" light came on. I pulled into a gas station and popped the hood to find the harmonic balancer laying on the cross member. Called Chris to come help, he came out (got pulled over at the same intersection I did for running the stop sign), helped put the balancer back on and I drove it back to his place. Next day I went and bolted up the exhaust, put the bolt in the crank to hold the balancer (had not done that) and while the engine warmed up, we went in to have a coffee. While sitting there, Chris said "That engine is knocking". I said "That's just the compression knock" He said "no, there is another knock. Did you put the right bearings in?". I said I put in STD because I could not find any indication otherwise. We went out to his garage and pulled the old bearings out of the trash and confirmed that they were not marked (something Chris said he had never seen before). So, I dropped the oil and pulled the pan and Chris gave me a micrometer to climb under and check a rod journal. I pulled a cap to find some copper showing, miced the journal to find that it was .030 under DOH!!. Went up town and bought a set of .030 rod bearings and changed them under the car. Chris suggested checking a mains so I pulled a cap to look but the bearing had no copper showing so that was good. Put the pan back on, added oil and fired it up. Went in to wait for it to warm up and after it ran a bit, Chris said "that thing is still knocking". So, dumped the oil, pulled the pan and pulled a main cap and miced the journal....yup, also .030 under. Rolled in a set of .030 mains and all was good. A long winded way of arriving at the moral of the story but, unless the bearings are marked I ALWAYS mic the journals. I don't even trust a stamped crank as it could have been turned a second time and not restamped. Also, I now NEVER run a new engine without mufflers as open exhaust makes it pretty much impossible to hear what is going on. -
I dunno, doesn't sound like it works all THAT well. Either that or it is a mighty long list. When do you expect to get it finished so you can start a second one??😂
-
E6-285 2VH problems and solutions
Licensed to kill replied to allfritz123's topic in Engine and Transmission
Sacrifice a wrench ( actually just the box end, can keep the open end and use as a shorty for future problem areas) and an old socket (or cut the end off an extension) and ten minutes with a zip cut and welder and I would have one of those custom made length to fit. BTW, I don't know if this is relevant to this particular topic but I have (had?) a bad habit of trying to NOT take off more things than necessary to get to whAt NEEDS to come off. My brother, (40 year HD mechanic) once told me, (I think I was bitching about what it took to get the Thermostat housing off my C-15 to change thermostats) that it was easier if I removed something that was in the way (I think it may have been the alternator). Told me it is often easier and faster just to remove superfluous things to gain easier access than trying to save time/effort by "going around". Since, if something is difficult (but not impossible) too get at because something else is in the way, I just remove the obstruction. It does tend to be faster and, of course easier. I often have a bad habit of working harder trying to avoid work. Kinda like most criminals I suppose. -
In Canada its called "Justinflation". Different name, same disaster.
-
Relatable. I made a little coffee/beer room up on the mezzanine for the one time per year that I get a visitor and put a TV up there so that when I need to google how to do something I can go up there and watch it on the TV rather than on my phone. Problem is, I go up, watch whatever it is that I need to learn then see something else that looks interesting so I watch that, rinse and repeat. 2 hours later I have to drag my ass back down to the shop before I waste the whole day.
-
I thought that was my exclusive domain. Drives me nuts. I am 30 minutes from the nearest town, 90 minutes from the nearest small city. I spent close to an hour on my lathe and mill once making a small clevis when I was working on my '31 model A Delivery (for the e-brake cable) because to go to town was an hour travel, plus finding a suitable clevis (if one even existed that I would like) plus the couple bucks to buy one.
-
I need to add some gauges to my B-61 so yesterday, I took one of my cluster panels and did the measuring for the additional gauges, the plan being to have a group of 4 on each side of the speedo/tach. WELL.....as it turns out, the light switch on the left and what I assume was the lighter on the right are too far inboard and will interfere with the additional gauges (they won't touch but will be too close). So, now I have to weld up those holes and relocate them. Not a huge deal, just another in a long list of "this won't take long" turning into "this is going to take awhile" WITHOUT being caused by a broken bolt.
-
Lots of them on Ebay. They were not proprietary, just Stewart Warner gauges, the older ones had a slightly different font than the newer ones (older ones had fatter numbers and not as "white" but that could have been due to age). Here is an example and you get a bulldog speedo in the deal. Looks like an early R model dash. https://www.ebay.com/itm/335100798247?hash=item4e05906527:g:jaMAAOSwC1JlQ8wV&amdata=enc%3AAQAIAAAA0IyRG5vG6w3H6B08TZr16%2BCXwtYzRcI%2BFjHBv6JtSWJIeXDD6Njm%2FumI6ivW8T3abSABd5WNF96PU6BZAOujc2klCSMLneyn2uraWOOX6kxd8bqe9UAARDI6A03NAQIram374H7426geT18VmRTPxa6SmwZ8XS9EleOdtkIO%2FsWWwe1O0cyP%2B%2FhtCGDCAtU0WkkWOWhdzWJch1vF%2BIBP5tDmQnlK4h6sR2E7dmoCzRxWzszoRXN7yLdrpHdgOBWVJvNMv0T282IvUe1GYdAv7Y0%3D|tkp%3ABk9SR97Ior34Yg The bezels might clean up but f they are pitted can be covered with something like this. https://www.amazon.ca/GG-Grand-General-68164-Freightliner/dp/B0878SQXRB/ref=sr_1_14?hvadid=600273239941&hvdev=c&hvlocphy=9001287&hvnetw=g&hvqmt=e&hvrand=13379524112870365913&hvtargid=kwd-700145194245&hydadcr=15053_13565510&keywords=peterbilt%2Bgauge%2Bcovers&qid=1699798091&sr=8-14&th=1
-
E6-285 2VH problems and solutions
Licensed to kill replied to allfritz123's topic in Engine and Transmission
^^^^^This. The first thing I would check is the exhaust manifold bolts. One may have broken off causing a leak. There is always a chance that the tick starting when you drove over rough ground is just a coincidence but I don't believe in coincidence so I would be focused on things that bouncing and/or twisting of the chassis may cause to move/change/break. -
Another "name that valve" thread.
Licensed to kill replied to Licensed to kill's topic in Air Systems and Brakes
It just seemed to me that the relay acts much like a QR and where the relay would be mounted on the cross member, to go from that to a QR, then to the chambers, the length of hose that needs to be evacuated would be the same if not a few inches longer than going directly from the relay to the chambers. -
Another "name that valve" thread.
Licensed to kill replied to Licensed to kill's topic in Air Systems and Brakes
No -
Another "name that valve" thread.
Licensed to kill replied to Licensed to kill's topic in Air Systems and Brakes
Yes I am. MOST of the brake system will be new, I. fact, so far, the only parts that I intend to re-use is the tractor protection valve, governor, manifold, filter (for the shutter stat) and the valves on the dash. I looked in the governor and it looks nice and clean so I will use it but if it causes issues I will just change it out. They are not expensive and this one is mounted on the firewall and easy to access. I am thinking that, since the relays will be mounted on the cross member and will only require maybe 15" - 20" of hose from the chambers that a QR will not be required -
Another "name that valve" thread.
Licensed to kill replied to Licensed to kill's topic in Air Systems and Brakes
I wonder if it could be something like this??. The truck had no spring brakes, just pancake pots. http://www.sealcocvp.com/prod/catalog/110376/index.htm -
Another "name that valve" thread.
Licensed to kill replied to Licensed to kill's topic in Air Systems and Brakes
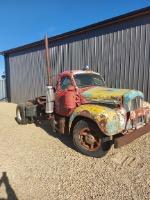
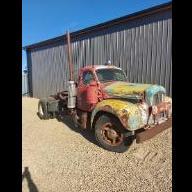
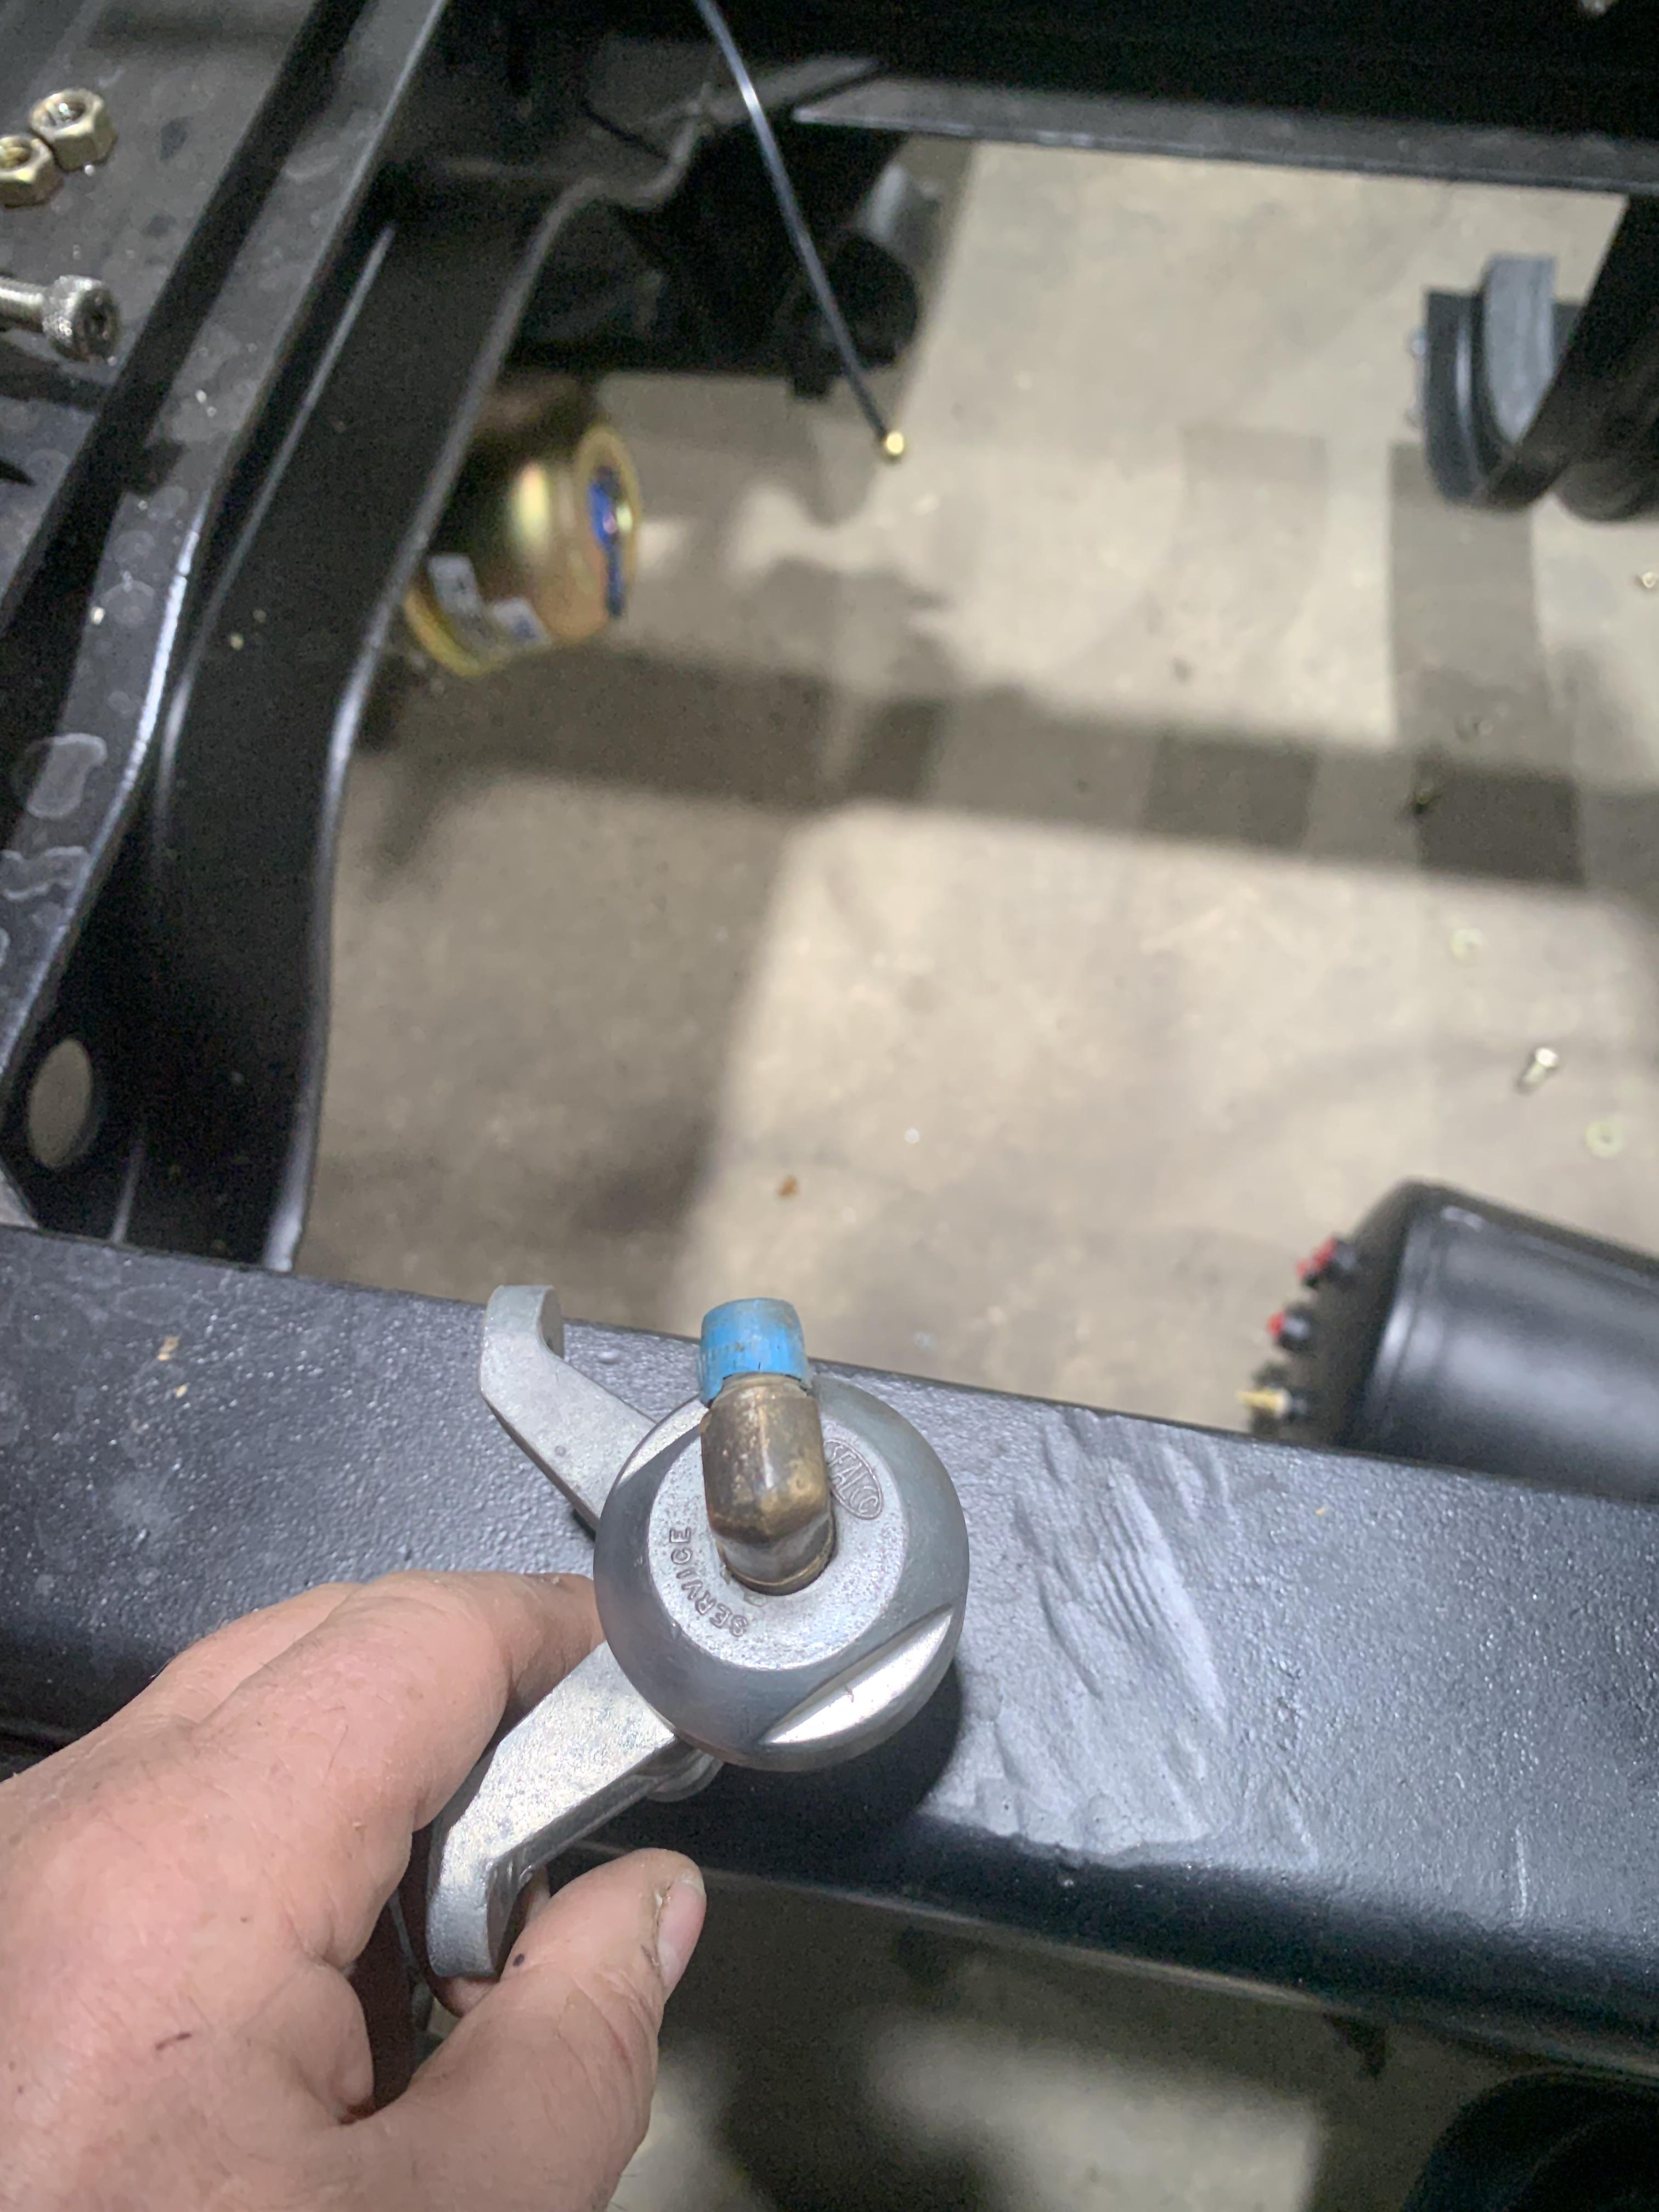
It came from the truck in my avatar, '59 B-61T. Don't recall where it was mounted for sure but on the frame somewhere midship or near the back IIRC. It was over 2 years ago that I stripped that truck and, of course I did not take enough pictures or label anything. Update, I just went out to the shop and checked, there is no part number on it anywhere, just says "sealco" in an oval across from the "service". I took it and checked where it could have been mounted and asm certain that it was on the back of the cross member that is just in front of the 5th wheel plate, on the drivers side. There are holes in that location that match the bolt size and mount on the valve AND that is where I recall it coming from. -
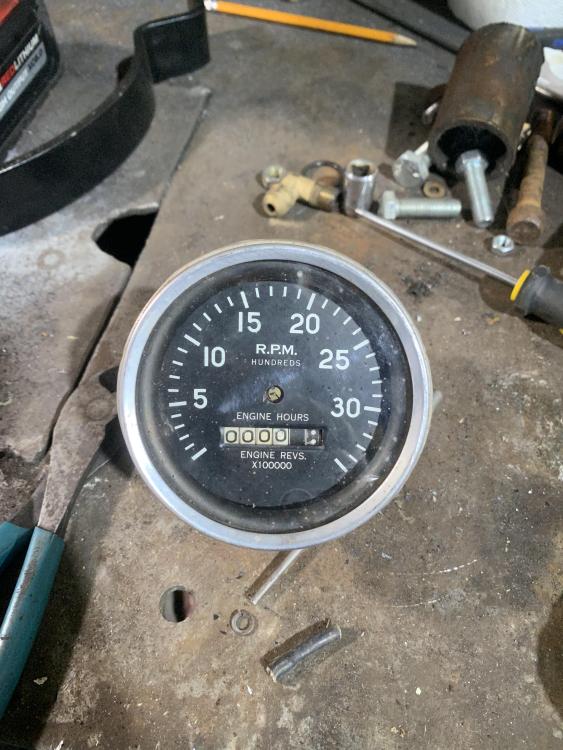
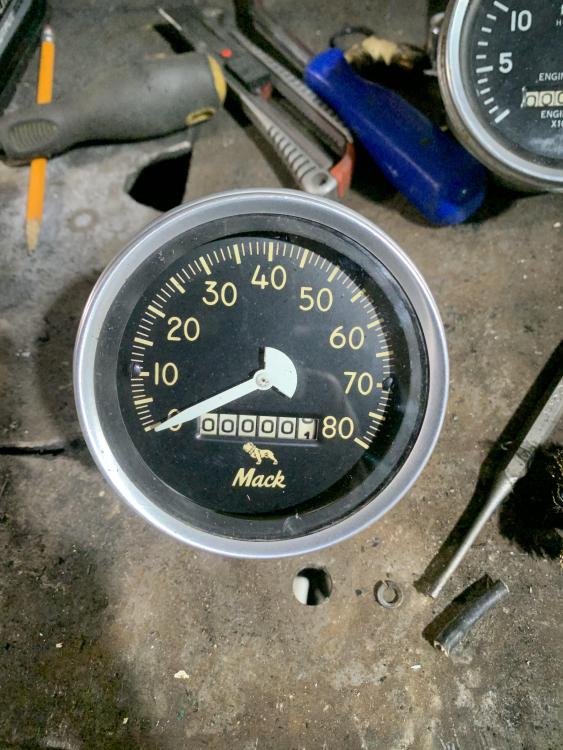
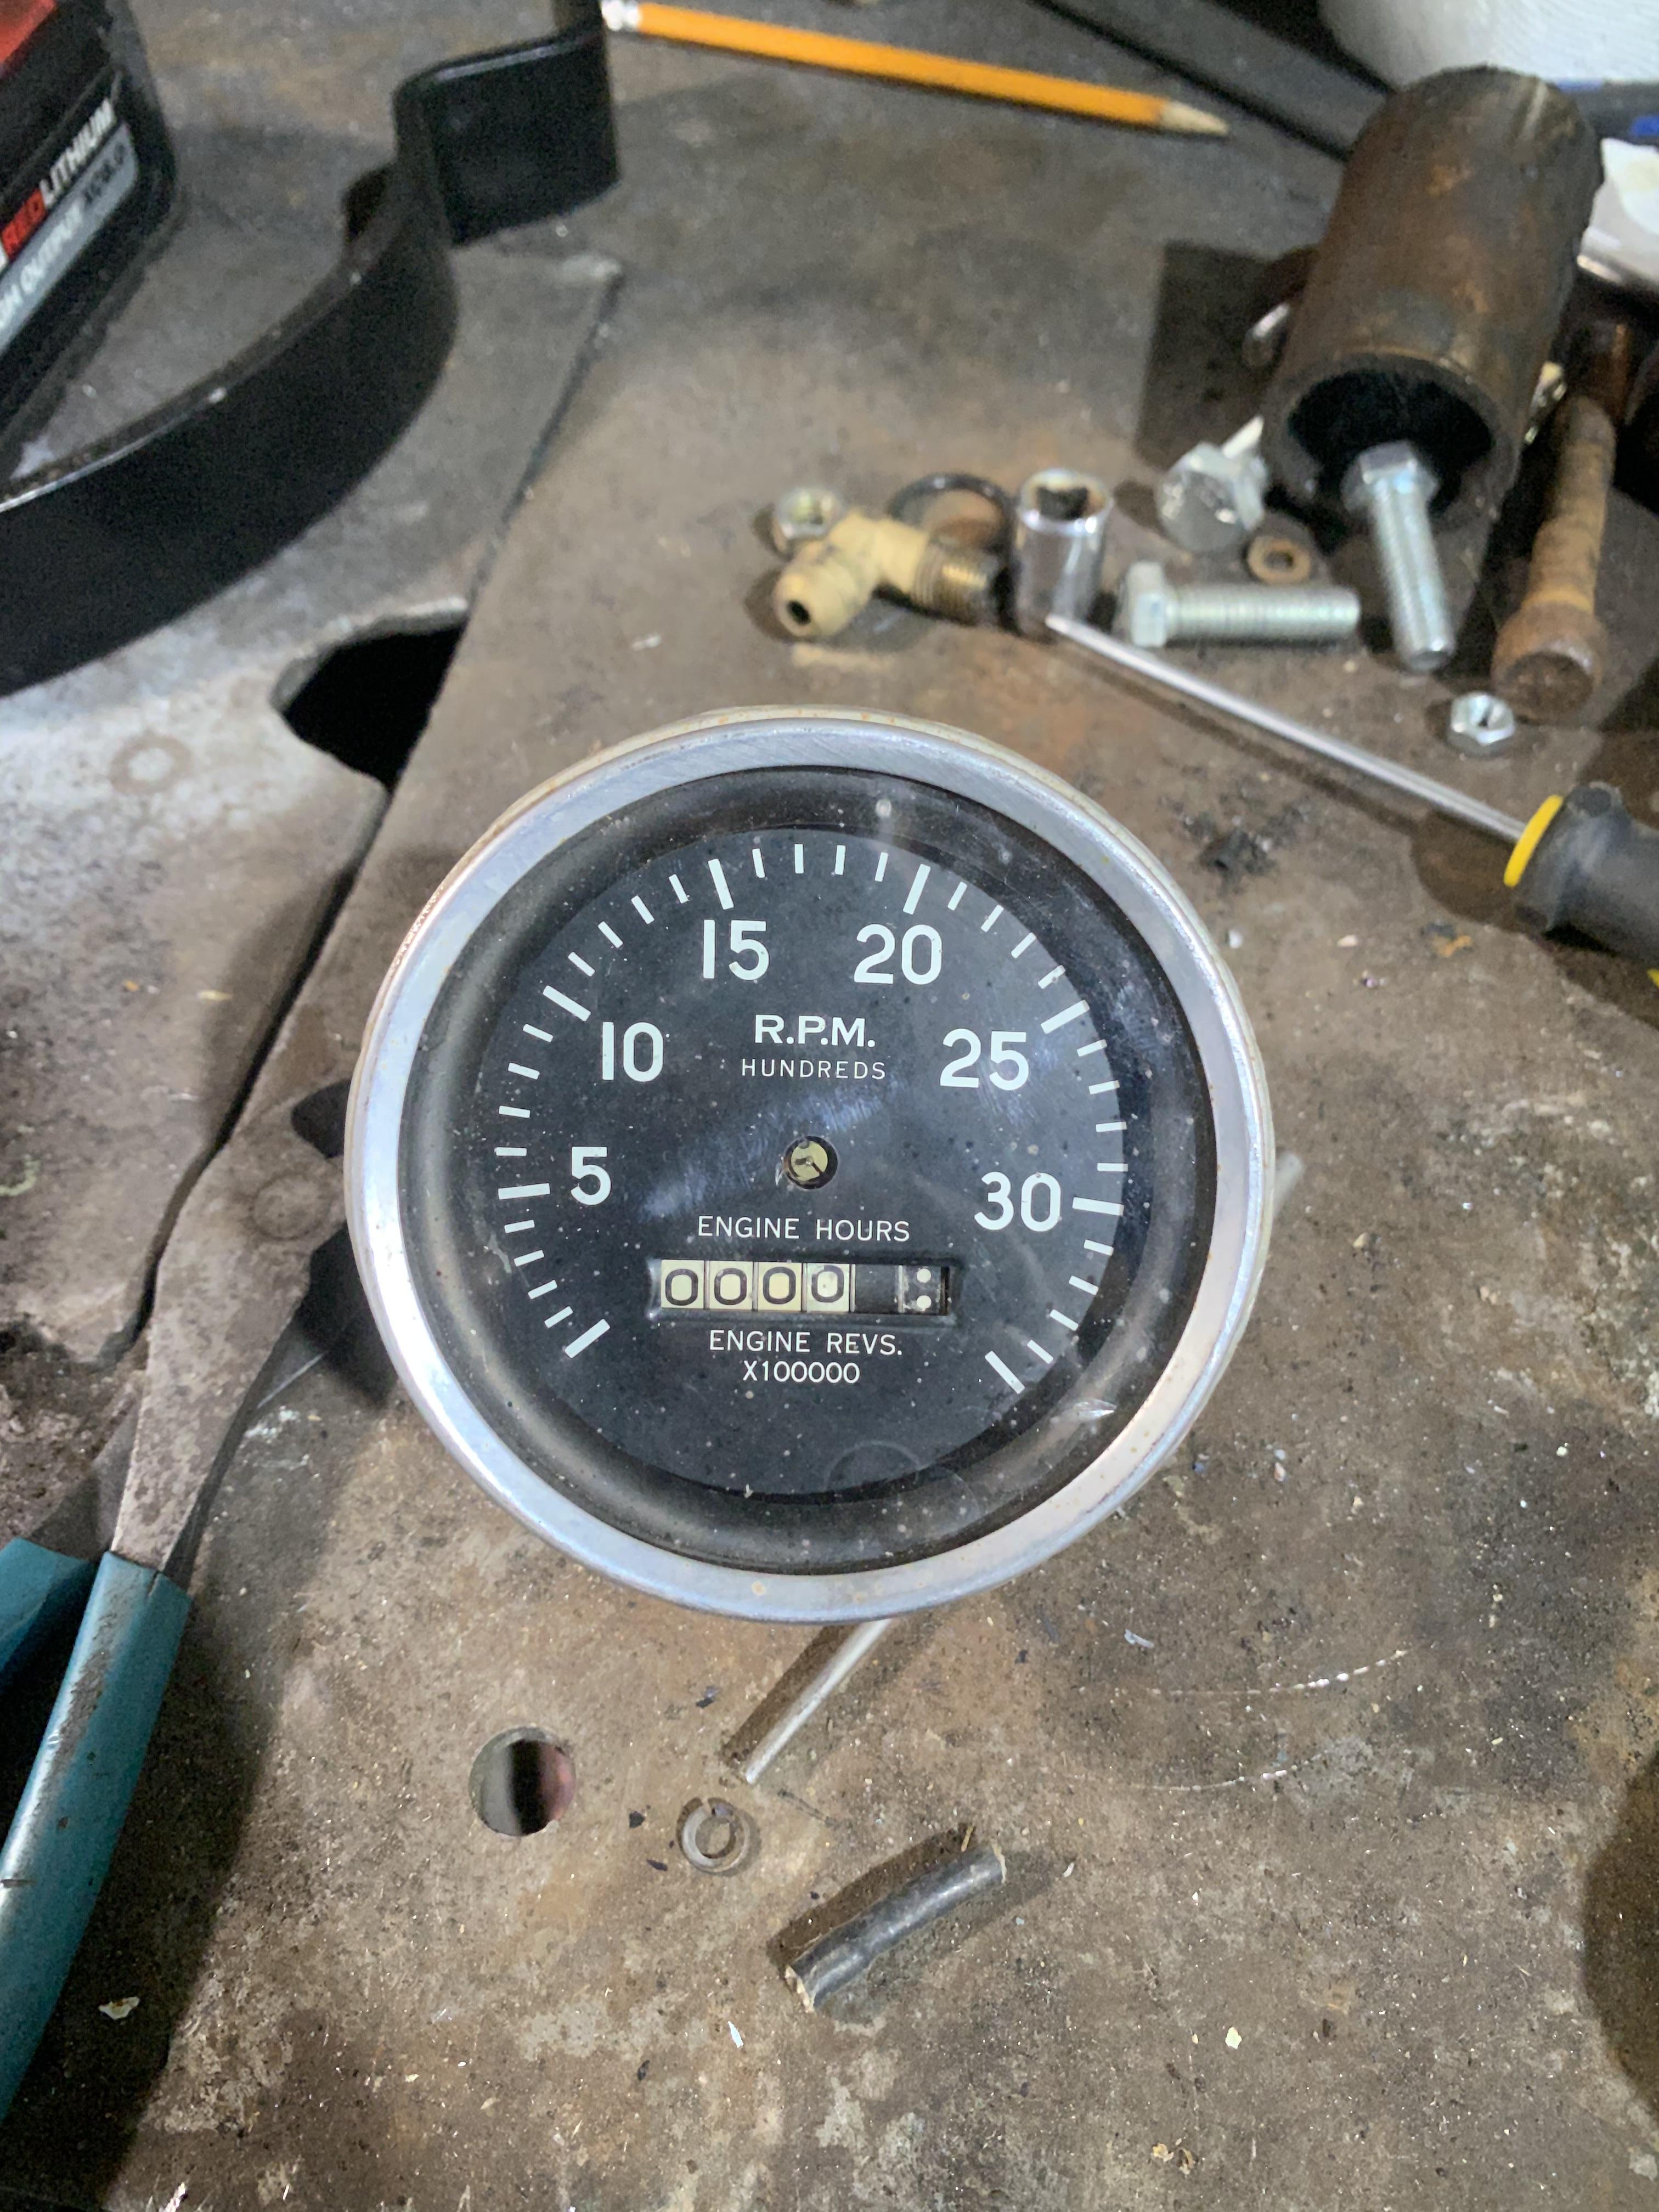
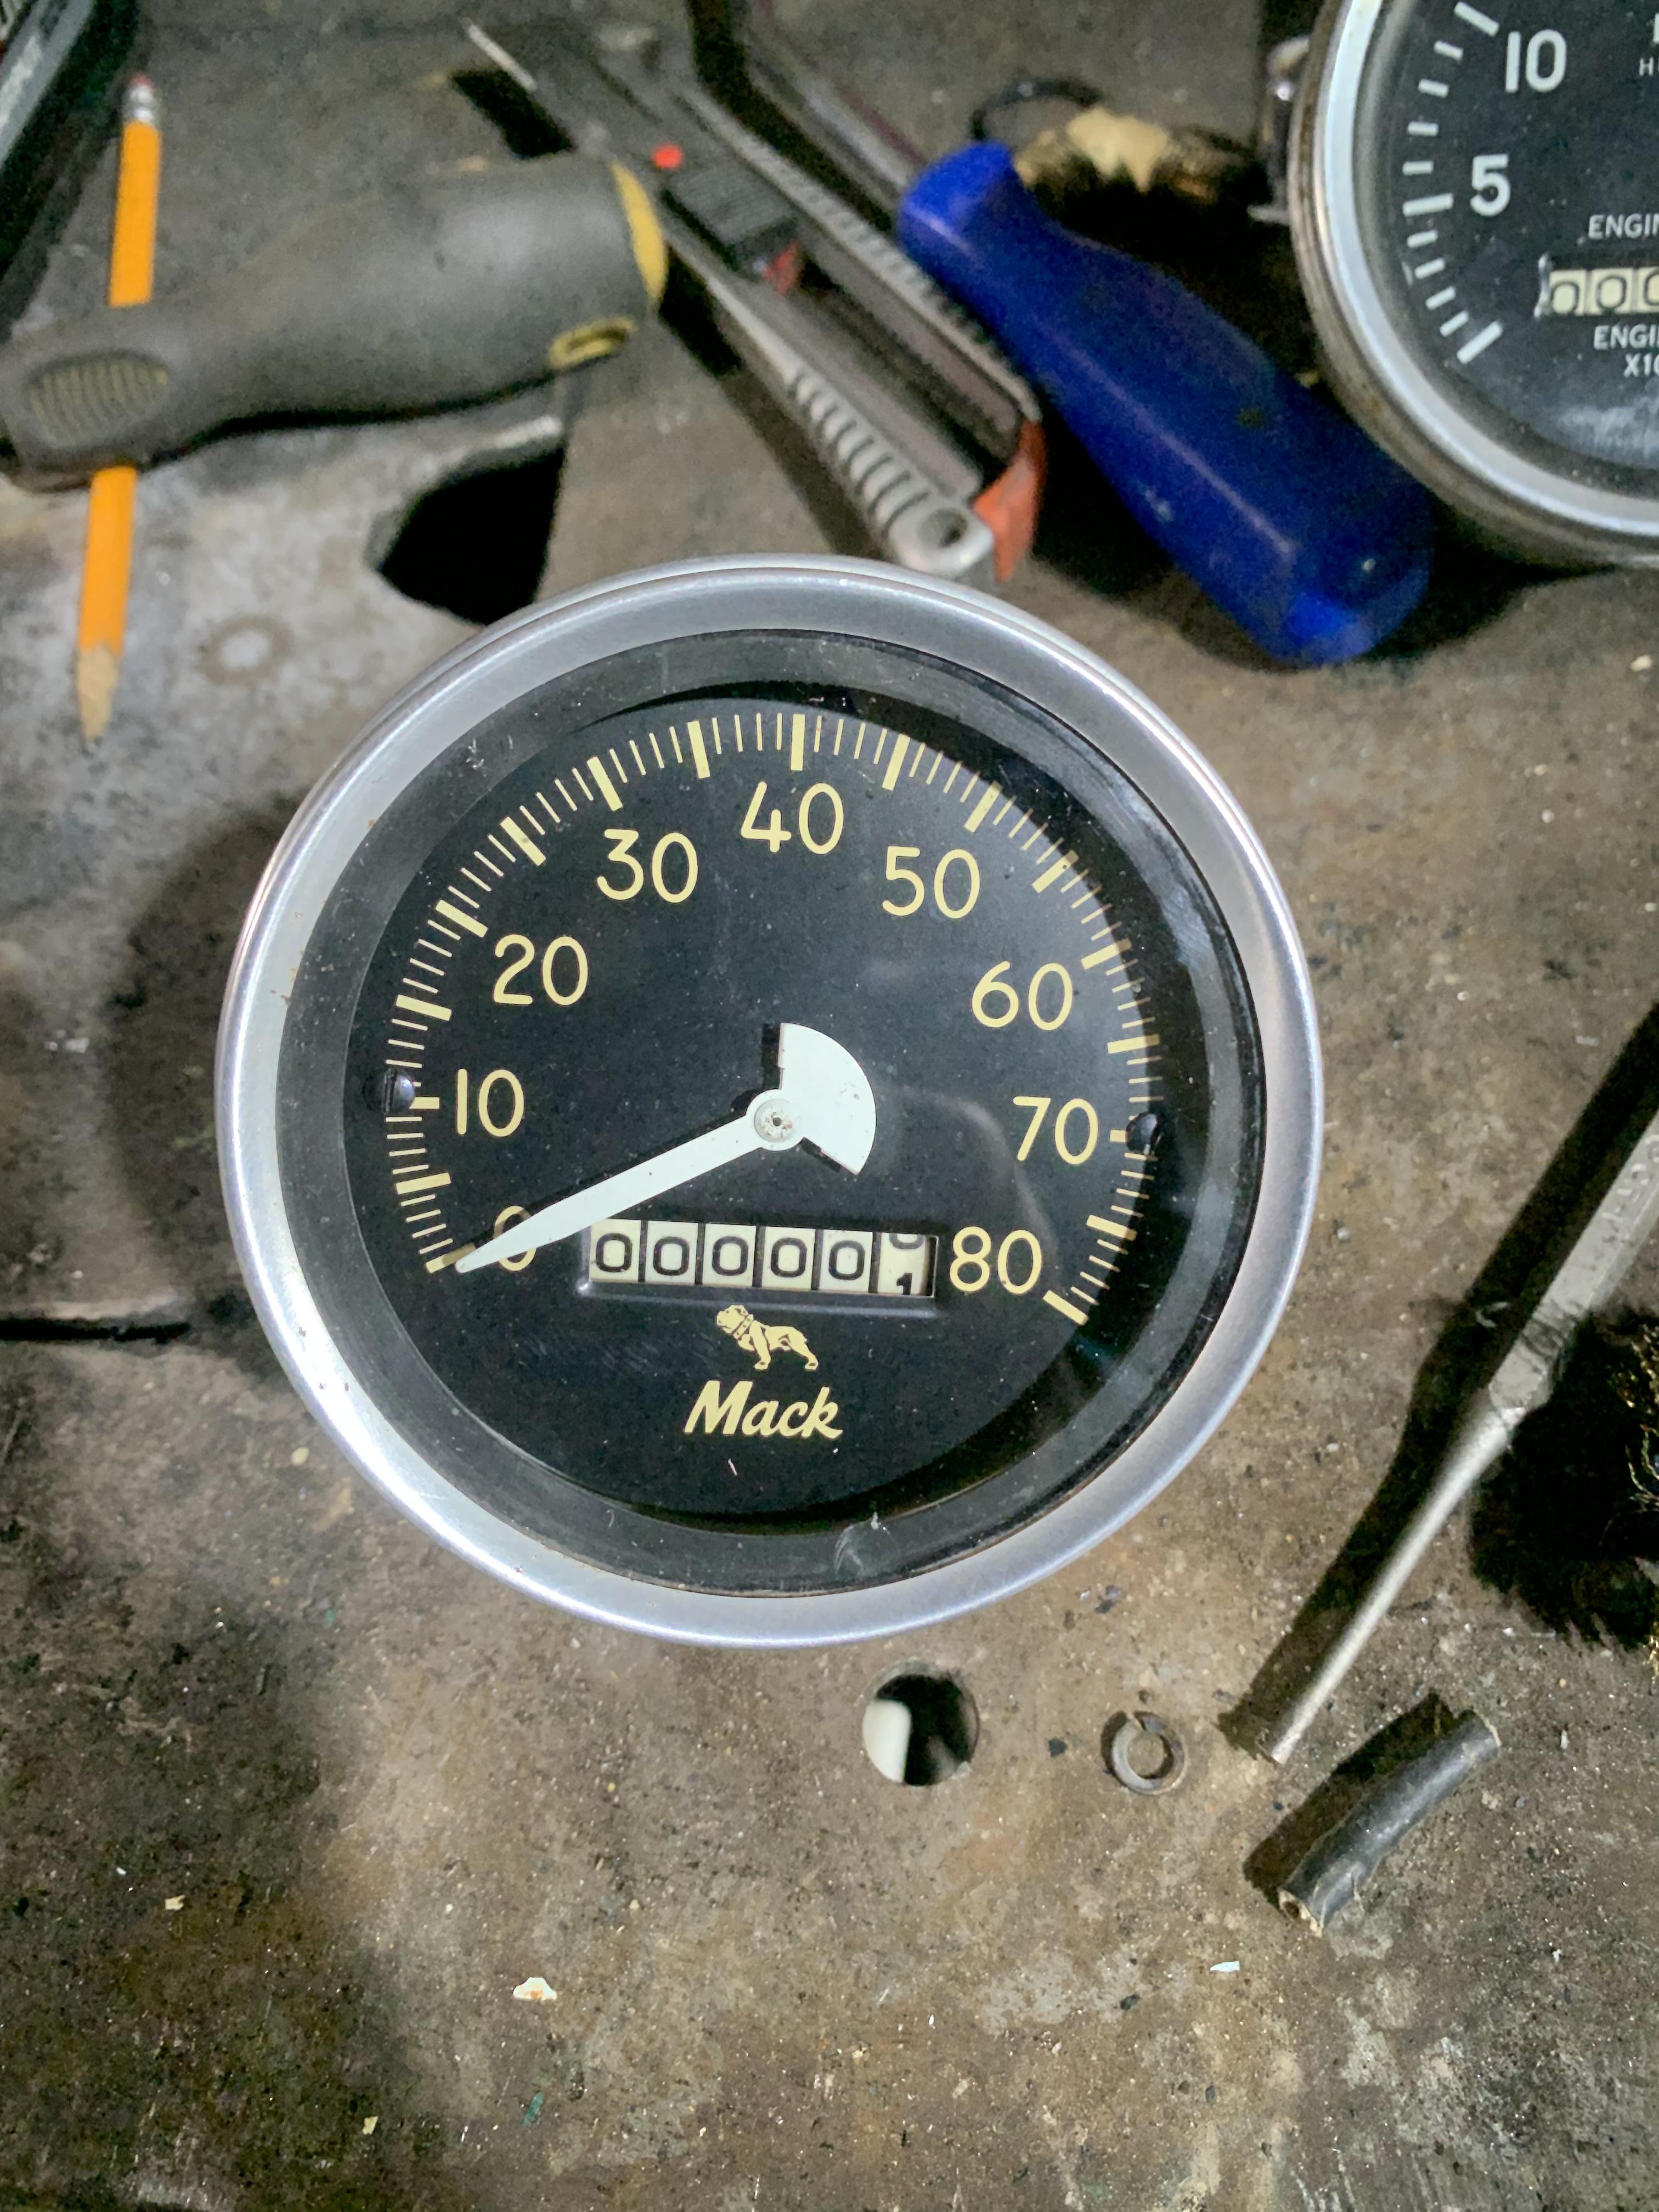
...with making air tank brackets and doing surgery on the cab so decided to "take a break" from the grunt work and go through my box of gauges to pick out the ones I intend to use. There was a tach from one of the trucks with the needle broke off (how does that even happen???). So decided to would be a good candidate for an attempt at disassembly, cleaning and zeroing the engine hours. Didn't want to risk screwing up my good gauges. It went pretty well so I made a jig to hold the speedo/tach and decided to do my "good" speedo. I am pleased with the outcome, especially when I don't really know what I am doing. Of course this whole project is just "winging it", learn as I go sort of thing. The practice gauge. The "good" gauge
-
Another "name that valve" thread.
Licensed to kill replied to Licensed to kill's topic in Air Systems and Brakes
Don't know what an "inversion valve" is, what do they do?. It is not a tractor protection valve, I have that off the same truck. -
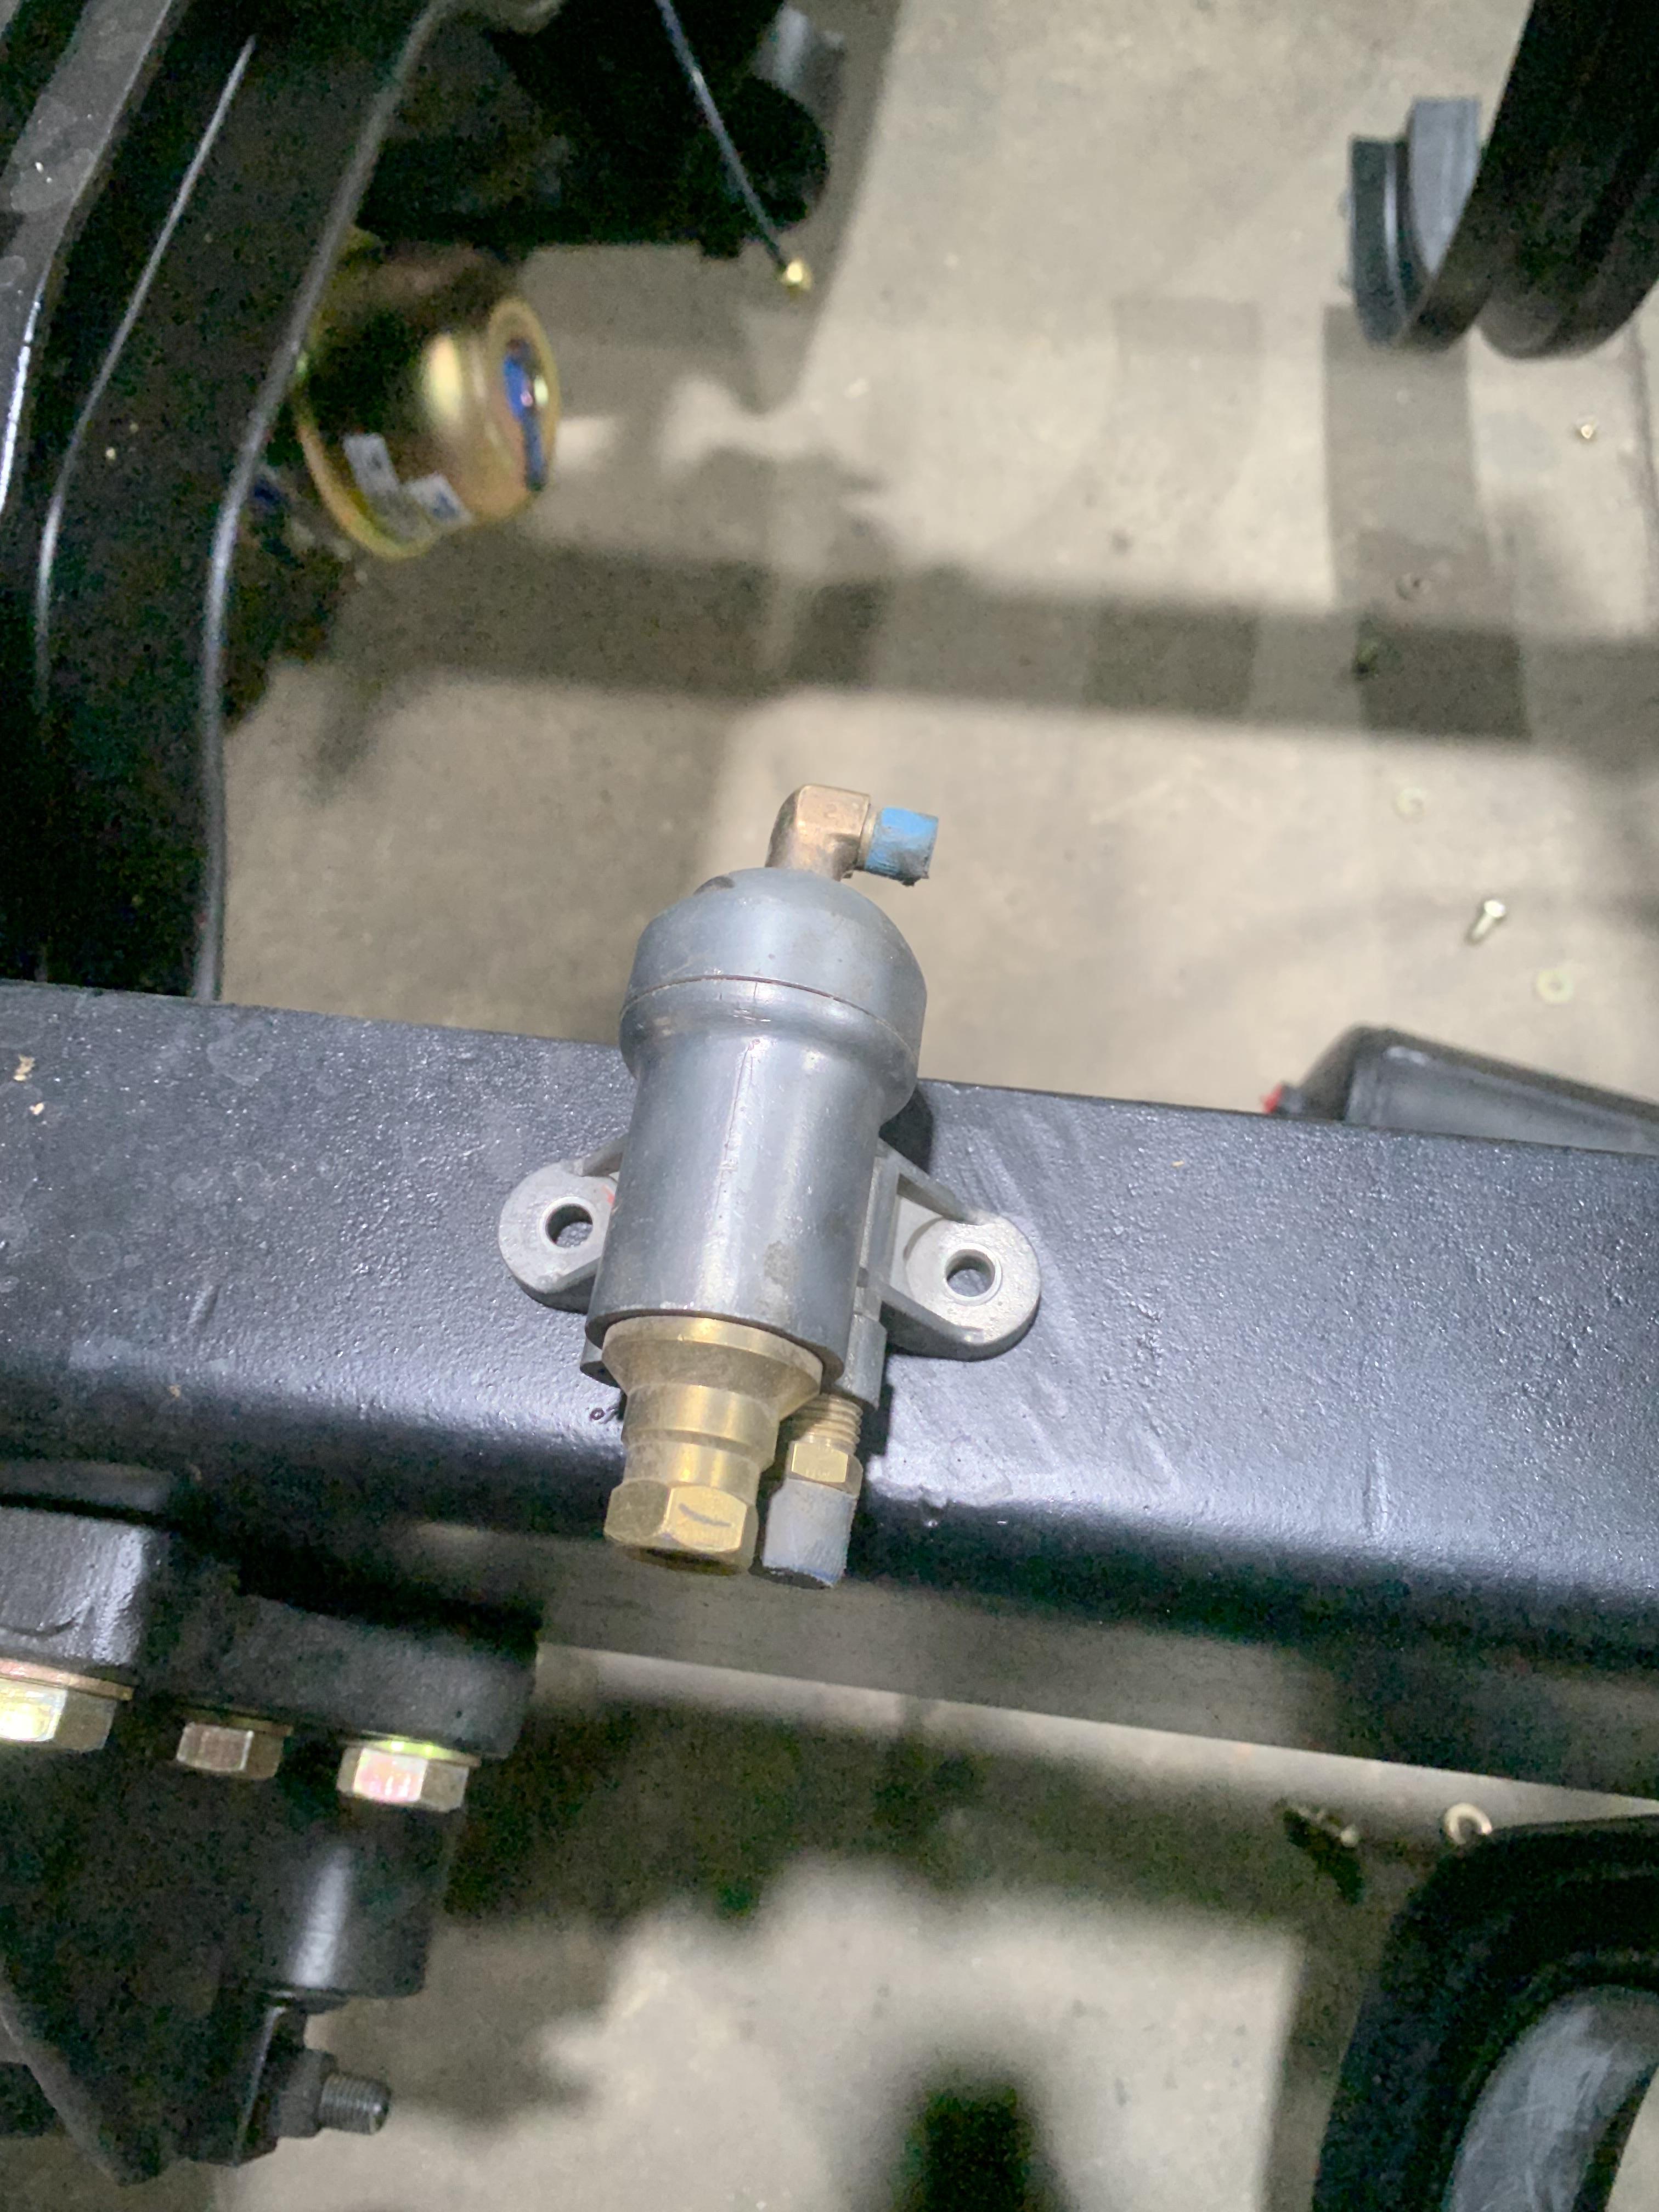
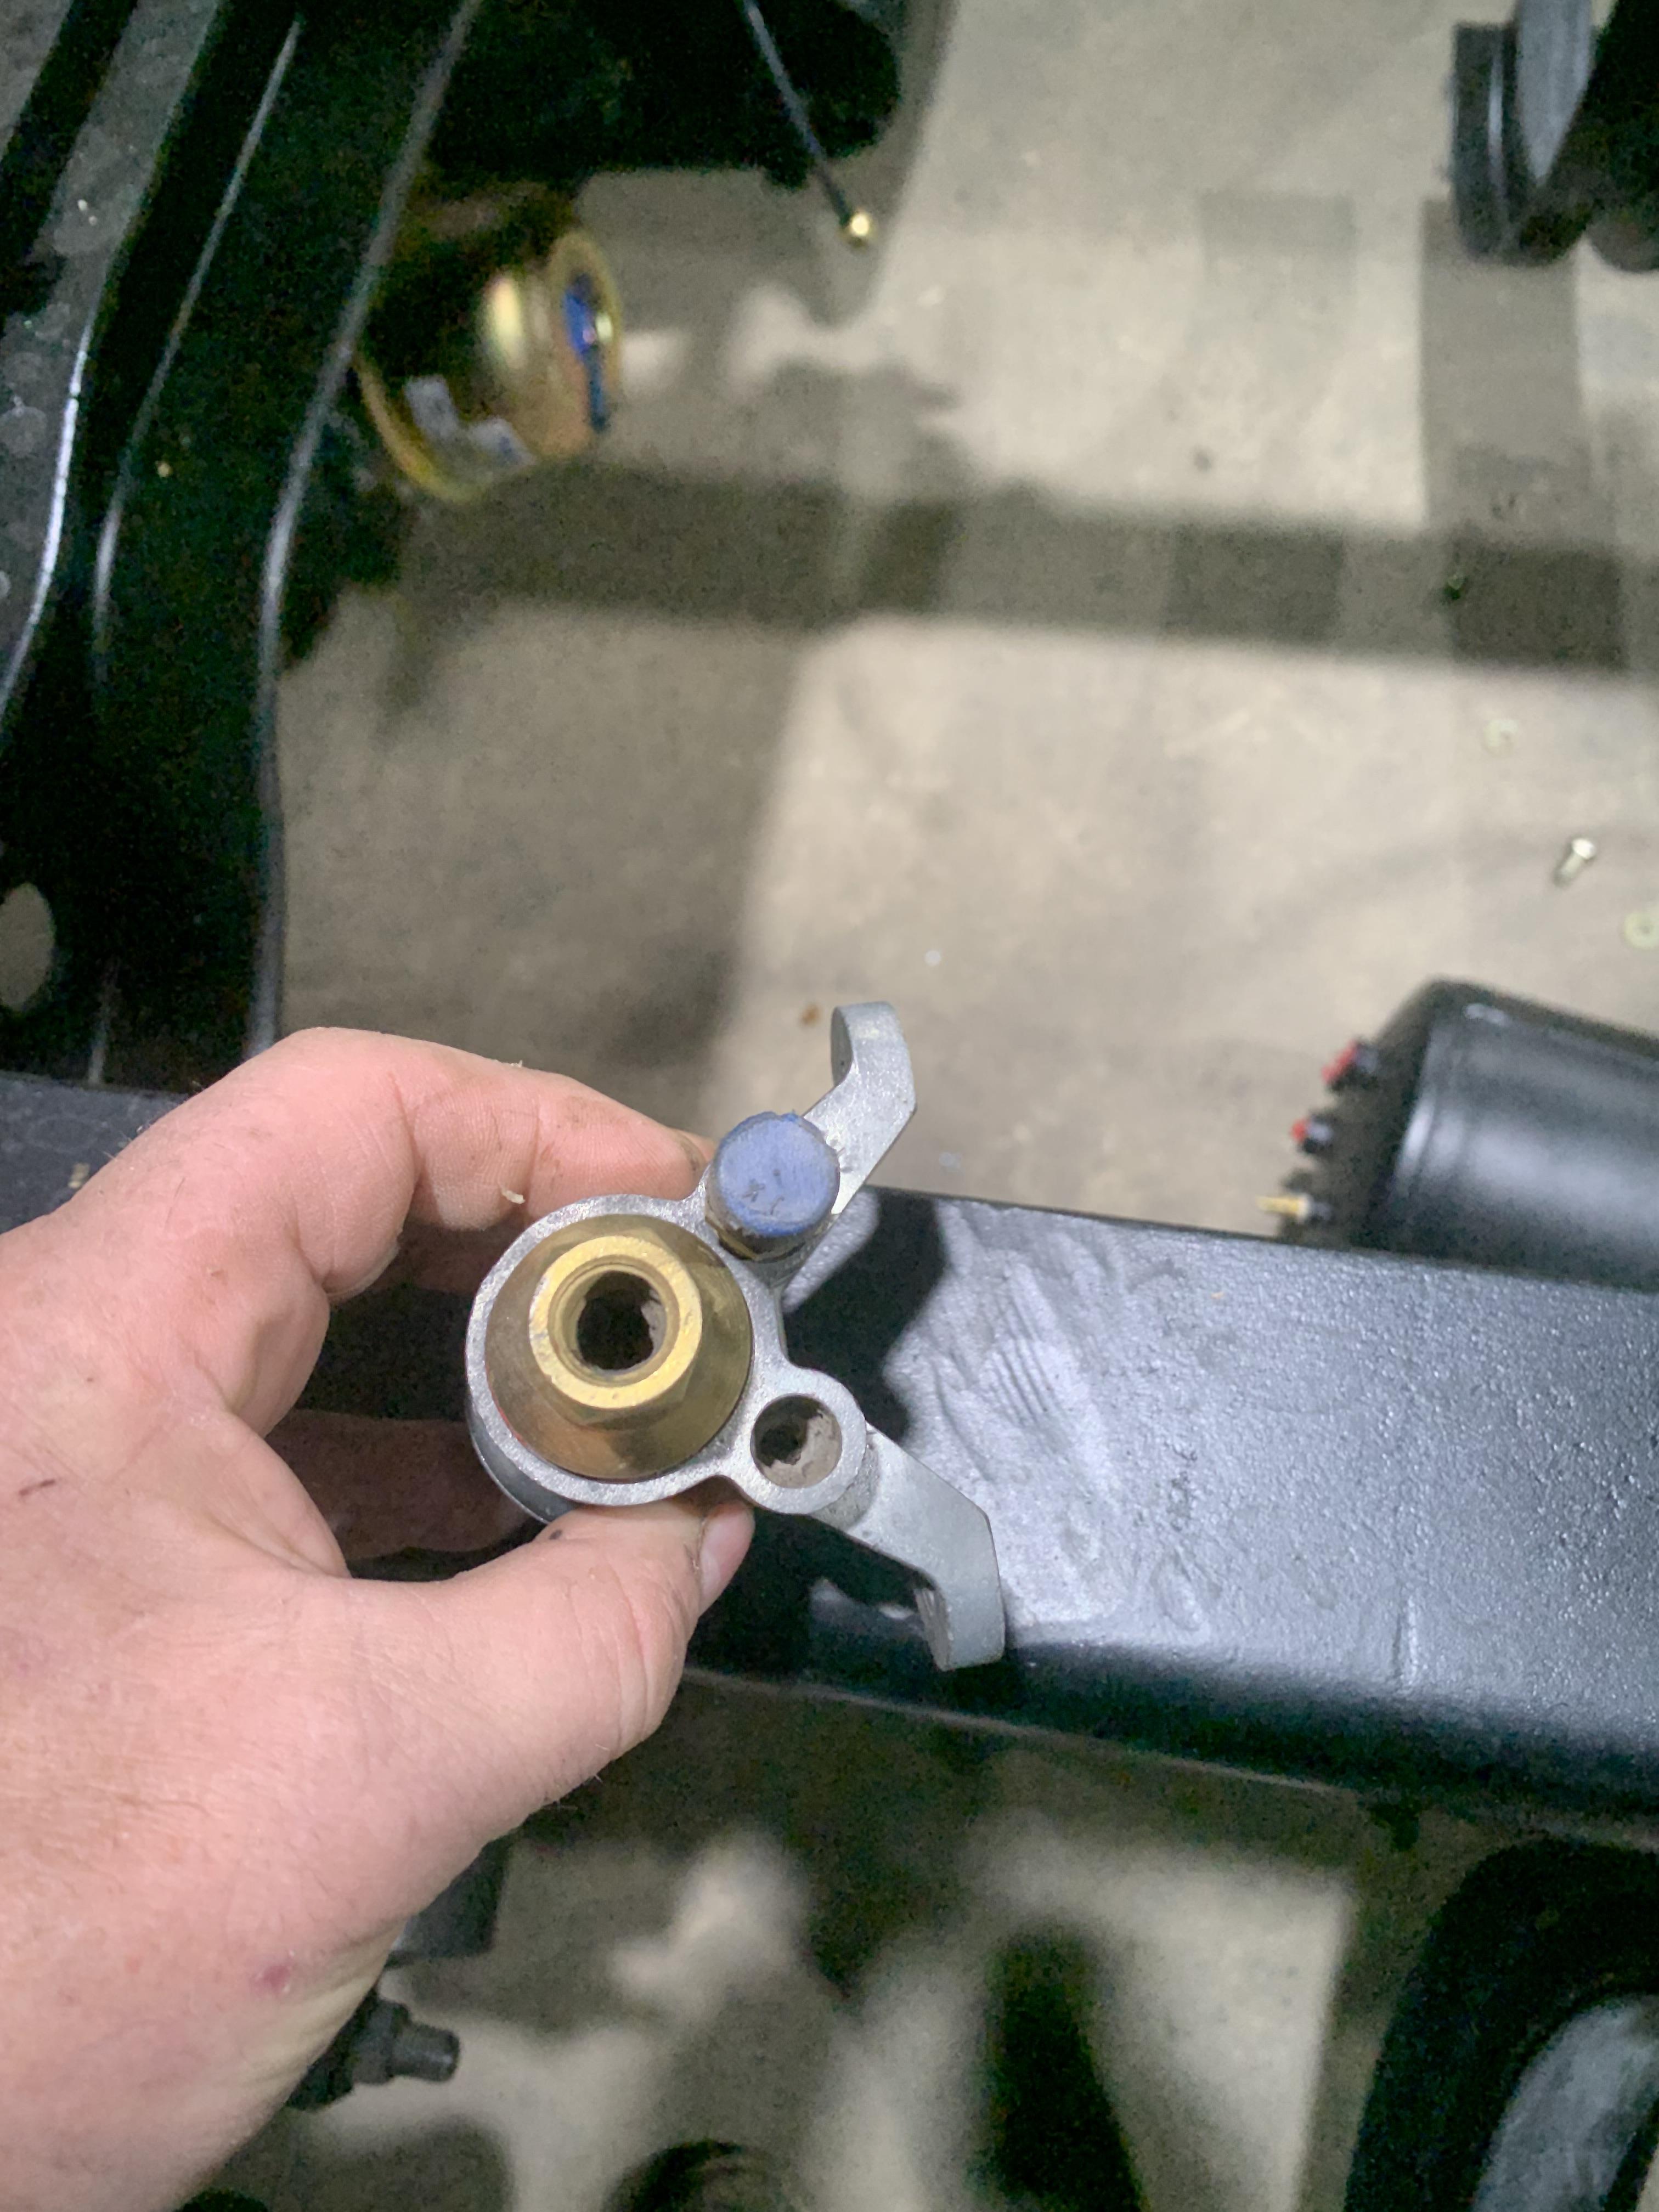
Trying to figure out what this valve is for. Came off my B-61. Doesn't look like a relay or a QR, ports are too small and not enough of them and I can't think of what else it could do. Anyone recognize this?. Marked "service" on top and "in" on the bottom port that has the cap on its.


BMT Forum Logo
