

Willie dog
-
Posts
379 -
Joined
-
Last visited
-
Days Won
12
Content Type
Profiles
Forums
Gallery
Events
Blogs
BMT Wiki
Collections
Store
Posts posted by Willie dog
-
-
I'm looking at getting the headliner kit from Watts. The only ones listed are for a b61 and b67 cab. Mine is a b42. Would it still work? Is there a huge difference in the two cabs?
-
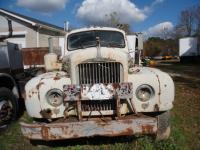
Neat old piece of iron. I too think storage in a damp space may not have been too kind to it...... Not knocking it at all. I would still take it though.
-
10 minutes ago, Rob said:
That is correct. The brakes should release at 60 psi and the release valve should pop and set the brakes at 40 psi.
Thanks again for everyone's help!
-
2 hours ago, h67st said:
The clevis adjustment is to get the correct rod length...I forgot the exact procedure but I think you apply the parking brakes and the slack adjuster should be 90° to the rod (somebody correct me if I'm wrong). When you install a new rod or chamber you usually have to cut the rod to get the correct length. Then you adjust as Terry says.
I installed all new chambers and cut the rods a little longer than the original ones to give me some "wiggle room" in adjustments.
-
1 hour ago, Rob said:
Your brakes should release fully with as little as 60 psi applied to them. Used to be the release valve, (usually a PP1) popped and applied the brakes at 40 psi. I would think there are problems in the system if it takes more than 100 psi to fully release the brakes.
On this one the buzzer stops at 60 psi. Then I can release the parking brake. They're a little slow in releasing unless the psi is up a bit more, then they will release just fine. I'm sure it has to do with the fact lower psi makes things a little slow in releasing.
-
1 hour ago, terry said:
If your slack adjusters and S cam bushings are in good shape, release park brake and adjust slack adj. till tight and back off a quarter turn, some guys get picky and want to jack up wheel, tighten adj. and back off till wheel will turn, generally works out about the same. terry

Simple enough. Same process as a car, just different adjuster location.
Thanks a million! 🖒
-
1 hour ago, Freightrain said:
I have three variations. The last, a slack adjuster puller did the trick. It is really stout, fit well and with a touch of heat, a smack and the arm fell off like it didn't even fit to begin with. Ugh. I had to pull it when I converted to air steering since things were just different enough I couldn't mix/match parts.
This is off topic but, speaking of slack adjusters. What is the proper way to adjust all the brakes? At the slack adjusters or the clevis rod? Or both?
Having never been a truck mechanic, things are a little different than what I'm used to. 🤔
-
3 minutes ago, Freightrain said:
I have an extra steering box. I'll look and see if it has a nut. If not, I will confirm thread size/pitch.
After what it took to get the arm off my box a few years ago.........for the life of me I can't figure out how it would fall off?? LOL!!!
Ain't that the truth!! I broke a puller trying to pull the arm off.
-
32 minutes ago, Rob said:
I have a parts chassis out back. What size are the threads?
I believe the nut is inch and a quarter, the thread pitch is fine thread. Not sure of the exact pitch though. Thanks a lot for your help!
-
Anyone have a spare nut that holds the pitman arm to the steering box they would like to sell? I can't find one anywhere, it's a super fine thread pitch. Even Fastenal can't get one. It would suck to take the Mack out for it's maiden voyage and not be able to steer clear of oncoming traffic.
-
5 hours ago, MHfred said:
Willie Dog, I called you on Feb 21st around noon to see if it was ok if I stopped by. You did not answer but I would have been glad to help you turn over your hood.
I didn't know you had called. I didn't get a message on my answering machine.
-
Thanks everyone. It's not a problem to fix, just frustrating. Perhaps I should make a sacrifice to the Old Truck Gods.....my neighbor has a Prius. Just sayin'.
-
 1
1
-
-
- Popular Post
- Popular Post
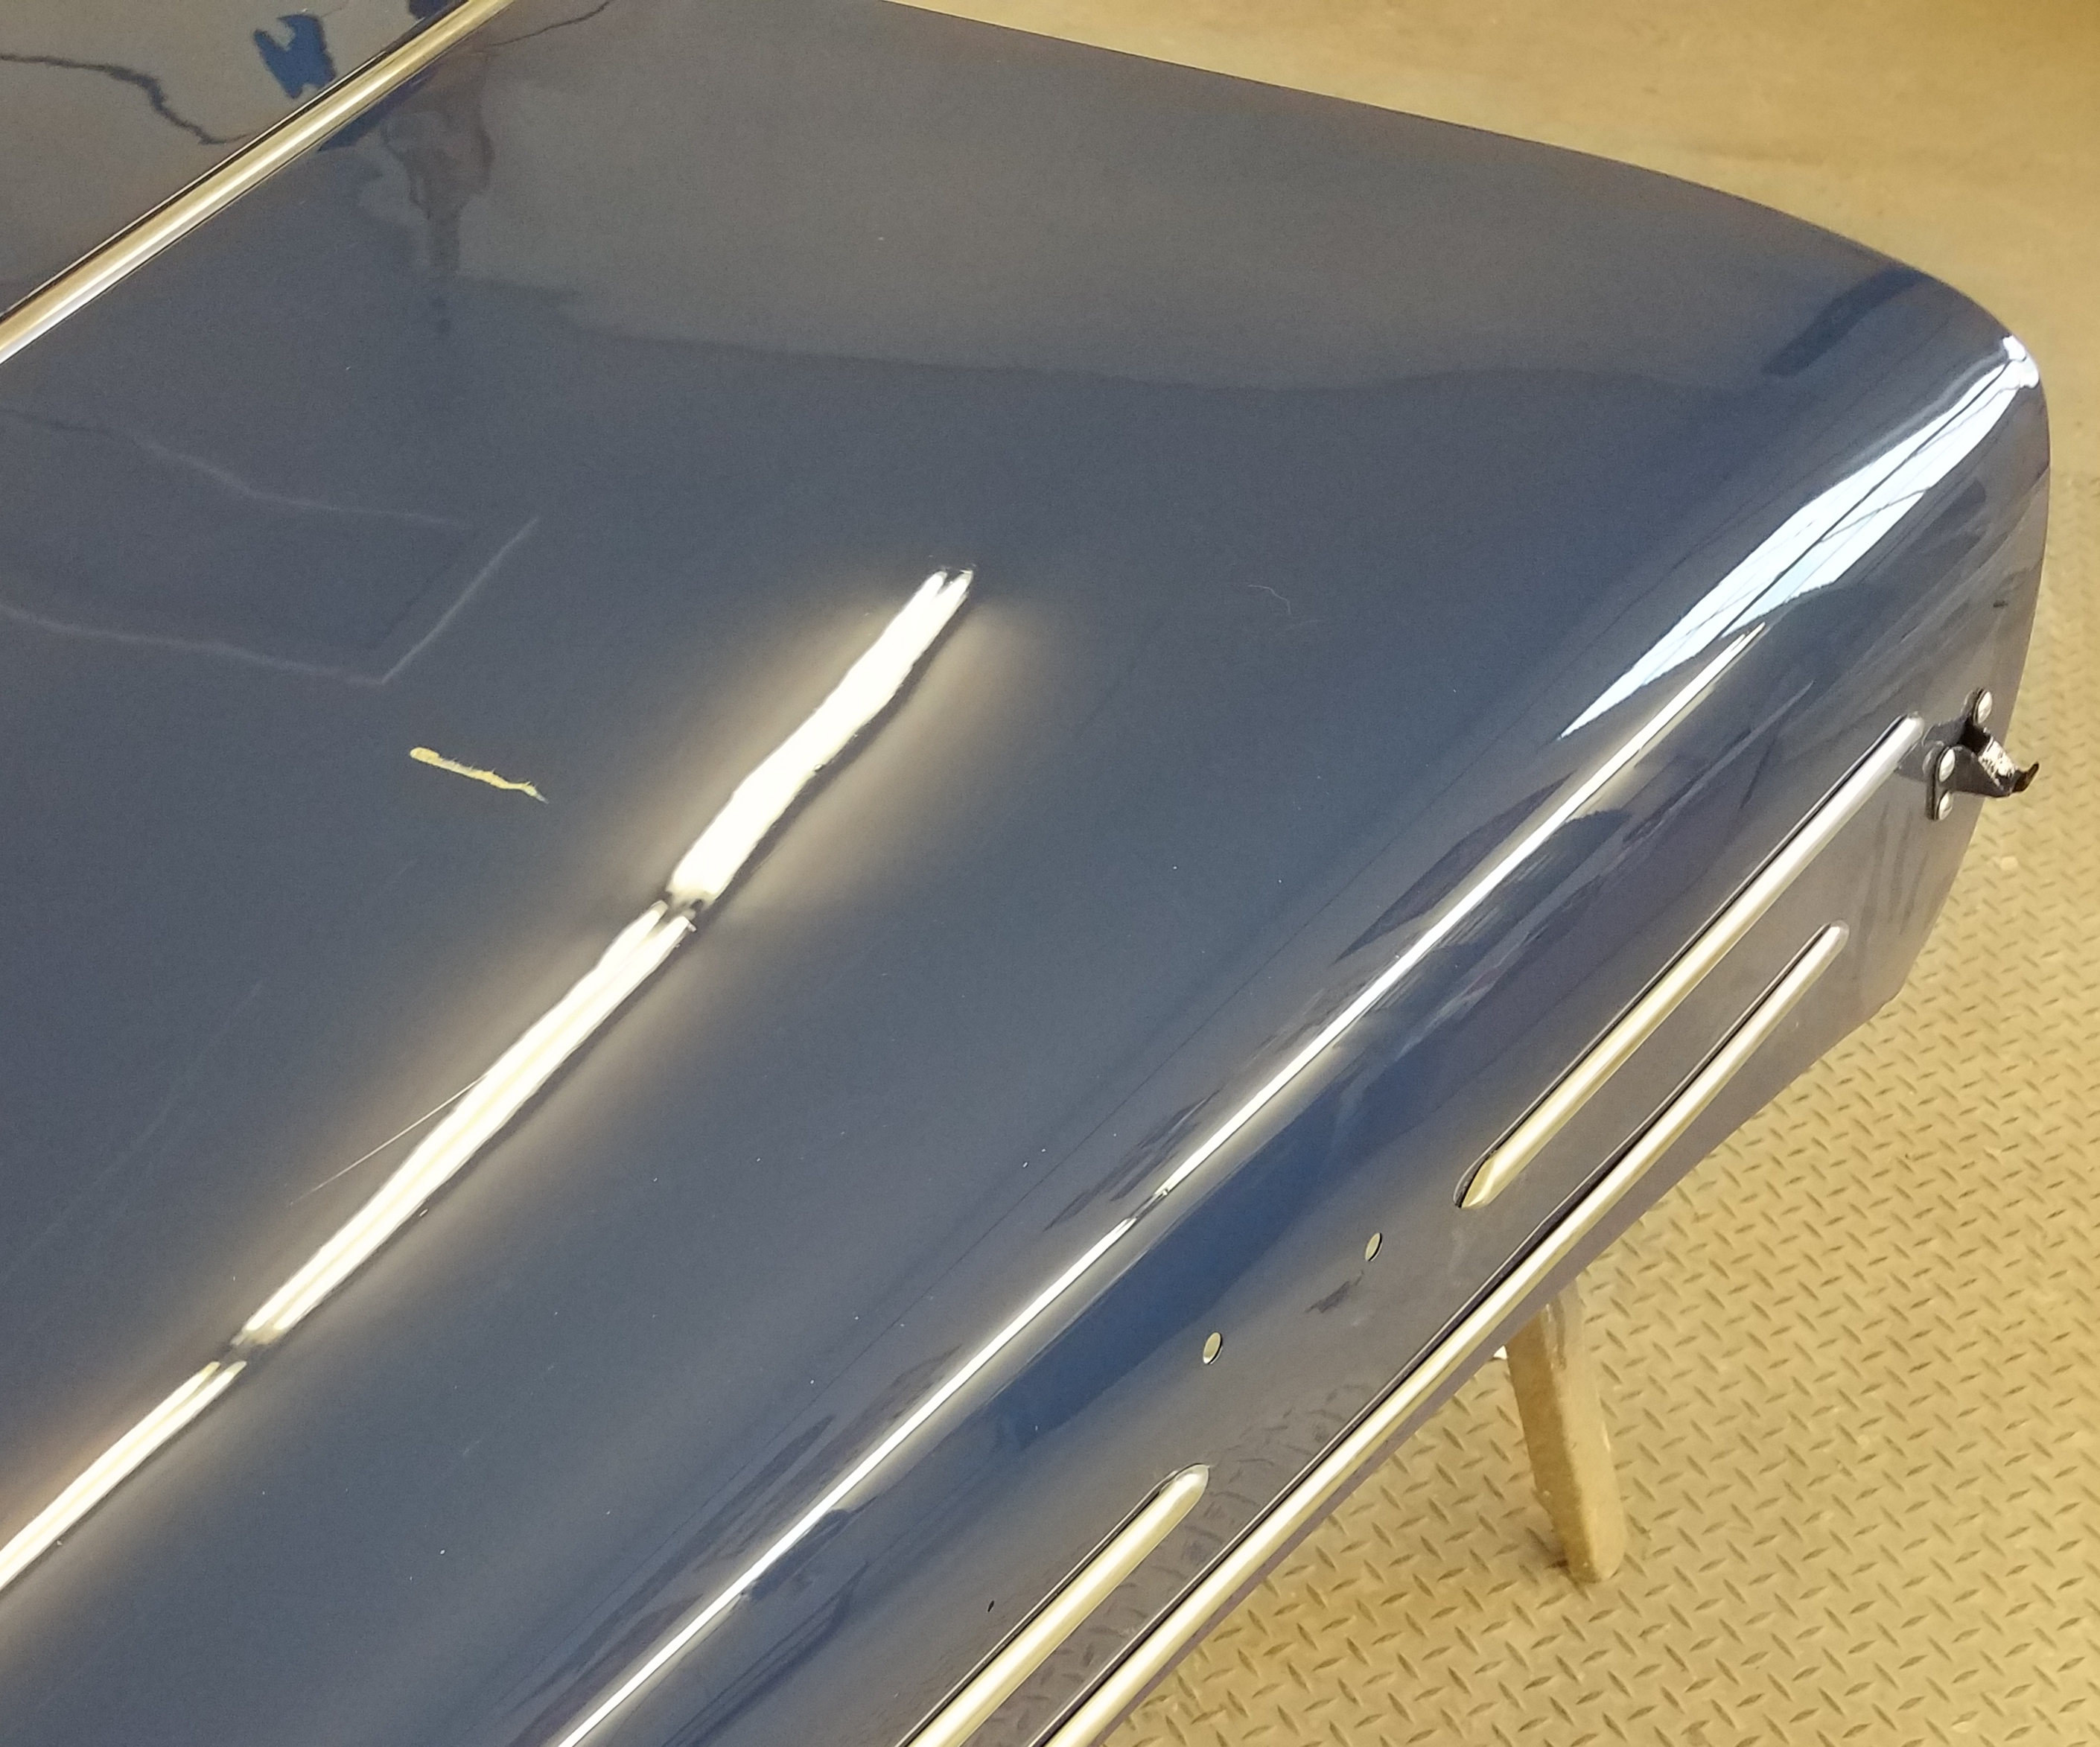
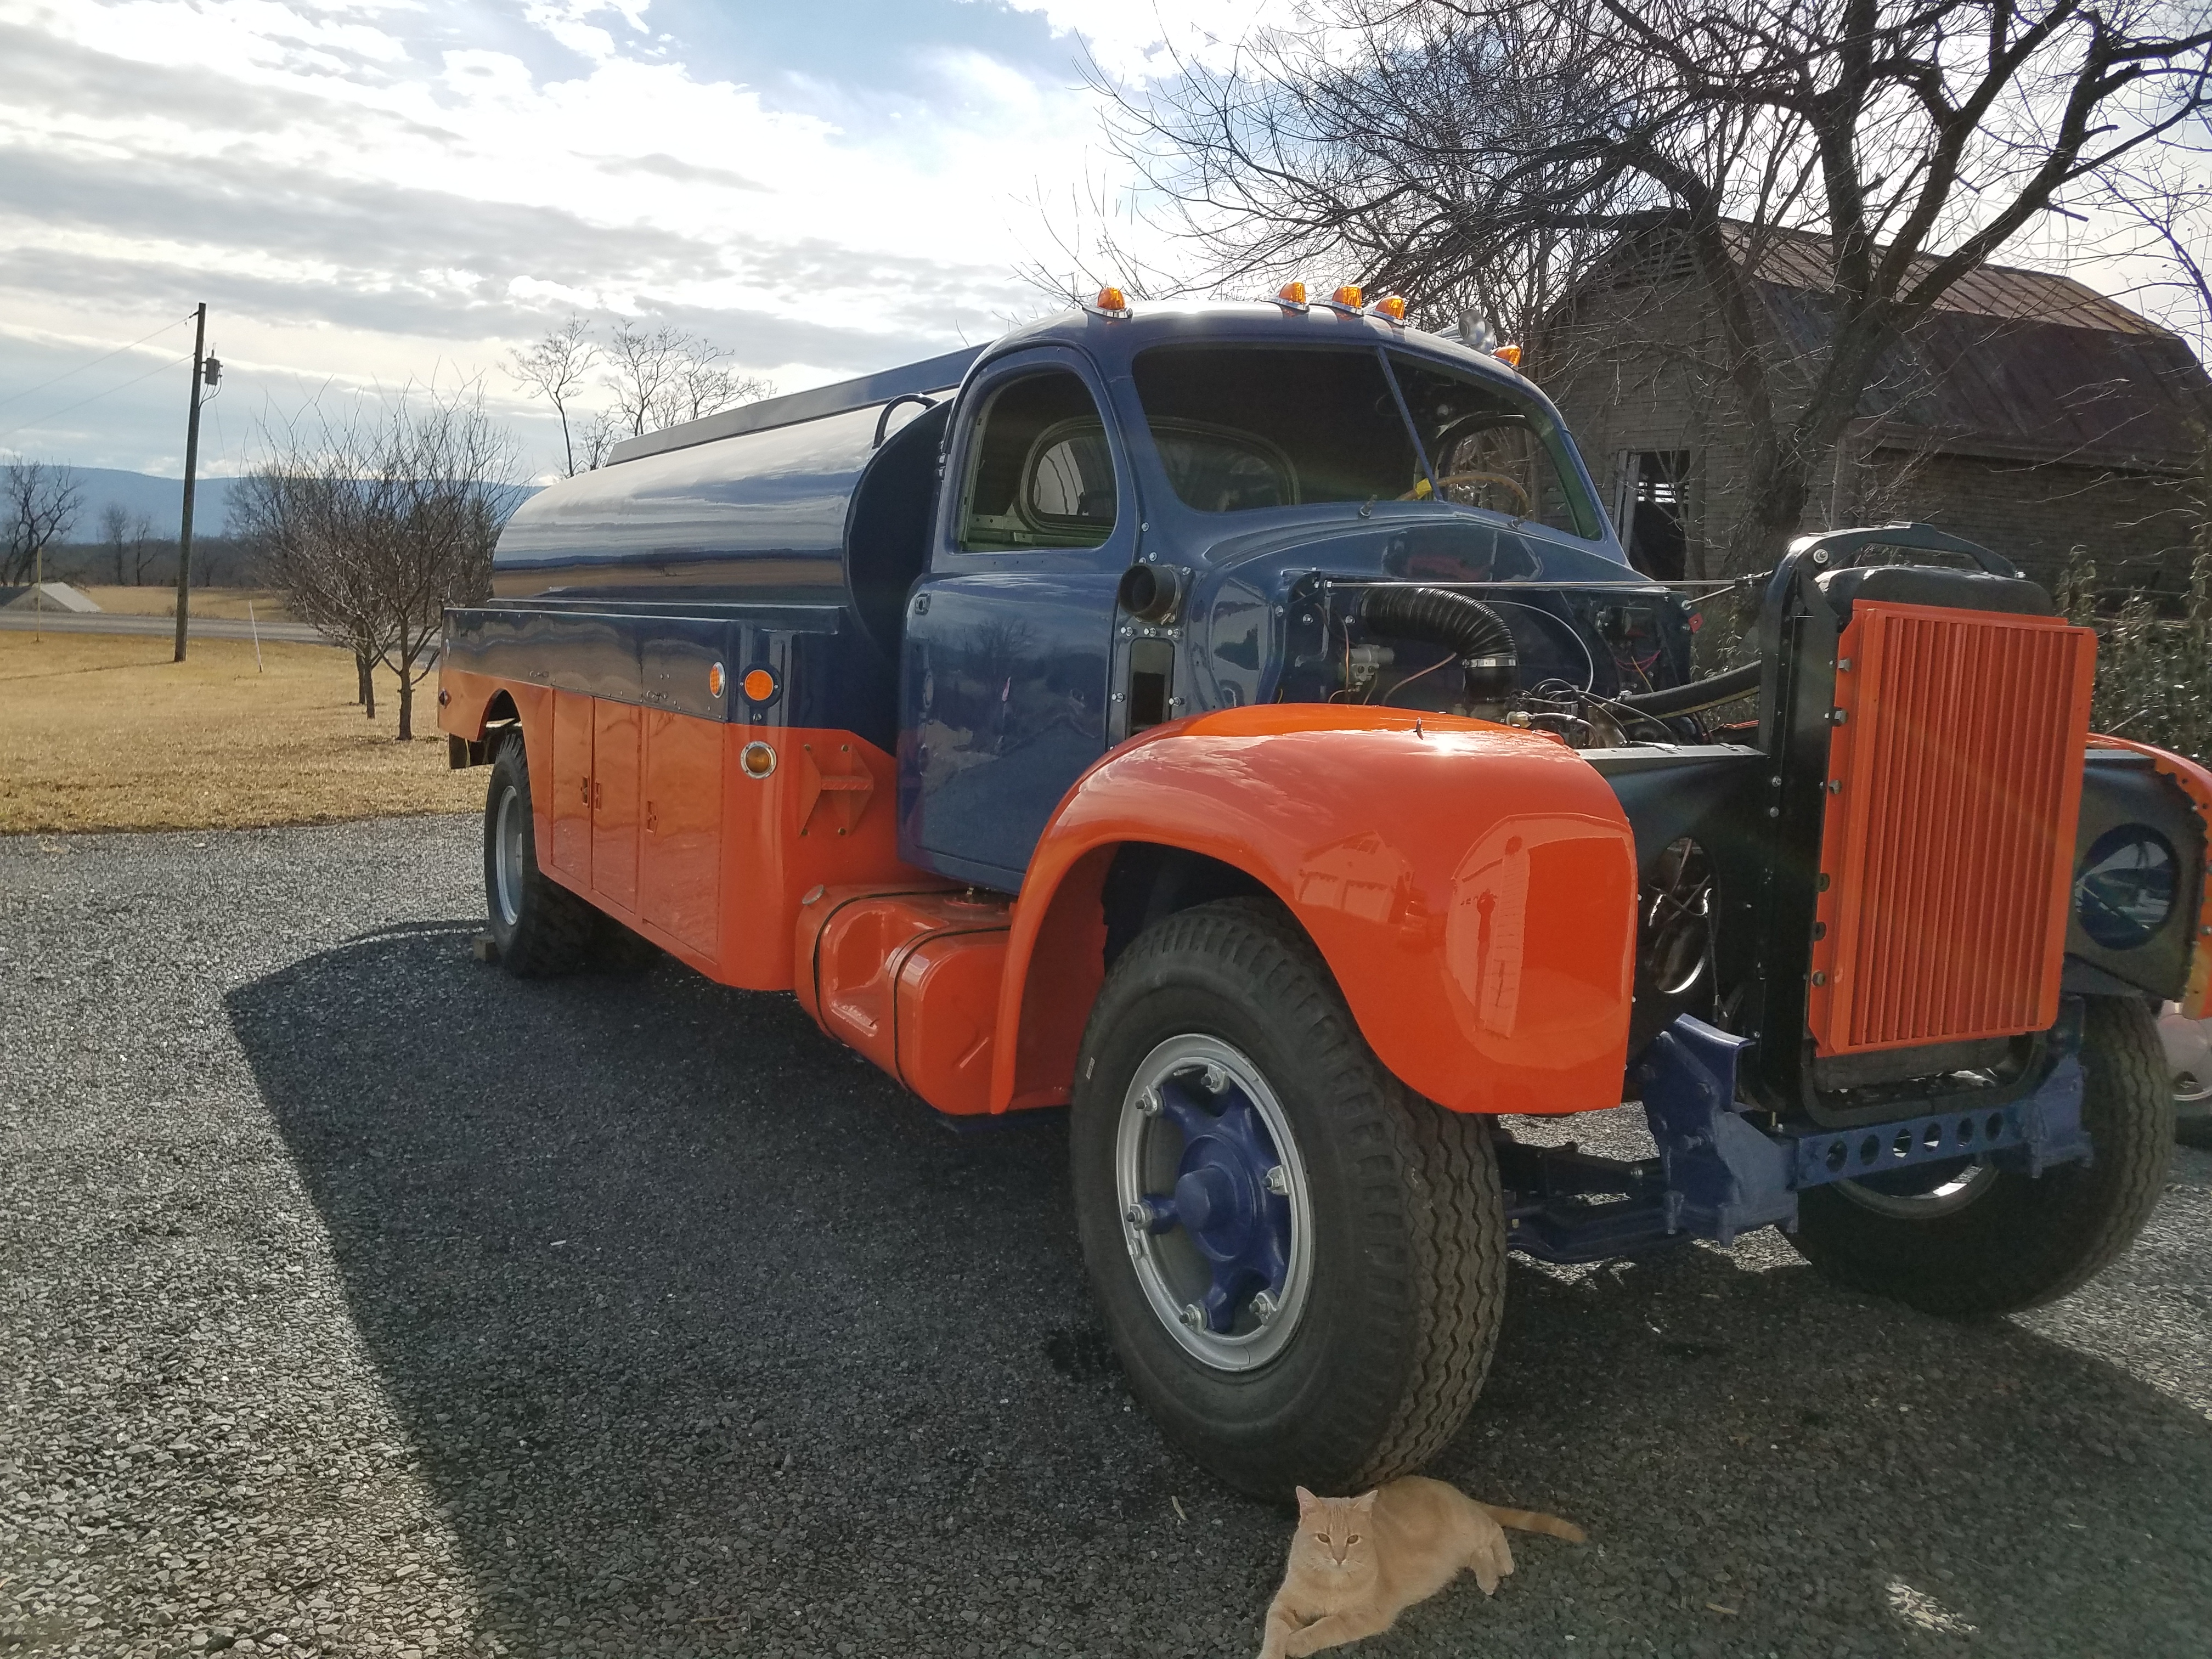
This is what happens when you try to do things by yourself.
In an attempt to turn the hood over to install the trim and wipe the compound and polish off the bottom of the hood, BOOM. a two inch scratch down to the primer. Good thing I have some blue left over.
Note to self and anyone else who is listening, STOP BEING SO INDEPENDENT AND ASK FOR HELP.
Rant over.

-
6
-
 1
1
-
 1
1
-
2 hours ago, BERTRAM said:
Nice job! Looks like museum quality!
Thanks. It's FAR from perfect. A real Mack expert could find a ton of mistakes but I did it as best as I could. I just enjoy the process of restoration.
-
1
-
-
5 hours ago, Brocky said:
Lookin' Great!! Do you have Gulf Decals for it??
Not yet. I'm thinkingof having it hand lettered.
-
4 hours ago, h67st said:
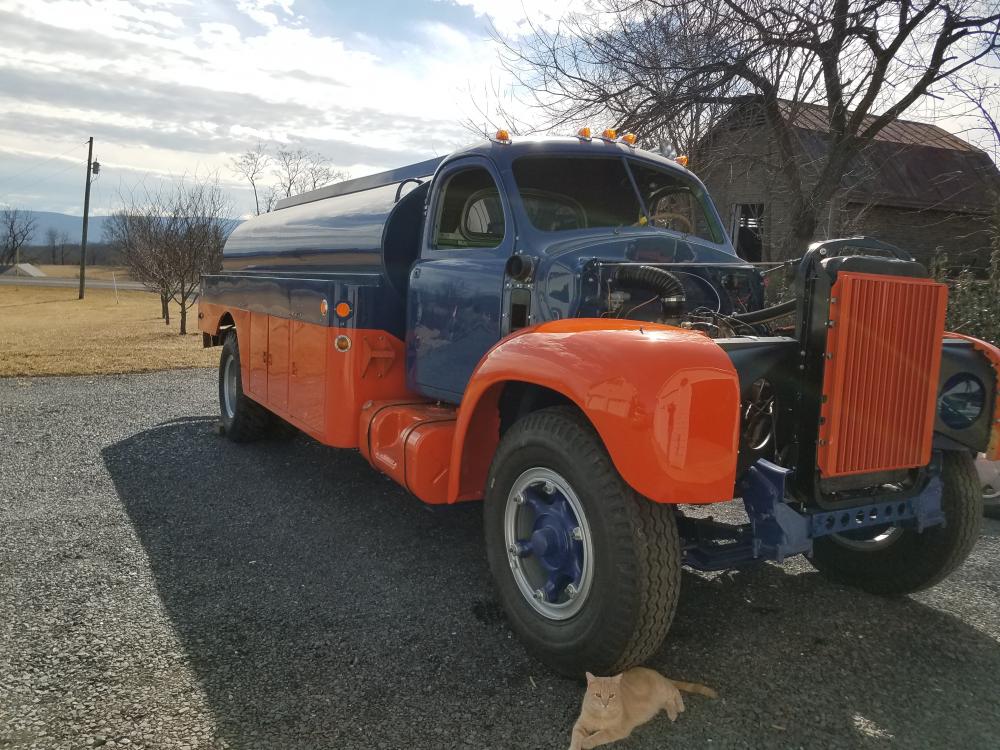
Very nice! I see the cat is on the ground and nut under the hood. ;-)_
I was using him as a wheel chock!

-
That's our cat Petie. He wanted to be in the pictures.
I didn't have the heart to tell him the mascot for Mack trucks is a bulldog.
-
 1
1
-
 1
1
-
-
- Popular Post
- Popular Post
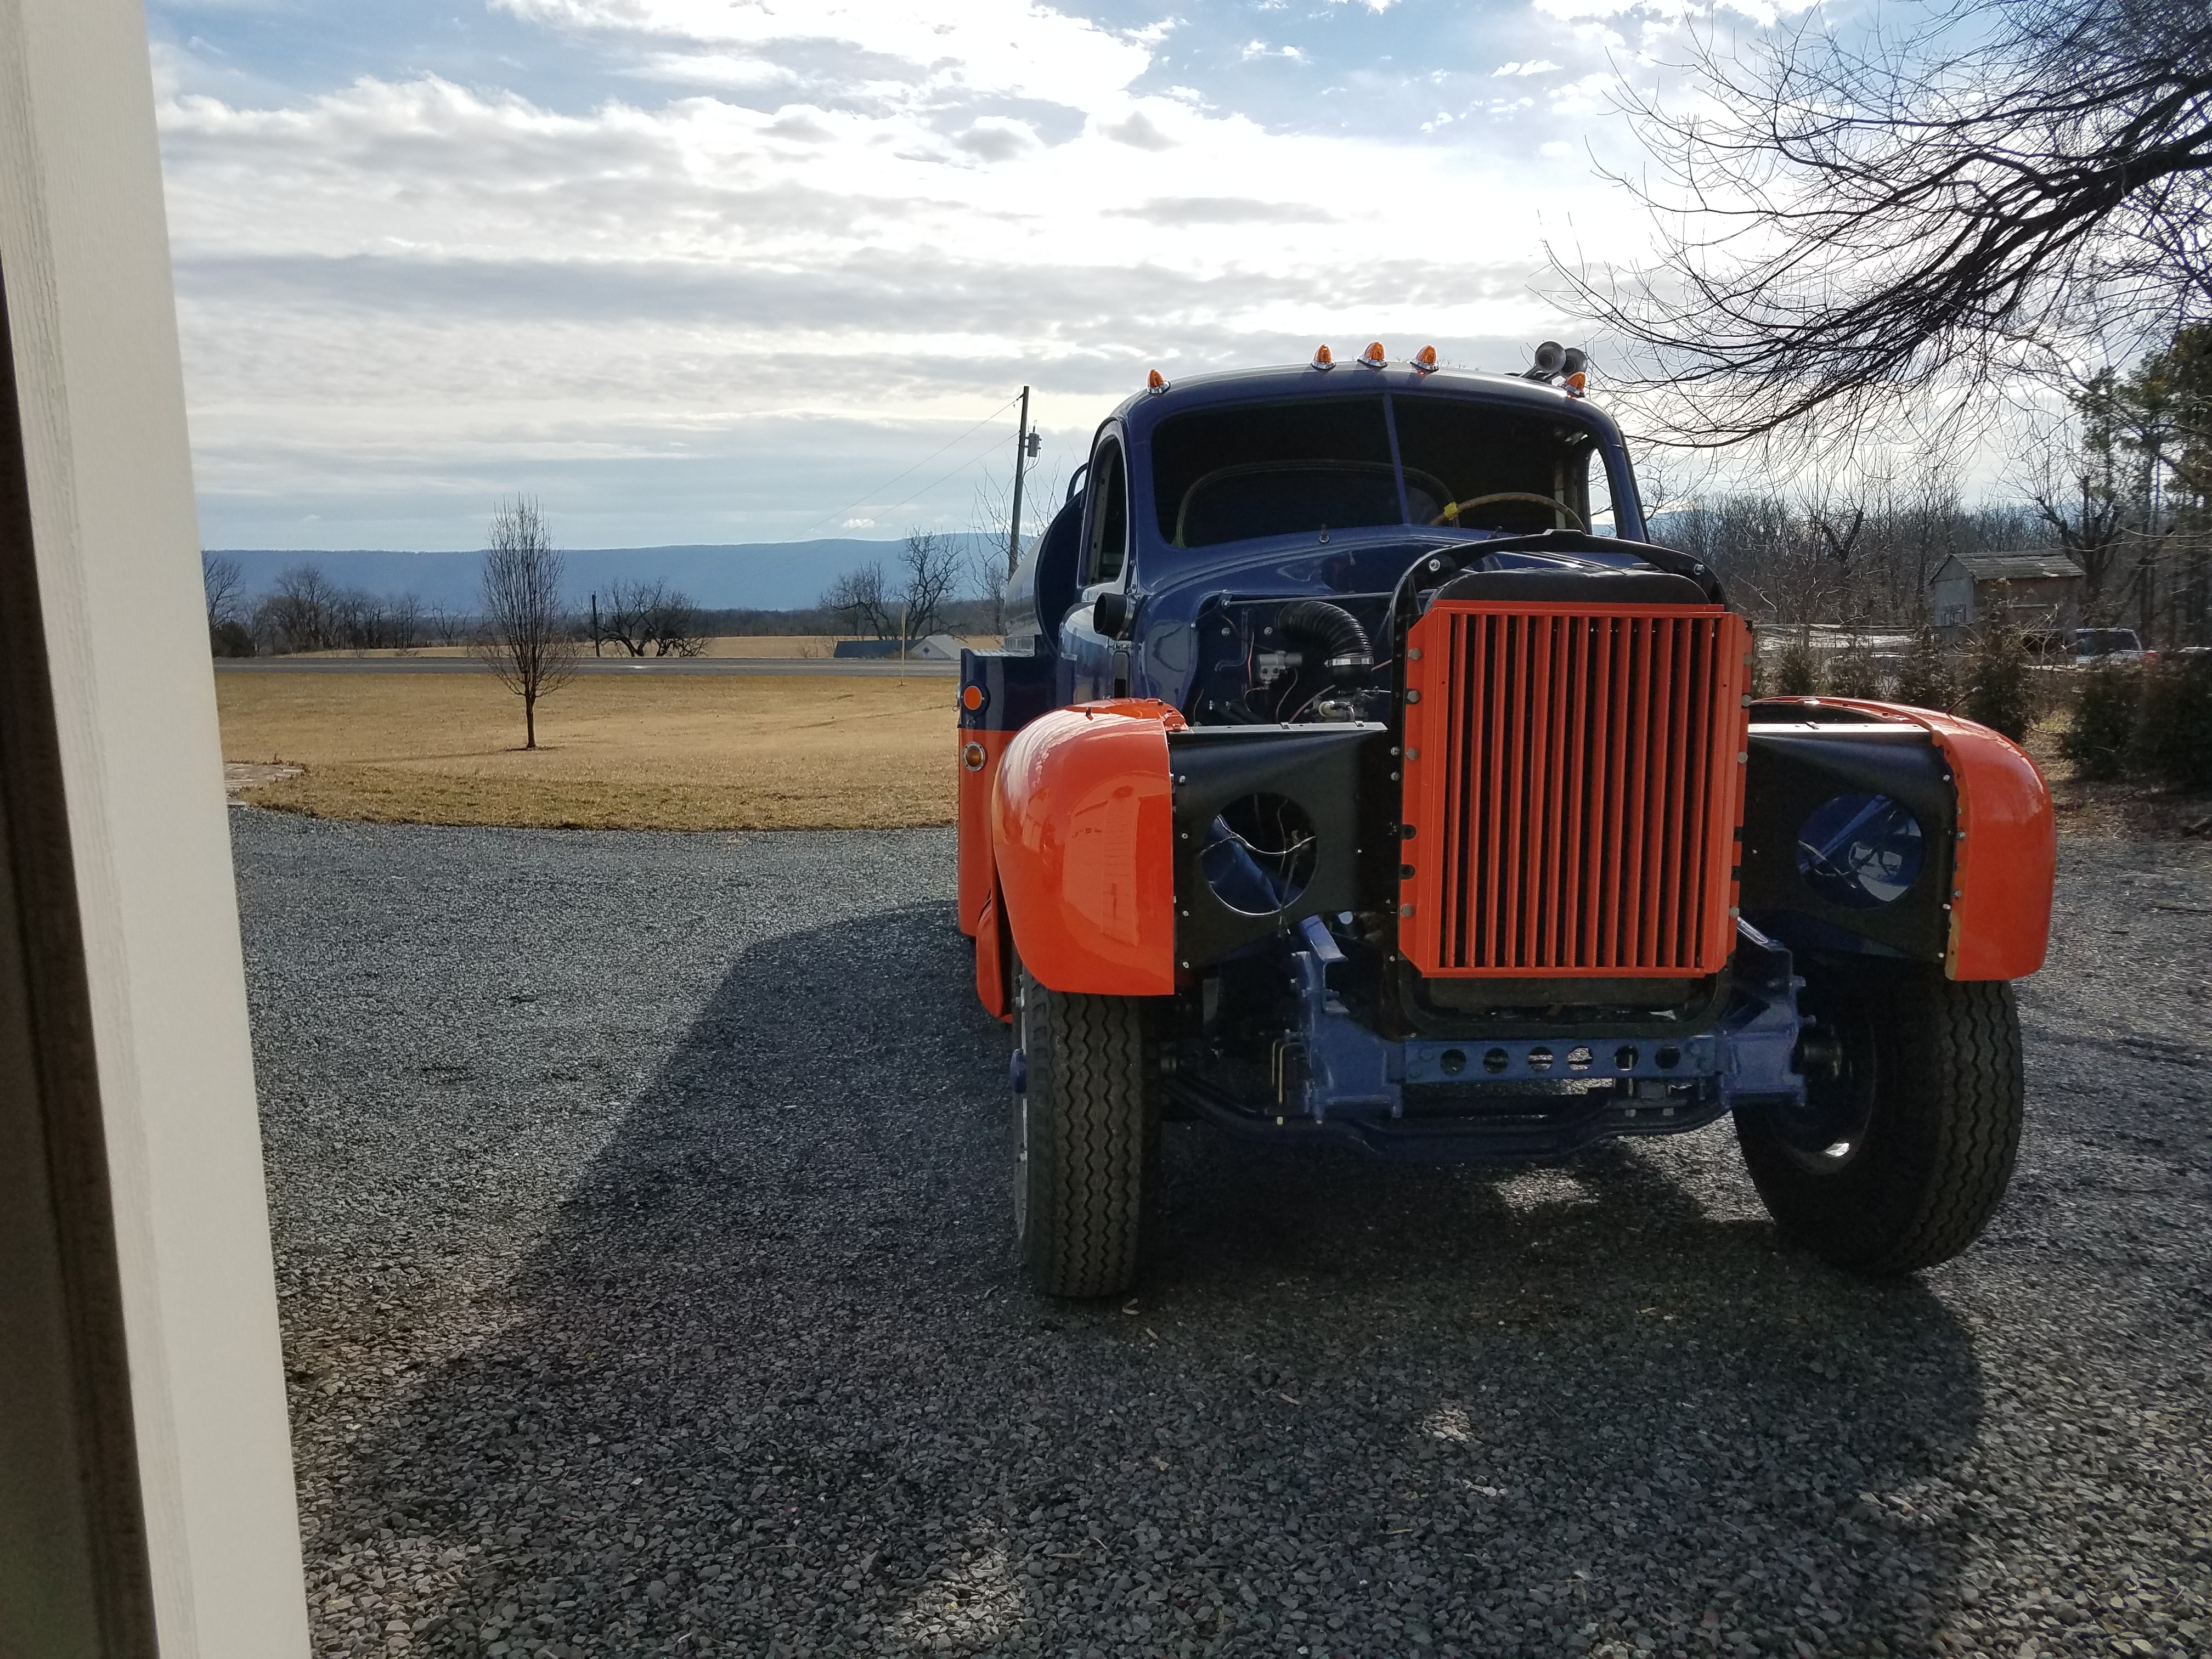
Got the old girl to move under it's own power for the first time in two years. Decided to move it out to give the garage a much needed cleaning up.
Going to install the grill shell and headlight panels later.
Almost took it down the road but it's not quite ready for it's maiden voyage yet.

-
18
-
Got the water pump back from the rebuilder, put everything back together and got it running again and, BAM. The fuel pump starts leaking gas all over the floor. Now I need to find a replacement, a rebuild kit or send it out.
Any ideas or input?
-
2 hours ago, Vladislav said:
The parts in place make my mooth water

Keep on progress!
I've seen it for so long in pieces, I almost forgot what it looks like.
It gets my heart racing when I see parts going back on. Even if it's only temporary.
-
2
-
-
4 hours ago, h67st said:
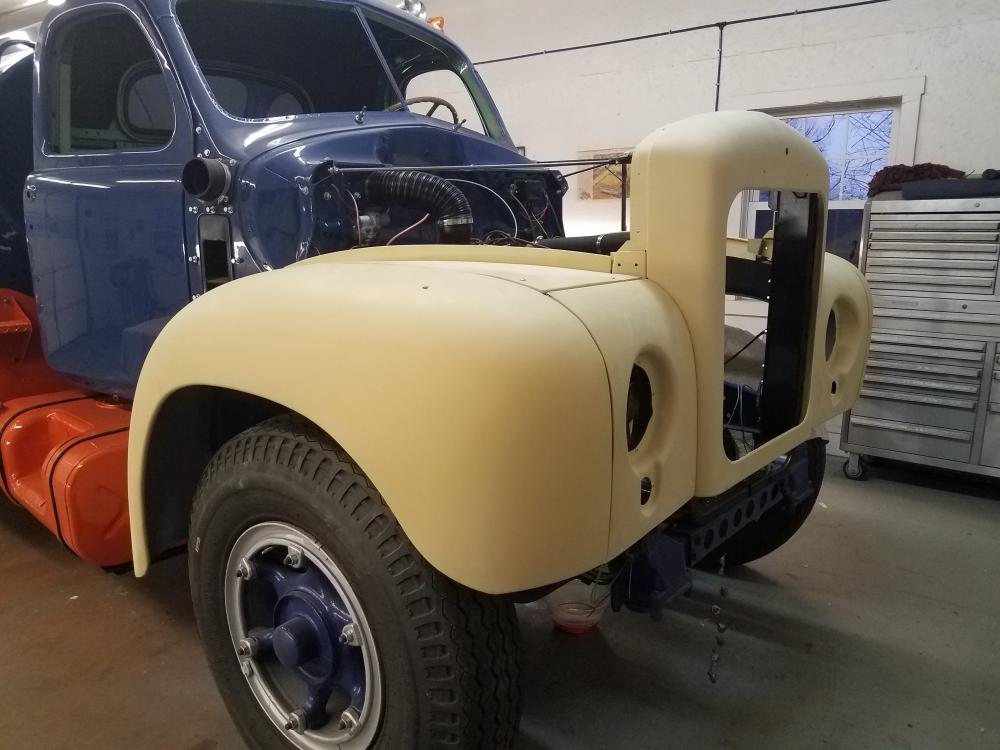
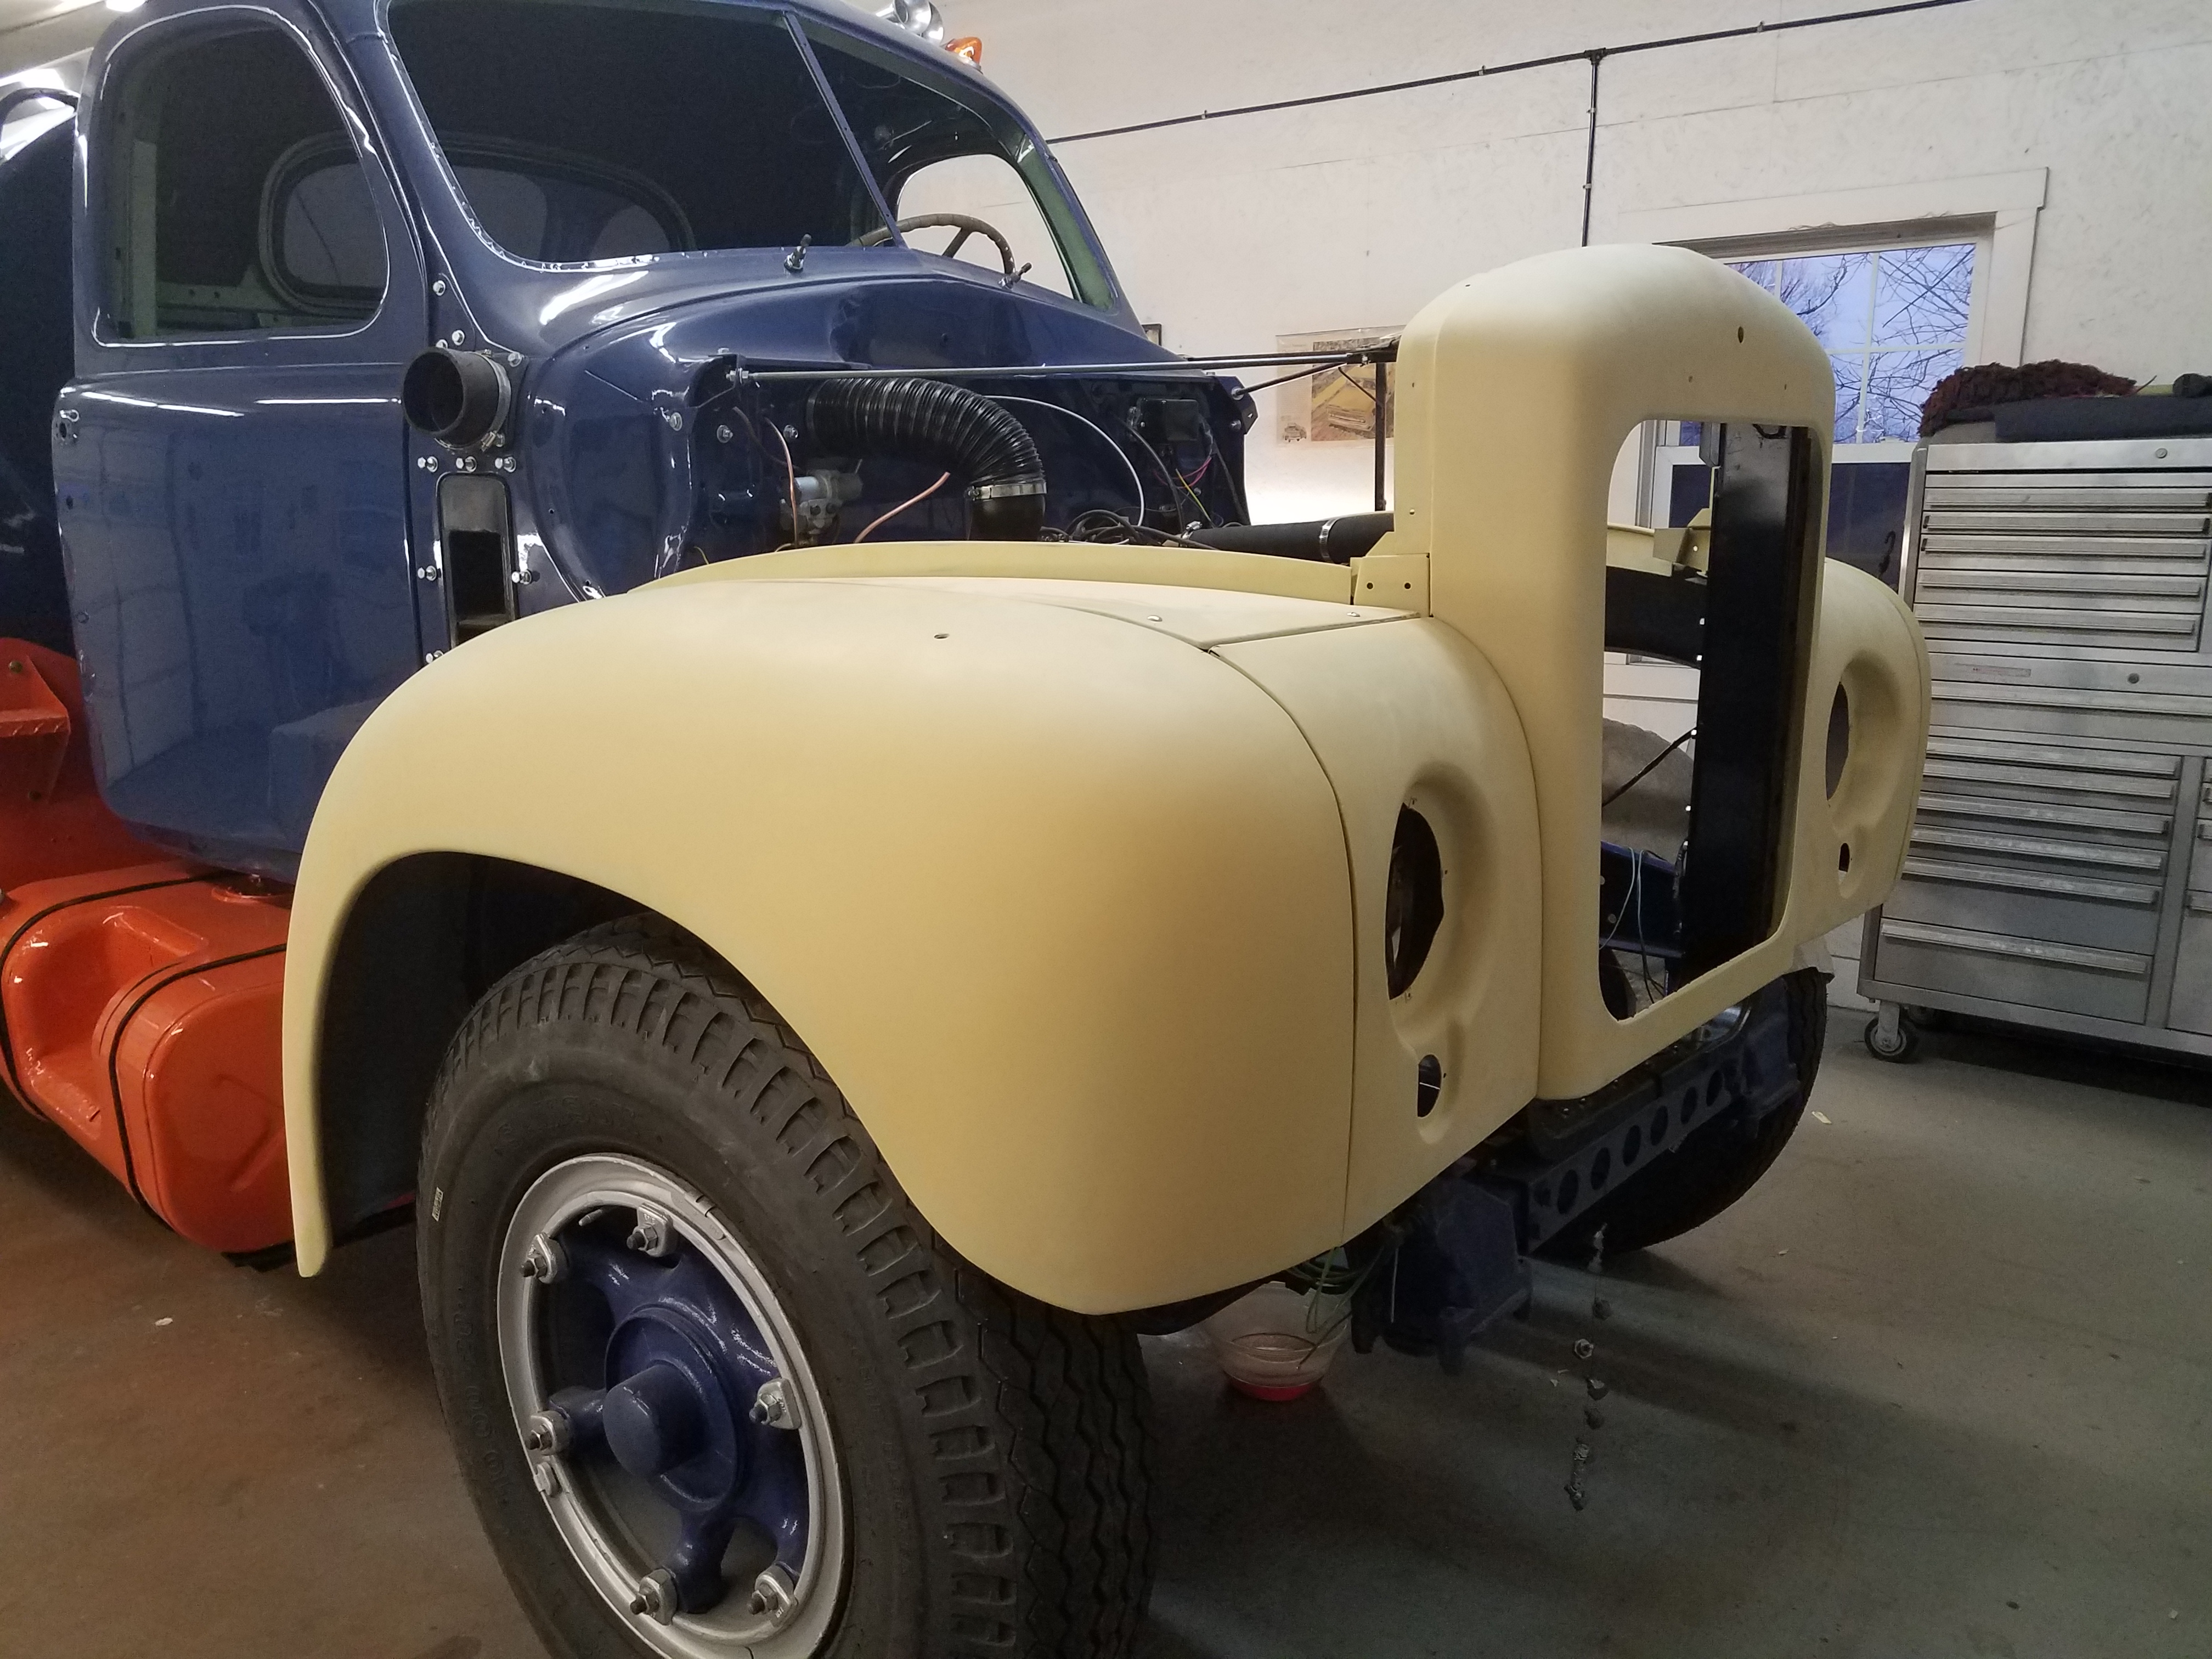
That sheet metal looks nice and straight...two thumbs up!
It ain't perfect, working with 60 year old metal that was mass produced is always a challenge.
-
33 minutes ago, 609albert said:
looks great, I think you'll paint the front orange
What makes you say that?
-
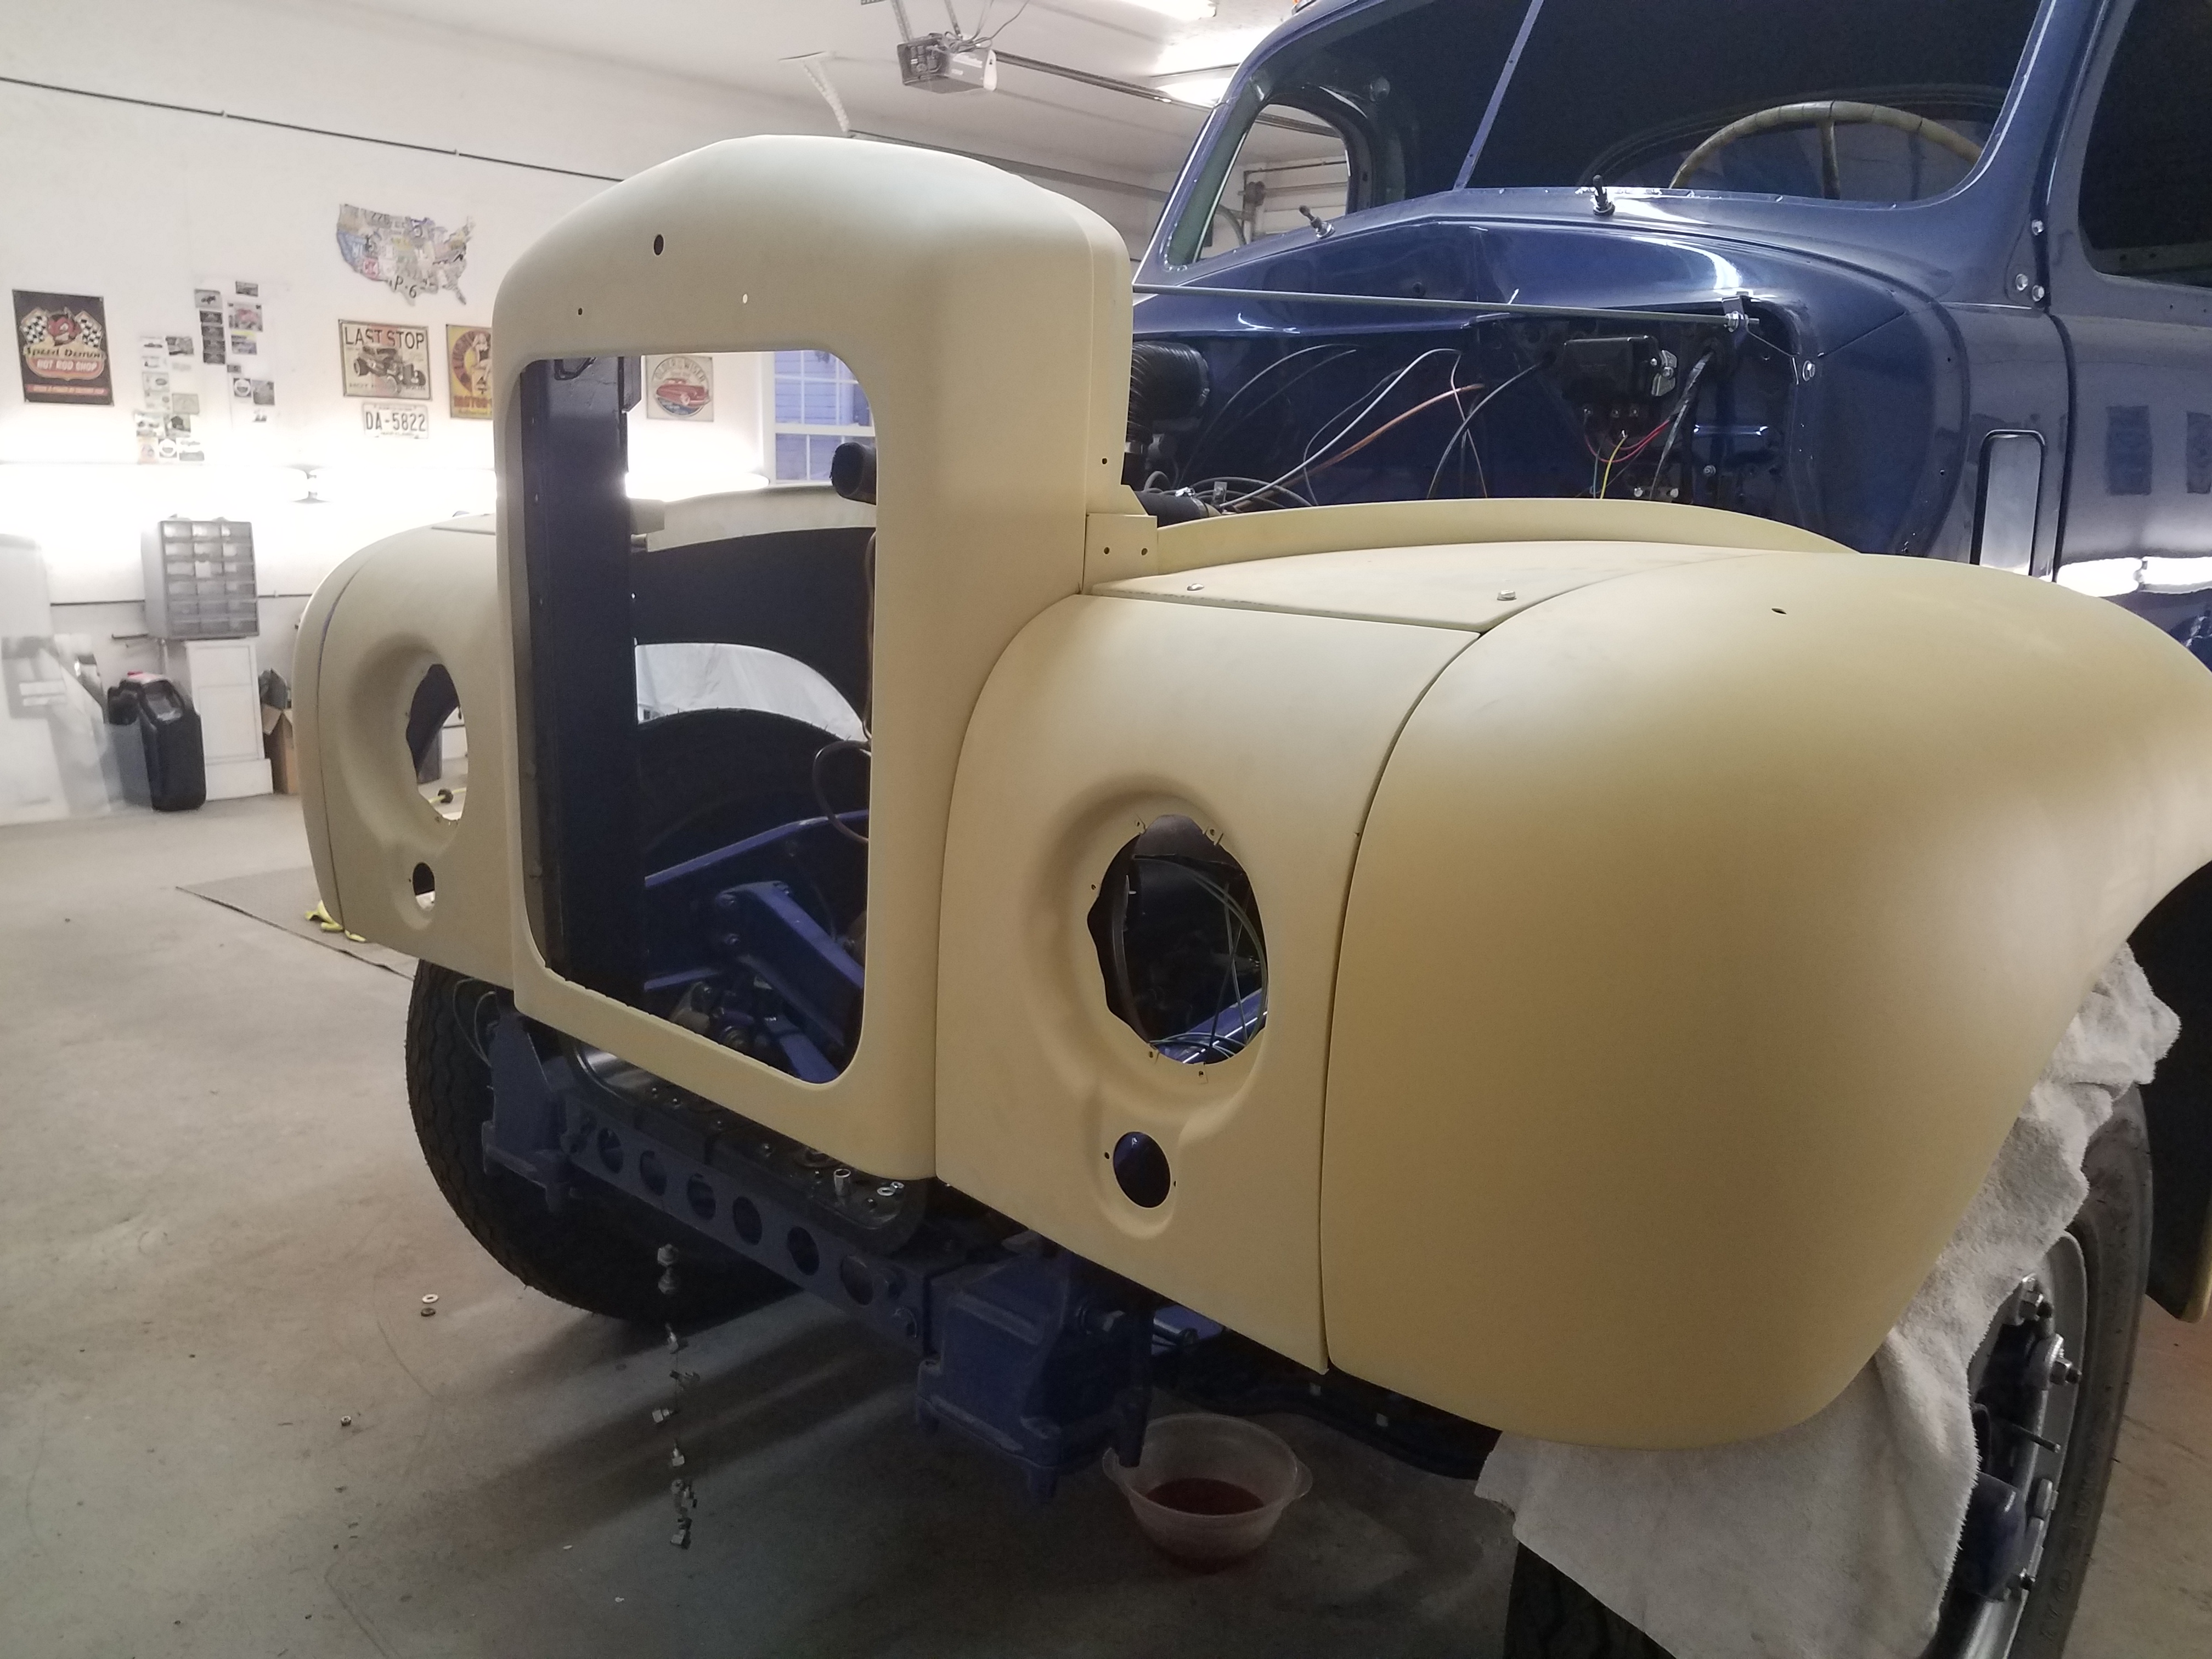
- Popular Post
- Popular Post
Got all the bodywork done on the front sheet metal. Test fitting to make sure it still fits. Then pull it all back apart and paint the inside and outside of everything.
Almost forgot. I finally got the wiring harness installed and everything wired up and working.

-
7
-
BEAUTIFUL!
BMT Forum Logo

Another question
in Antique and Classic Mack Trucks General Discussion
Posted
Thank you for the info.