
- Popular Post


mattb73lt
-
Posts
1,187 -
Joined
-
Last visited
-
Days Won
137
Content Type
Profiles
Forums
Gallery
Events
Blogs
BMT Wiki
Collections
Store
Posts posted by mattb73lt
-
-
- Popular Post
- Popular Post
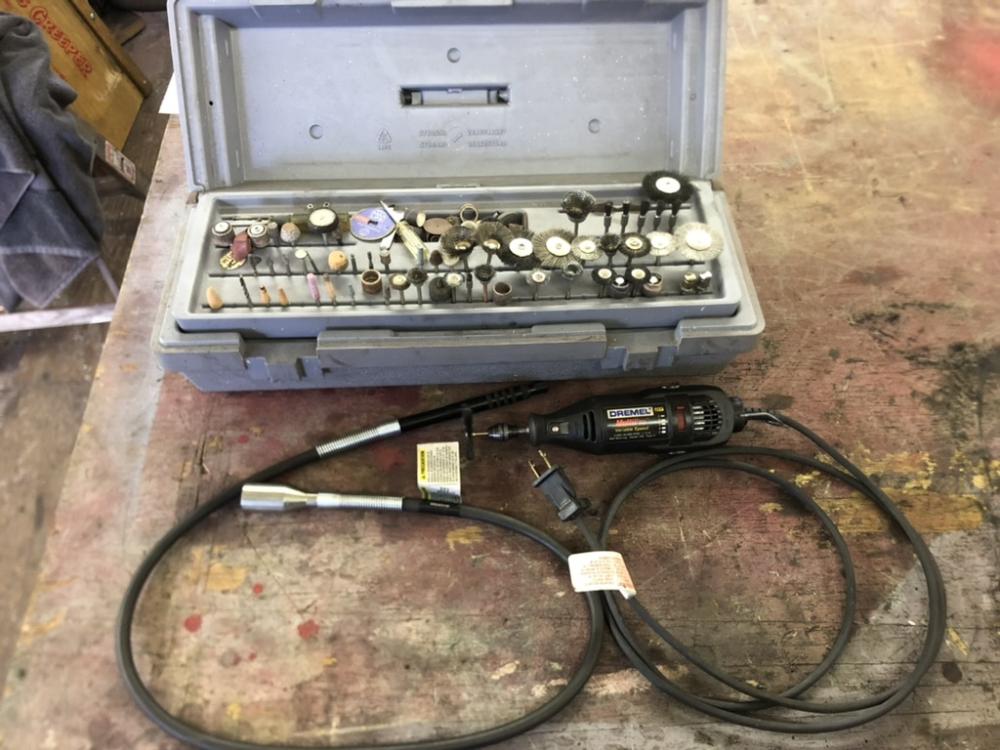
I got this one from my Dad's shop when I closed it up. It sat for a long time, but I find it indispensable now and it gets a ton of use.
And Larry I'm with you on the Glyptal. Not sure if it's really worth the effort of applying it with its return. I had several people recommend it and with the condition of the block, I figured it was worth it.
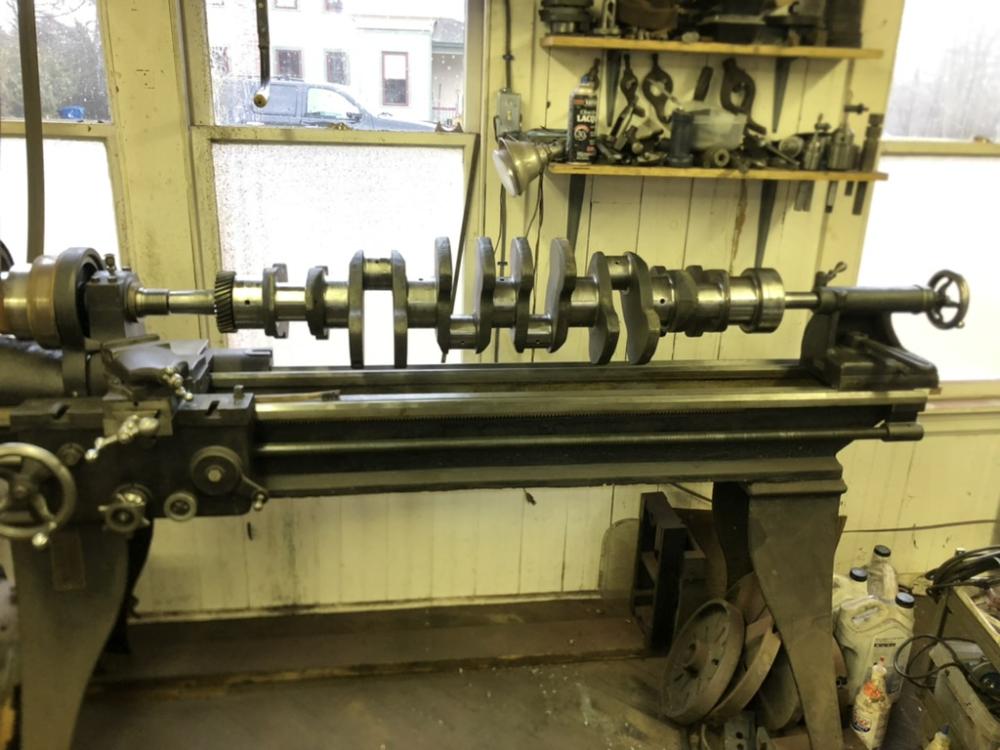
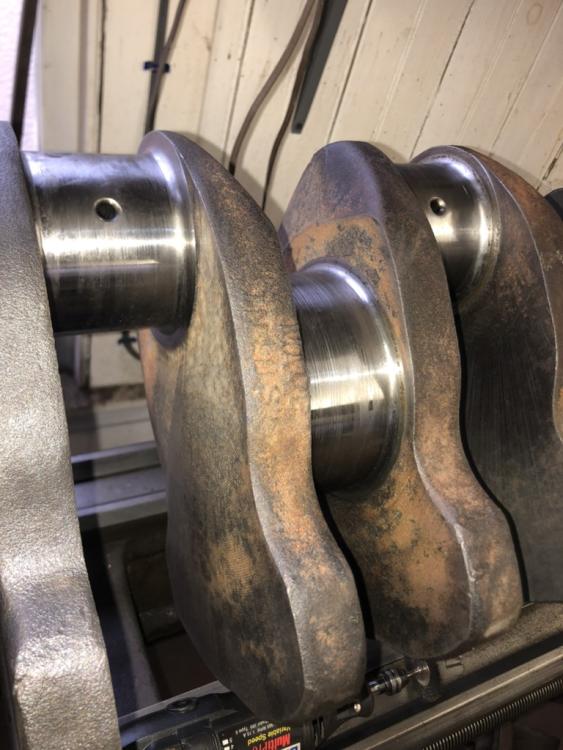
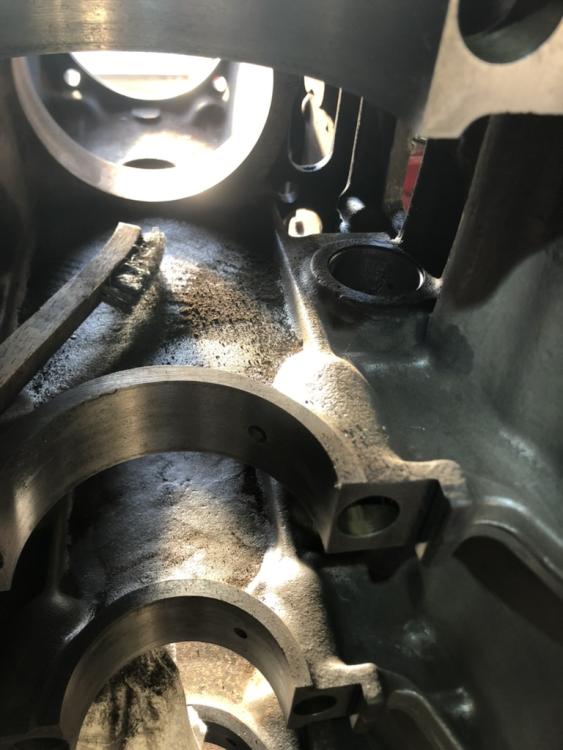
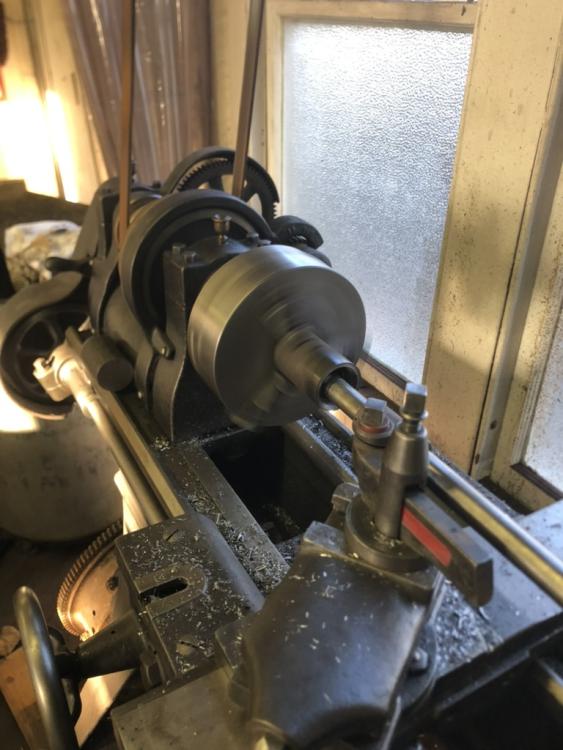
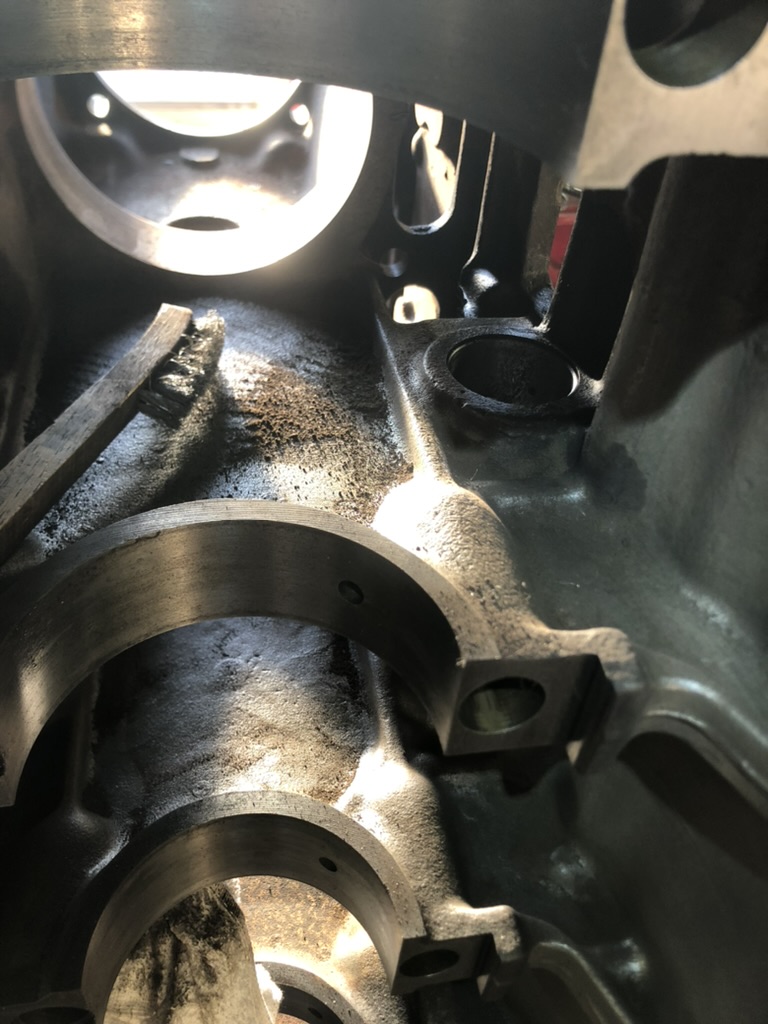
The Dremel got another workout cleaning up the crankshaft to a condition that was acceptable for assembly. The crankshaft just fit between two dead centers on the lathe with only about three inches to spare. It made turning it easy for the cleanup. You can see in the last photo the flanks of the counterweights needed some serious cleaning.
-
 4
4
-
 3
3
-
- Popular Post
- Popular Post
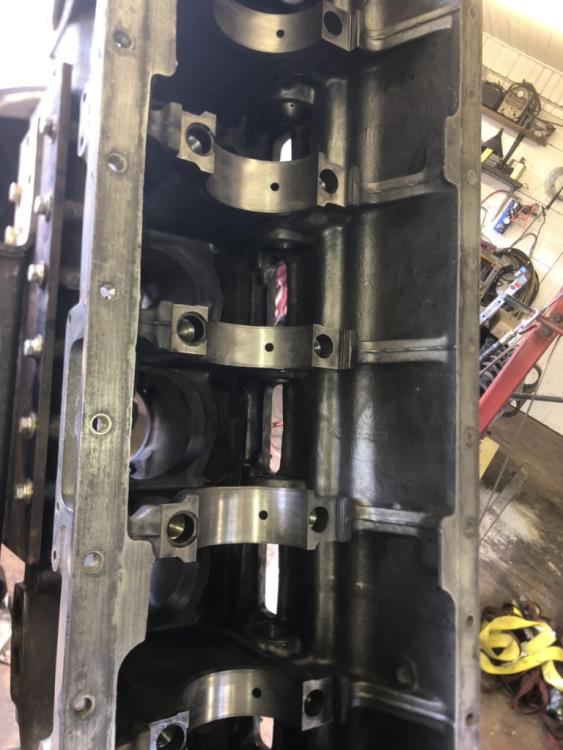
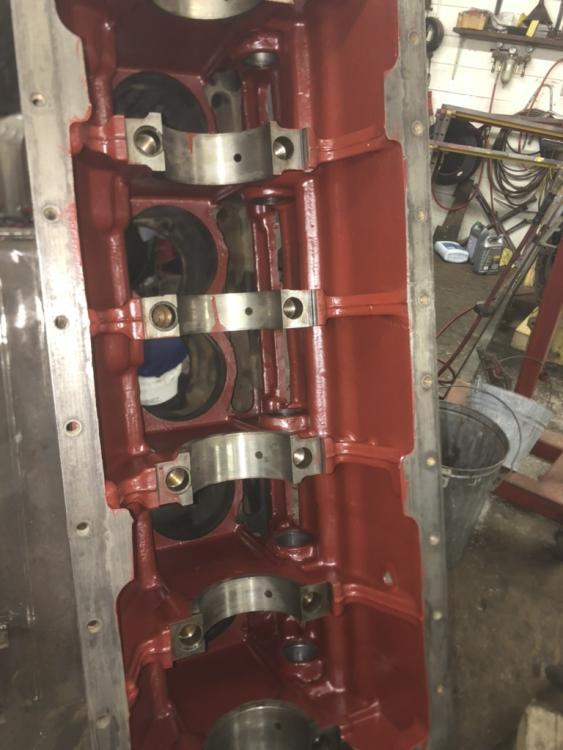
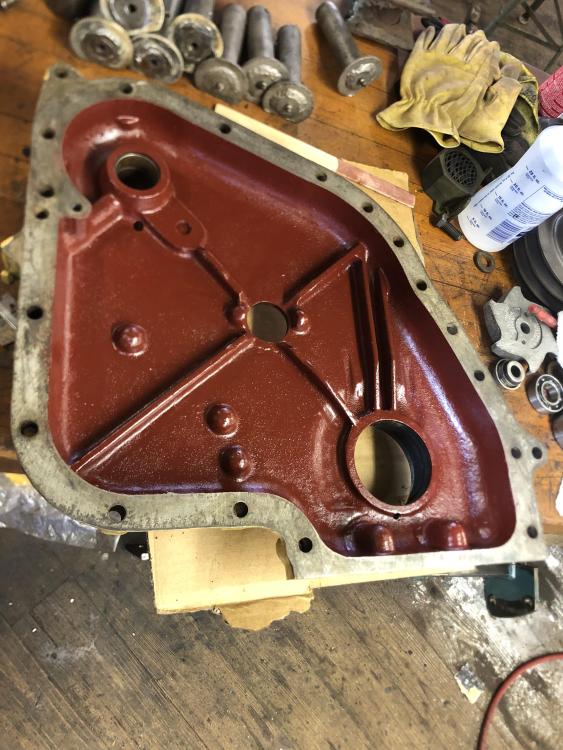
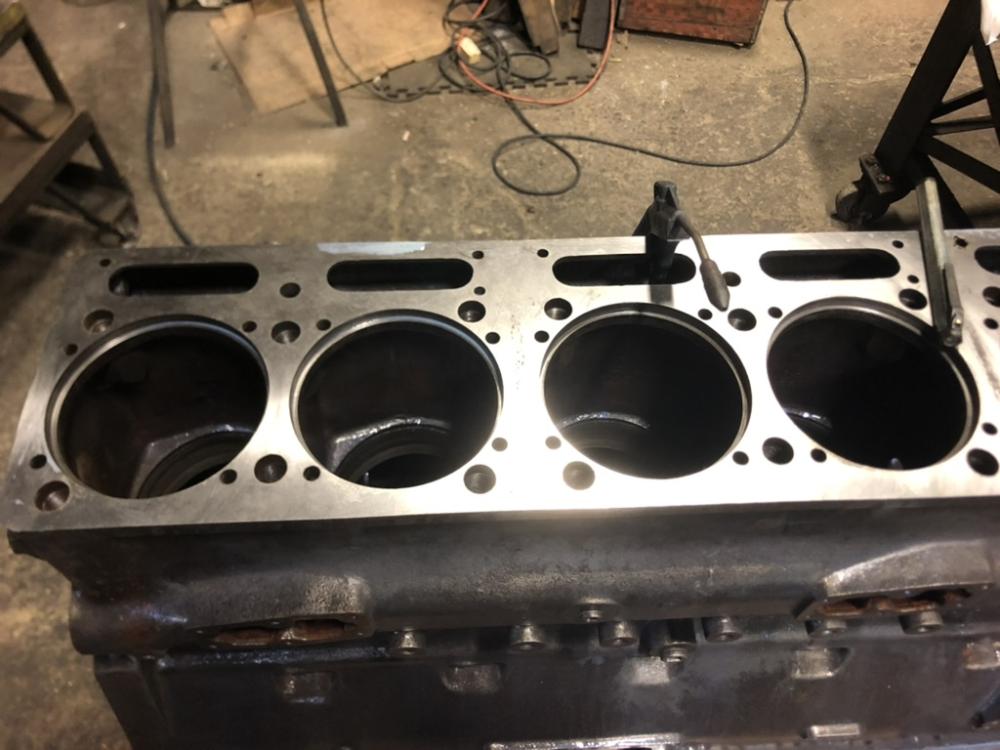
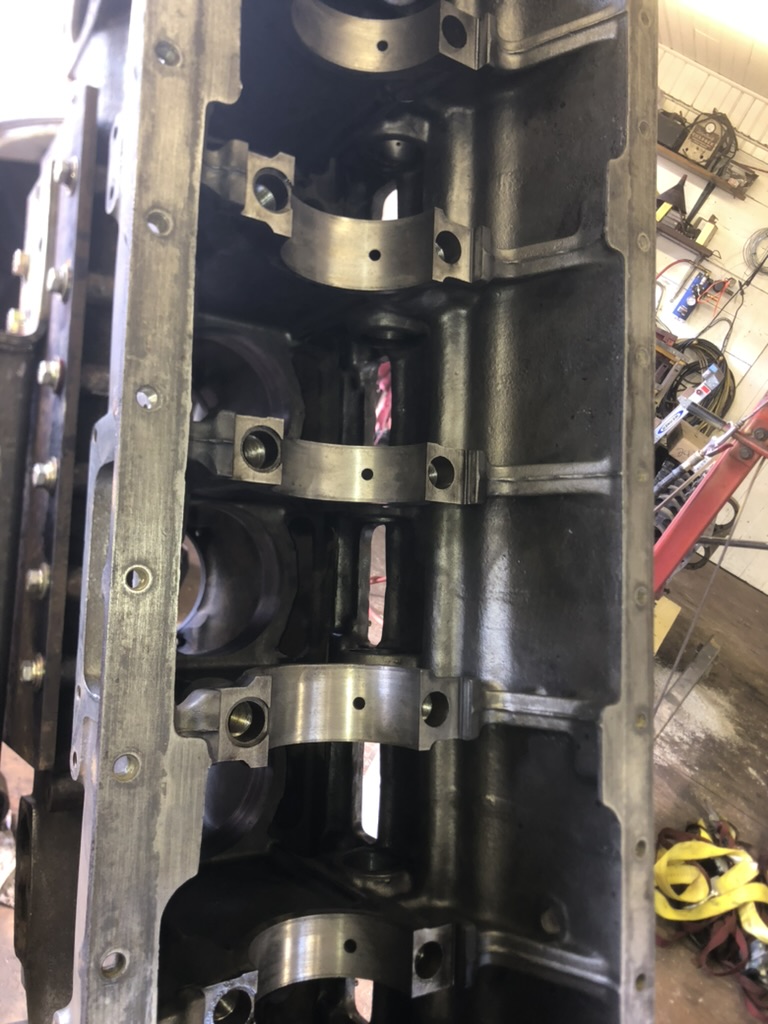
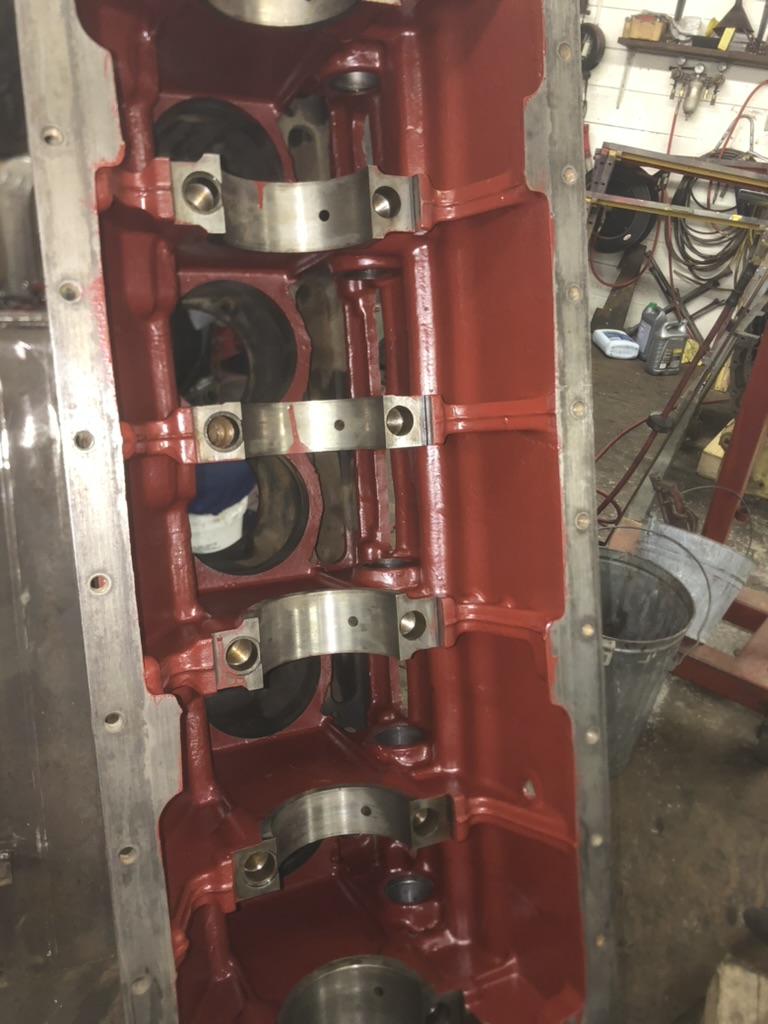
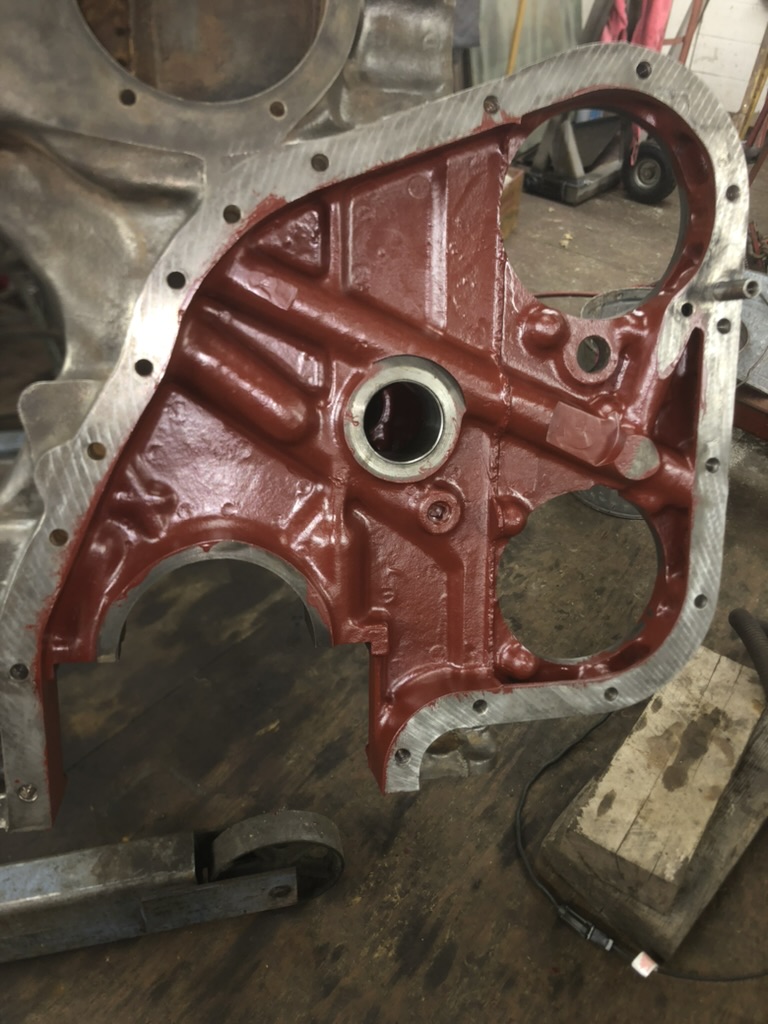
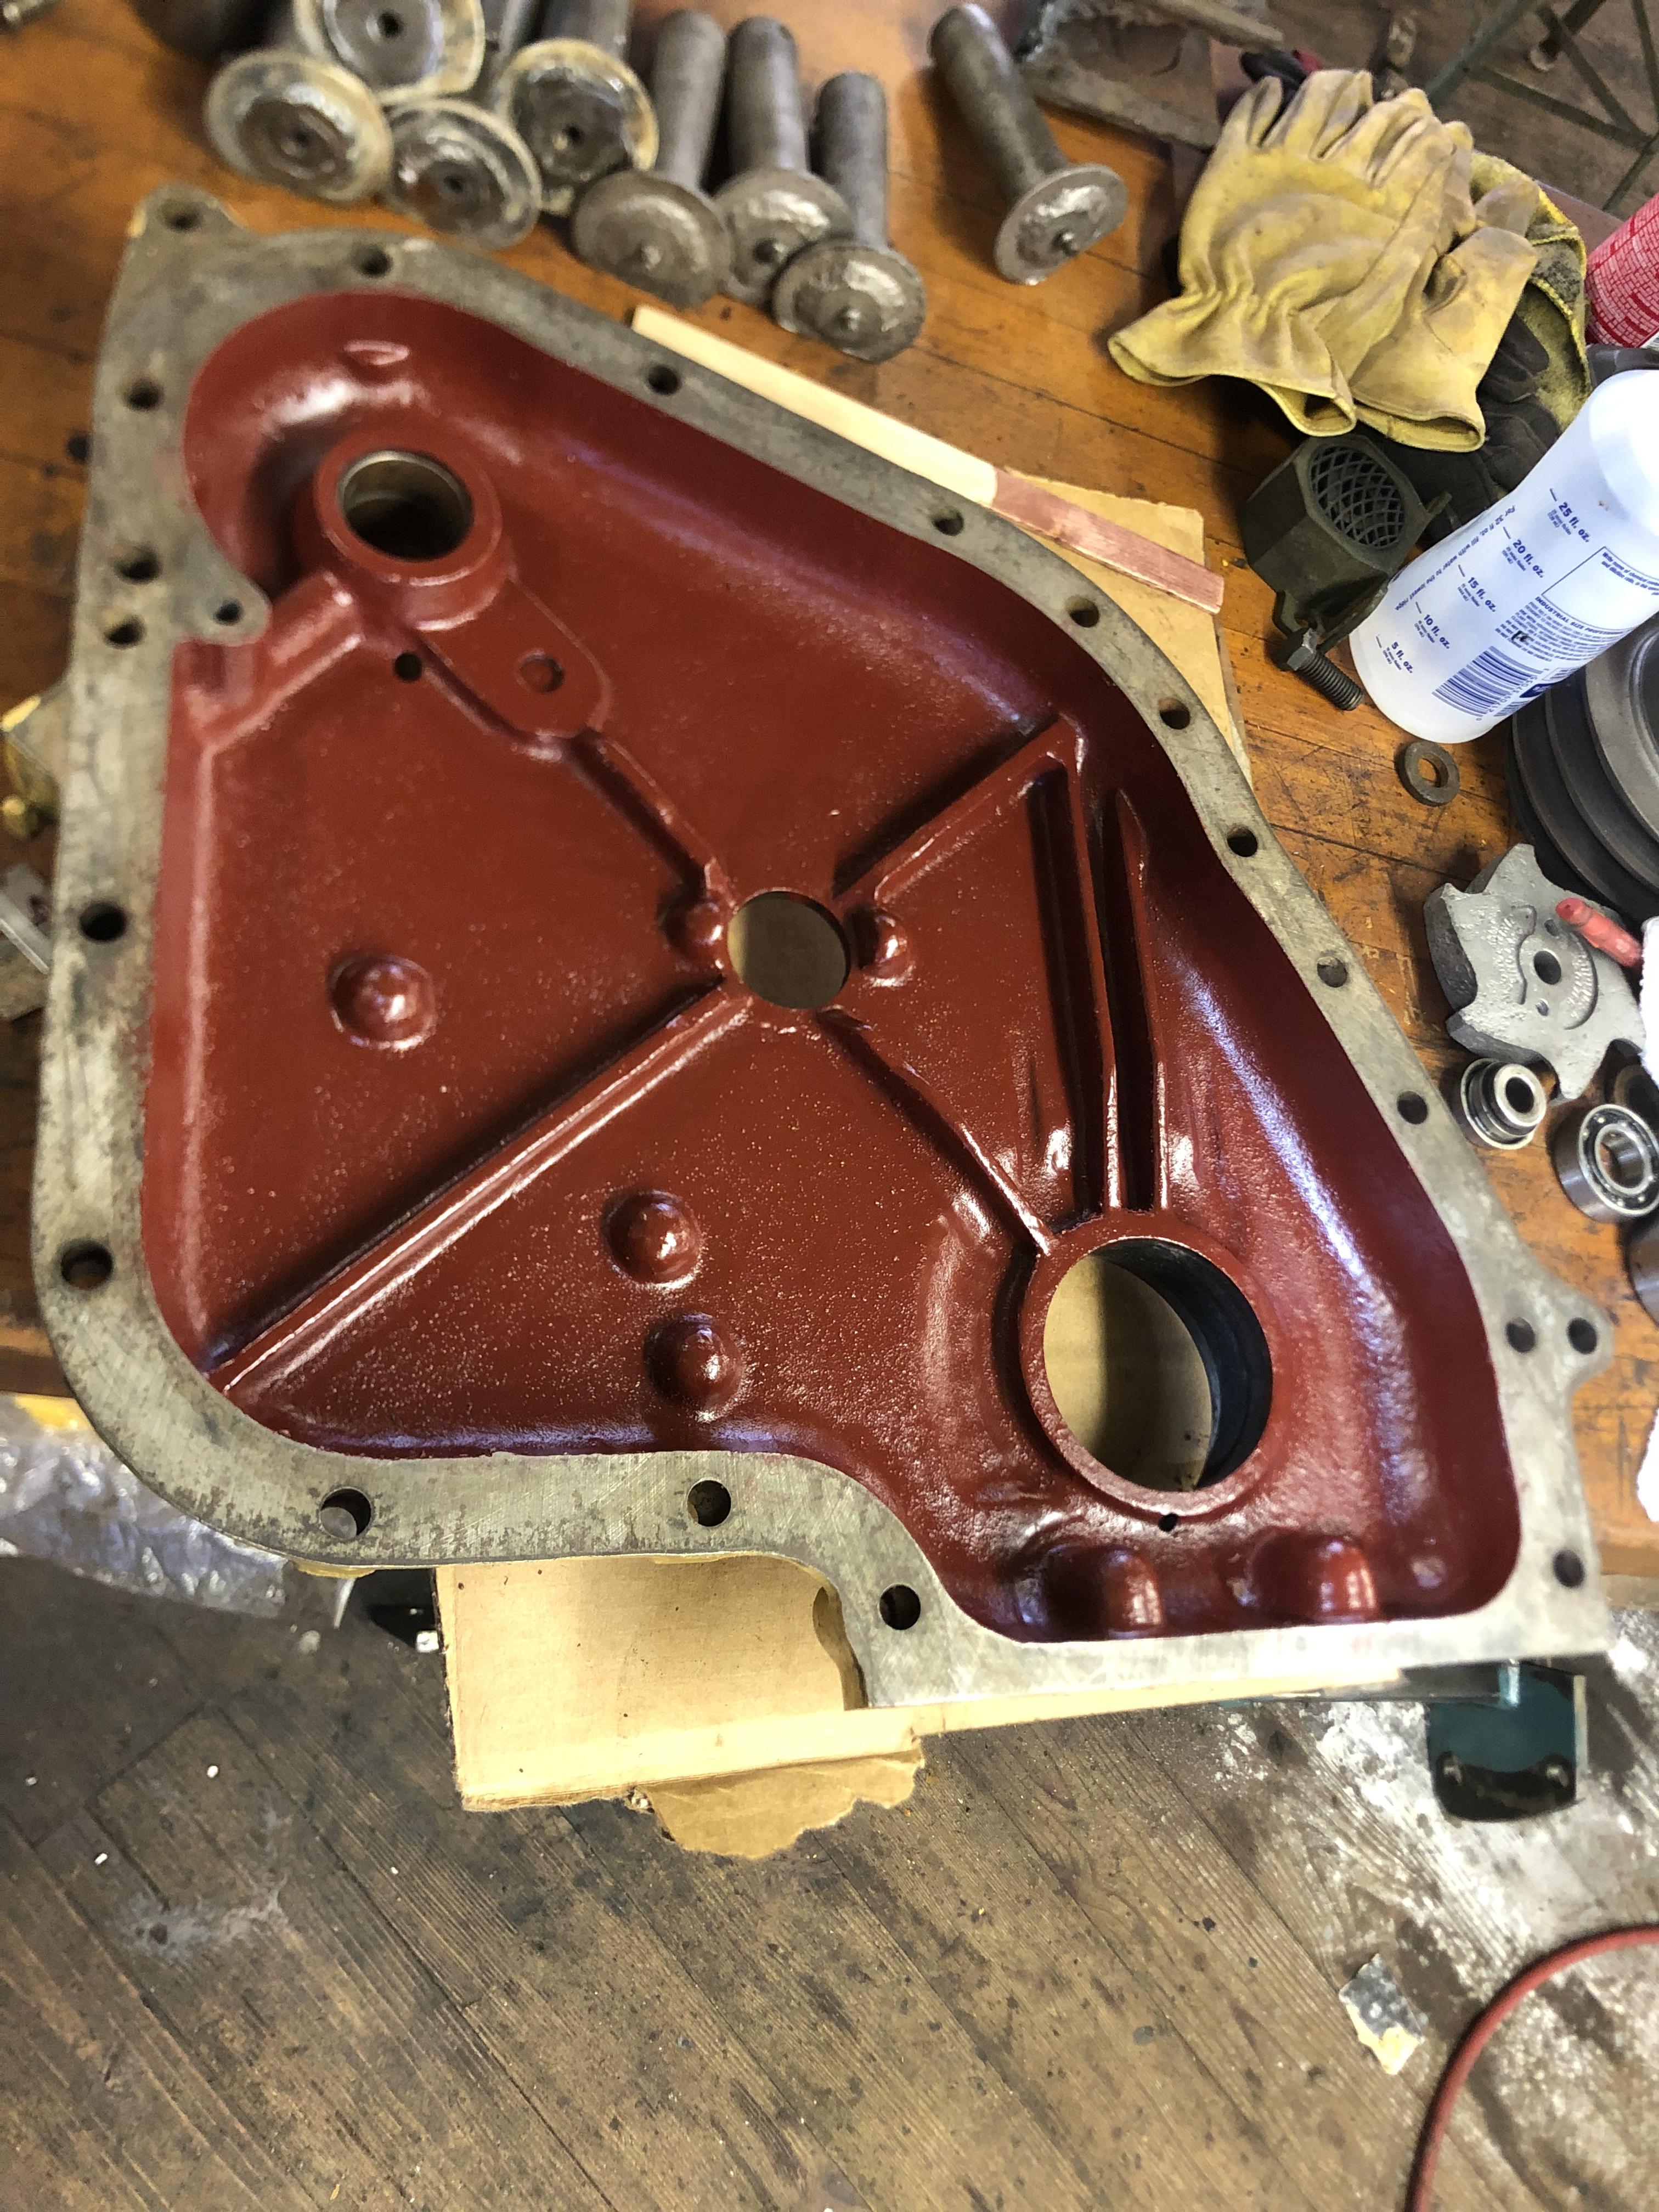
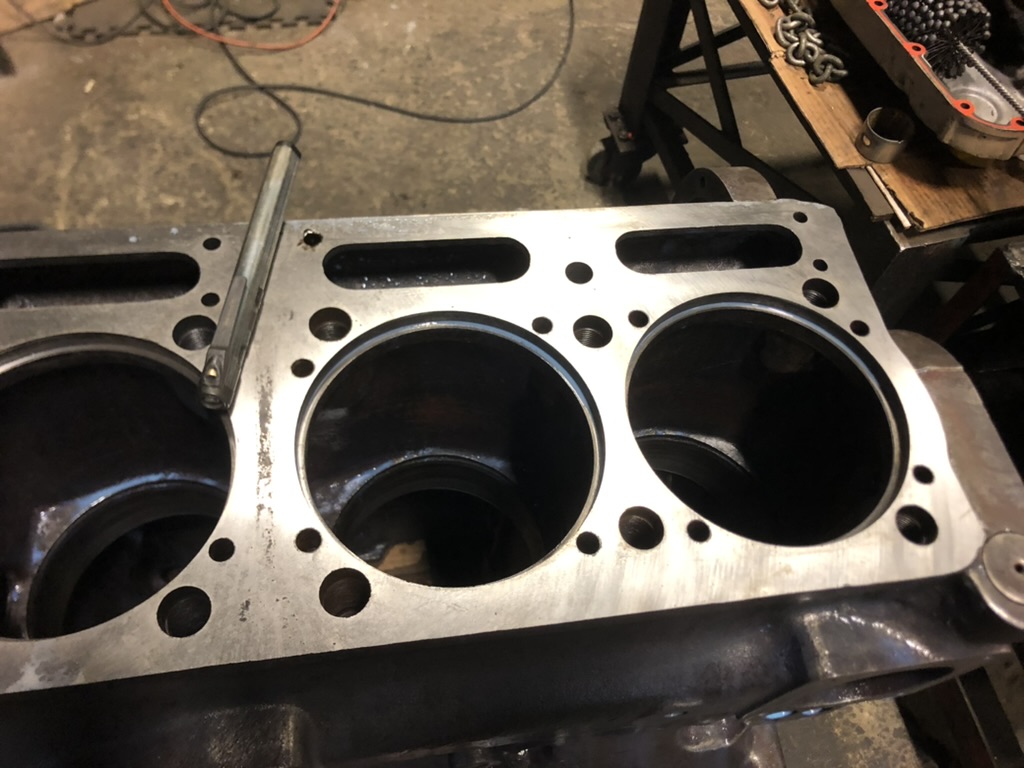
Well, that was tedious. Out of all the shop equipment I have, I found the best tool to clean the interior of the block was my Dremel tool. I have a long flexible extension for it and with various wire wheels it made quick work of the rust and ash left on the surfaces. The wheels don't hold up well, but they're not made for such heavy cleaning. They do get into all the nooks and crannies and left it very clean. Coated it with the Glyptal as mentioned. I was able to coat most everthing but the passages for the pushrods. It should help seal and prevent any future rust. Tomorrow I'll touch it up and clean where I got a little sloppy. I also cleaned the upper water jacket to sleeve areas, but they'll remain bare for heat transfer.

-
6
-
4
-
That’s kinda what I was thinking about it.
-
- Popular Post
- Popular Post
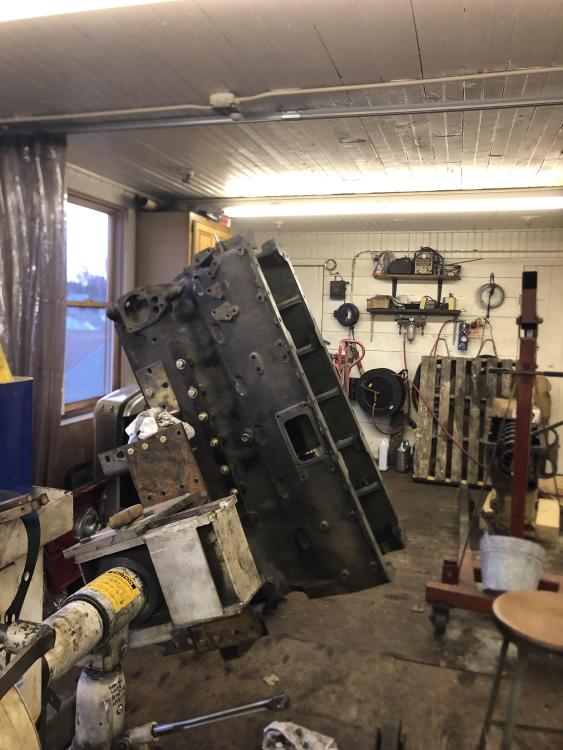
Lots to do to prepare for the assembly push and probably about three weeks out from that. Final parts should be rolling in this week, heads are two weeks out, organizing and cleaning everything, will all take time. Trying to have everything set so when the planets align it goes as smoothly as possible. I started cleaning the block, today. Even though it was boiled twice, theres still a lot to clean up. It was a little frosty with rust from sitting but it cleans right up with a wire brush. Not a huge believer in it, but I'm going to coat the inside of the block with Glyptal and the shop manual does call for. If nothing else, it'll be clean and shouldn't rust. The engine rotisserie is really a huge help
78A87F25-C13F-4118-BA59-3CBD7BB8C66C.heic 83F761C1-8844-48AA-8CEC-FD94F35A0369.heic
-
4
-
1
-
14 minutes ago, mrsmackpaul said:
That's good news, so both blocks and cranks were okay I take it
Paul
One was a better candidate for rebuilding than the other. The one I bought for parts was the keeper. But, both are still usable.
-
2
-
-
- Popular Post
- Popular Post
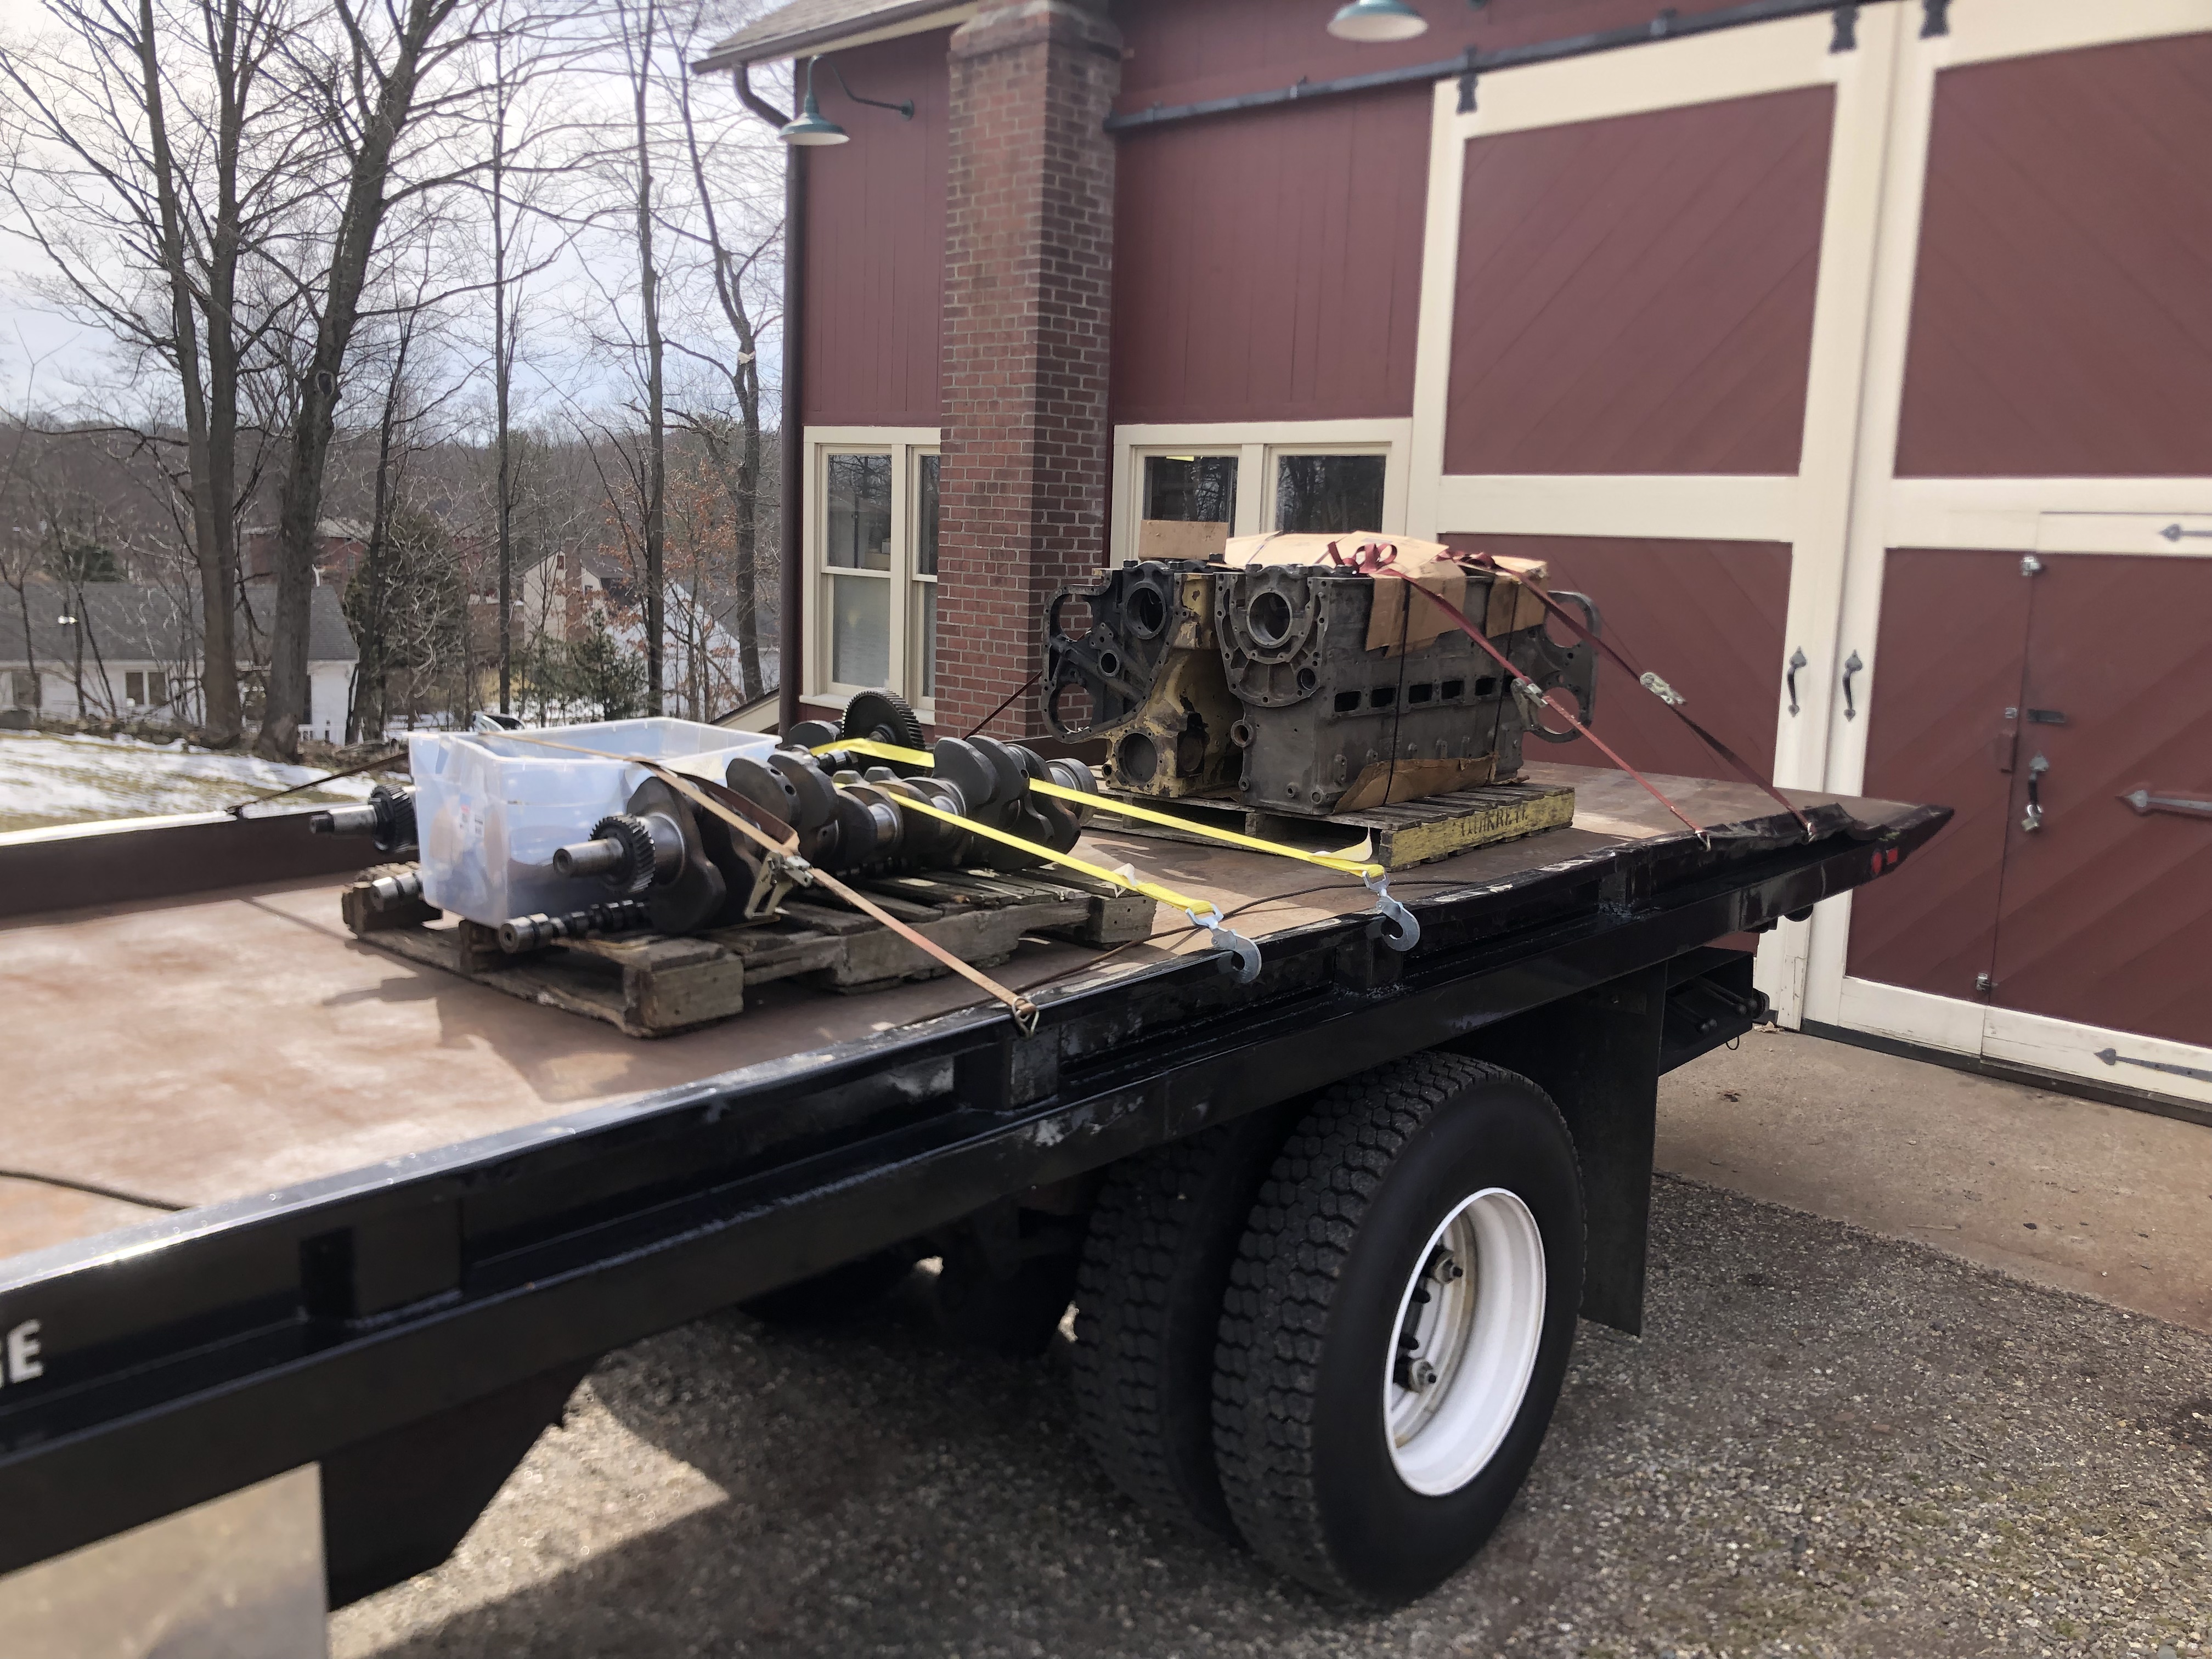
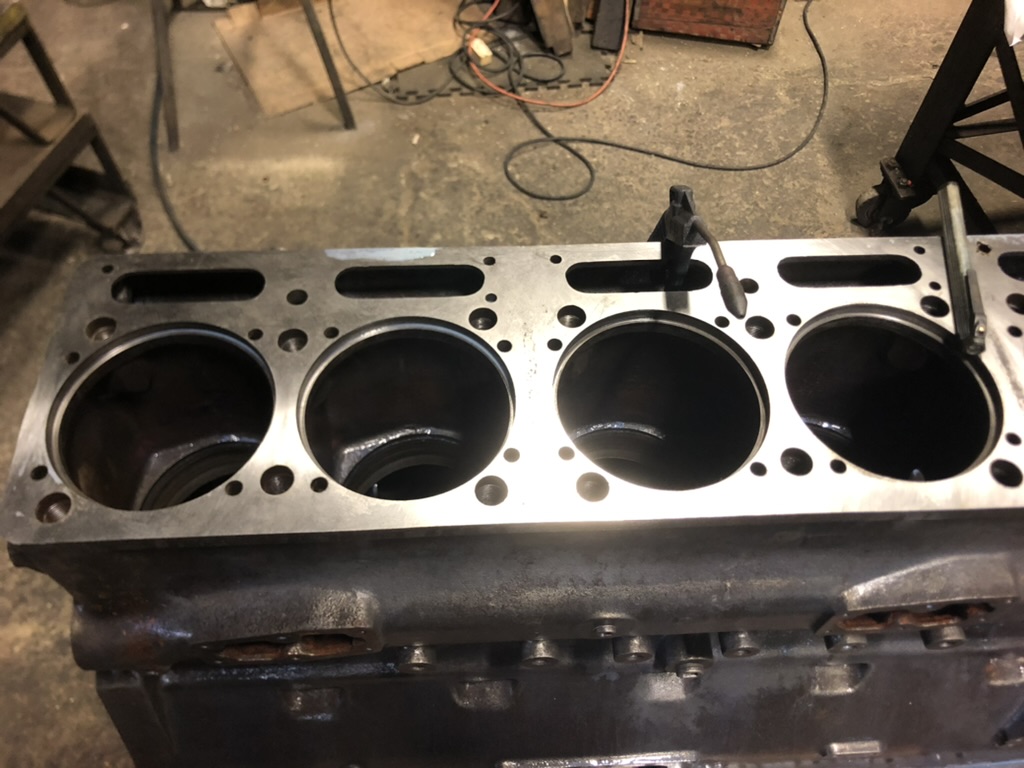
Picked up the blocks and cranks from the machine shop, today. Lots to do to get ready for the reassembly push. The heads should be ready in about two weeks. Starting to move forward on the engine, finally!!


-
8
-
1
-
- Popular Post
- Popular Post
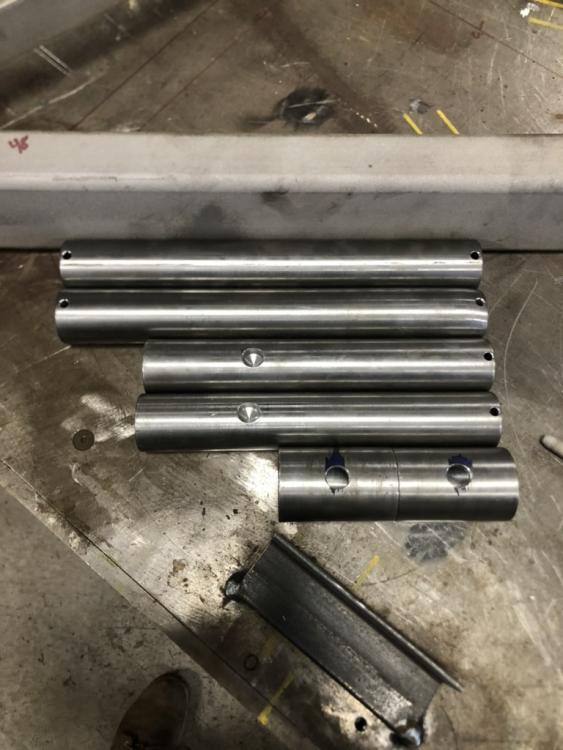
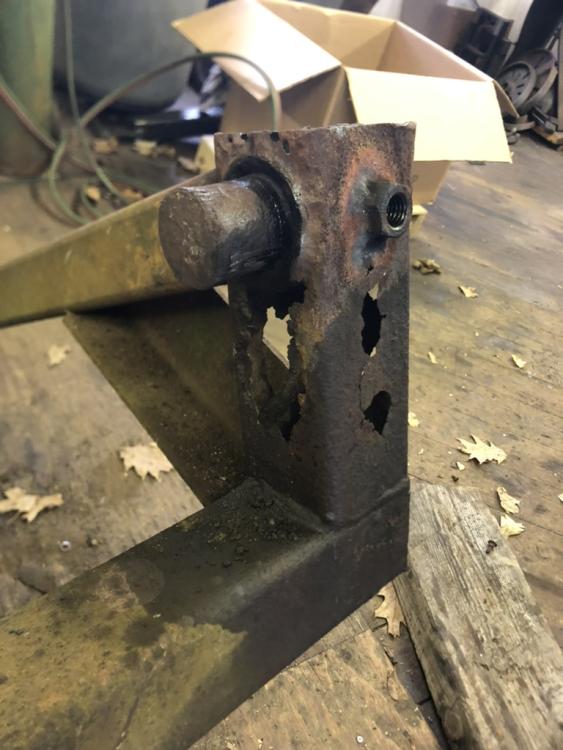
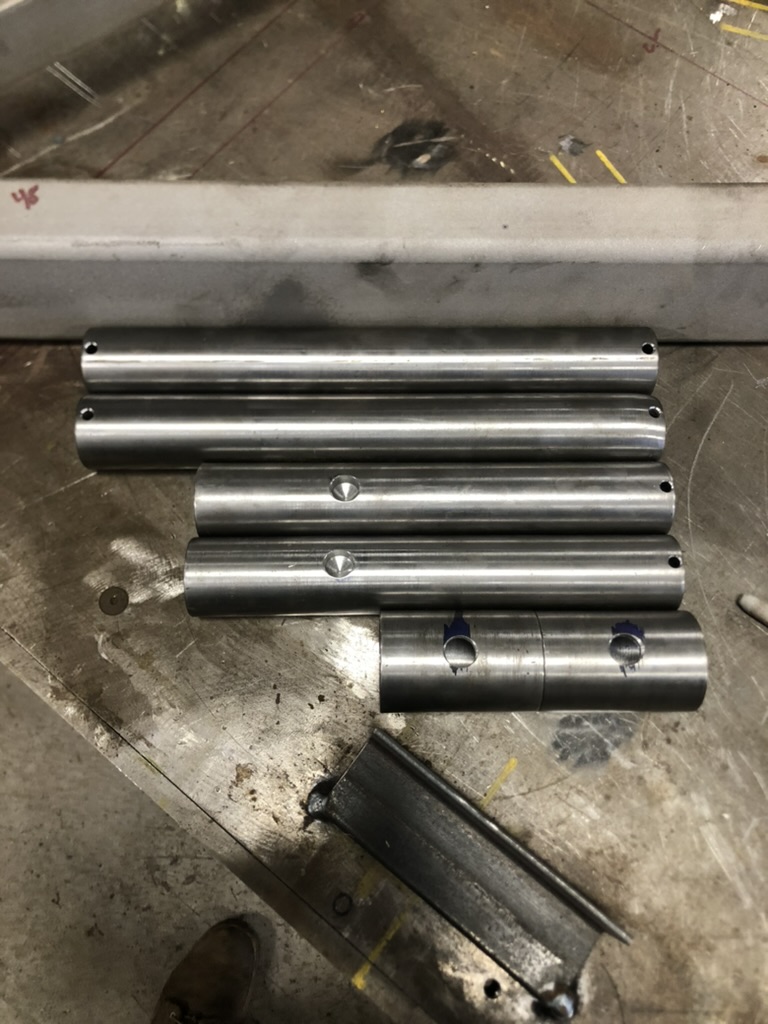
This weeks machining efforts. Four new pivot pins and two new bushings for the lift mechanism on the bed. A whole bunch of new metal is going into the upper and lower lift frame to make sure it functions and lasts. Some of the 4X4" tubing literally fell apart. Need to pick up more steel and machine two more bushings to fix it right. Glad this is getting done now, ahead the engine coming back, so it'll be ready to assemble when the truck is back running.
-
7
-
That's awesome!!!! The first move under it's own power is always epic! Congratulations!! Just noticed your oil filter way up on the frame, that's gotta make servicing way easy.
-
That's really starting to come together!! The seats came out beautifully.
-
1
-
-
- Popular Post
- Popular Post
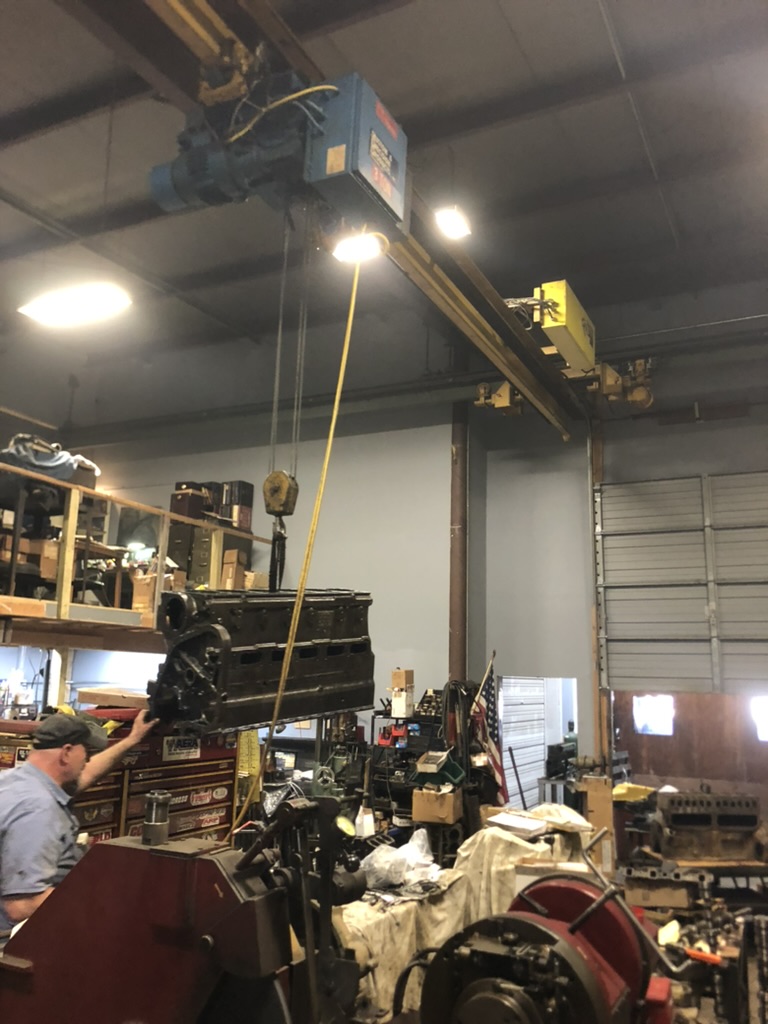
Still creeping along on this rebuild, but there is movement. The block was coming out the decking machine when I stopped in to the shop to drop off some parts today. More stuff on order. Heads are apart and will receive new guides, valves and springs. He took .008" off it to clean it up. I think the original block would've been well beyond limits after decking. Just too much erosion on it to clean it up.
Other work going on with the deck, with all the cylinders out for overhaul, metal collected up to repair the frames to raise and lower the body. The lathe and Bridgeport are getting a good workout turning metal to replace bushings on those frames, too. Other metal located to replace the 20 crossmembers that support the wood deck.
So, while it feels like things aren't moving, there's a lot going on.

-
6
-
1
-
When I saw the exhaust that was my first thought that it had been sme form of refueling truck.
-
2
-
-
Really nice work and great detail!!
-
2
-
-
I'm off. CRD92 is the front carrier. CRD93 might work. Just saw some prices, ouch!
-
Damn, that is short! Would there not be a later model top load carrier the would fit that axle? Like the rear carrier out of a set of tandem axles. I think that's a CRD92.
-
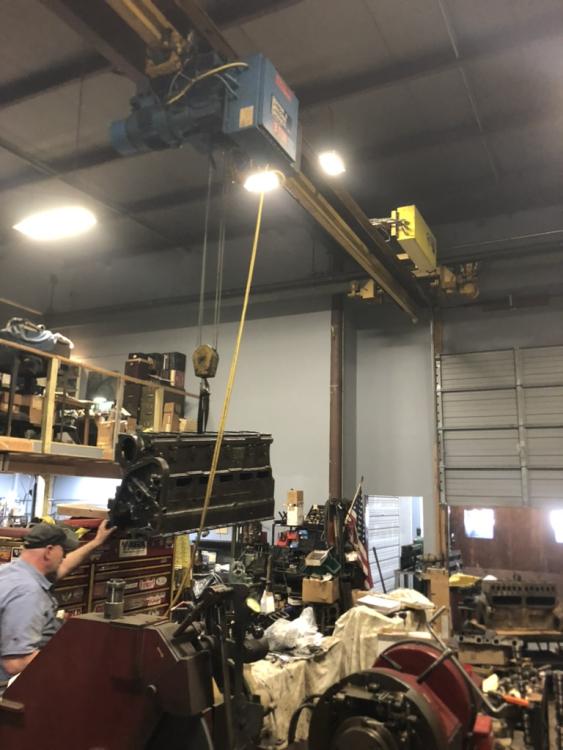
I think you're closer to 1500#'s or maybe a little more. When I swapped from a EN402 to a END673 all I had was a car lift rated at (supposedly) 3,000#'s. I did it by myself, no help. Wouldn't recommend it. I bent the lift and got it in without killing myself. The Cummins NH220 I've been messing with is 2,700#'s, quoted in the book I have for it. It's heavy and I don't mess around anymore. I borrow a 5,000# lift from a friend, now. If you have to move or lift it, make sure you have the right capacity equipment. Be safe don't hurt yourself or someone else.
-
1
-
1
-
-
Is that a top loader axle? I was thinking of you swapped to a RAD508 (or similar axle) front loader and the went to a CRD117 carrier, it would give you a much wider selection of ratios to choose from. I run CRD117's in both my trucks with a 4.62 ratio and a TRTL720. One has 22.5 rubber and the other 24.5 rubber. Granted, I only had limited test run time on the truck with the 24.5's, but I was turning 1650 RPM's and was going 73 MPH in 5th Hi-split. Just some food for thought.
-
1 minute ago, mechohaulic said:
when is Rocky possibly going to be there building? I sure would like to be there and watch (assist) the master. It's been a real long time. I'll even buy the coffee and.
Not sure, yet. I let him know the parts had arrived, today. I think we're probably 2-3 weeks out to start assembly. I'll reach out to you as we get closer to an actual date.
-
1
-
-
- Popular Post
- Popular Post
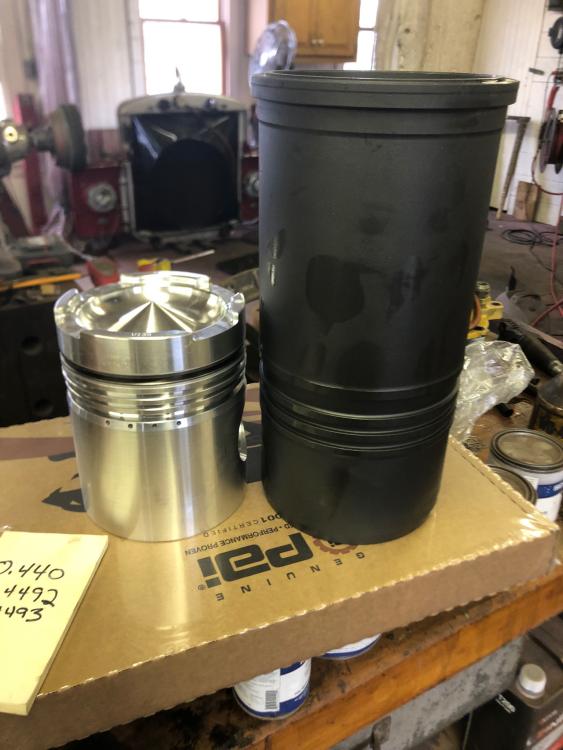
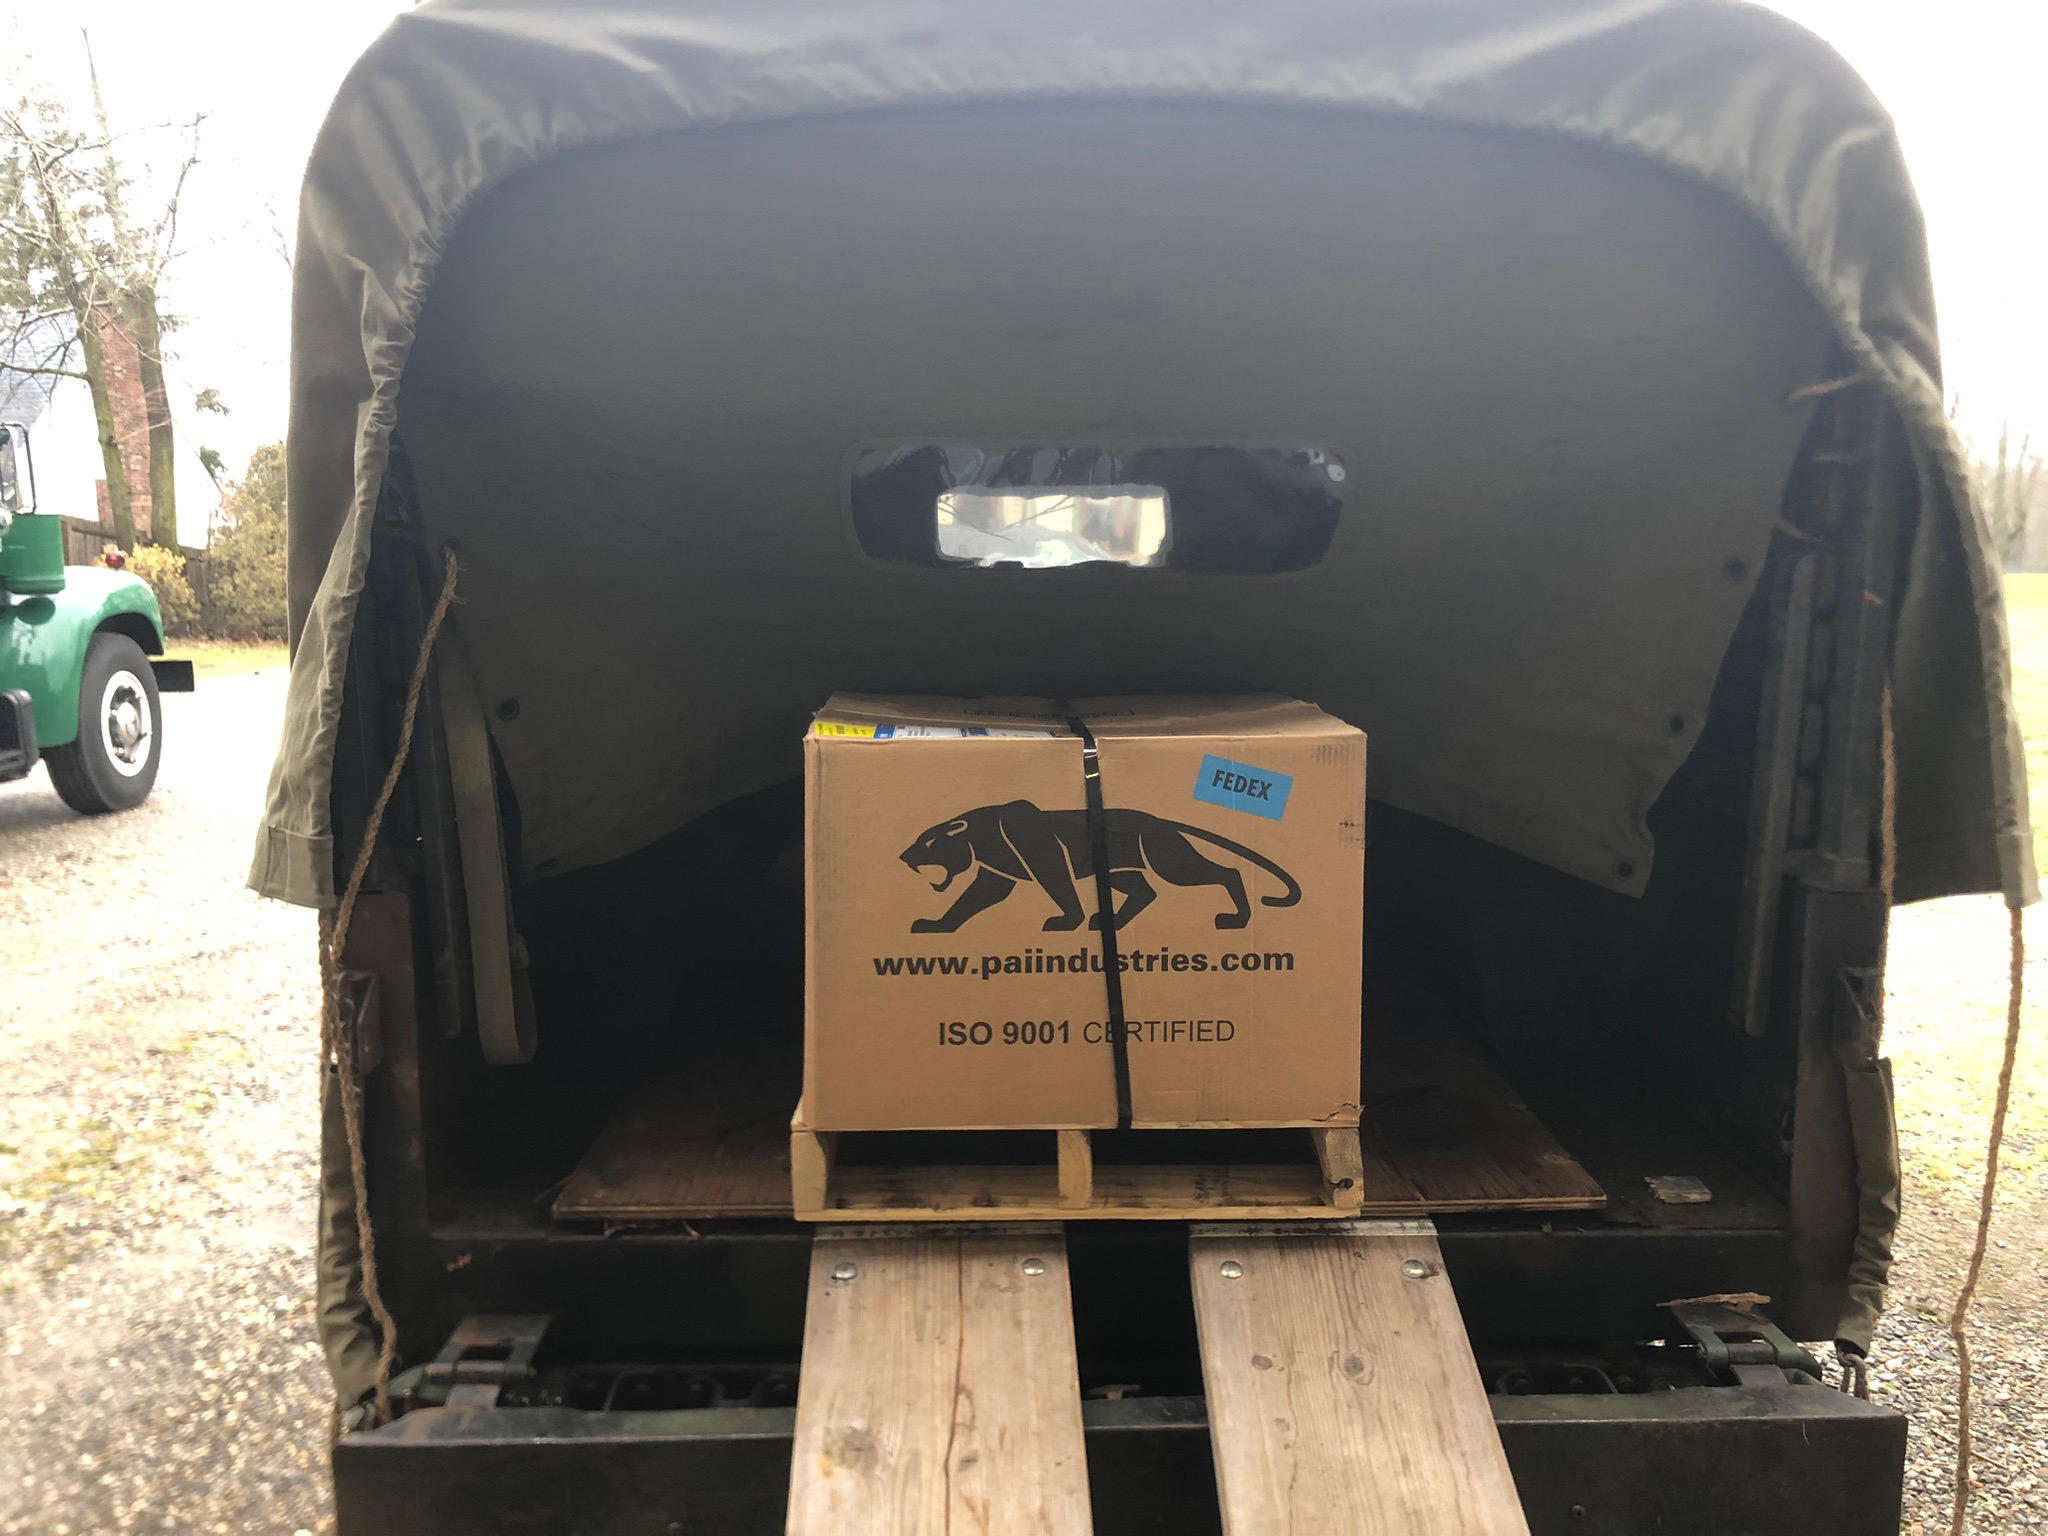
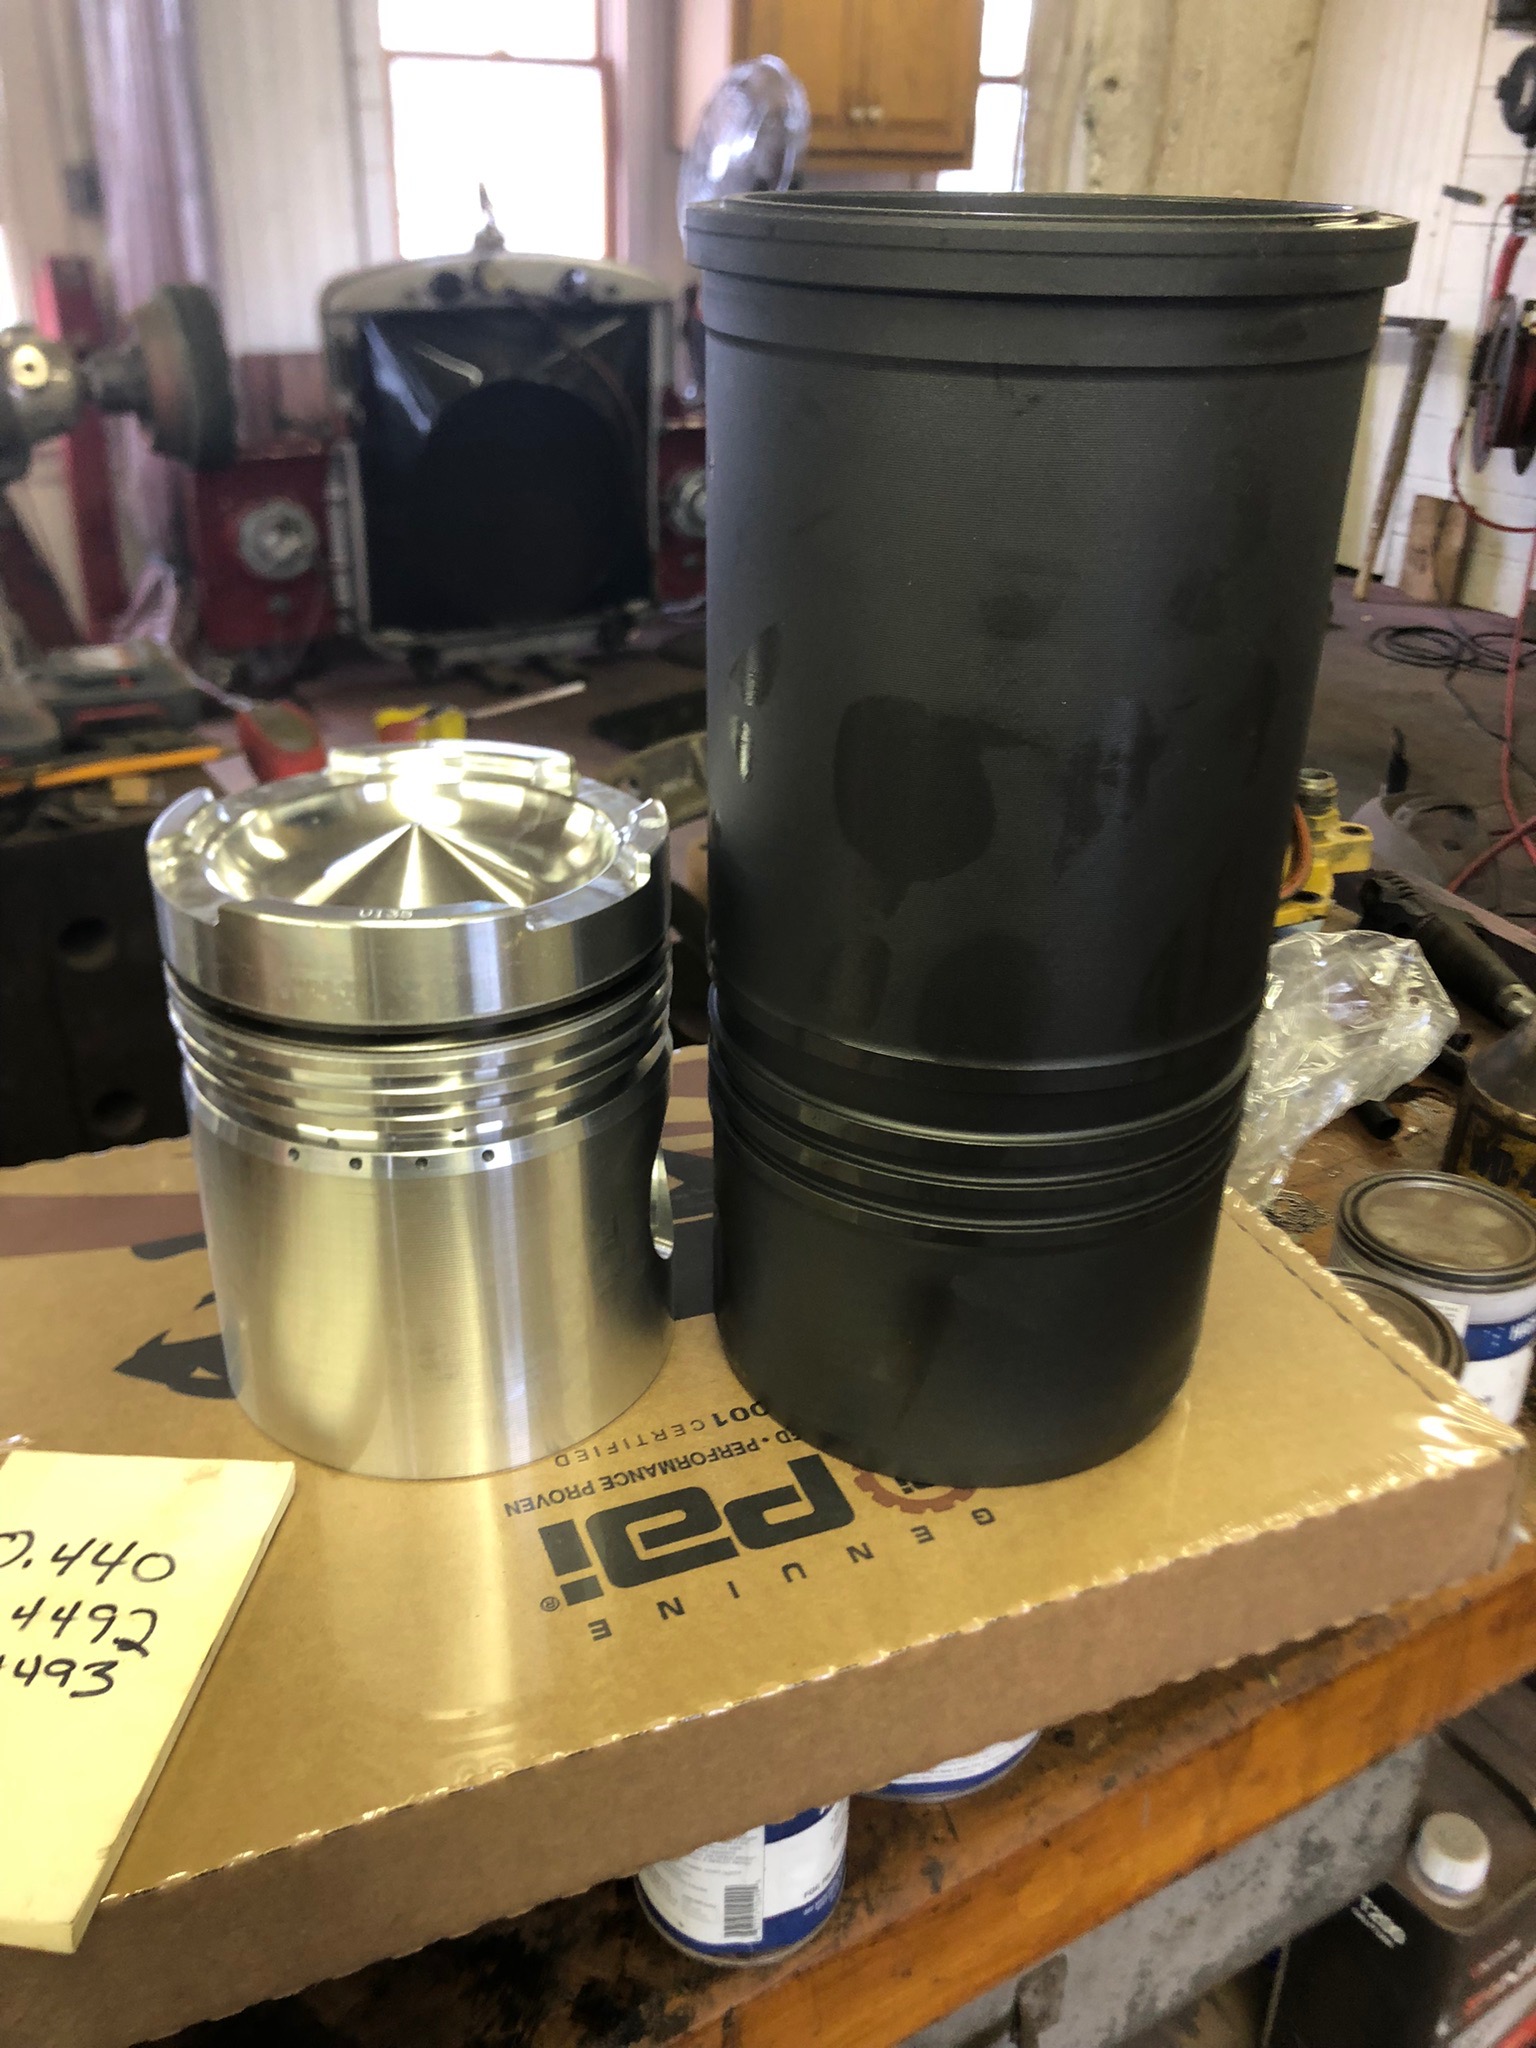
Christmas in January!!! The PAI liner kits and gaskets arrived today!!! Moving forward again, finally.

-
5
-
2
-
3 hours ago, Freightrain said:
Ugh, nothing but idling is torture on these engines.
Yeah, no doubt!! It's last use killed it.
-
- Popular Post
- Popular Post
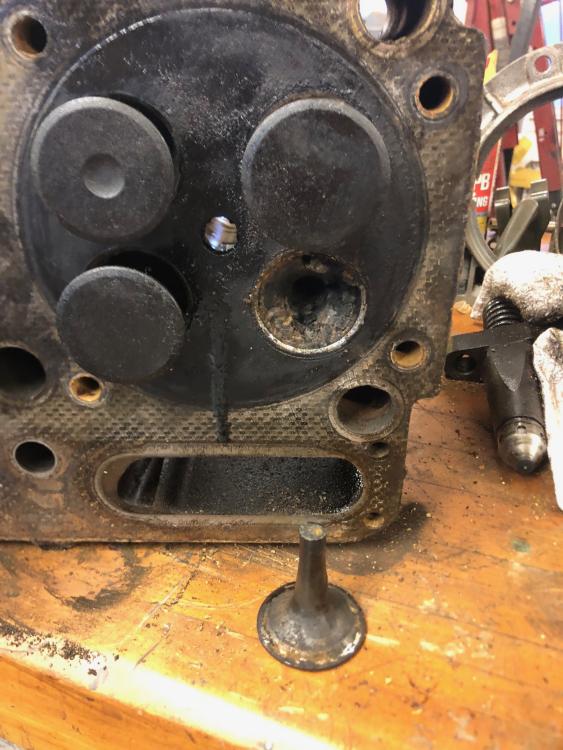
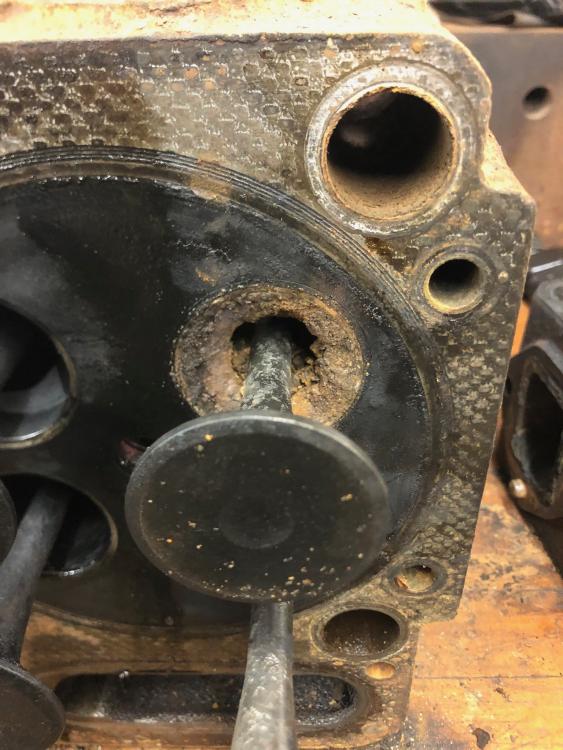
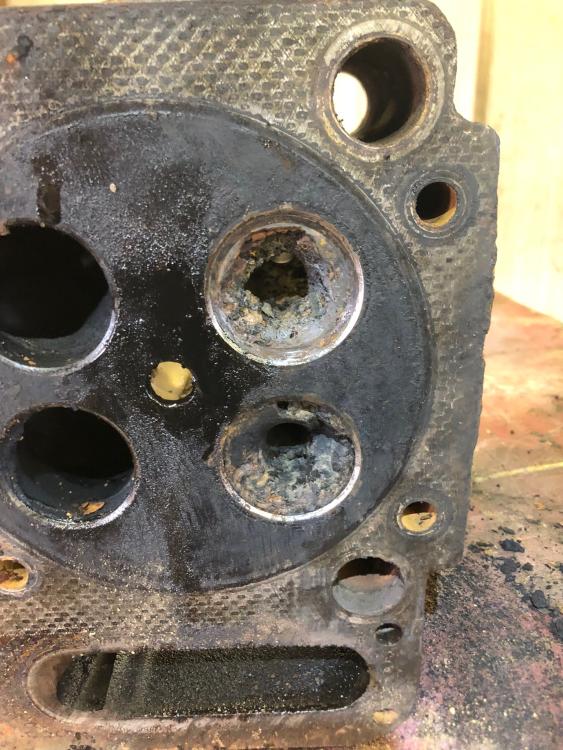
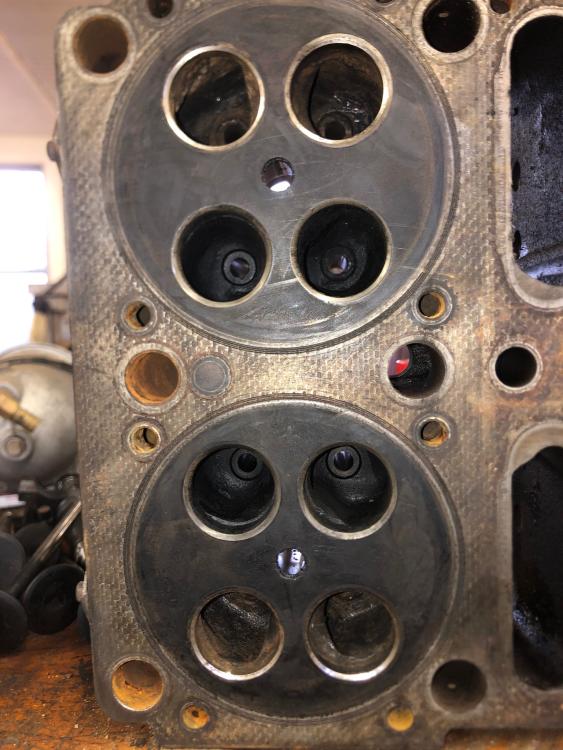
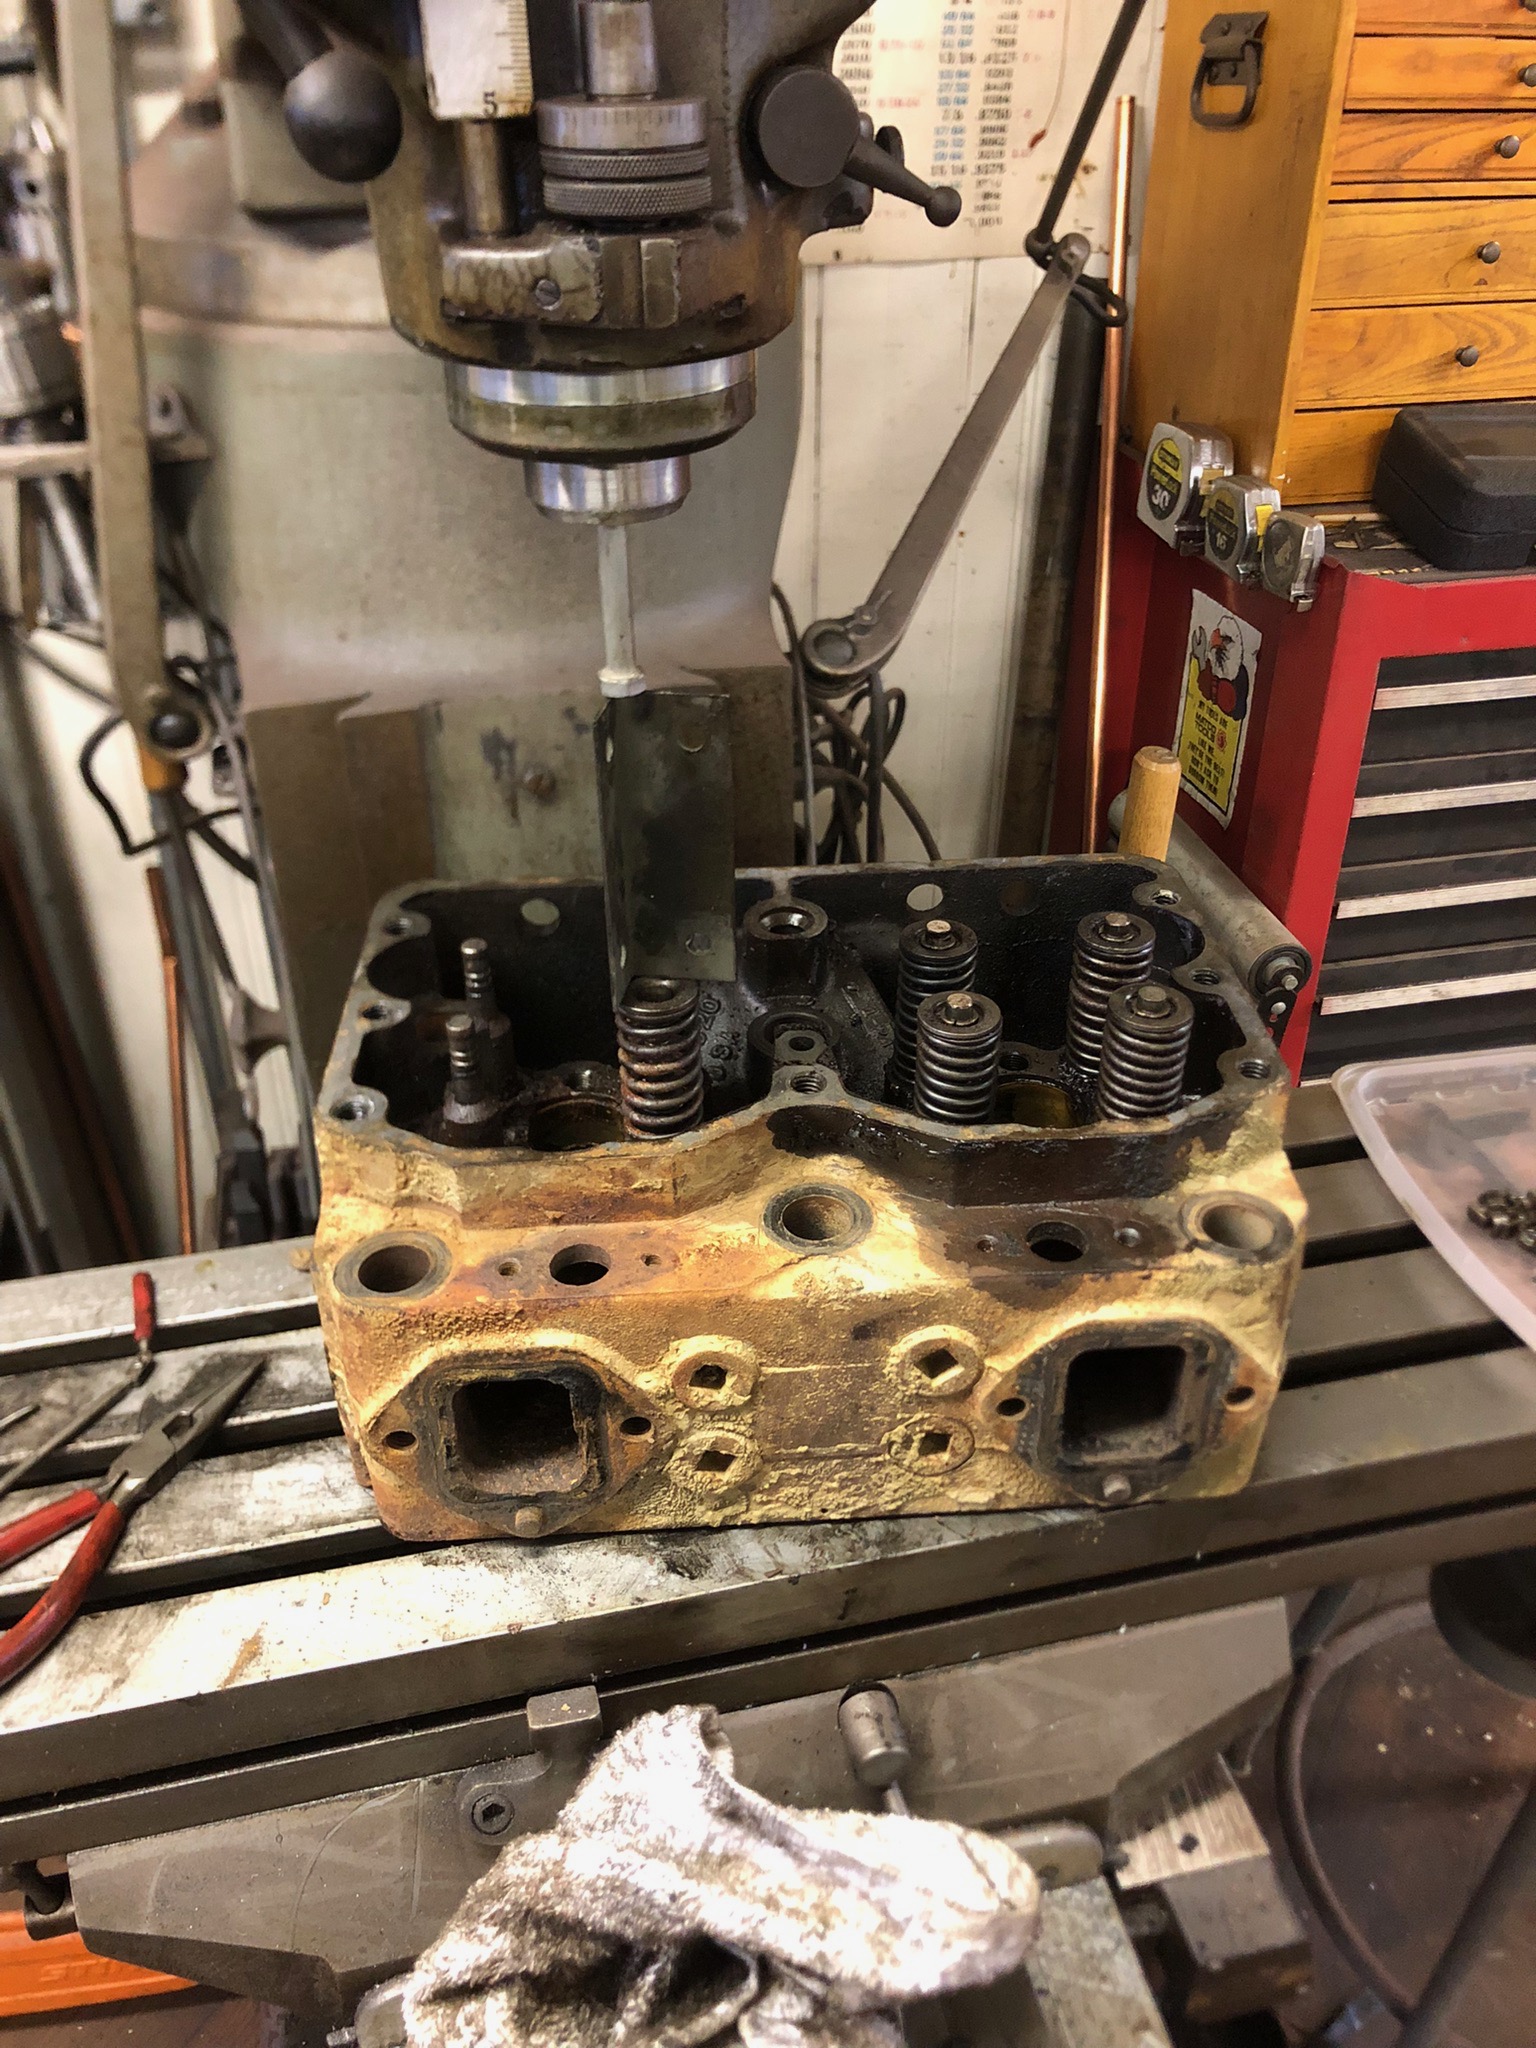
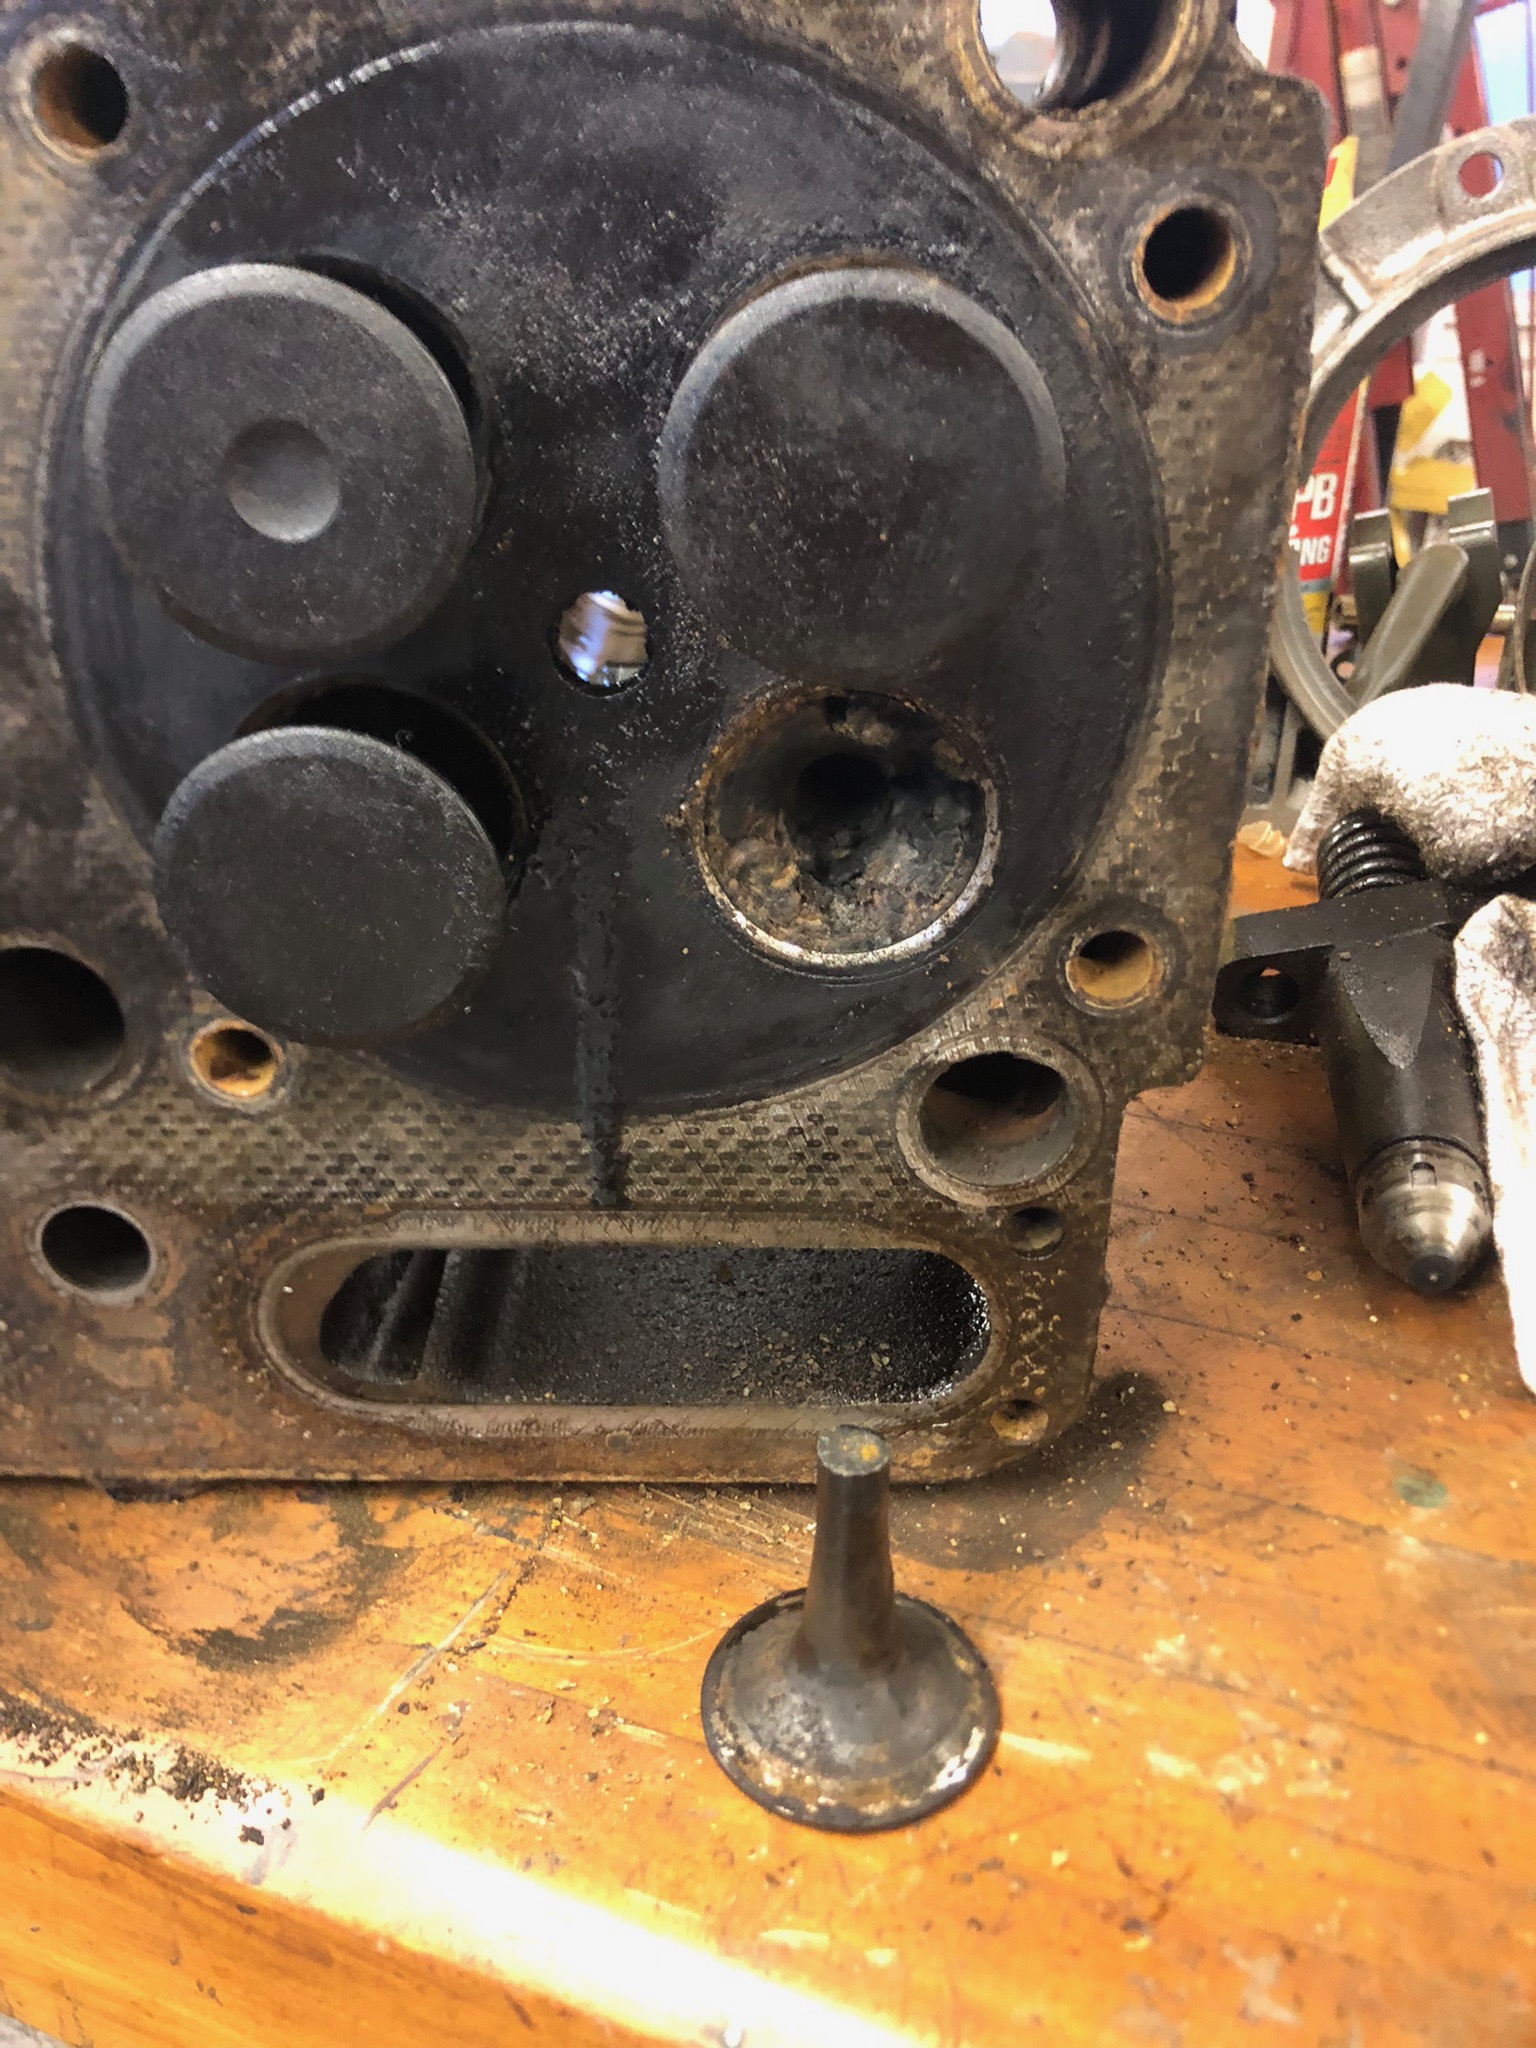
I've never seen heads so plugged up with carbon!! Or how did this engine even run?? Trying to keep these heads together with the donor block as they are matching with the 1964 dates. They went in the hot tank this morning along with block. Disassembled and cleaned them out beforehand. They'll need new valves and springs to start. We'll see about the guides and seats as we dig into them. I had a valve head literally drop off the stem as I tapped it out. Thank God no one ever tried to start it, as it would have self destructed in seconds. If it could even start!!
The engine came out of a truck that was last used as a yard truck before it was scrapped. So it never really got hot or run hard and I think that was the reason for so much coking. The Piston/Liner kit and gaskets are arriving tomorrow. Holding off on the bearings until we're certain which crank/ block were using. It was a huge relief to find out everything for a NH220 can still be had, with a little searching. Ralph Mahoney & Sons has been a huge help. I think I'm a few weeks away from the reassembly and Rocky is cued to help in that area. And back on track to getting this huge project done and back on the road!!

-
3
-
1
-
 2
2
-
I never realized that they did both the fender extensions and the extended radiator shell to fit that huge Hall-Scott in there. I always thought it was just the radiator shell, but I've never seen one in person or close ups pics of one. Kind've like using B73/75 and B71 parts to fit it in there. I know a Cummins is 6" longer than a Mack engine, so maybe the Hall-Scott is about 12" longer?
-
1
-
-
- Popular Post
- Popular Post
This is the style it should have, level, flat and rounded. If it is more angular with sharper features and has a more upright stance like the radiator mascot, then it's probably for an R Model or later.
-
3
-
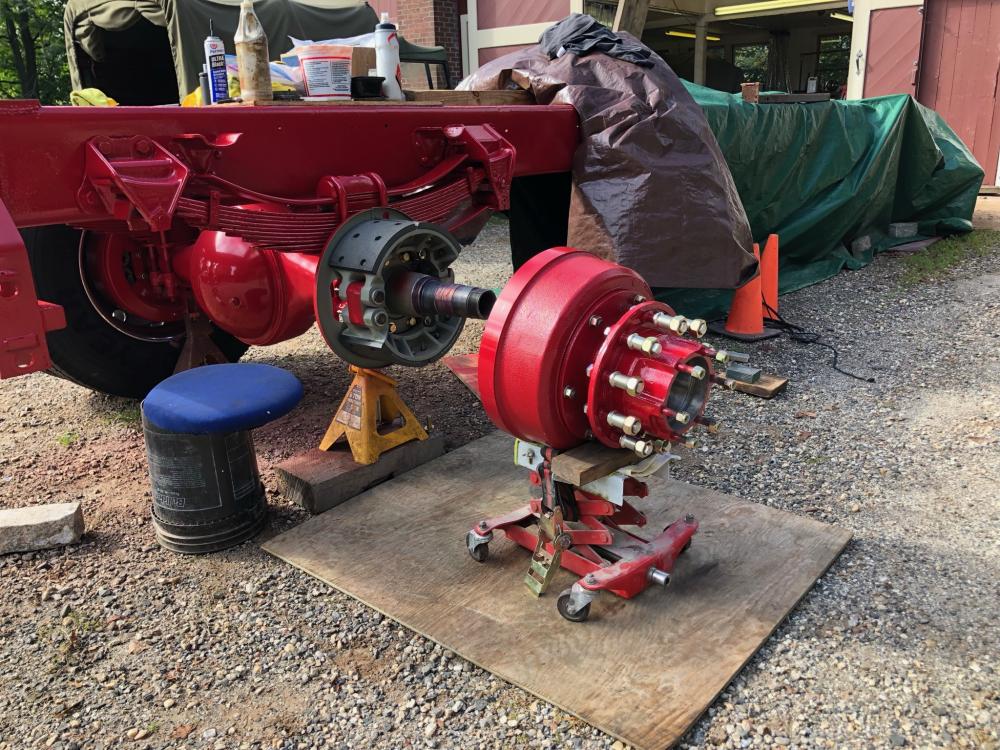
Not the easiest swap to do, but it can be done. Main problem, as you're finding out, is availability. Locating a set of hubs, front or rear, can be tough. I left the Dayton hubs on my B42, but swapped the rims to 22.5" on the FA505 axle. I like the look and the B model chrome hubcaps. On my B73 with a FA507 axle, I wanted to put Budd hubs on to run Alcoa rims because it has a lot of aluminum and stainless and I wanted that look. It was a whole separate project to do it, with a whole other project to add brake drums to the front hubs as they came off a truck without them. Matching up the the hubs to fit the axle/spindle arrangement can be problematic. It can be very time consuming tracking everything down and making sure it'll all fit.
My best advice would be to be patient and network through everybody you know and sites like this. Be adamant and keep asking everywhere you go about them. Some will surface. As others have stated, you can also work an axle swap to make it happen.

-
2
-
-
6 minutes ago, Mark T said:
Best to indicate the bell housing you put back on it.
Oh, I will go through that drill again. Both the bell housing and flywheel!!


BMT Forum Logo

B-73 Restoration
in Antique and Classic Mack Trucks General Discussion
Posted
All cleaned up. .30 cal and 5.56mm bore brushes plus some Viet Nam era rifle bore cleaner got the oil passages shiny bright. The Dremel has the exterior looking as new. I think it’s ready.