

doubleclutchinweasel
-
Posts
2,625 -
Joined
-
Last visited
-
Days Won
37
Content Type
Profiles
Forums
Gallery
Events
Blogs
BMT Wiki
Collections
Store
Everything posted by doubleclutchinweasel
-
WANT TO BUY Dog, and other small parts, Needed
doubleclutchinweasel replied to doubleclutchinweasel's topic in Parts Wanted
I thought it was funny, too. Vinny, if you're going to have a lop-sided truck, you might as well get used to it!Next time, make the cake offset to balance it out! "I kid because I care." (unknown) Kent -
WANT TO BUY Dog, and other small parts, Needed
doubleclutchinweasel replied to doubleclutchinweasel's topic in Parts Wanted
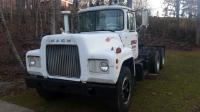
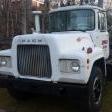
Here's an older one, and one the guys put on my 30-year job anniversary cake! I think I'm getting old!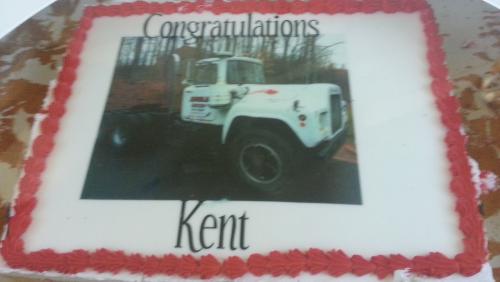

-
WANT TO BUY Dog, and other small parts, Needed
doubleclutchinweasel replied to doubleclutchinweasel's topic in Parts Wanted
Now it's starting to look right!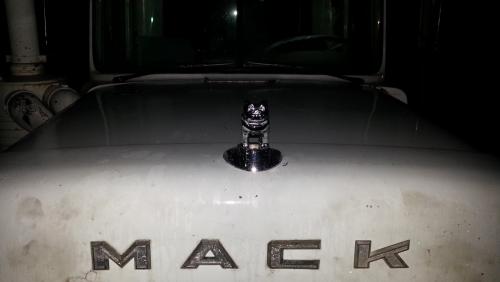
-
WANT TO BUY Dog, and other small parts, Needed
doubleclutchinweasel replied to doubleclutchinweasel's topic in Parts Wanted
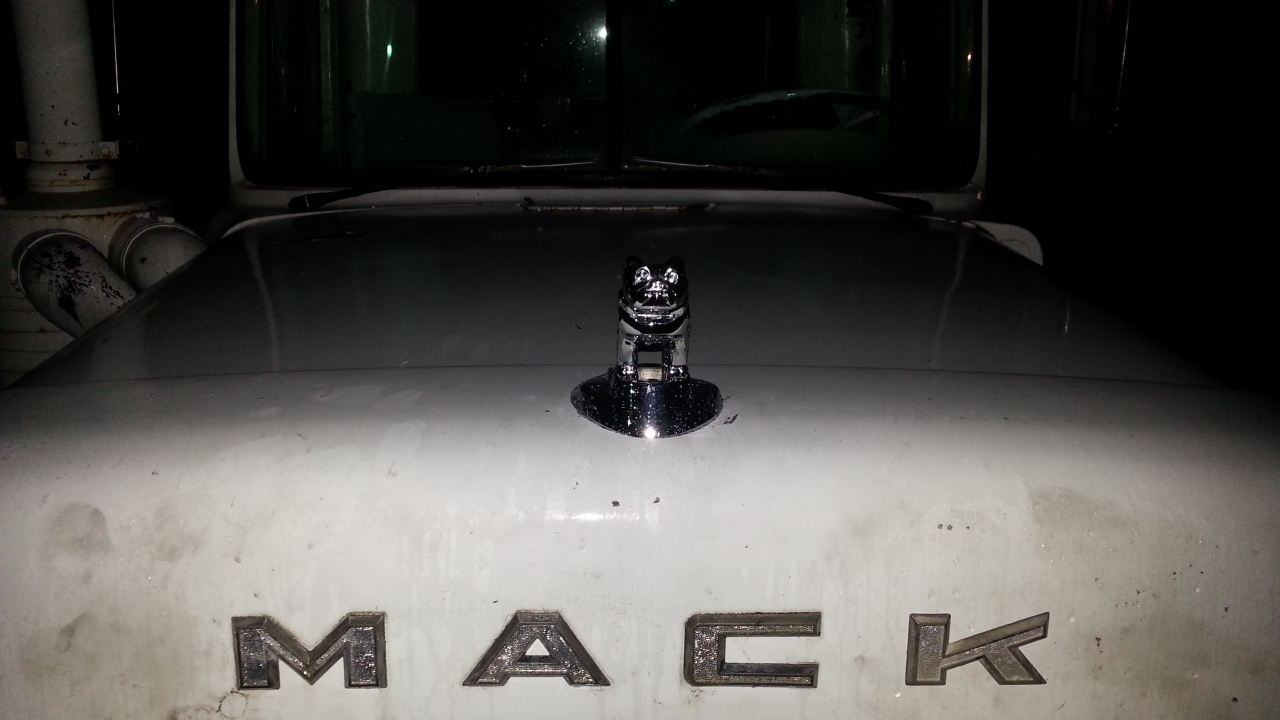
But, but. but, the dog is the shiniest thing on the truck!Superdog is selling me a "K". So, maybe I will have a "MACK", instead of a "MAC", in a few days! Had to make new gaskets for the thermostat and thermostat housing Friday. The silly thing had sprung a leak! Got them cut out and put in, though. And, I got the numbers off the thermostat, so I can find the right one whenever I need to. I hate having to do "repair" work along with the "restoration" work. Such is life... Kent -
WANT TO BUY Dog, and other small parts, Needed
doubleclutchinweasel replied to doubleclutchinweasel's topic in Parts Wanted
Ta-da!
-
WANT TO BUY Dog, and other small parts, Needed
doubleclutchinweasel replied to doubleclutchinweasel's topic in Parts Wanted
Yep!Tahnks, Vinny, Kent -
WANT TO BUY Dog, and other small parts, Needed
doubleclutchinweasel replied to doubleclutchinweasel's topic in Parts Wanted
That's what I hoped it was.I found some round "washers" off of something (shipping brackets off a washing machine, I think) in the garage. They were about 1/8" or 5/32" thick. Seemed to work prety well. Dog is sitting happily on the hood now. Superdog is going to send me a "K" for the front of the hood. Starting to look like a Mack...and the hood is a HECK of a lot easier to open! Kent -
WANT TO BUY Dog, and other small parts, Needed
doubleclutchinweasel replied to doubleclutchinweasel's topic in Parts Wanted
Got the dog and base today. Looks practically new. Will definitely be the shiniest thing on the old truck! On the underside of the hood, where the dog attachment bolts pass through, there is a metal re-inforcement "strap" to protect the fiberglass. There obviously used to be another "backing plate" of some kind on top of that, as there is a distinctive imprint in the paint. The imprint appears to be about the same 4-1/4" diameter as the base under the dog. Does anybody have one (R, U, DM) sitting in their yard and can tell me what this missing plate looked like? Is it just a flat plate? If so, what thickness. Or, is it some sort of stamped shape? Thanks, everybody! Kent -
WANT TO BUY Dog, and other small parts, Needed
doubleclutchinweasel replied to doubleclutchinweasel's topic in Parts Wanted
Well, the dog and base may have evaporated. Had one of my friends who's an eBay regular bid on one for me. Got it for a reasonable price. Estimated delivery was yesterday. No dog today. EBay has no tracking data for it yet. No response from seller yet, either. Not sure if he's off doing the Thanksgiving thing, didn't like the price he got (HE set the reserve, not me), or what. Will give it another day or two, then get pissed-off. This is just one of the reasons I hate dealing with eBay. While most sellers are very responsive, some just plain suck. I can't believe nobody on here has any parts I could buy! Kent -
WANT TO BUY Dog, and other small parts, Needed
doubleclutchinweasel replied to doubleclutchinweasel's topic in Parts Wanted
So, you wanna part with any of it? Prices? -
WANT TO BUY Dog, and other small parts, Needed
doubleclutchinweasel replied to doubleclutchinweasel's topic in Parts Wanted
Mine is a '70, & it has the small. Maybe changed when the cab changed (72-ish)? My letters are almost dead on 2" tall. Maybe somebody else knows the size of the larger ones. Anybody got any small letters???!!!!!! Kent -
WANT TO BUY Dog, and other small parts, Needed
doubleclutchinweasel replied to doubleclutchinweasel's topic in Parts Wanted
Dog on the way. Anybody ever find a spare "K" in their stuff? Kent -
I used no impact tools. That's some difference. Also, I had a lot of cleaning to do. Still, you be smoking'! Kent
-
Mine had the seal ring slipped-on, with an o-ring seal, and an index pin. The two sides were different. One had a captive o-ring in a groove in the seal ring. One had a recess in the seal ring which located the o-ring. Must have been replaced at different times. Took the knuckles to work today and used the arbor press to make the in-and-out a little easier. Also cleaned on them some. I got everything back together this evening. Worked on it about 4 hours yesterday, and about 10 today. So busy I forgot to take pictures! Since you did yours so much faster, you must be a lot better mechanic than I am! Either that, or you had all the right tools and parts. My wife said you may have also had a pit crew! Took me the better part of an hour to indicate the wheels in and get them torqued-down nice and straight. Drove it down the road. Much less wallowing and wobbling in the front end. Steering noticeably tighter. Got back home and topped-off the oil levels in the hubs by flashlight. Have a hood ornament coming. Should be here next week. That may be all for this winter. Well, maybe replace the LQ-2 valve for the front brakes (leaks a little). But, that's not too bad. More to come... Kent
-
Thanks everybody. I took the tires & wheels off. Drained the oil-filled hubs. Took off the nuts & washers. Pulled the outer bearings out. Backed off the brakes. Pulled the hubs off. The wear rings came out with them. They are o-ringed to the spindles, not pressed on. Took the backing plates off. I need to get the seal rings out of the seals. They are indexed by a pin, so I will need to install them first before the hubs go back on. Tomorrow I'll start taking the knuckles apart. Wish me luck! Kent
-
Did yours use the needle bearing on the top side? Yours have brakes on this axle? Kent
-
So, I ordered the kingpin/bushing set this morning. Should have it this week some time...maybe in time to work on it this weekend. I was debating whether to pull the wheel/tire/hub off as a single unit, or to take the wheel/tire off first. Any advice? I'm assuming you put new seals in the hubs, while you had them out? Also, did you "drive" your bushings/seals in & out? Or did you have access to an arbor press? And, in general, anything you might remember about this, and would be willing to share, would be much appreciated. I hope to have some pictures to post, once I get it all torn down. I'm just hoping and praying the knuckles are good, once i get them stripped down. I'm due for SOMETHING to go easy on this thing! Kent
-
WANT TO BUY Dog, and other small parts, Needed
doubleclutchinweasel replied to doubleclutchinweasel's topic in Parts Wanted
Ever find out if you had any letters or other bits and pieces? Kent -
WANT TO BUY Dog, and other small parts, Needed
doubleclutchinweasel replied to doubleclutchinweasel's topic in Parts Wanted
Cool. Let me know what you find. I was just looking on eBay and CraigsList for some of the other stuff. Also thought I might want to check the "For Sale" stuff here (Duh!). Thanks, Kent -
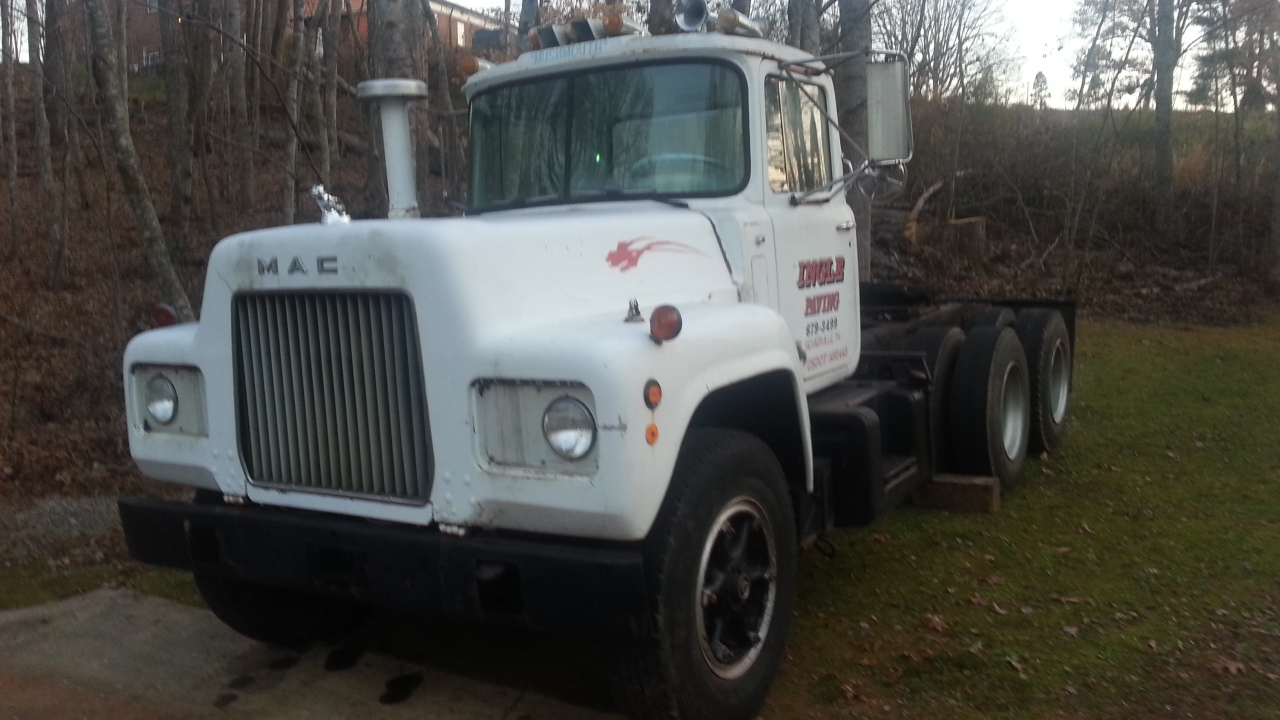
Okay! I promised myself I wouldn't "waste" money on cosmetic parts this early on. But, I need to fix a couple of things which are driving me CRAZY (I know...short trip). I need a dog for the front of my R600. I need the WHOLE dog, with base. This is the "old", flat-hood type (R, DM, U). Mine was stolen long ago. I don't want to spring for a new set just yet. I'll do that when I do the cab and hood work. I just need a usable one for now. Same deal for the "K" on the front. Mine is missing. This is, again, the "old" type, which are much smaller letters than the later stuff. Finally, I could use the Mack scripts off the sides of the hood (both sides). Dog, "K", and "Mack" scripts...in that order. Reasonably priced. Don't need "new" quality...just decent stuff (for now). I'll buy all brand-new parts as needed when I get to the body work. I just can't stand looking at that missing dog, or that "MAC" on the front any longer! (see my logo) What's anybody got??? Kent
-
Sounds like a plan. Love to see the results. Kent
-
Yeah, I just tied in to the flex somebody had already run from the down pipe to the back of the cab. It was in perfect shape, so I didn't figure there was any point in replacing it. The little hanger I made makes this mounting very solid. I don't know if the bracket may need re-inforced to keep from straightening out or not. If it does, I'll pull it off and add a "spine" to it. But, like I said, it seems very solid now. Best of luck on yours, Kent
-
It was pretty easy. Even the bracket was not too hard. Good luck. And let me know if I can offer any info. Kent
-
Awesome, Dude!
-
Cool! Why am I not surprised that you posted the first reply, Vinny! I look forward to seeing yours, too. I'm trying to keep this thing on a budget, & making my own parts goes a long way. I hope seeing these posts will help somebody else who's in the same boat. Kent


BMT Forum Logo
