

doubleclutchinweasel
-
Posts
2,625 -
Joined
-
Last visited
-
Days Won
37
Content Type
Profiles
Forums
Gallery
Events
Blogs
BMT Wiki
Collections
Store
Posts posted by doubleclutchinweasel
-
-
Legal action? Uh, ok. I'm positive The U model won't be at Macungie. Won't be finished yet. That's ok though, I want it to take long.
But it still might fall over...
-
Our mb pumper steers quite well, it dose have one heck of a tight steering radious though.
MB is one of those trucks that you can't help but like. First time I saw that old MB flatbed, I thought of how ugly it was. But, it kinda' grows on ya'. I guess that's par for the course for us Mack guys. Who else would think a bulldog looks good! The MB just plain looks "tough".
-
I drove it today runs great you gotta man up to steer it though.
I drove an MB flatbed when I was YOUNG. Steering wasn't too bad...as long as you could get up on the wheel and run around it like a squirrel in a cage!
-
 1
1
-
-
I'm still in the hunt for a Mack MB tractor single or tandem axle. I know these trucks are in most cases shot but hoping somone knows where one is sitting. The truck don't have to be in show condition just have solid sheet metal around the windshield and drip edge around top of cab and hopefuly have a title or some type of paper work to it . I'm looking to spend 2 or 3 grand depending on condition and distance from home. If anyone has any leads let me know. Thanks
Rudy
84superdog (I think it is) has a single-axle MB listed.
Kent
-
any body interested in what appears to be an old overnite MB, Ill have it here at my house soonI guess I just couldnt let it go to the scrap yard so I paid way too much for it so hopefully one of the other Mack nuts here will want it its a Mack diesel, duplex trans, dual fuel tanks runs and drives got some rust though, still has the tachograph in the cab too. Might trade for some E9 stuff, or a B or R model.
Wasn't there a "wanted" post from somebody looking for an MB tractor recently?
-
Welcome! If nothing else, some of the posts are...uhh...entertaining!
Kent
-
1
-
-
Nice work.
You can't beat the old one for cool looks, but your hand will certainly appreciate the new one!
Exactly!
-
lookin' good, a job done right!Nice job!
 Well done!
A square peg and round hole is not a problem for Mack people.
Jim
Thanks, everybody!
This was a lot more work than welding a bolt on top of the stick. But, it should be very durable...and it's certainly cleaner!
-
1
-
-
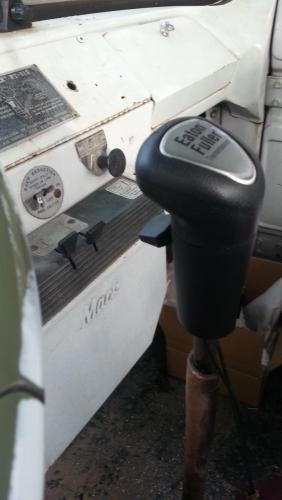
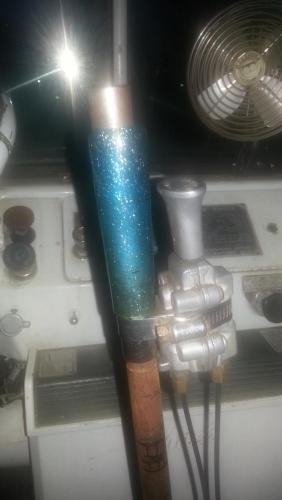
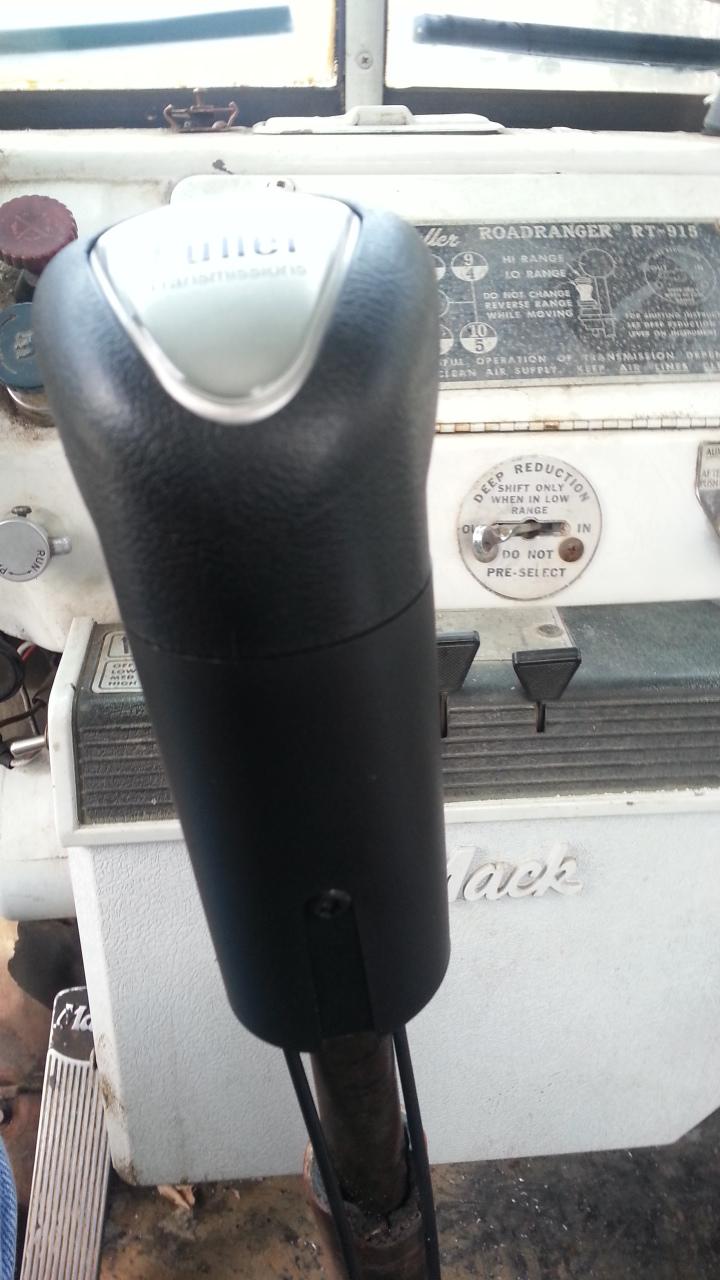
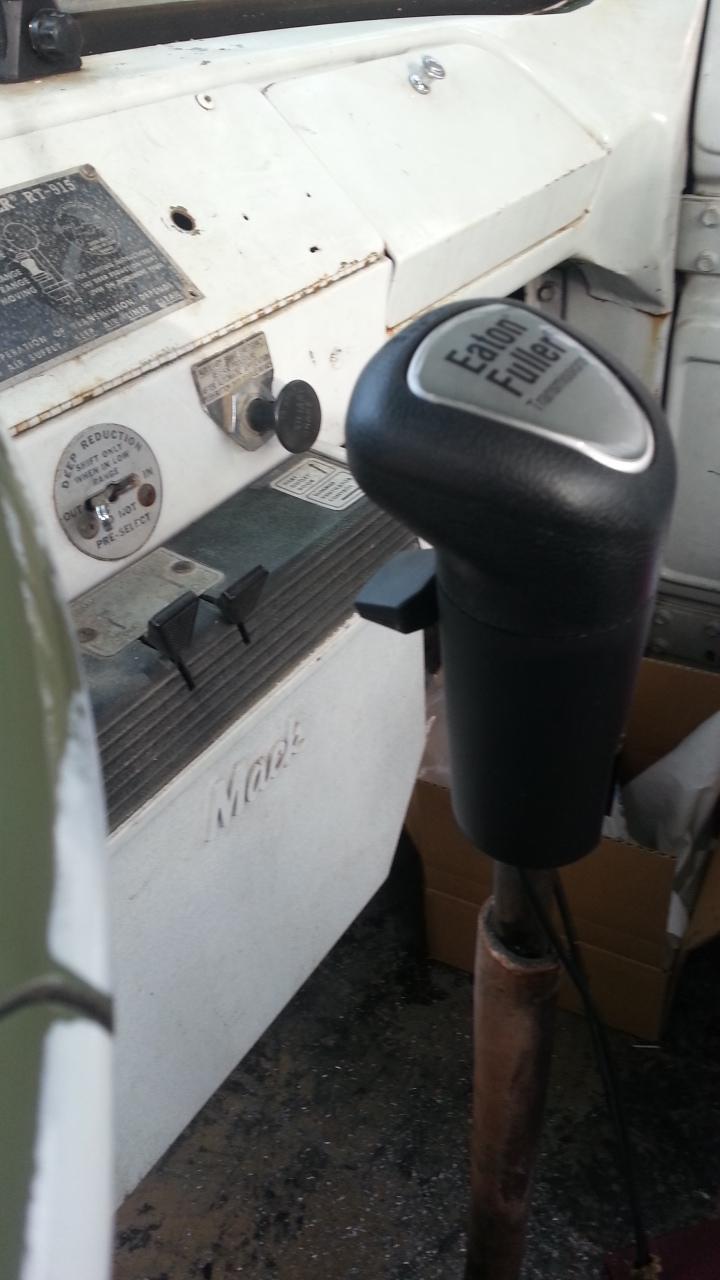
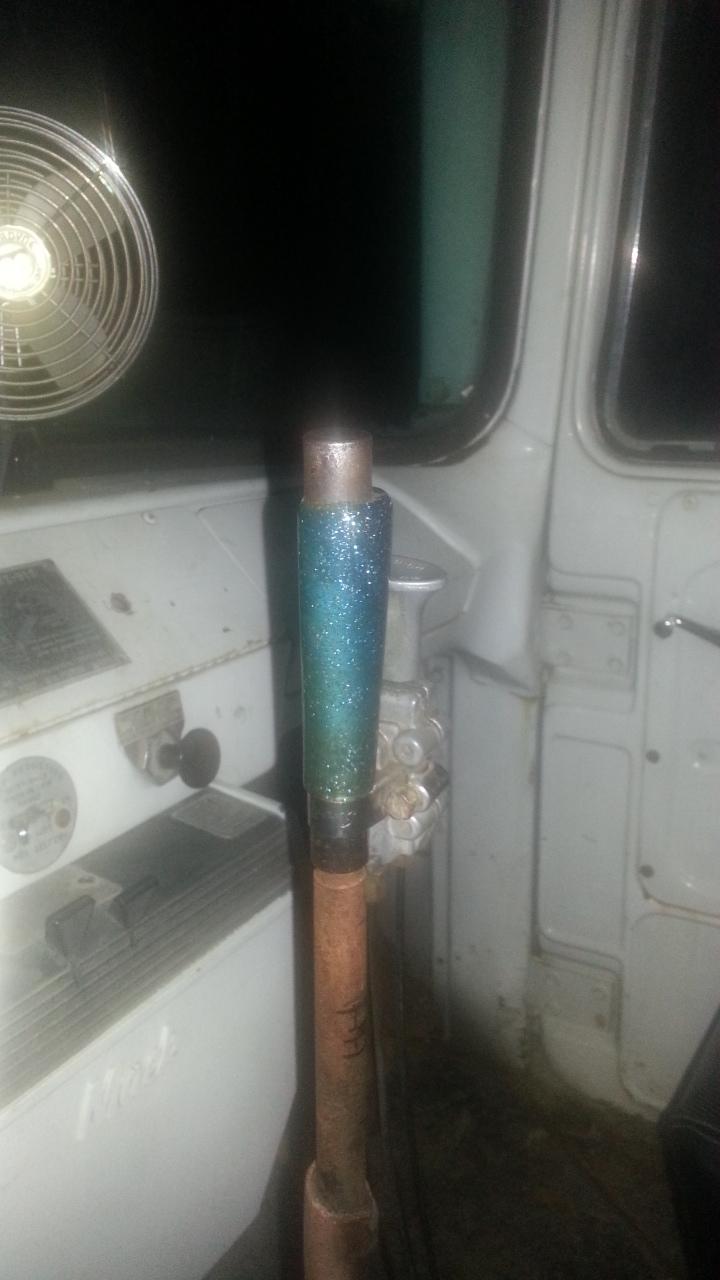
This looks and feels SOOOO much better now!
In reverse, it's about the same height as the bottom-right section of the steering wheel.
-
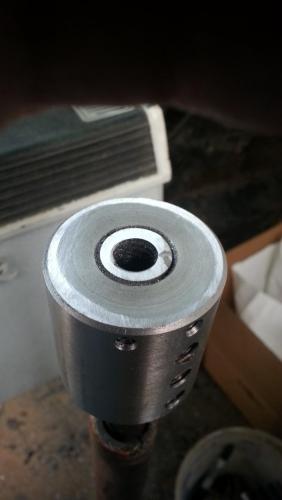
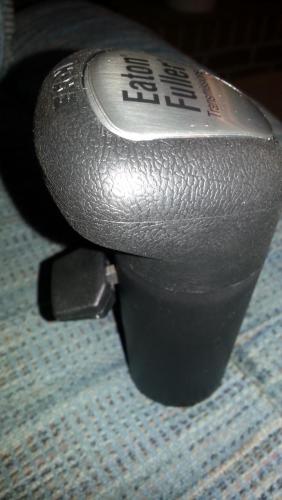
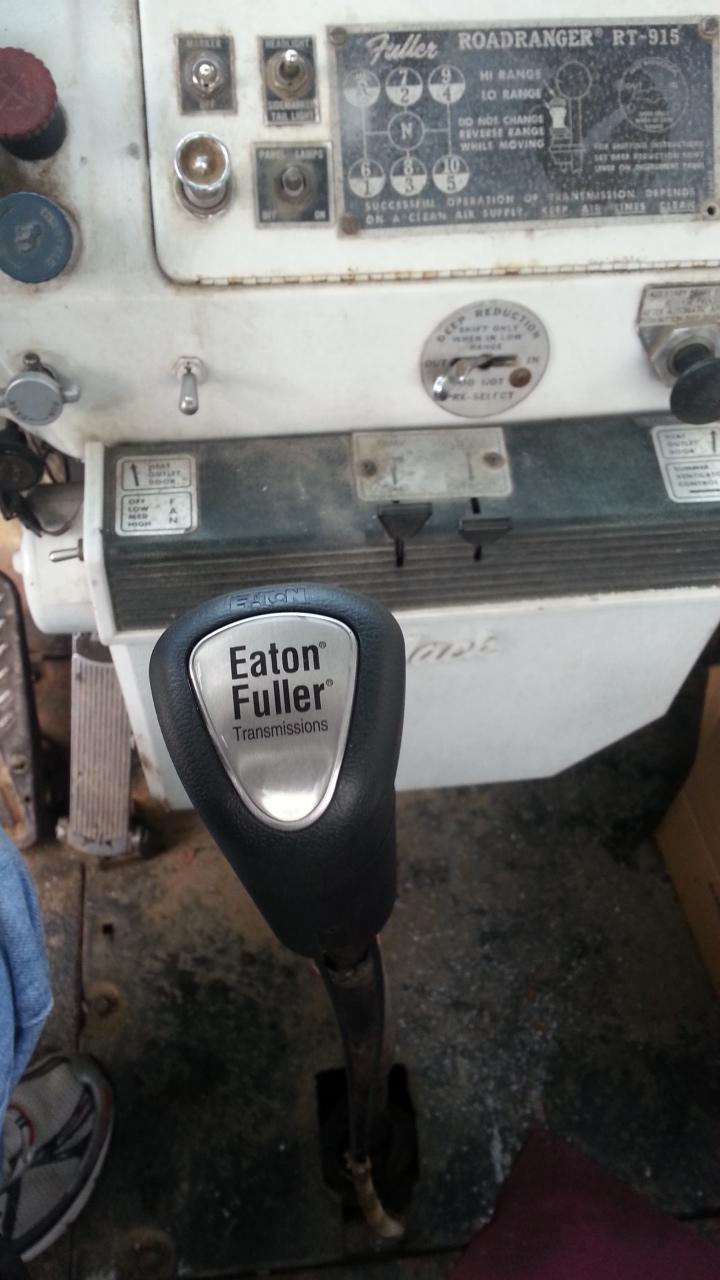
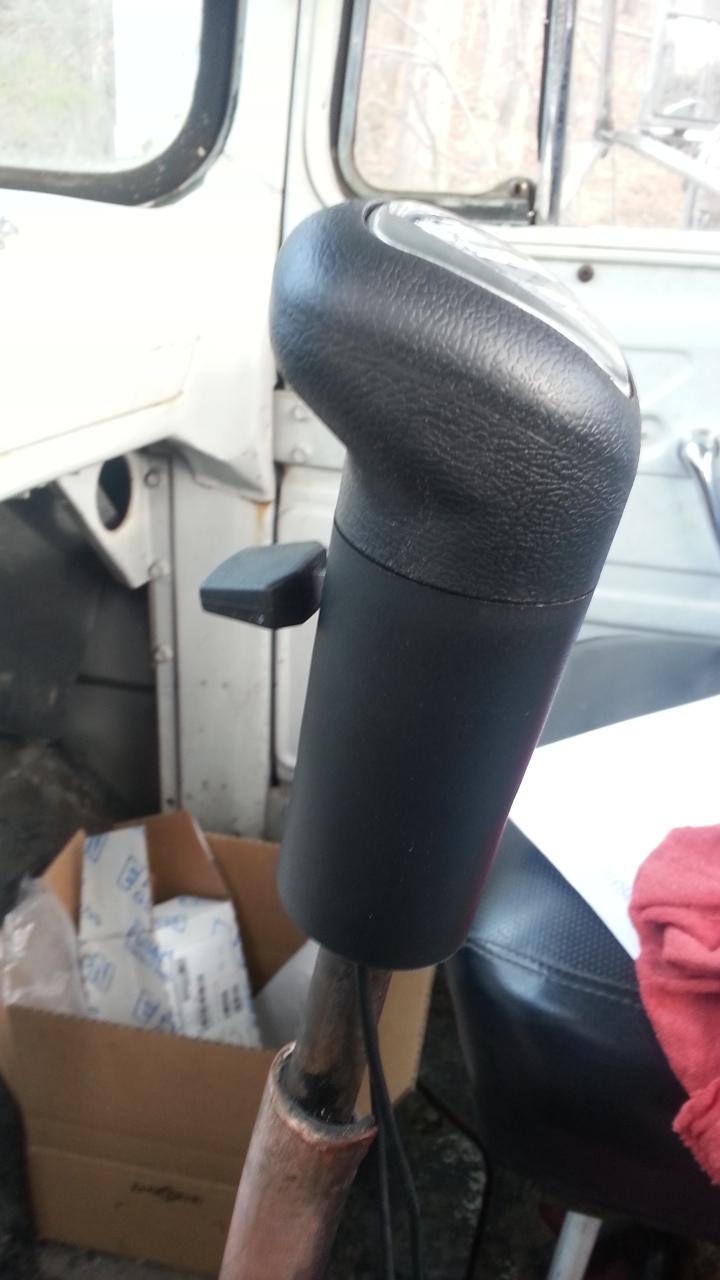
Finished knob installed.

-
Set screw in place.

-
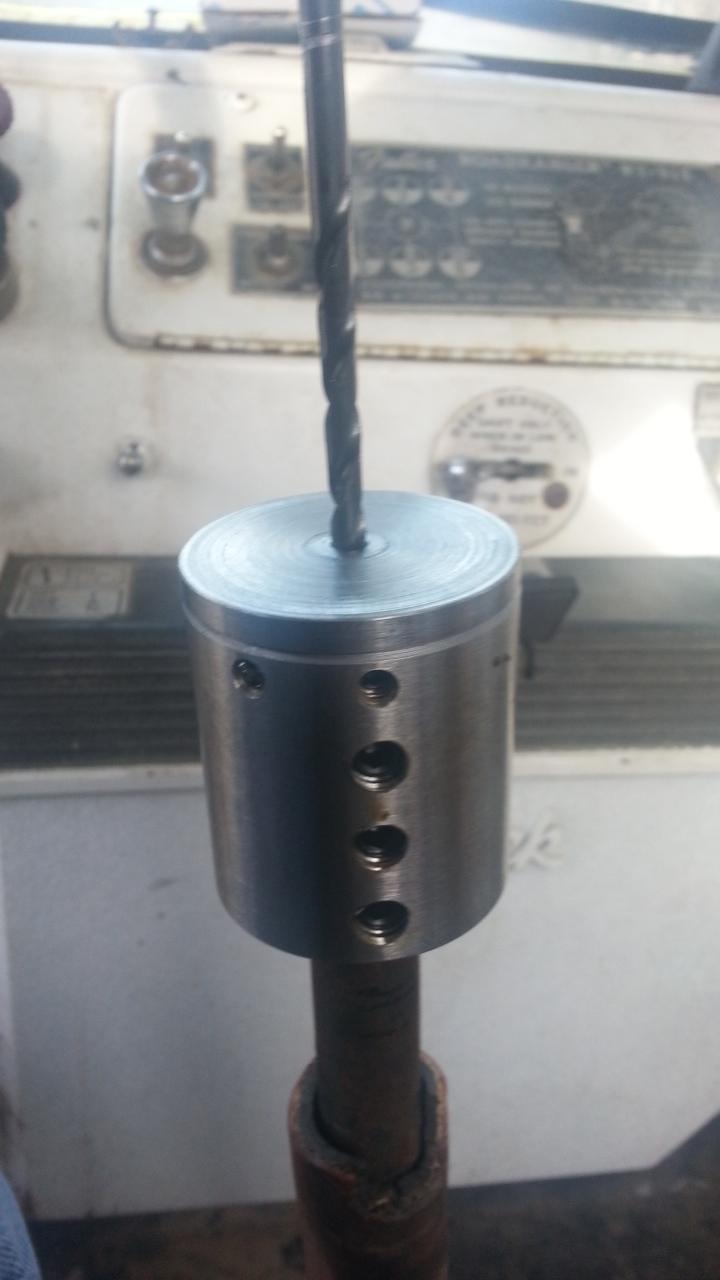
Using jig to file top of stick square and "index" knob.
-
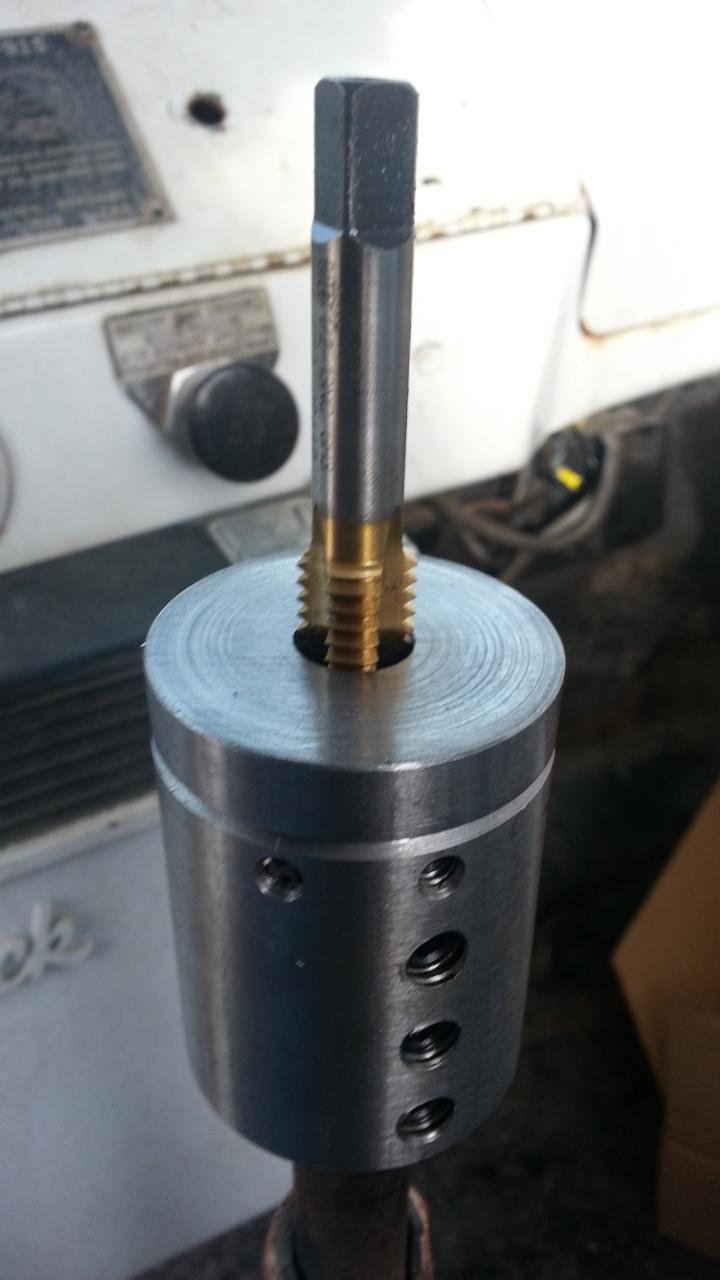
Drill jig with 1/2-13 tap bushing.

-
Drill jig with 27/64" bushing.

-
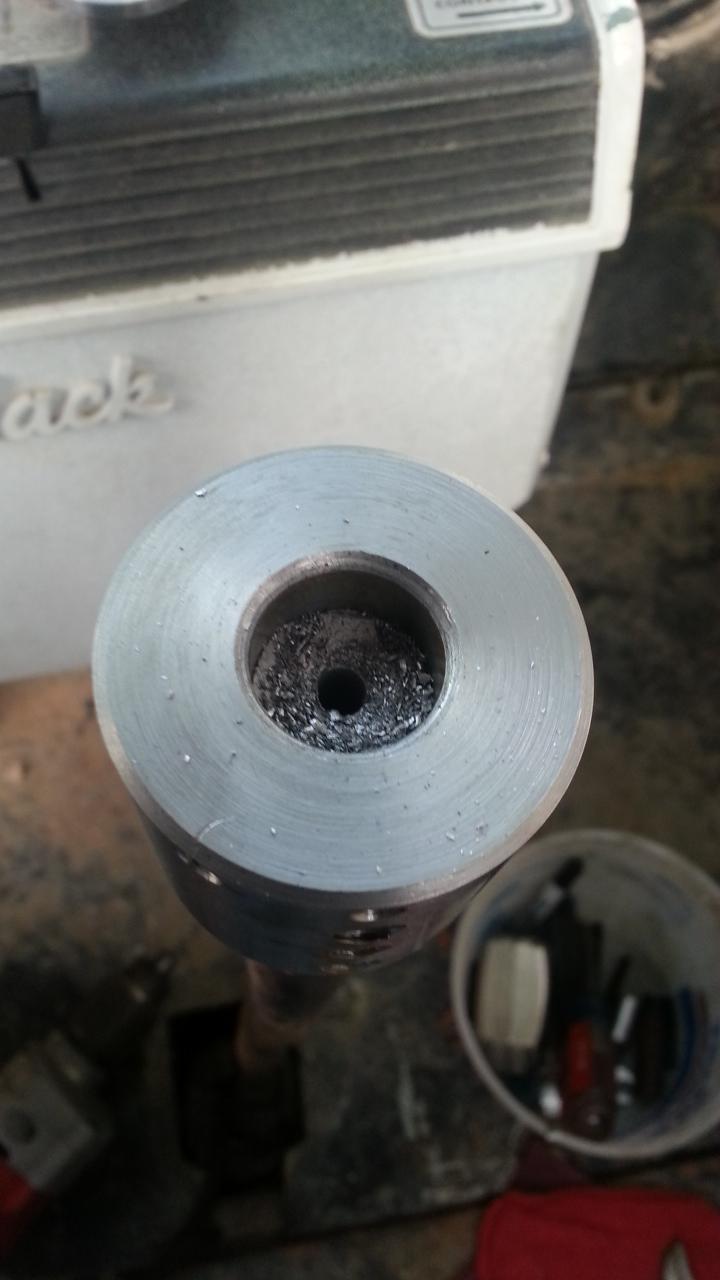
3/16" pilot hole.
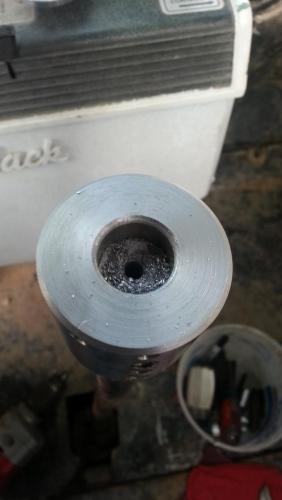
-
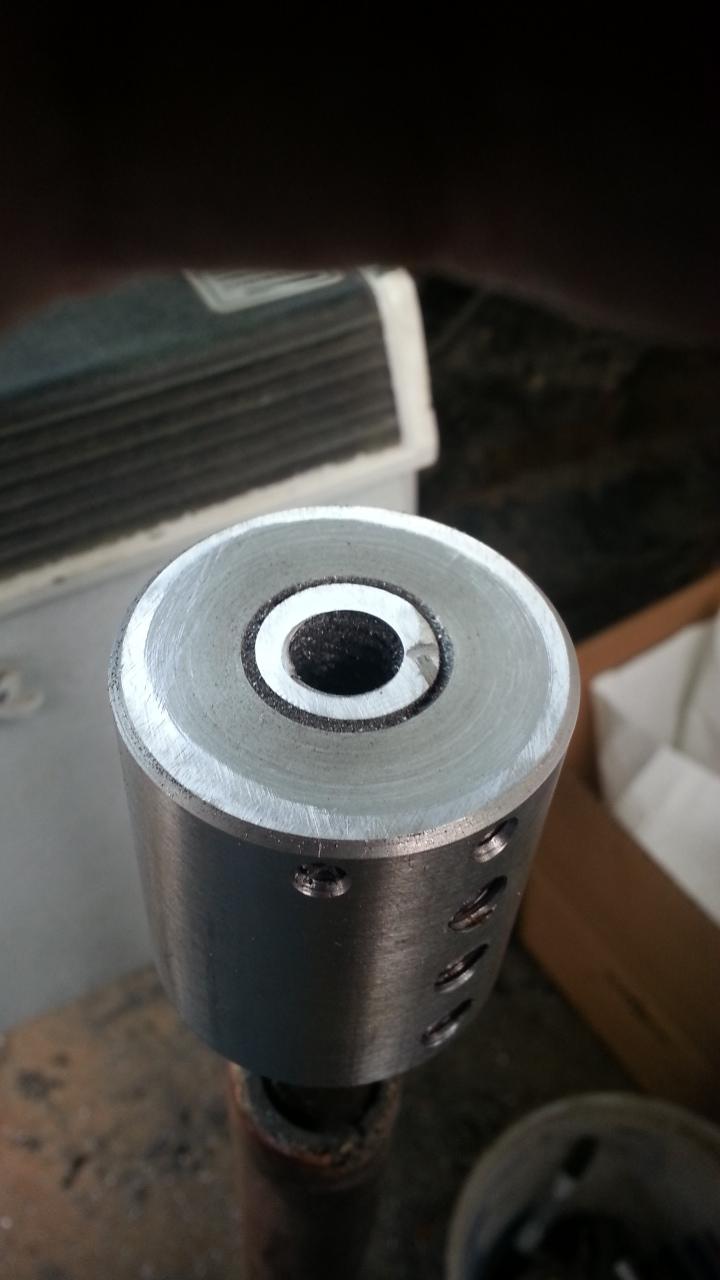
Drill jig in place with 3/16 bushing
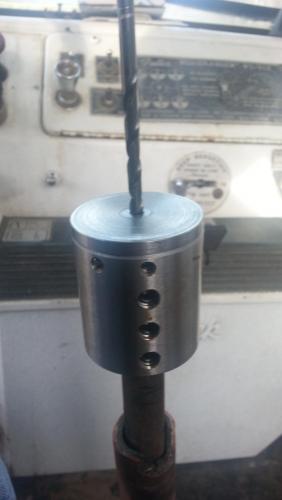
-
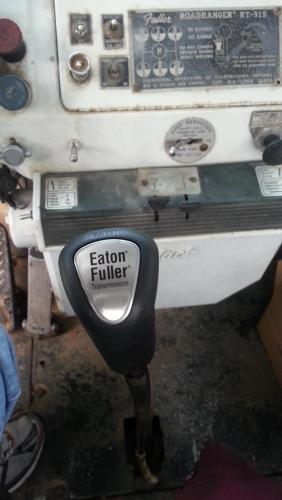
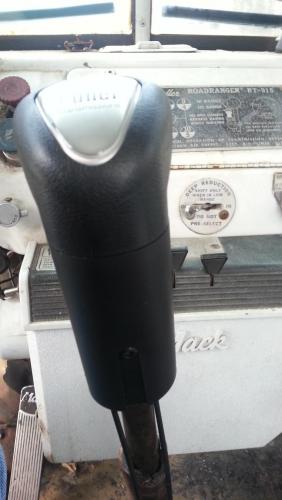
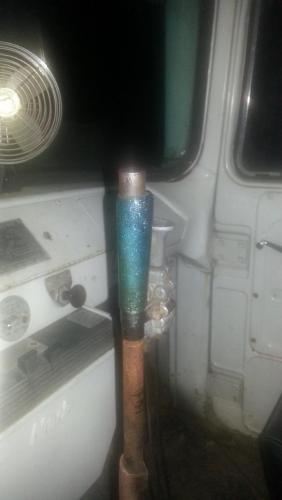
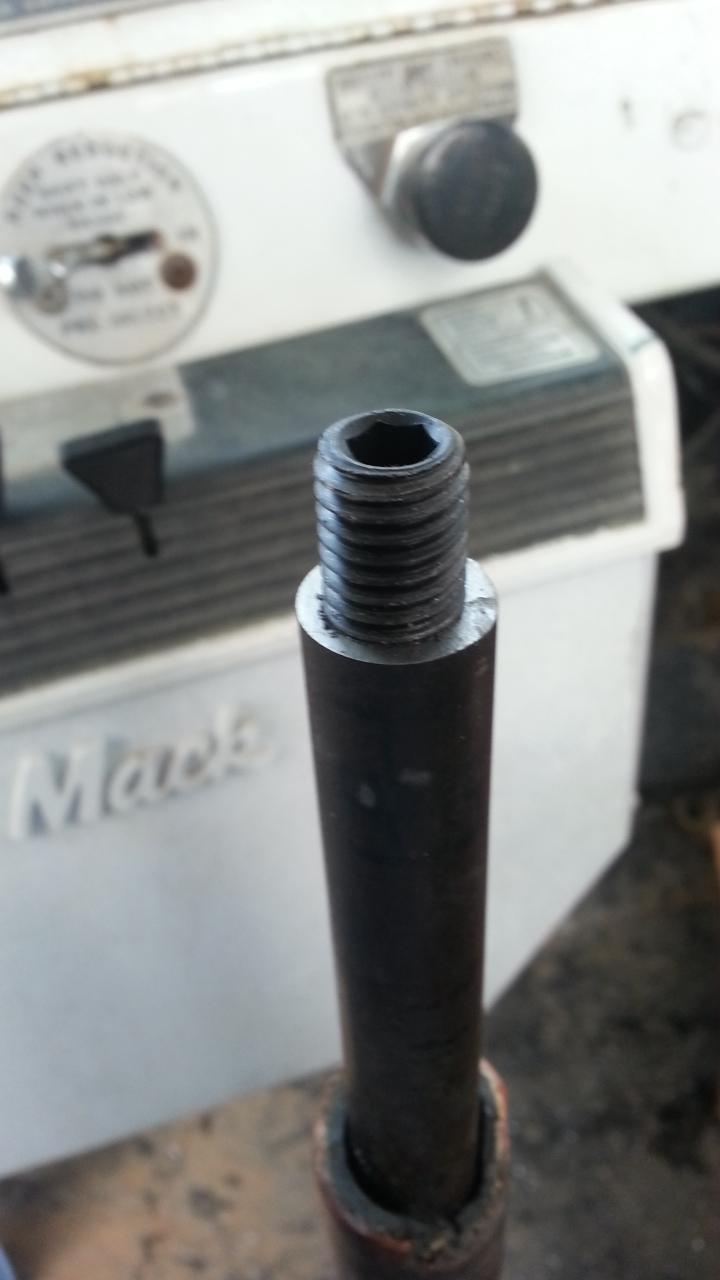
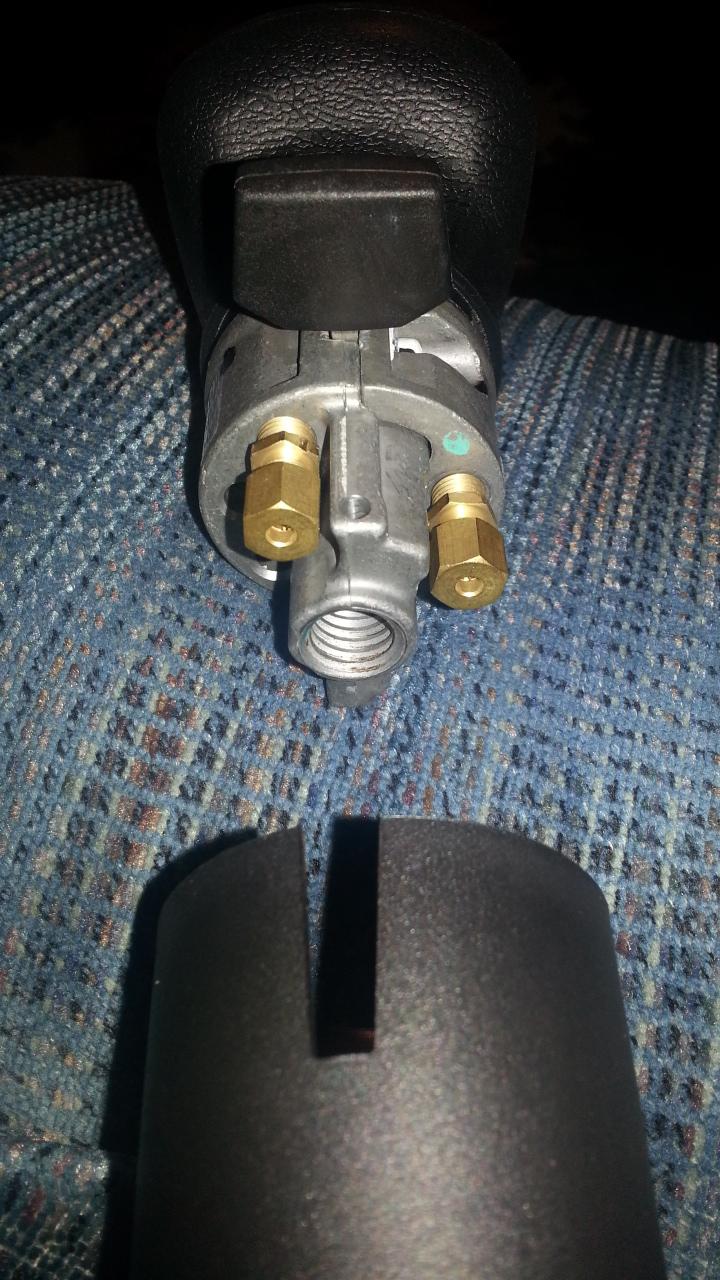
Range selector valve is leaking. Old "bat handle" knob is worn through, and too tall. Looks like something off one of Ed Roth's cartoon cars from the '60s! The 5/8-11 to 1/2-13 adapter they used adds another inch or so to it.
Picked up a new-style Eaton-Fuller knob, with built-in range valve.
Now, I'm making a drill jig to mount on top of the stick (after I cut it off) to allow precise drilling & tapping of the stick. I'm gonna cut the stick off, and drill & tap it to the 1/2-13 thread size on the new knob. Then, I'll put a long grade 8 set screw in the hole, and thread the knob on. Rather than screw the knob on and use jam nuts to lock it in place, I will use a washer of correct thickness to "index" the knob on the stick. That will be a little more work, but it will be VERY clean.
I looked at the actual 15-speed knob. But, according to Fuller, you have to change the cover on the deep reduction slave valve on the transmission to make it work. Must be a little different logic to the air circuit. No matter. The hi-lo range is the important one to me. And, it is supposed to require no modifications.
As soon as I get the various bits and pieces made, I'll try to document the whole process in pictures. I know, I suck at that! Always run short of time and forget to take the pictures! I'll try to do better on this one, Vinny!
More pics to follow (we hope!)...

-
I put a few pictures in a gallery out there...Very funny.
Kent
-
I thought it was funny, too. Vinny, if you're going to have a lop-sided truck, you might as well get used to it!i thought it was funny
 . isnt that what Burt Reynolds said in the Bandit? '' i thought it was funny''
Next time, make the cake offset to balance it out!
"I kid because I care."
(unknown)
Kent
-
1
-
-
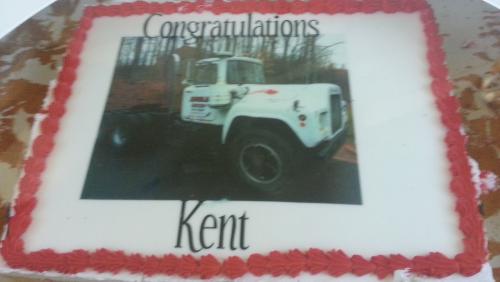
Here's an older one, and one the guys put on my 30-year job anniversary cake! I think I'm getting old!

-
1
-
-
Now it's starting to look right!
-
1
-
-
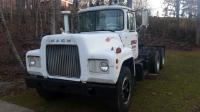
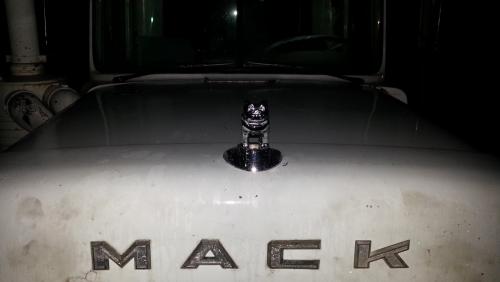
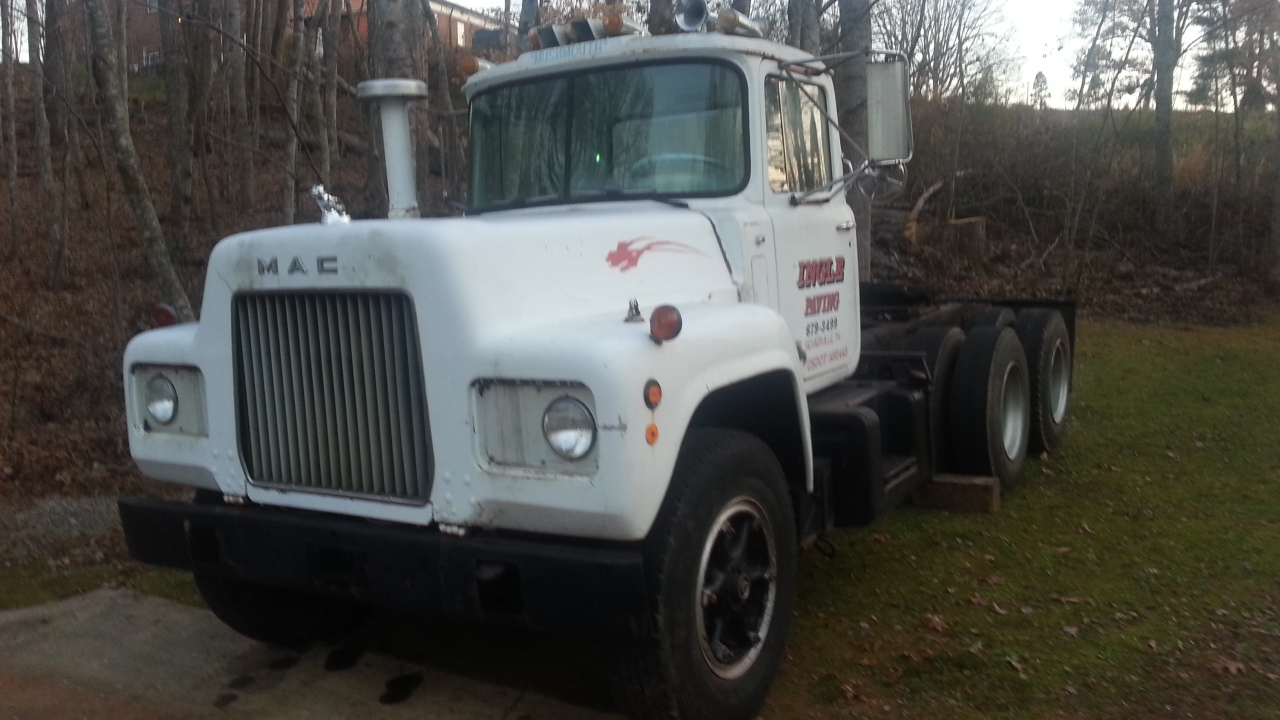
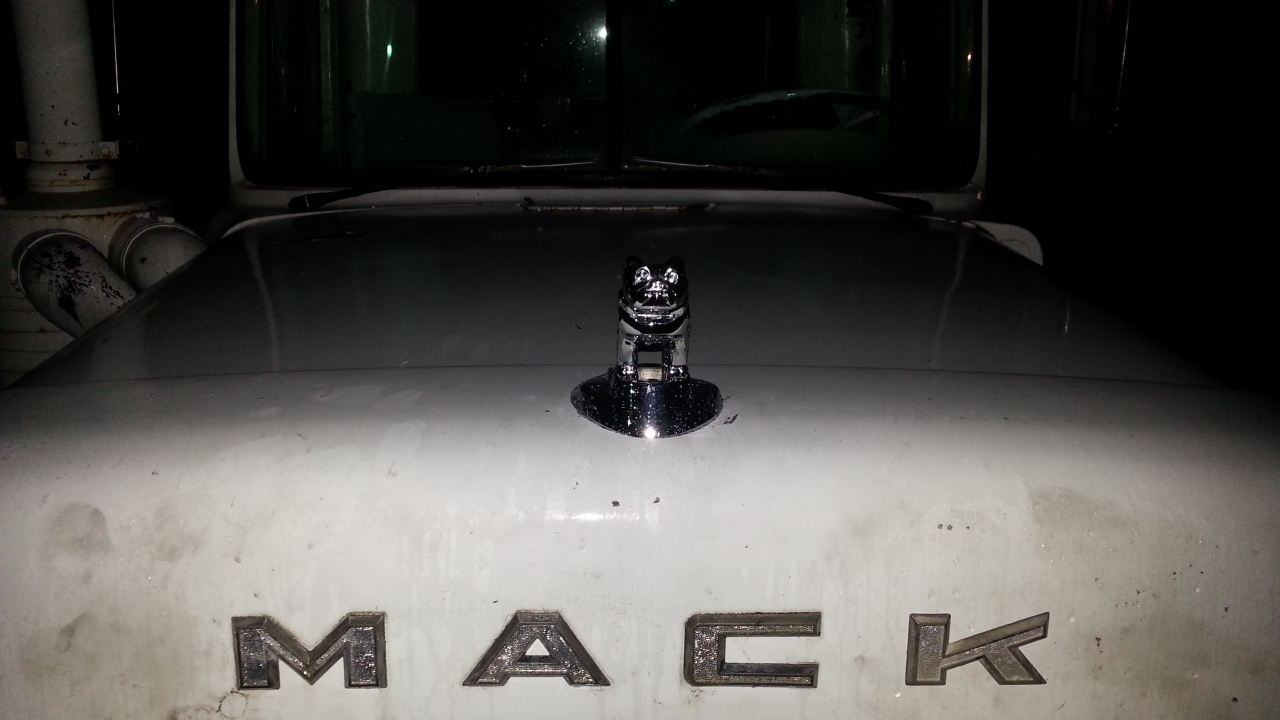
But, but. but, the dog is the shiniest thing on the truck!Sweet!!! We need pictures of the whole truck Kent!!!!
Superdog is selling me a "K". So, maybe I will have a "MACK", instead of a "MAC", in a few days!
Had to make new gaskets for the thermostat and thermostat housing Friday. The silly thing had sprung a leak! Got them cut out and put in, though. And, I got the numbers off the thermostat, so I can find the right one whenever I need to. I hate having to do "repair" work along with the "restoration" work. Such is life...
Kent
-
Ta-da!

-
1
-
-
Yep!I think this is what you are talking about.
Tahnks, Vinny,
Kent


BMT Forum Logo

New Shift Knob for RoadRanger
in Engine and Transmission
Posted
Hey, Speed.
The way this valve is ported is like this. When the range select lever is "down" (LO), the "supply" port is connected to the "delivery" port, which feeds the slave valve/cylinder. When the range select valve is "up" (HI), the "supply" port is closed-off, and the "delivery" port is exhausted to the atmosphere.
As long as your 2-speed valve is similarly ported, then I don't see why it wouldn't work. I mean, pressurized air and vacuum are similar systems. They both work on a pressure differential. The primary difference is the AMOUNT of pressure differential you have to work with. With pressurized air, you can get more work out of it. But, if the system is already functioning correctly on vacuum, then the cylinder sizes and mechanical devices are, by definition, already properly sized to do the work required. Remember, the control valve is just that; a CONTROL vavle. It doesn't do the actual work; the cylinders do.
So, as long as the porting works like I described above, it SHOULD work. If you are concerned about flow rates, and the associated time/speed of the system, you might consider using slightly larger lines. Mine are the original 1/8" lines. I believe most newer stuff uses larger 5/32" air lines. This will provide slightly more available "buffer" air, which should improve the function slightly.
The actual threads in the new valve are 1/16" NPT. So, this may somewhat limit both the maximum airflow through the fittings, and the variety of fittings available.
The original T-valve used 1/8" NPT fittings, just for the record.
The new valve works exactly as well as the original did on my truck. I can't tell any difference at all with the smaller fittings. But, again, the actual work is being done by the slave valve/cylinder. This valve just tells it what to do!
Hope this helps. Let me know if I can clarify (confuse?) the issue any further for you!
Kent