

39 Baby Mack
-
Posts
1,900 -
Joined
-
Last visited
-
Days Won
6
Content Type
Profiles
Forums
Gallery
Events
Blogs
BMT Wiki
Collections
Store
Posts posted by 39 Baby Mack
-
-
 Yours looked great. My father didn't even wash his.
 You didn't wash #107 either!
Sent from my SM-G900V using Tapatalk
-
 1
1
-
-
trucktoberfest what makes me think this event happens in october?
The actual Oktoberfest held annually in Munich
runs from mid to late September to the first weekend in October.
Ron
Sent from my SM-G900V using Tapatalk
-
Thank you, Michael!
Ron
Sent from my SM-G900V using Tapatalk
-
I'm wondering ,since it's a B68,if it was ordered as just a chassis and had the fire body added elsewhere,that would explain the green interior.
That's what I was thinking Mike
Ron
Sent from my SM-G900V using Tapatalk
-
Looks great Rob!
Ron
Sent from my SM-G900V using Tapatalk
-
1
-
-
Love the H-67 sign!
Ron
-
-
That would be her, the "Gutless Bitch"!
-
1
-
-
Glenn might have an opinion on this too.
Looks to me like one head was replaced in the past.
Both heads are 18 stud heads, but one looks like it has the larger holes for the 3/4" corner studs.
The studs are 9/16", with special washers to adapt the later head with the large holes to 9/16 studs.
Also Glenn, if memory serves me, wasn't there plugs made to seal off the corner water passages in the block and head?
Ron
Sent from my SM-G900V using Tapatalk
-
I'll have to try it out at Trucktoberfest on the test track!
Ron
-
Sad ending to a beautiful truck.
Ron
Sent from my SM-G900V using Tapatalk
-
I'd take one
Sent from my SM-G900V using Tapatalk
-
If you can't find those ends, you could probably change the whole tie rod over to the later style (hollow tube, male threaded ends).
Might be easier in the long run.
Ron
Sent from my SM-G900V using Tapatalk
-
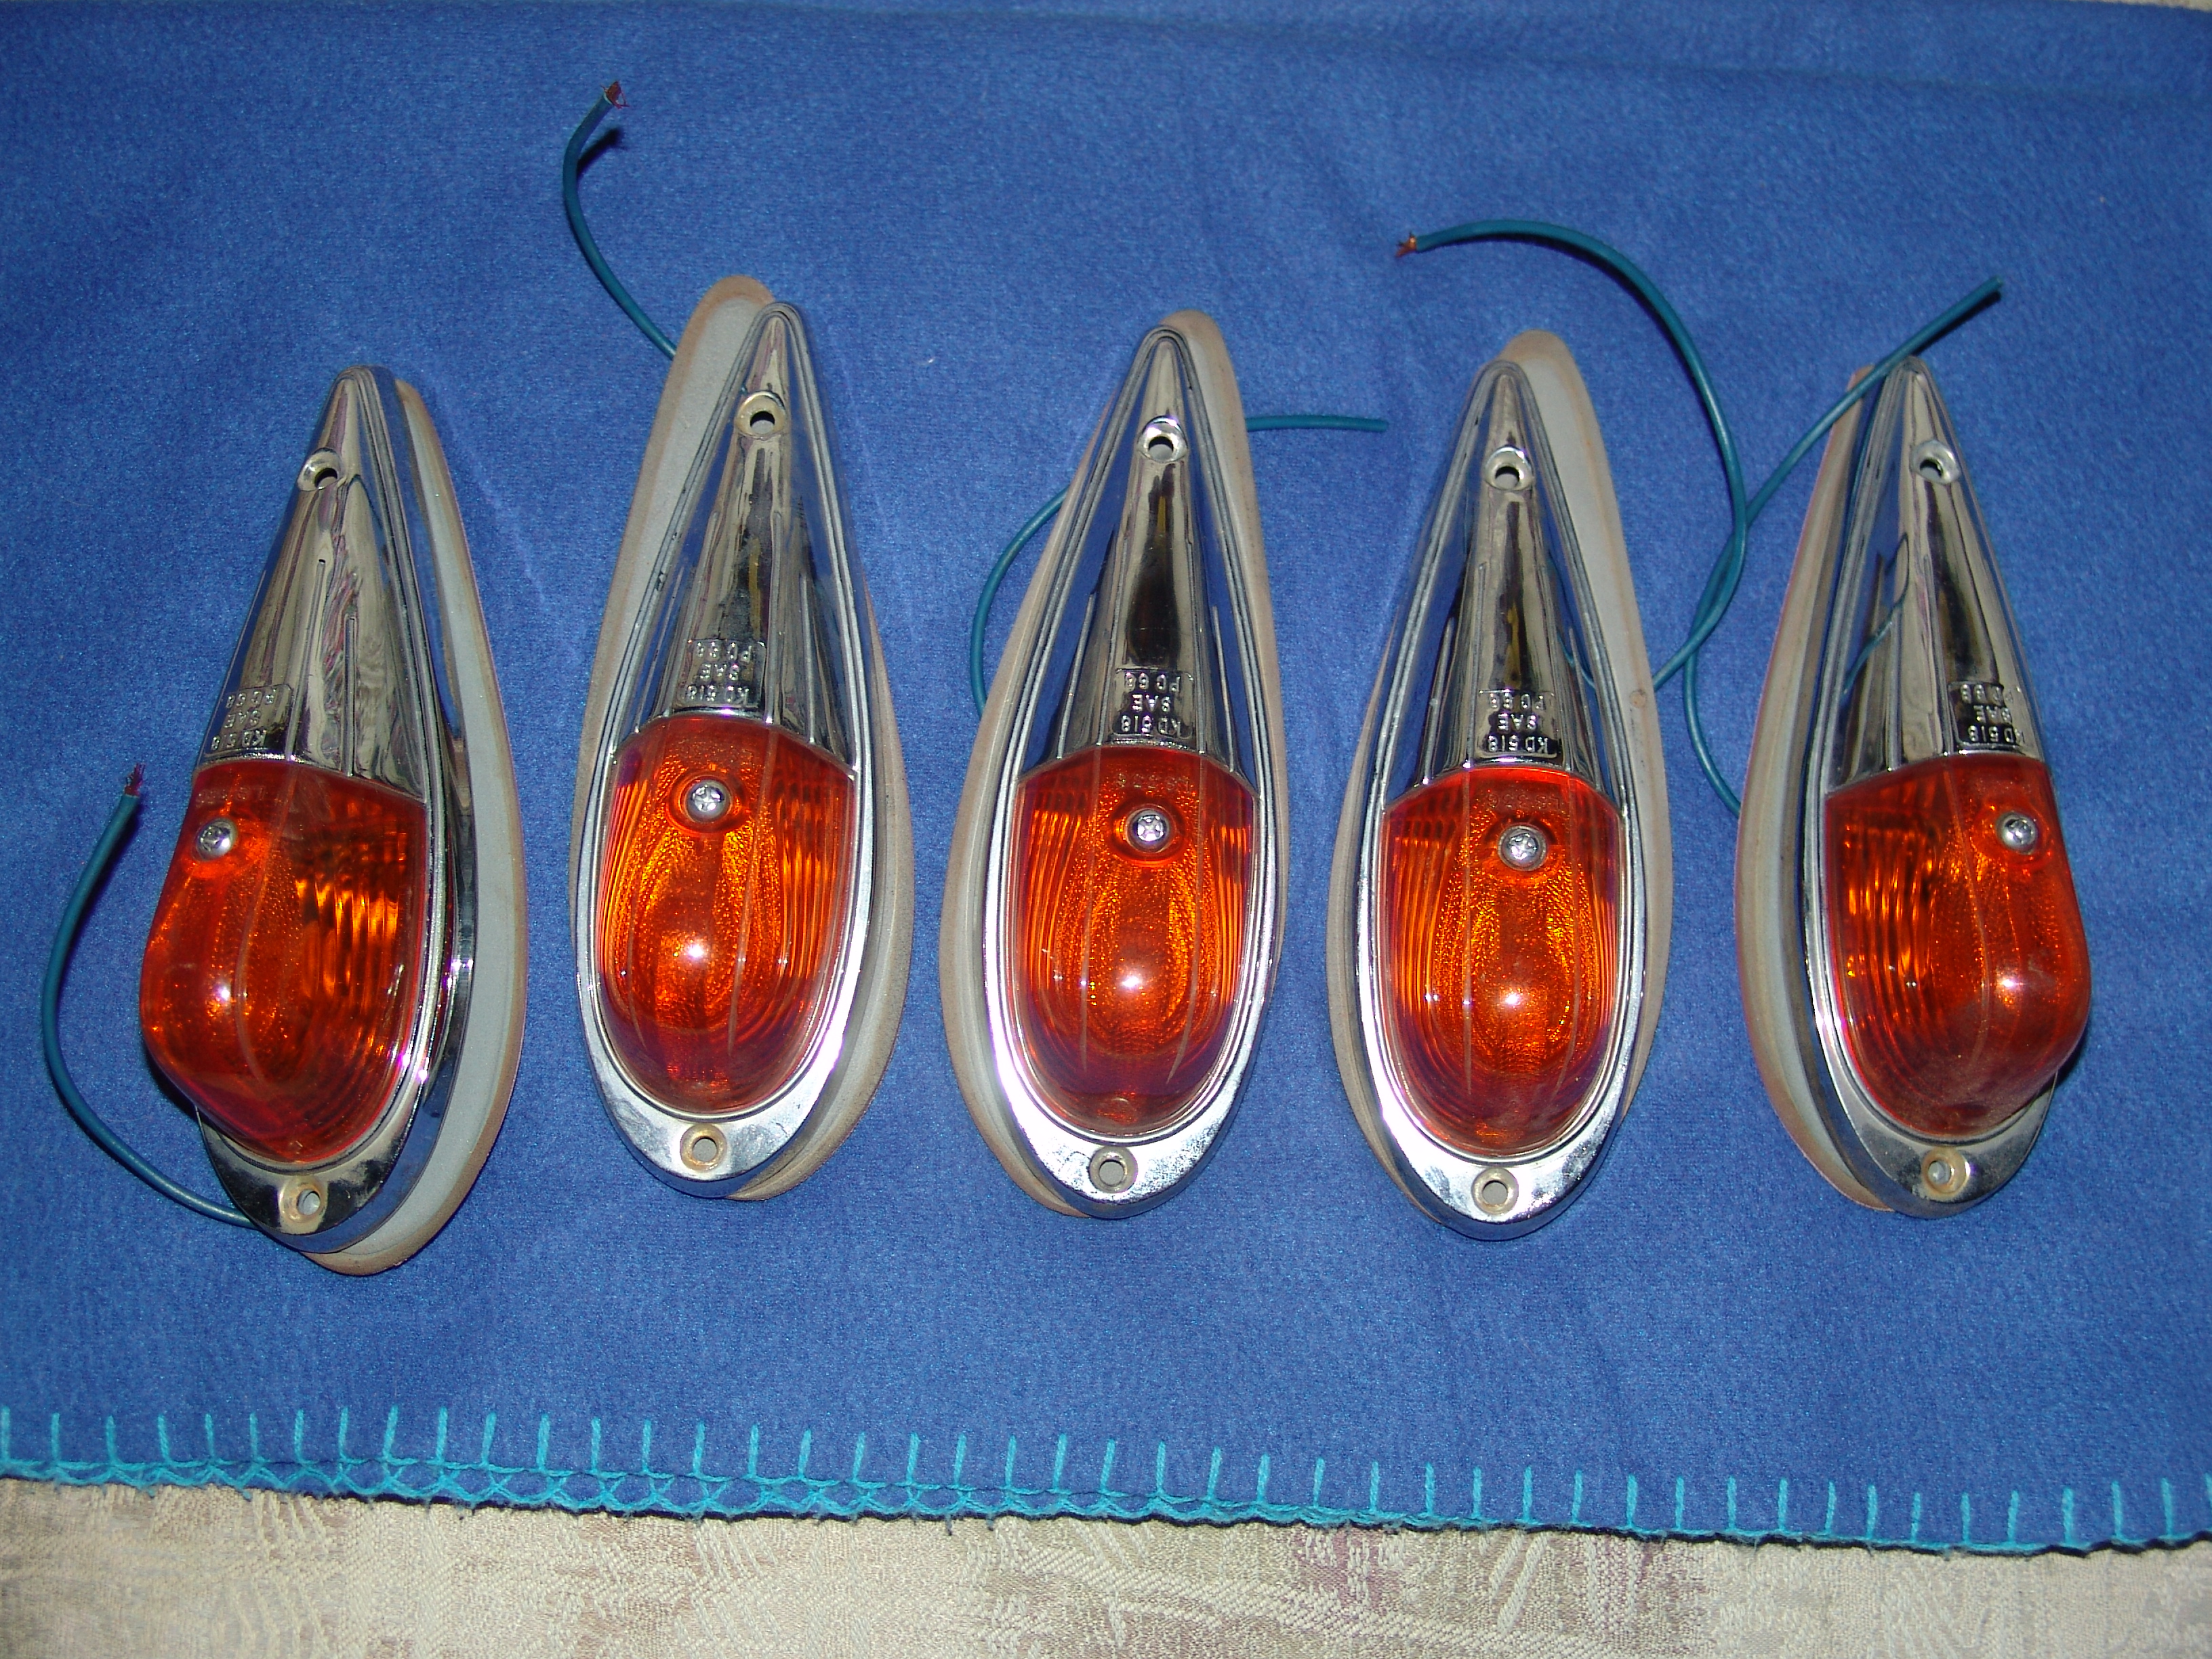
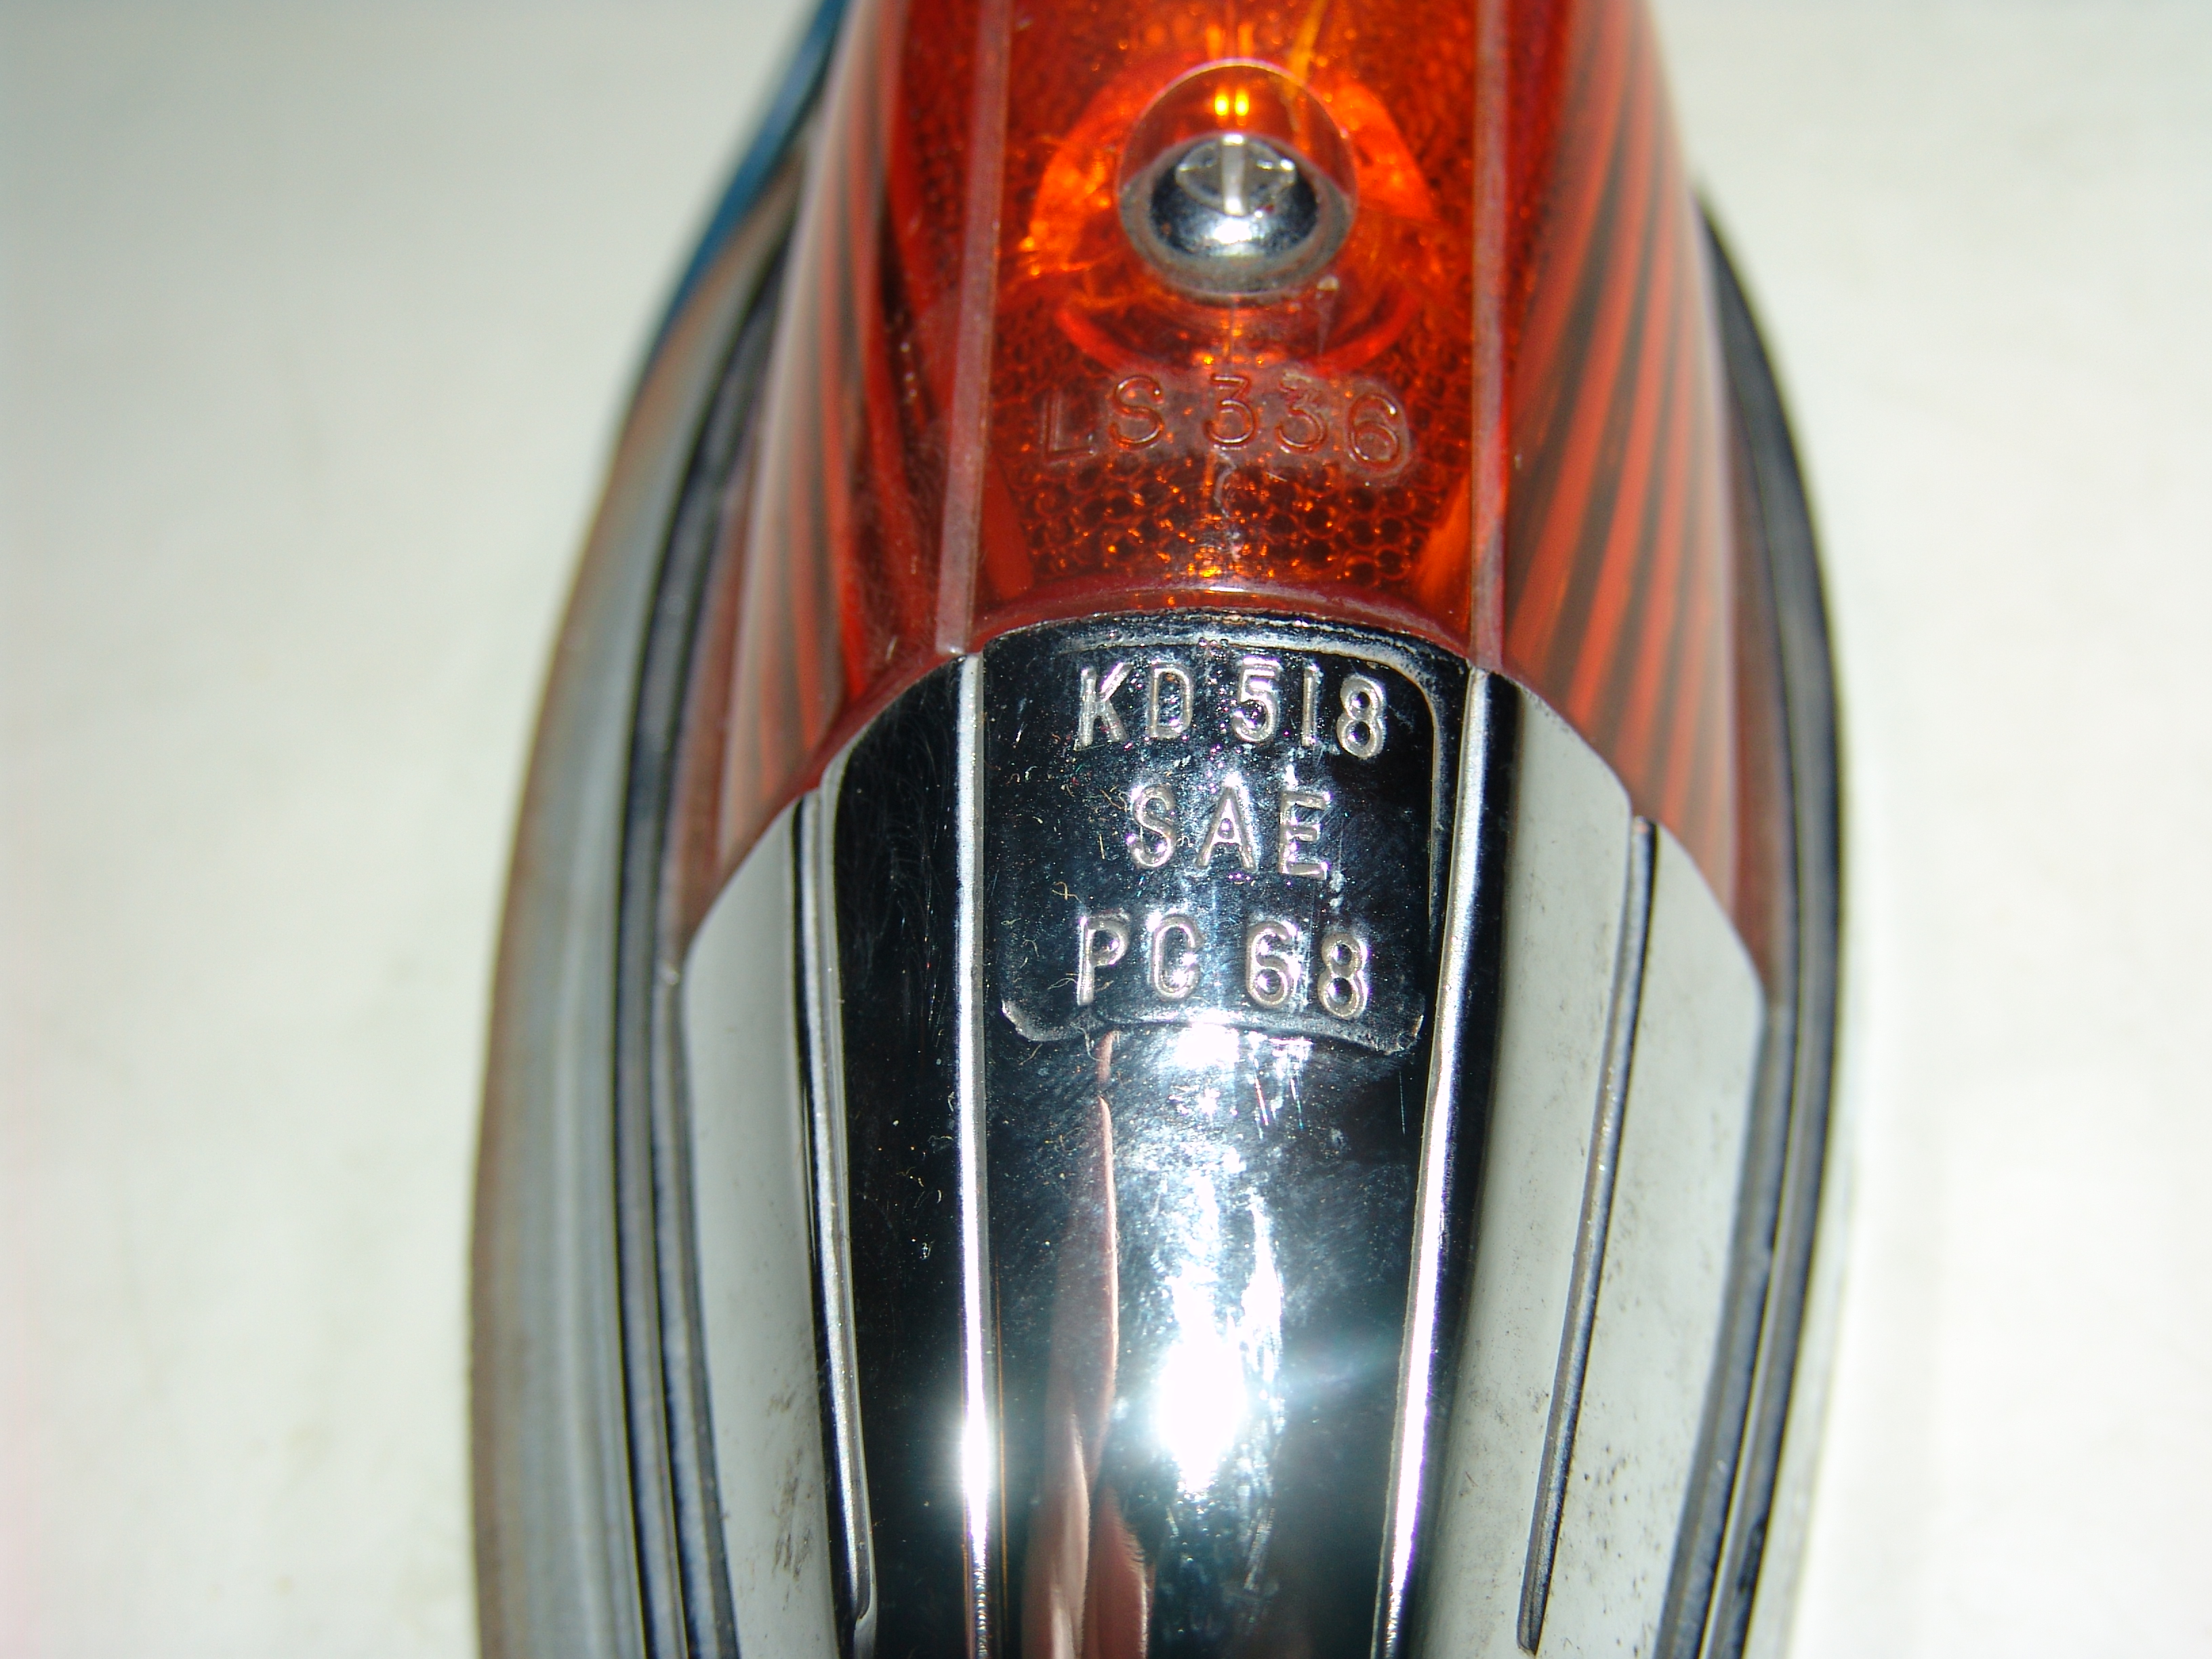
I have 5 of these that appear to be in brand new condition
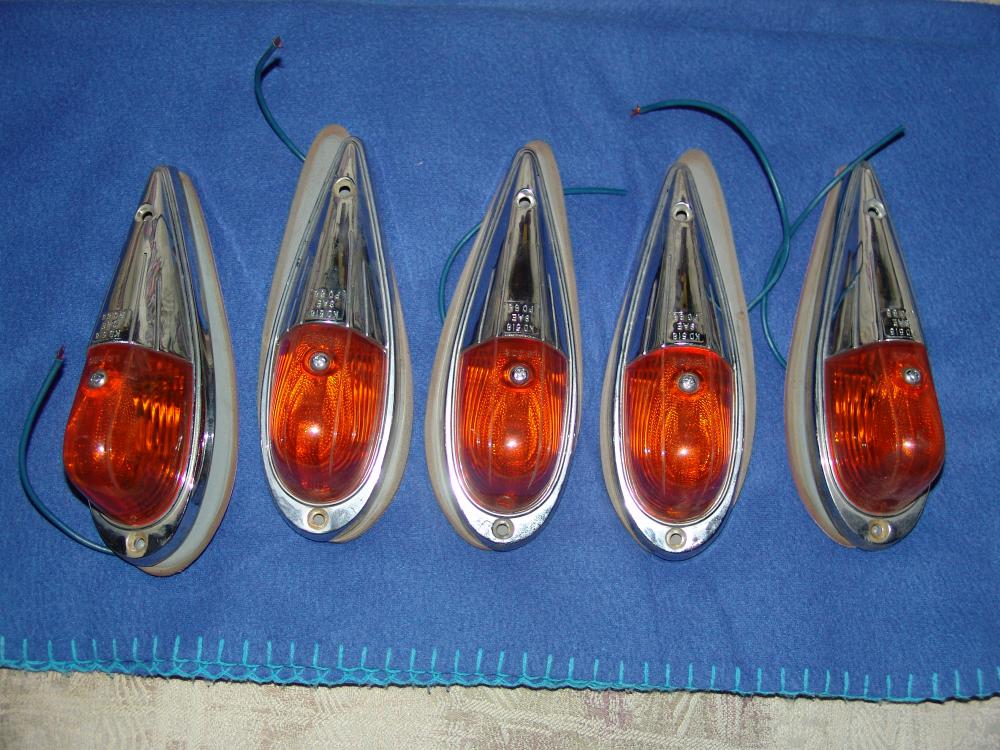

Plastic or die cast metal?
Ron
Sent from my SM-G900V using Tapatalk
-
I don't think I have a gray one but I know I have a tan one,I'd just trade you.I think that tachograph is kinda neat.
I could probably find some charts for it
Mike!
Ron
Sent from my SM-G900V using Tapatalk
-
Thanks for all the great pictures Dave!
Have a safe trip home looking, forward to seeing you in Macungie as well.
Ron
Sent from my SM-G900V using Tapatalk
-
1
-
-
Damn Mike,
That's just unbelievable!
Glad Mikey is allright,
I know it don't help much but you gotta look at it this way, the truck's replaceable, he's not.
Hope you get yourself feeling better soon, be thinking about ya Bud.
Ron
Sent from my SM-G900V using Tapatalk
-
I'm pretty sure the P2 in the kit number would denote a .002" over liner.
Ron
-
As carlotpilot said 24.5 tubeless are equivalent to 22 inch tube type just like 22.5 tubeless are equivalent to 20 inch tube type.
Ron
Sent from my SM-G900V using Tapatalk
-
I would think any R, U, or DM door would fit. Just have to keep in mind of the years (later door latches are different).
Also the drivers door on U's and DM'S would have an extra piece welded on the bottom to complete the the knife edge door seal. This would have to be removed.
Ron
Sent from my SM-G900V using Tapatalk
-
Is the dipstick for the 300 ESI with large oil pan same length?
Should be the same length.
The large oil pan just increases the amount of oil to extend the oil change interval. When it's full it's full.
Ron
Sent from my SM-G900V using Tapatalk
-
There are a couple of new ones on Ebay right now.
Ron
Sent from my SM-G900V using Tapatalk
-
If you look at the housing one end has a machined ledge with a groove inside the bore. This end of the housing goes to the front. You should see the Mack logo when it's assembled on the truck. When assembling the cooler it takes 3 flange gaskets(2 thin paper gaskets, 1 heavy paper gasket and 1 "O" ring) I think you used to be able to buy this as a kit. When assembling the bundle into the housing make sure everything is clean take special care to make sure the "O" ring groove is clean!
The oil fitting locations on the housing(going to and from filter housing) denote the top of the oil cooler housing. Install the "O " ring in the housing making it's not rolled. Install the heavy flange gasket over the bundle and up against the flange of the bundle.
Look at the flange of the bundle, you'll notice a notch cut in one of the six sides of the flange. The bundle has to be put in the housing with the notched side pointing to the top(towards the oil fitting locations). This ensures the oil will flow completely through the cooler. Lubricate the "O" ring and round end of bundle (I used to use GoJo hand cleaner, stuff without the grit). Assemble bundle into housing, push it in as far as you can, might have to finish by tapping in the rest of the way with a block of wood. Assemble the ends in the same position they were when you disassembled it with the two thinner gaskets.
If you have any way to pressure test it I would certainly do that.
It would be best to test the bundle by itself before you even tried putting it back together.
Ron
Sent from my SM-G900V using Tapatalk
-
I'm just guessing, but I take it you didn't like the KD turn signal switch Matt??!!
Ron
Sent from my SM-G900V using Tapatalk
-
1
-
BMT Forum Logo

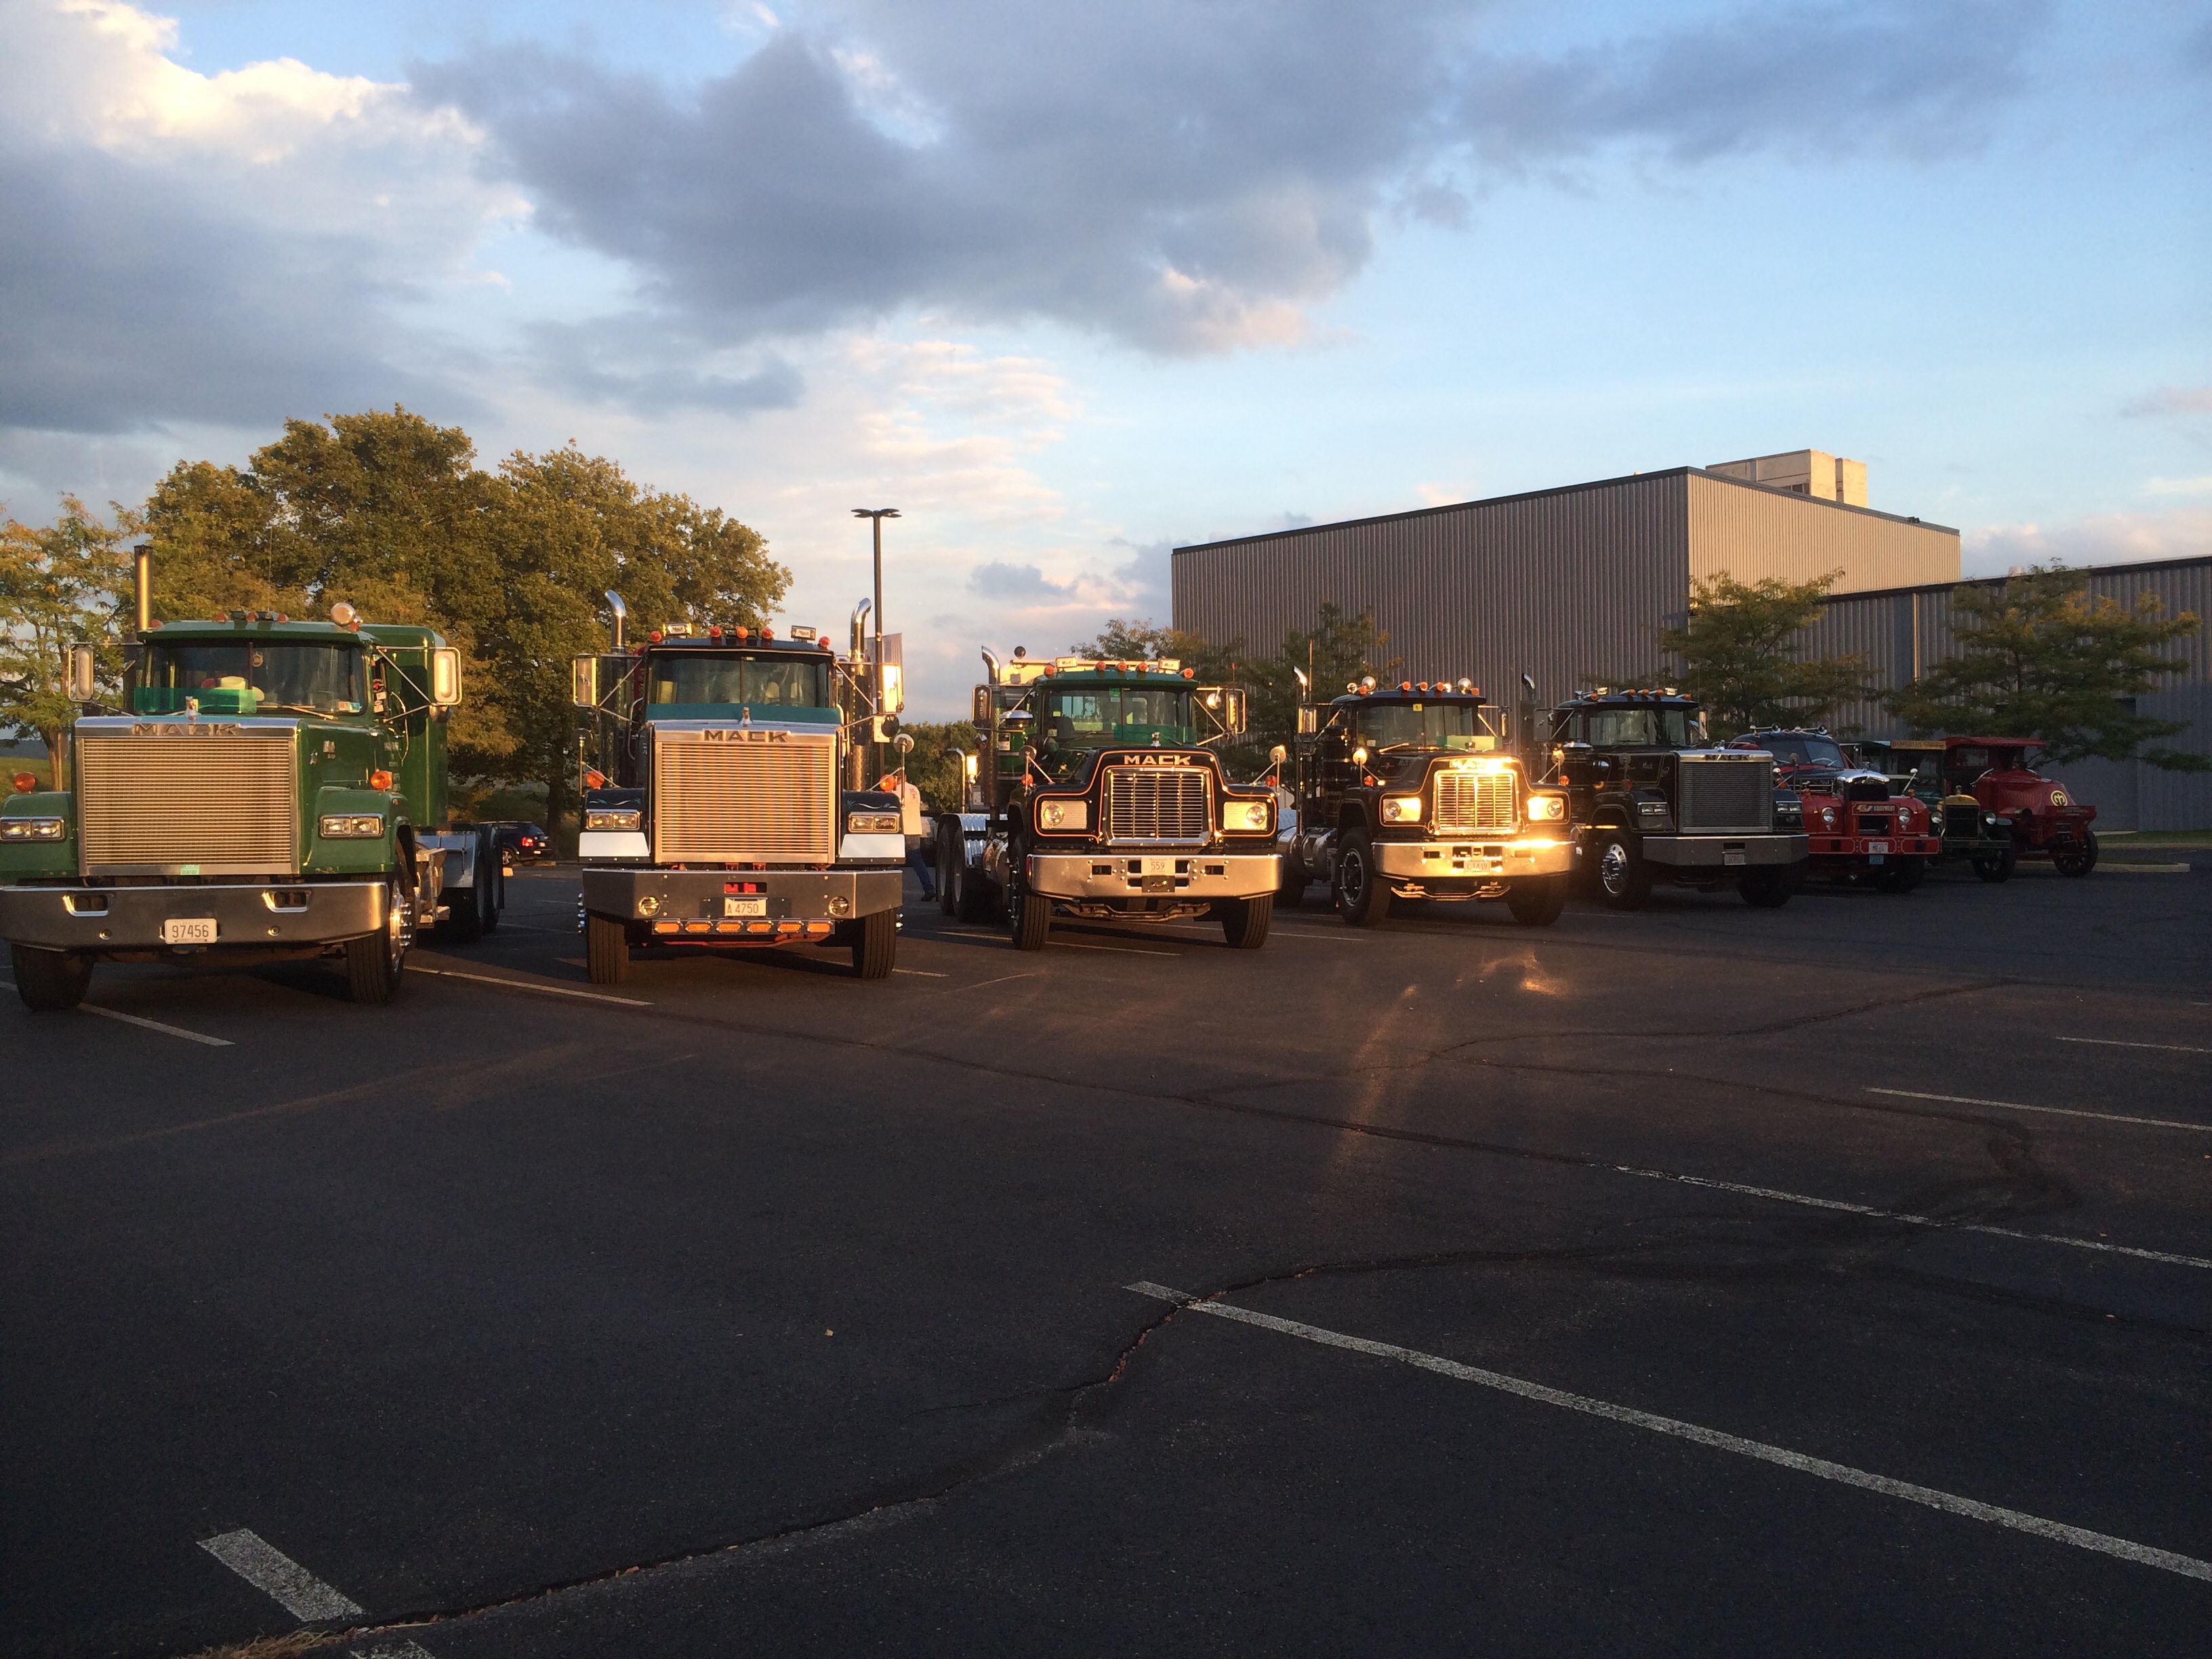
Mack Days, Lititz, PA, Sept 30 & Oct 1, 2016
in Truck Shows and Events
Posted
I thought the Lititz Family Cupboard said they were closing up after last years show?
Seems they could no longer afford the all you can eat buffet anymore.
Lost money every time the "Baby Blue" MH showed up!
Sent from my SM-G900V using Tapatalk