


mattb73lt
-
Posts
1,374 -
Joined
-
Last visited
-
Days Won
144
Content Type
Profiles
Forums
Gallery
Events
Blogs
BMT Wiki
Collections
Store
Posts posted by mattb73lt
-
-
You really have made a lot of progress this year and you're very close to finishing it up. Good luck on your back surgery when it comes and hopefully you'll have a speedy recovery.
-
 1
1
-
 1
1
-
-
That paint looks fantastic!!! Really coming along.
-
- Popular Post
- Popular Post
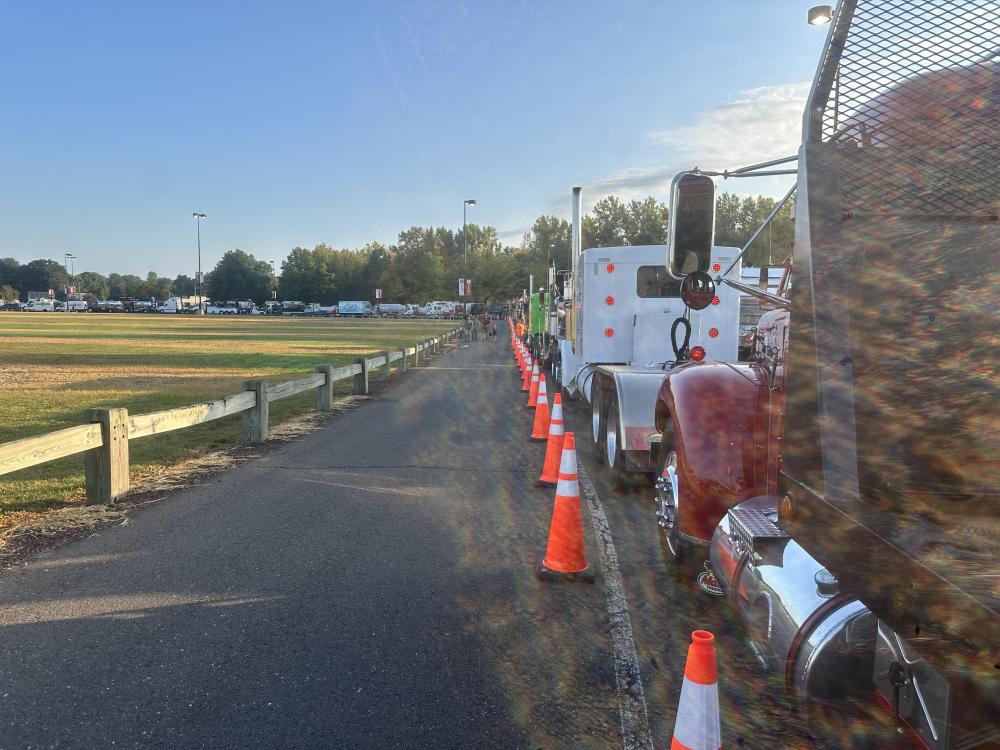
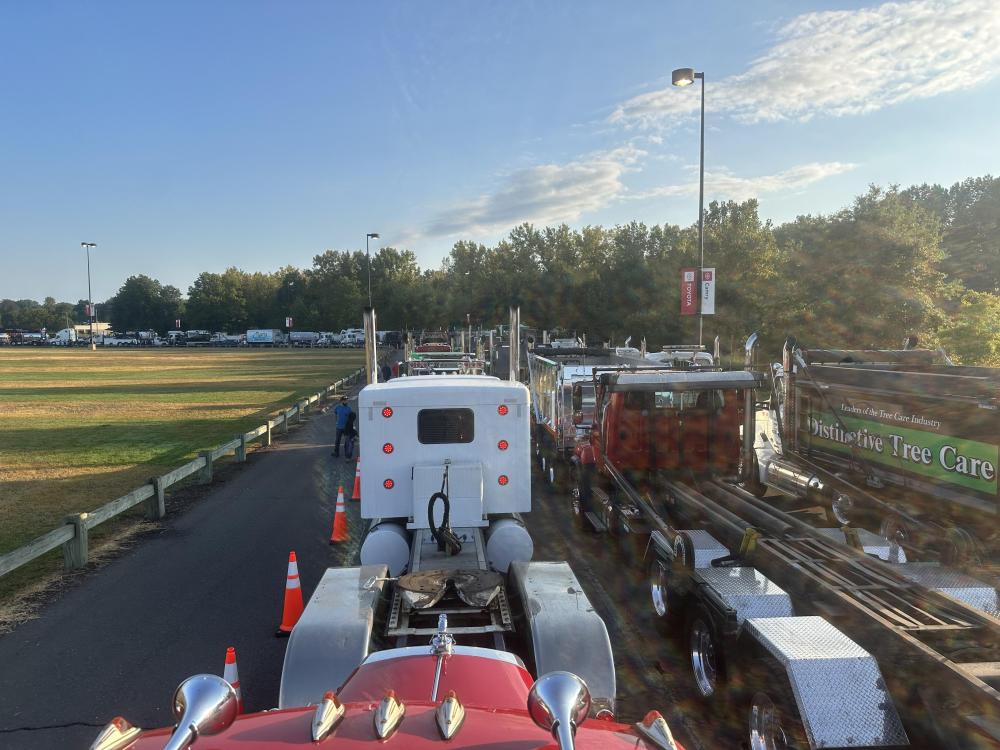
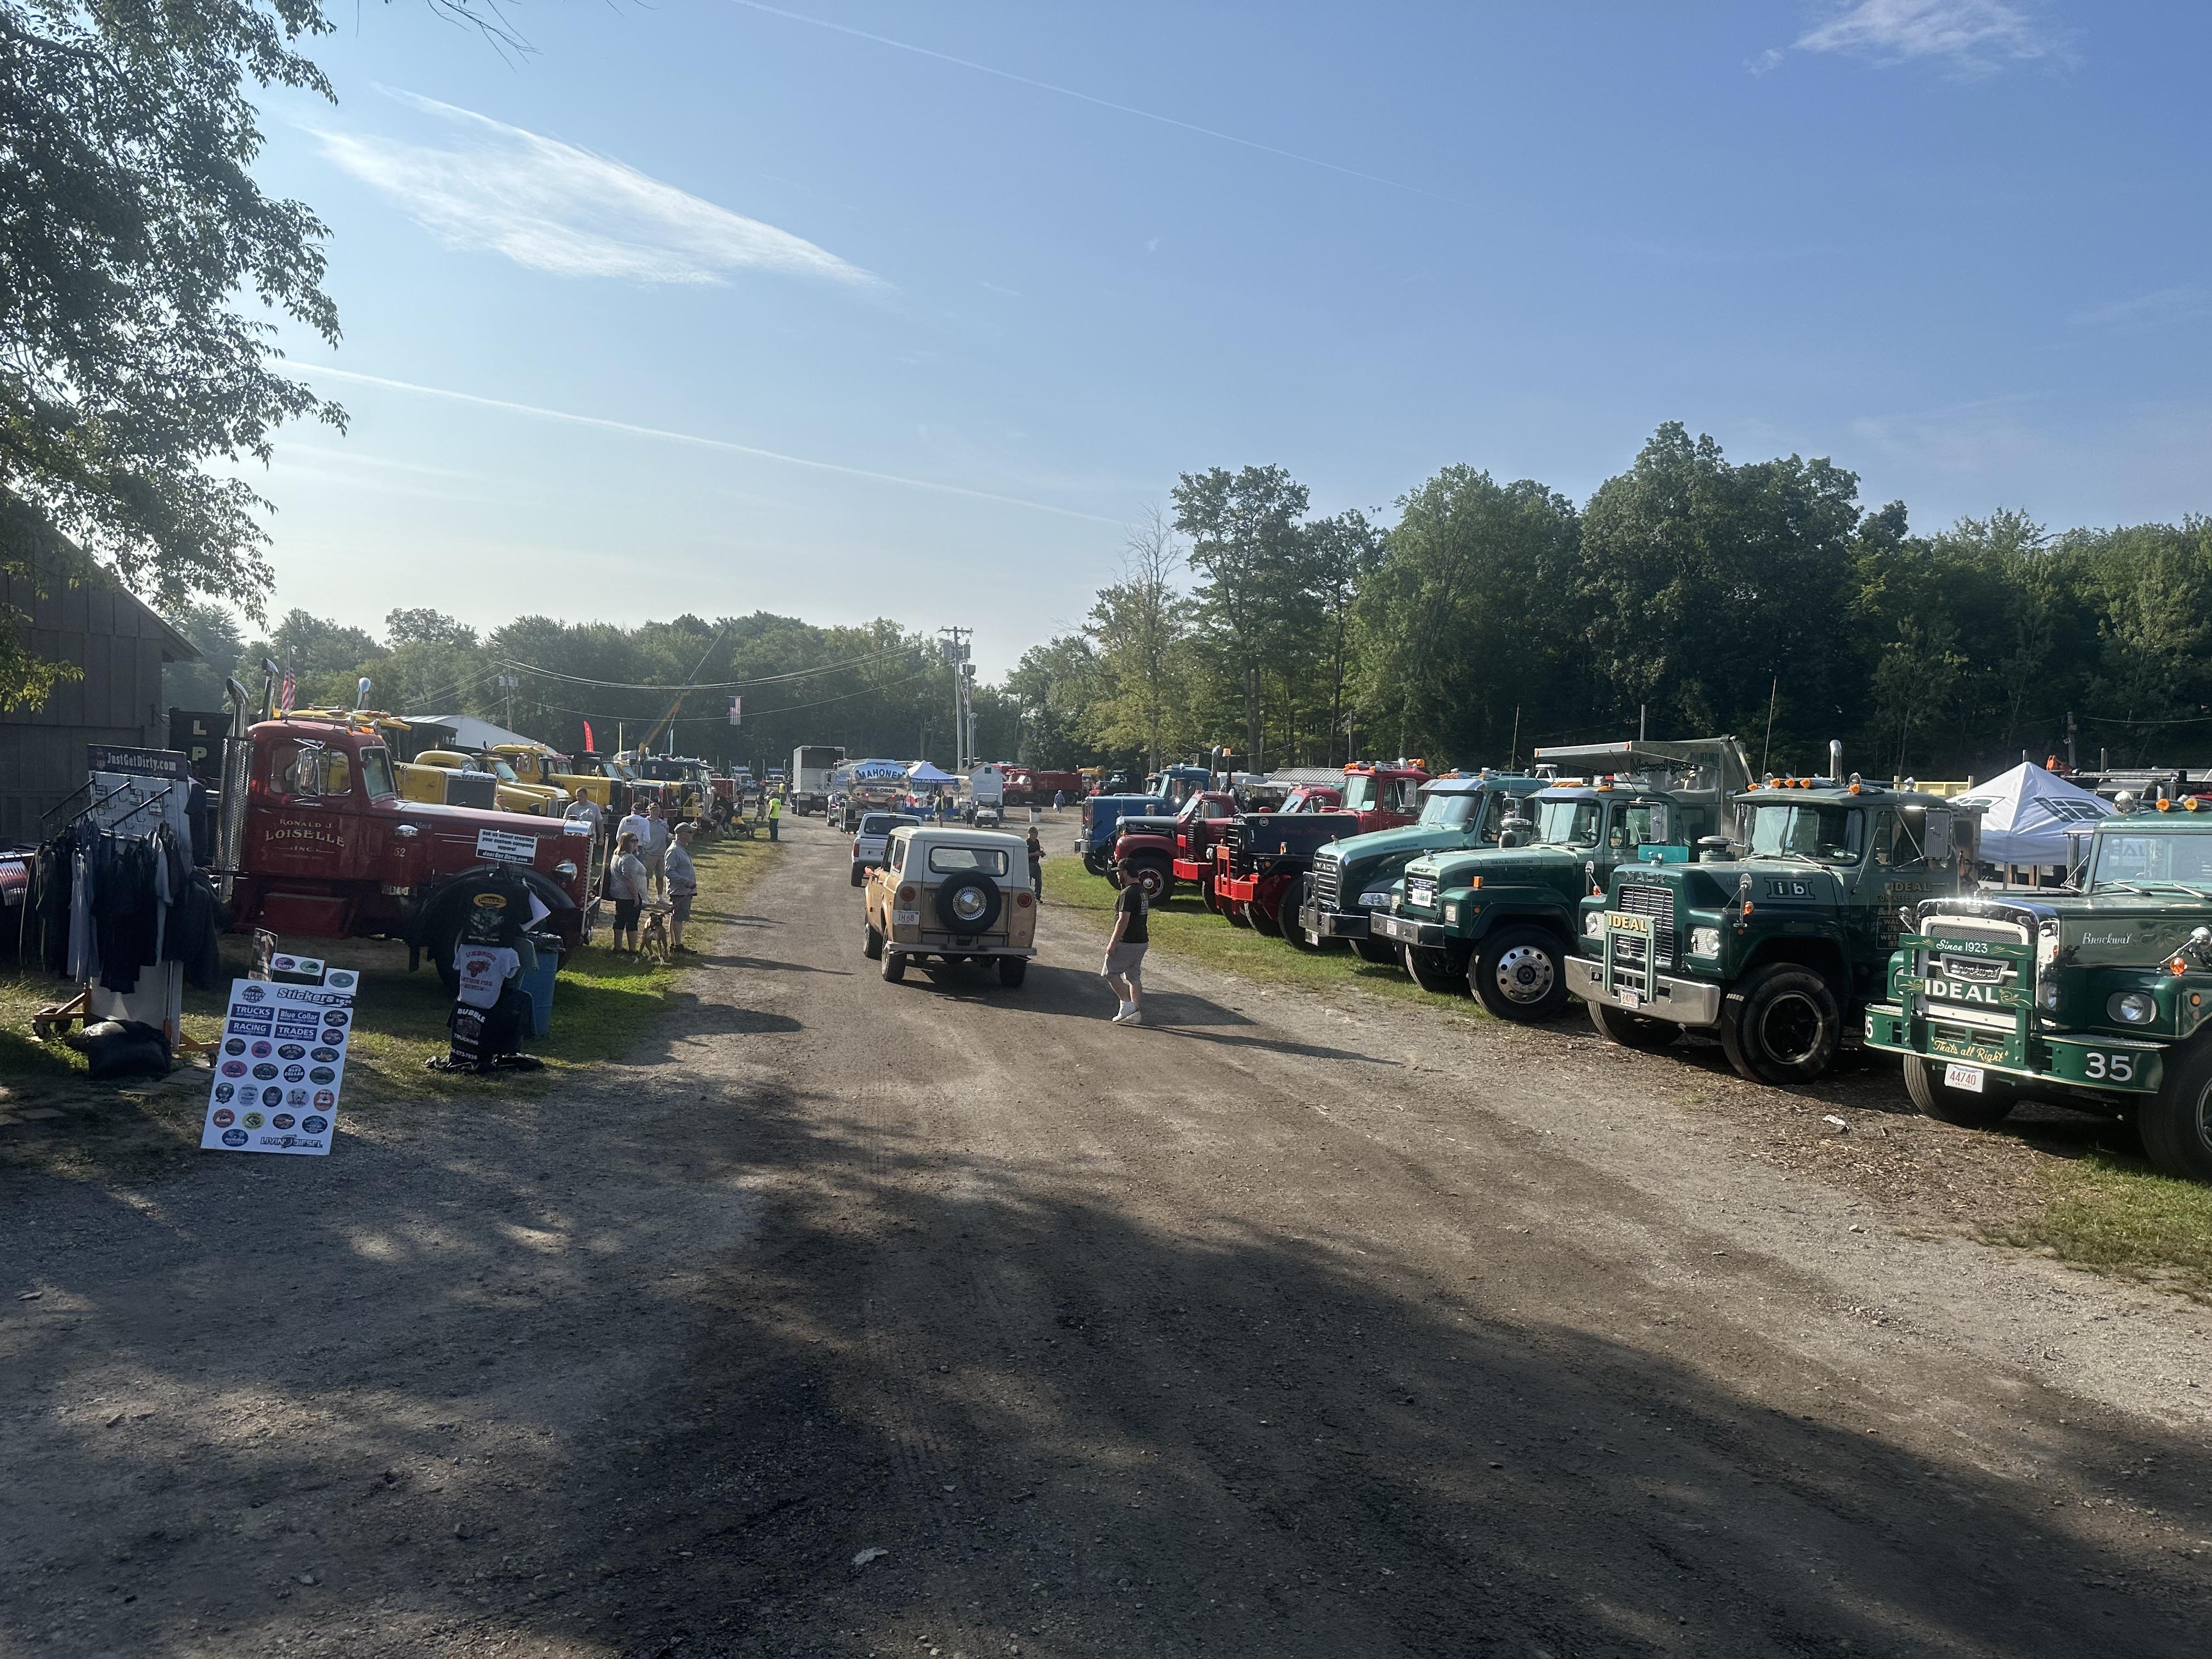
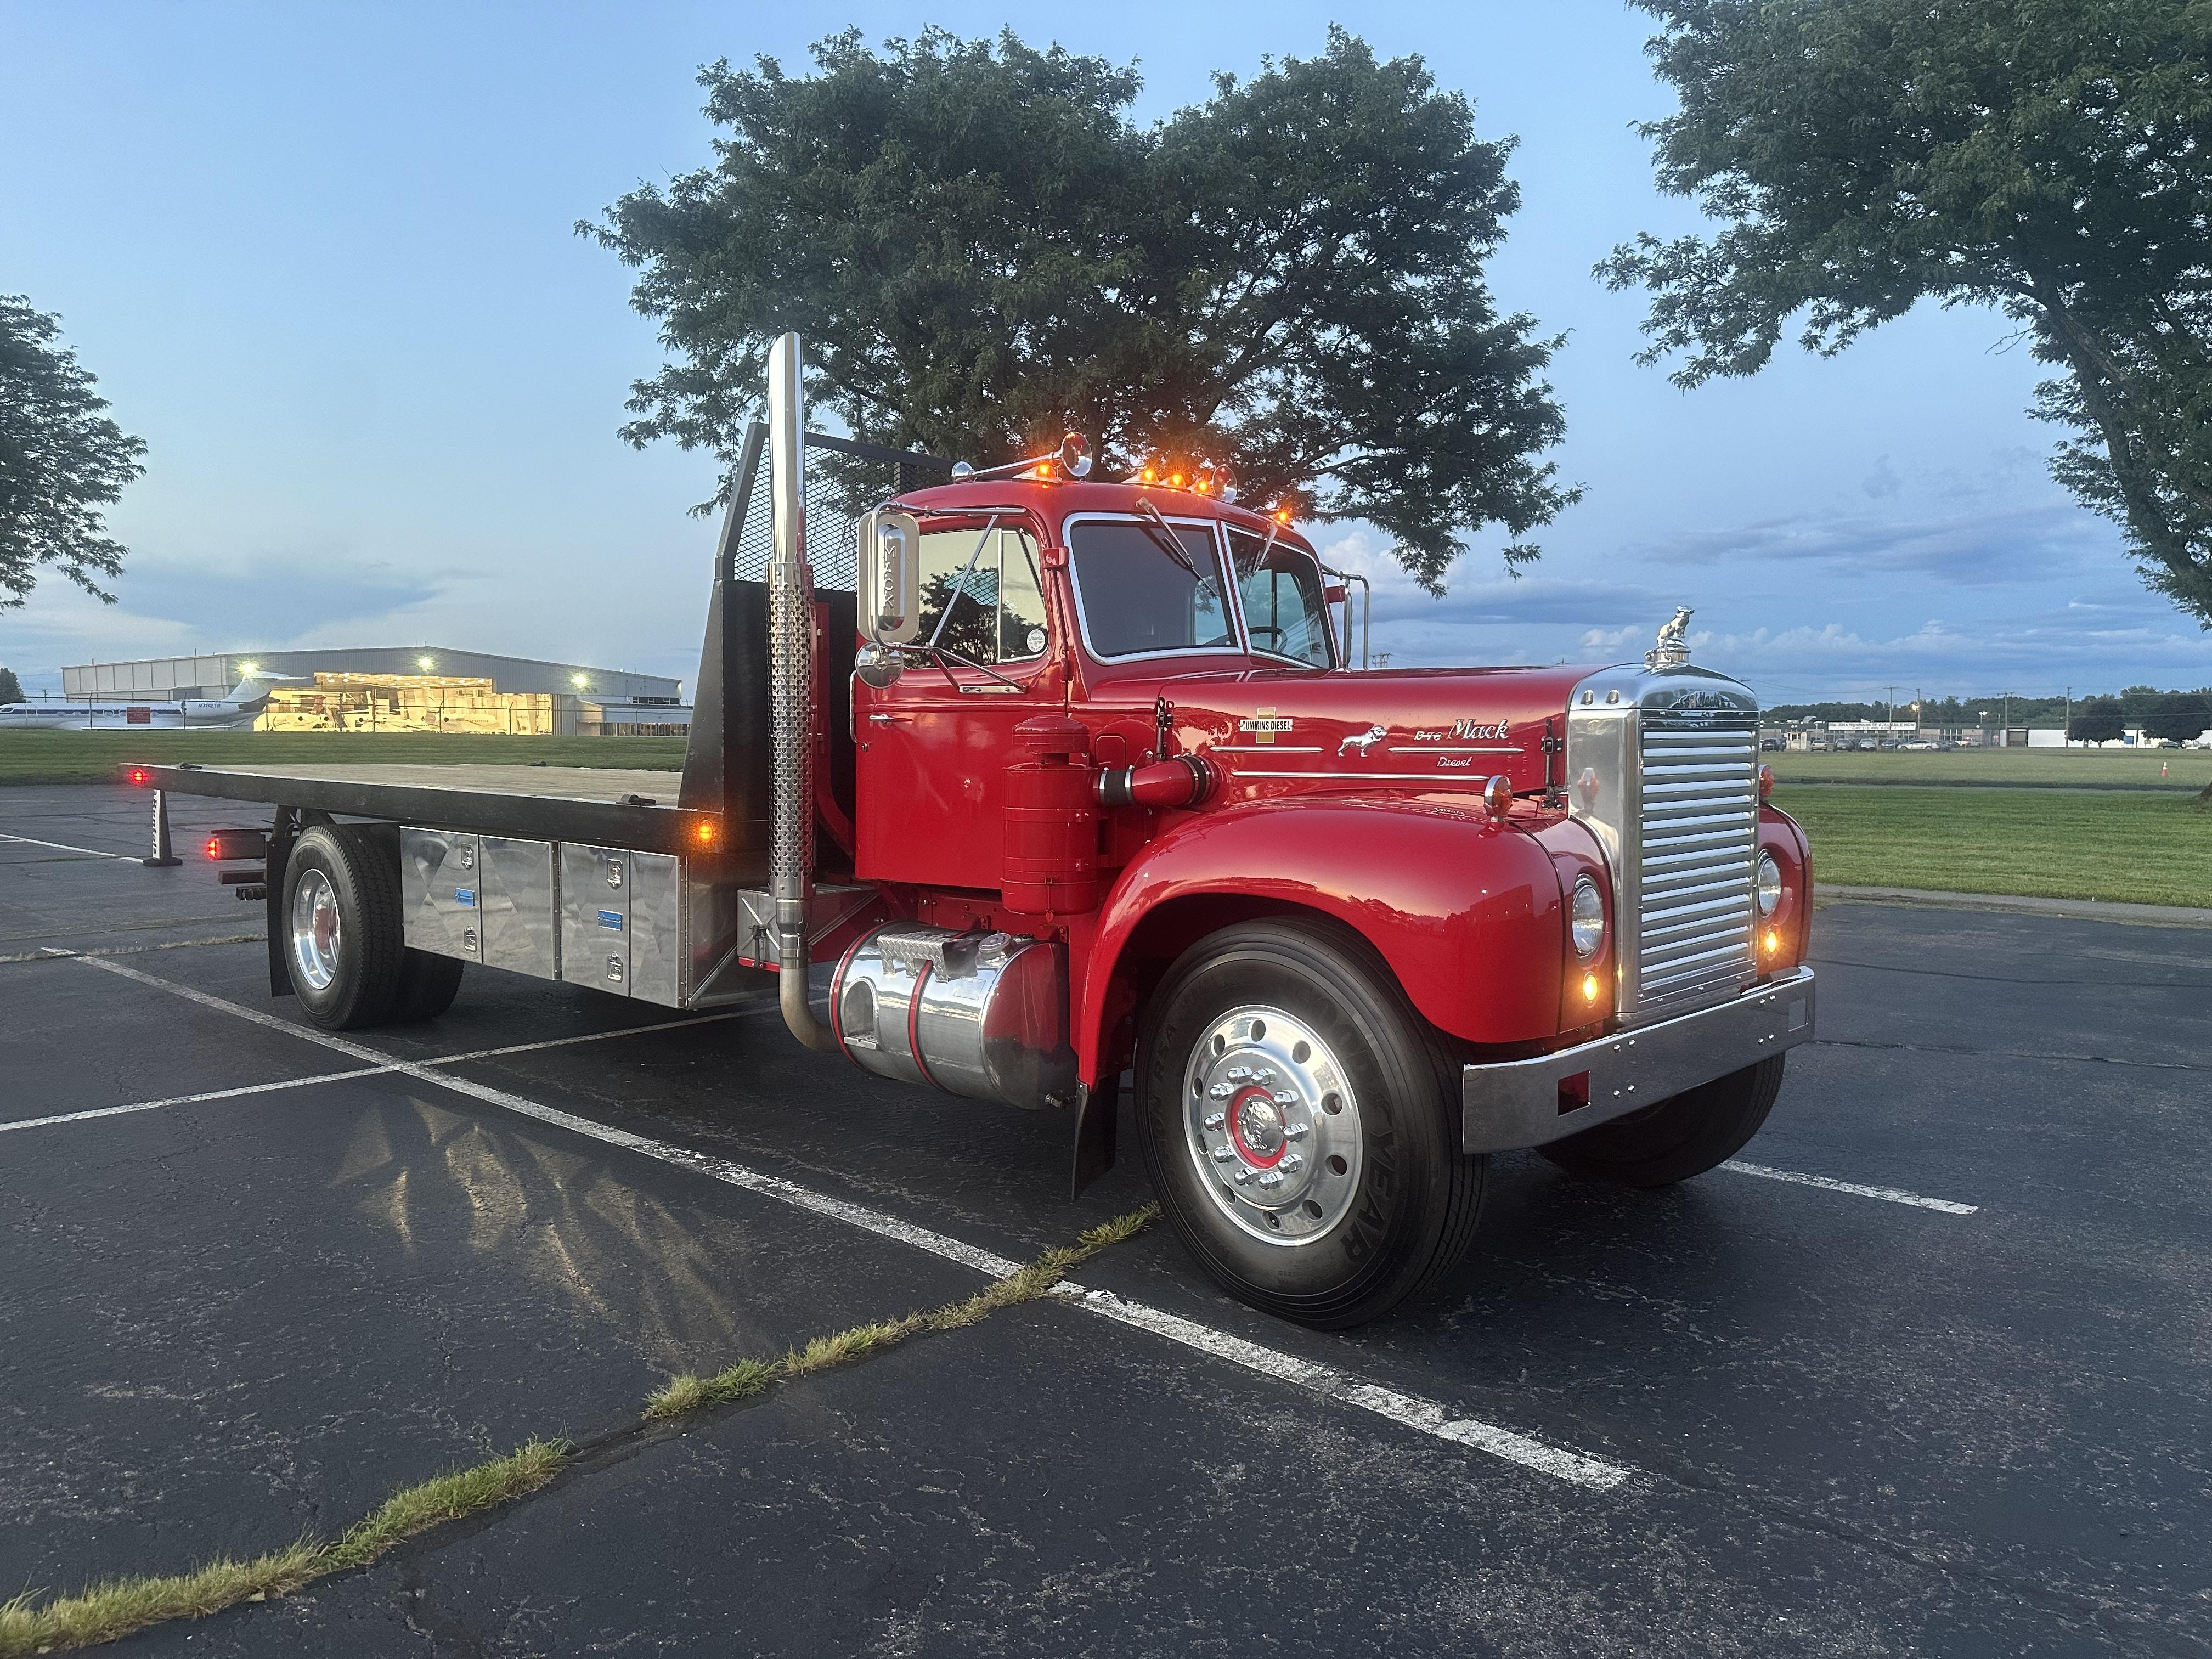
At the Wishes on Wheels Convoy in East Hartford this morning. Got here just after 7AM to line up and a was already truck #187. Thought I’d be at the back, but so many more trucks have shown up I’m about 1/3 back from the front! Still no leaks on the transmission. Gave it an oil and filter change this week. So, everything is running great and closing up on 3,000 miles on it!

-
7
-
 1
1
-
1
-
They look great!!
-
The last pieces seem to be the hardest to get done. I don't know if its project exhaustion or just a desire to get it done, but it's hard not to slap it together and finish. It is worth it to test fit them before final painting as working on them after without doing some damage is nearly impossible. Check the fit, profile and all the bolt holes for alignment before paint, a pain in the ass but worth it. They look great, BTW!!
-
2
-
-
Welcome back and congratulations on the baby and the addition to the fleet!!
-
1
-
-
- Popular Post
It's under cover, it's dry and looks like the place has heat. Not a bad place to work on it.
-
2
-
1
-
I know what that's like!!! The roof I used on my cab was pitted and the thought of filling it, then sanding it drove me nuts. Three coats of Hi Build primer and light sanding in between saved some of my sanity. Some of it is just grunt work and time consuming. It's looking so good, now. You'll get through these last few pieces soon enough. It's going to look amazing with your paint combination!!
-
2
-
-
To me, Teflon tape is a big NO-NO in any automotive application. Pipe dope or thread sealant applied with just enough to accomplish the task and not to excess, where you need to wipe it off when done. So not to repeat, I agree with Joey Mack's statement.
-
- Popular Post
- Popular Post
2 hours ago, Freightrain said:Looks like a great time.
I wouldn't mind going through my triplex and rebuilding it. In all it works, but the way the shift handles walk back and forth I know the main shaft bearings are plenty sloppy. It falls out of gear on decel and if you use the Jake you better be holding it in gear, except for 5th.
I seem to recall a discussion about when you rebuilt yours. I was concerned about finding all the bearings.
Most of the bearings were easily found. I don't remember which one, but there was one bearing that took quite a bit to get. The shift covers aren't too bad to rebuild, but if the shift rail bores are worn you'll need new covers as I don't think there's a way to reasonably re-bush them. Finding new covers might not be too hard, Matt Pfahl would be my first go to. unless you know of someone closer to you? You can get the gaskets, I have the gasket kit Part number if you need it?
-
3
-
- Popular Post
- Popular Post
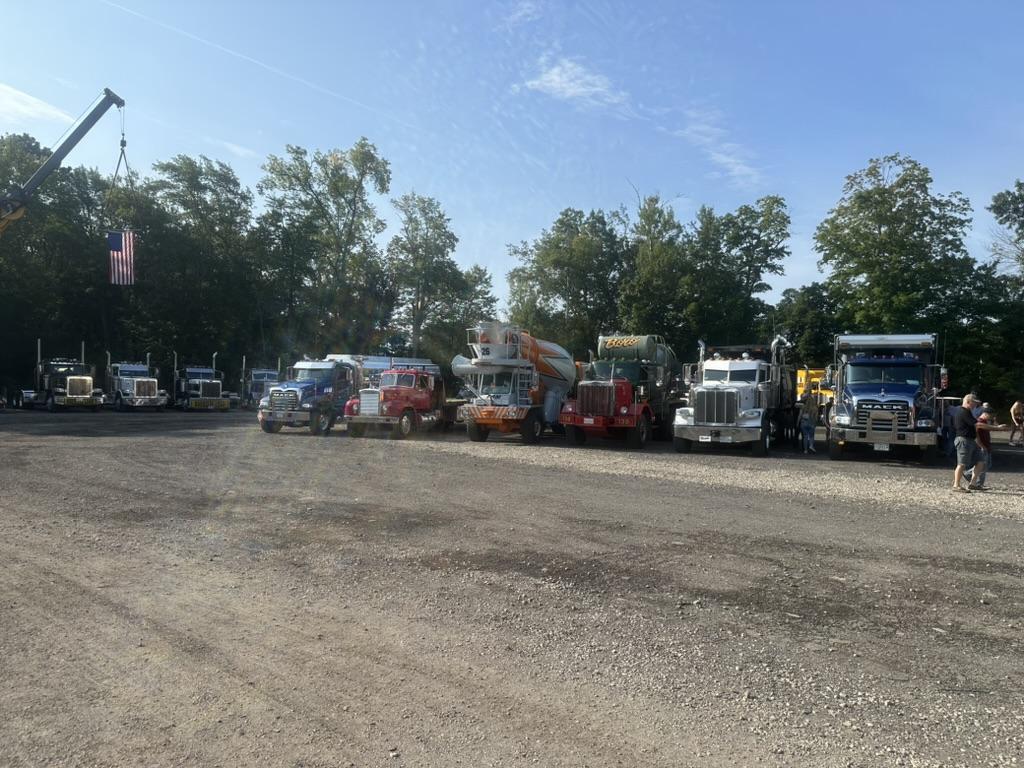
Made it to Lancaster and back without any issues at all. Met up with a bunch of people from here, Red Horse and 70mackMB and several people from FaceBook. Weird how you get to know people from social media, yet you've never met them face to face, no idea what they look or sound like. I suppose that's how we'll meet some of our acquaintances from now on.
A good run this morning, before the heat and traffic. The return trip I could do without. About a three hour round trip and about 200 miles and no leaks from the transmission. Two whole days in the truck and a lot of fun was had.


-
3
-
3
-
- Popular Post
- Popular Post
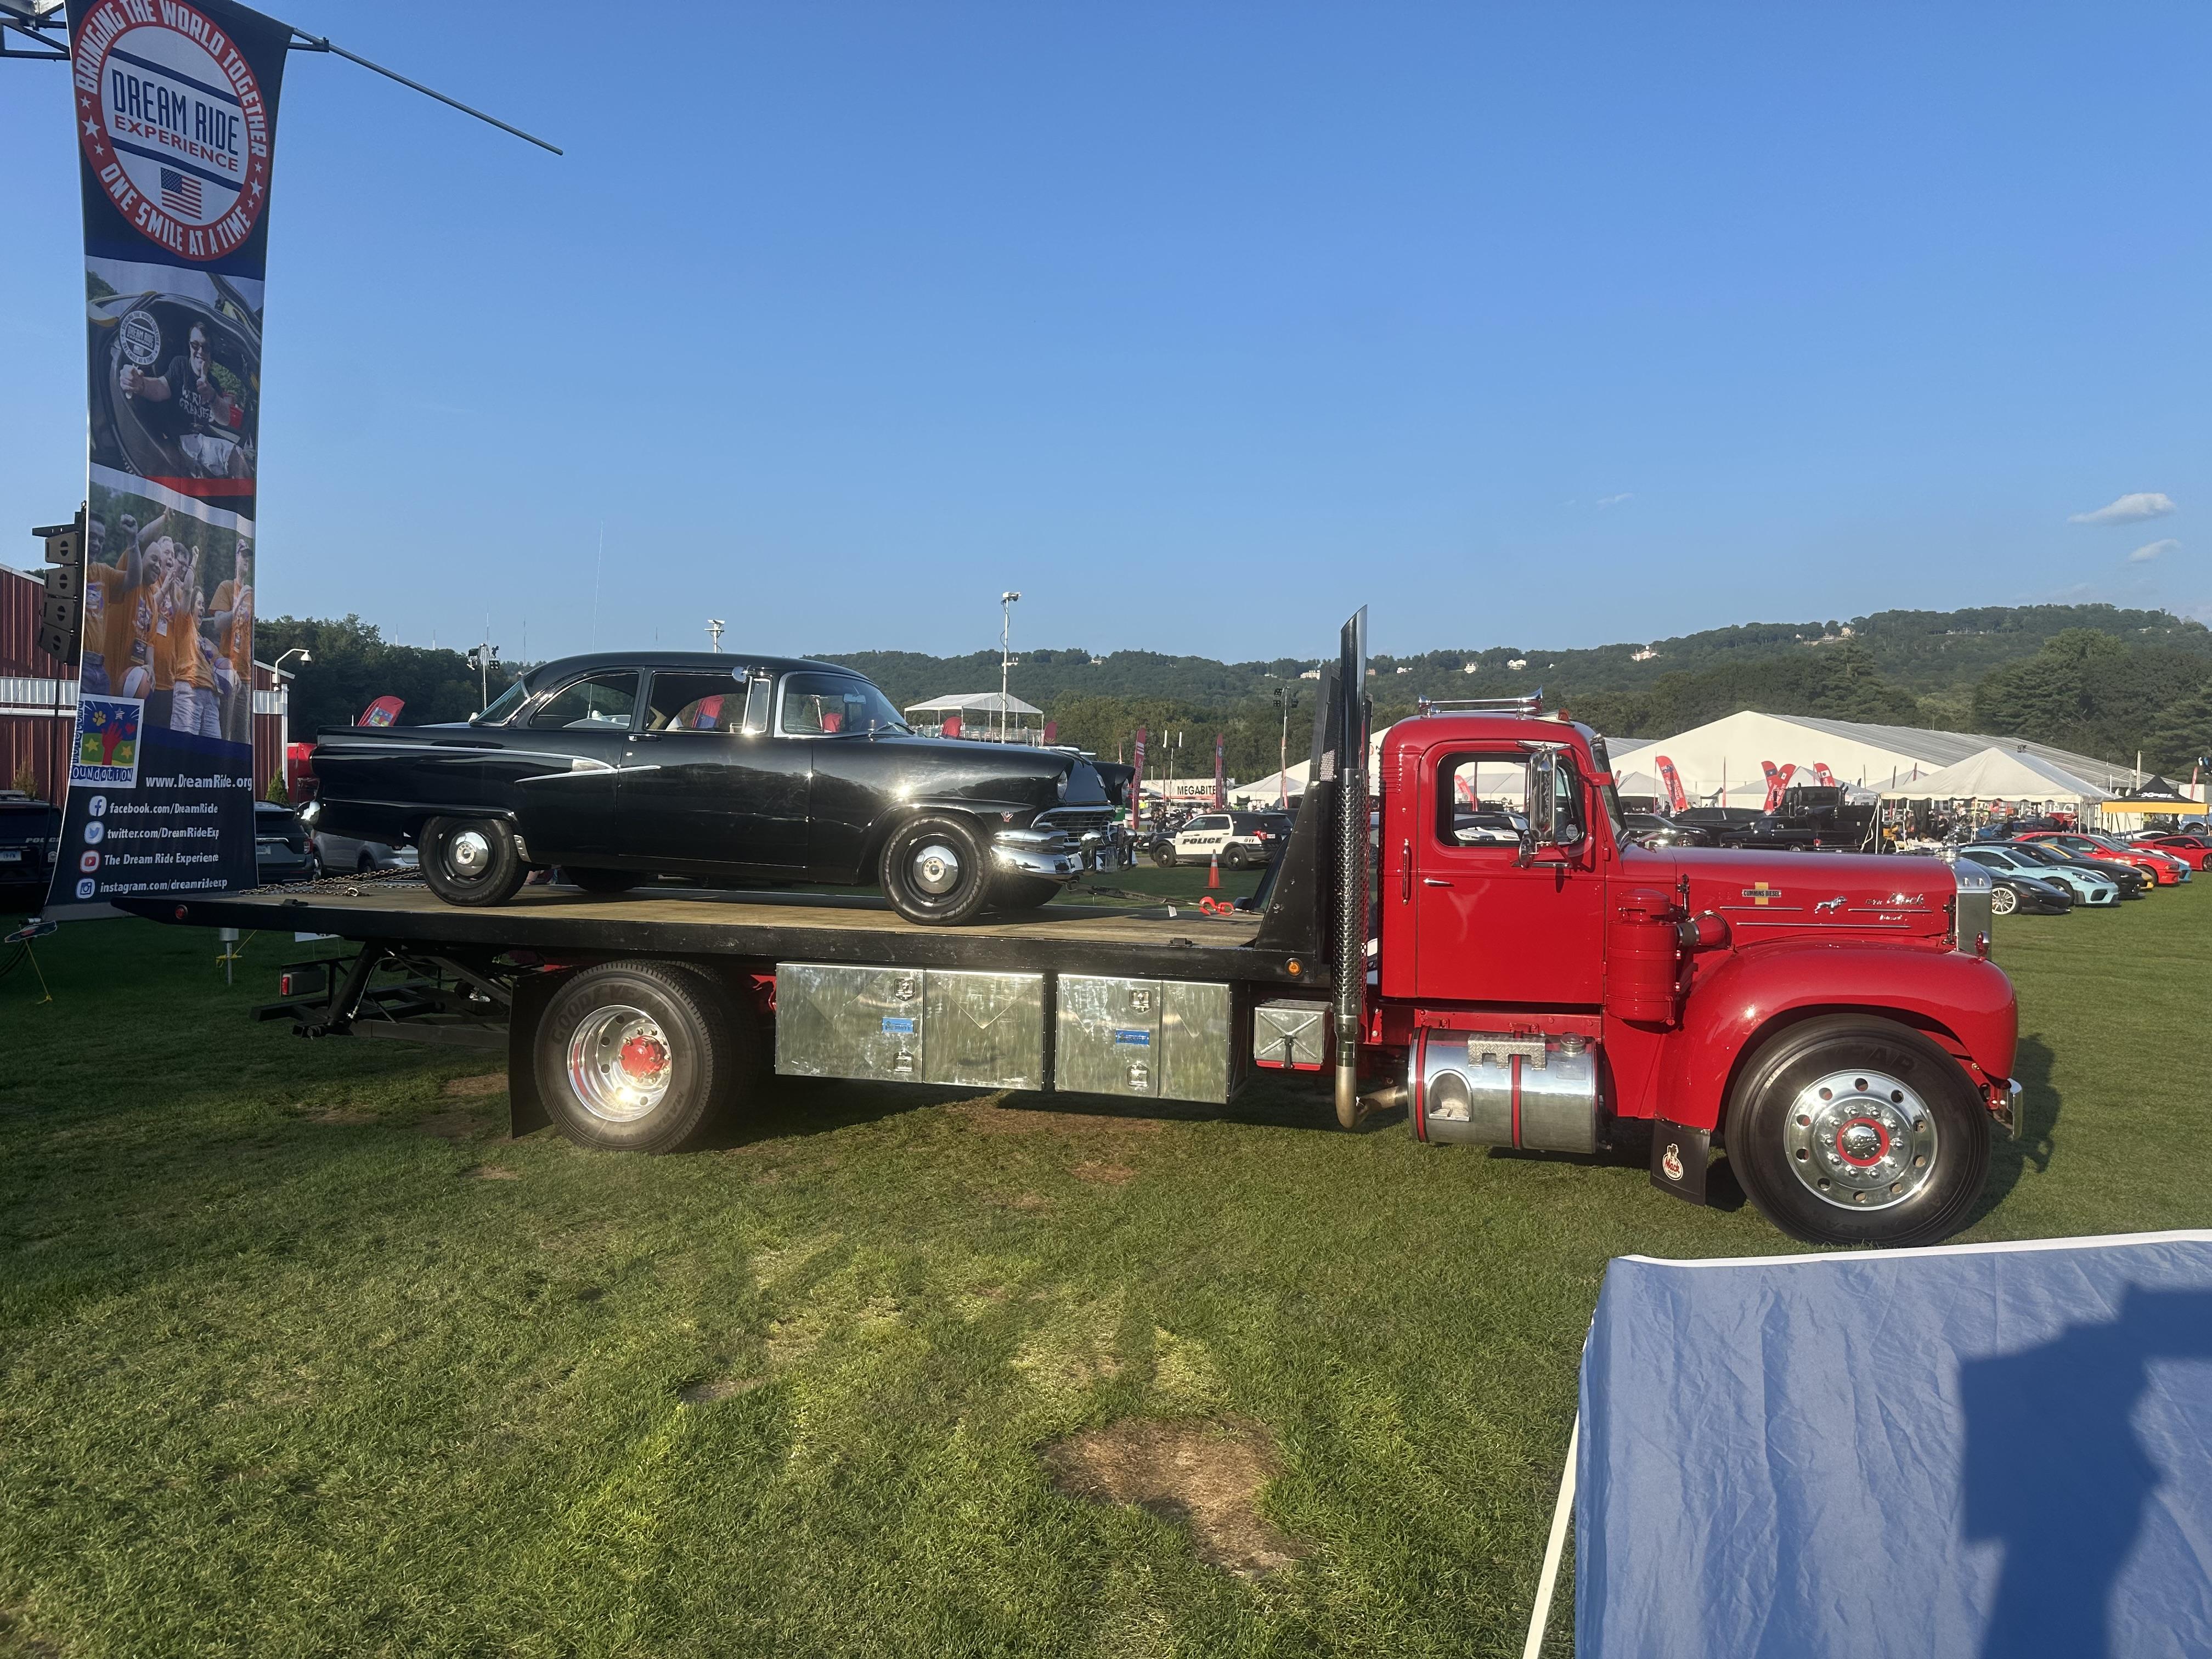
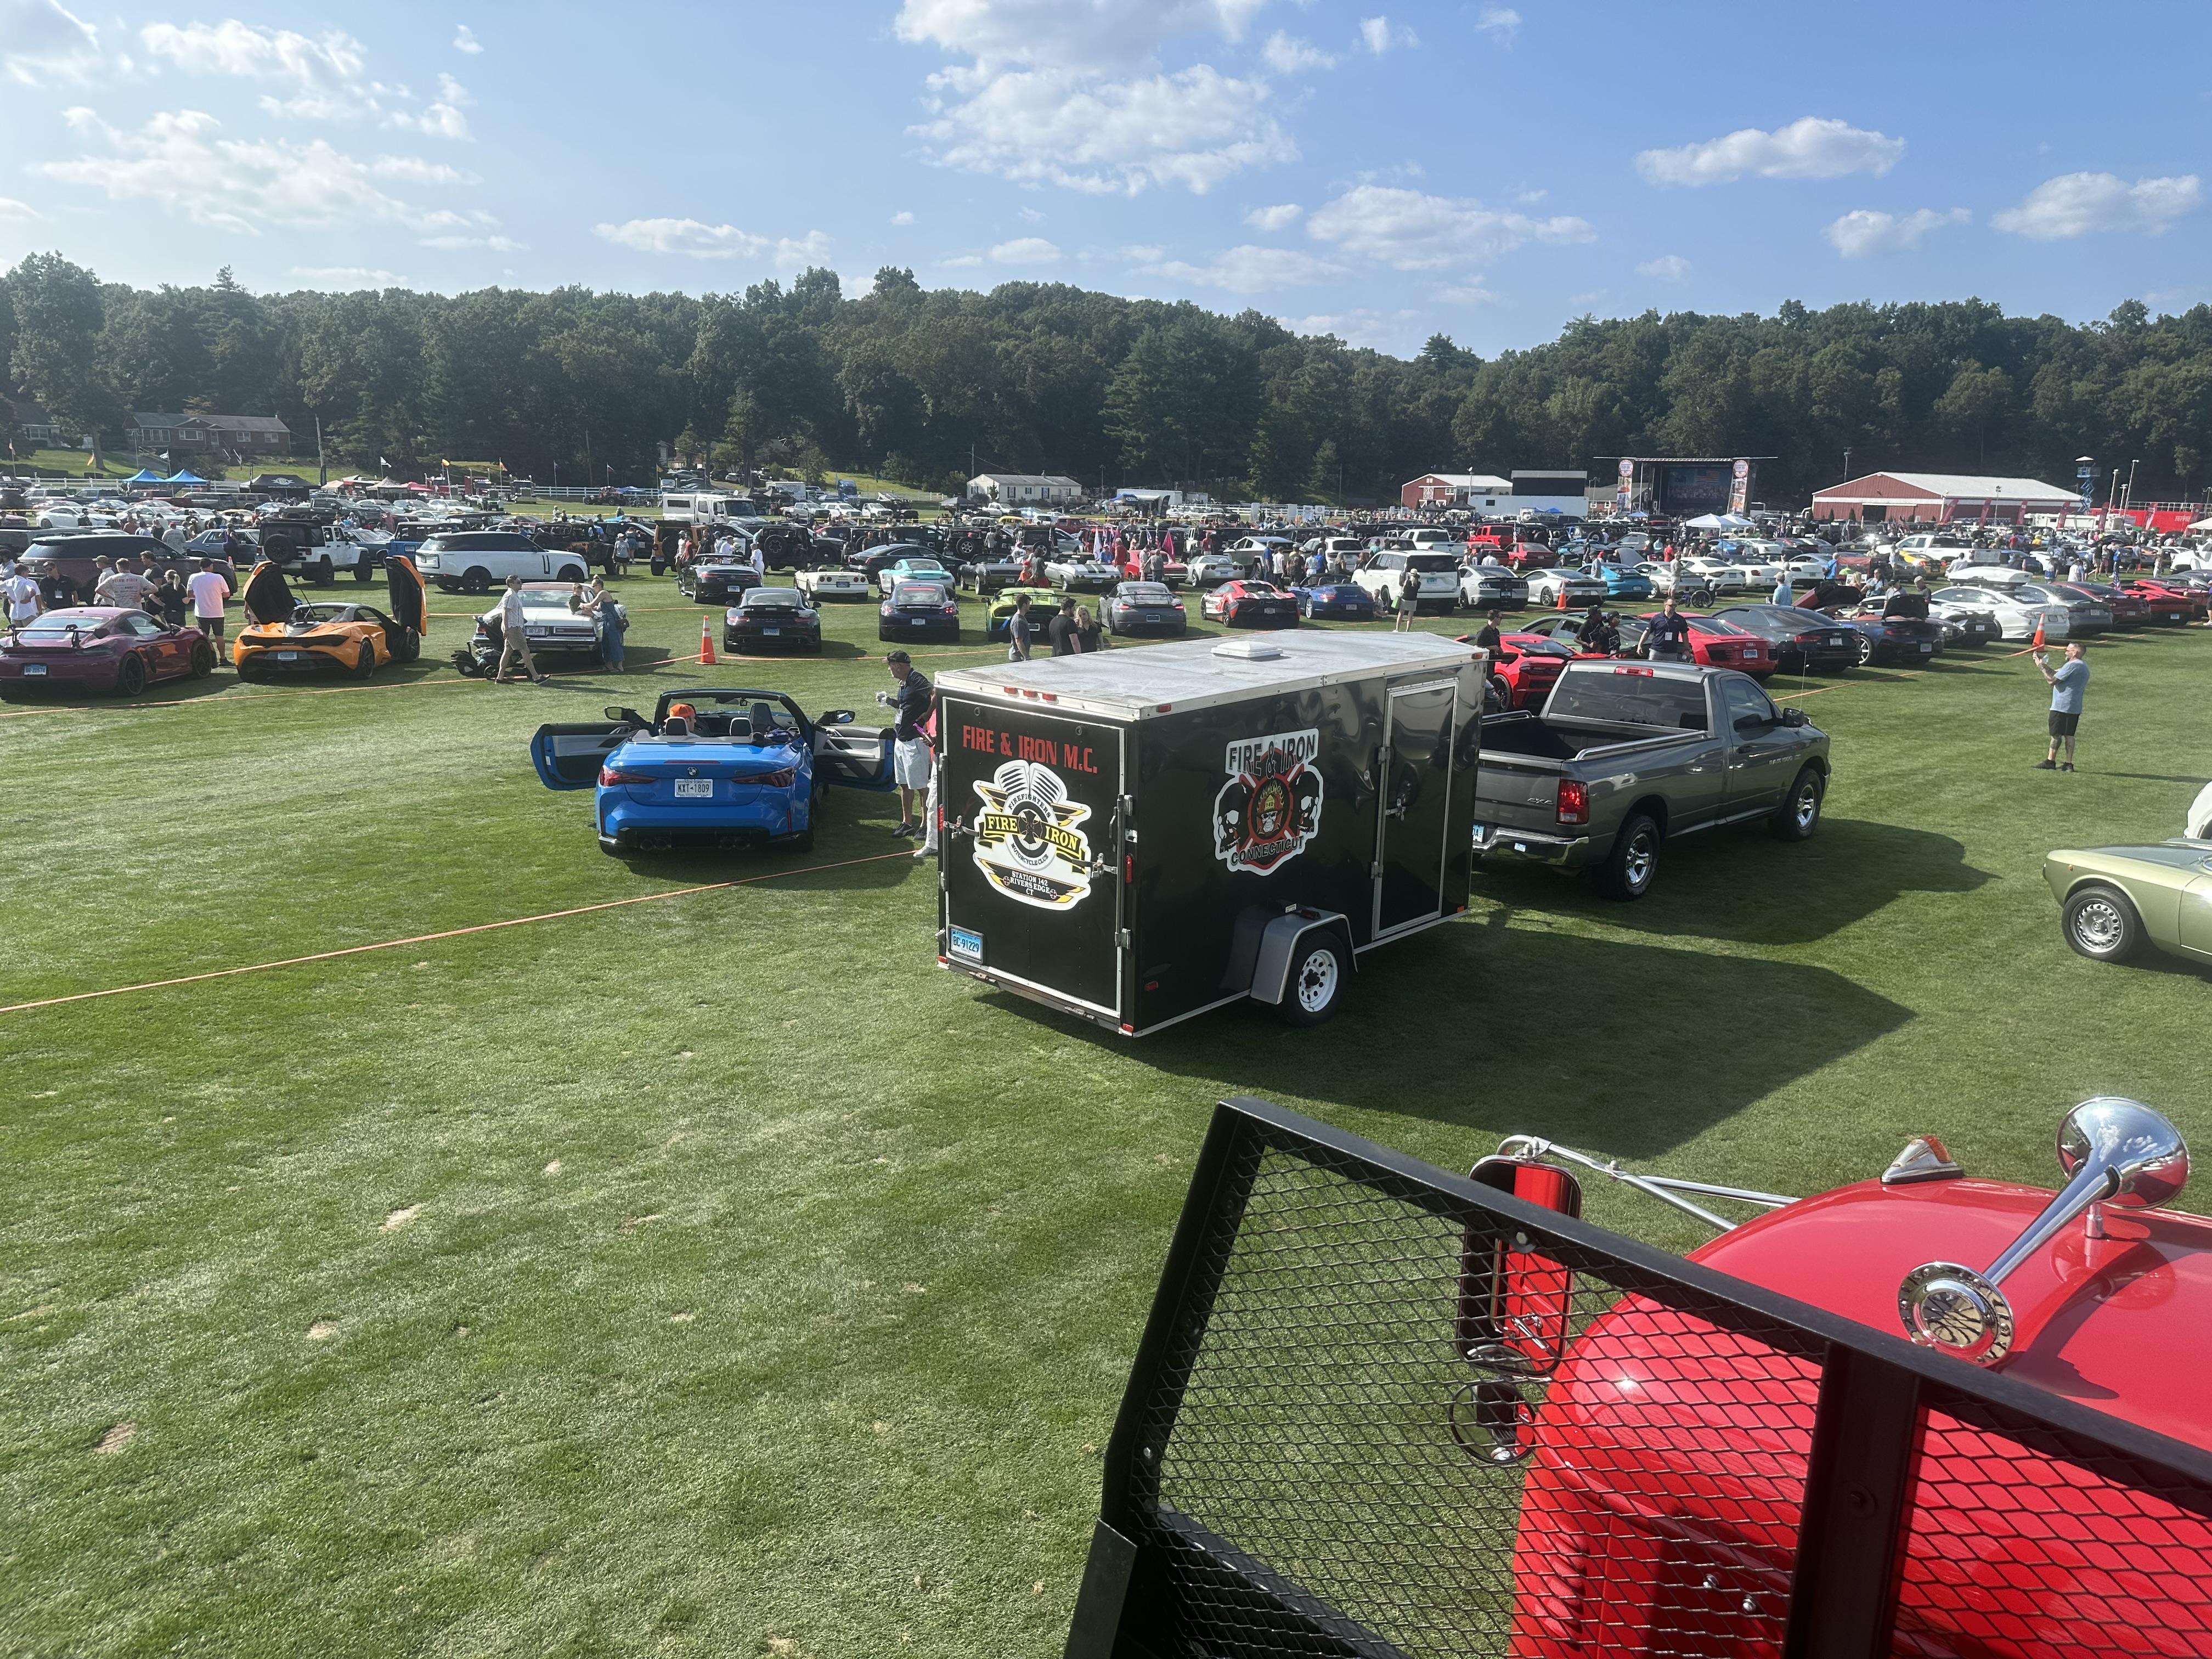
Big day for the B73. Did the whole DreamRide motorcade through several towns in the central Connecticut area. About an 18 mile course with hundreds of cars, fire engines hauling Special Olympic athletes, about 600 of them paired up with drivers and cars. Truck ran perfectly over the route with no issues, but lots of shifting and Jake brake action. A long and fun day. I even rescued one of our vintage State Police cars the decided the quit about 1/2 mile from the end. A really good day. Tomorrow off to the Lancaster, MA show. It should be another great day. Fingers crossed for no issues!


-
5
-
4
-
- Popular Post
- Popular Post
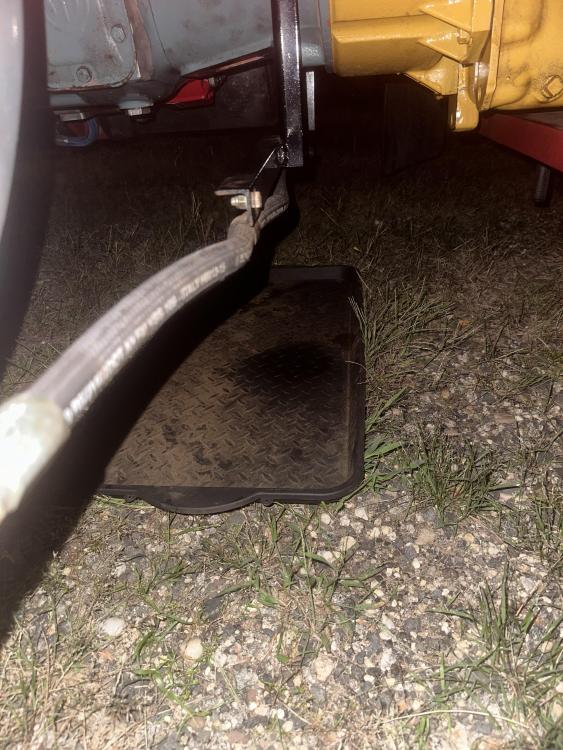
Swapped the fluid today, all new and fresh. Full to the proper level. Ran it 20 minutes and rechecked the level, it’s spot on. Just came home now and checked my drip pan. Not a drop. Tomorrow, off to DreamRide and Sunday off to the Bolton Fairgrounds show in Massachusetts.
-
2
-
1
-
1 hour ago, mowerman said:
and matt,,,,love those side markers,,,,great touch,,,must have missed the post,,,when you put them there,,,bob
The ones on the bed? They were original to it. Thinking about adding some more, but I may just leave it as is. There all new LED types and all fresh wiring.
-
1
-
-
- Popular Post
- Popular Post
3 hours ago, Freightrain said:My very worn out, loose, clanky, triplex leaks from the aux shift arms. At least that is one main spot that runs down the side. I'm sure the o rings on those shafts are likely rock hard.
Thus the reason I want to replace it with something.
I went completely through the whole transmission. Replaced all the roller and taper bearings, seals and re-shimmed the shafts. Rebuilt the shift covers, split the cases. All new gaskets and seals. The only thing not replaced were the shell bushings on the sliding gears, which you can’t get anywhere. Everything was cleaned and inspected. It’s been very dry, so far. There’s a little noise from it, but it doesn’t howl. Shifts very smoothly. The original odometer had about 375K miles, when it stopped working.
Just an odd occurrence so far. I’ll get it ready for Bolton. That’ll be its longest run so far. 2500 miles on the clock so far with no issues other than this one.
-
4
-
1
-
- Popular Post
- Popular Post
I don’t think so. I drained a little bit less than 4 gallons out of it. Capacity is a little over four. The only thing plumbed into it is the PTO/ pump assembly and there’s a 1/4” drain hole in the PTO case so it can’t transfer there, it would just drain out. I don’t think it was pressurized, there’s a big vent on the top cover and the main stick isn’t air tight. Still dry tonight. Tomorrow I’ll drain it again and put fresh gear oil in it.
The weekend is shaping up that I might make the Bolton show on Sunday. My boss has the big DreamRide weekend he sponsors for his Special Olympics fundraiser. It’s a three day event and I think I’m going to skate on Sunday.
-
3
-
Thats a thought, but it was still leaking statically for a long time before I could get it drained down?
-
1
-
-
Triplex, TRTL-720. Still dry this morning and still scratching my head.
-
1
-
-
- Popular Post
- Popular Post
I had a weird thing happen with the transmission this week. Went out with the truck two Saturdays ago to put some miles on it. Get back and I smell some gear oil as I get out. I don't think much of it and go over to my neighbors for a few beers. Come back about two hours later and as I'm locking up the truck I see a huge puddle of gear oil under the bell housing. Pour some speedy dry on it and put a drip pan under it loaded with more speedy dry to catch what's dripping out. Next day. I clean up the mess and start investigating and from what I see it's coming from behind the clutch brake, on the counter shaft. I run it and watch and it's still dripping. I didn't have time to work on it then, so I drain it down to stop the leak. I thought I could get at it through the lower opening on the bell housing and change the seal that way. Nope, not enough room to get up in there and pull the parts down. The only way to fix this is to pull the transmission out and now that it's all together I can't do that in my yard. I was able to get a friend to allow me access to his shop and transmission jack. That was supposed to happen this morning. Late yesterday in preparation for today, I refilled the transmission and packed up my tools to do this. I was able to get a new seal and a speedy sleeve to replace the old ones. I figure screw it I'll take for a ride for the hell of it. Get back late yesterday after my joy ride and slide a clean drip pan under it. No drips/leaks, even after a few hours. Call my friend and ask for a raincheck due to work popping up for today. Check the drip pan this morning, no drips. Screw it, I take the truck to work, about a 35 mile run, and park it. Before I leave on my trip, I check the pavement under the truck, again dry. Come back seven hours later, still dry!!
I can't figure this one out. It hemorrhaged almost a gallon of gear oil in my yard and now it's ok?? It's dry not even a drop hanging, ready to drip.
On a bright note, I did finally get to drive the truck at night, with all the lights working.

-
5
-
2
-
 2
2
-
- Popular Post
I’d use some high build primer over what you have there. It may take several coats, with sanding in between. Much faster and easier to do than skin coats of filler. Unless the pitting is really deep. Then you may need to use filler in those really bad areas.
-
4
-
1
-
h67st, did you purchase from him? I tried contacting him but never got through. I did get a set of windshield and the rear window seals from Neil Kaupila, from Massachusetts also. Those fit perfectly and were exact copies. I've sent numerous people to him for those.
-
1
-
-
Yes, there was a B77 and a B773. I believe it could be spec'd out with the Cummins 335. I would guess the rarest of the B70 series. B73/B75's are much more common to come across.
-
1
-
-
- Popular Post
- Popular Post
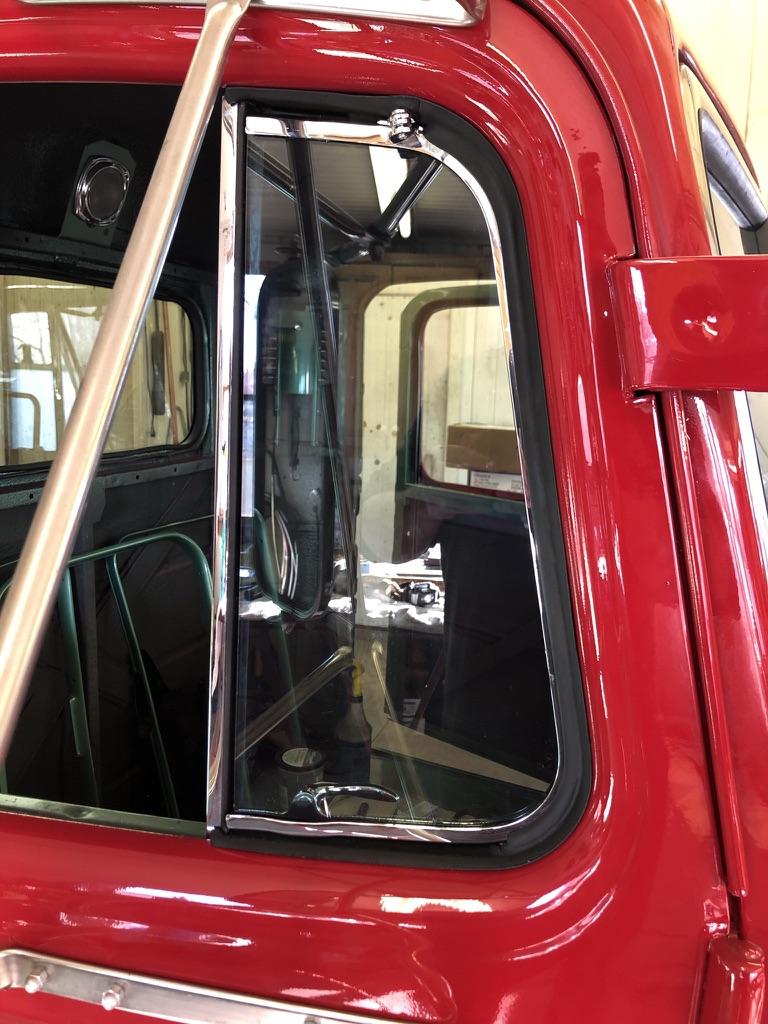
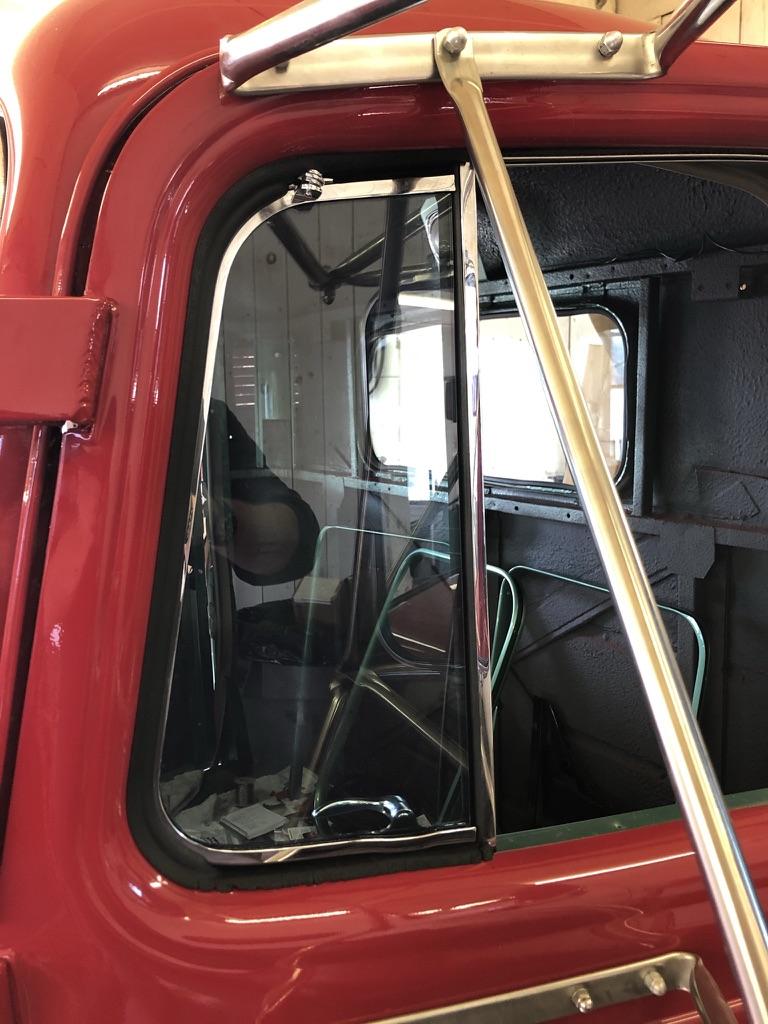
I'm assuming you mean the L cab. I can tell you from experience, these are hard to find as are most other L cab parts. While you may find the metal frames, locks and pivot hardware, no one makes the rubber pieces. I would suggest you keep asking about. If you're on facebook there are two good pages to ask on. One being for the Mack L Model and the other is for LT/LTL & B73/B75/B77 Trucks. There's a pretty good size audience there and you may find someone with those parts. The more you ask around the more you may find.
The rubber seals are definitely the hardest to locate. I found a decent pair after asking a lot of people and finally found a serviceable pair I carefully cleaned and restored. Even after doing that I was very careful installing them as there were areas that were brittle and would brake/crack easily. They're out there, you just have to dig.


-
3
-
I do remember an article about a cab over some years ago. Modified with a lift to bring it's driver and the whole wheelchair up, then into the cab. the driver remained in his chair while behind the wheel.
Did the Bisom line also have a nicely restored, twin screw B model with a sleeper on it, maroon in color? I seem to remember one from about 20 years ago at one of the national shows. It was very nicely done.
-
1
-


BMT Forum Logo

Endt 673 Starter removal
in Antique and Classic Mack Trucks General Discussion
Posted
What position is your starter on the bell housing? There's a lower right, down on the passenger side. Also, upper left on the driver's side, between the block and steering column. Mine is on the upper left, which I think is the harder location. I bent up a spare 5/8" wrench to reach it from the inside of the cab after removing the floor boards to access the area.