


The Nitro
-
Posts
138 -
Joined
-
Last visited
-
Days Won
2
Content Type
Profiles
Forums
Gallery
Events
Blogs
BMT Wiki
Collections
Store
Everything posted by The Nitro
-
She’s working nicely
-
Will try this bit of shit I’ve welded together for a spanner will have to cut spanner off afterwards though Hahaha.
-
Ahhhh, The new nylon thread lockers are too much for my tool to tighten it back up. Gotta weld a bit more stronger hook tool up.
-
Ram cap going on. Nearly there.
-
A truck mechanic offered to do this job for $90 an hr Friday morning when I asked around. Glad I decided to have a go. I might even be able to afford a tank of diesel after doing this if she all works Hahaha
-
I’ve got 1 cylinder back inside the other and its snap ring in but gee she was a lot tighter to get in past the seals than how easy it came apart. Thats a good sign 😆
-
All going back together good so far.
-
Got my safety squint on and about to get right into the guts of this thing now and pop these retaining spring clips out
-
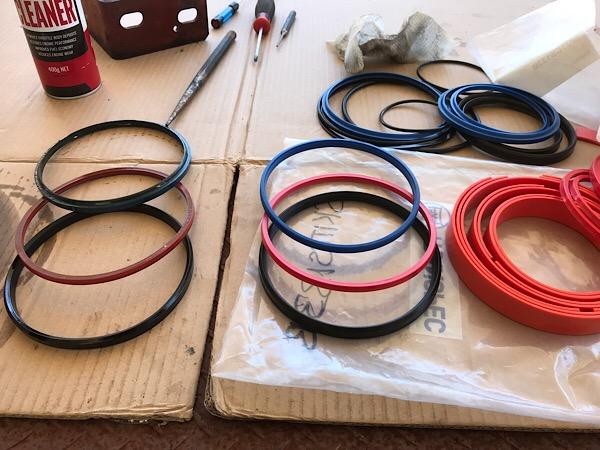
Ok mate, I will go with the red one. It was a nice tight fit into its machined groove so hopefully it helps it expand better than old one when I slide it back in.
-
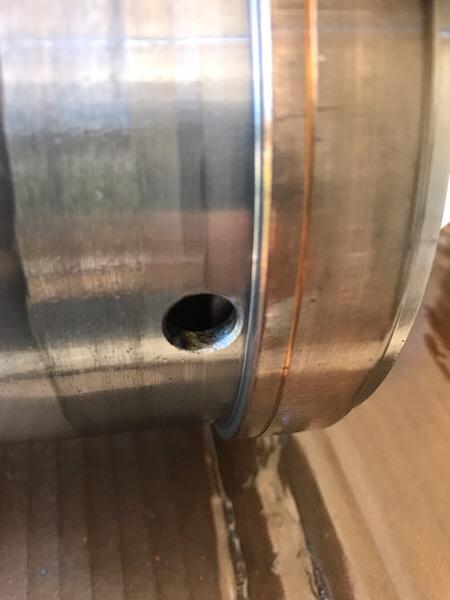
This is the bottom of fattest cylinder and I see a bronze type bush here but doesnt look like it comes off and theres a hole that looks to let oil in under the cylinders to pump em up so doesnt look like the flat plastic rings would go there. Hmmm. I’m snookered lol I like how the blud ring feels on cylinder but not sure wether to try it or to use the red loose one the same that came out of it.
-
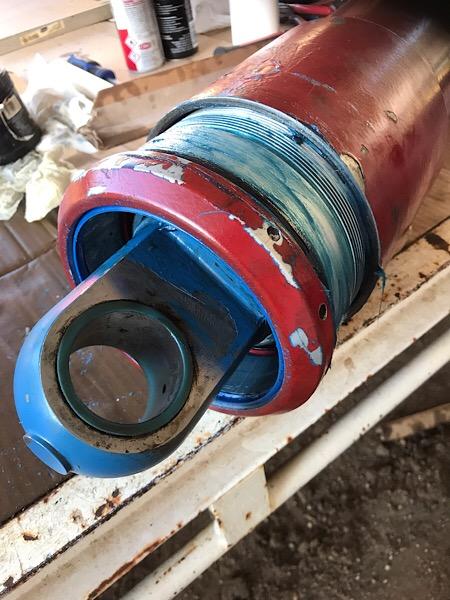
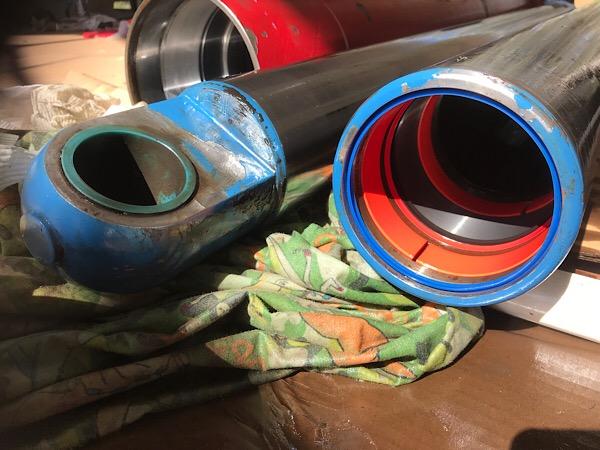
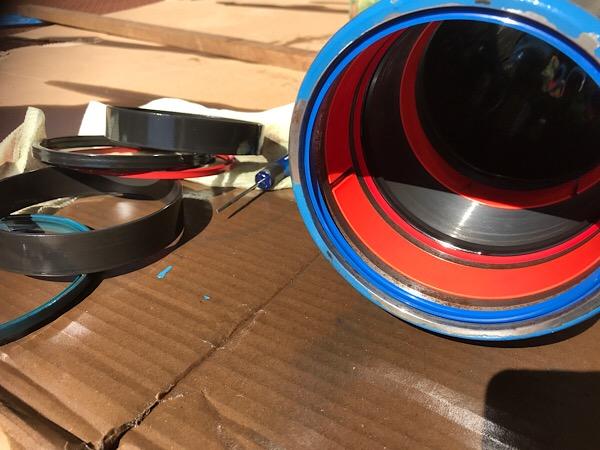
The old seals that go inside the threaded collar/nut whatever its called consist of a black rubber ring with an upside down V shape at top face which sits into a V shape groove in bottom face of the red hard seal. These go inside one machined groove in collar together. Red ring is loose fit on the cylinder its trying to seal and the black one under it is a better fit but not snug. I’m imagining the V is to get oil to expand seal but dont really know. The new seal kit has thd red and black seals that look the same and they feel about the same on cylinder for tightness. Ie, can see daylight between red hard seal and cylinder??? BUT, theres a blue seal in the kit that has the same shape as this old red seal but made from a slightly softer compound and is a very nice fit over the cylinder. This has me stumped as I cant see any other place where this blue seal in kit might go. Its not a dust seal, the kit does have a blue dust seal but this one is same shape as the red one. I’m tempted to use the blue one instead of the red one but dont know why they have it in the kit as well as the red one. Theres also some flat plastic orange rings that I cant see a place where they might go either. I havnt undone the retainer clips inside the cylinders yet to get those apart but I can tell by the size this v shape blue seal wont fit in there anywhere. anyone have any ideas about this blue v seal or the red one? There is only 1 of these “spare” blue v seals and it can only fit on the largest cylinder from what I can tell.
-
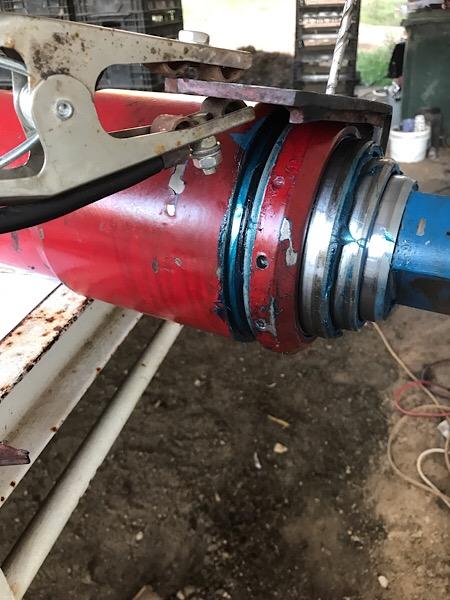
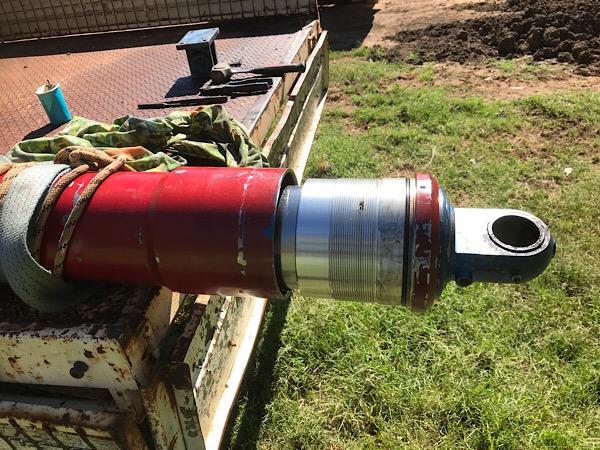
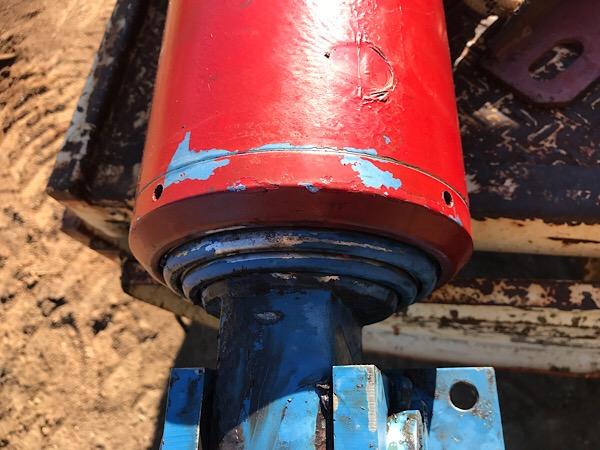
I’m seeing a few scuffs in this threaded thing that holds the fattest seals but not seeing any obvious tear or split in either the dust or pressure seals so thats probably not good. Hmmm. Was hoping to see a seal with something obvious wrong with it. This fat section is where the leak is.
-
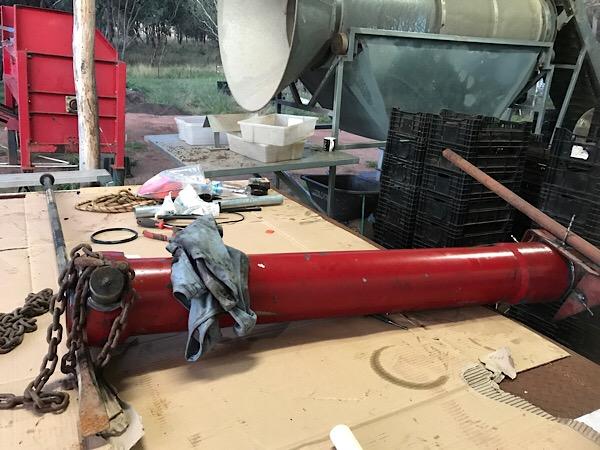
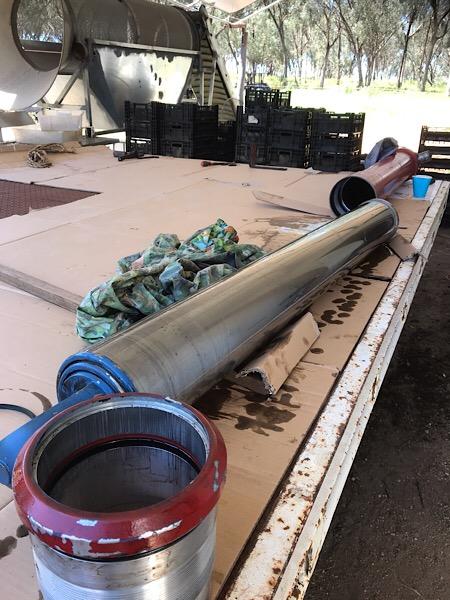
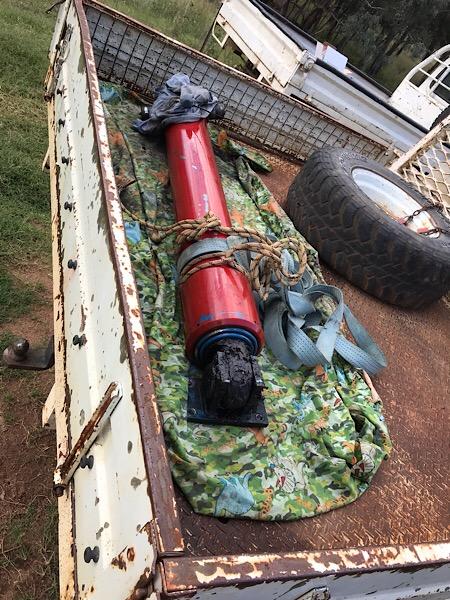
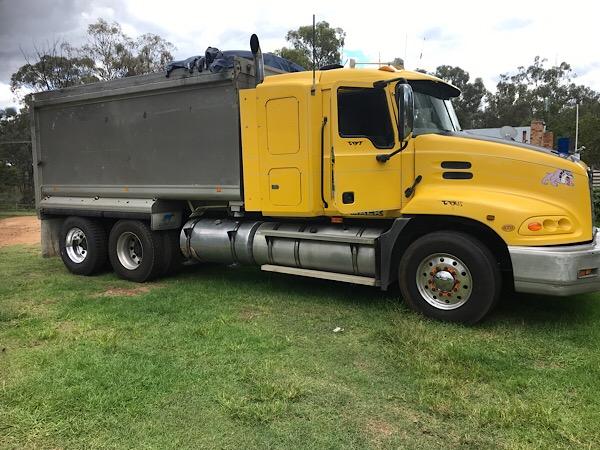
I’m at Inverell North NSW. Just shifted the ram from my ute to a flat bed and backed it under my shed where I can get a good look at this thing out of the sun.
-
I’m in. No idea what I’m doing but will keep trying to get it all apart. Worst case, I take it to a pro and say “fix that” or I gotta buy a new one. Nothin wrong with wanting to taking a little peak in here hey.
-
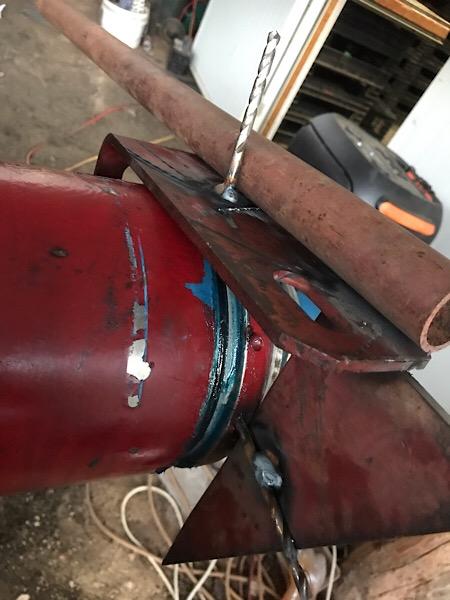
Quick hit with the grinder and drill and using the drill bit as the “hook” a few good wacks on my tool and its coming 😂 Never seen in one of these before so looking forward to seeing whats what.
-
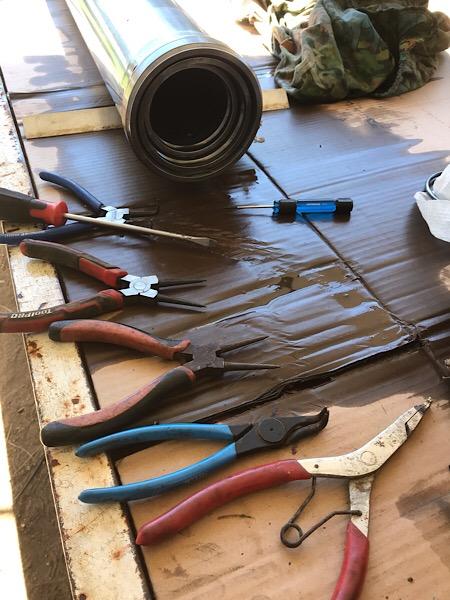
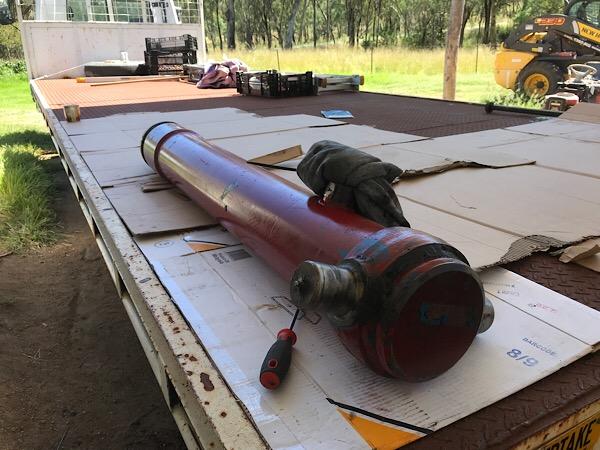
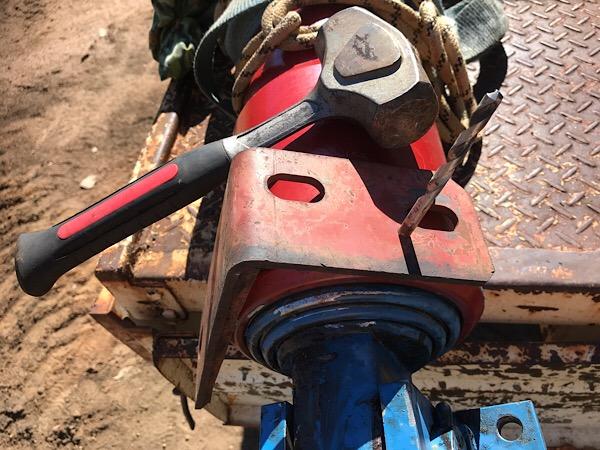
I’m looking at this cylinder nut and in my toolbox and I’m not seeing anything I have that can undo this ring with 4 holes drilled in it. Hmmm. Done a quick lap up behind my shed around my junk pile and found a couple bits of garbage that I will attempt to cobble together to make a tool 😆.
-
Cost 20 cents for fuel in chainsaw and $40 for a come along but it wasnt needed, she gravity all the way down.
-
Easy as that 🤠
-
Nearly there 😃
-
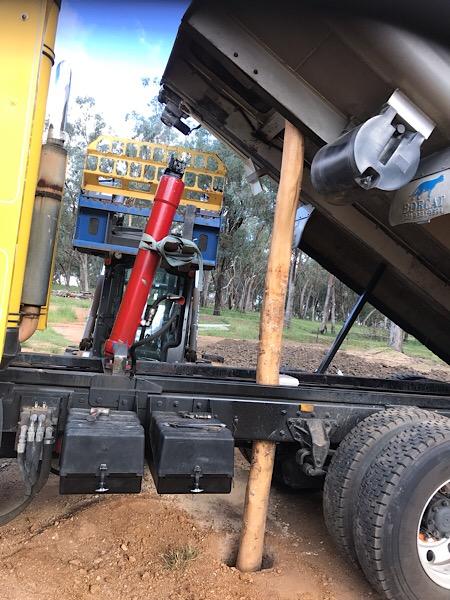
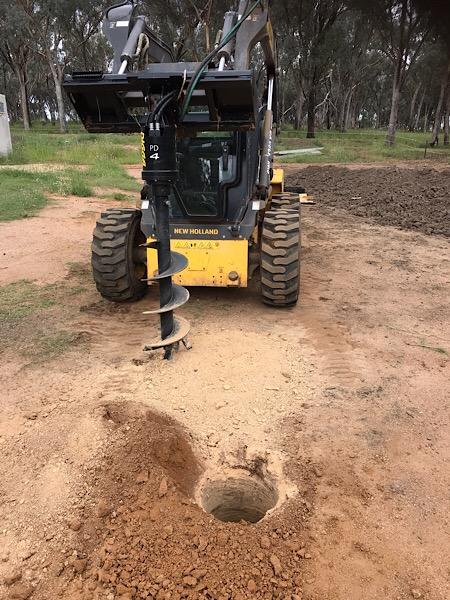
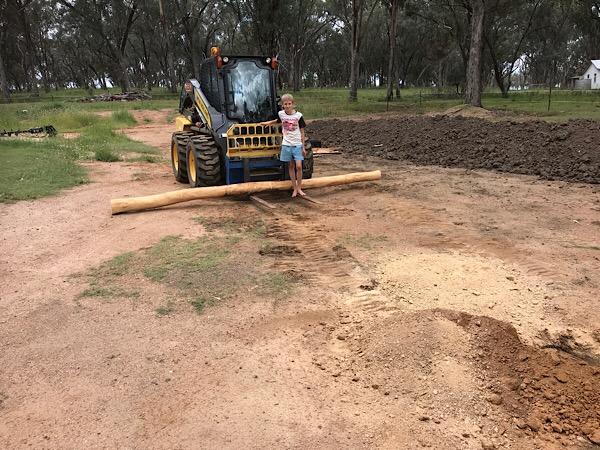
Yep, I’ve got my helper ready. We just went and got our log and dug our hole. Just about to position our truck over thd hole. I was going to undo the 4 bolts on pad above the top eye of ram before raising body. The top of ram is 4 ft up inside the body triangle shape enclosure so it wont be able to go anywhere if I undo the bolts first. Might slide sideways a little but that shouldnt matter hopefully. Heres a couple pics.
-
Just went to town and bought a come along 900kg was all the shop had. Will go crank up the chainsaw now and get into it. Will be a lot more fun hooking that come along up first rather than finding out truck strap wont pull ram down later on after its all up in the air. Thanks for the tip saved a potential greif cheers
-
I havn’t fiddled with a ram this big before or one in such an enclosed place. I will try come up with a more powerful way to collaps the ram before starting this job. are we talking a come along type of force or a block and tackle maybe ? I’m on a cattle station and puttig in fence strainer posts or pulling them out is a common job we do here. Seemed like the cheapest easiest sollution. Might put more thought into it cheers
-
I’m planning to drill a 5ft deep hole with the post hole digger on skid steer and position the truck over hole so that the only cross beam of body is over the hole when its at 2.8 meters high. Drop air from airbag suspension and chock all the wheels and park brakes on. Undo the top ram bolts with body fully down and attach some type of ratchet strap to top of ram that I can use to collapse ram if it wont come down itself by gravity. Raise body with ram and Cut a fresh wooden post from a box tree trunk about a ft diameter and put it down through chassis into my hole fill it in with dirt so its solid and the top of post is the right height to compliment the factory body prop thats fitted to truck already. lower body onto post and prop and put a log across rear of chassis rails as well. Lower ram with gravity or my pre installed ratchet strap up on top of ram and put my skid steer forks straddling the top half of ram main body tube and sling ram to forks and lift out when rams fully down and base unbolted. should be able to put ram back in and raise it with pump between my forks as a guide up into truck body top mount and take the weight. Chainsaw my post out then remove factory prop last and lower body fully then get top bolts in last after its all back down. Thats about the best way I can come up with that minimises the amount of time I need to be in there which is to tie ram to my forks and to ratchet the ram down to collapse it if needed. I dont like the idea of a short prop at rear of body near hinge point as I have seen that rear pin fail once and a fail there would still see a guy squashed under front of body as rear would simply see saw upwards if the hinge failed and front of body would drop as its heavier. Before I do this, anyone see something I’m missing with the plan I described? Thanks,
-
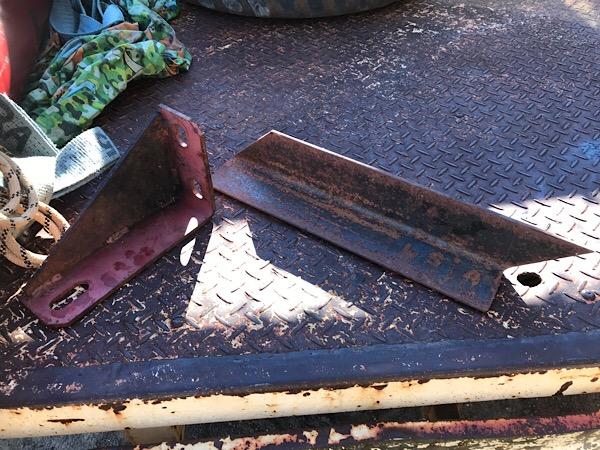
HAhaha, you guys. So the treddle valve job went ok but I have 1 of the short 1/2 inch hard plasic lines going up to the governor/regulator valve not playing the game and leaking air so need a couple more bits and pieces for that. The next job on the list is the leaking tipper ram seals. I’m not trusting the single safety beam prop on one side thats on the truck so will have to make a better one before I climb up in there to pull cylinder out.
-
Picked up the new valve from freight depot yesterday and took lots of pictures of old valve plumbing and removed it from truck. Got both valves at bench vice and will swap out the fittings and try get same angles tonight after work. Looks like brass tapered air fittings so might get some sort of thread locking goo from town before I start. Most of the air lines had olives on them so not sure how interesting it will be with leaks at the 9 threaded fittings and 12 air lines I had to undo to get brake valve out


BMT Forum Logo
