


DieselDeere
-
Posts
57 -
Joined
-
Last visited
-
Days Won
2
Recent Profile Visitors
2,326 profile views
DieselDeere's Achievements
")


-
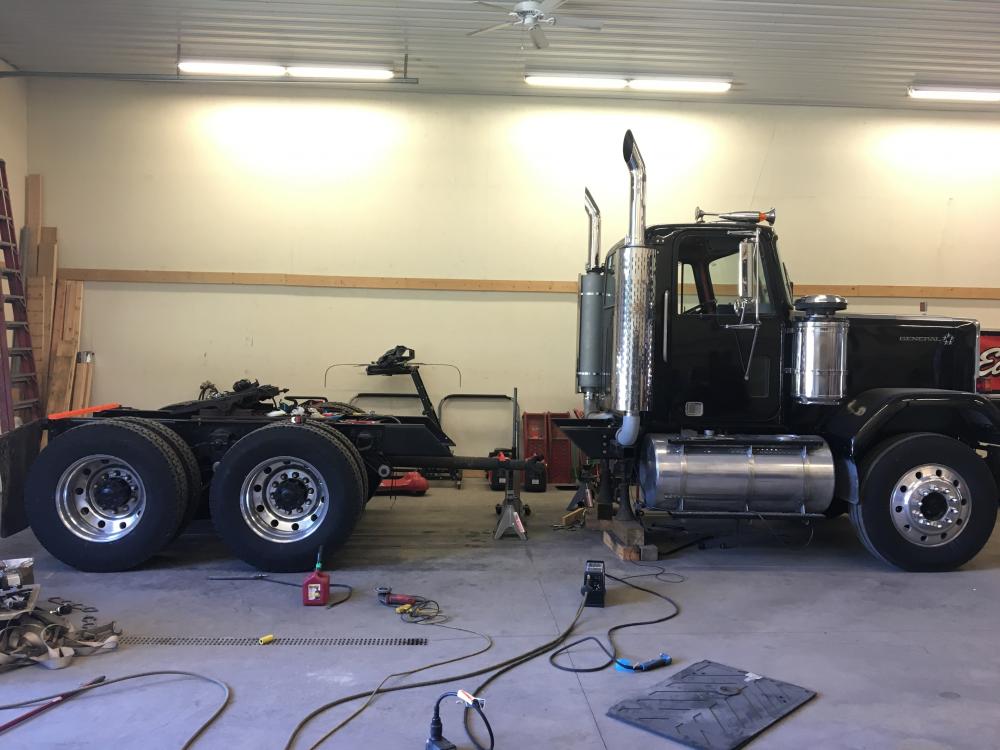
my wife is in love with your family's 6030. she took a bunch of pictures of it and keeps saying we need one. got the passenger side of the frame smoothed and put on a quick coat of paint to see any imperfections. I was able to pick up 4 Detroit mudflaps over the weekend. 2 for the rear, and I will trim 2 for behind the front tires. once i get the driveshaft back, which will hopefully be saturday, the next hurdle is going to be stack brackets. Having one stack hooked the cab originally still allowed the cab to move. putting two up there seems to restrain the cab from flexing the way it wants to and creates some horrible rattles. Im going to have to make a full stack bracket off the frame much like a cabover. I kinda like the look of them to be honest plus it will give a meaningful place to put some rear facing utility lights. I have not come up with a design yet and was hoping you guys might have some pictures of some. I've collected a few pictures over the past few months of different styles but im still open to options.


-
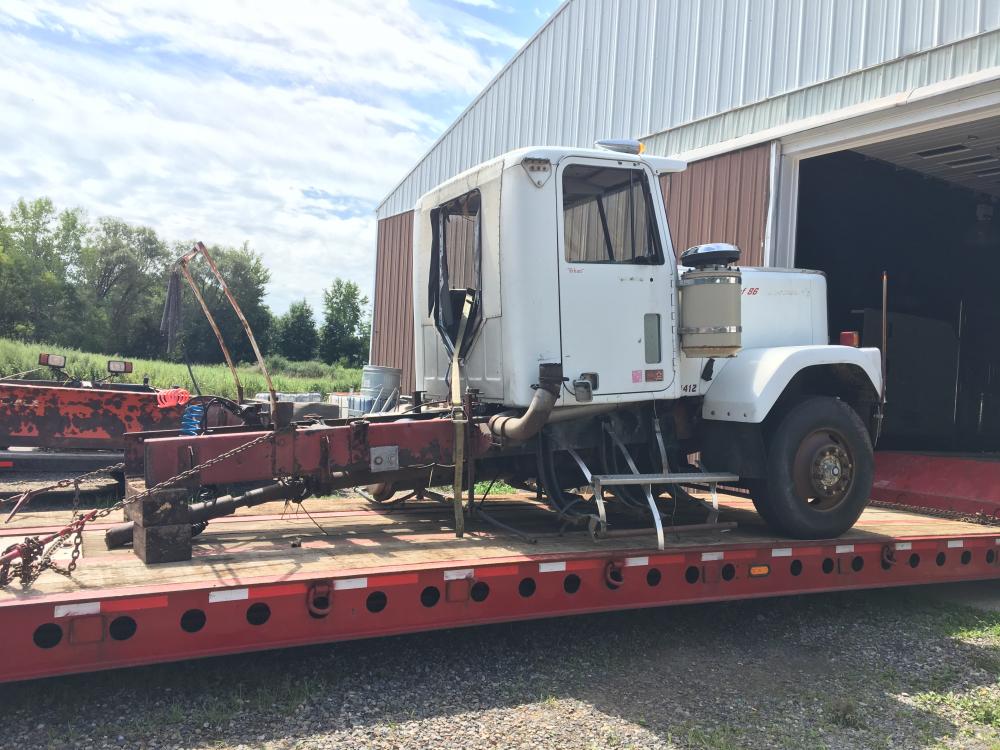
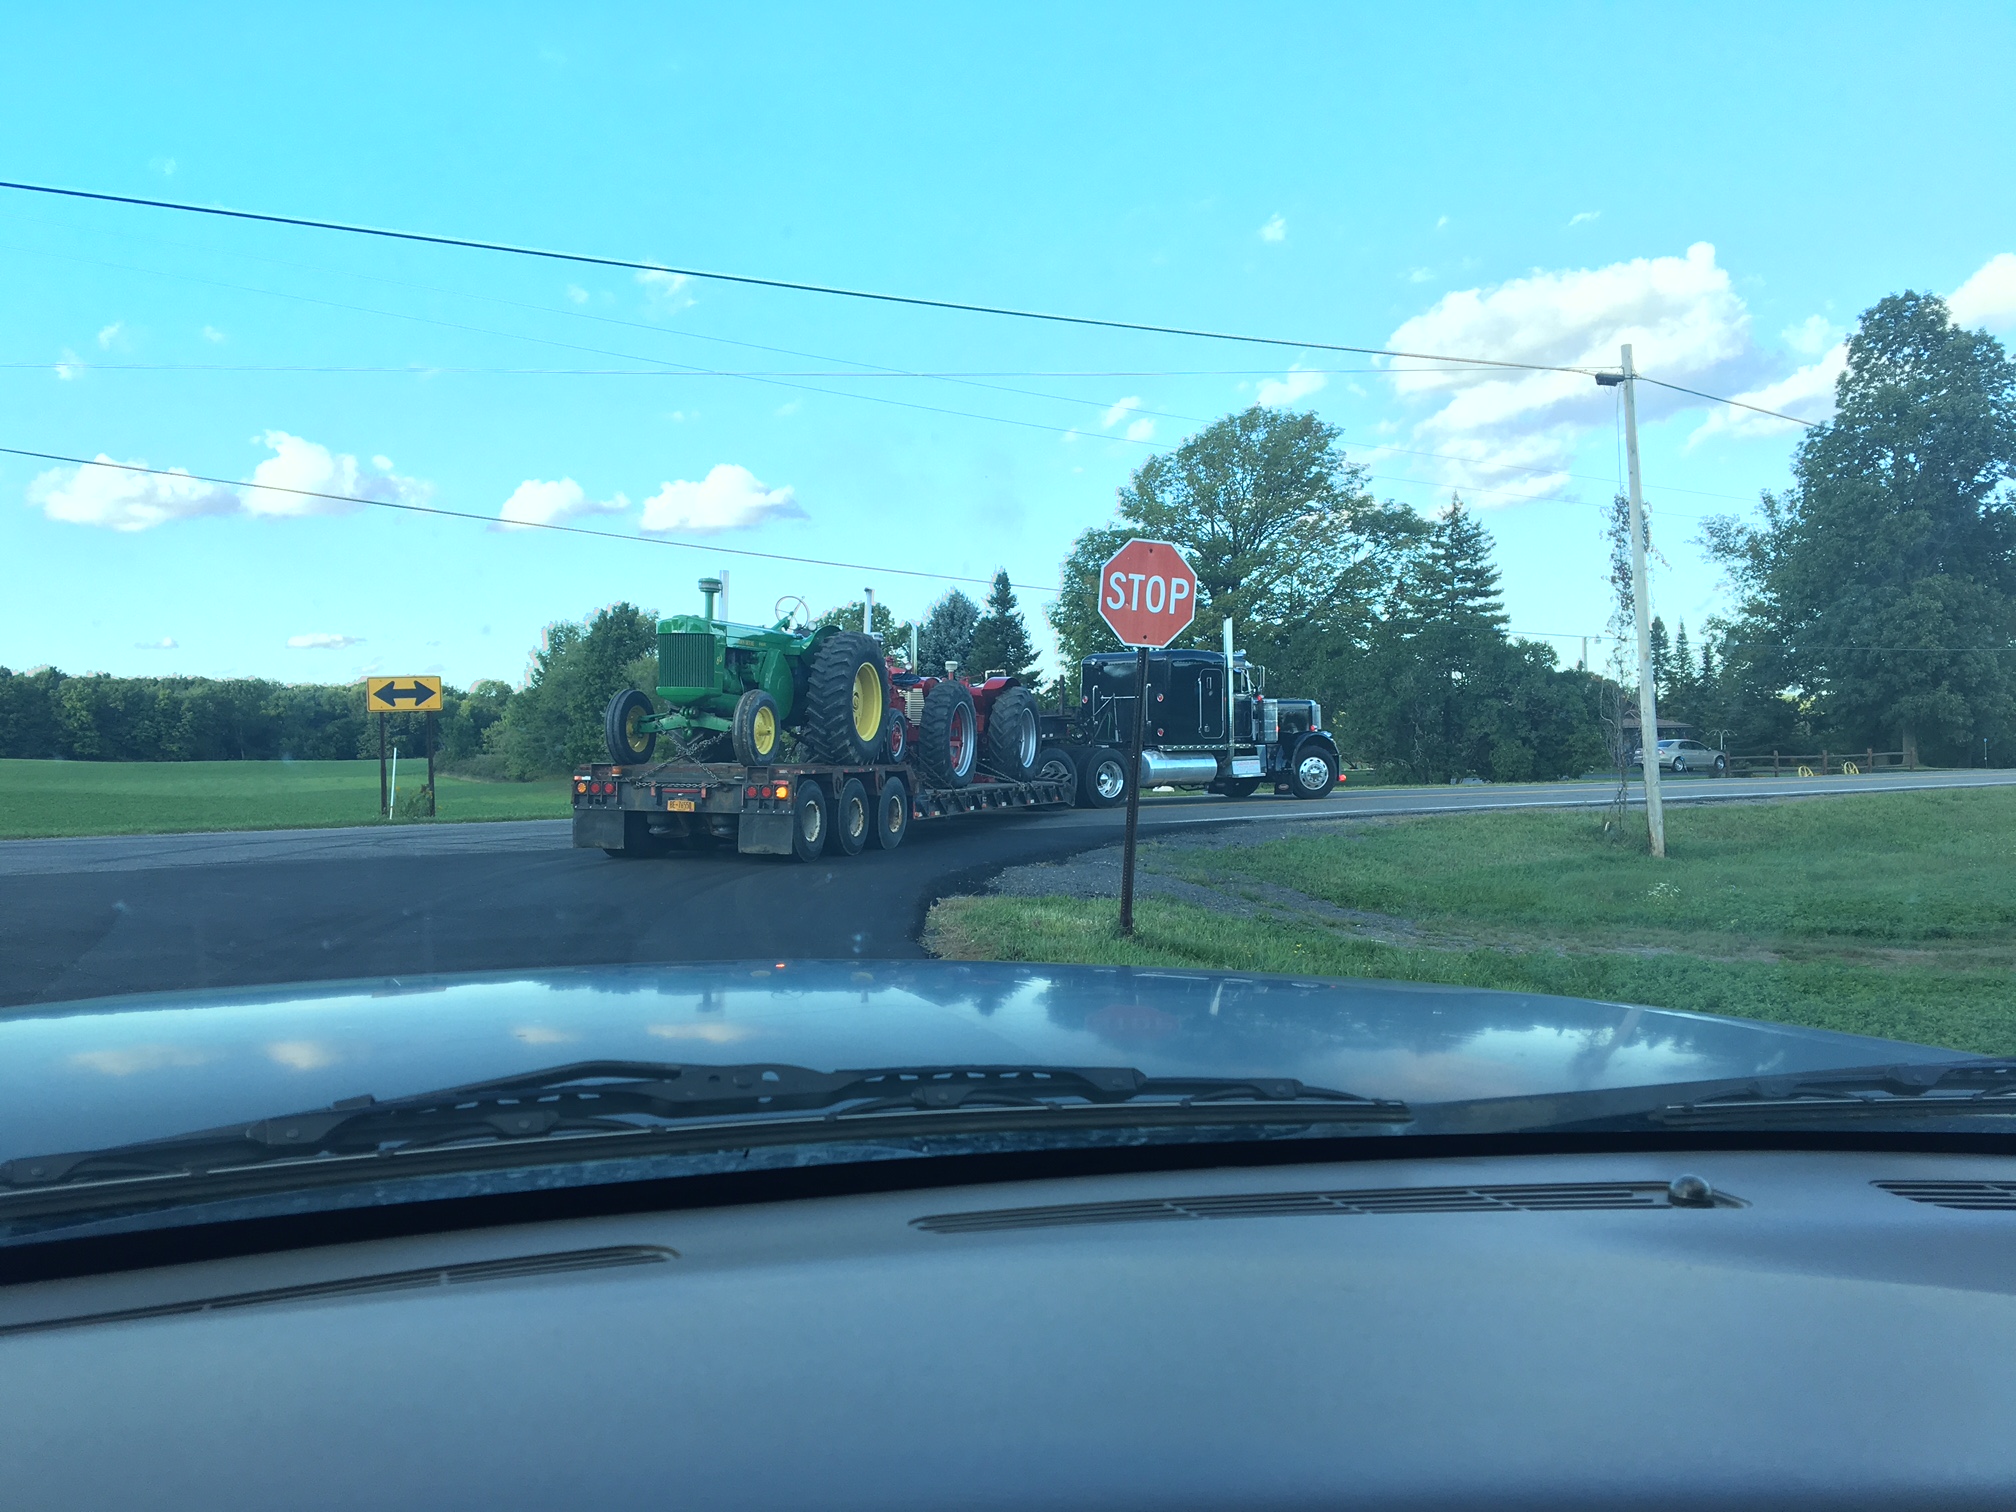
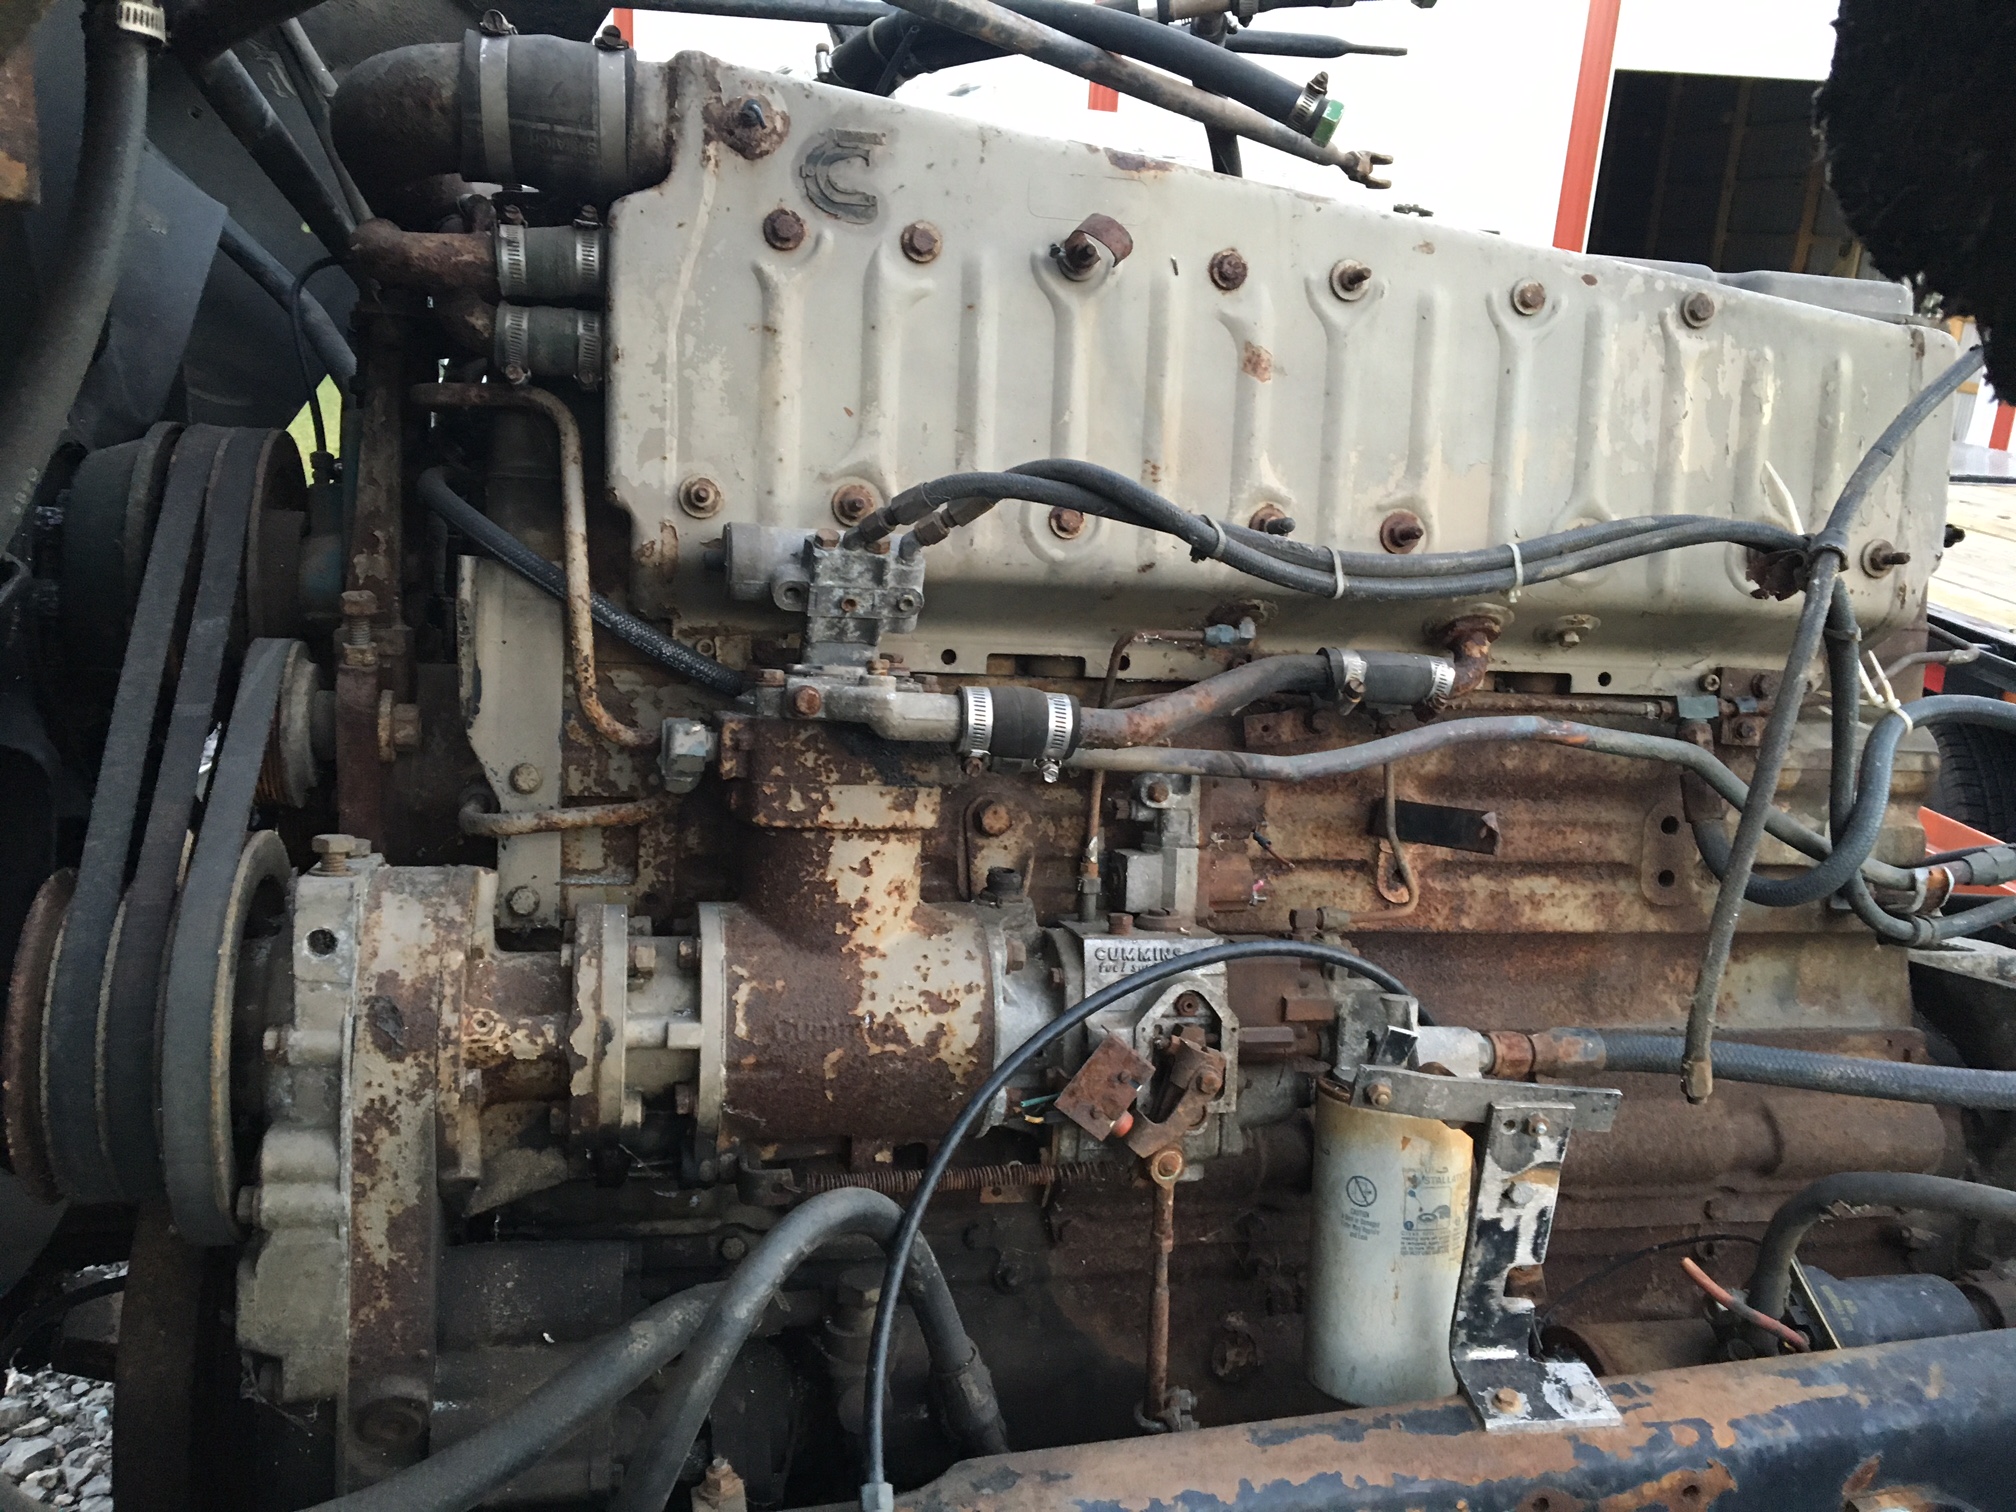
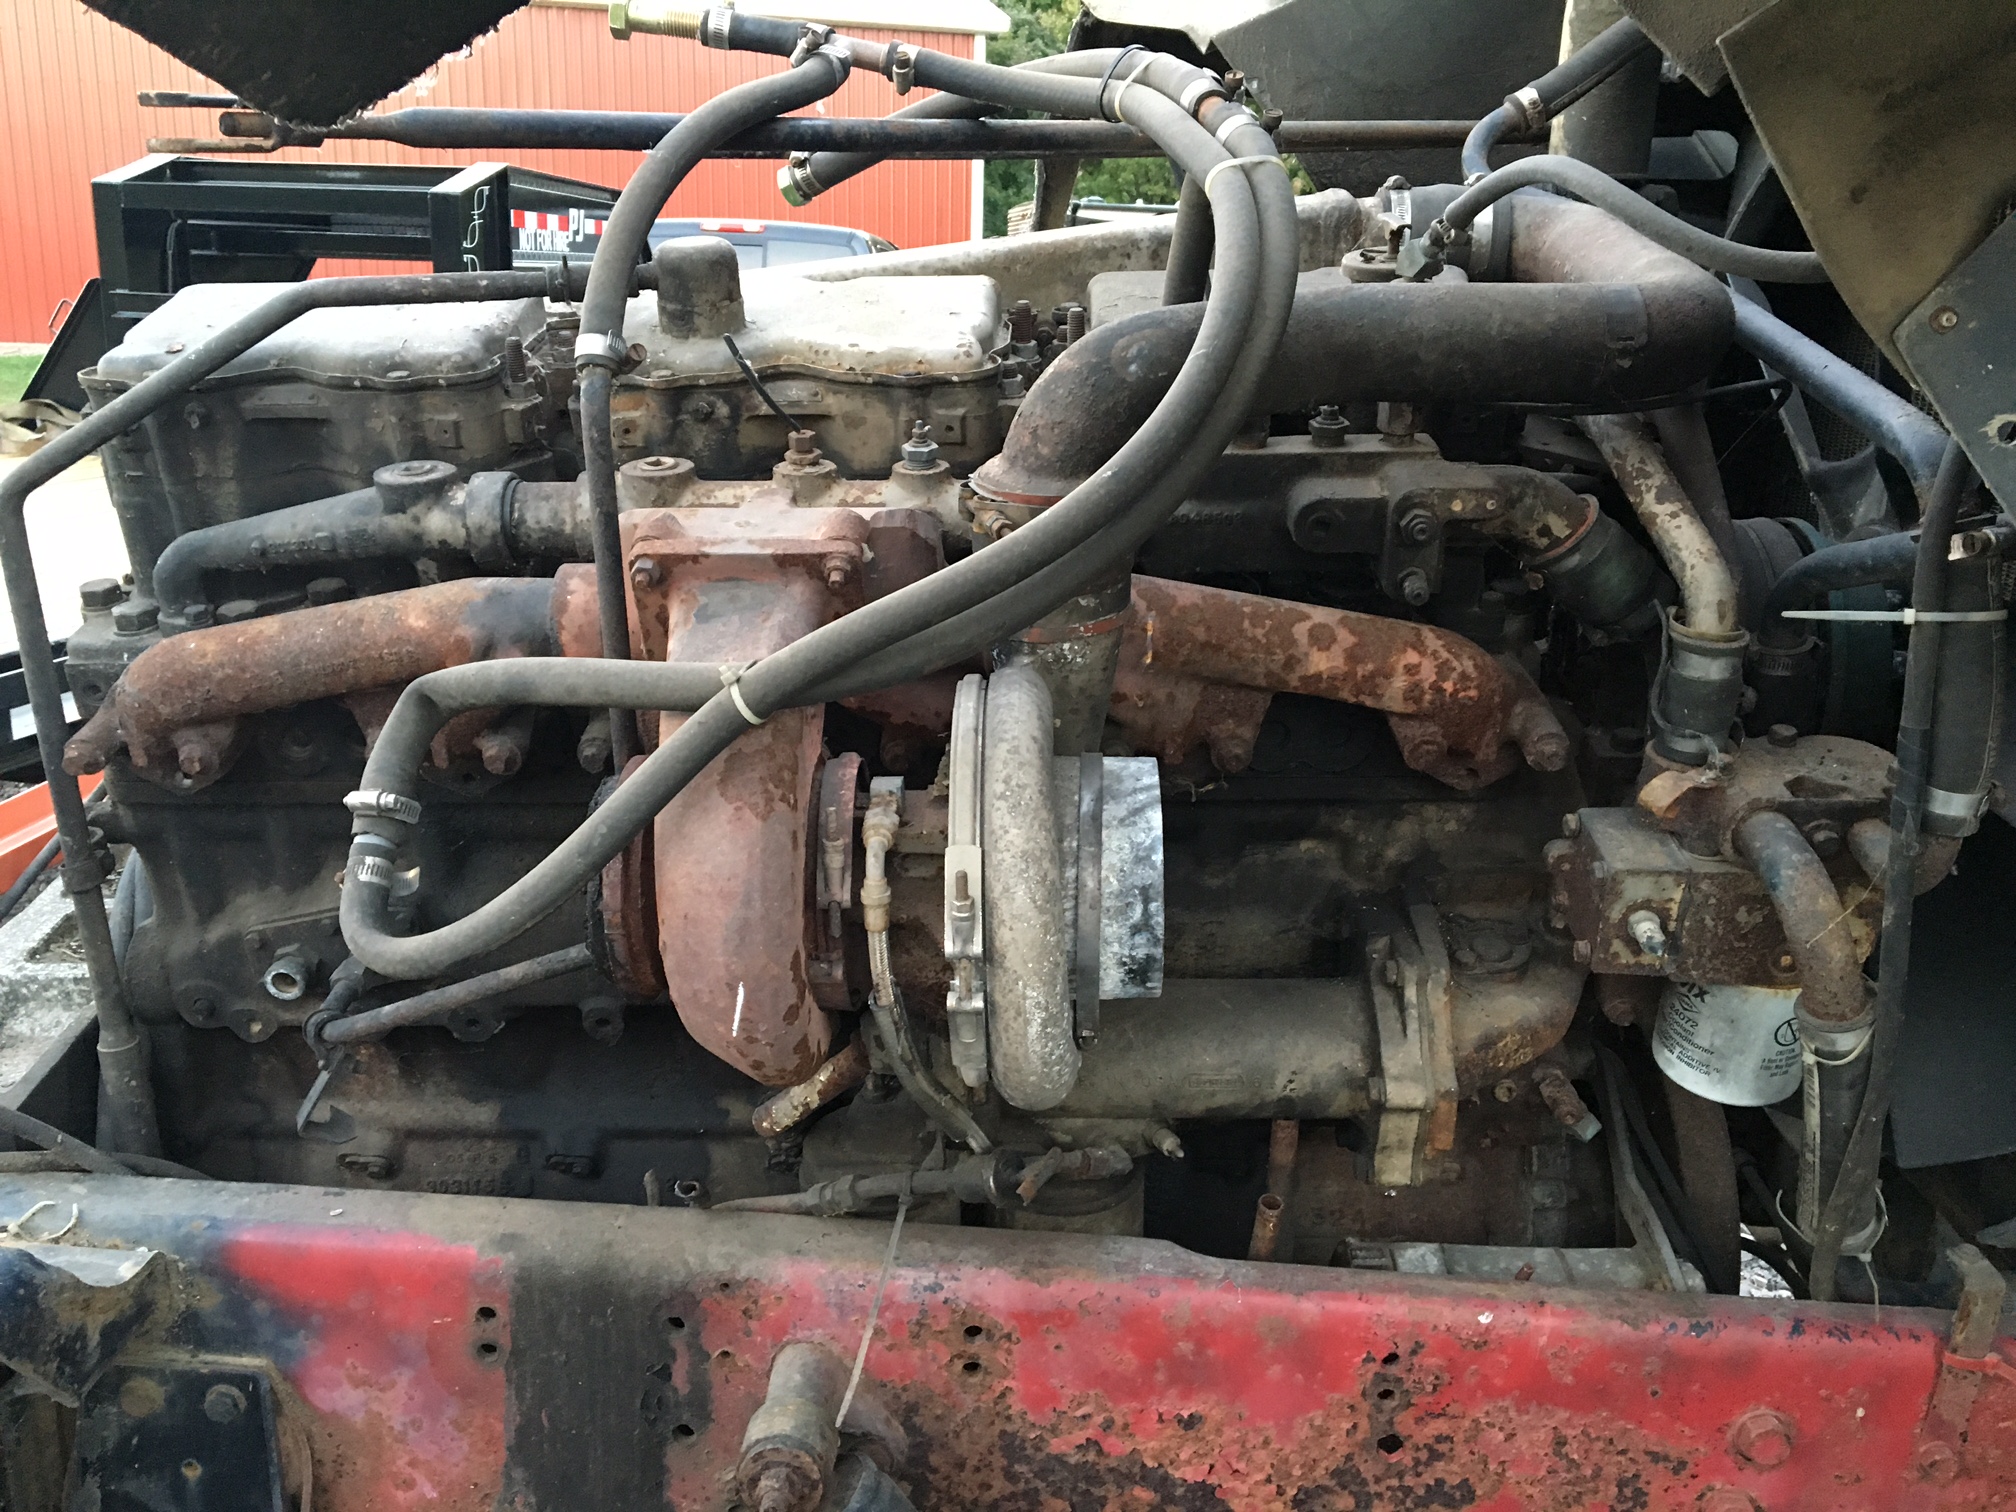
Between myself and a friend, we only brought 3 tractors because we werent sure of what the weather would do. So we just put my green one and his two red ones behind his 359 (especially since at the time i owned two Generals and they were both cut in half.) as far as the 400, I've been looking for a buyer. It spins over free. coolant is clean and oil looks decent. turbo is oxidized and wont spin since it sat for many years without a downpipe. Aside from that I dont know anything more about it. I just want 300$ out of it to cover the price of the truck.


-
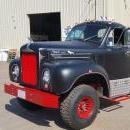
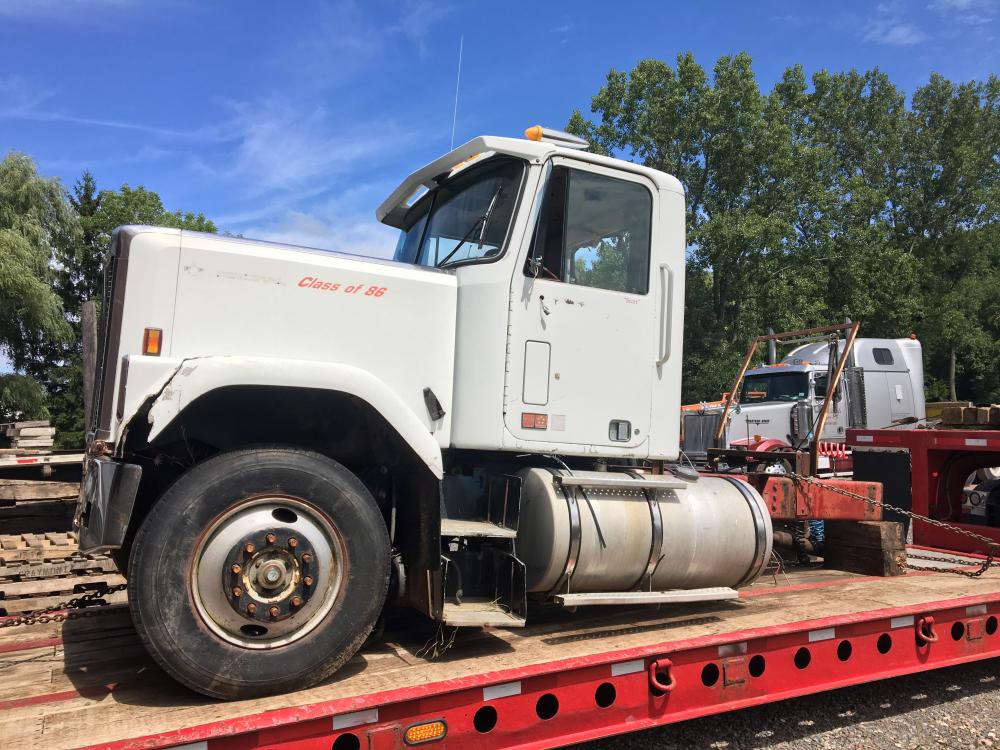
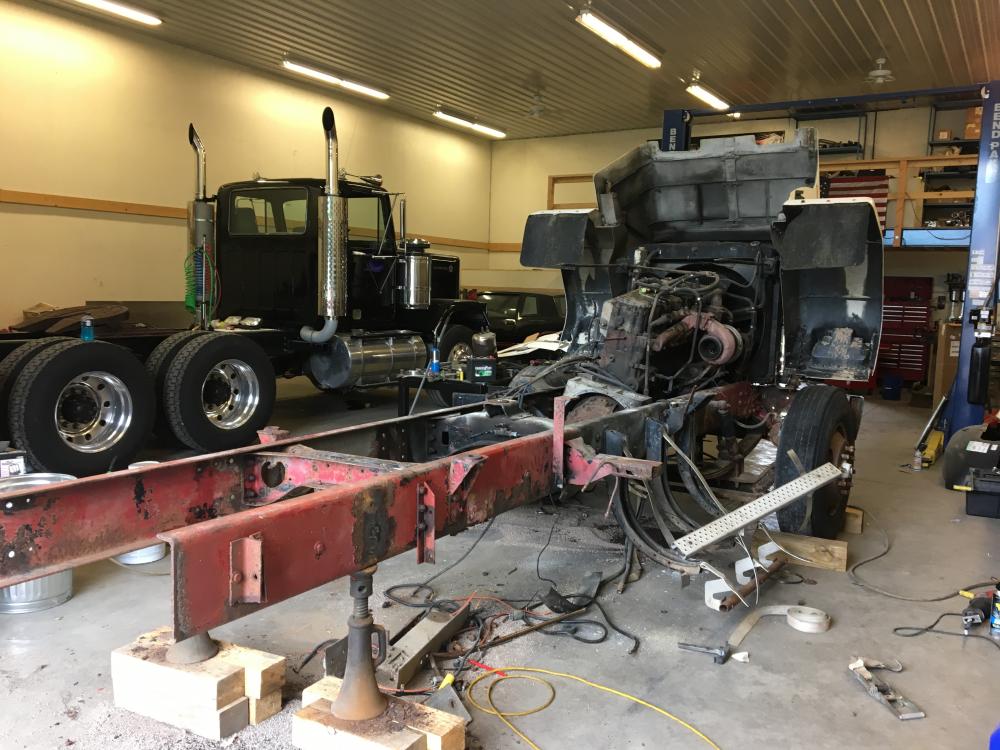
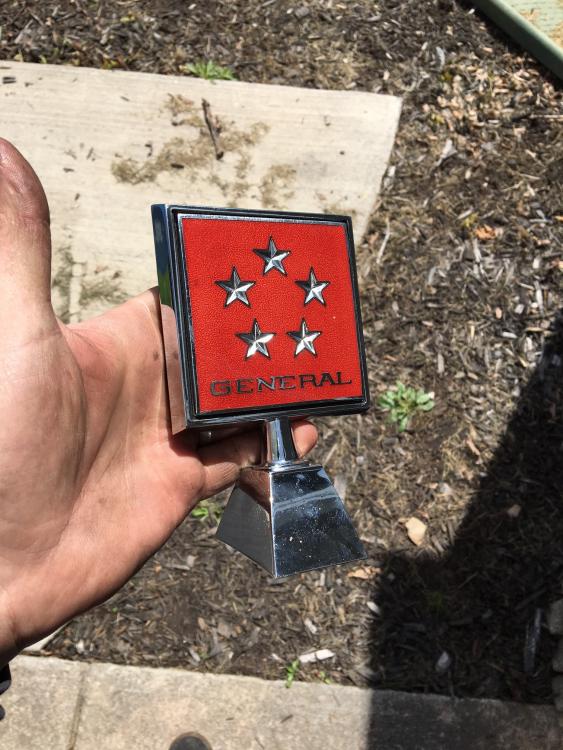
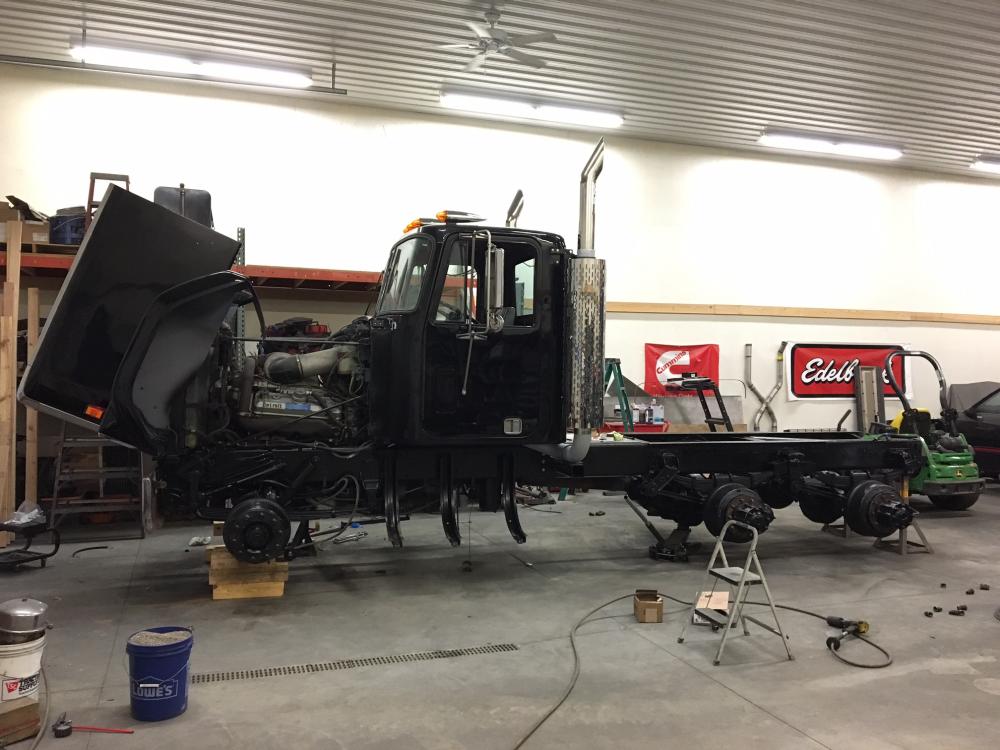
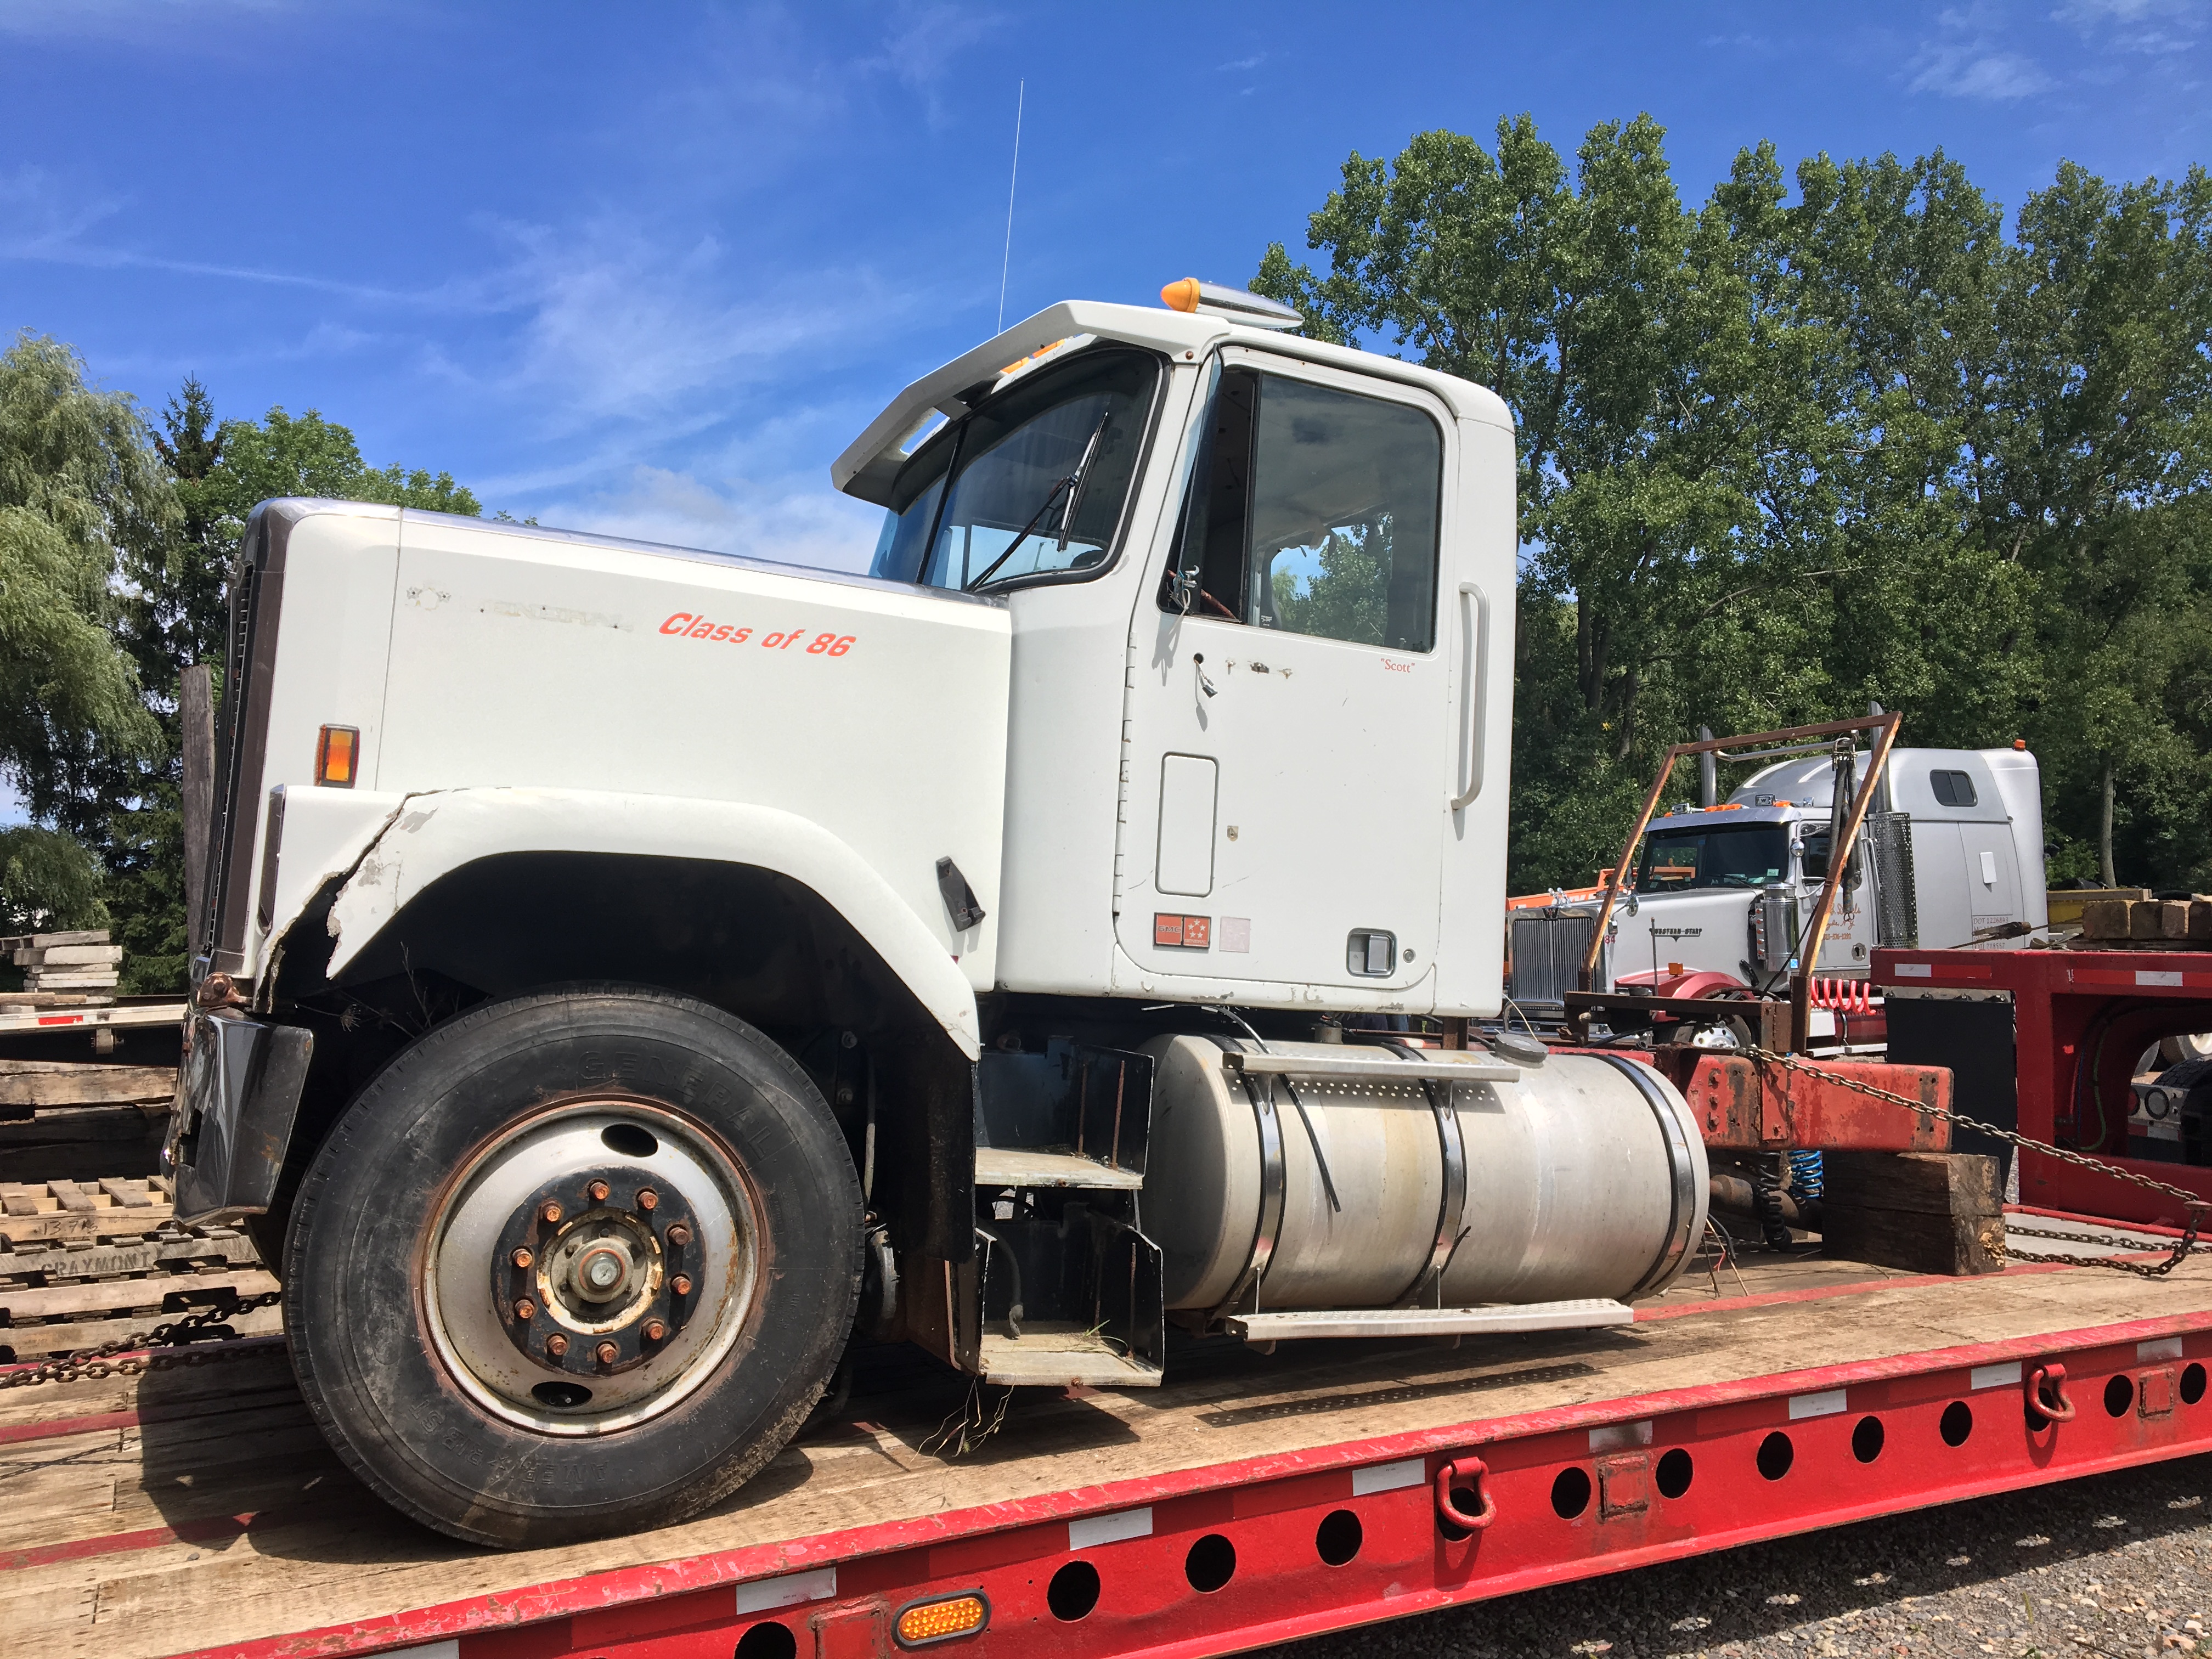
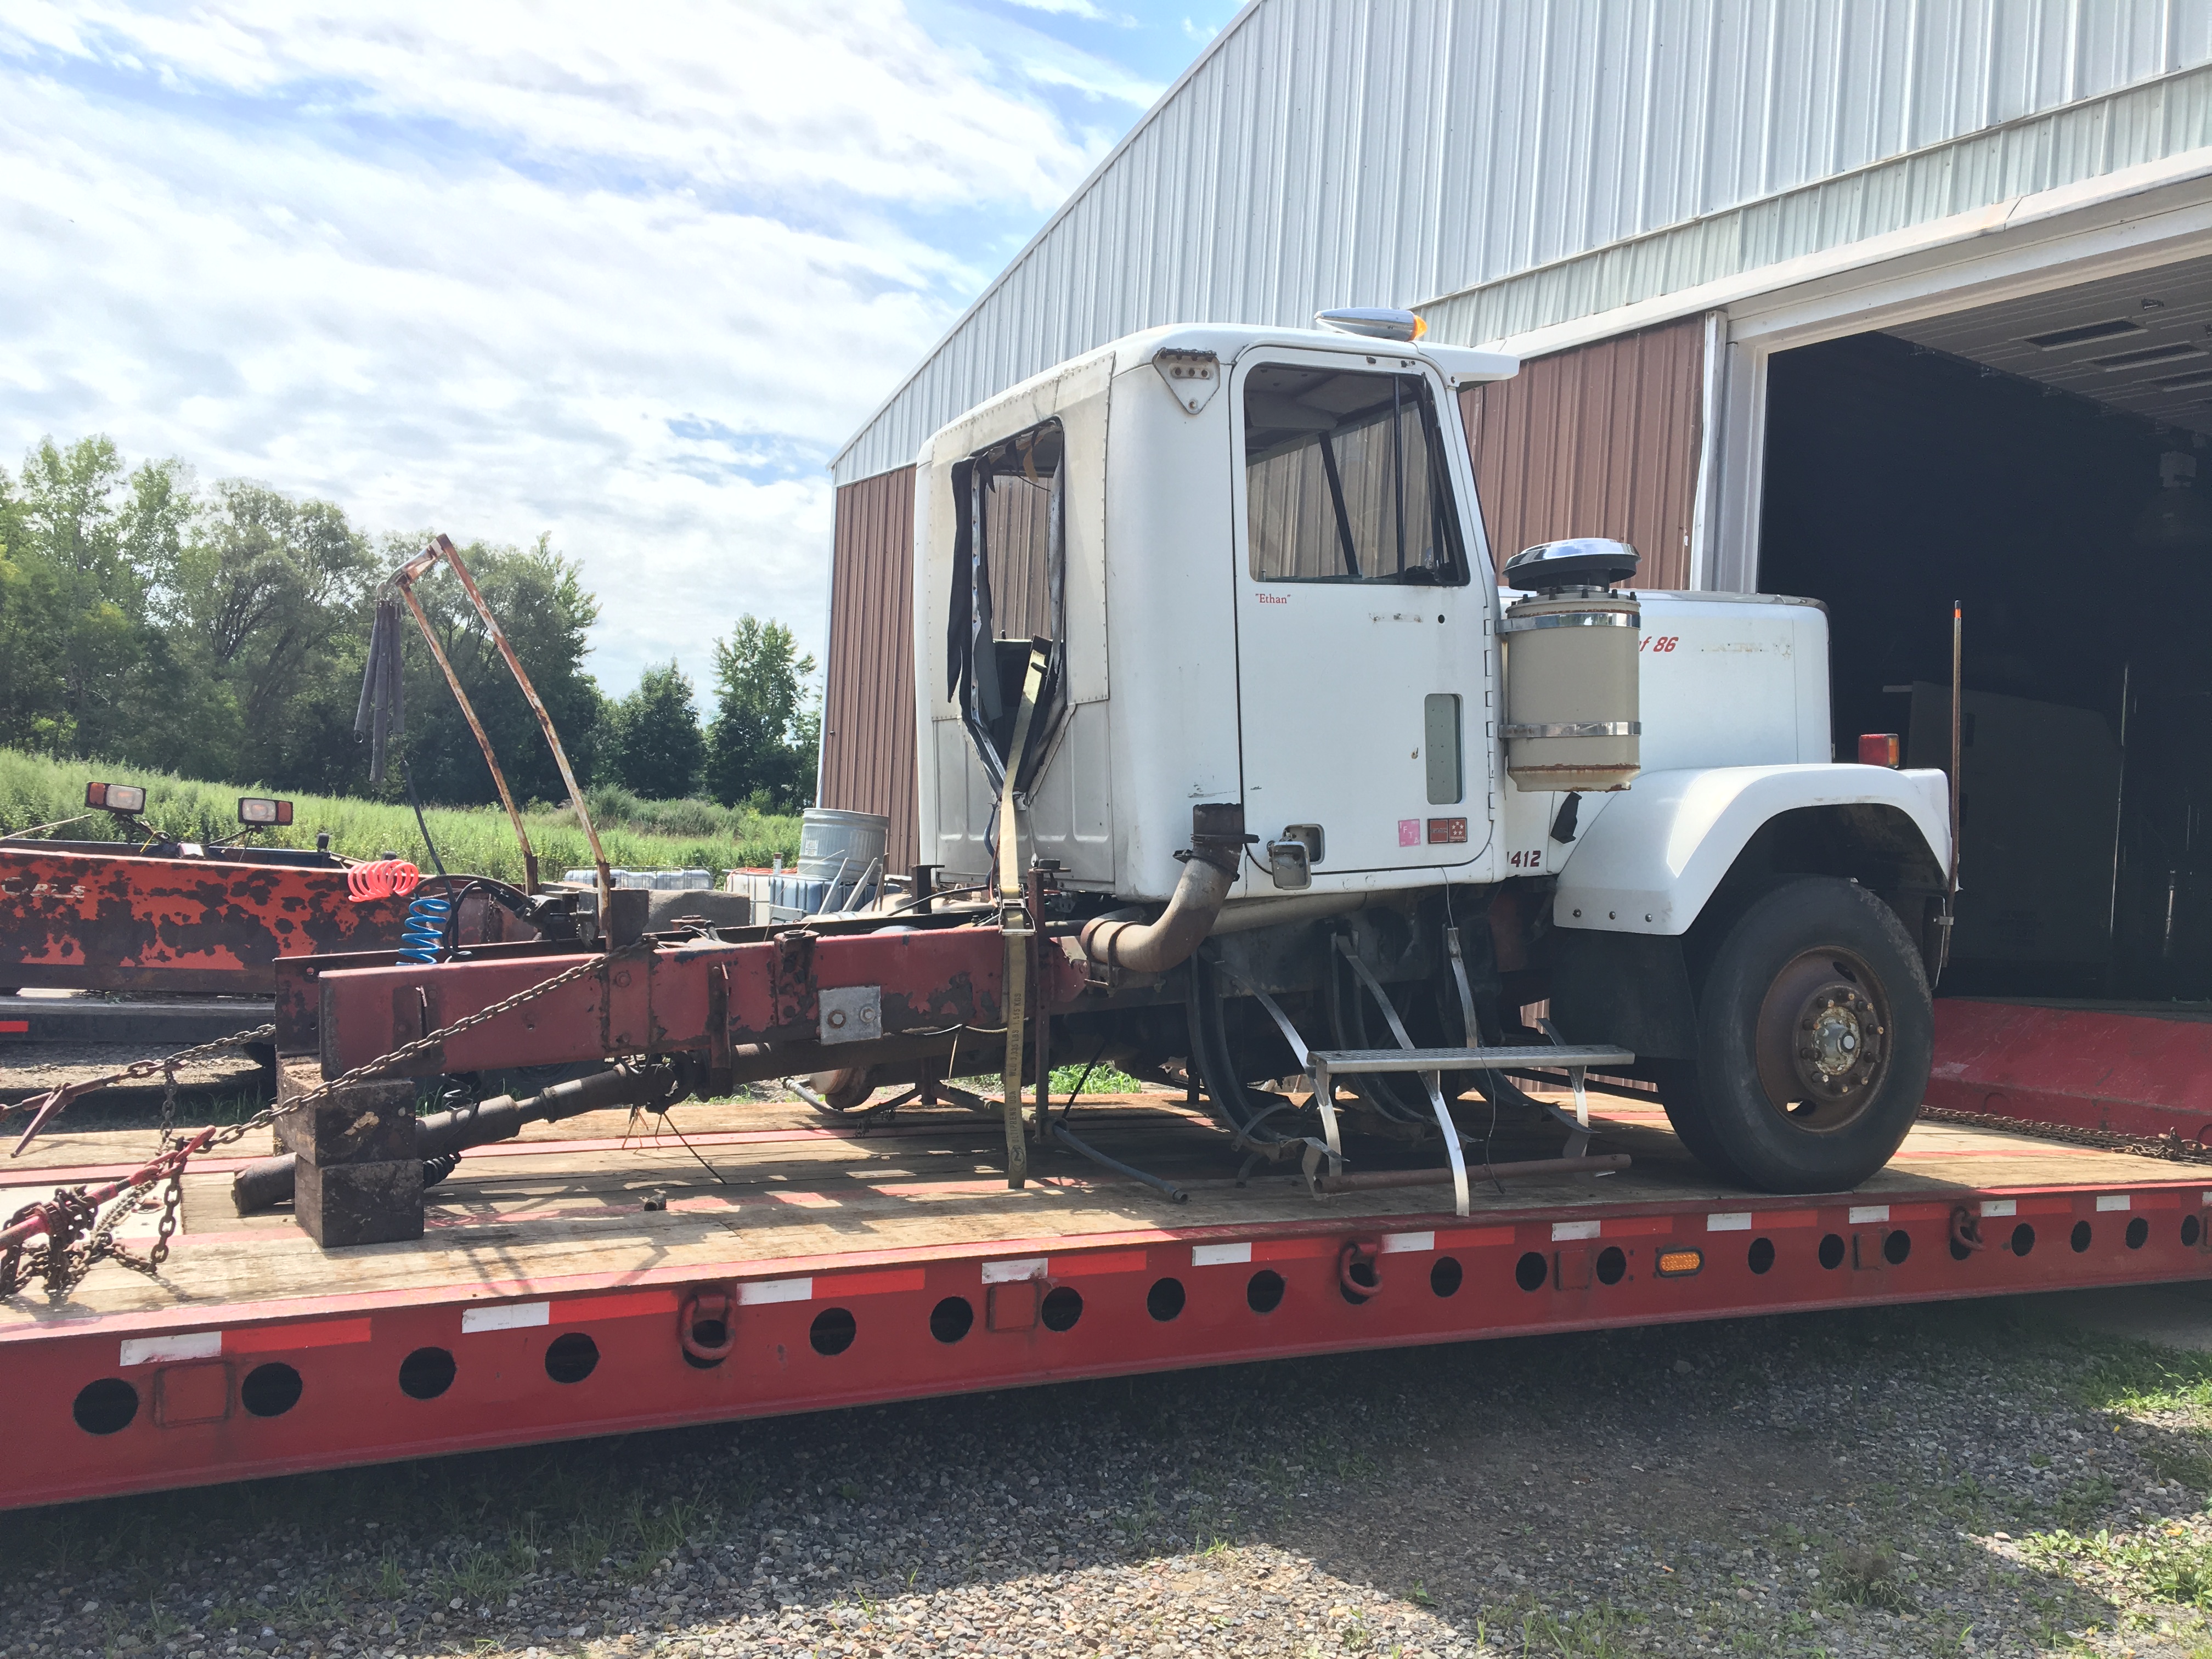
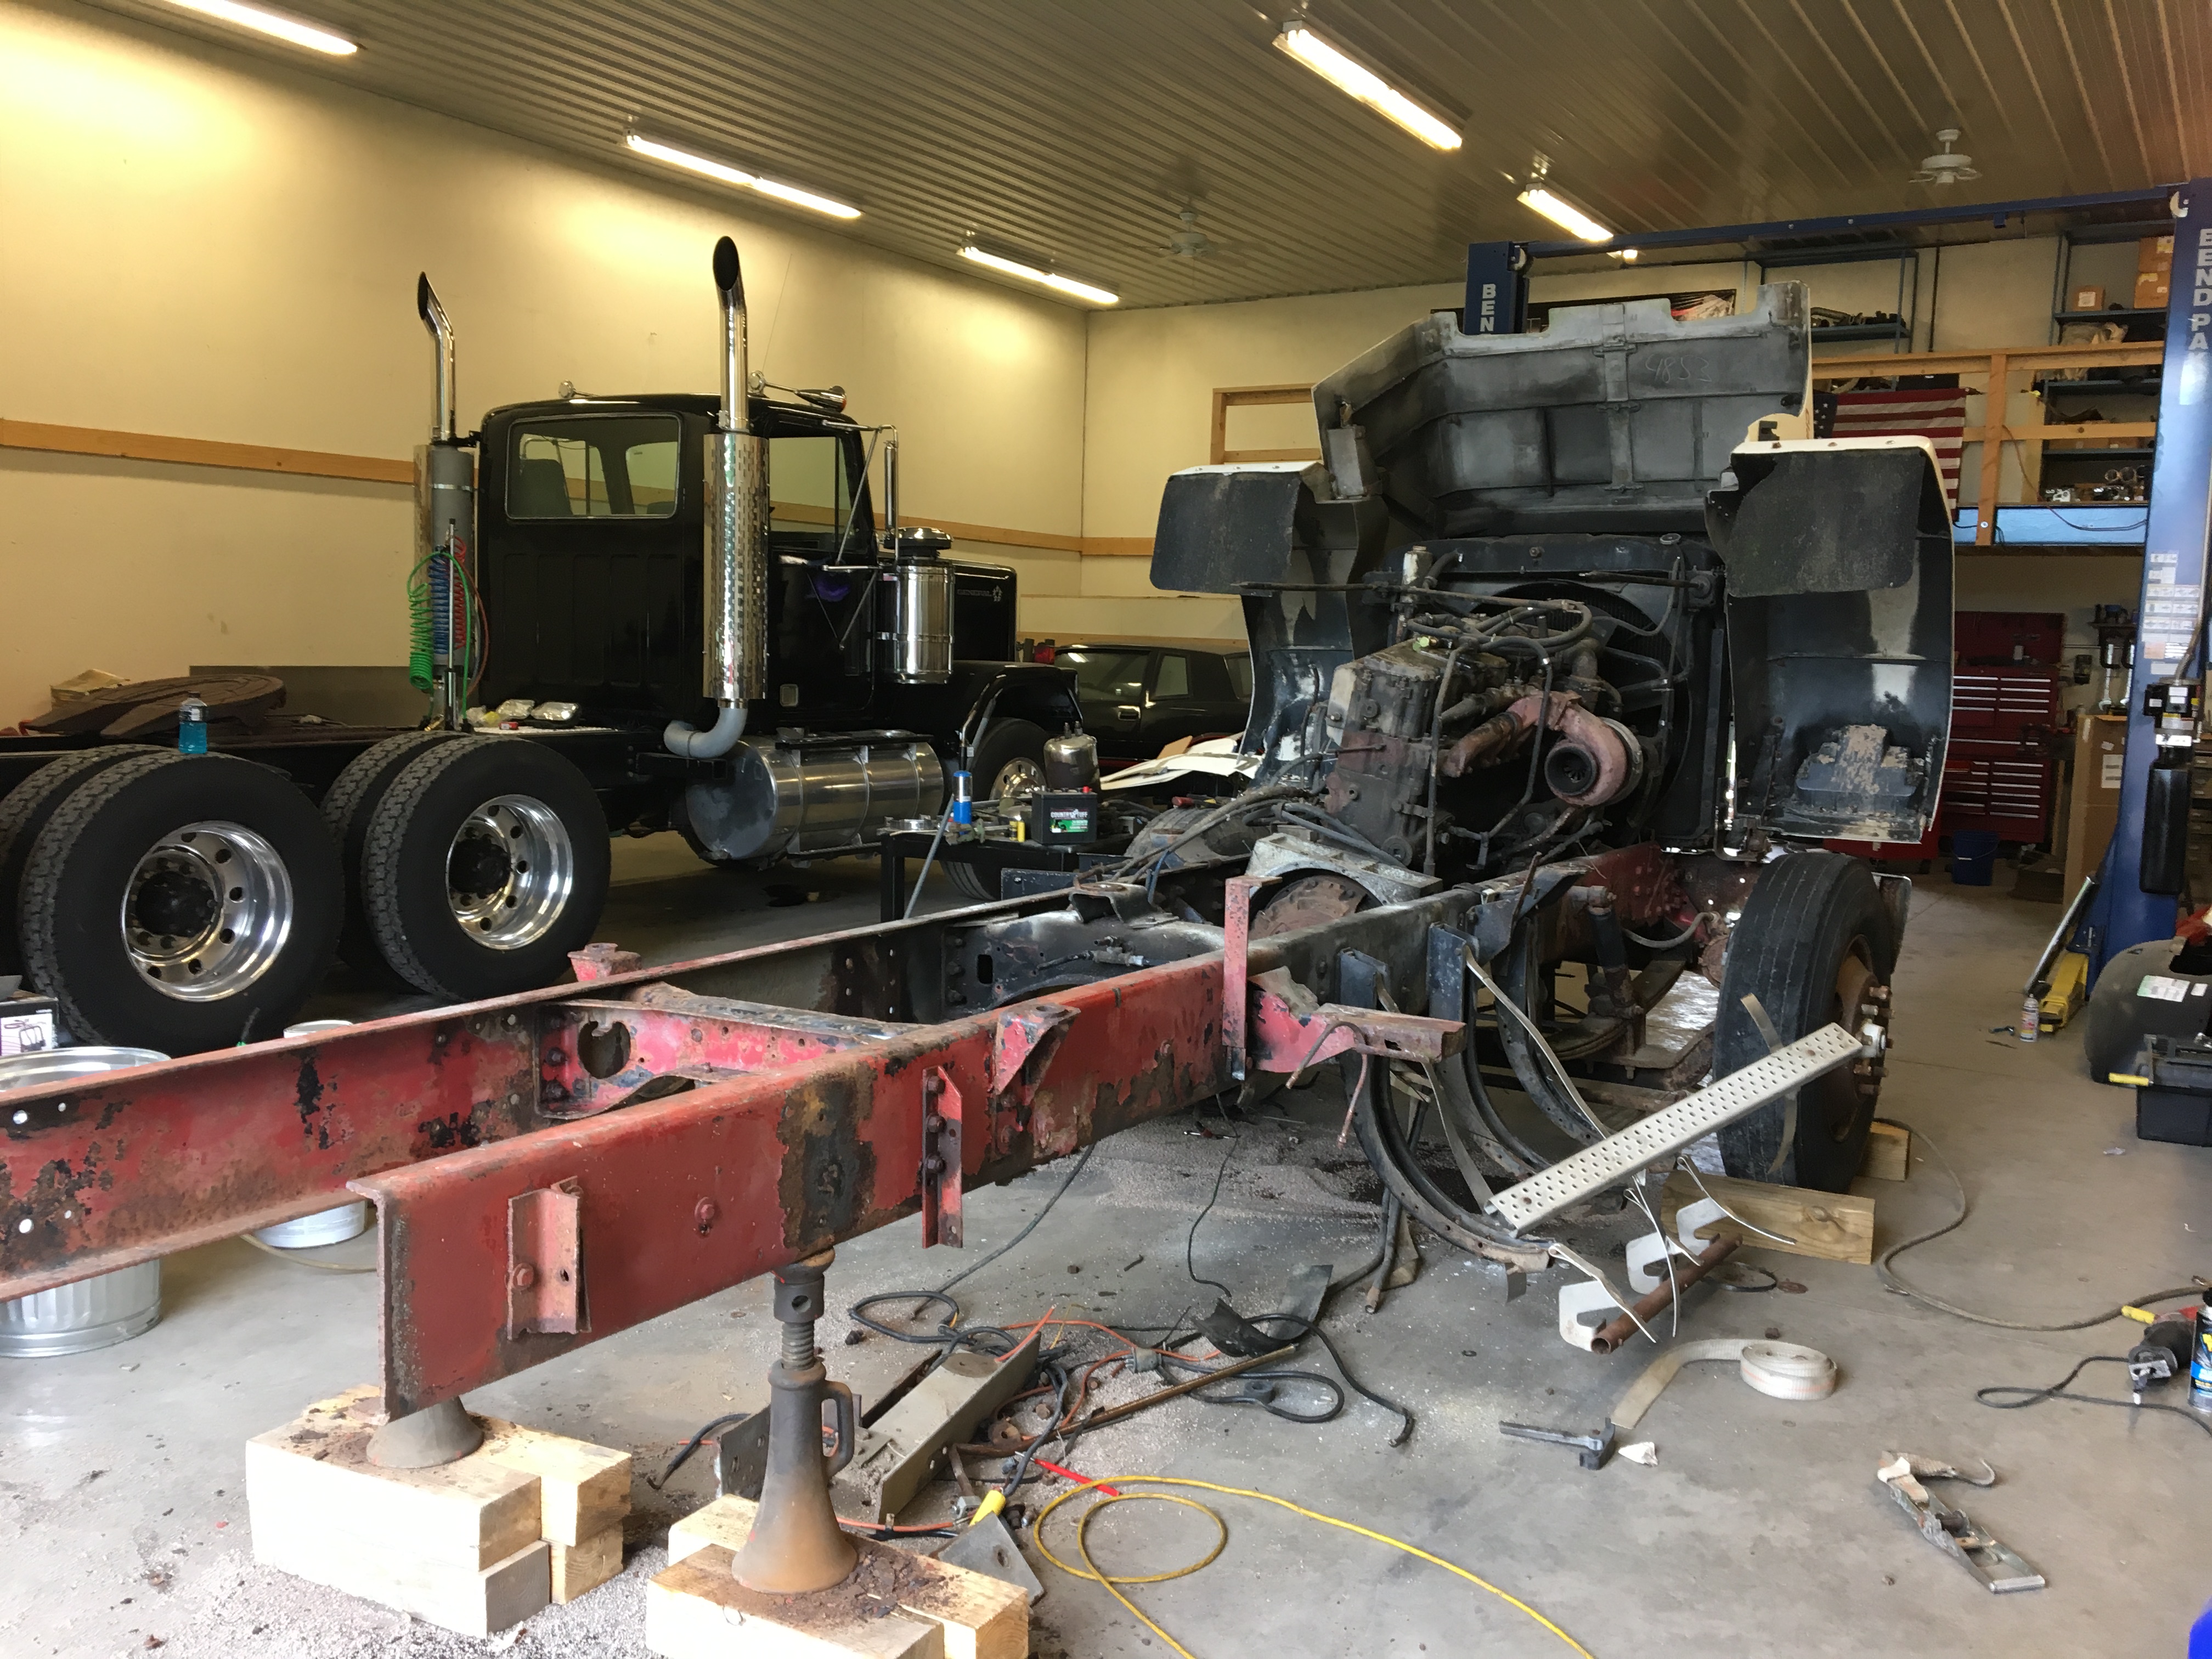
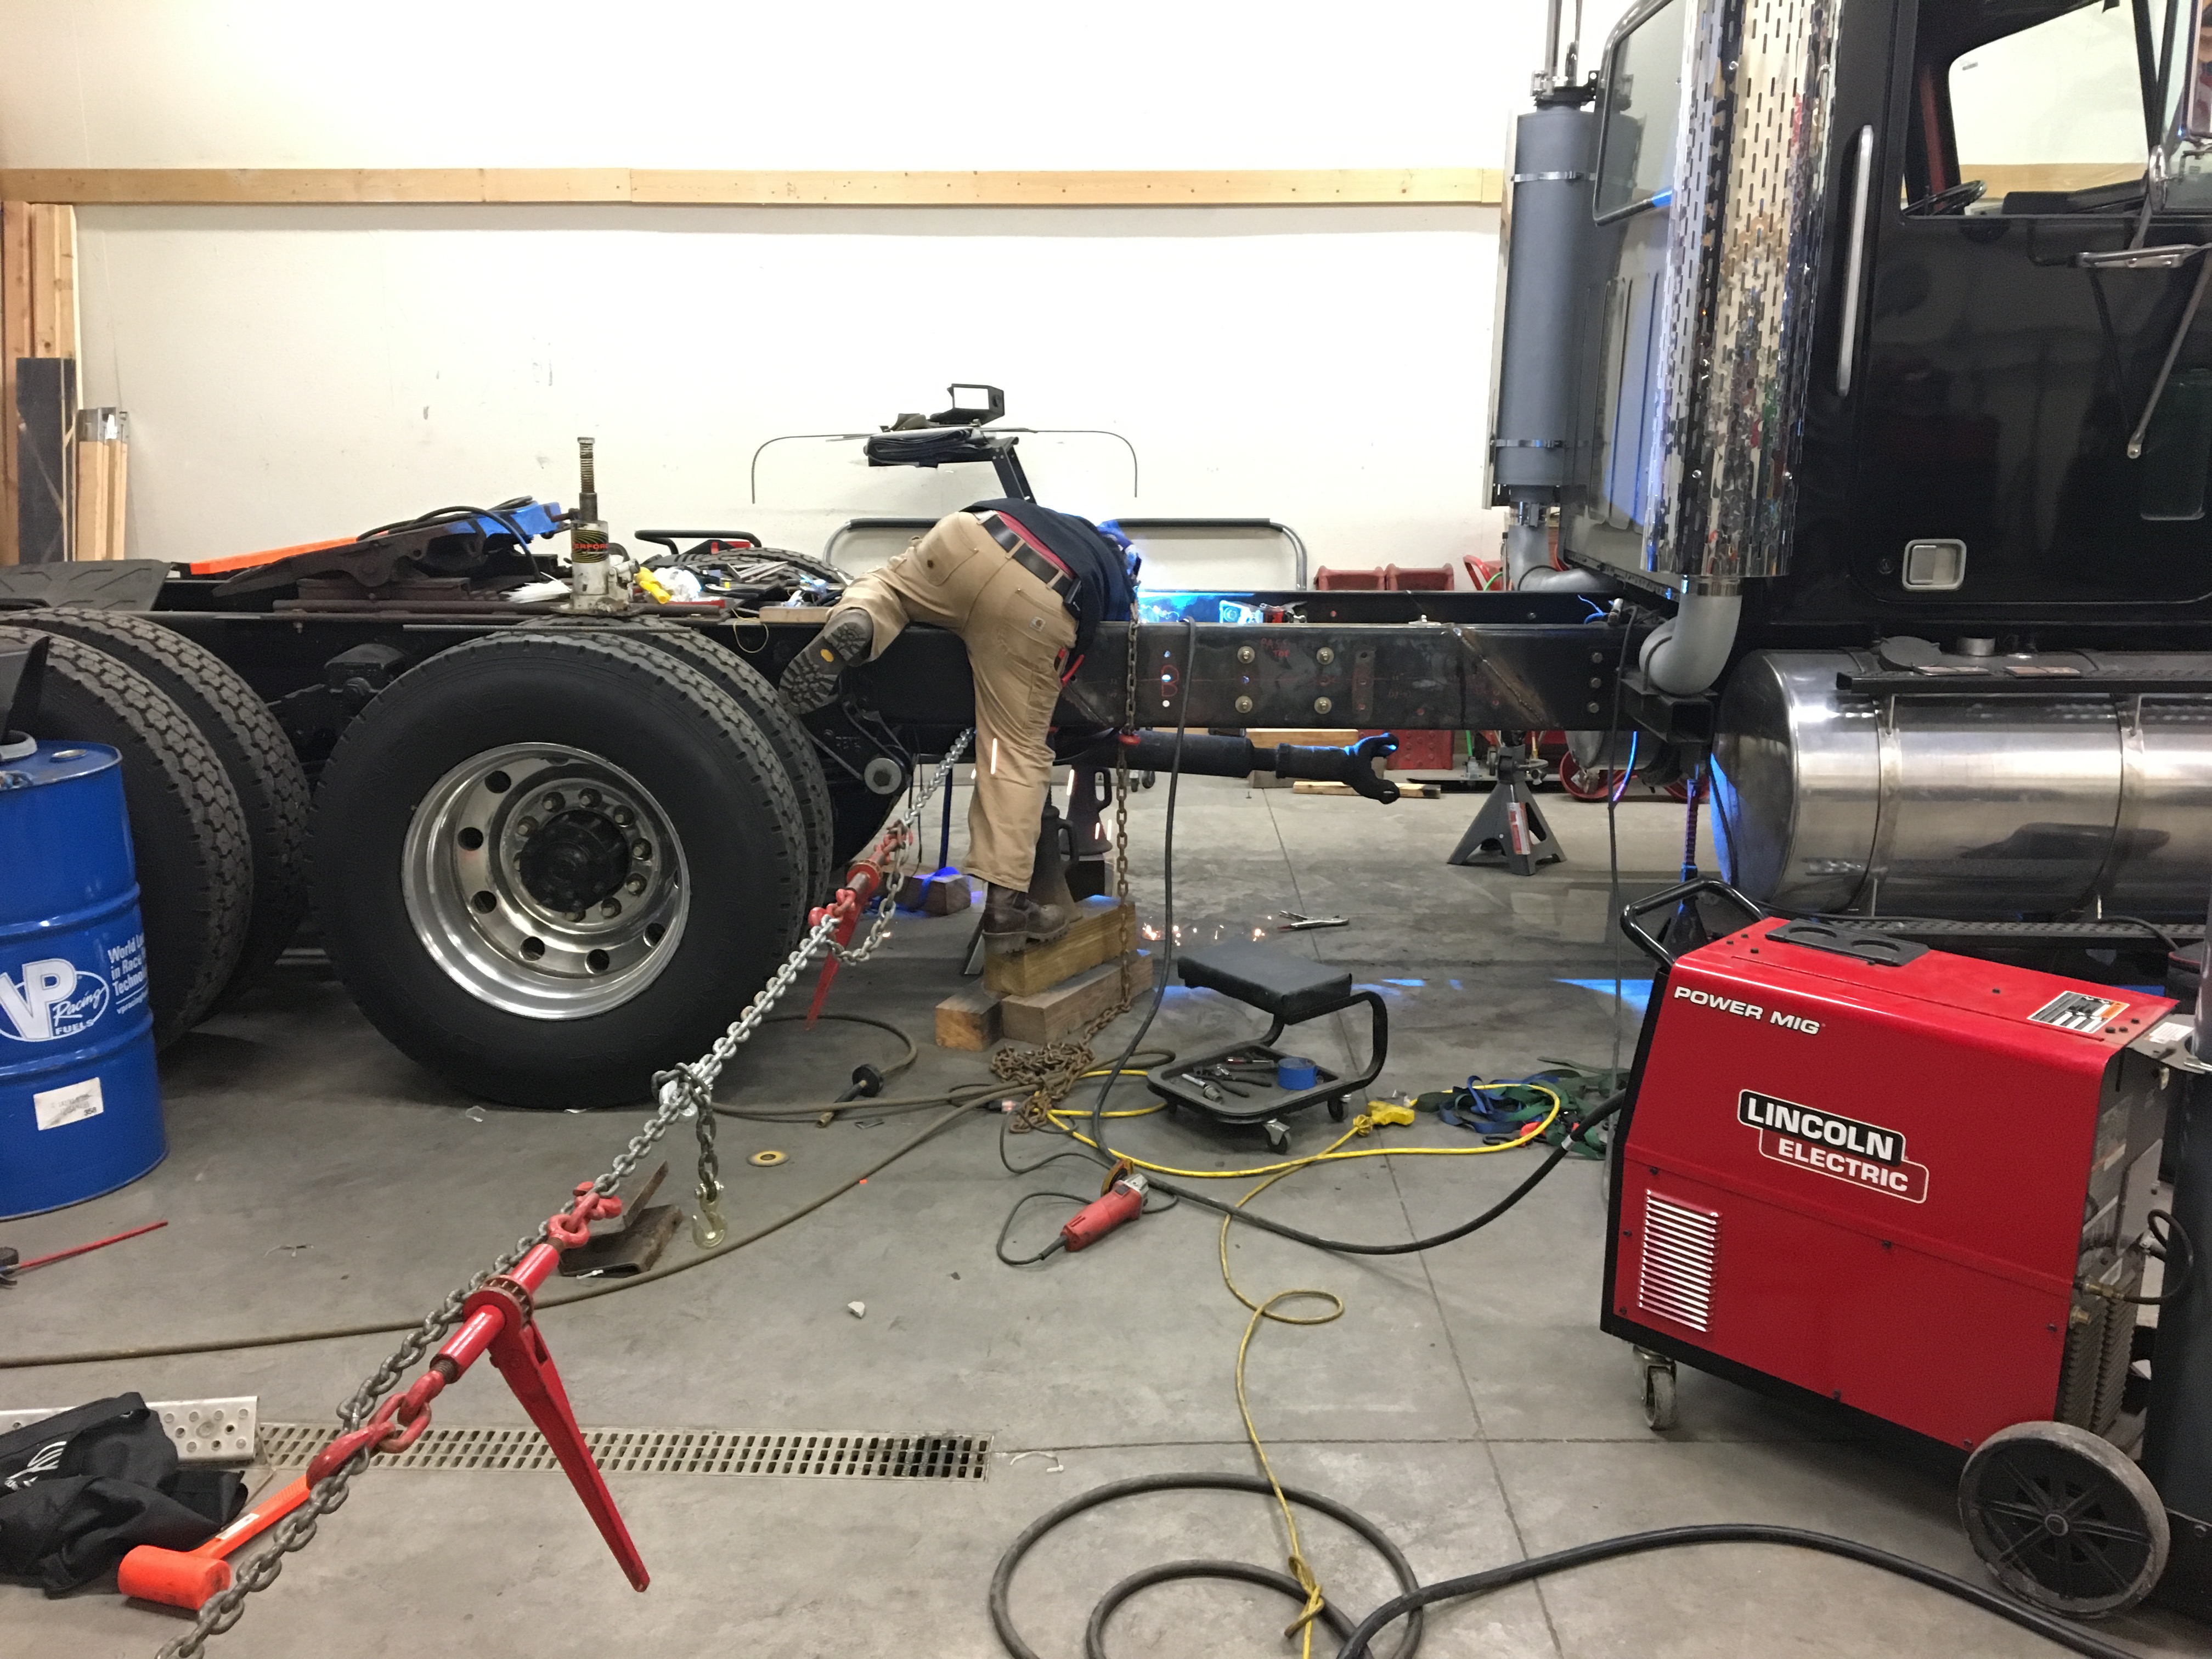
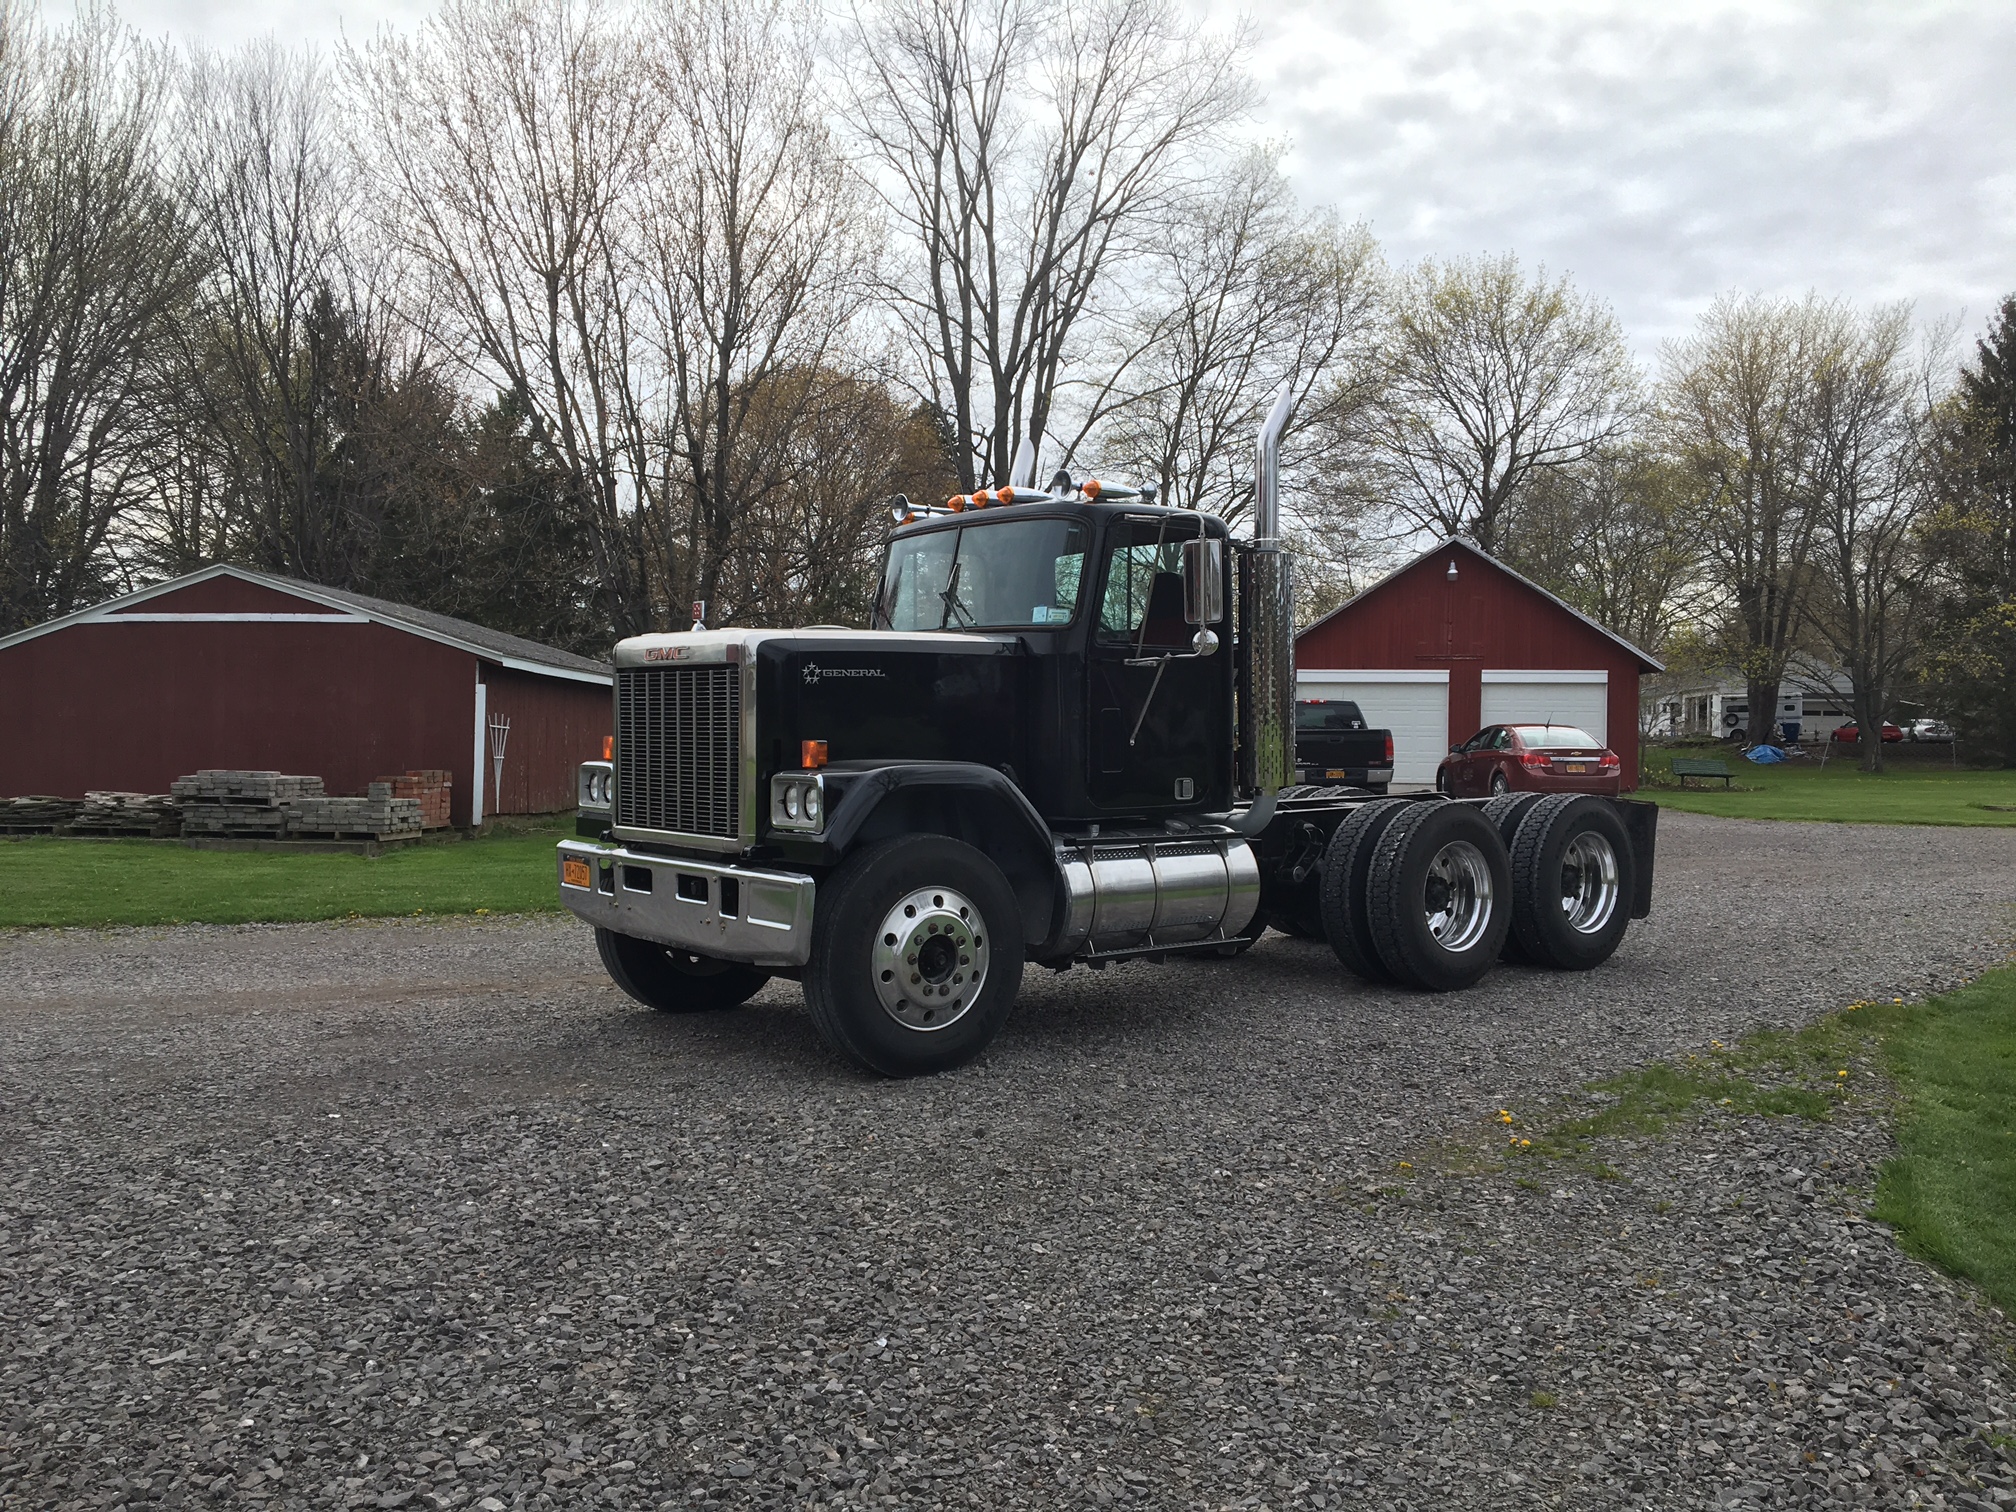
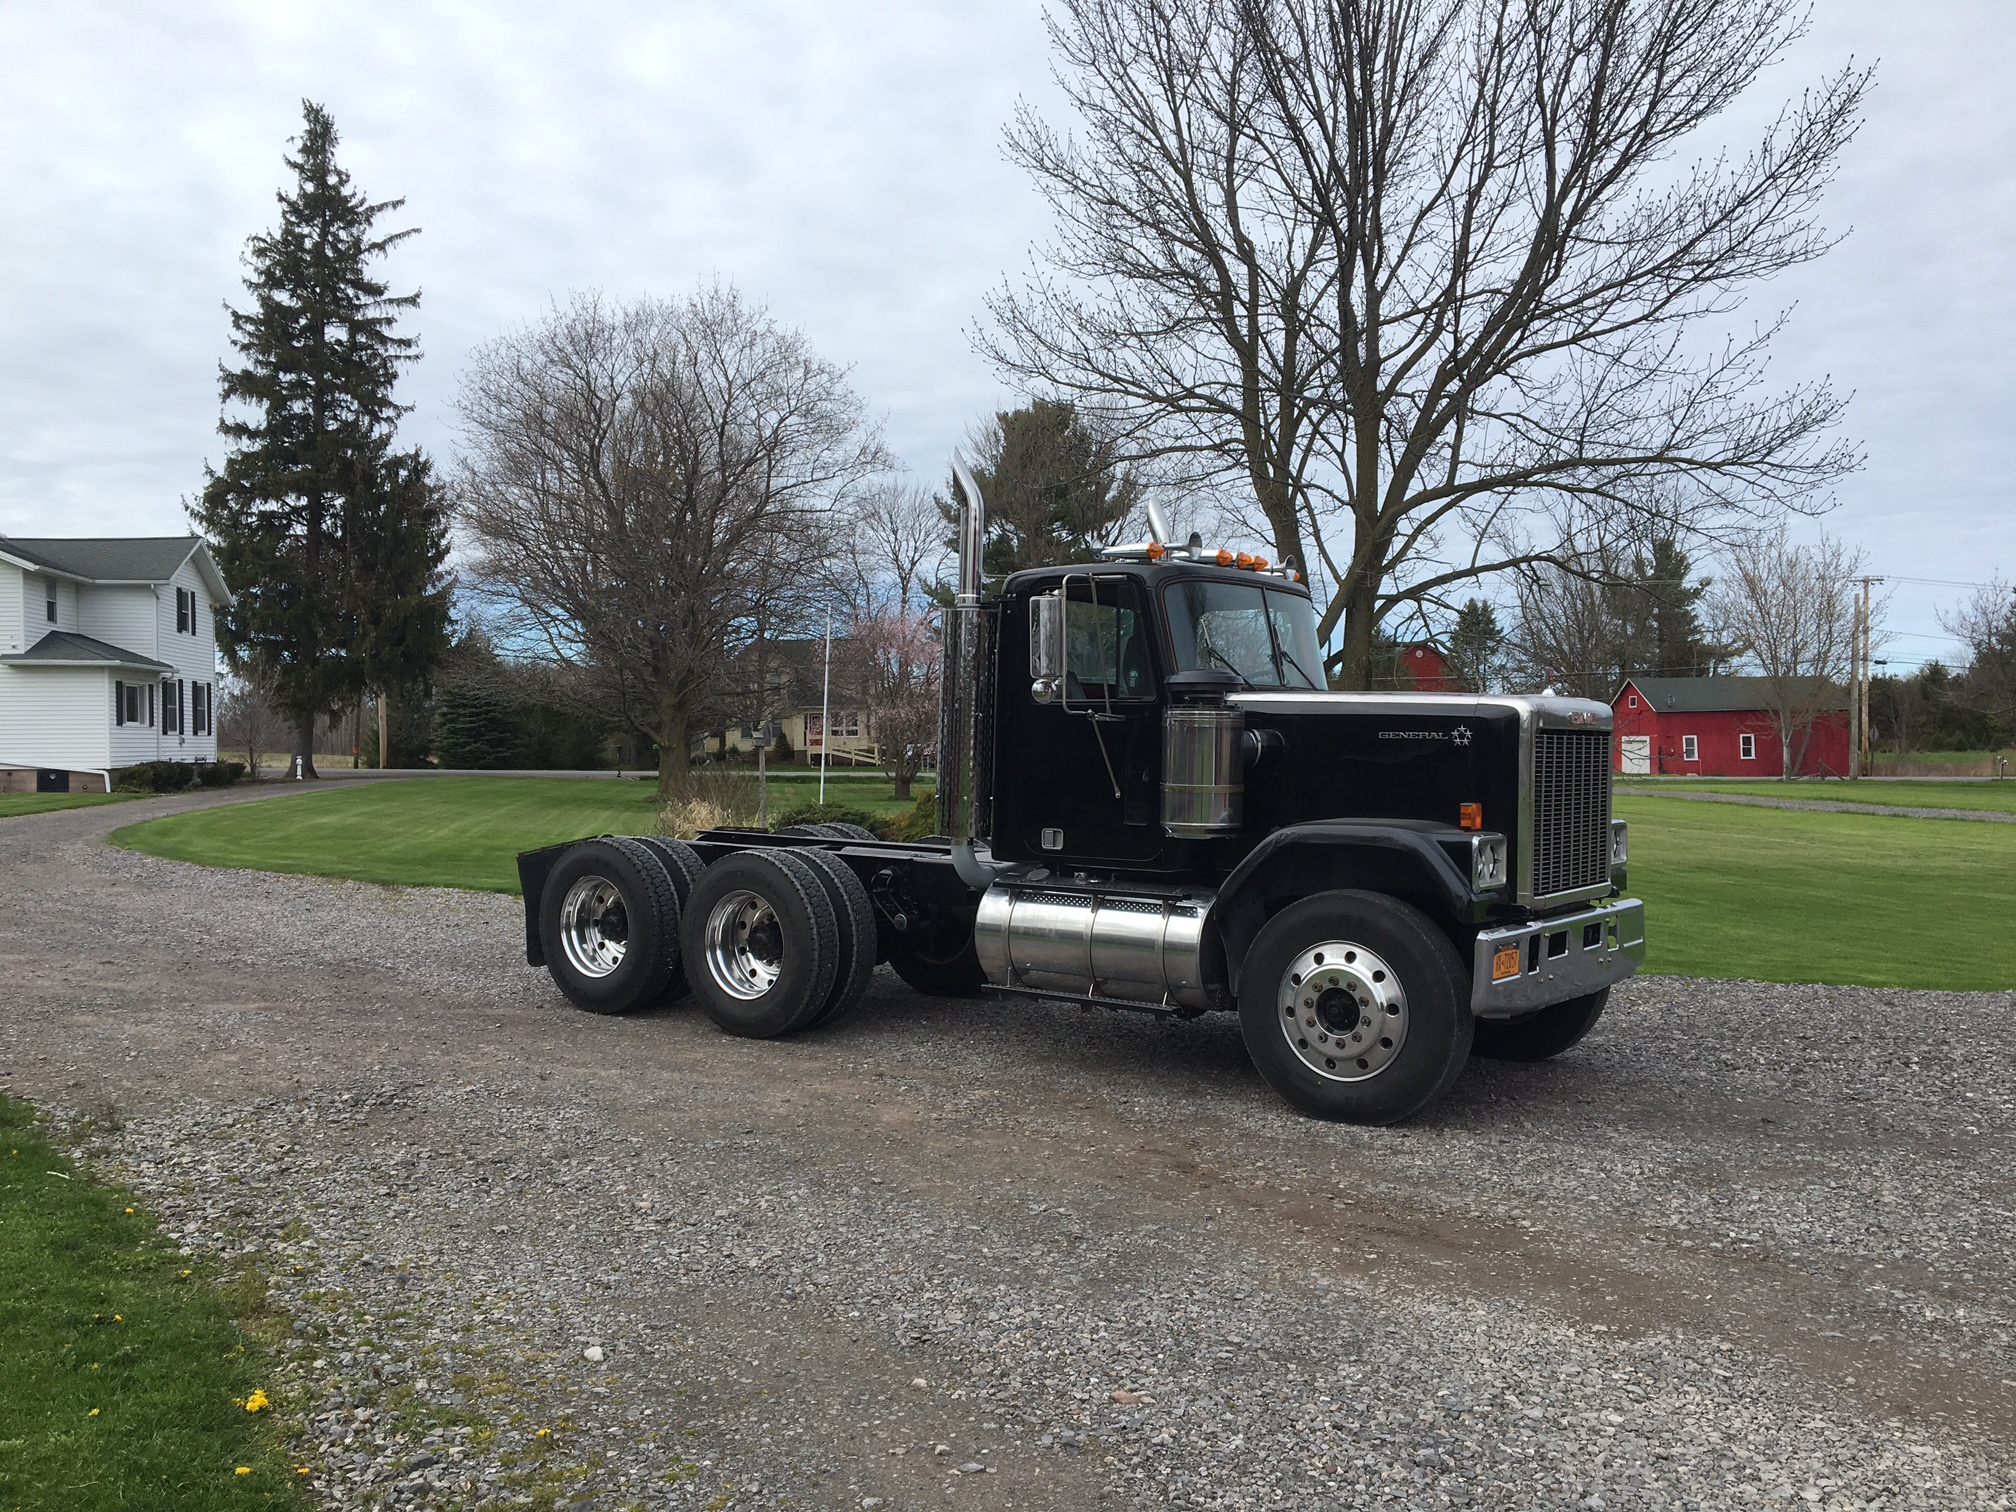
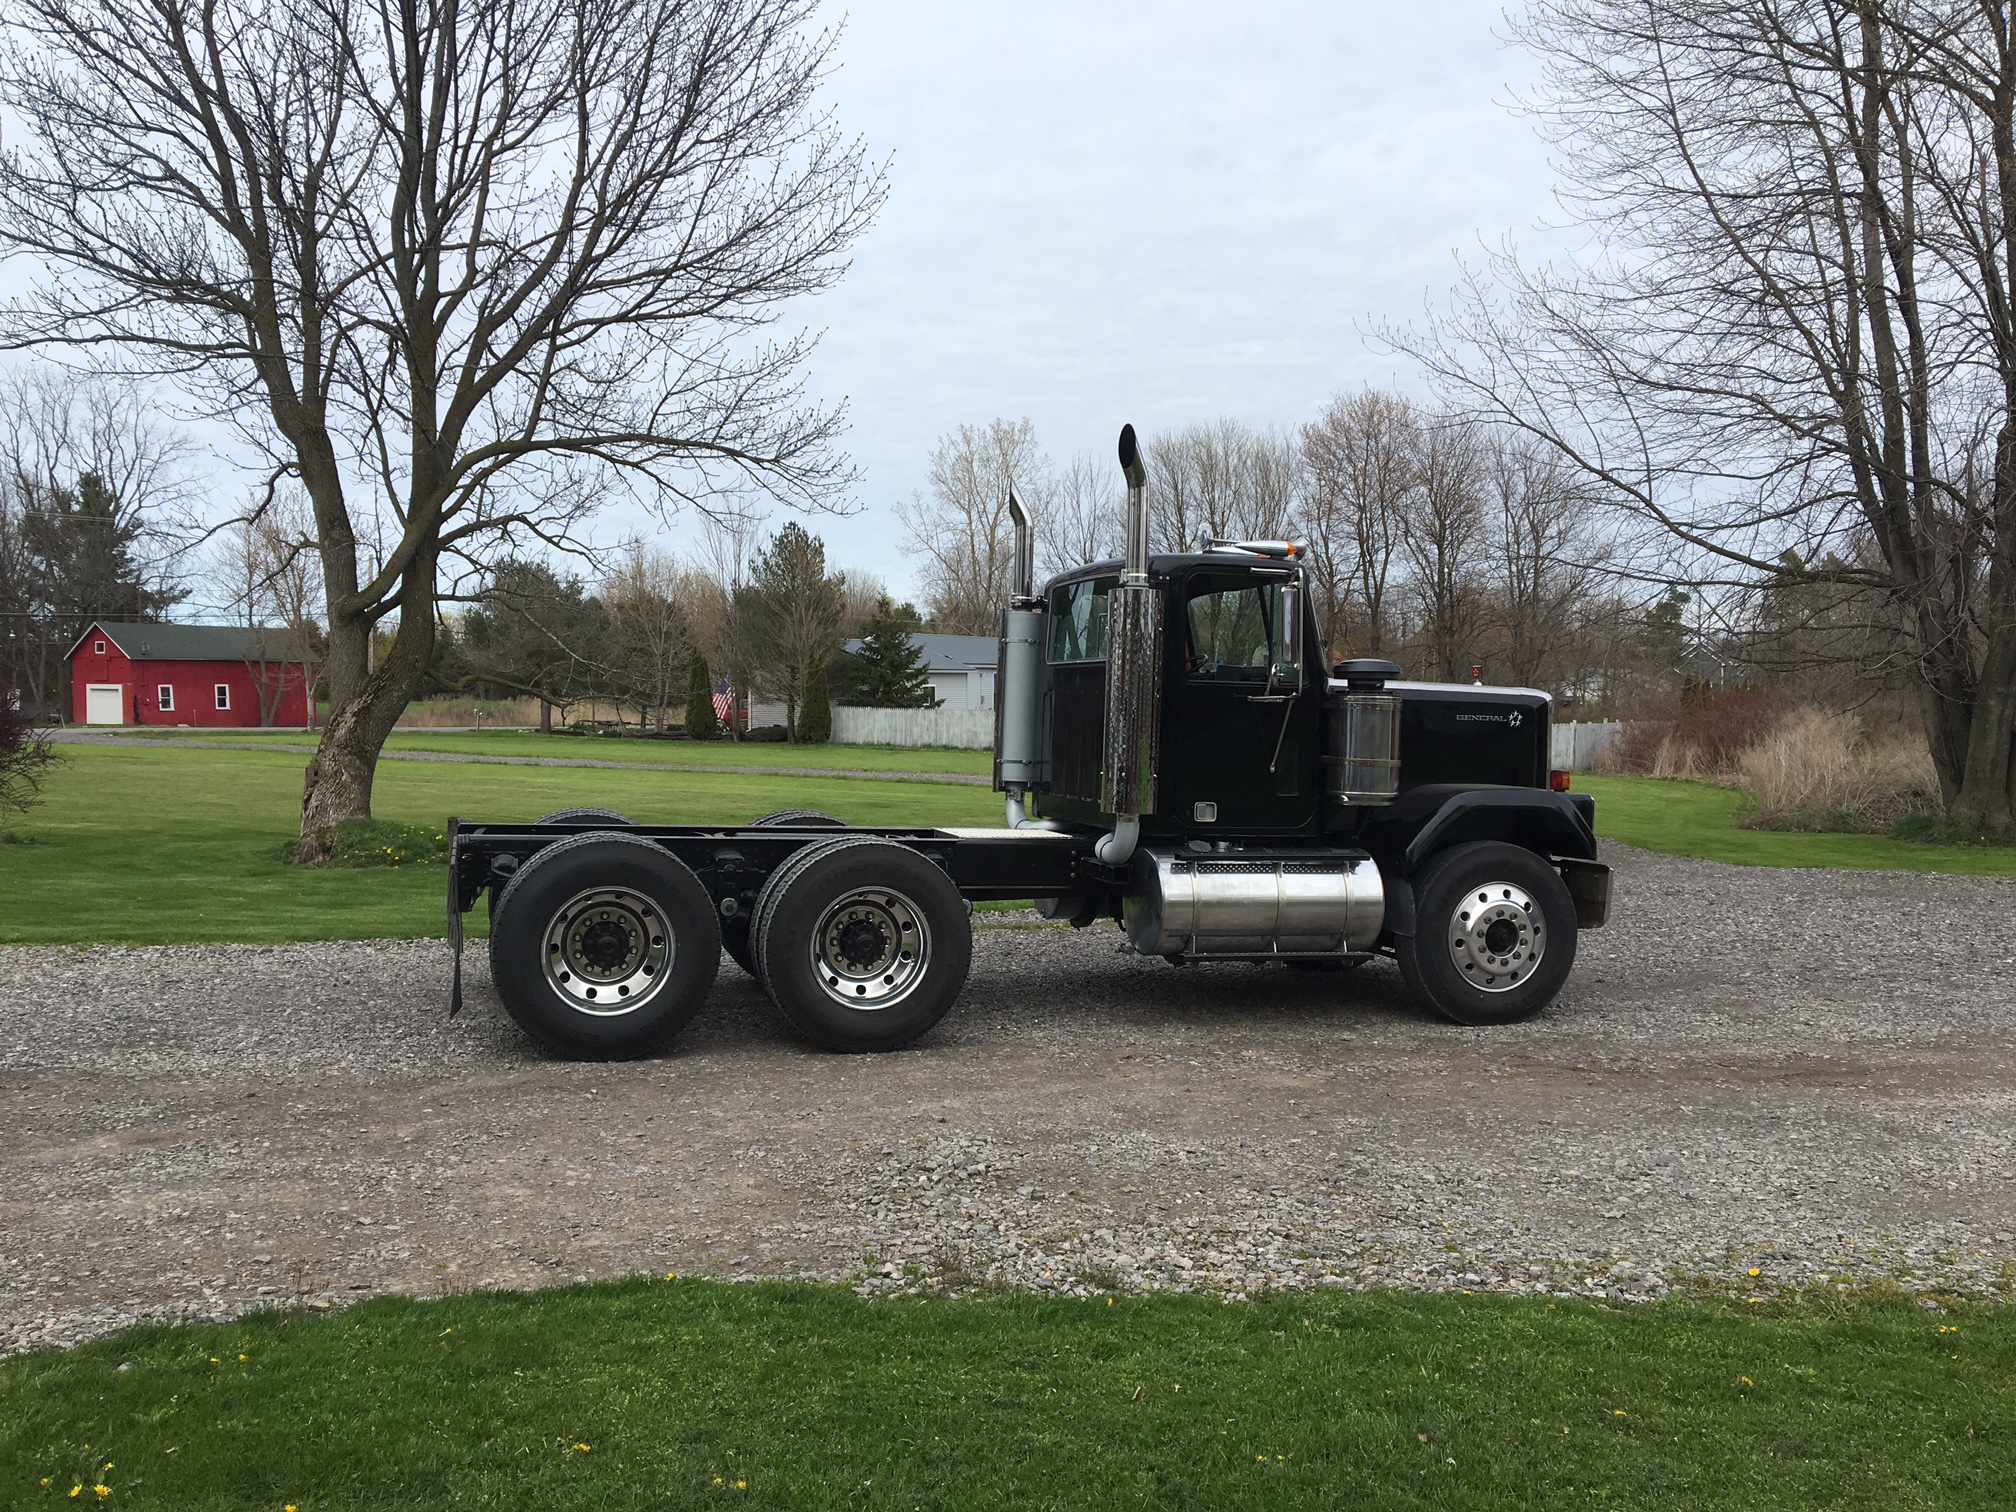
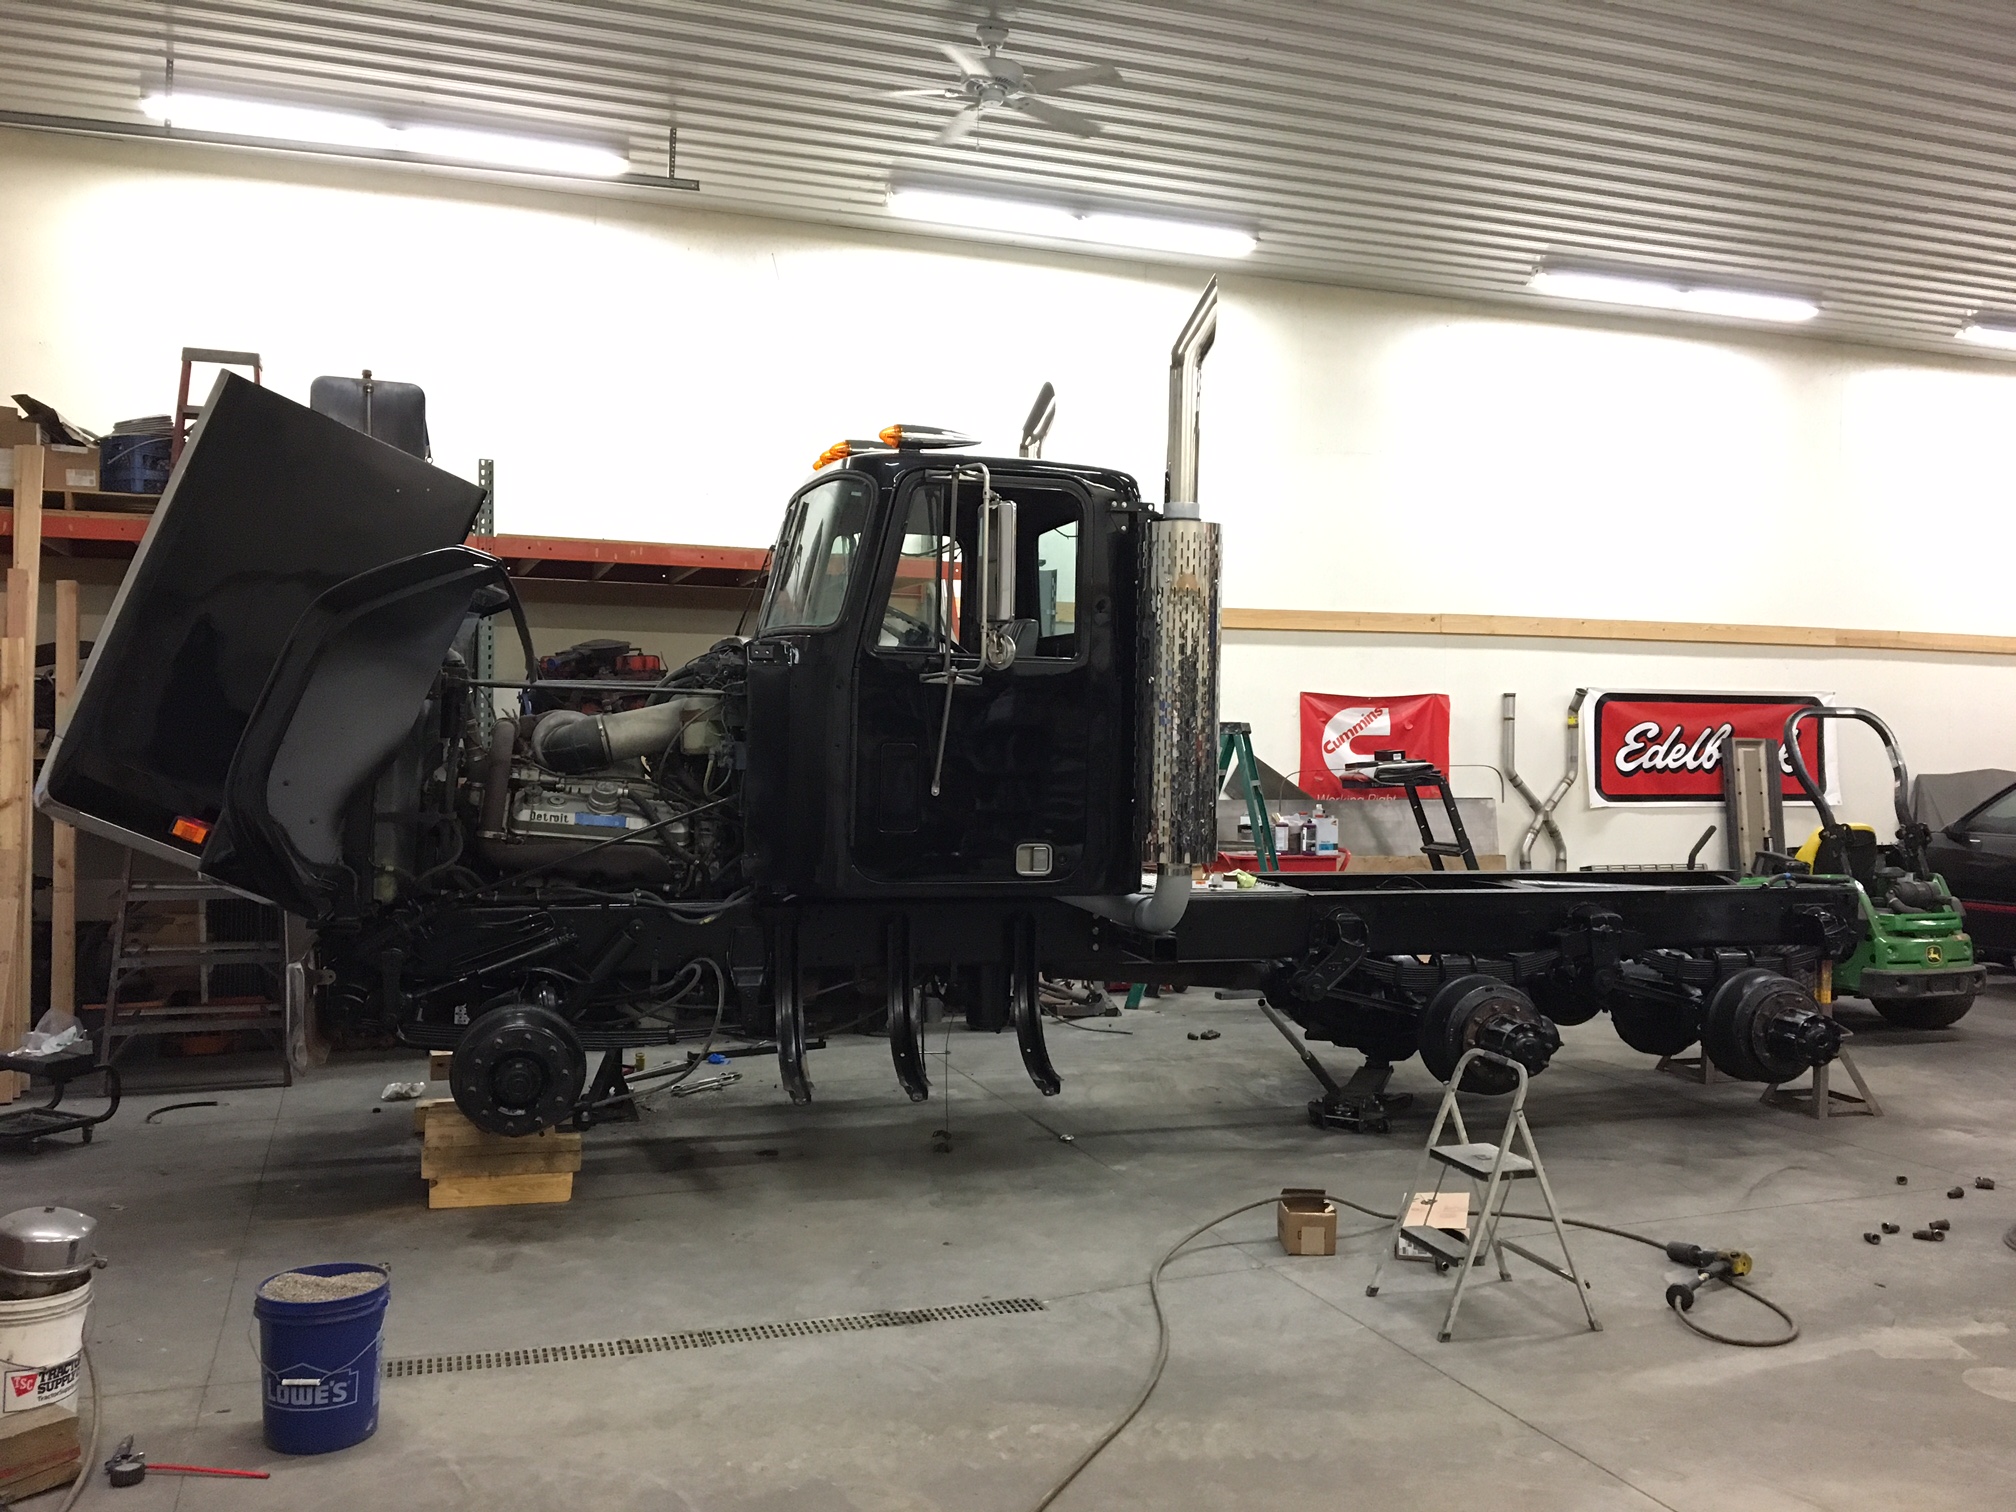
Well, I never got around to really using the truck this summer like I intended so like any normal person would do I decided to alter a few more things instead of buttoning it up all the way. It started back in August when I saw what looked like a General hood sitting behind a pole barn on a trailer on my way home from work. I was able to get in touch with the guy that owned it. Long story short, he was only saving it for the trans and was going to scrap the rest. After a lot of talking I made it clear that i wanted what was left of the truck. We settled on the reasonable price of $300. Delivered to my house! (about 45 minutes away). and oh btw it had a 400 Cummins in it still. Low flow, but beggars and be choosers. The cab was junk but it had a bunch of little nic-nacs that i needed. I had been contemplating adding some wheelbase to my General to give myself more room to run utilities in the frame since my battery box took up the only empty space i had. Now that I was the owner of matching frame rails with OEM GM crossmembers i figured what the hell. I havent had much time but over the past two months I cut the truck in half and used 45" of perfect frame rail from under the cab of the white truck to extend the wheelbase of the black truck. Im currently waiting on the driveshaft to be lengthened and I still need to make the plates to reinforce the back of the welds. I plan on using the visor from the white truck and more importantly the white truck had the elusive GMC General door badges. I would love to find somebody to refurbish them because they seem to be so hard to find i dont want to try myself and fail.

-
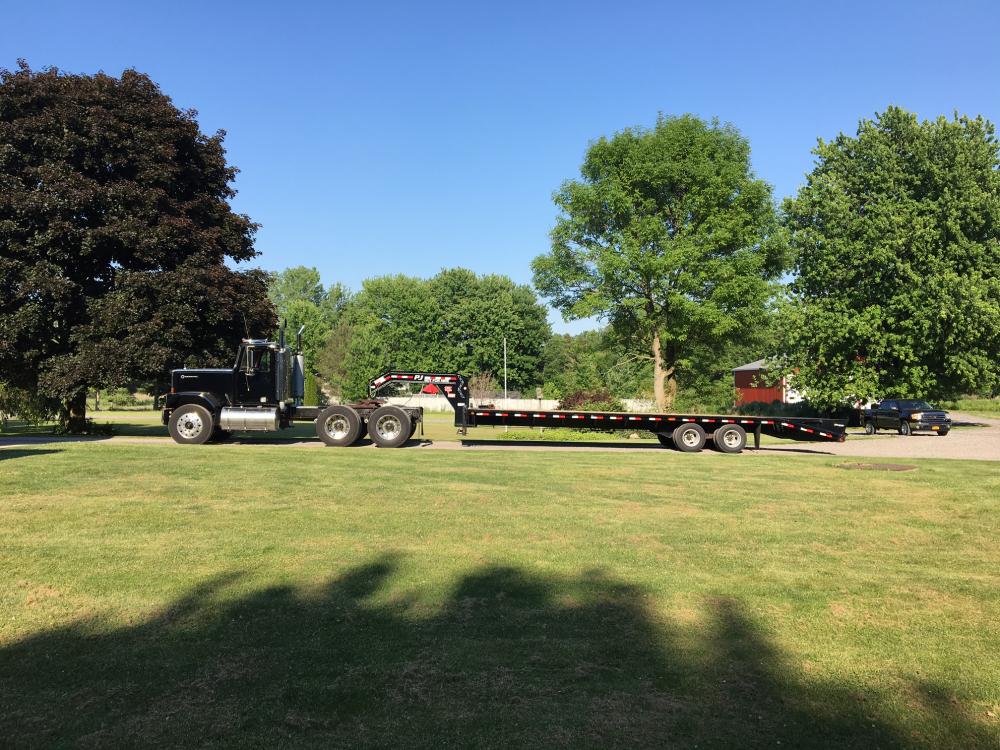
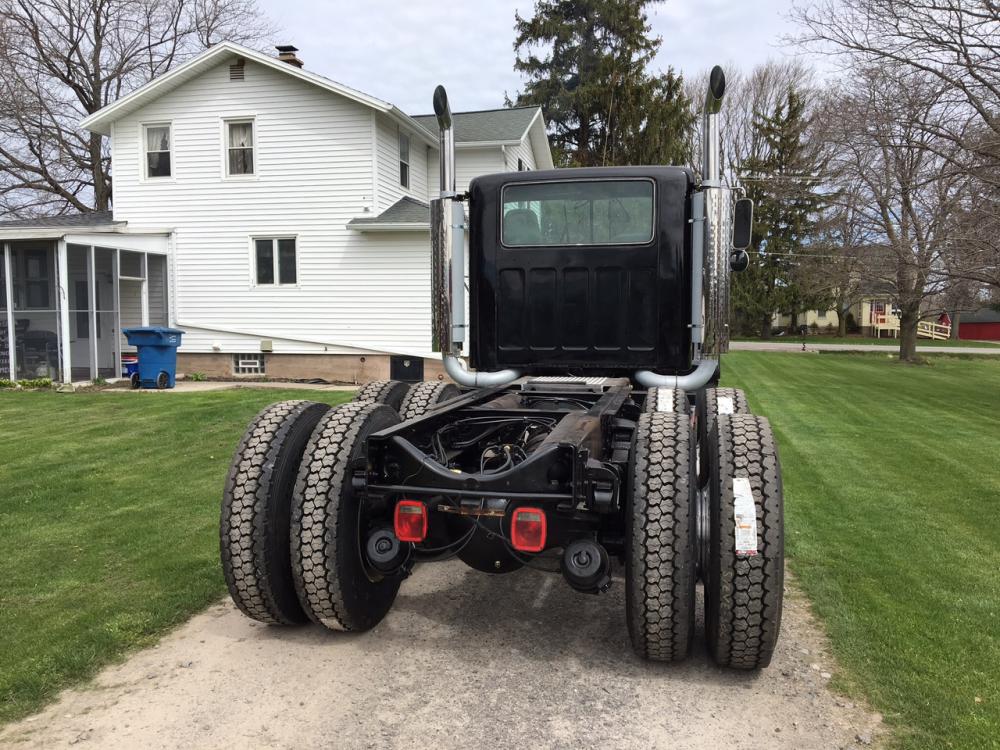
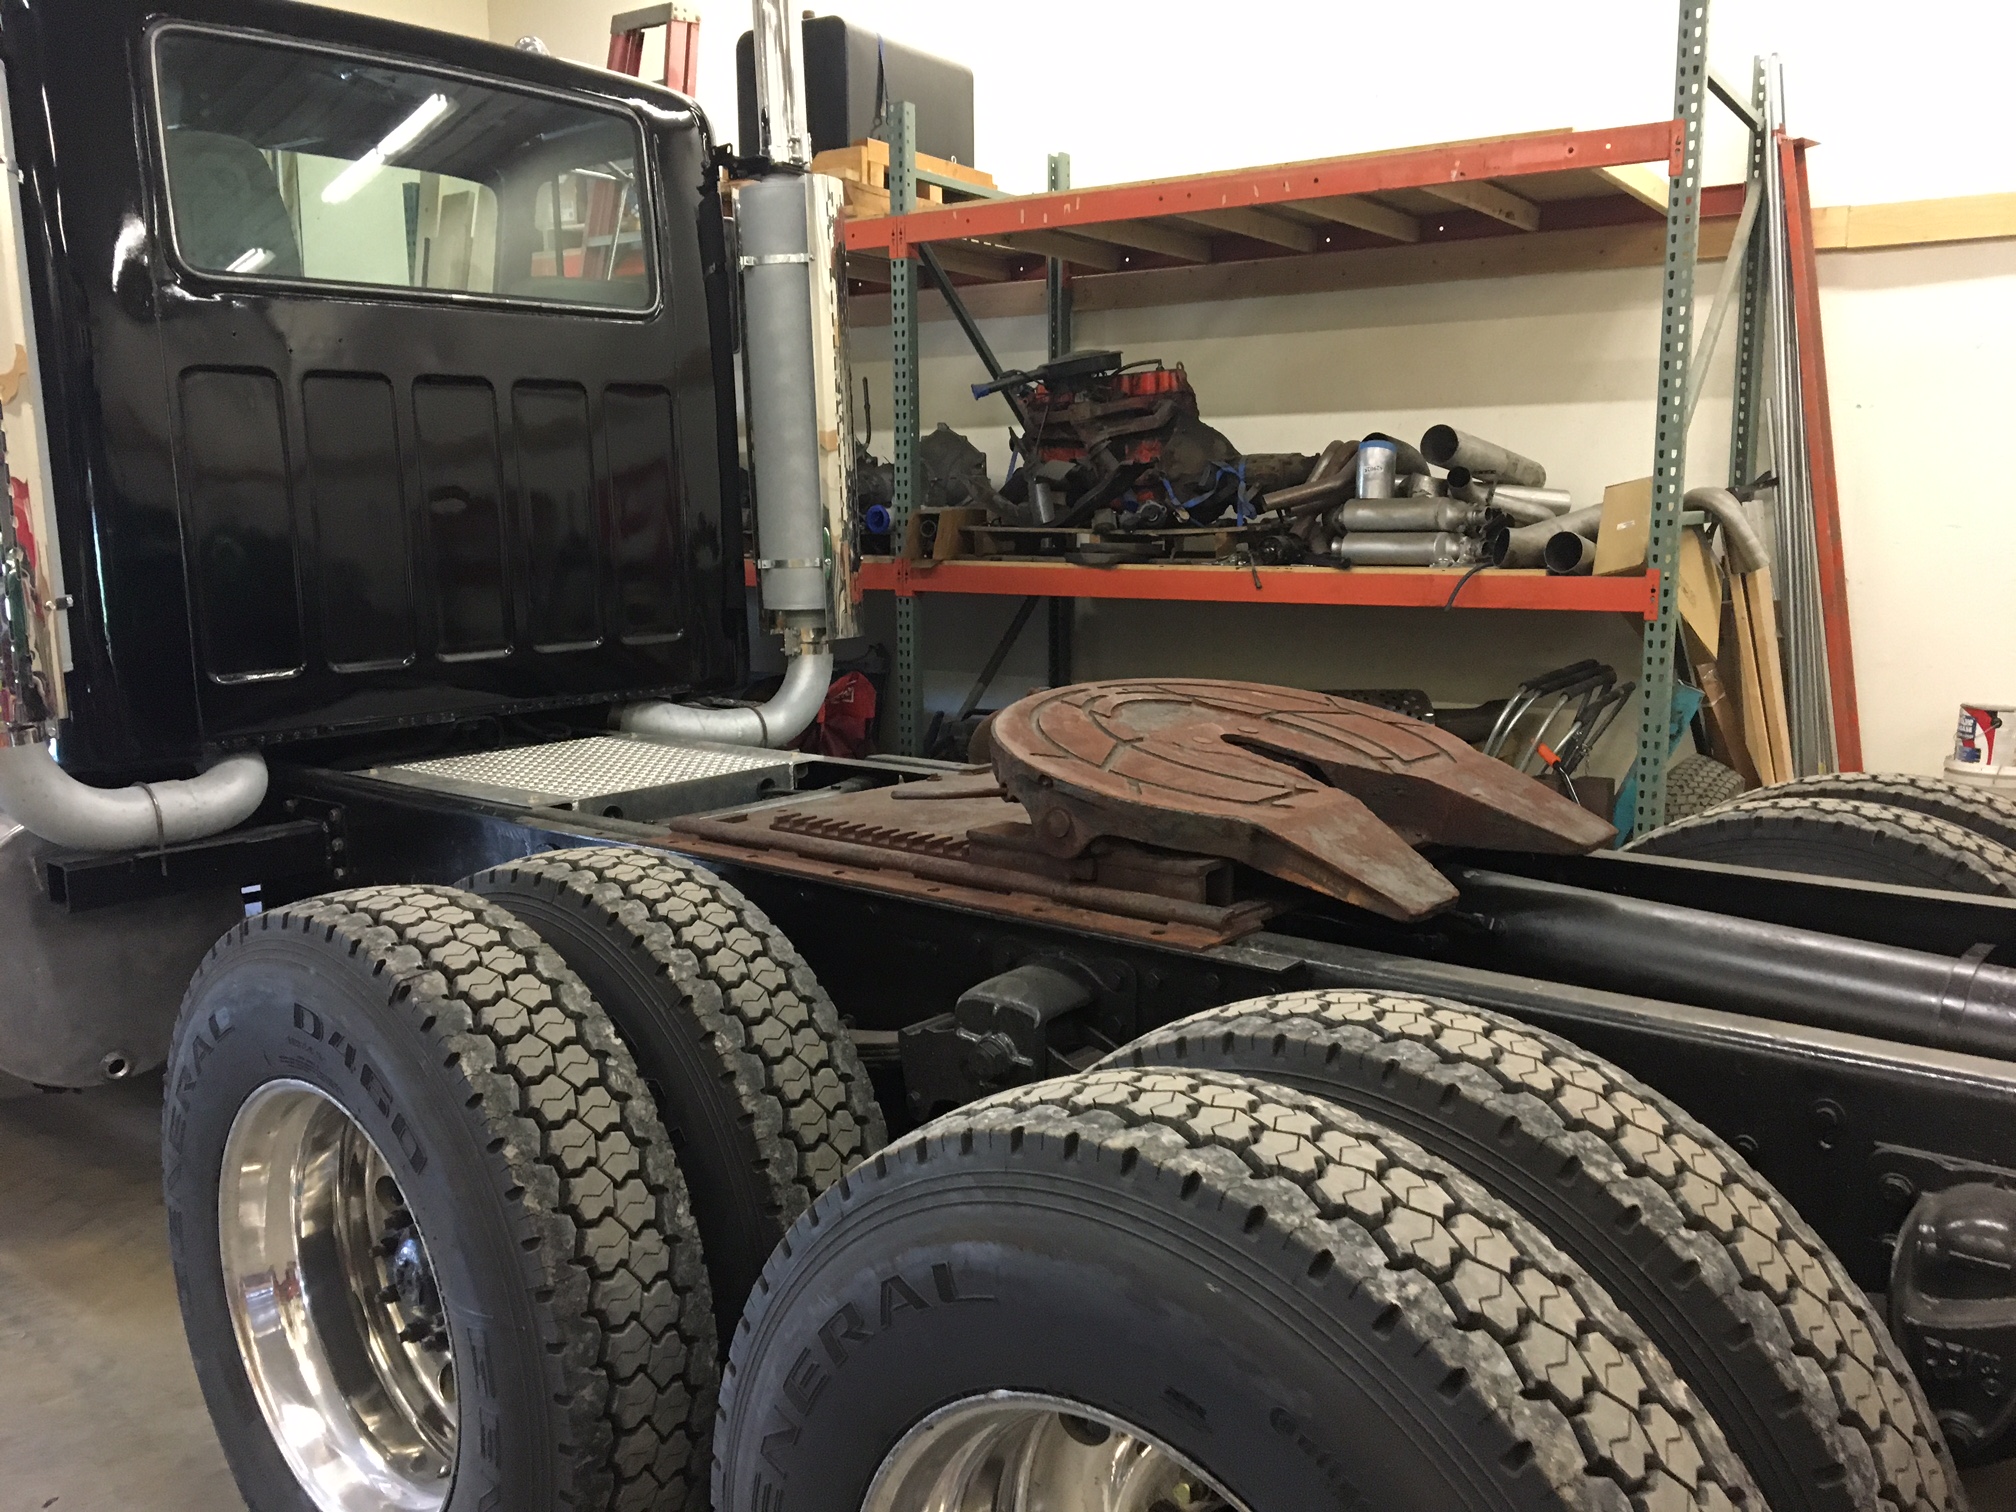
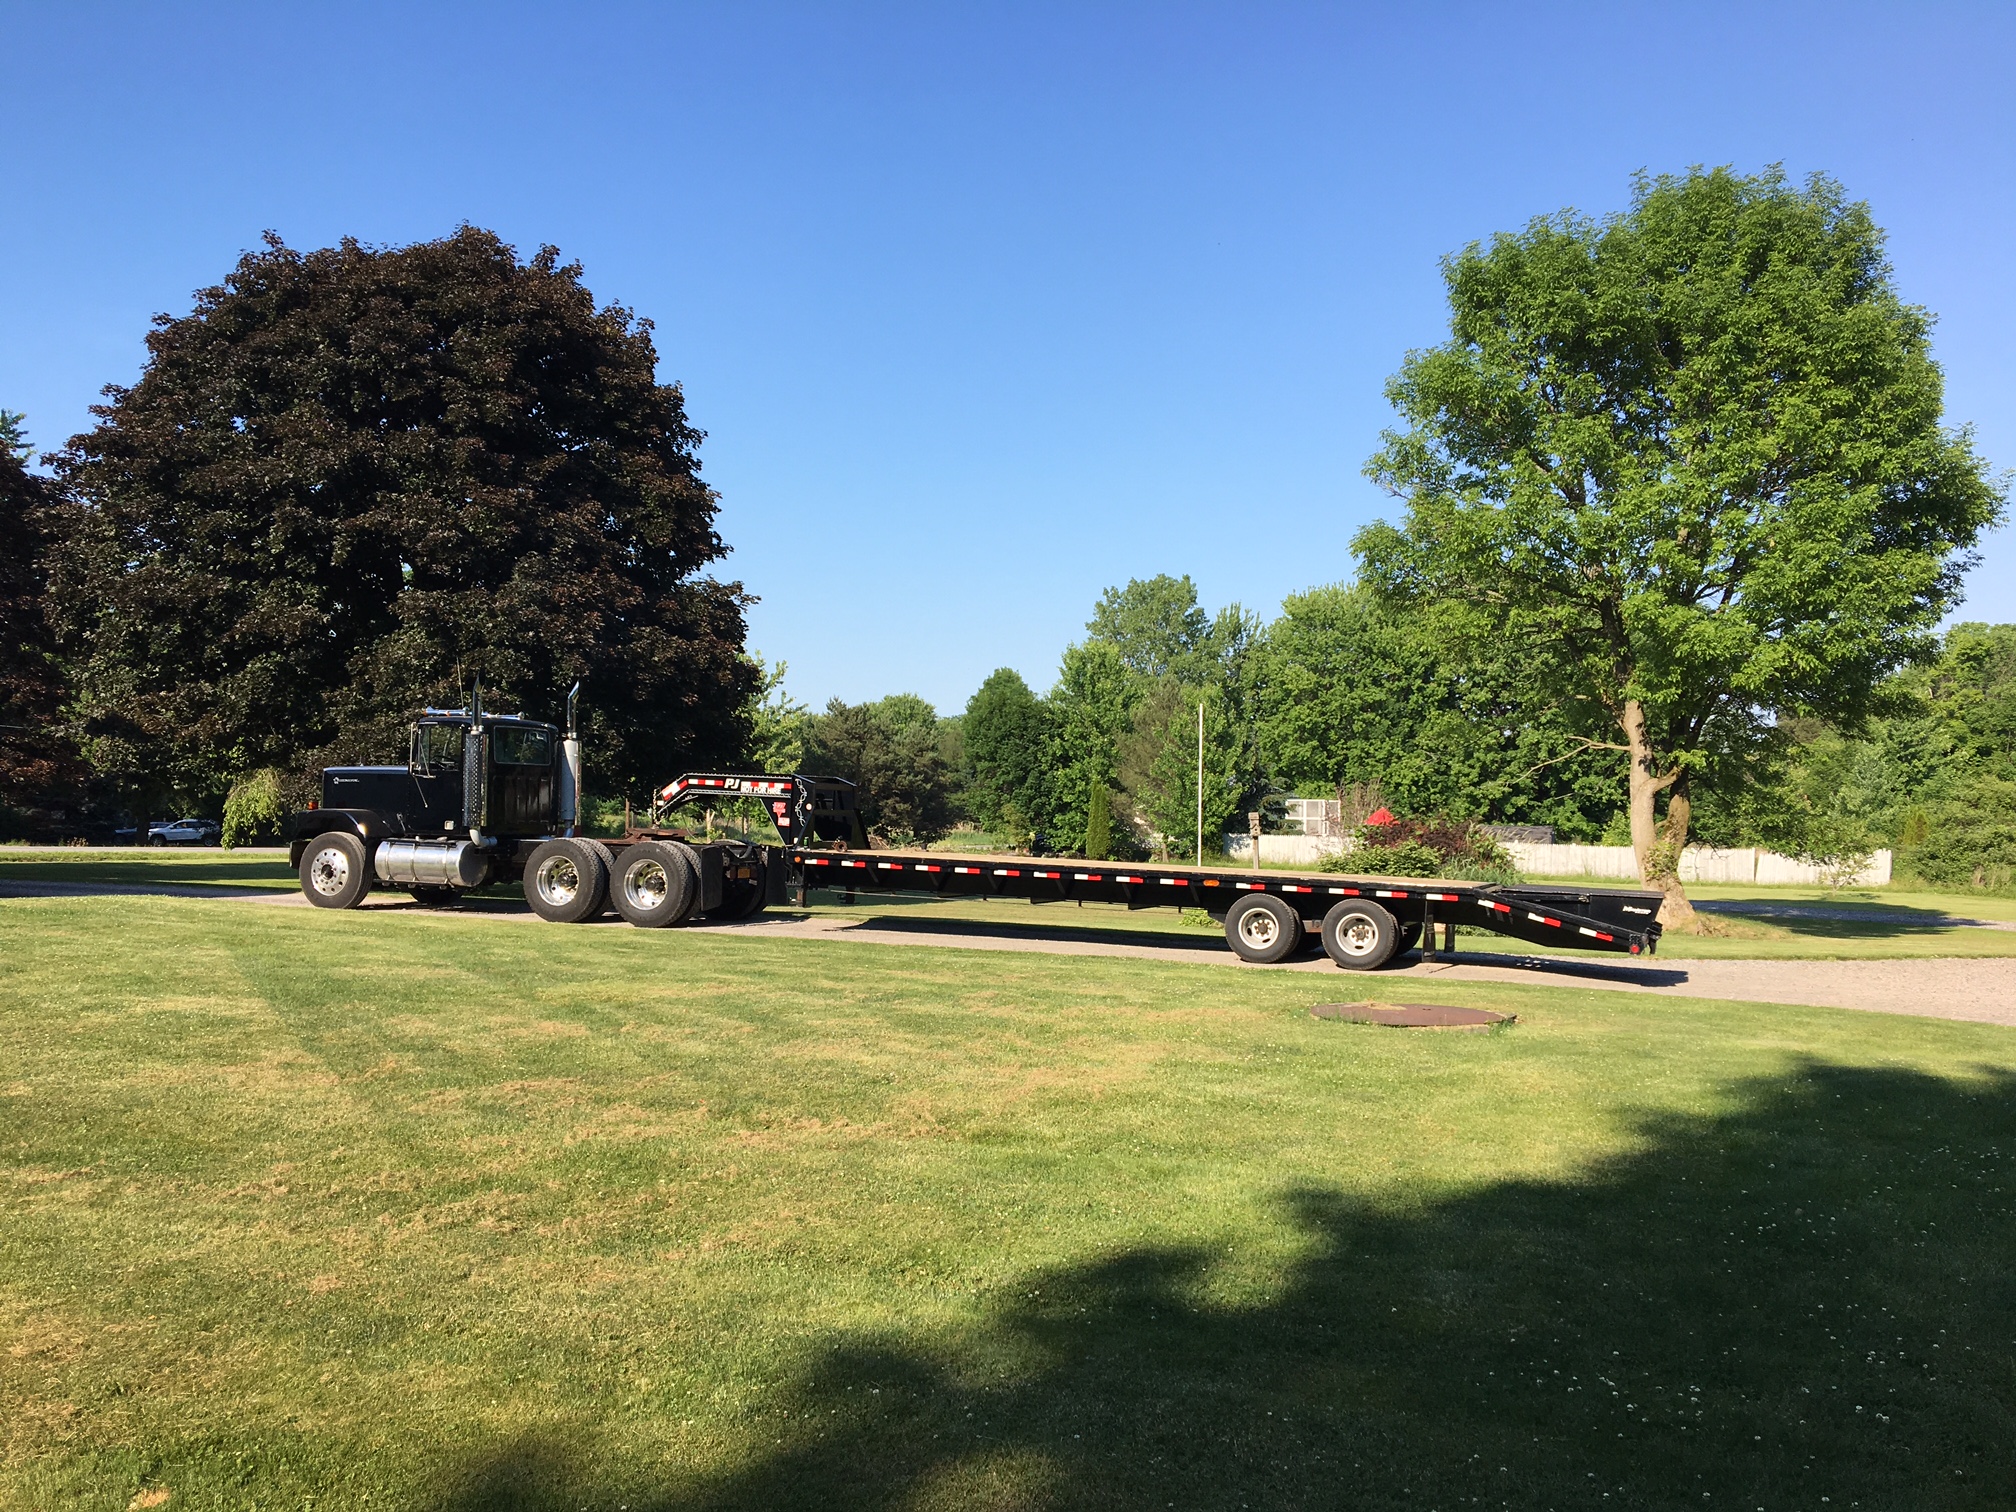
I'll admit i've been slacking. I probably havent put more than 40 miles on it because life got too busy too fast this summer. I did manage to get ahead of projects and got the fifth wheel powerwashed and bolted on the truck and hooked the trailer up. This weekend ill finish up the wiring for the rv plug and maybe put a load behind her.


-
more pictures b/c i keep having problems uploading pictures....


-
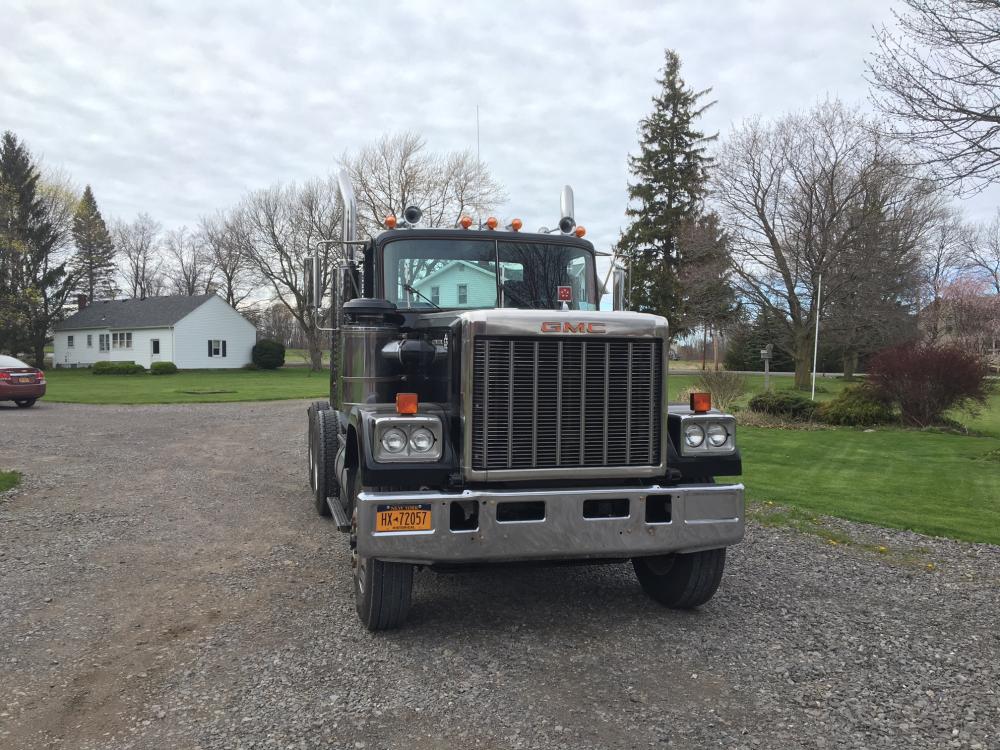
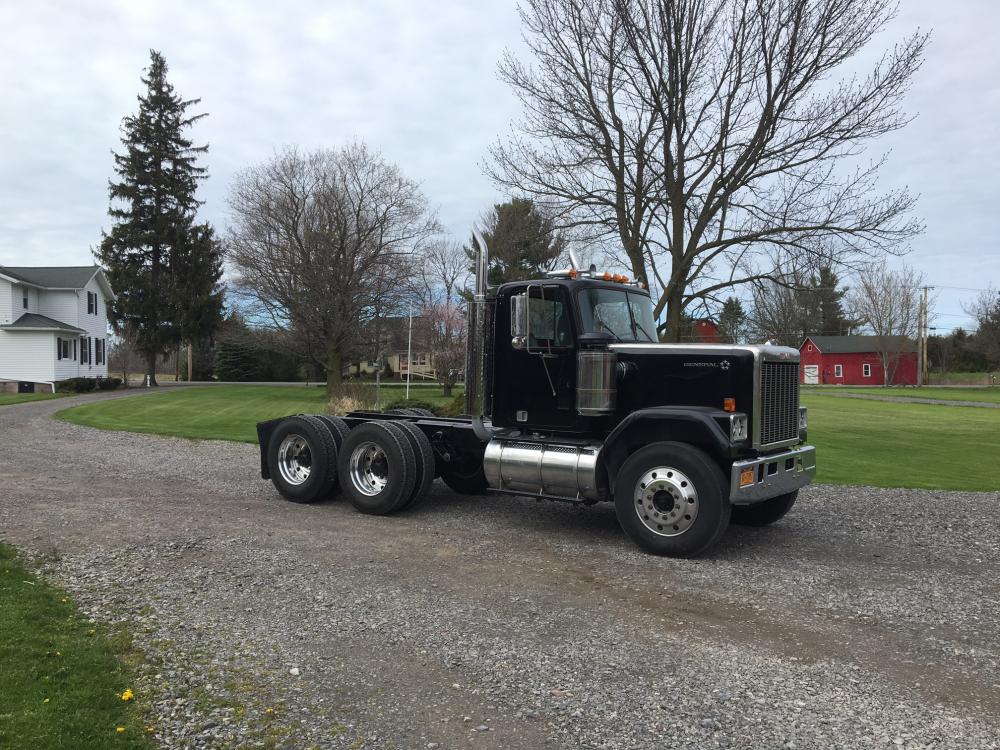
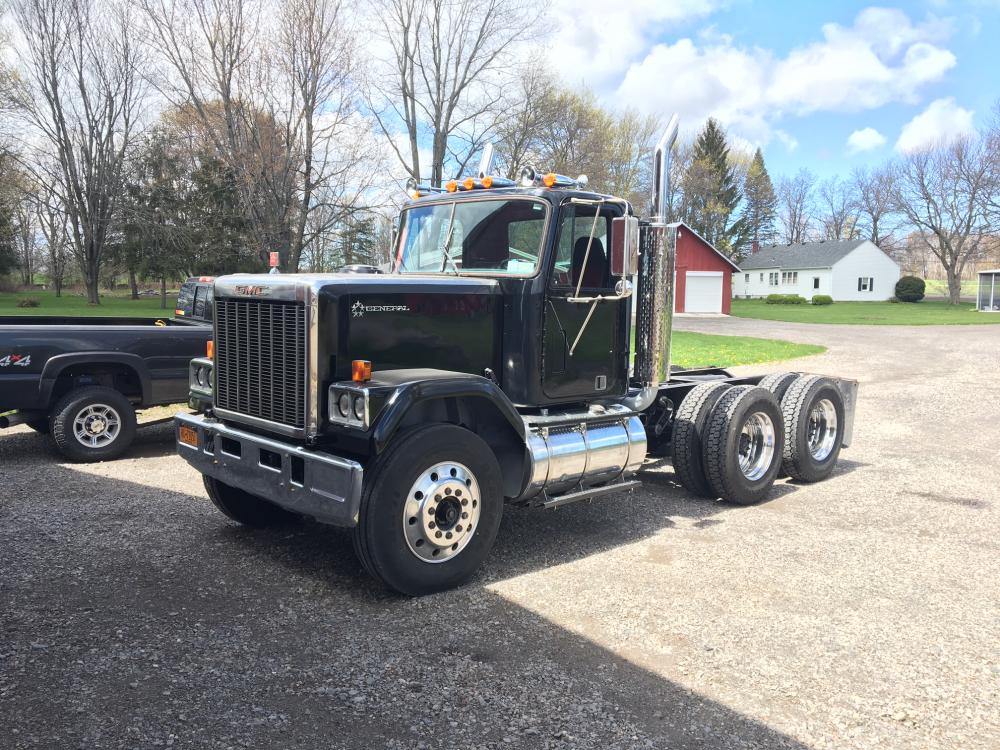
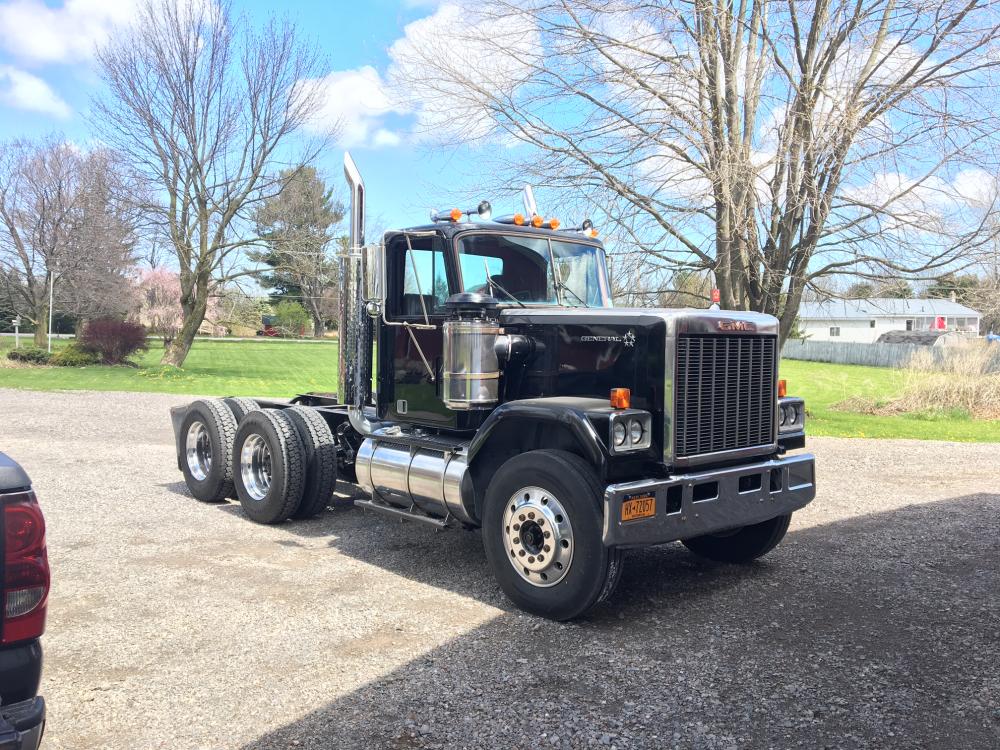
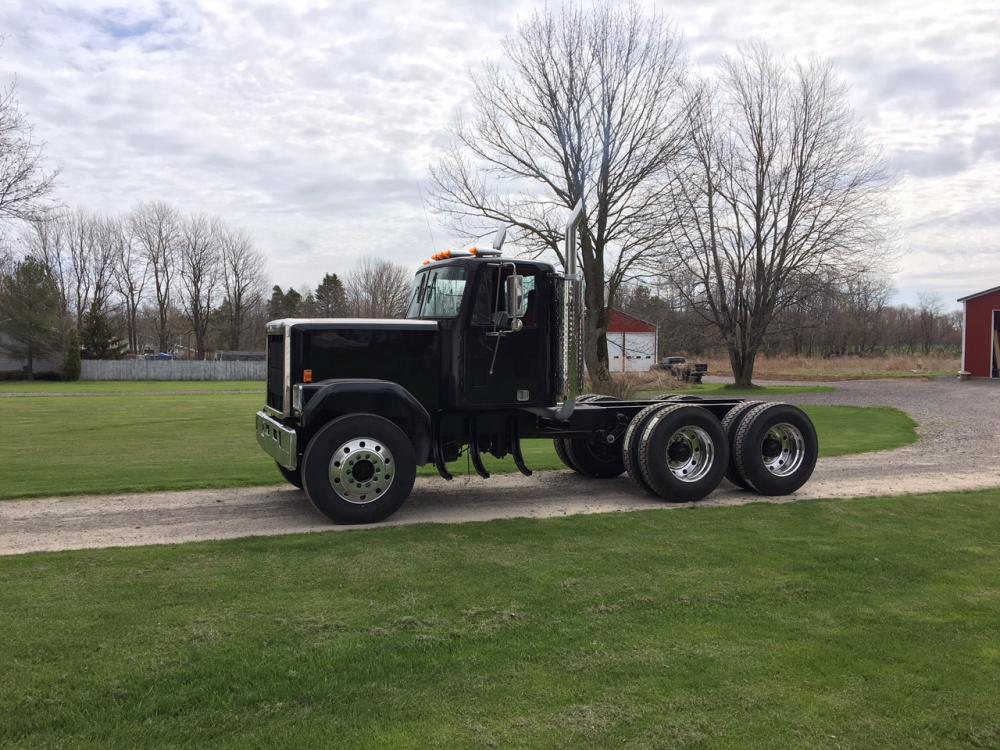
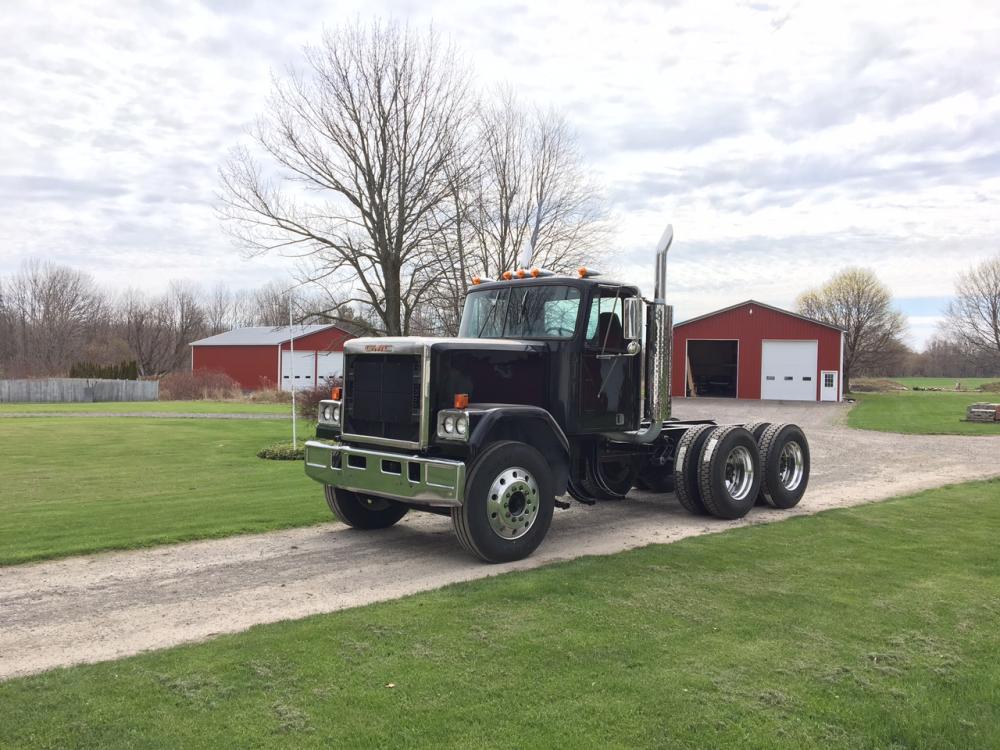
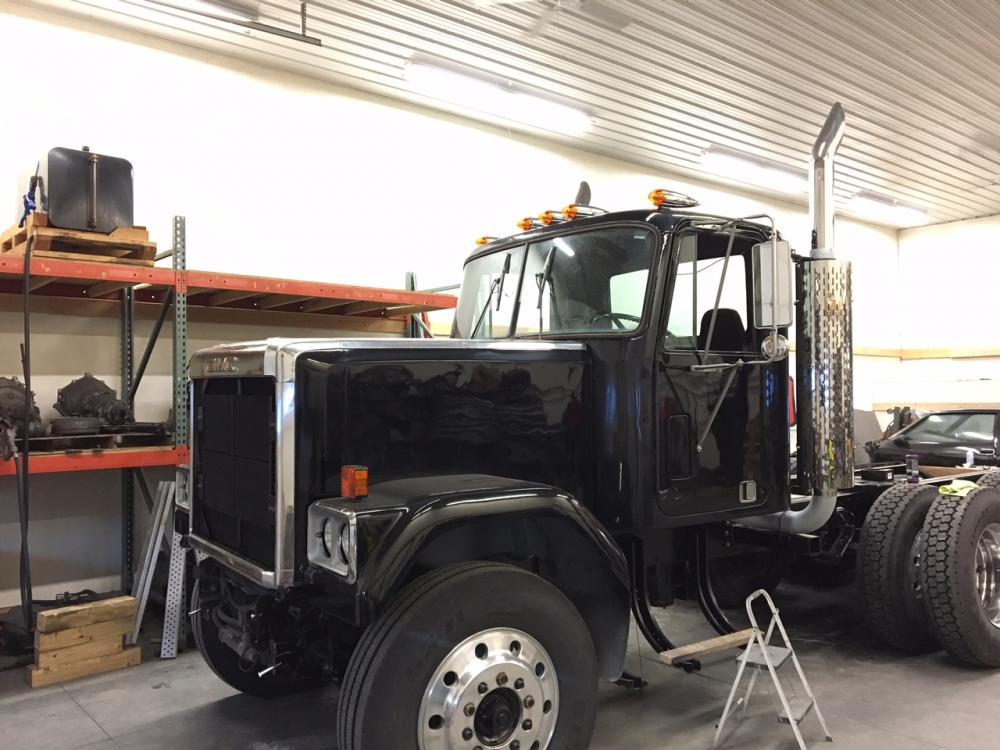
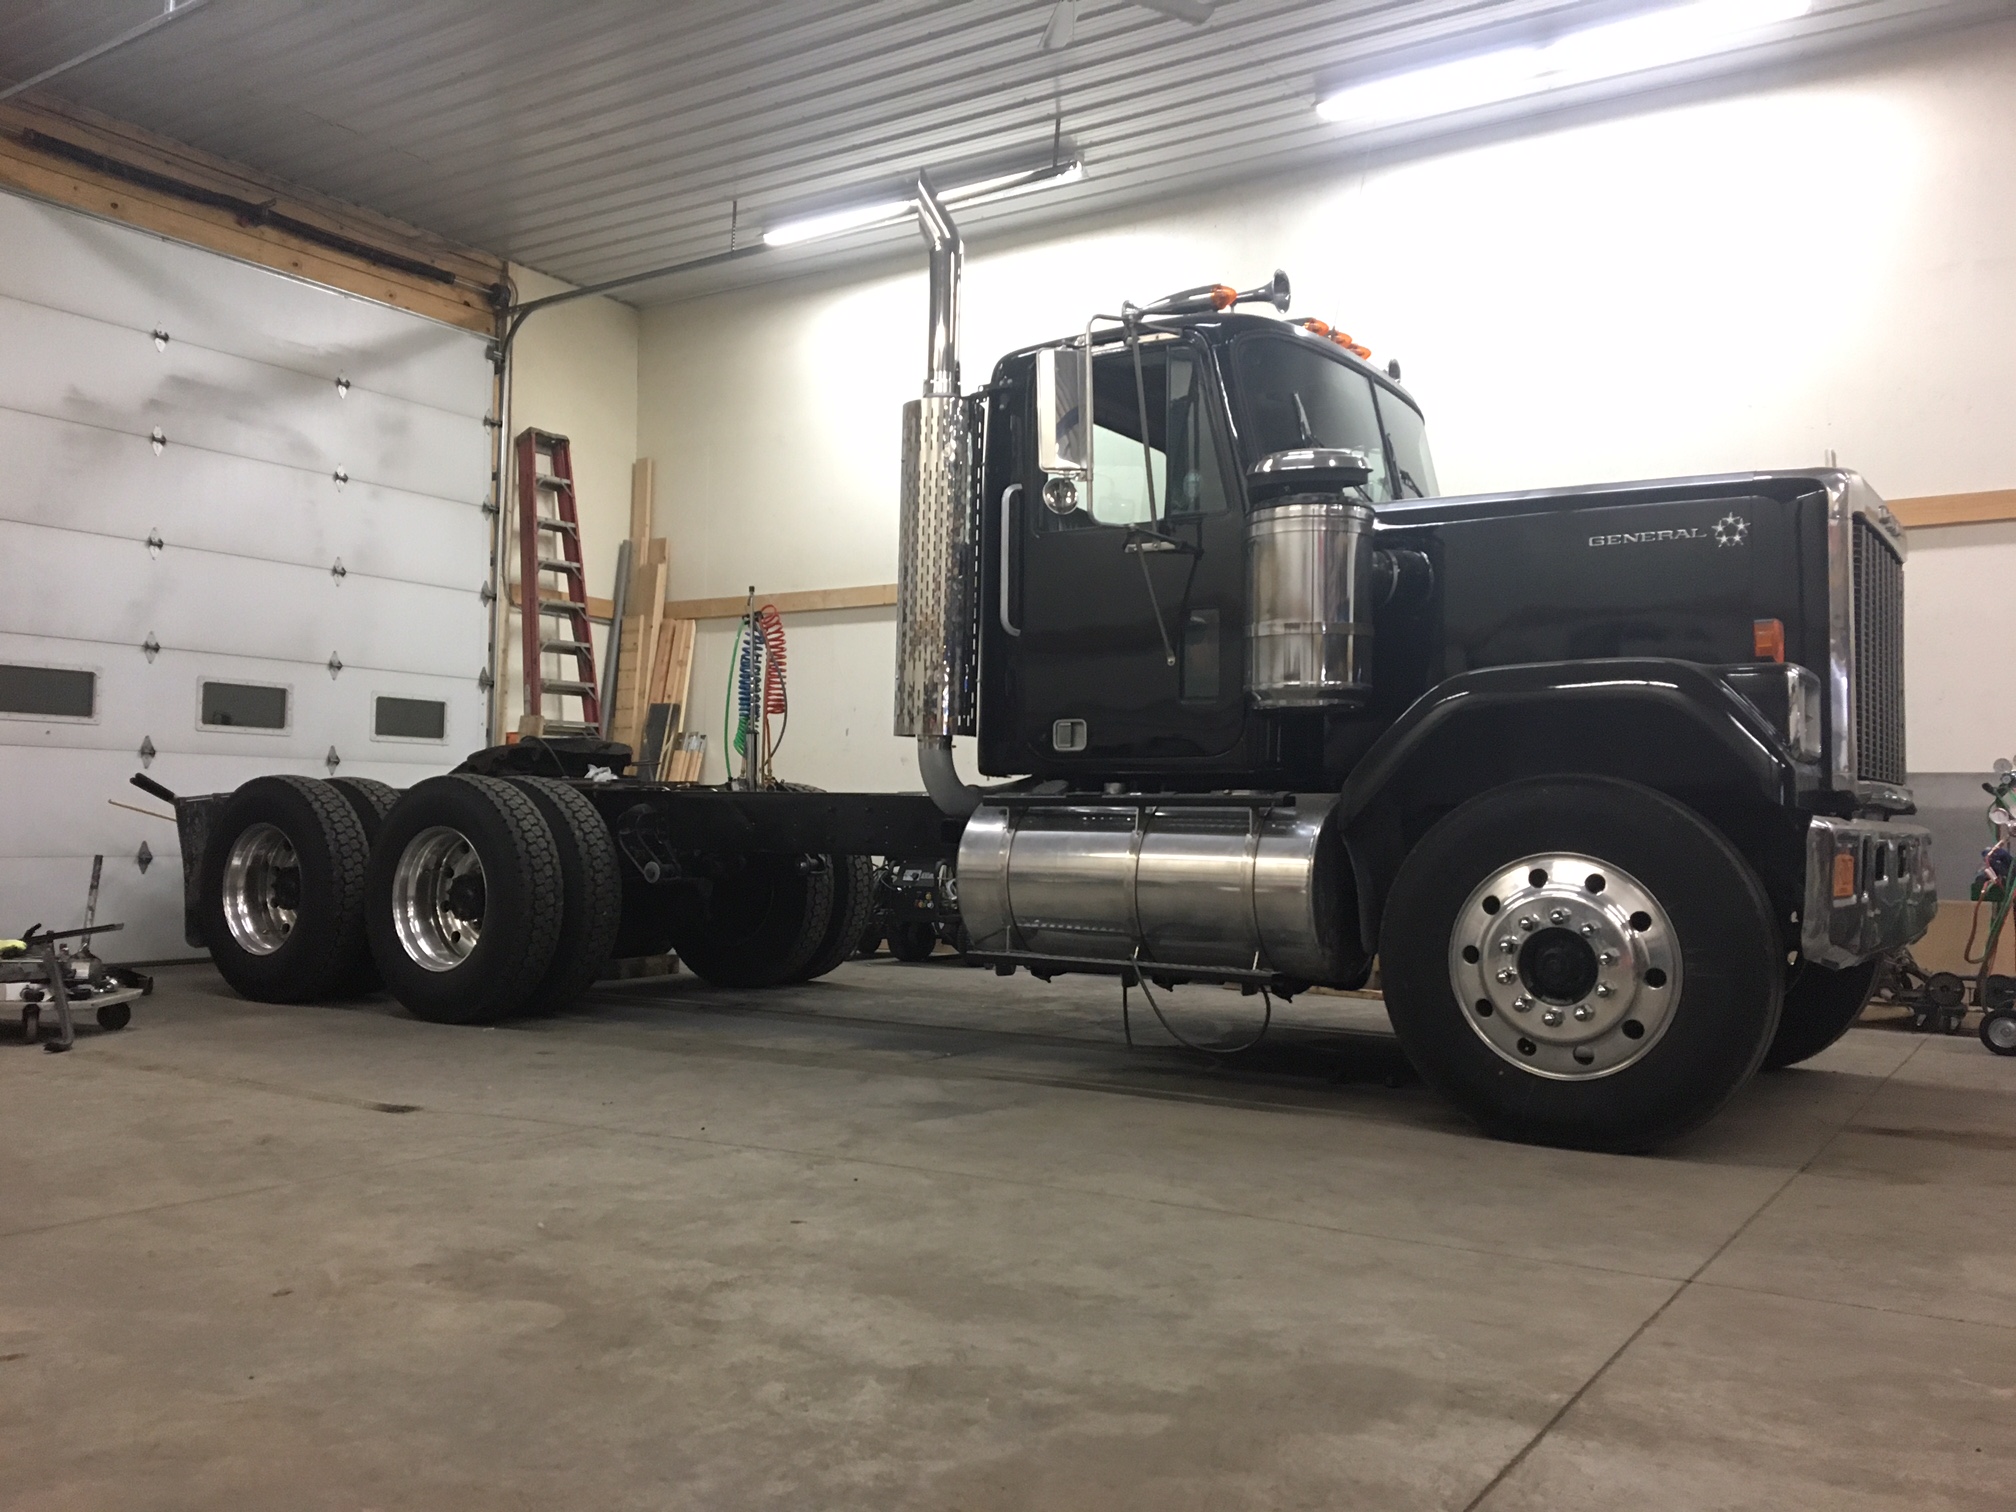
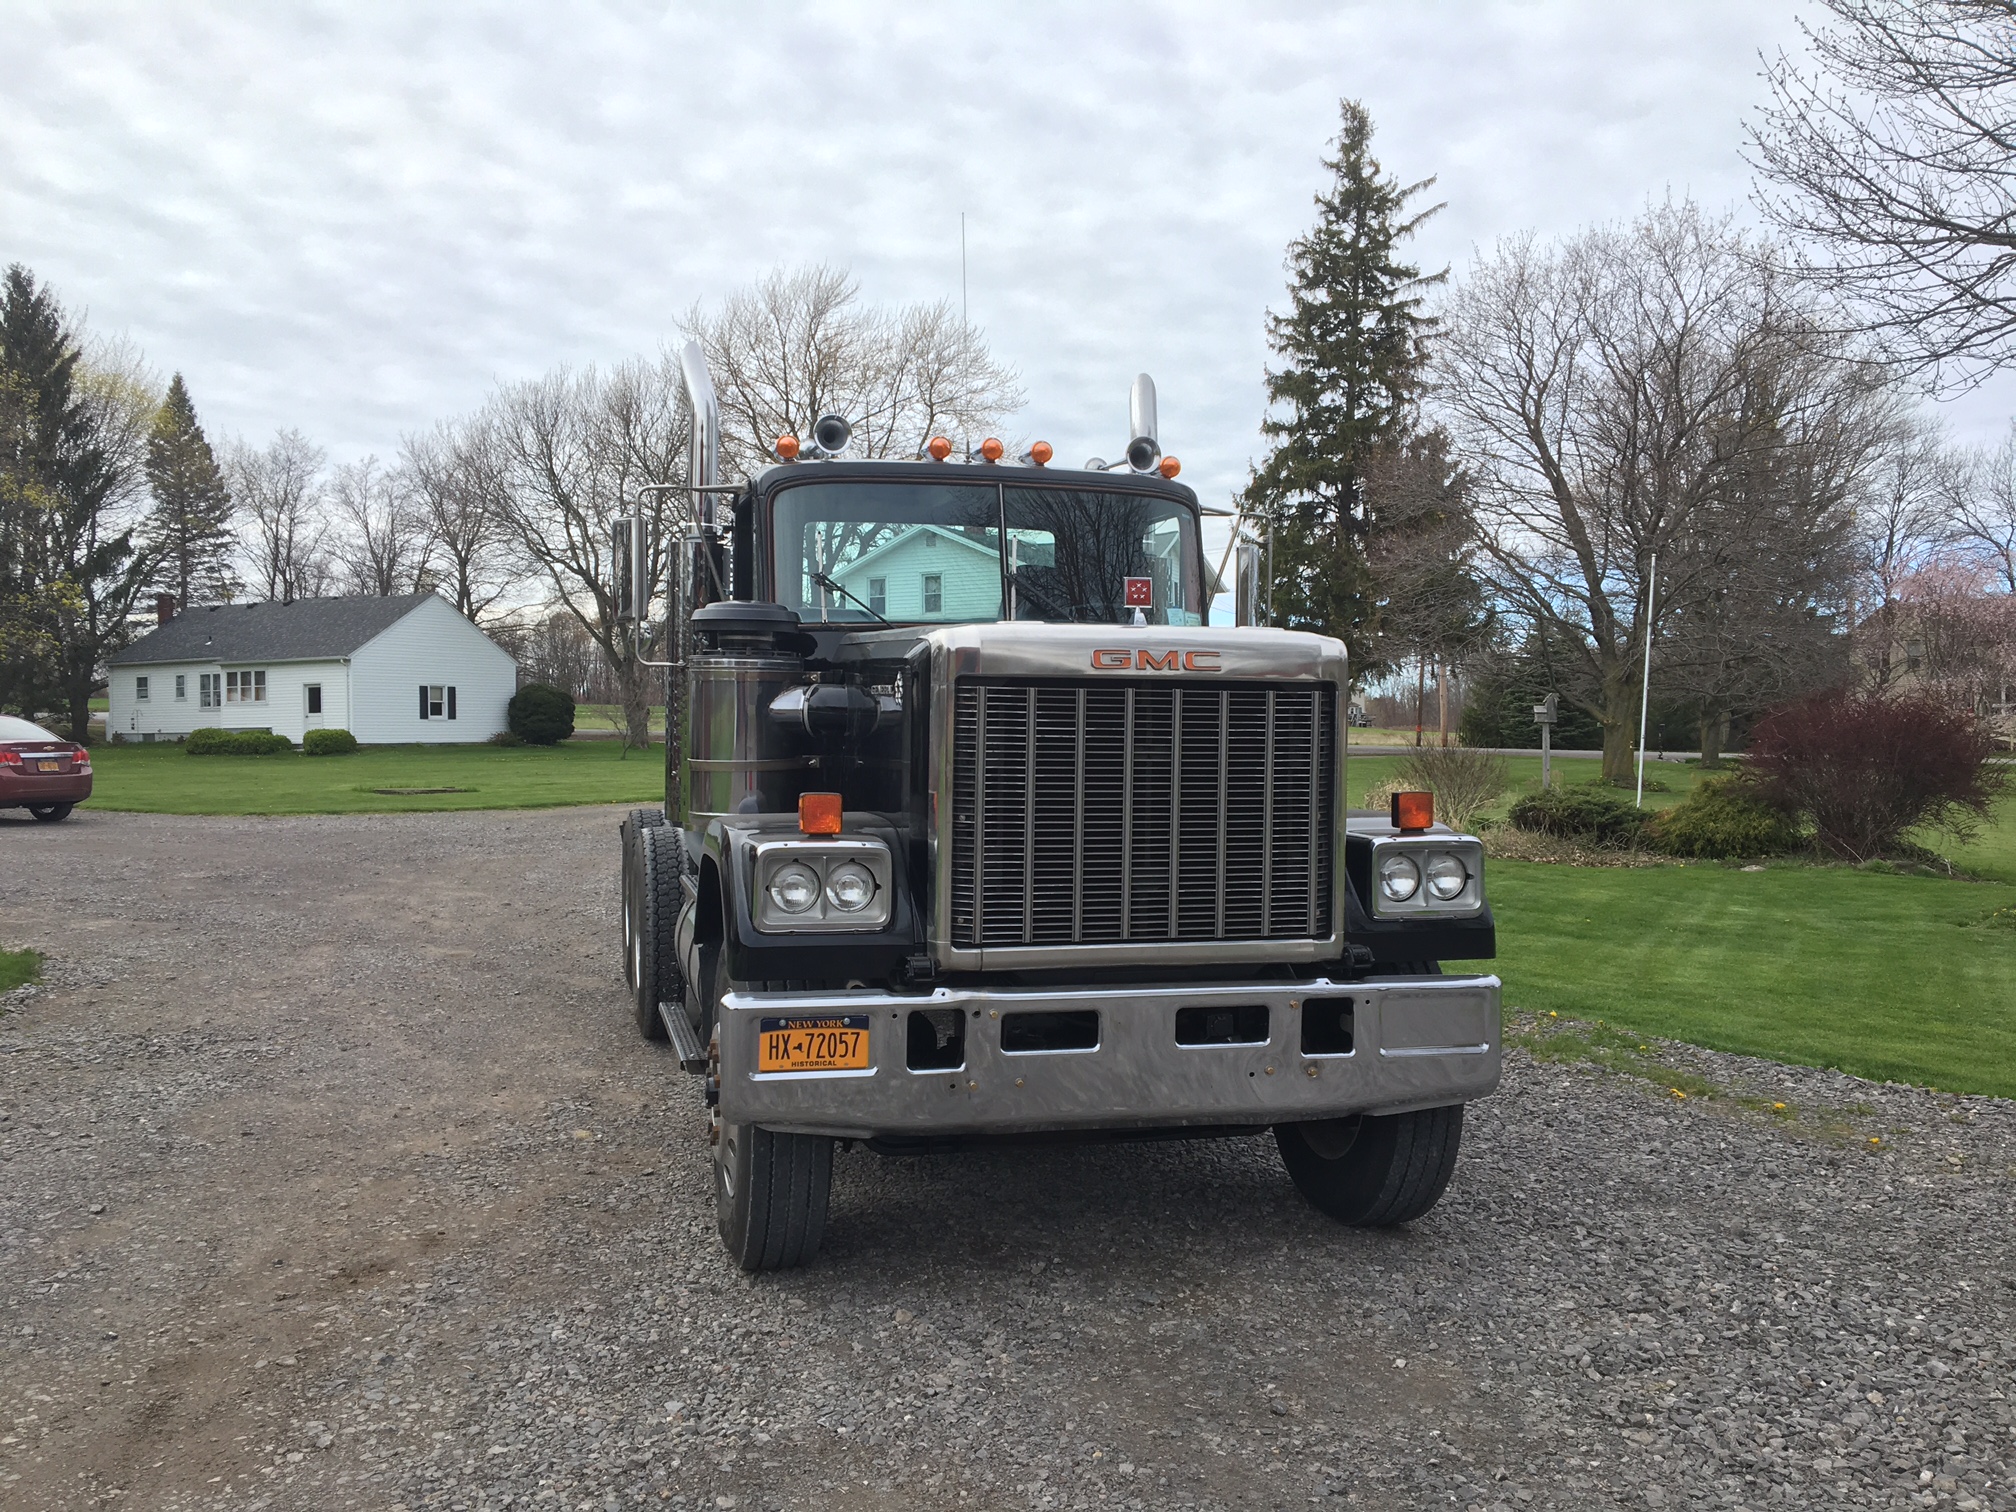
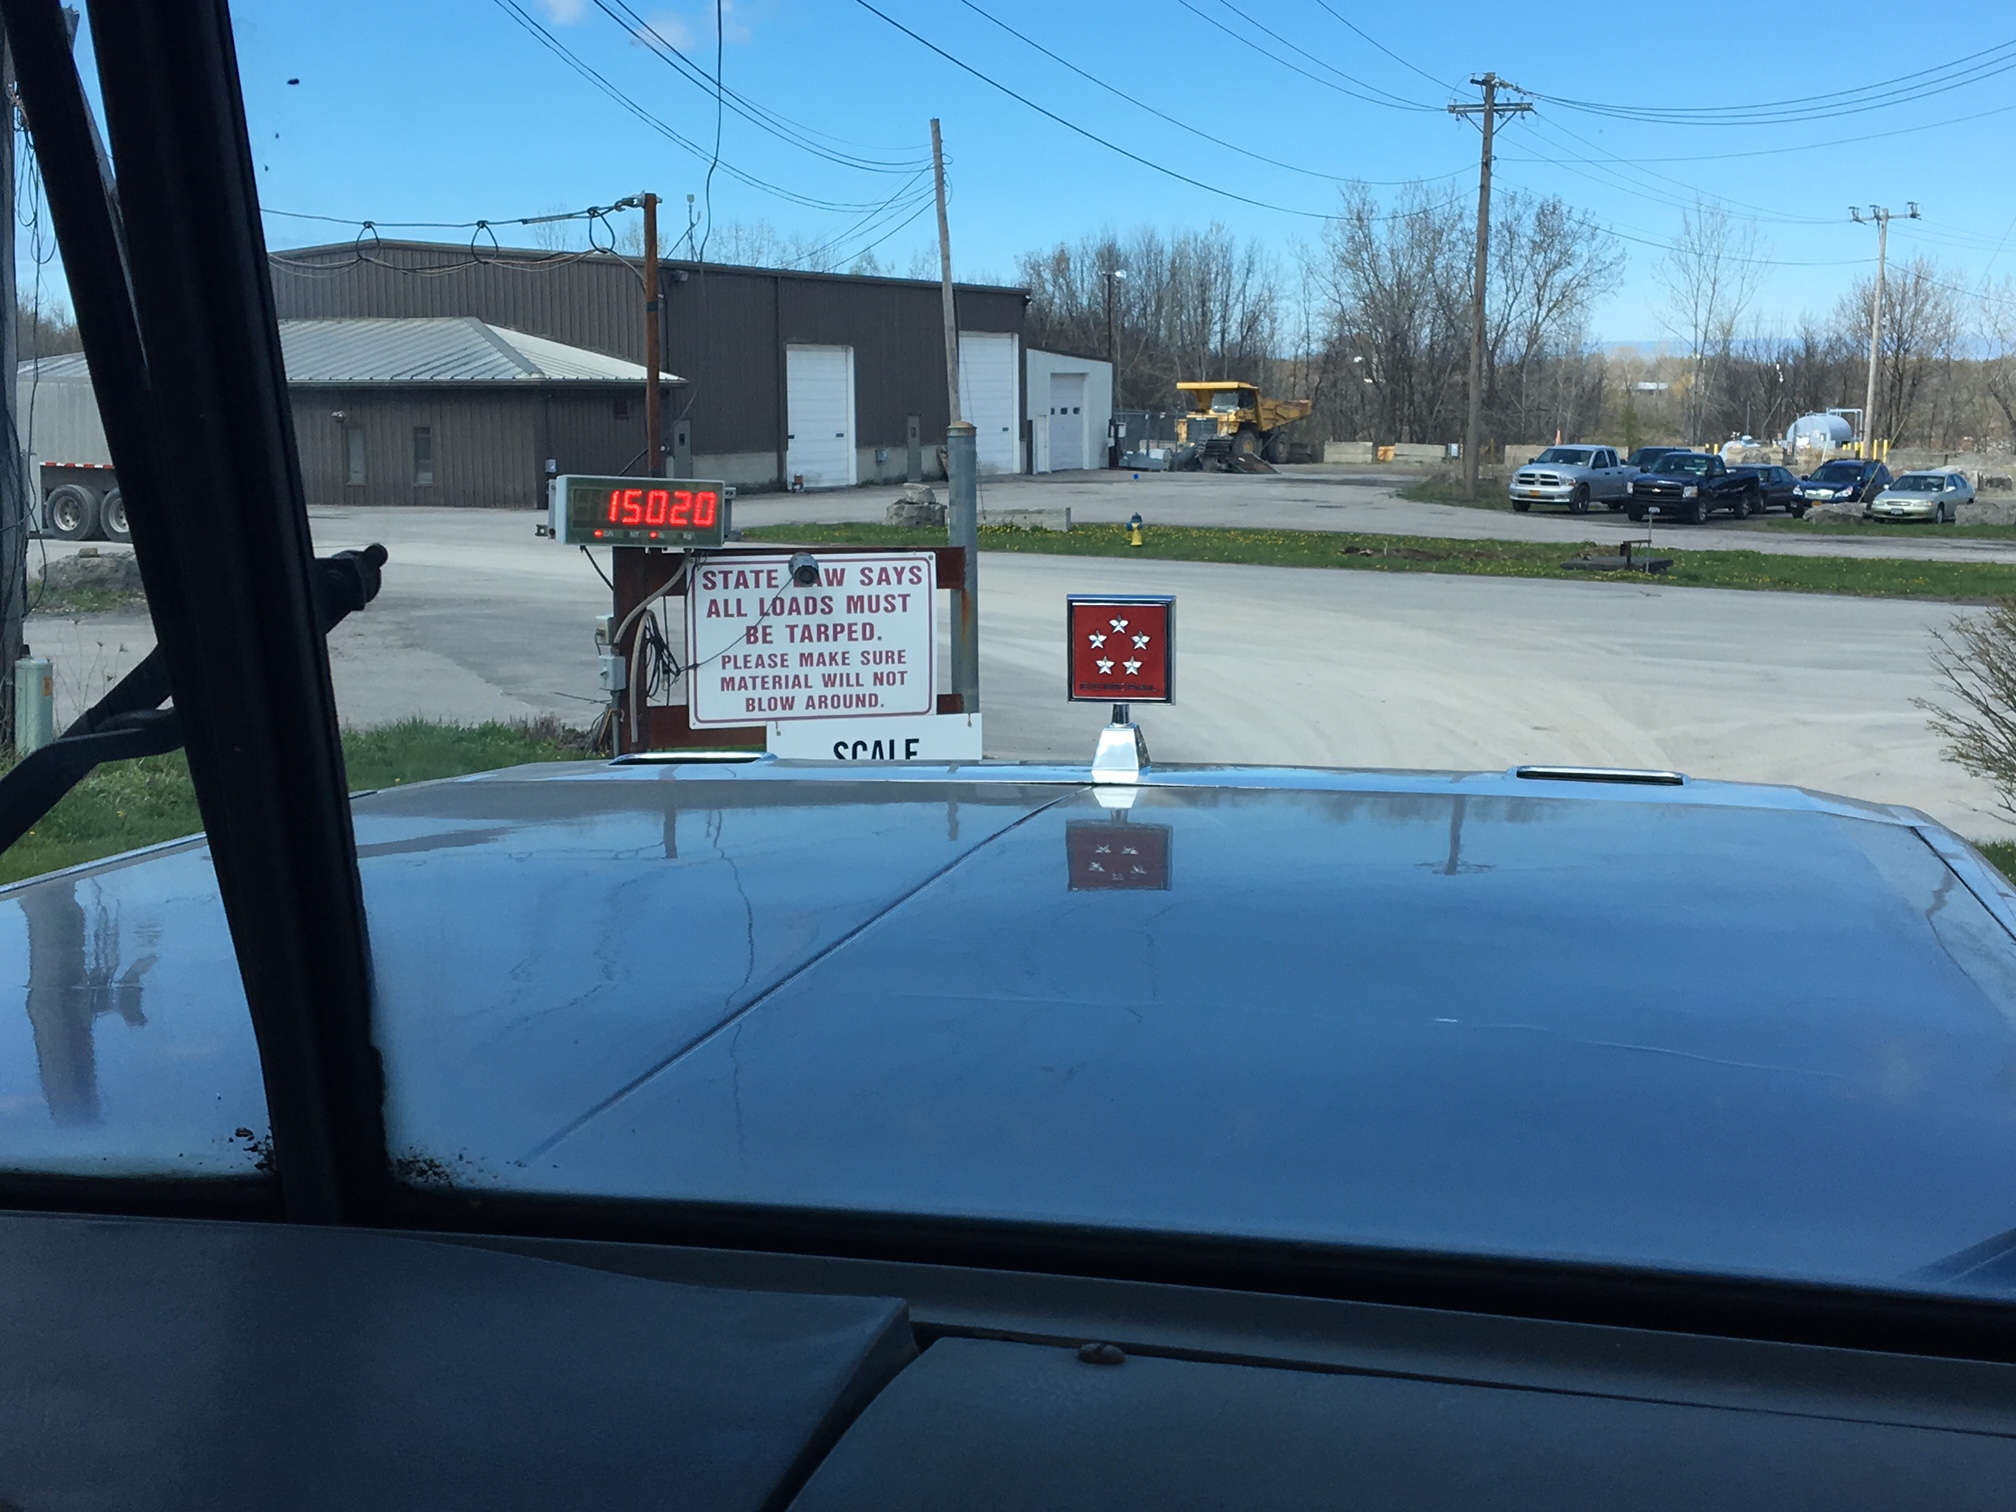
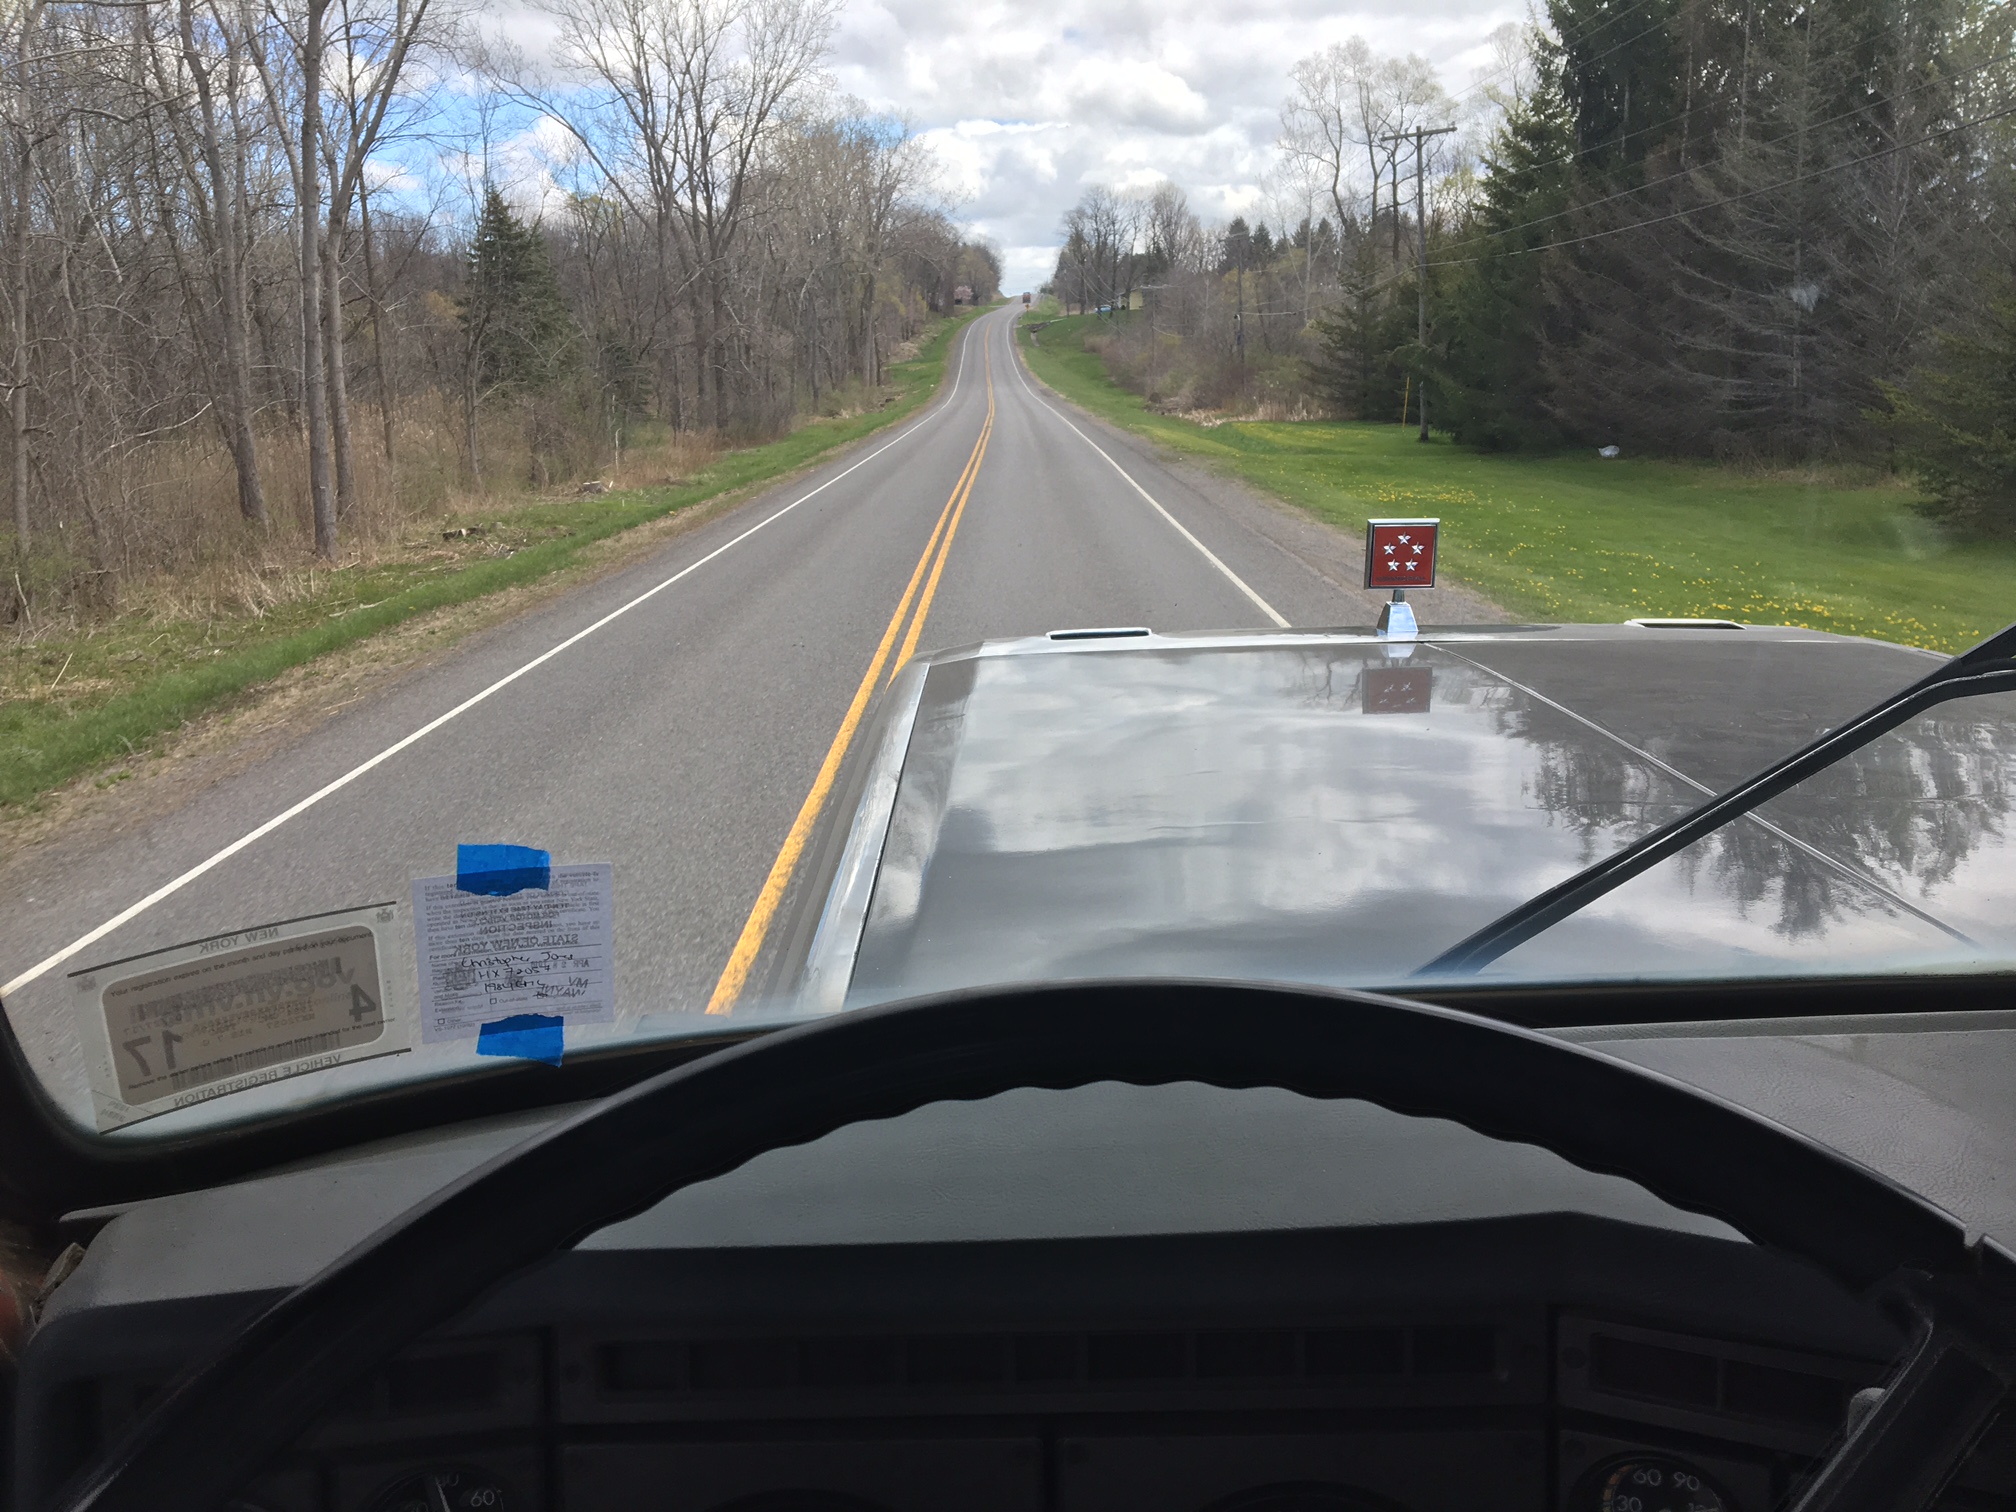
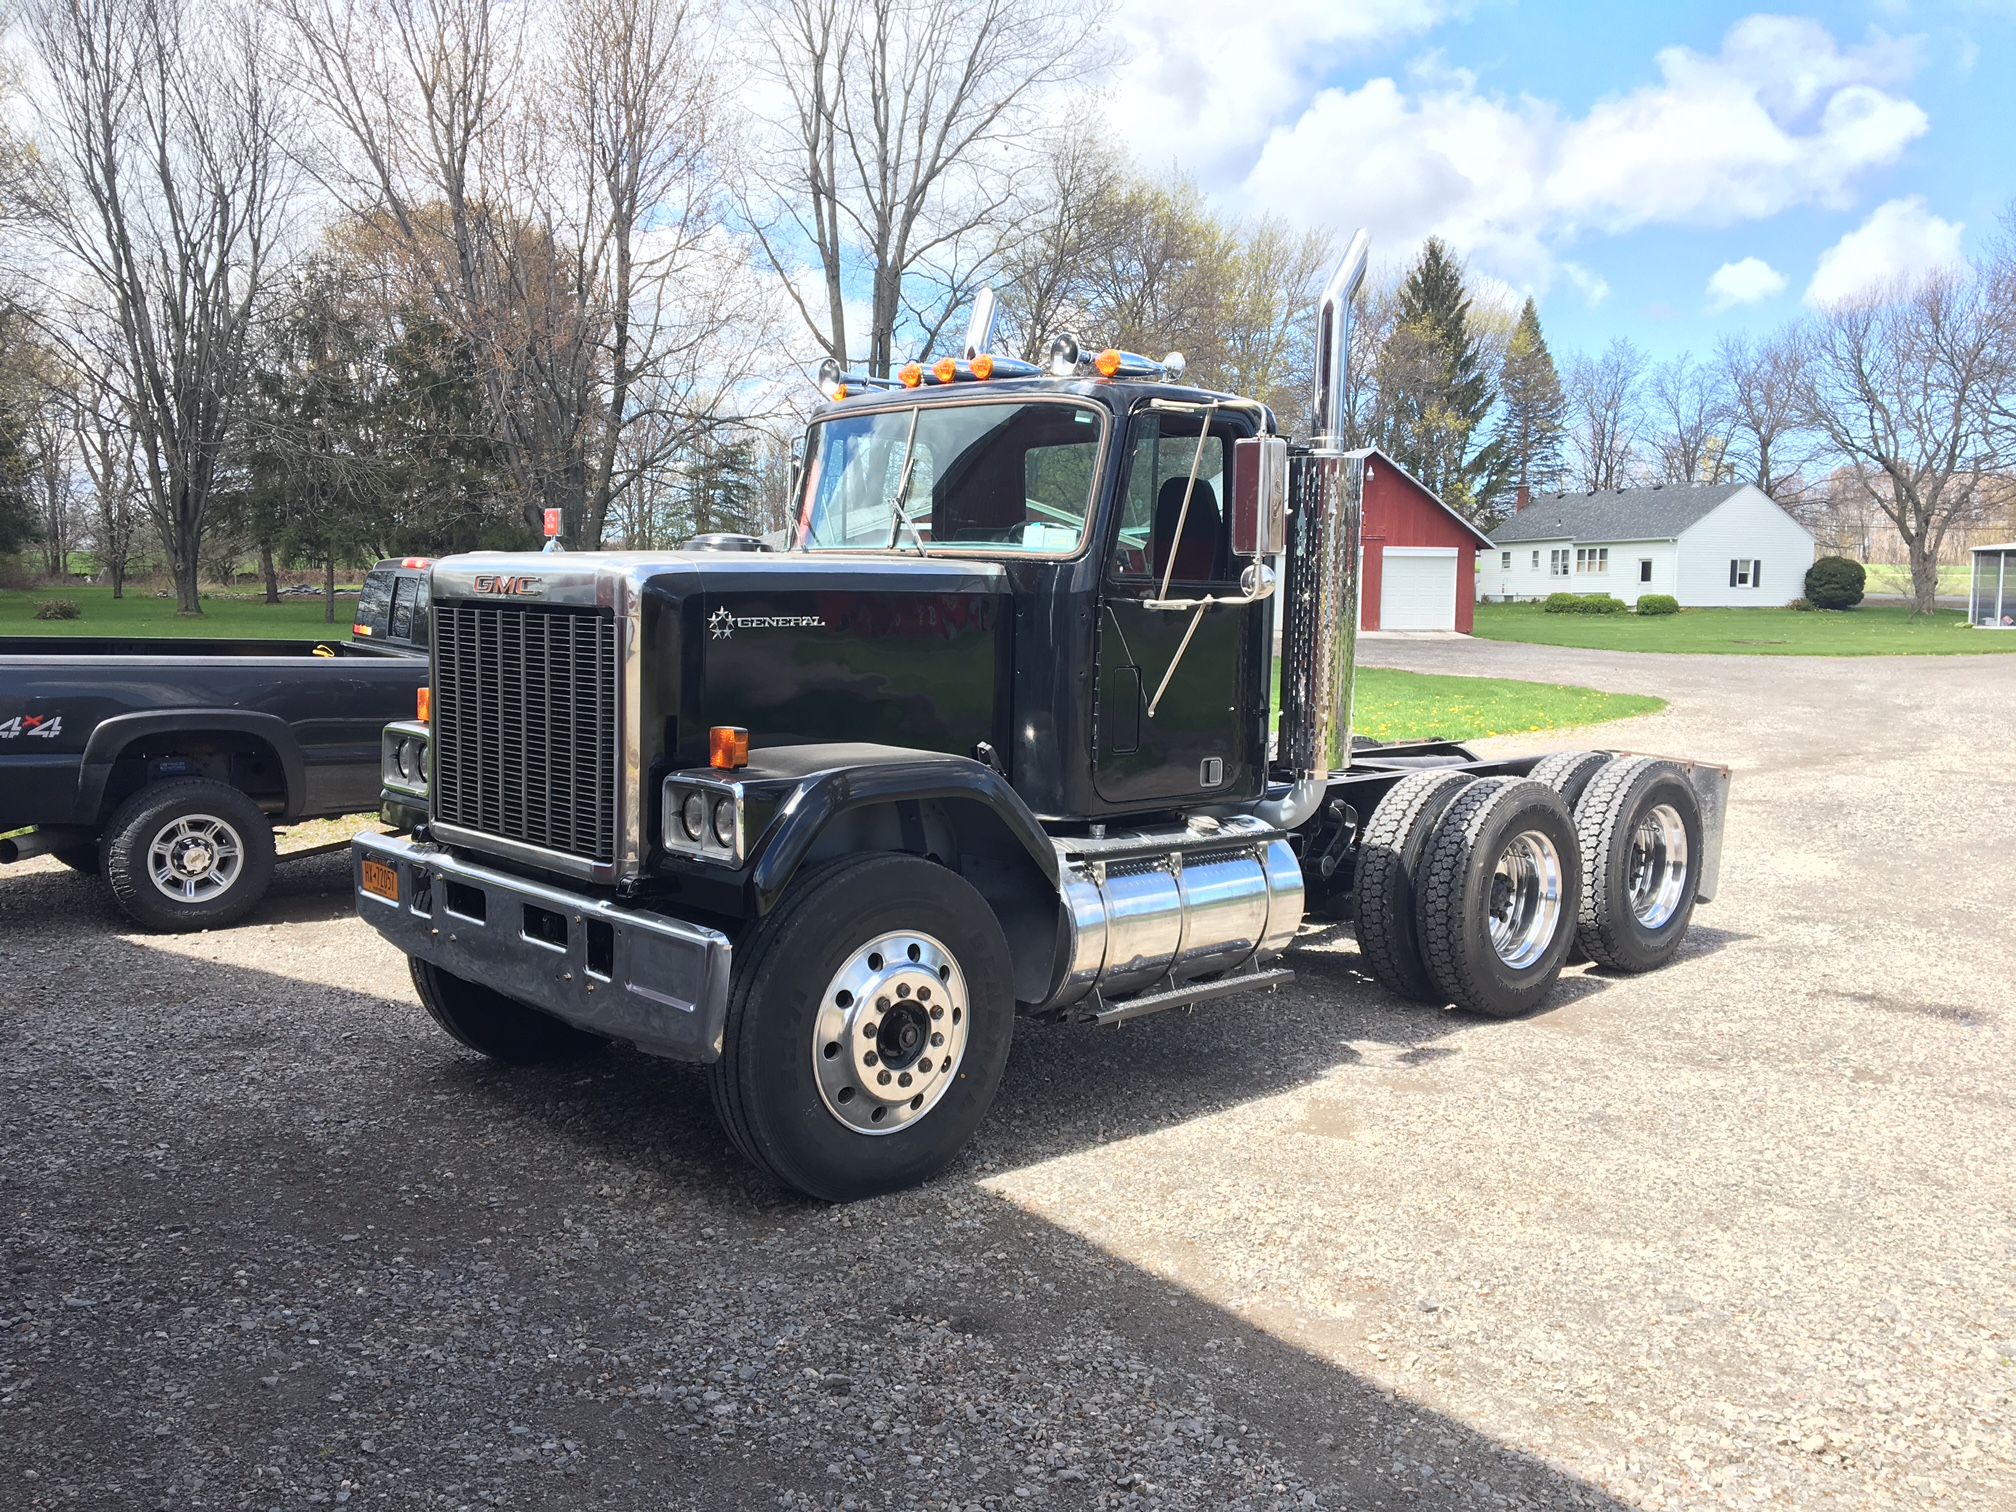
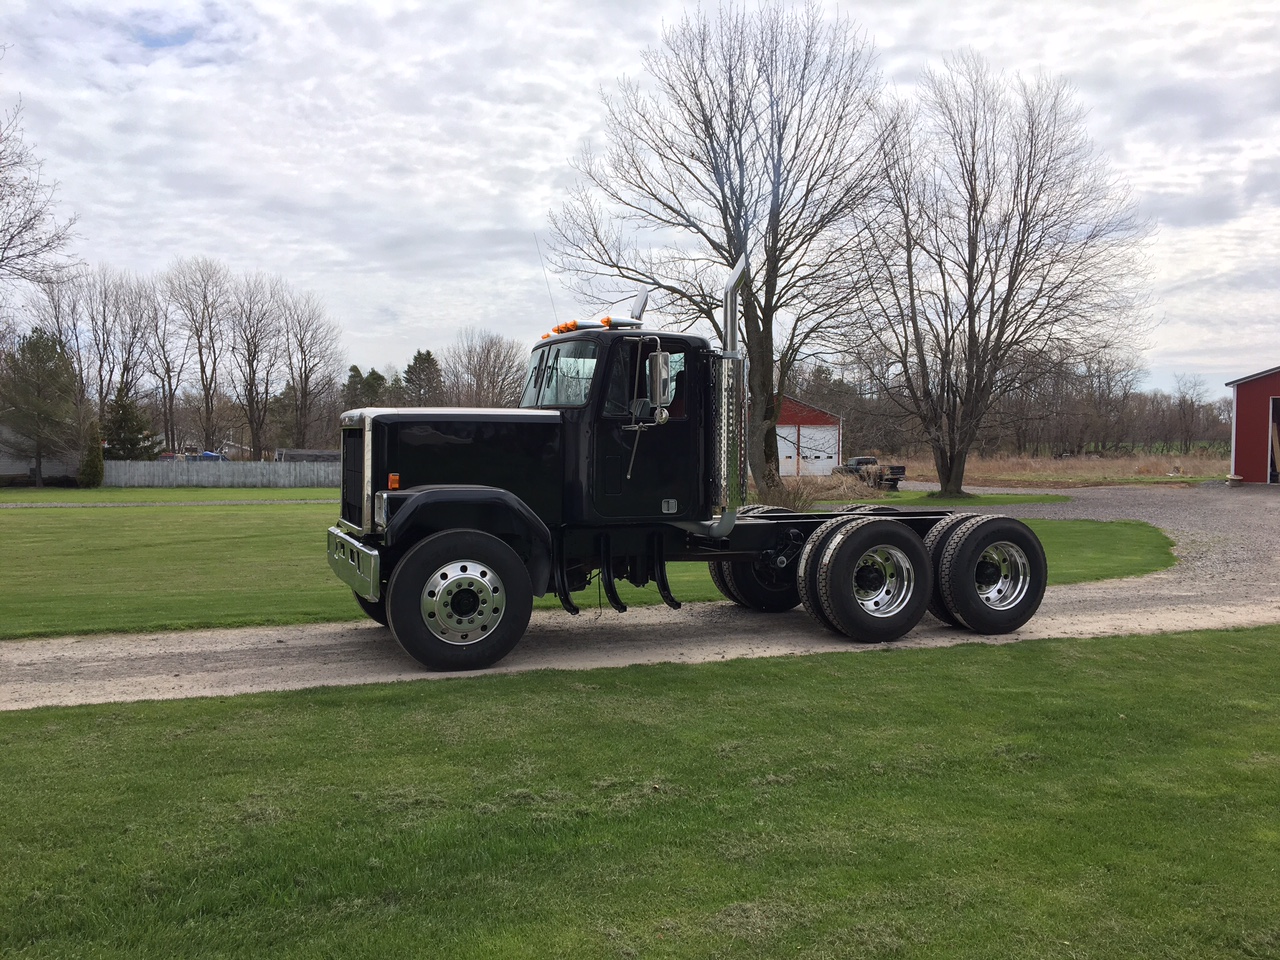
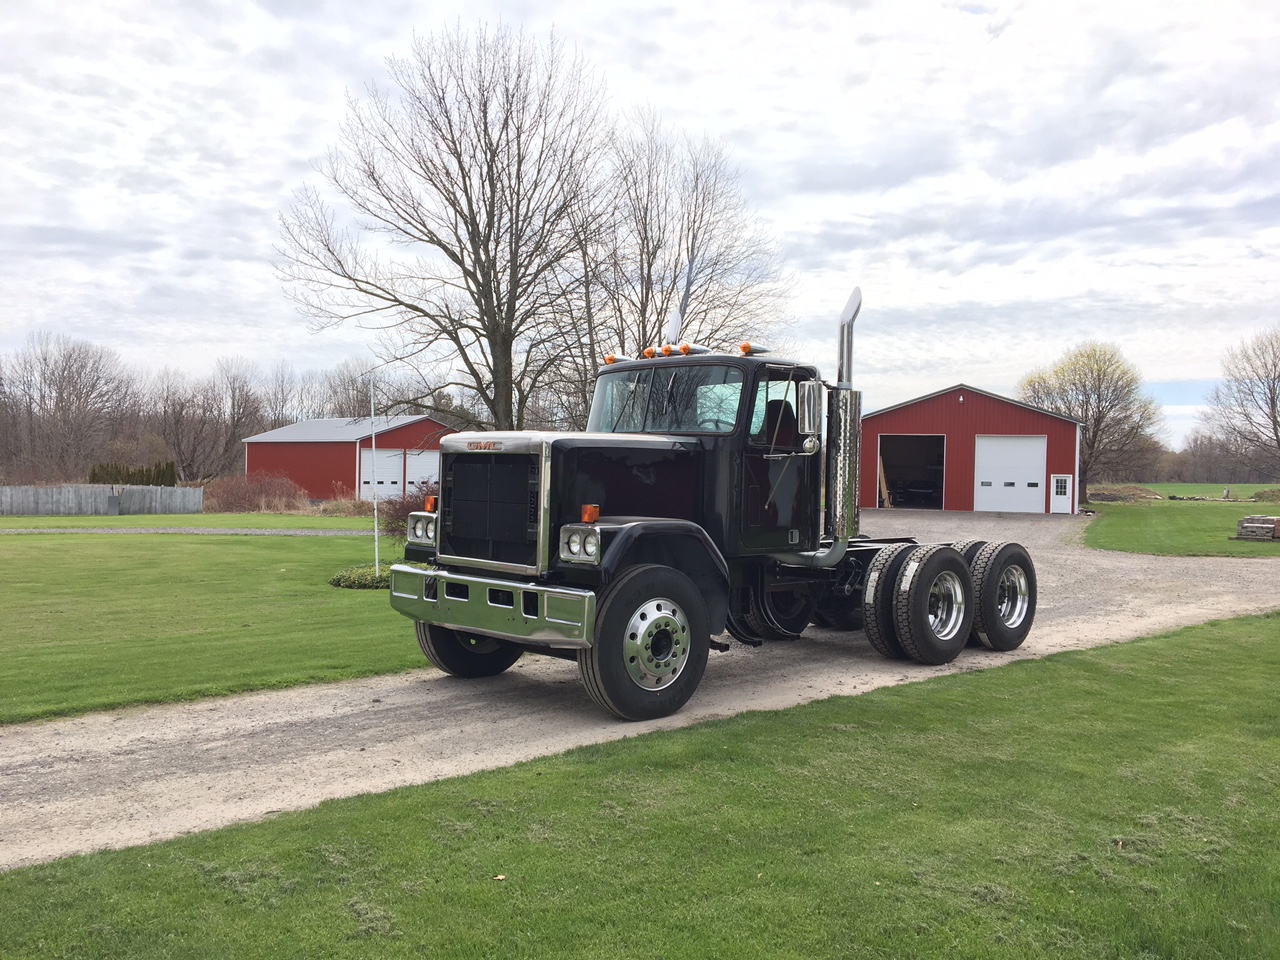
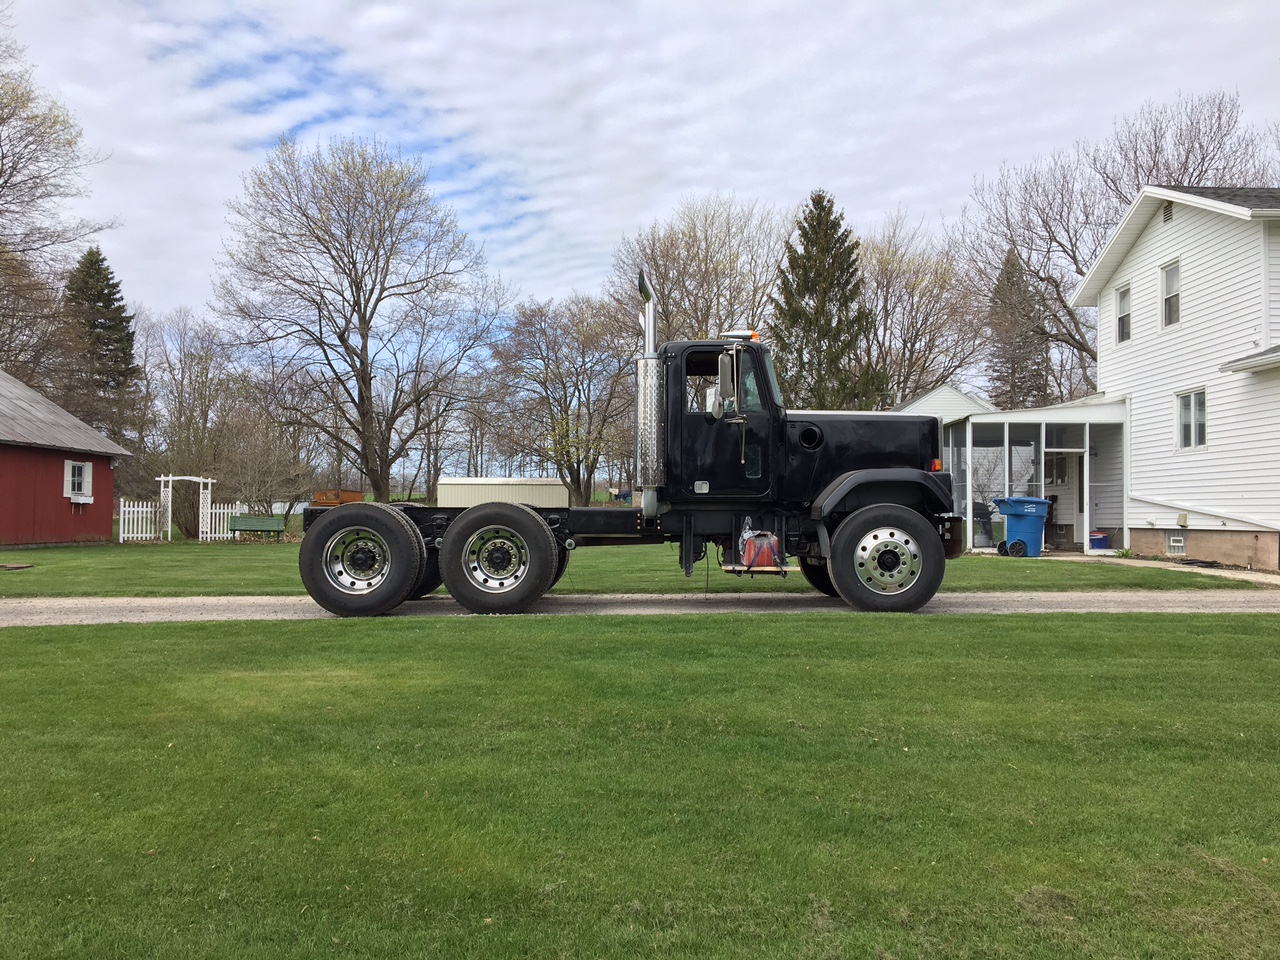
Took yesterday off and everything actually went according to plan for once. I got the last few pieces bolted on (like the grill) for good and gave everything a good once over and greasing and took her for a little ride. Stopped at the local quarry to get a weight. 1/4 tank of fuel in one saddle and bone dry drivers tank, two guys in the cab, but no fifth wheel plate. 15020 lbs. I took a bunch of pictures of it b/c i was excited lol


-
http://www.mcmaster.com/#bungs/=129h0xo
-
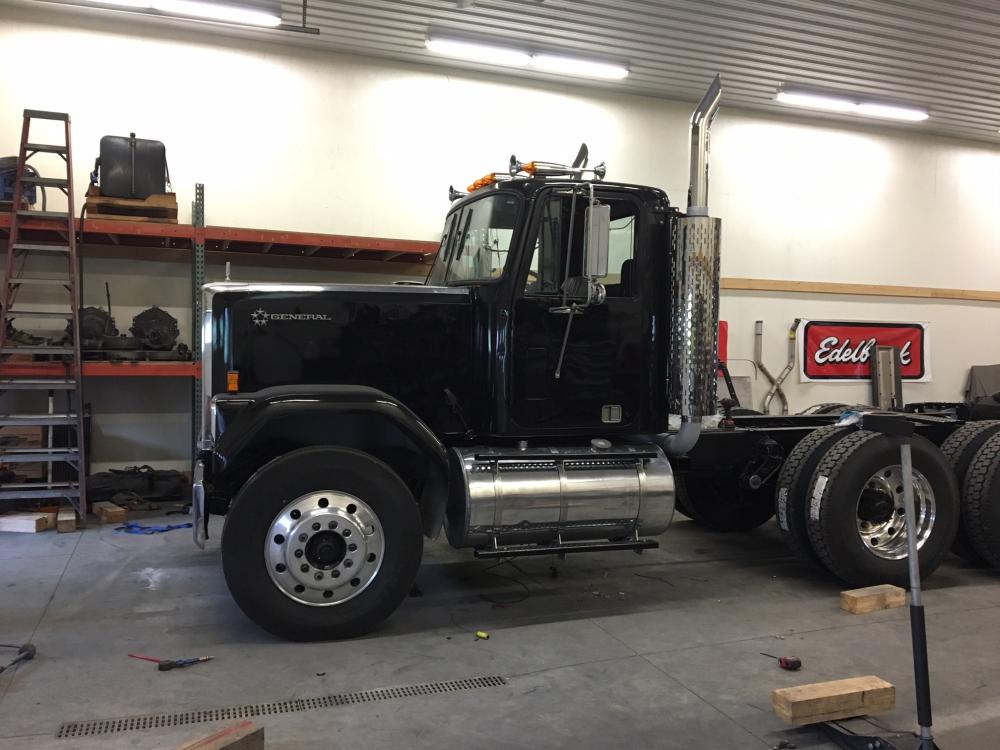
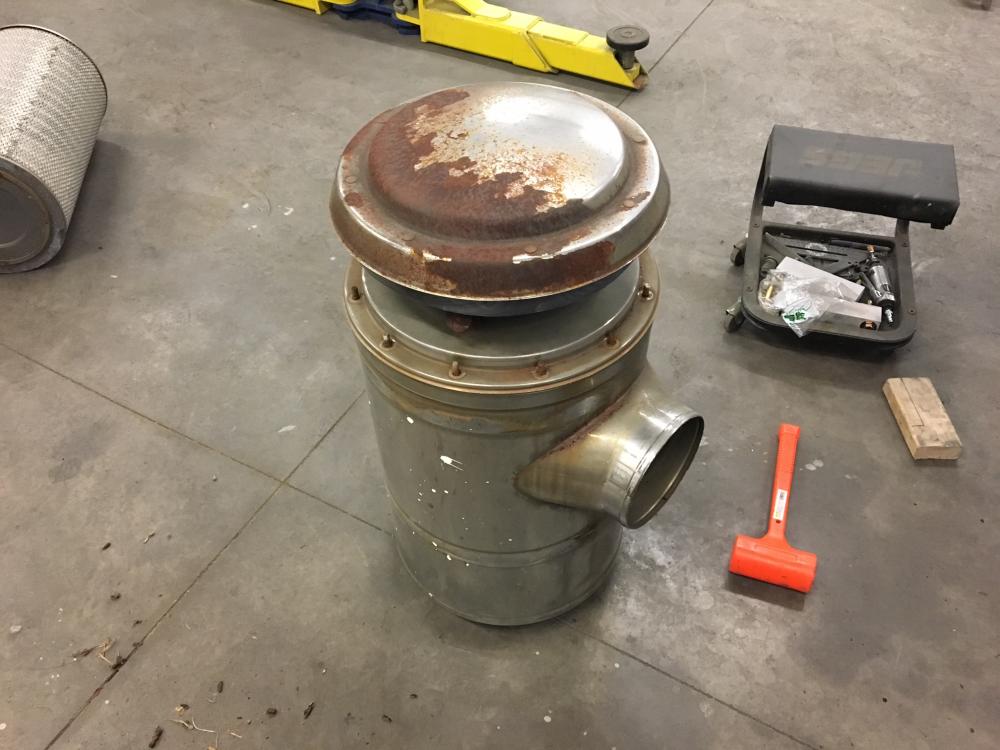
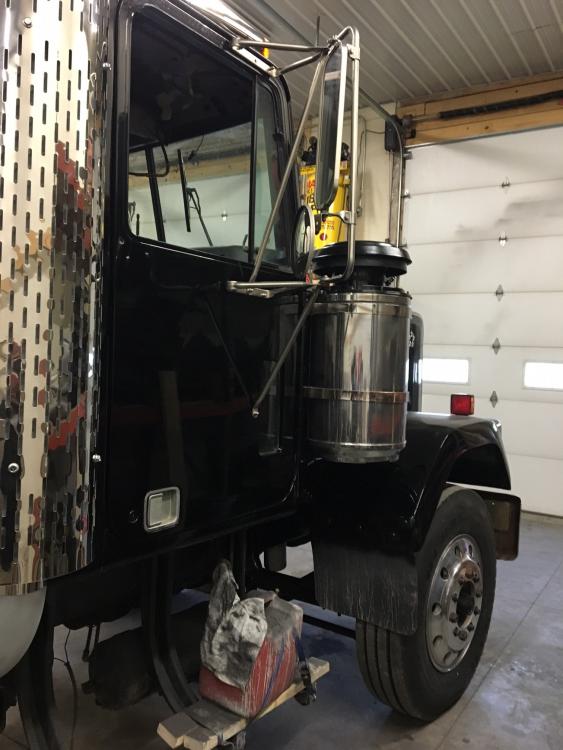
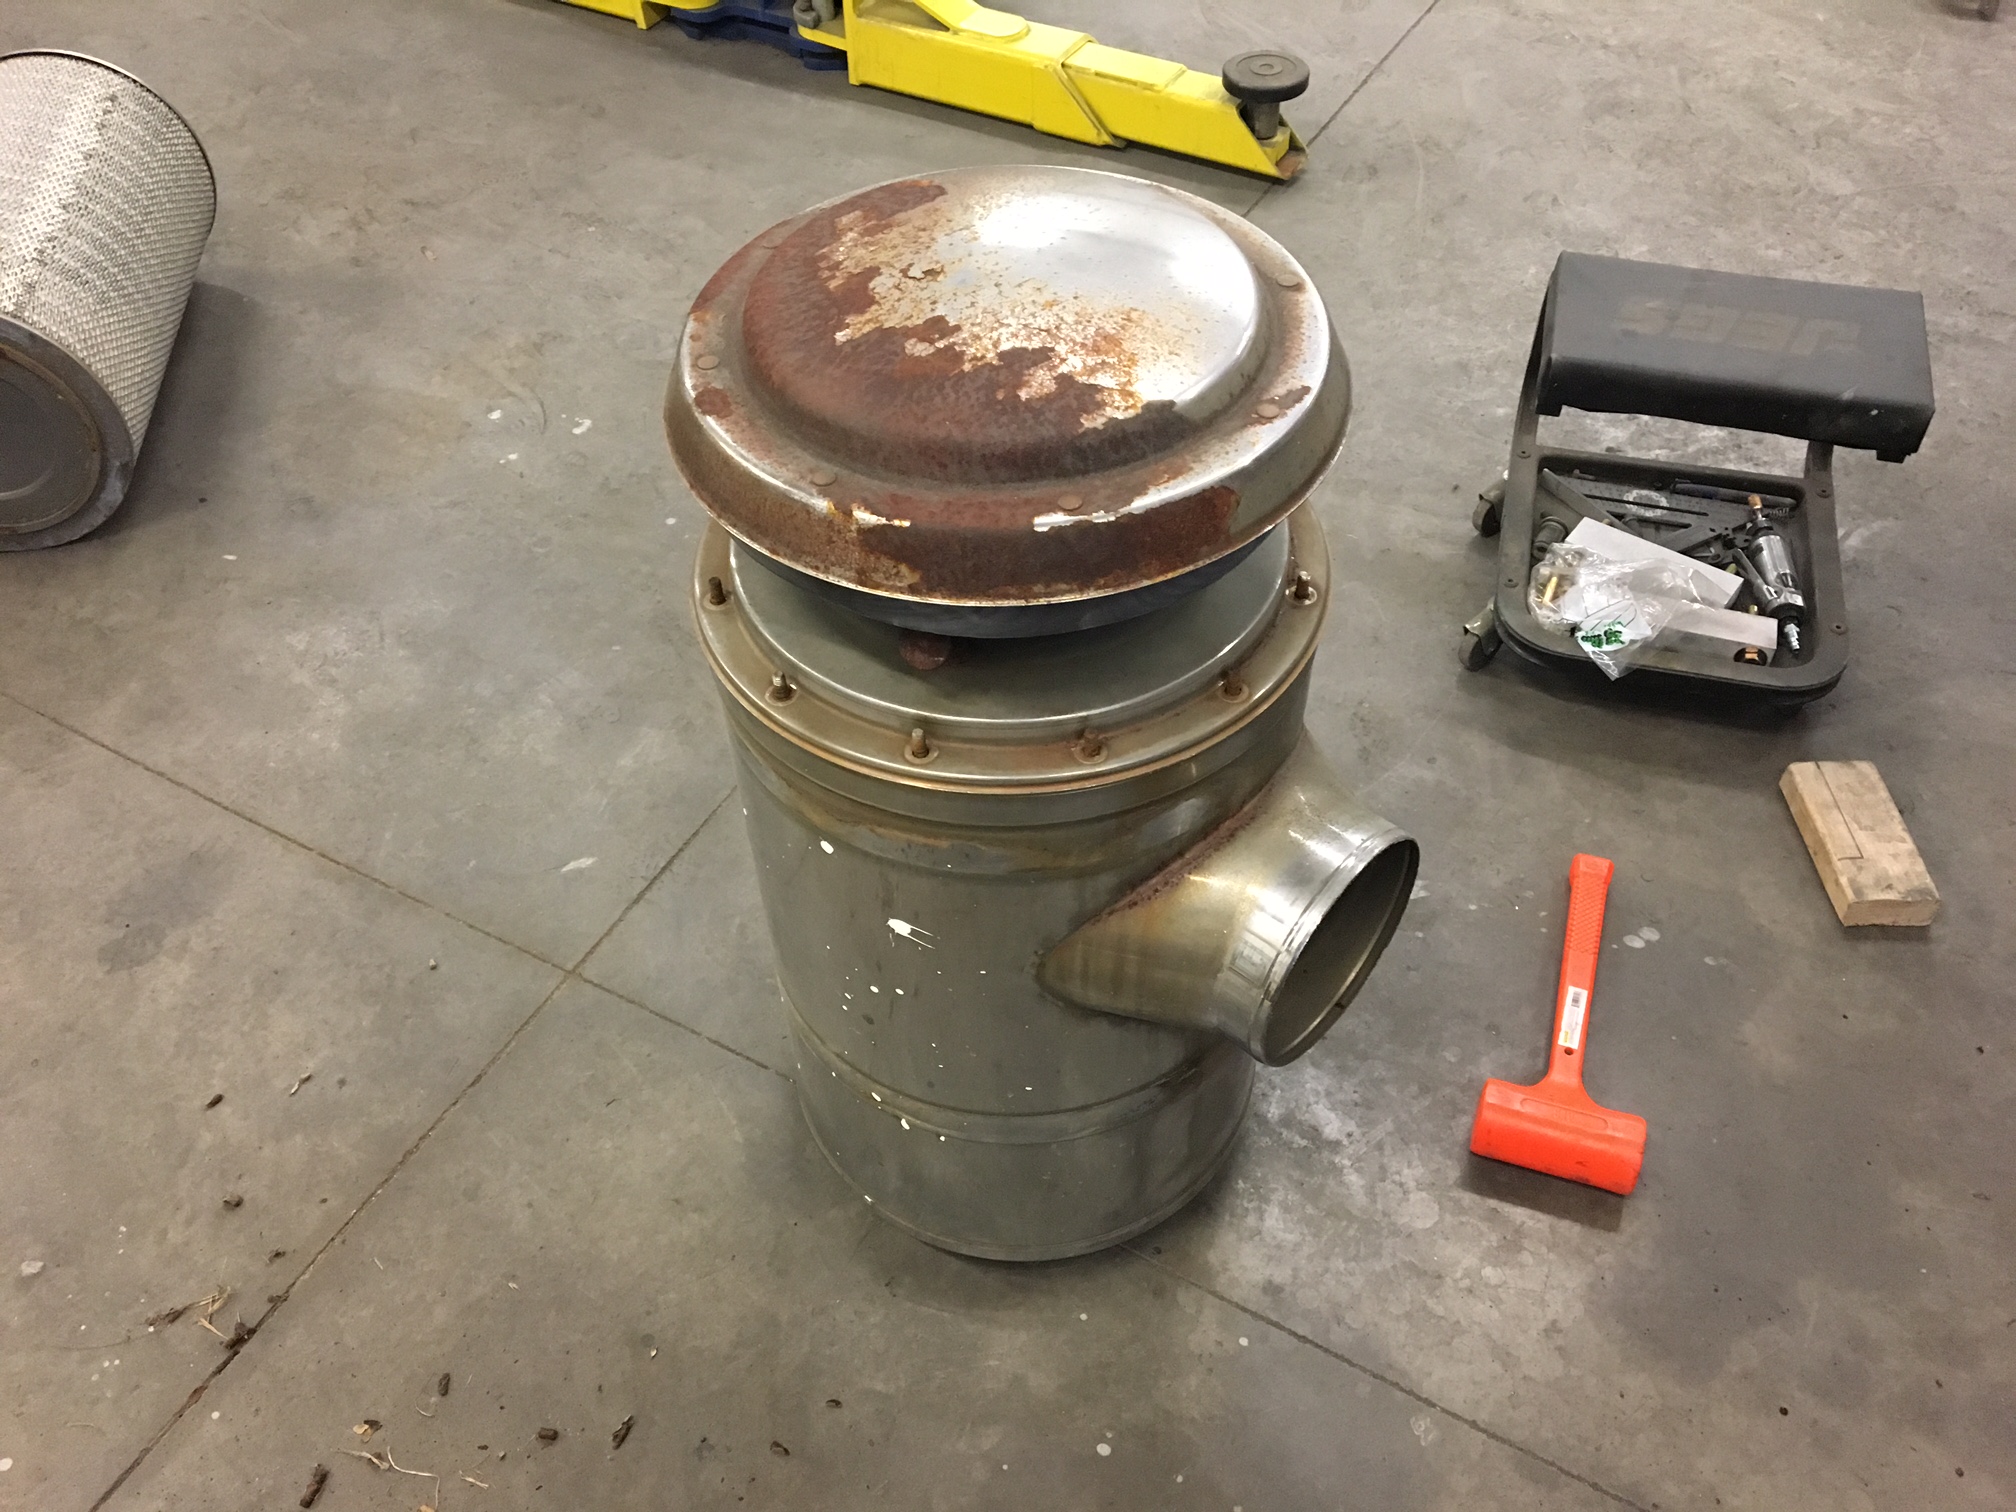
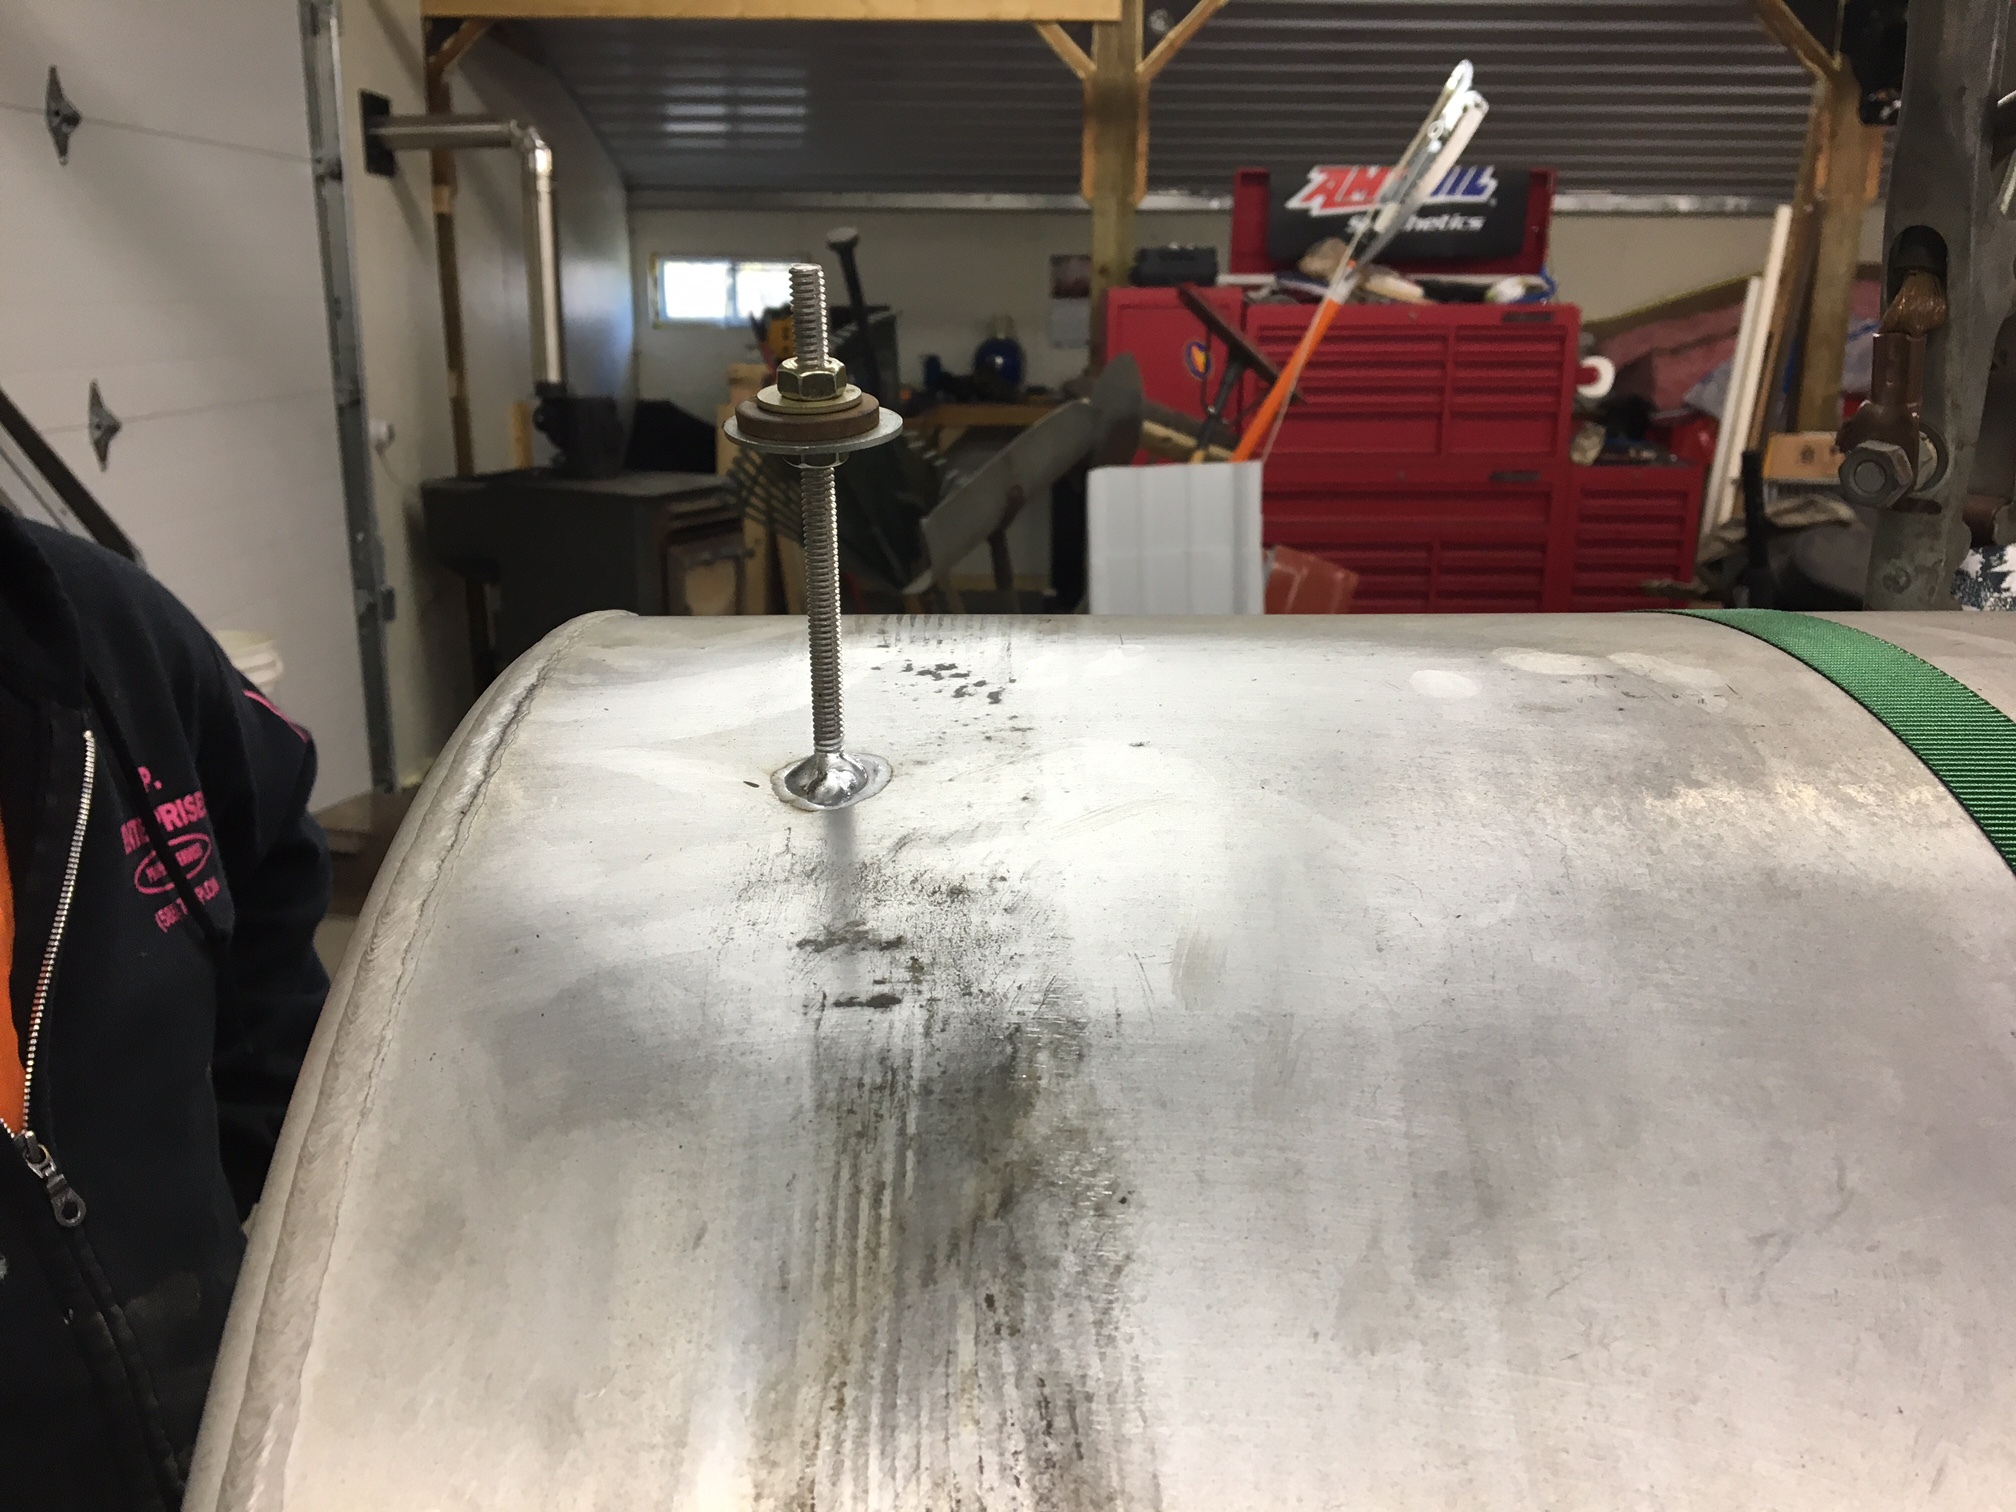
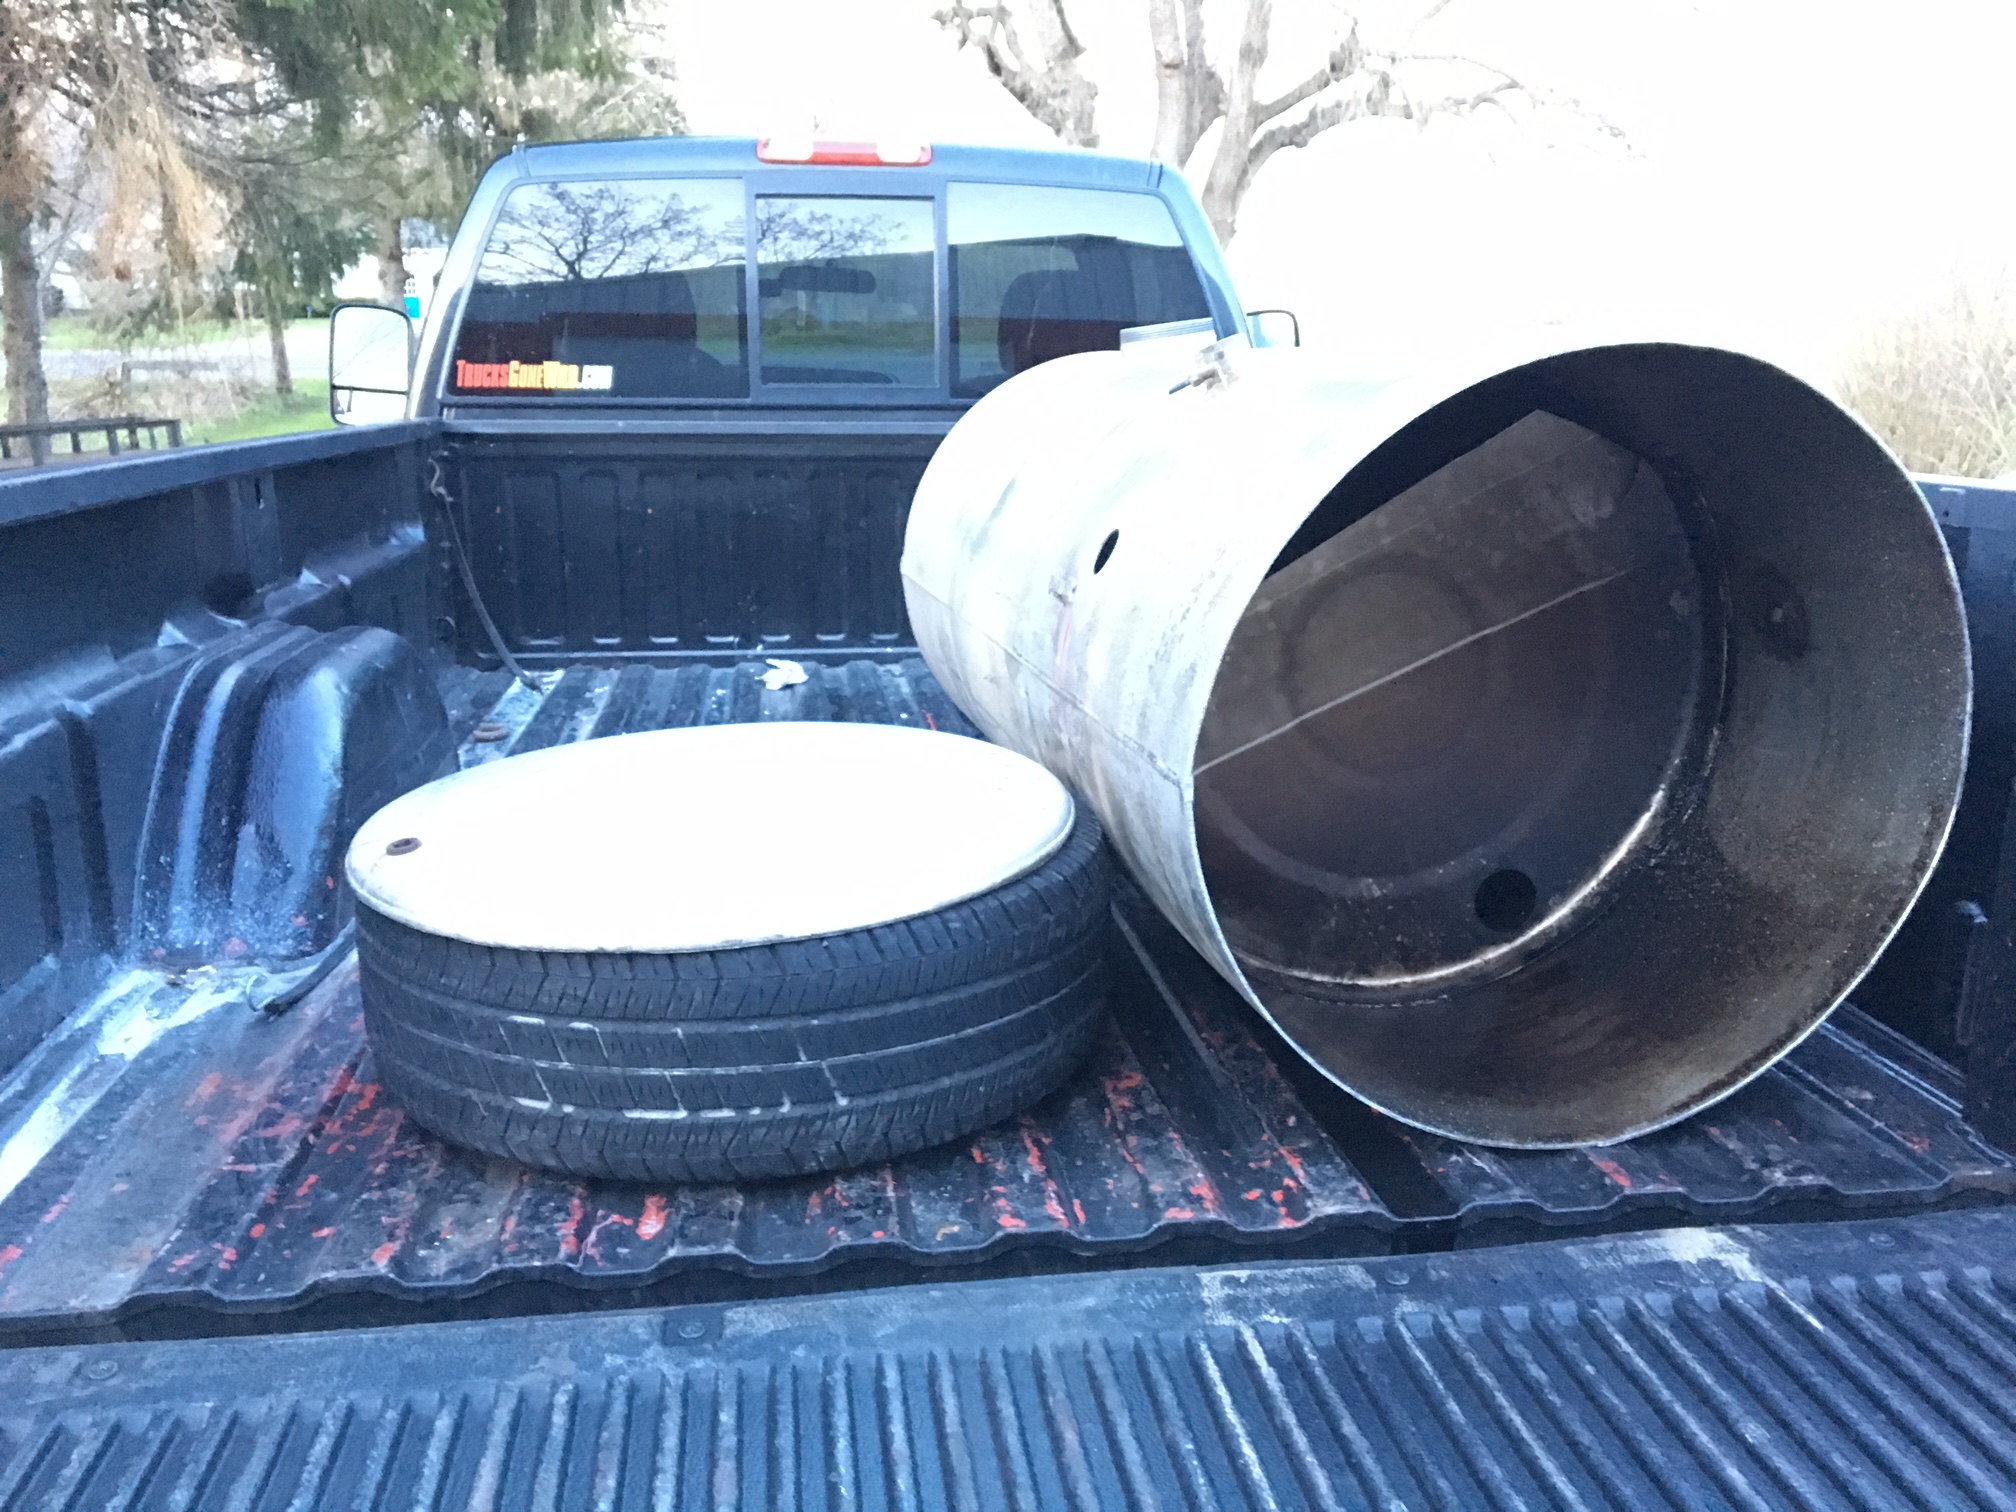
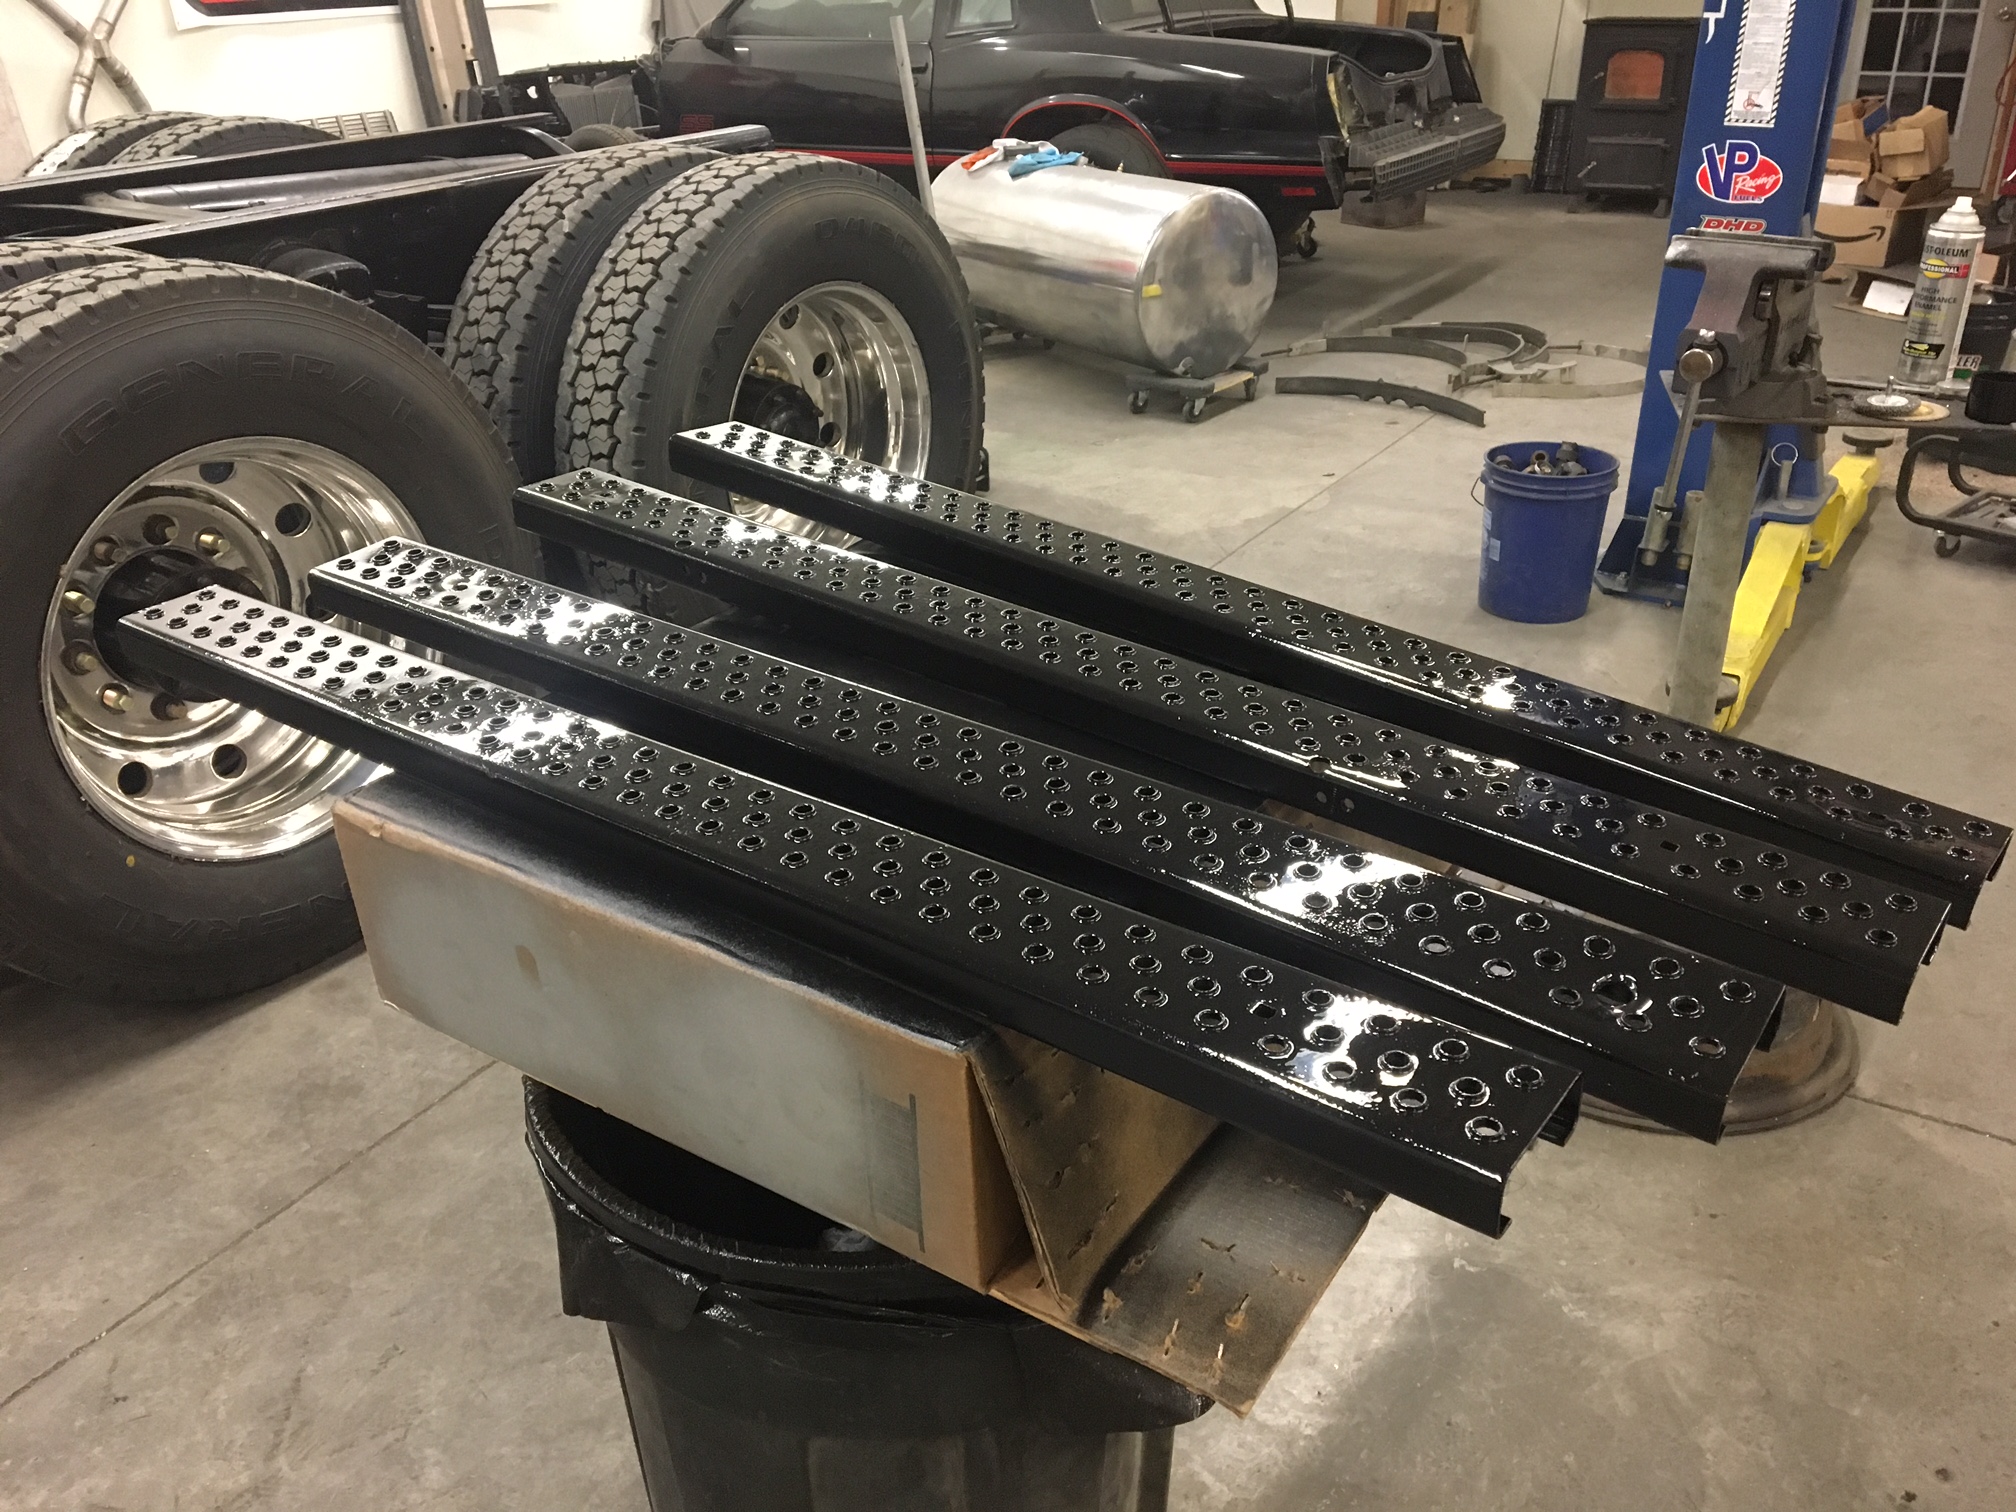
Made good progress end of the week and over the weekend. Got the air cleaner polished up best i could. The lid and intake hat were too rusted to salvage so i had to paint them black which doesnt look too bad. I also had a good ebay score with a NOS hood emblem. It was a little pricey (160$) but the odds of finding another one for a reasonable price are slim. Wednesday night we finally started to pull the big dents out of the drivers side tank. We welded the aluminum threaded rod to dent and hooked up the slide hammer. Made good progress but the rod was only 1/4-20 and kept necking and pulling apart. I should have gotten larger rod but i was afraid of the size of the weld at the tank hindering the metal moving. So we decided to cut the end off the tank and hammer the dents out. It was a little difficult wrestling it back into shape to put the cap back on, but it came out good. There was one little dent toward the bottom I couldnt pound out because it was on the far side of a baffle. Oh well. looks a lot better than it did. Saturday night i got that tank sanded and polished and sunday I got both tanks on the truck with new rubber isolators and painted steps. It was really exciting to get in the cab using the steps instead of climbing in and jumping down. I also got my insurance cards and went to the DMV and got Historical plates for it. Im thinking of taking tomorrow off work to do some more tinkering and put some miles on her before i do more tinkering especially since the rest of the week looks like rain anyway, EDIT: forgot the pictures


-
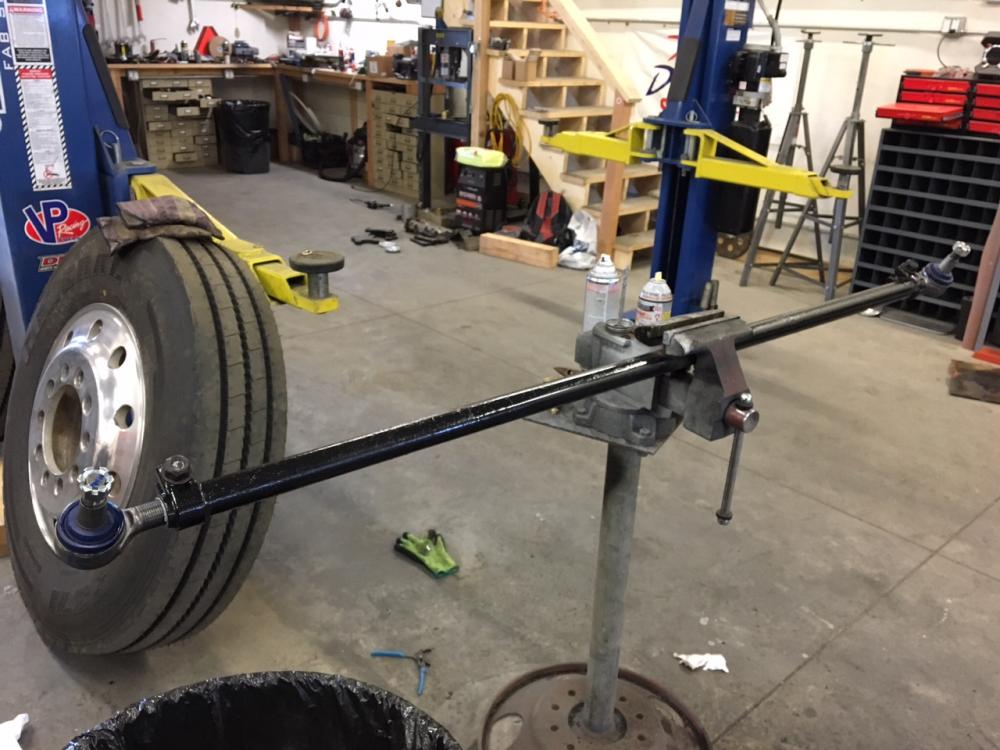
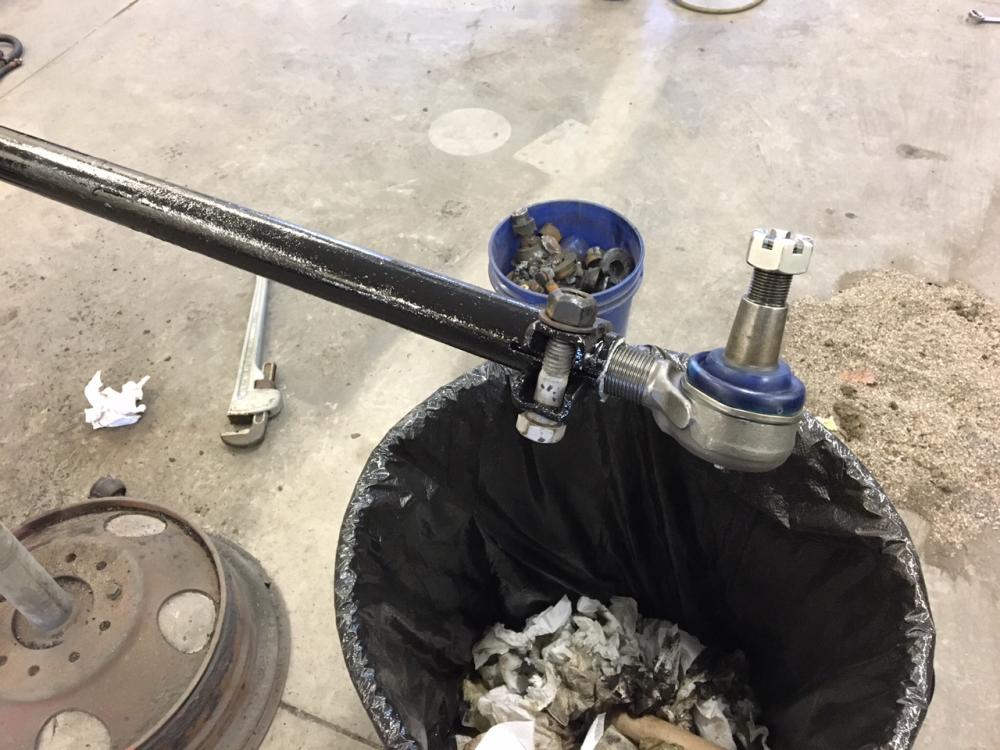
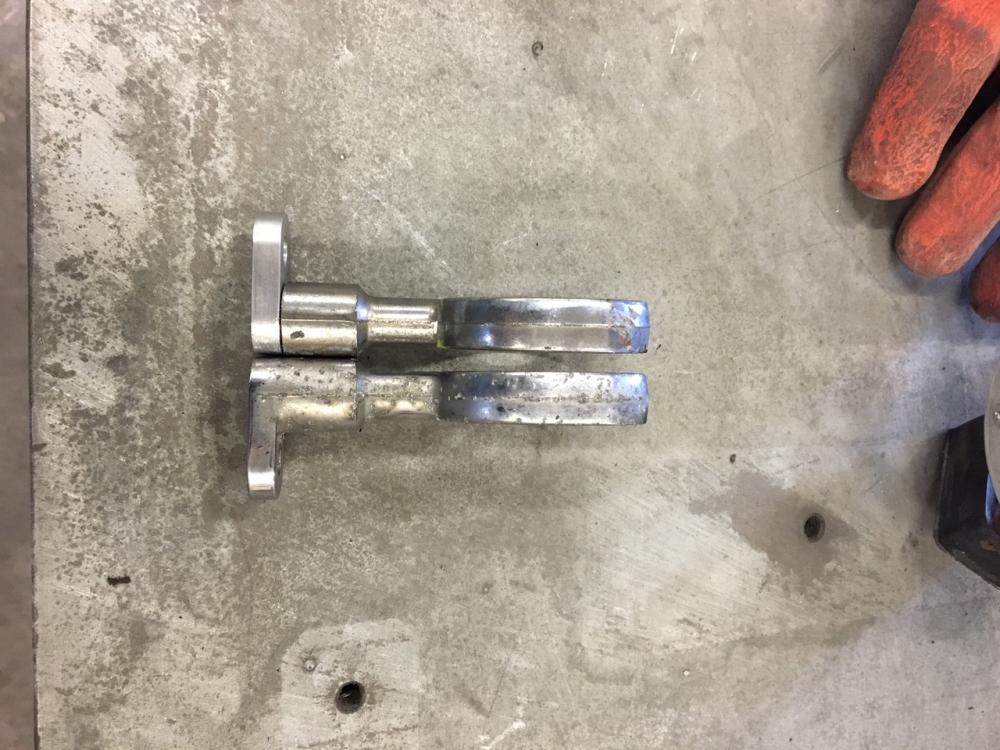
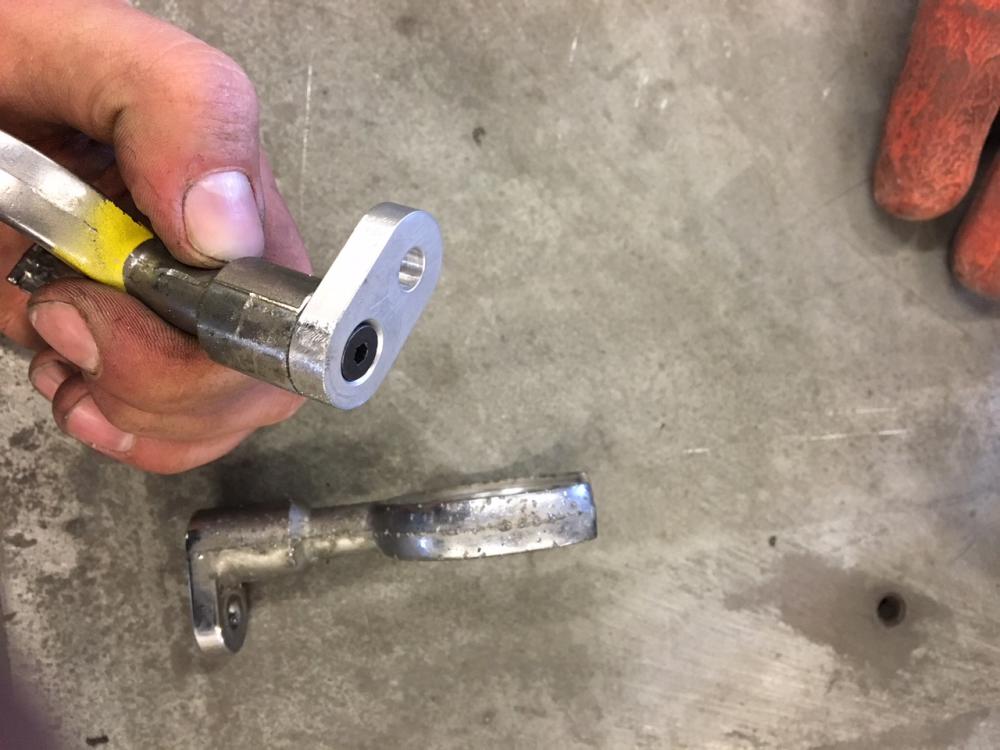
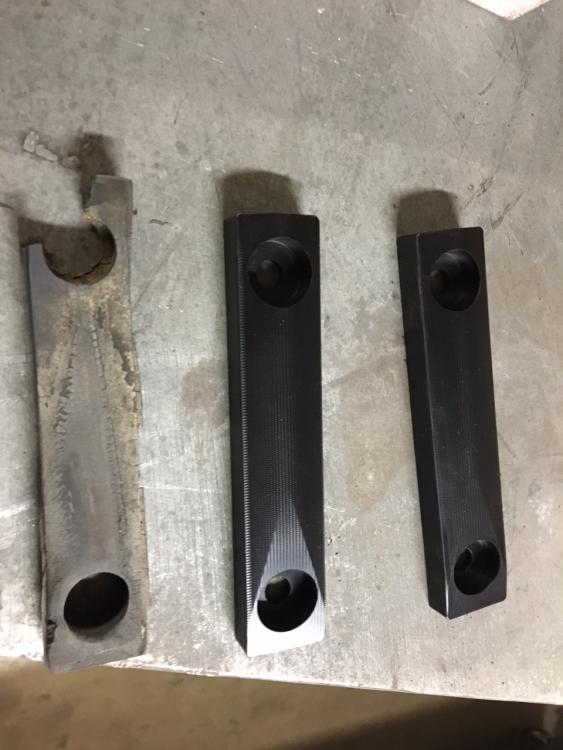
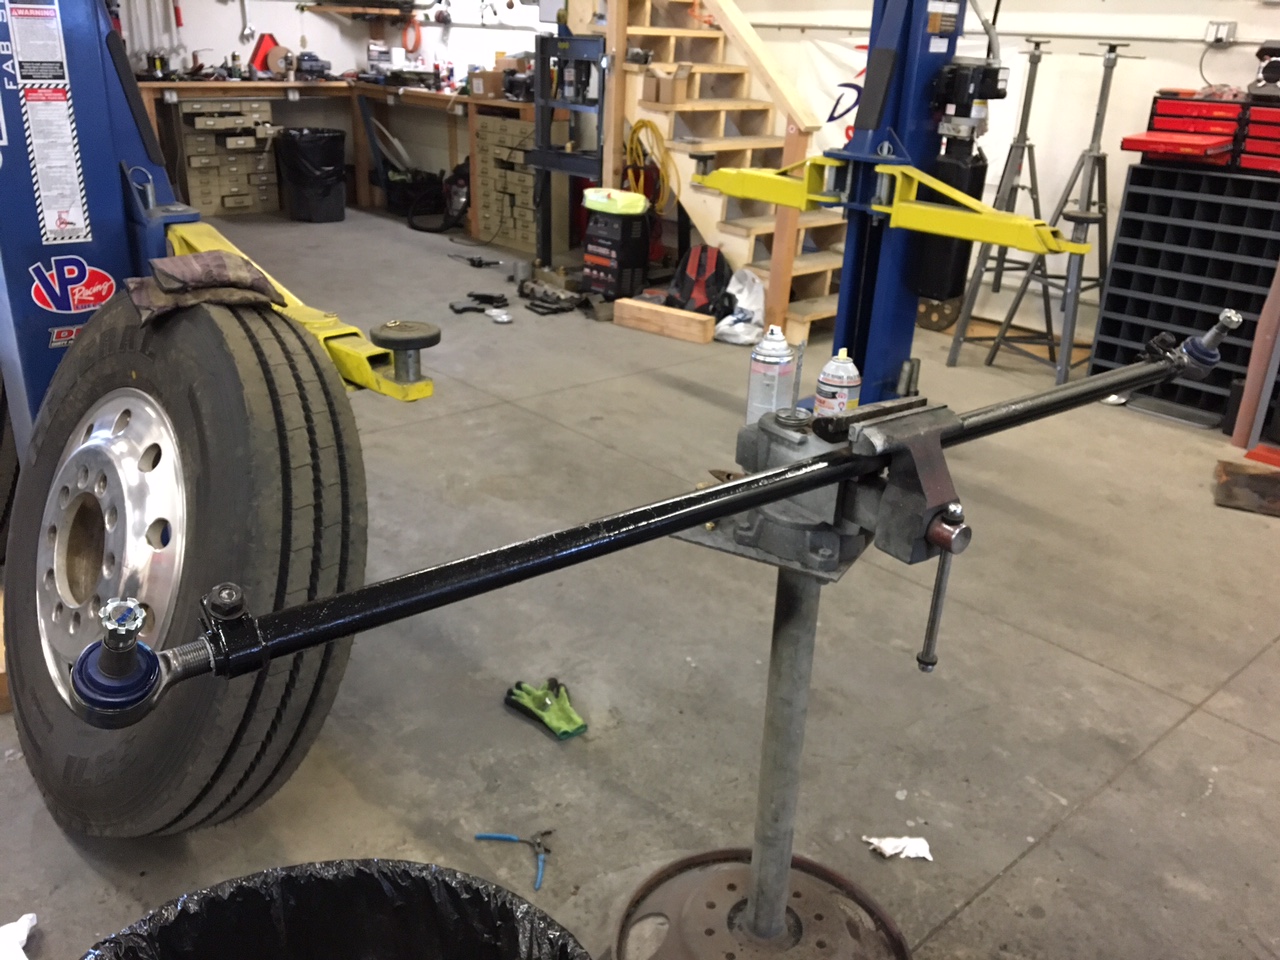
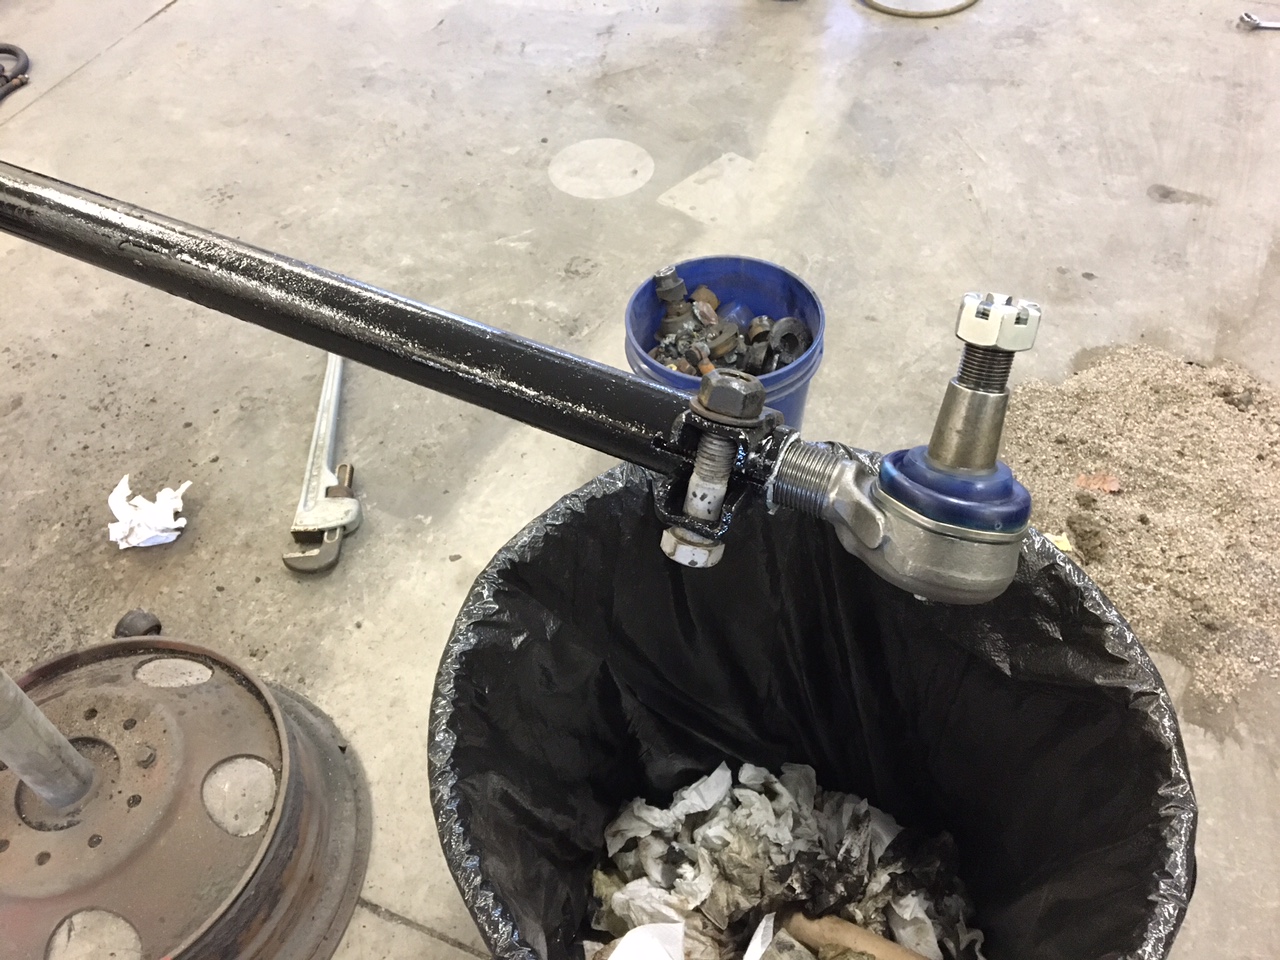
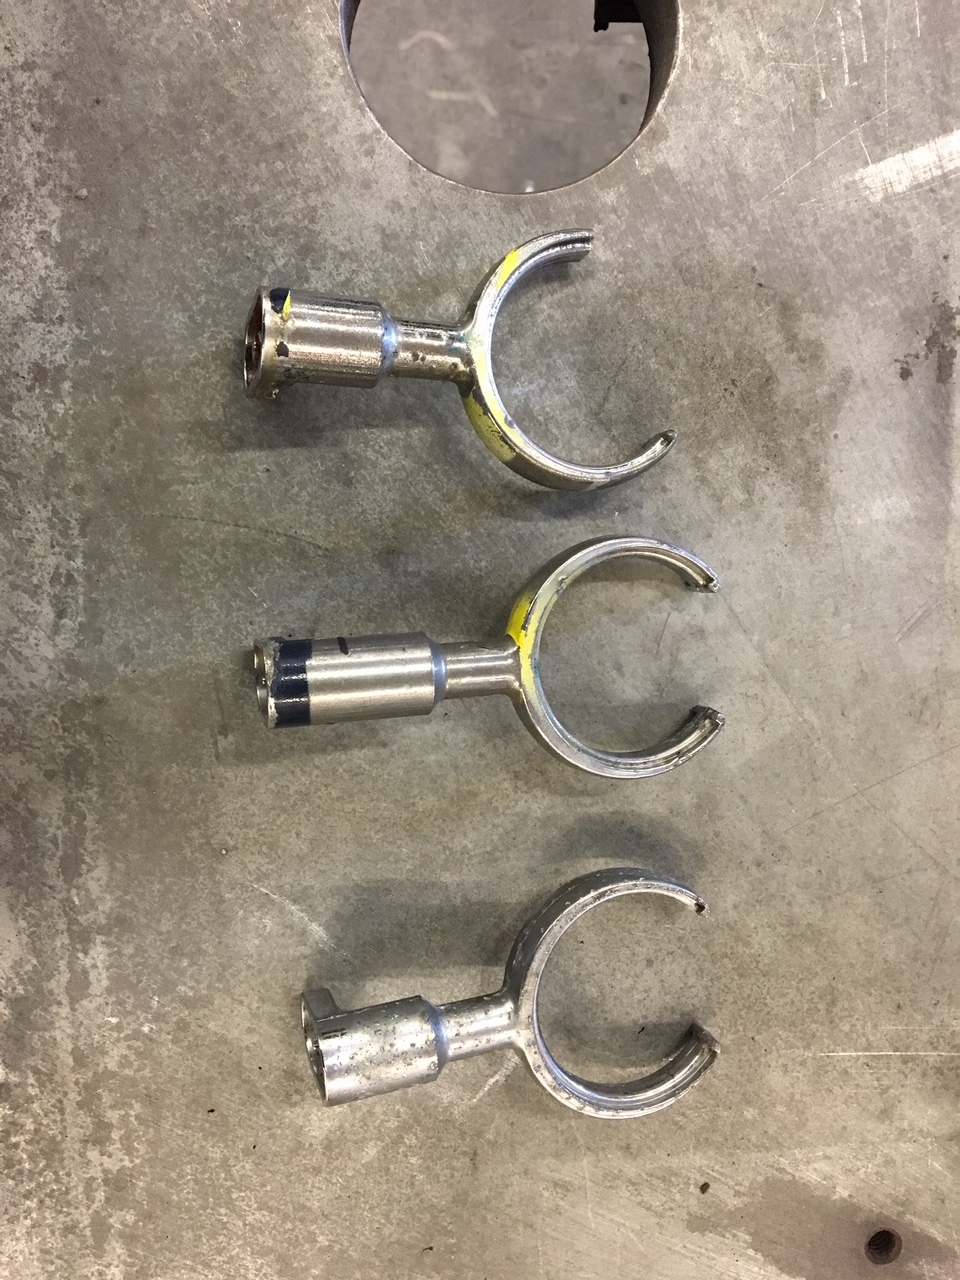
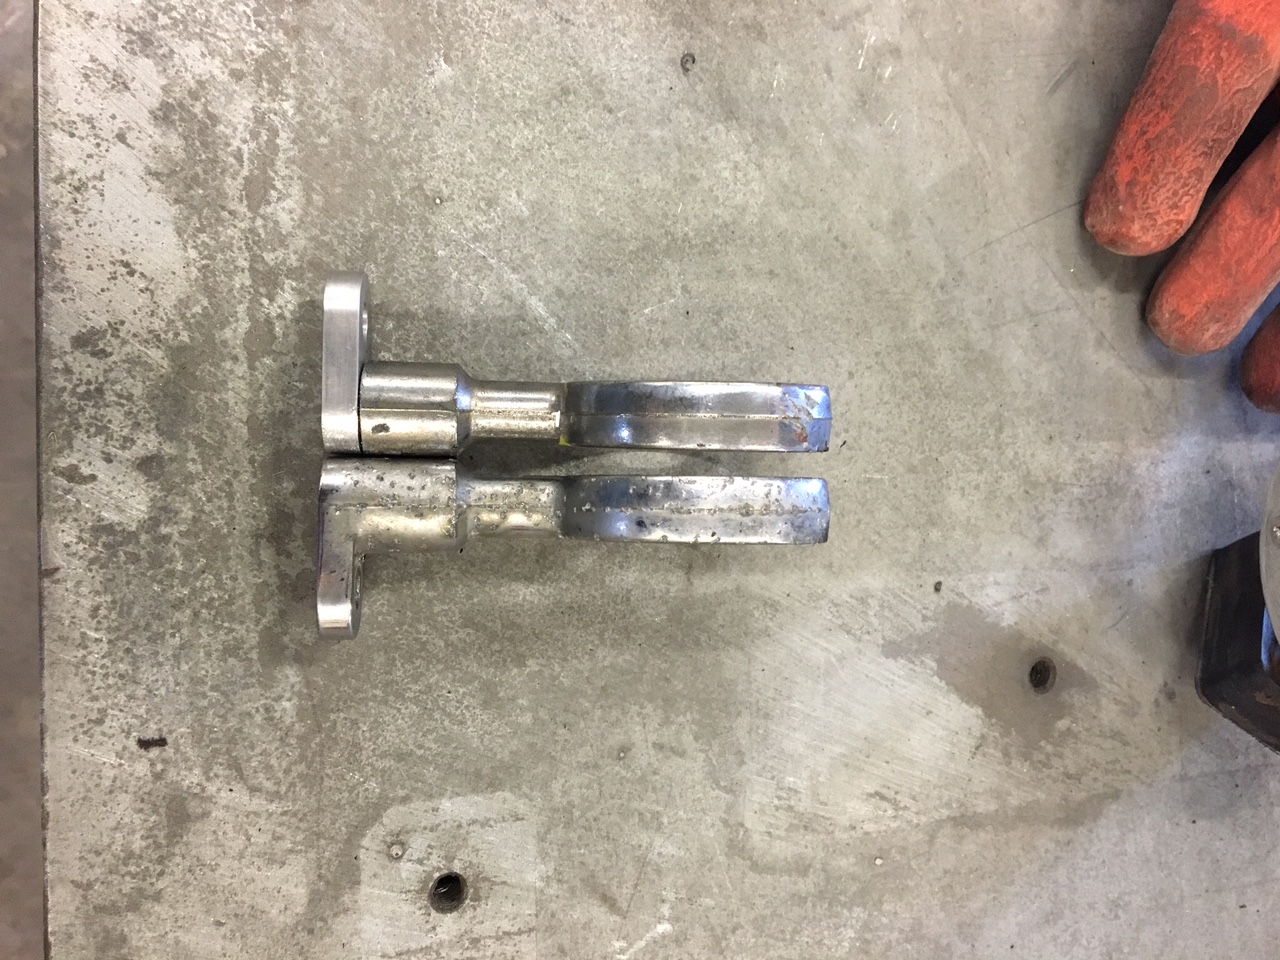
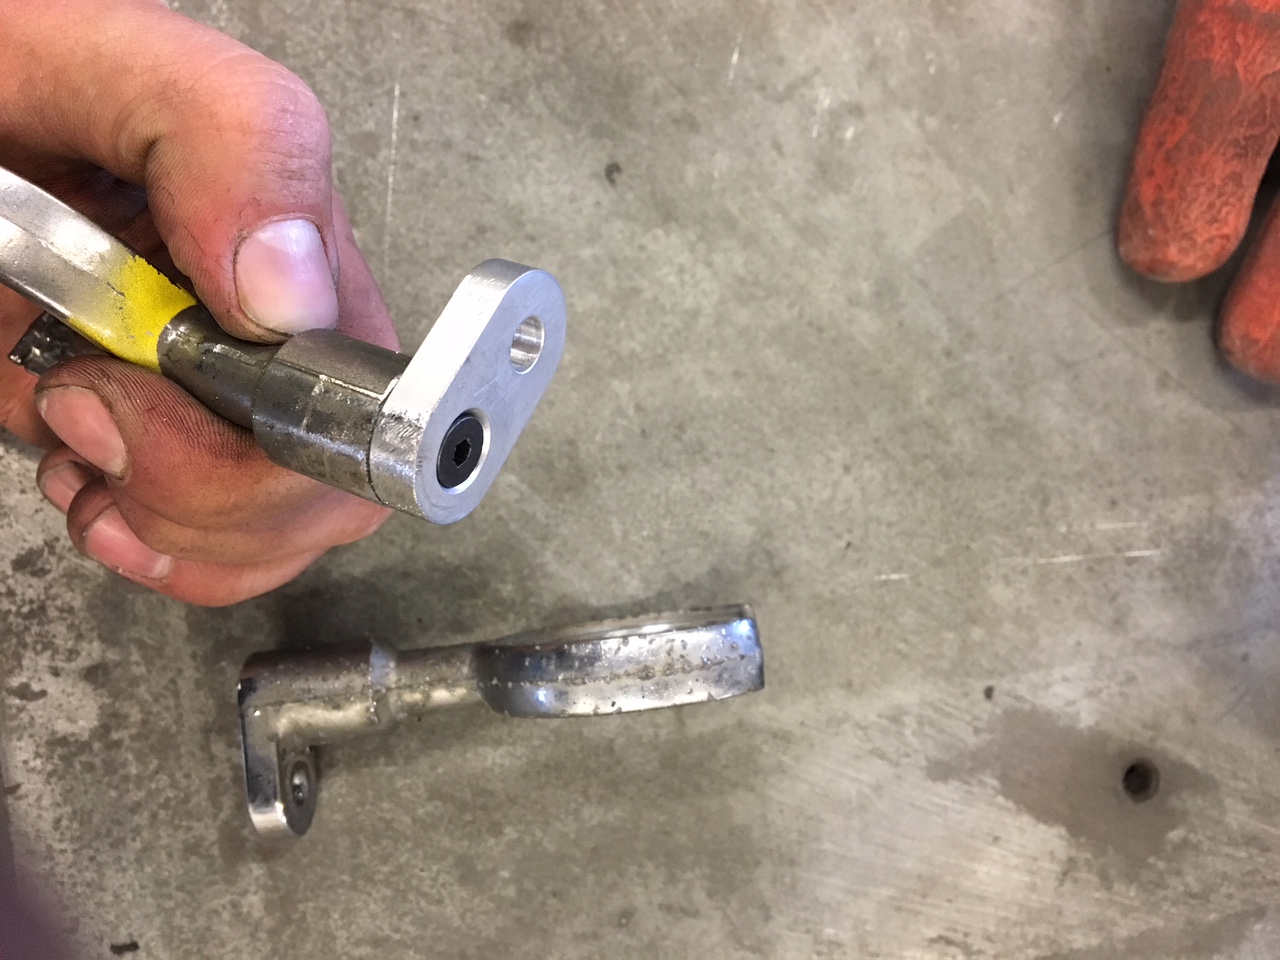
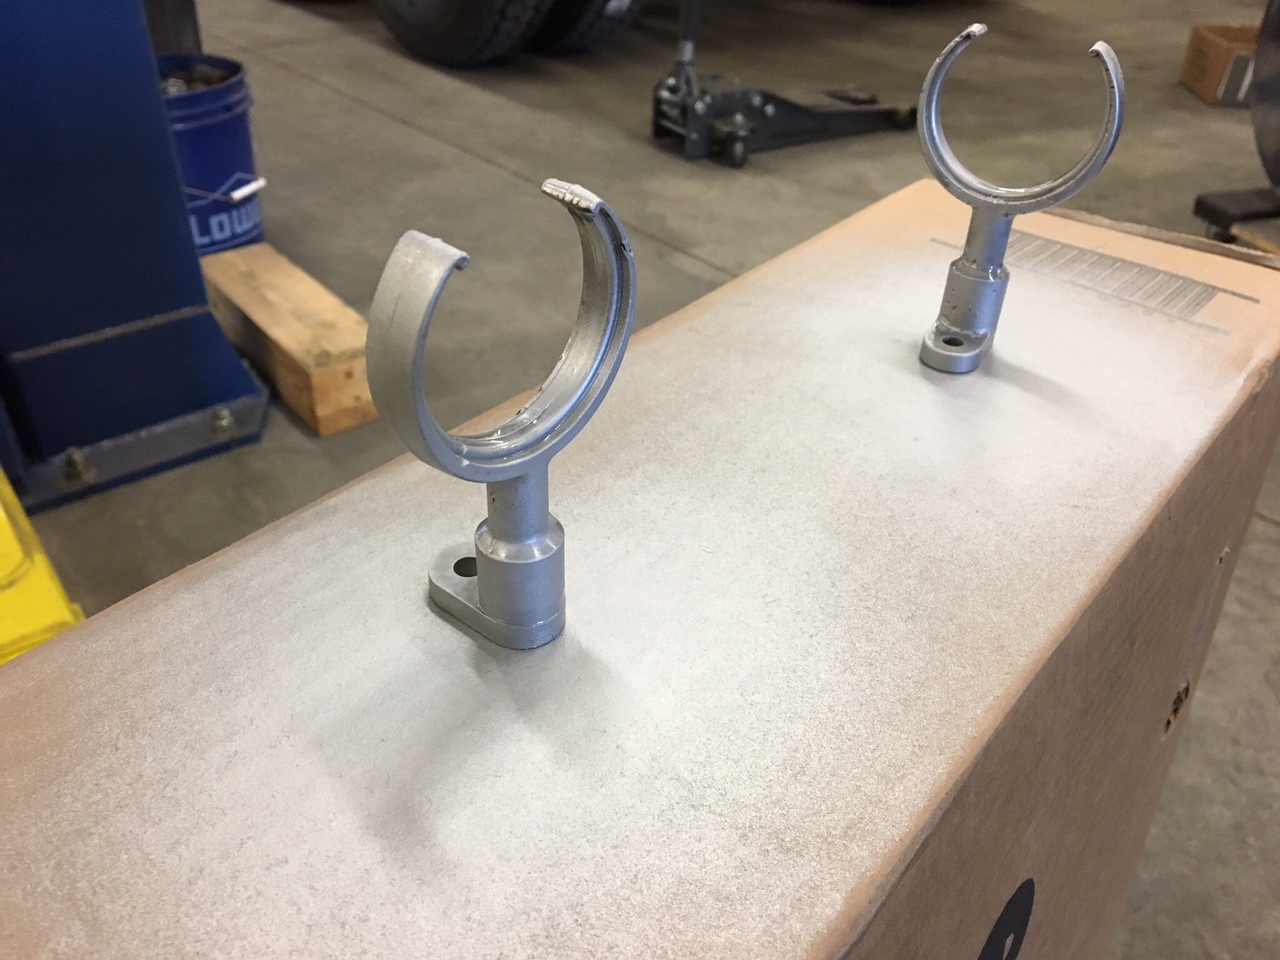
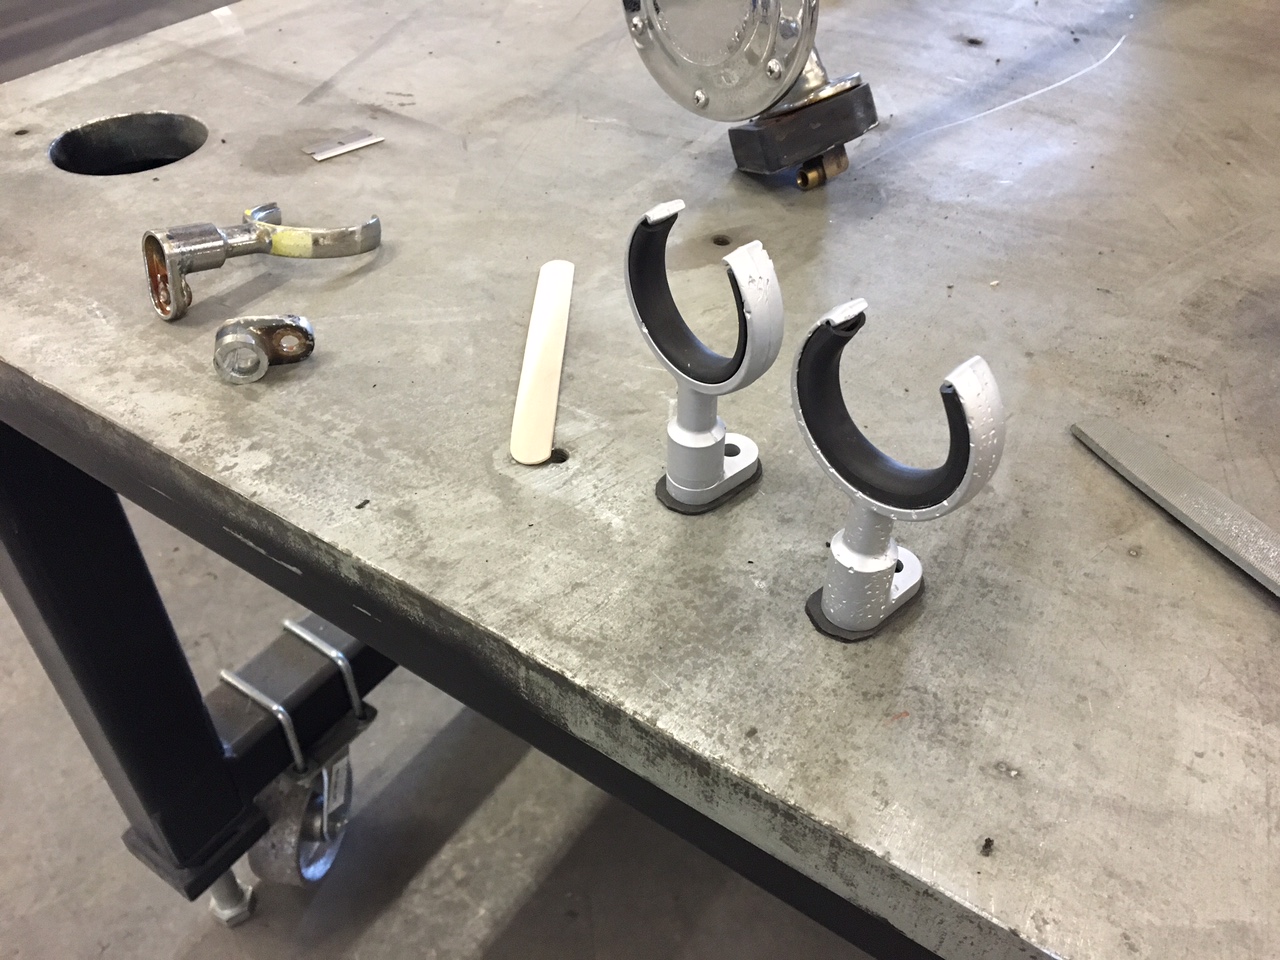
This weekend I got all 10 wheels on for the first time and now everything fits correctly which is a good feeling. The truck needed a passenger tie rod end so I decided to take the tie rod off and clean and replace both ends just so everything was nice and freed up and could be adjusted easily. I also spent some time dealing with the horns. The truck had 2 mismatched horn pedestals on it. one short and one tall, and the short one had a broken hoop. A friend of a friend had another short one so now i was stuck with a good short one and the tall one. I decided to make them match, so i cut the tall one and drilled and tapped the center for 10-32. I made up a piece of aluminum that would mimic the base and put a countersunk hole for the 10-32 screw. I put it together with some JB weld just to fill in the seam between the two parts and for a little extra holding power to resist vibration. The chrome over the pot metal was really scaley so i blasted them real quick and hit them with some aluminum paint so they matched, then reinstalled the rubbers and made two new rubber mounting gaskets for the bases. You can still see the seam where the parts joined but id rather have that than two heights. Its the little things like this that seem like they take forever. The first tractor pull of the year is memorial day weekend and I dont think ill be ready to pull the trailer with this by then, especially because I still need to take some time to service the tractors. I hope to have it hooked to the trailer sometime in June, but i do plan on putting some miles on it before then. Might drive her back and forth to work for a week or so.


-
Ha! i always use that as plan B when i cant get to the backside to press one in or when they dont want to start straight.
-
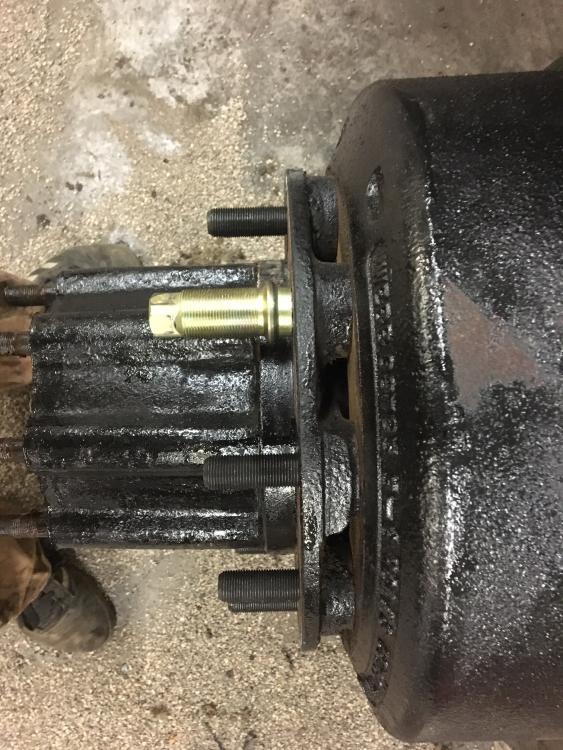
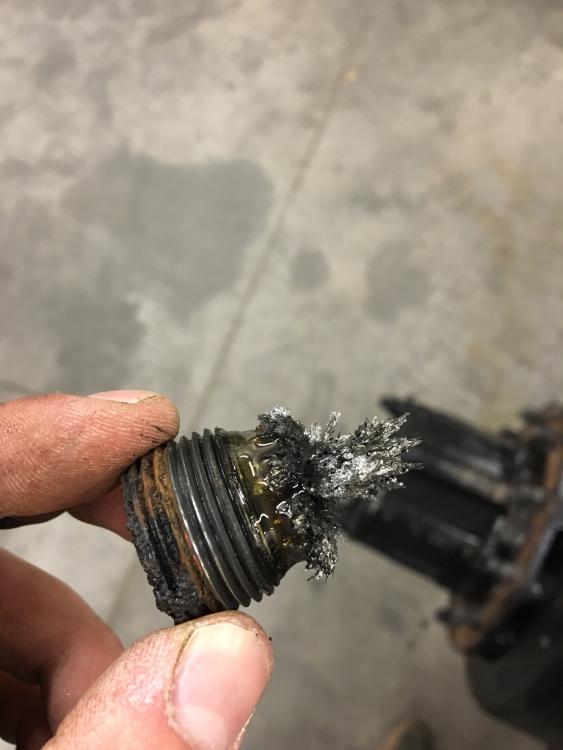
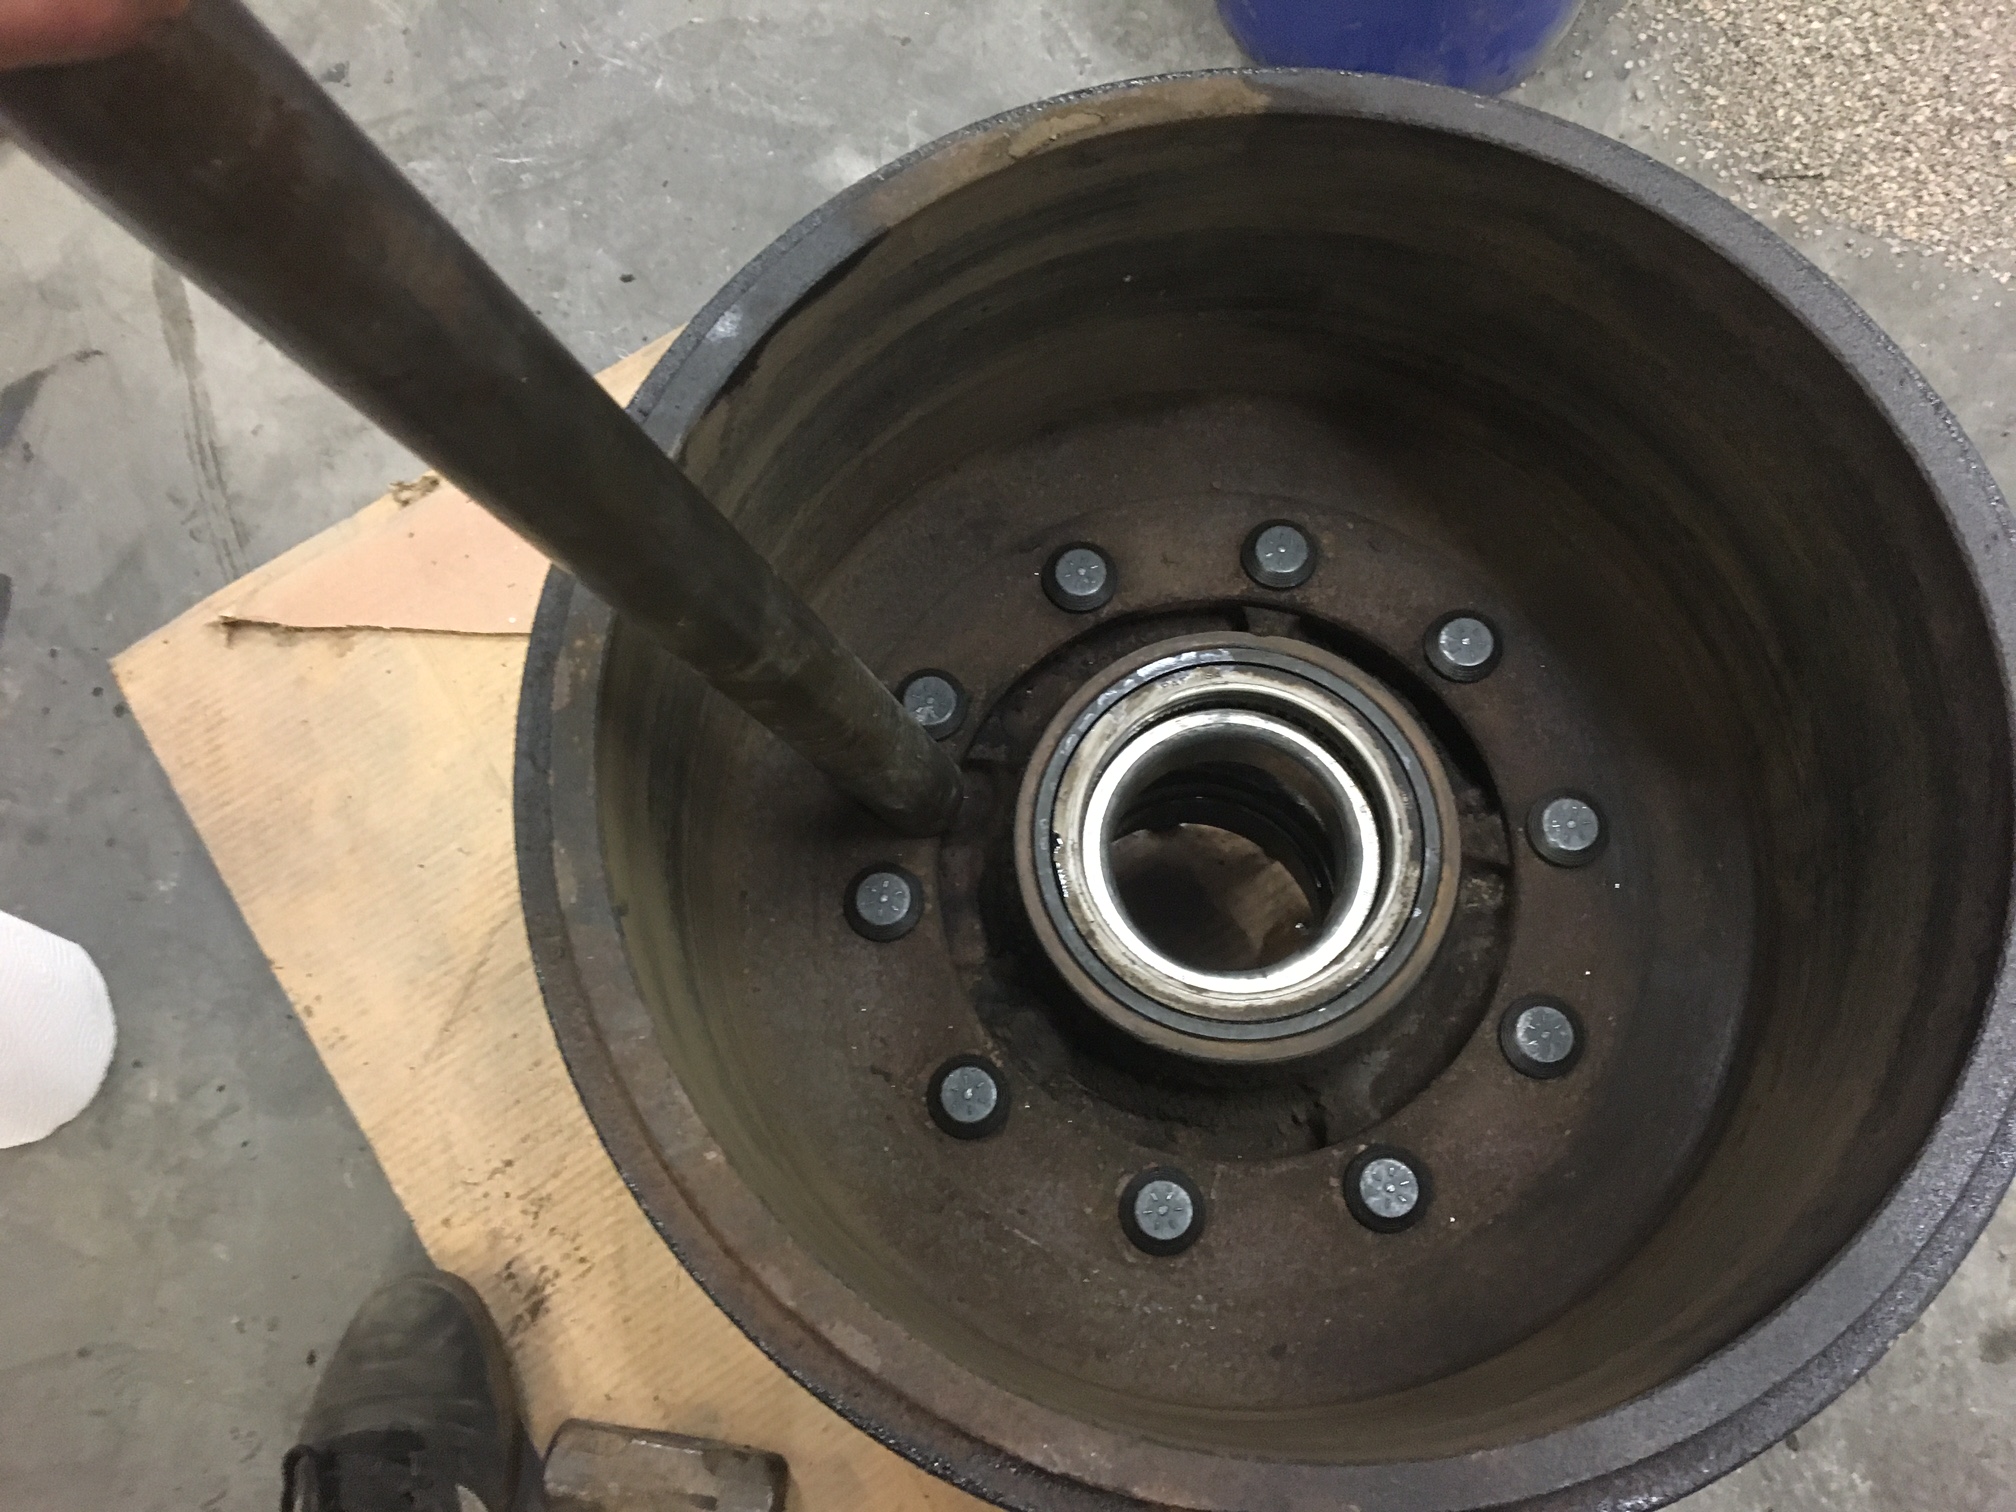
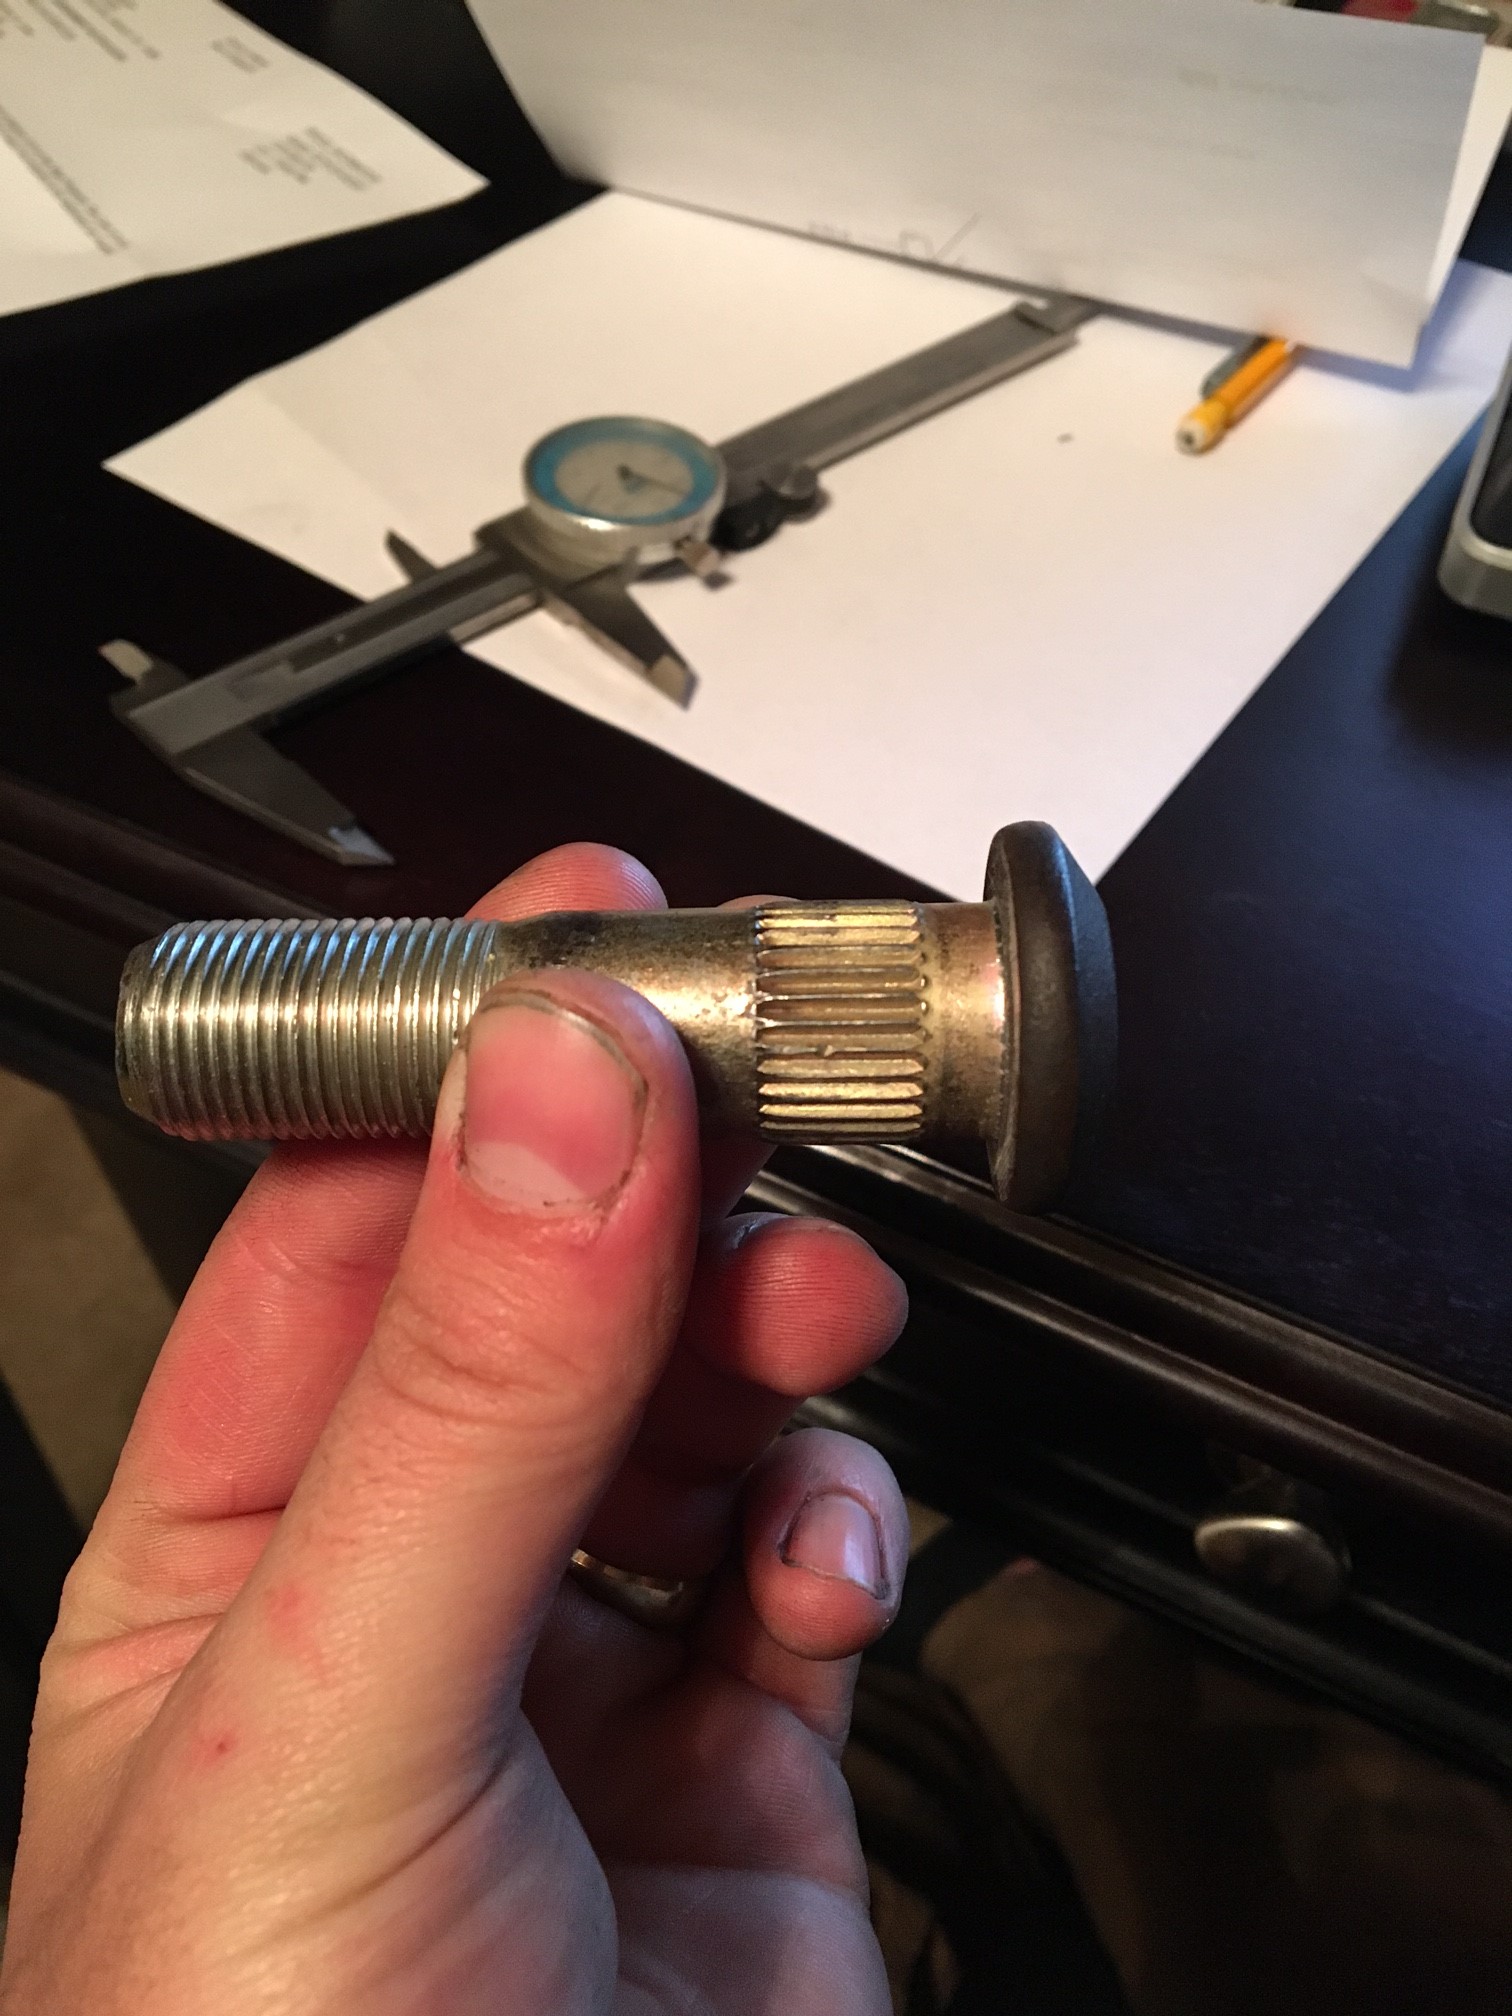
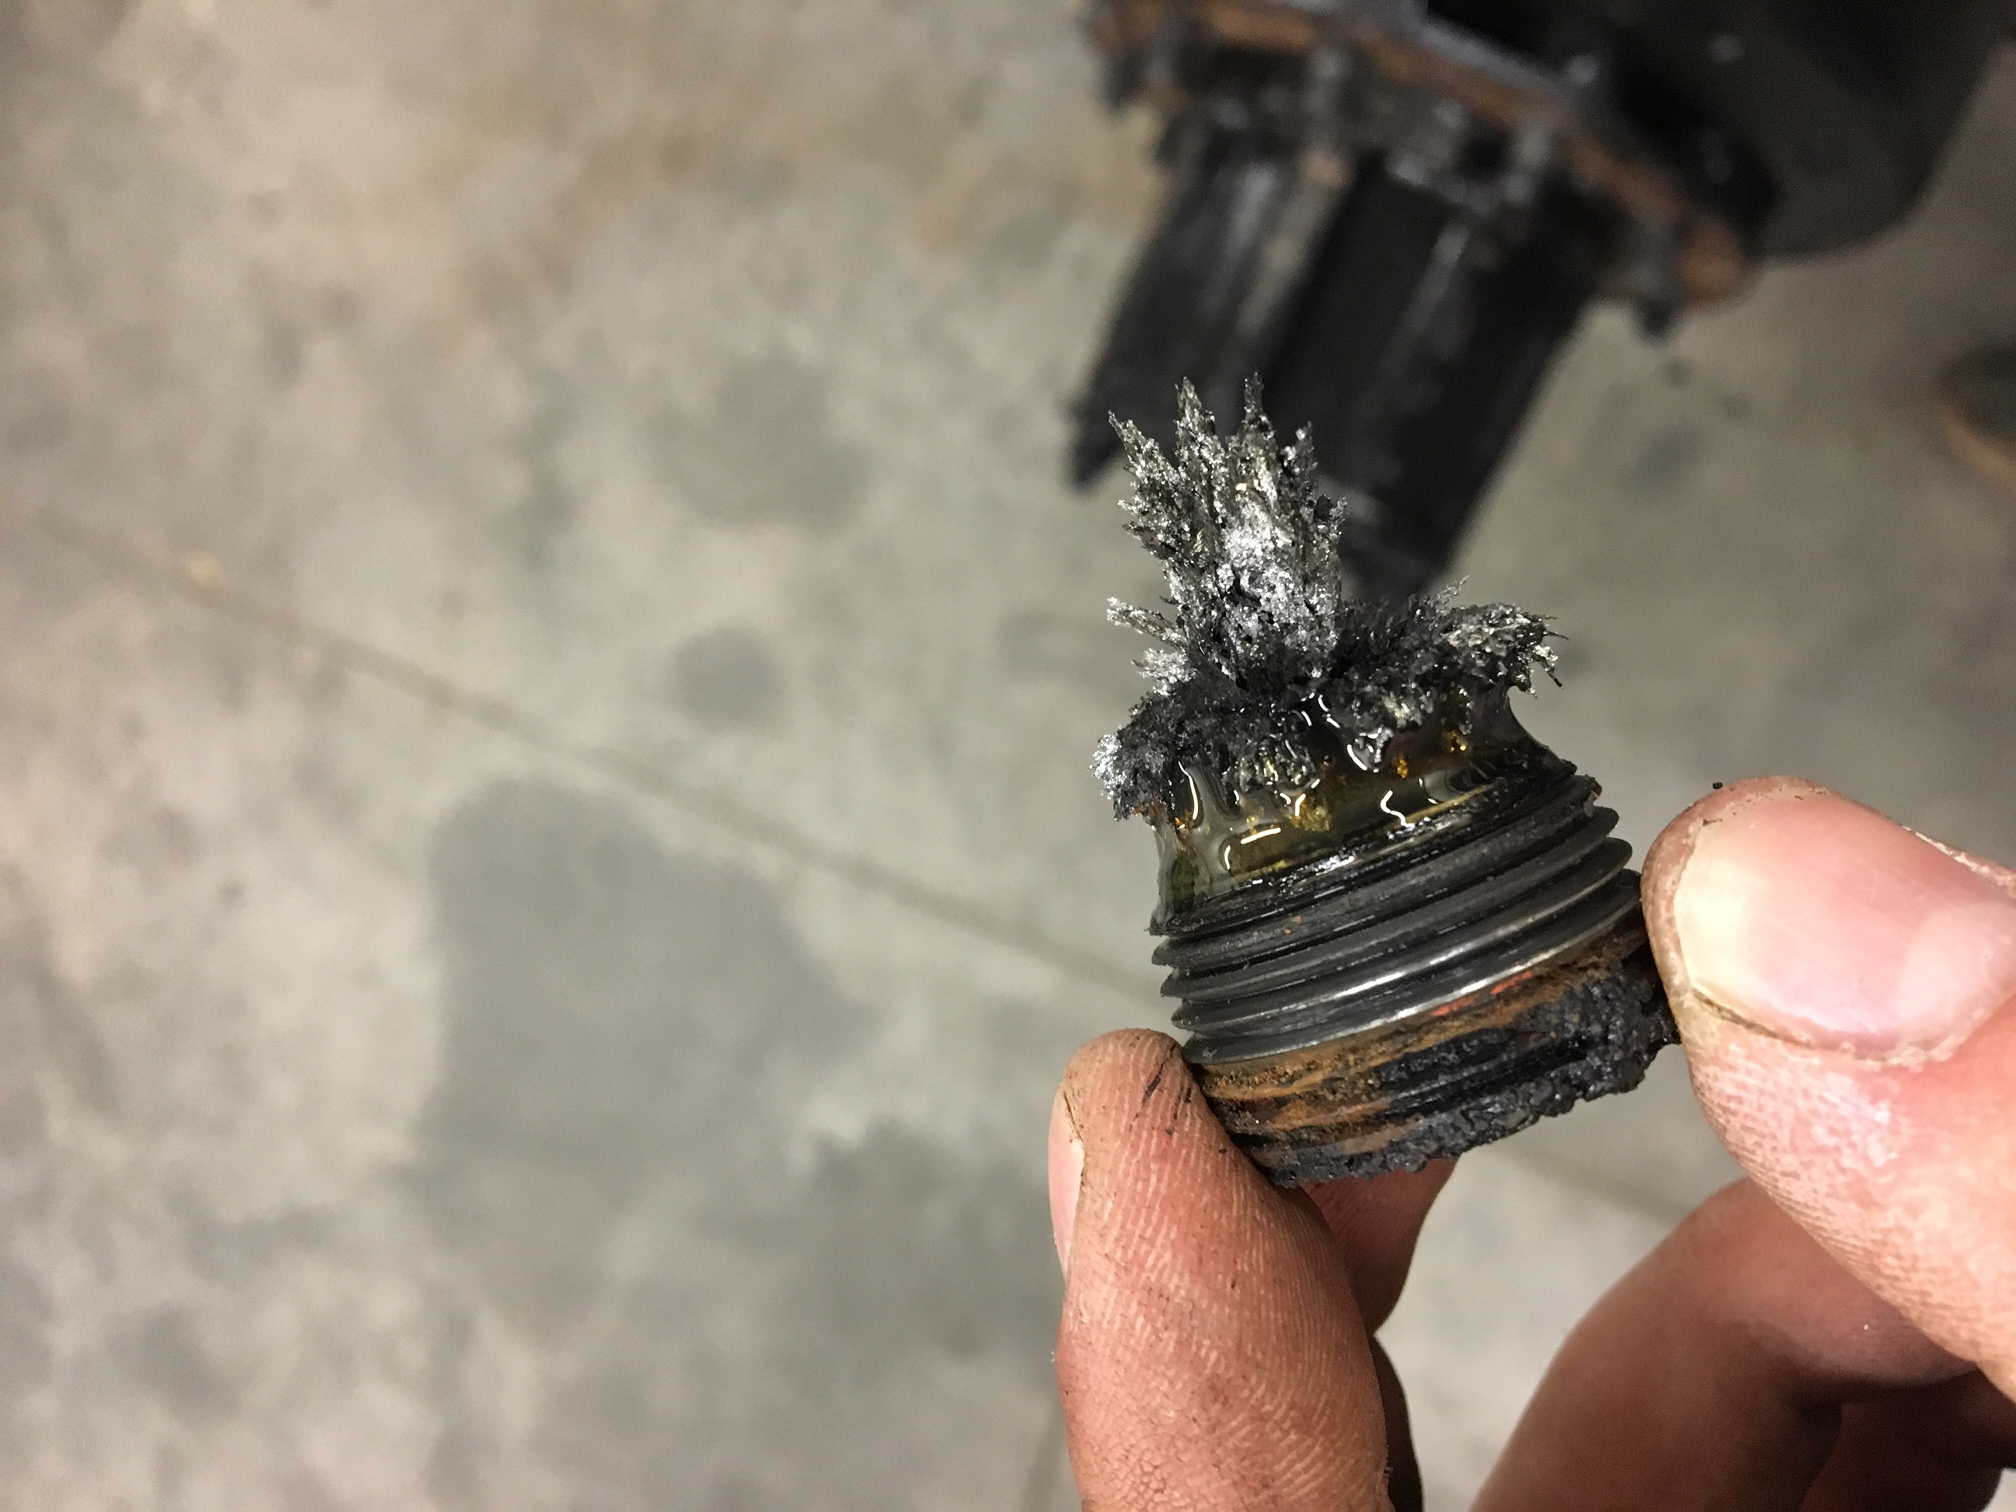
The studs were waiting for me after work, so i got busy and took the other three axles out and hubs apart. drove the old studs out and pounded the new studs in. I grabbed a piece of 1.5" diameter x 2 ft long piece of bar so i could pound on the head of the stud without being inside the drum. I cleaned the brakes, lubed the pivots, and got all four drums back on and set the spindle nuts. I took one lug nut and screwed it on all the way. plenty of thread engagement now. Before i started this process on monday night I had to make the 4 airlines to go from the valve bodies on the frame rail to the junction blocks on top of the axles so i could charge the brakes and brake all the slack adjusters loose. i included a picture of old stud compared to the new stud.
.thumb.JPG.3df7d4d7d6fbfcbc0ace353e10bbc13d.JPG)

-
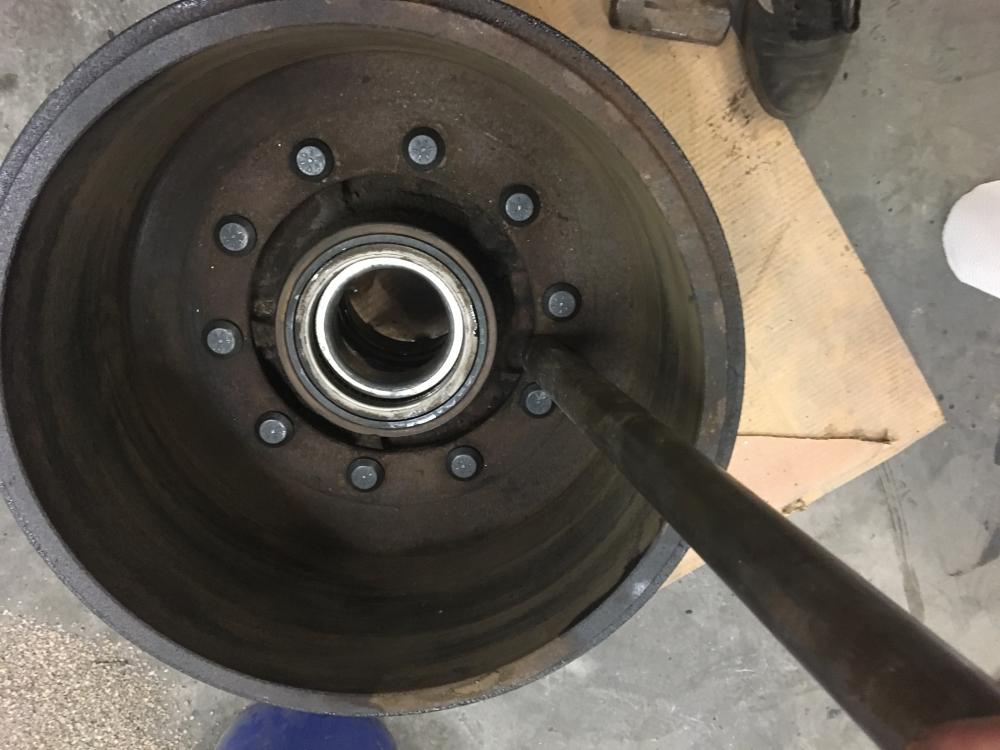
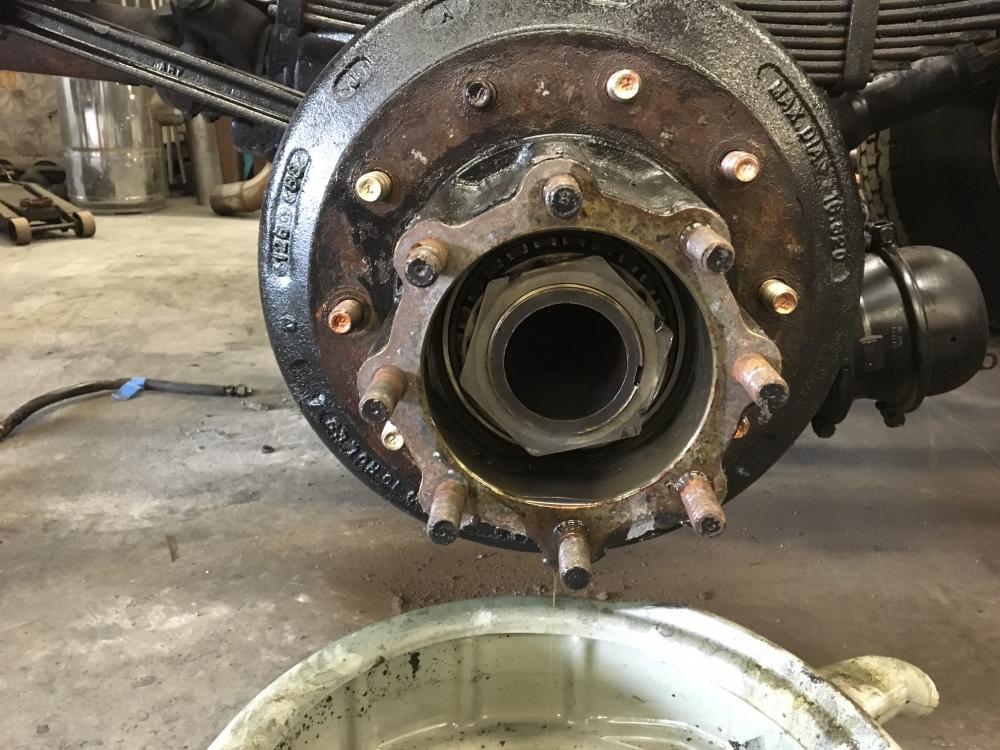
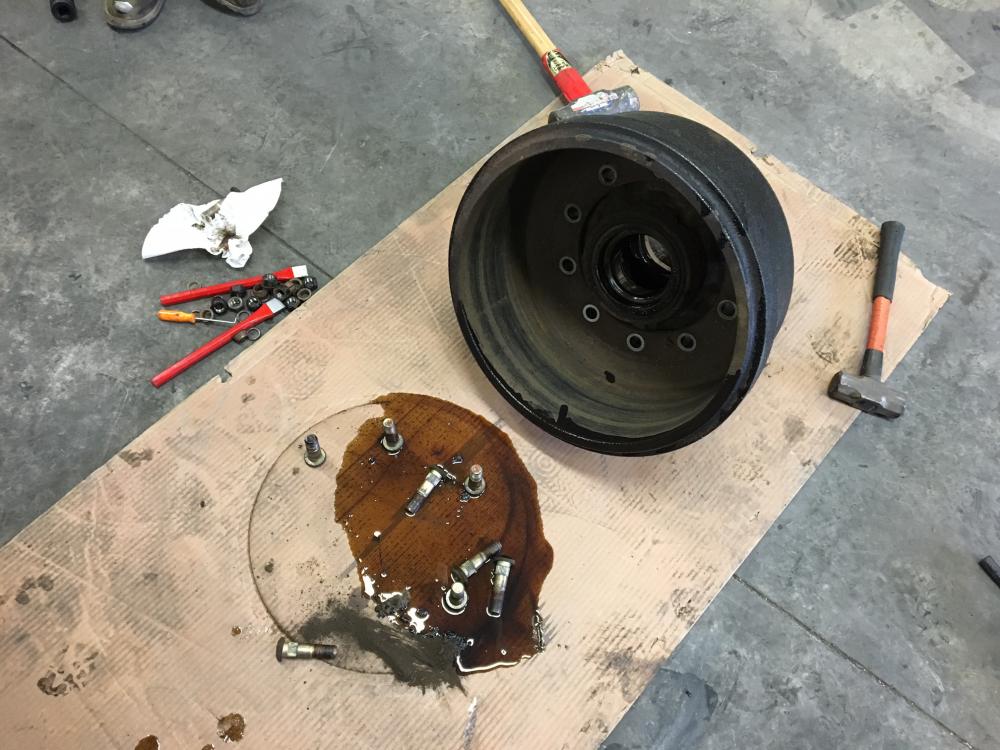
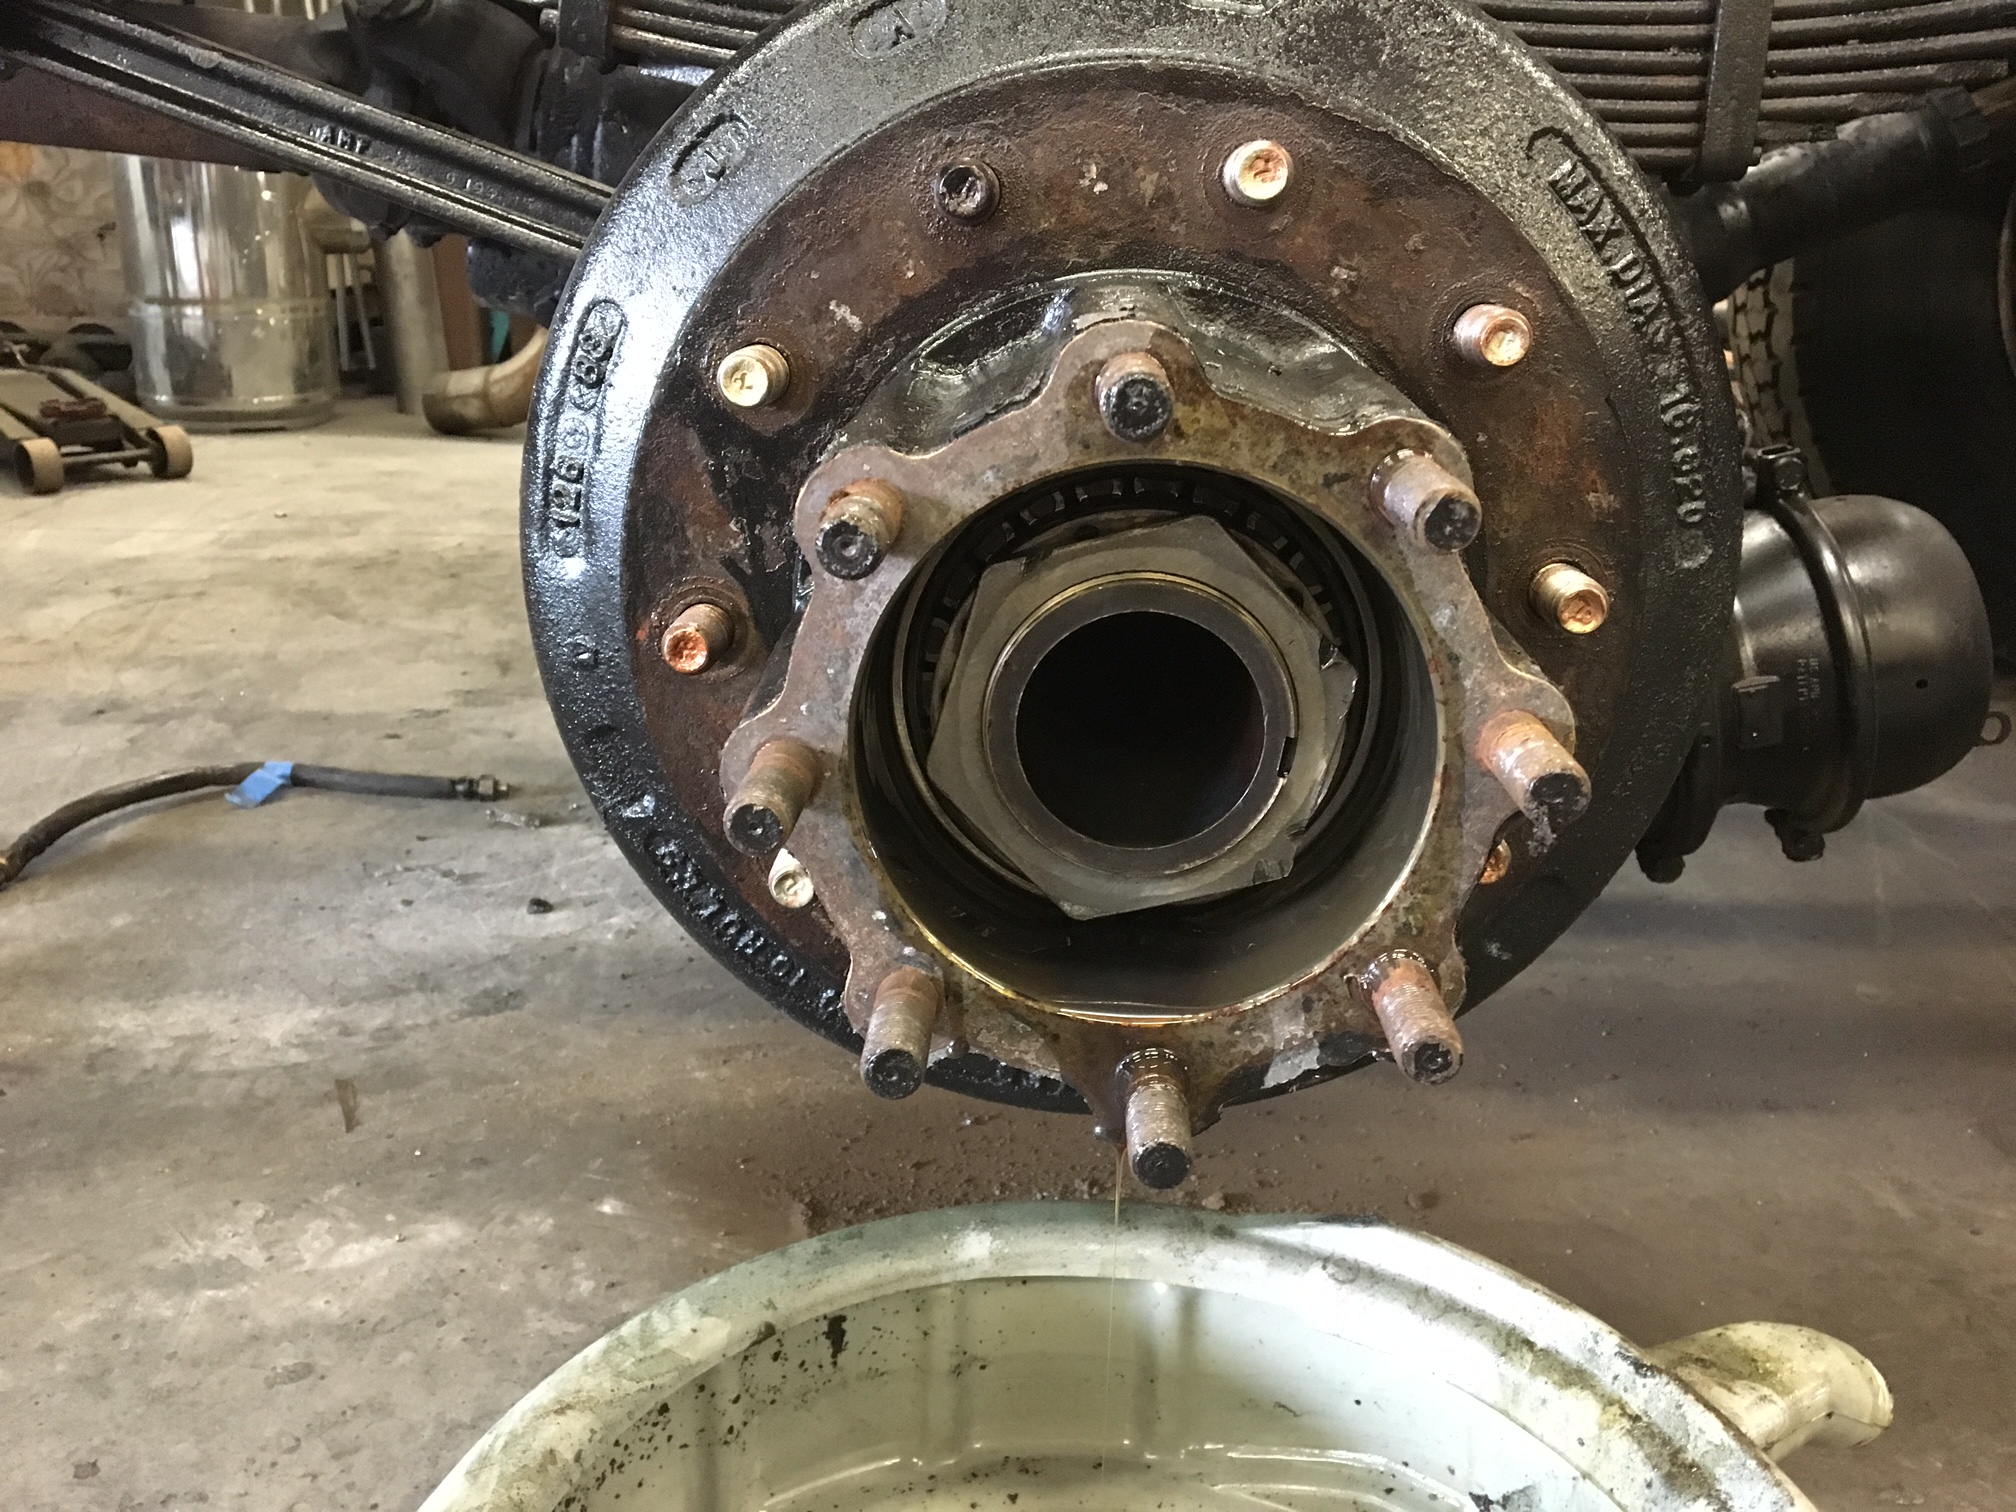
Well.....upon further investigation i realized that it wasnt just a simple knock the drum off kind of job, the drum was behind the hub with the stud pressed through. I only took one drum off tonight because i didnt have much time, so i knocked those 10 studs out and am now trying to find the identical stud but with longer thread, on the bright side, the brakes and bearings look mint.

-
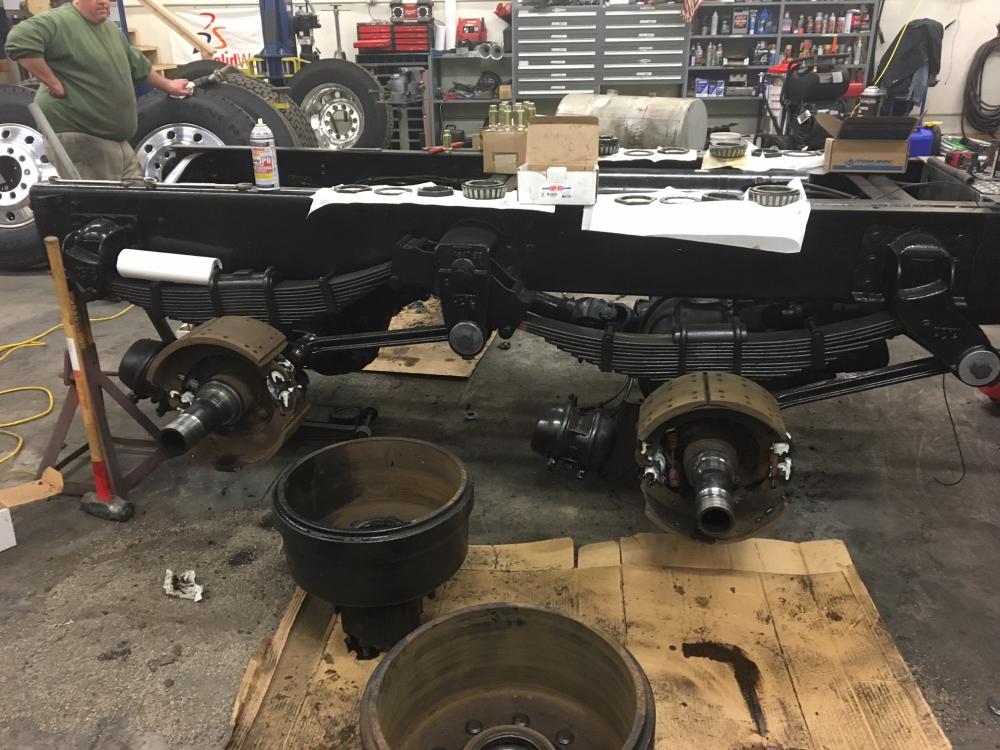
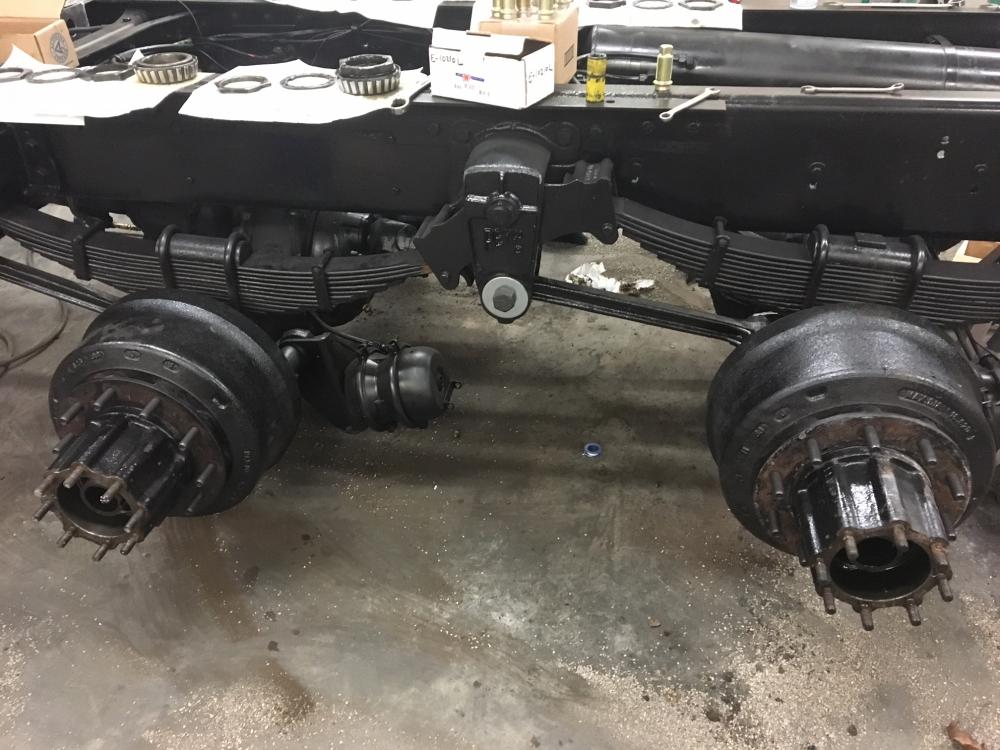
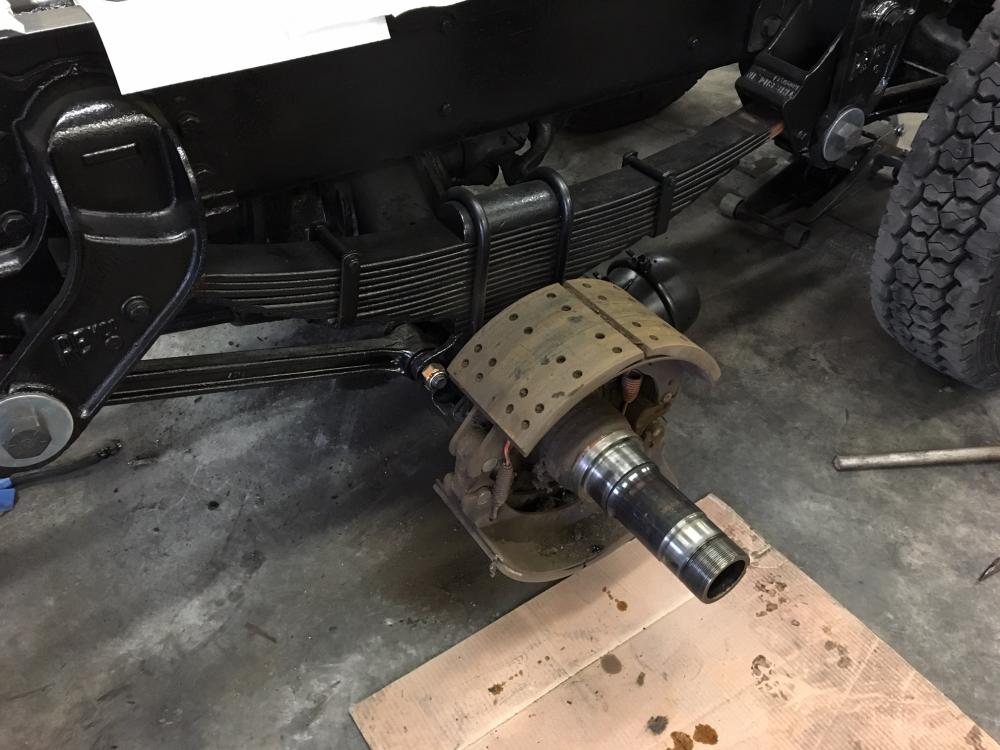
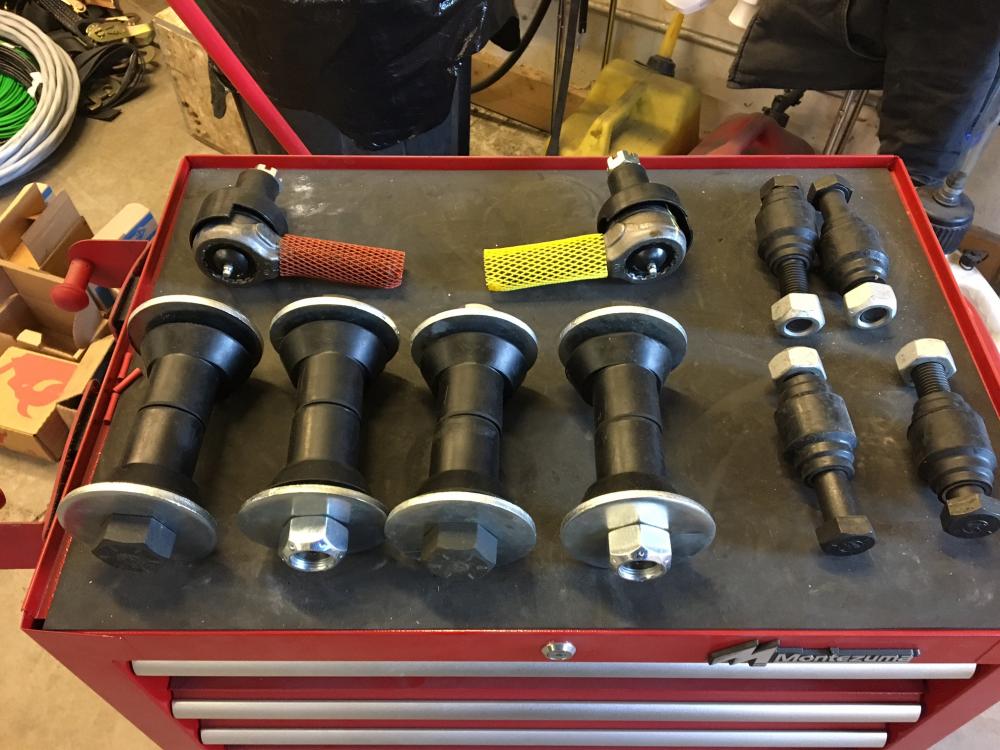
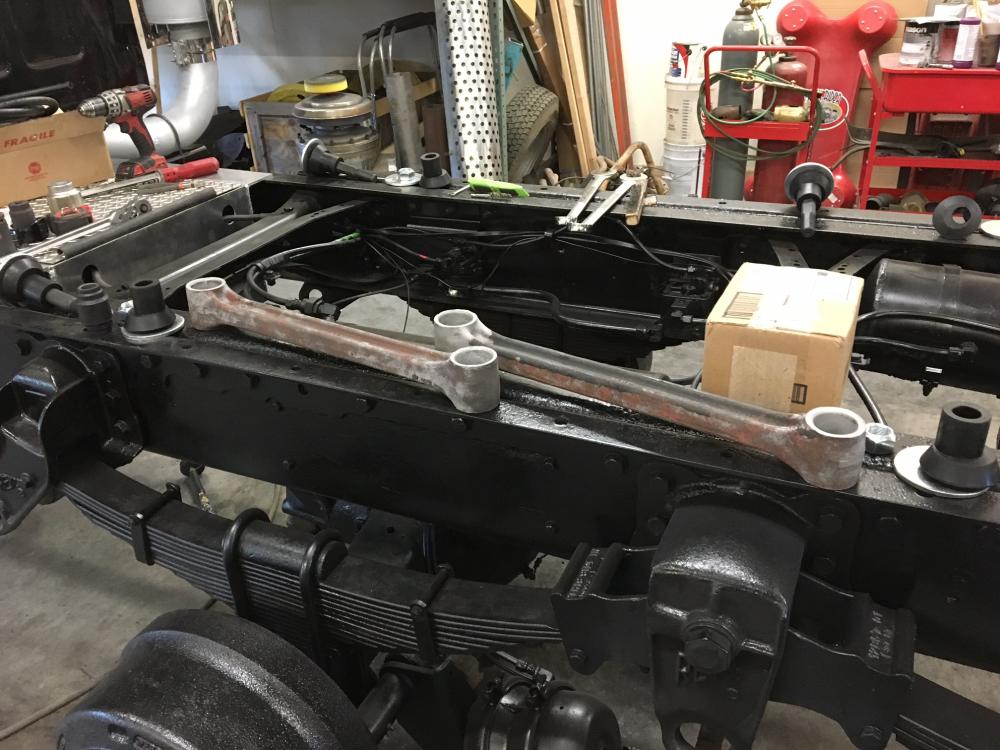
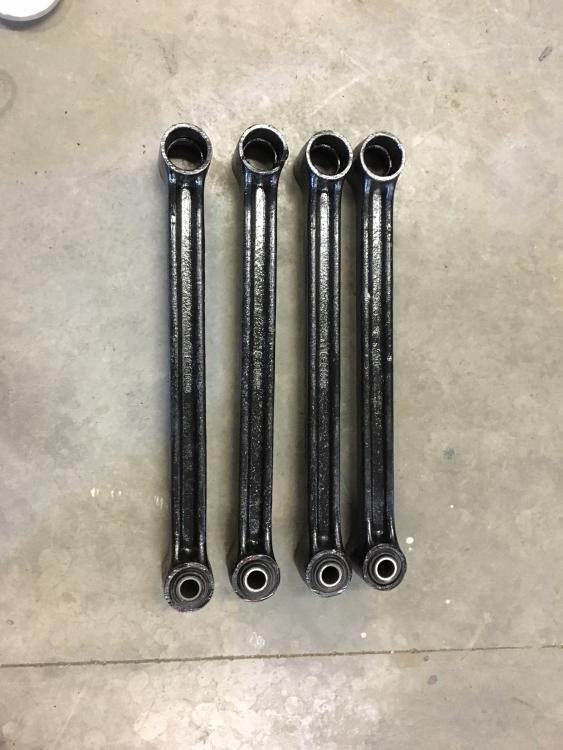
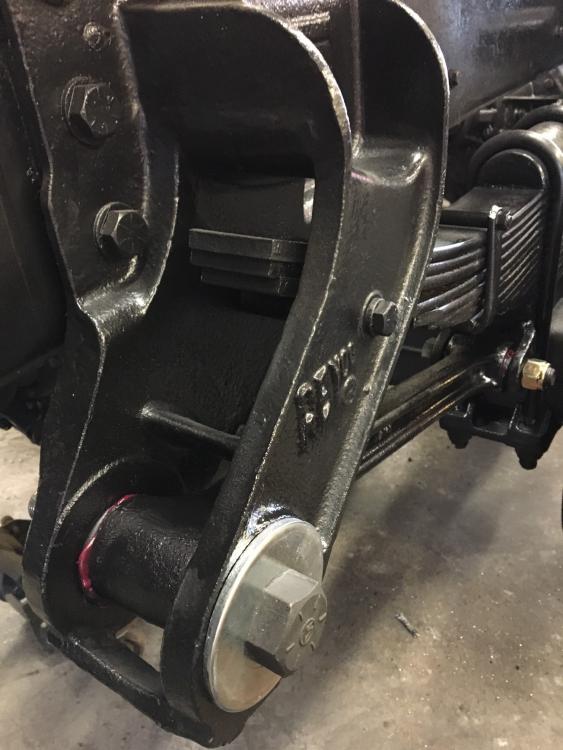
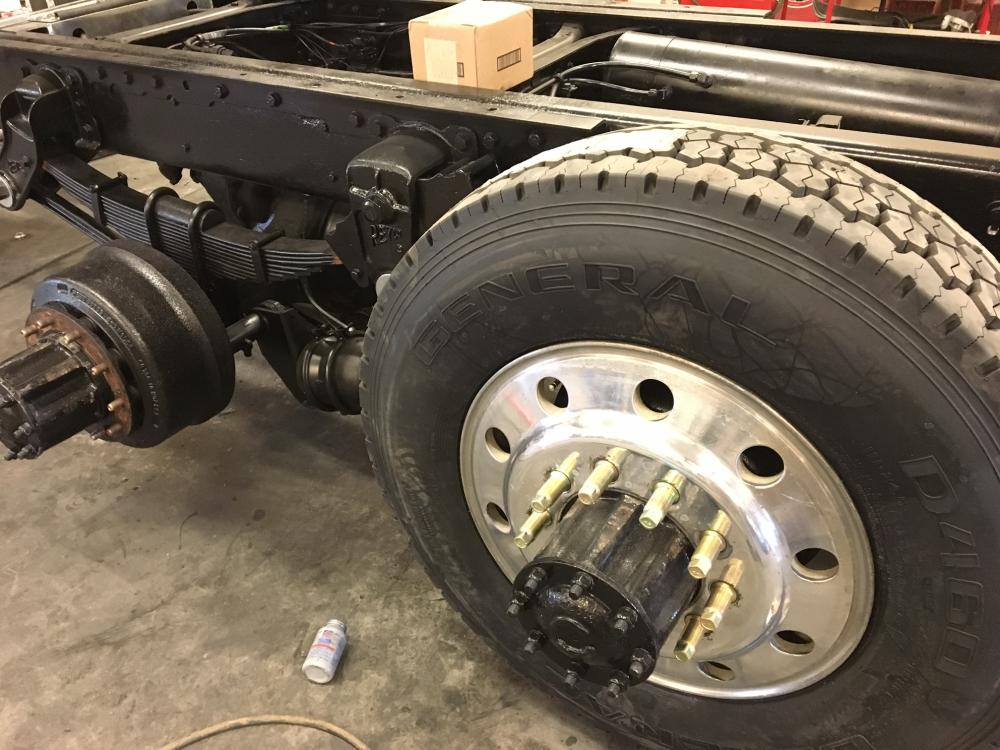
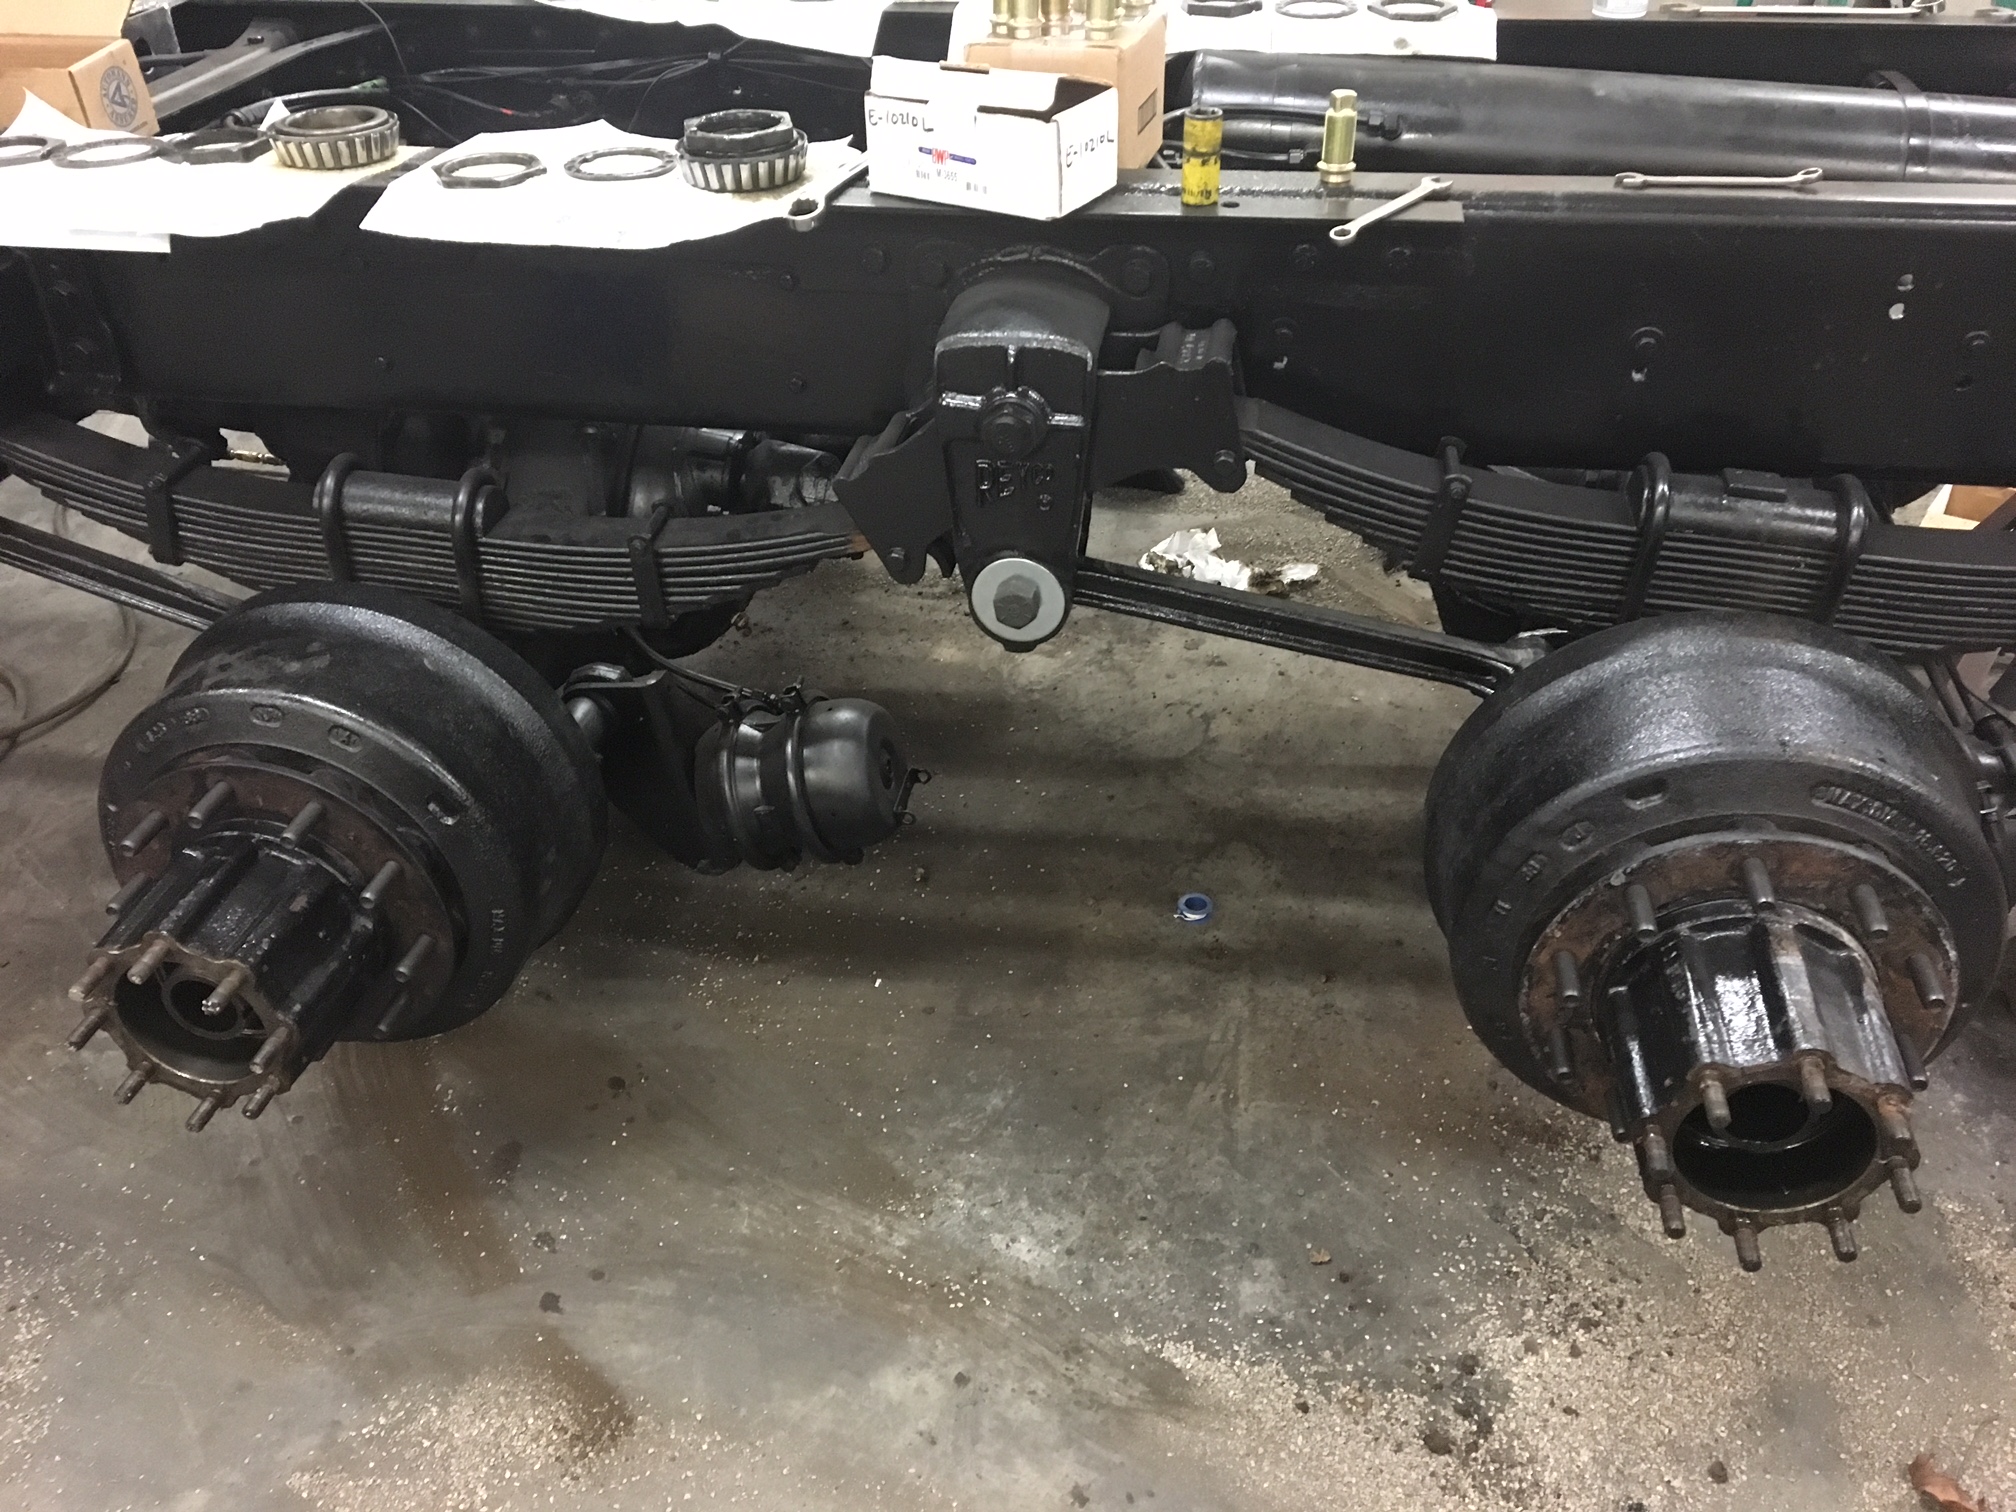
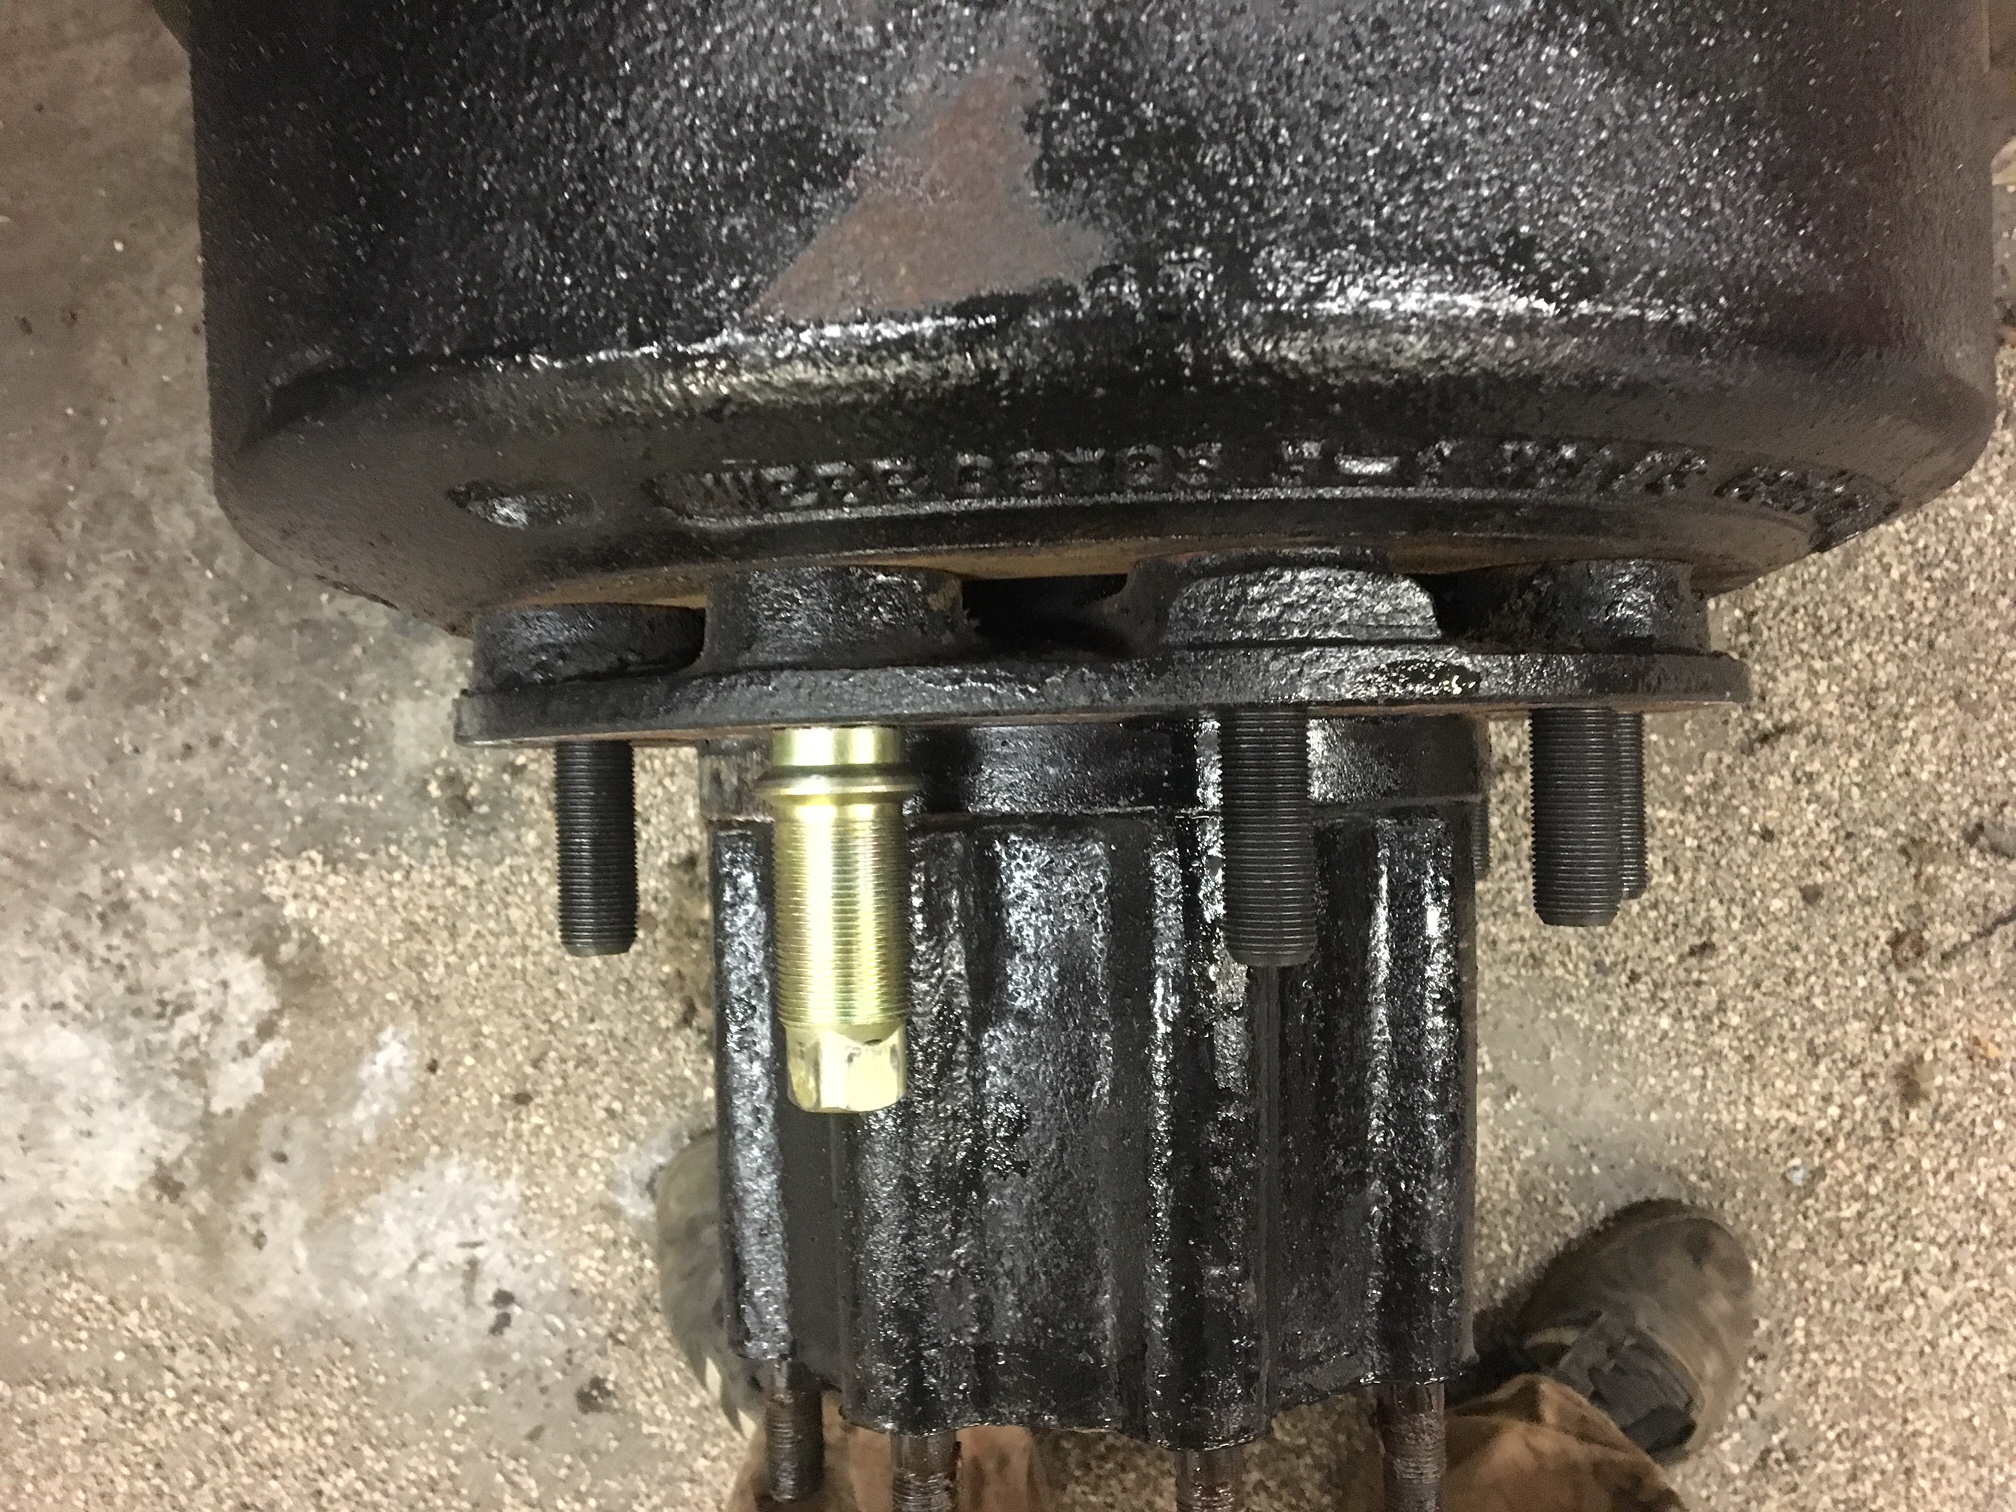
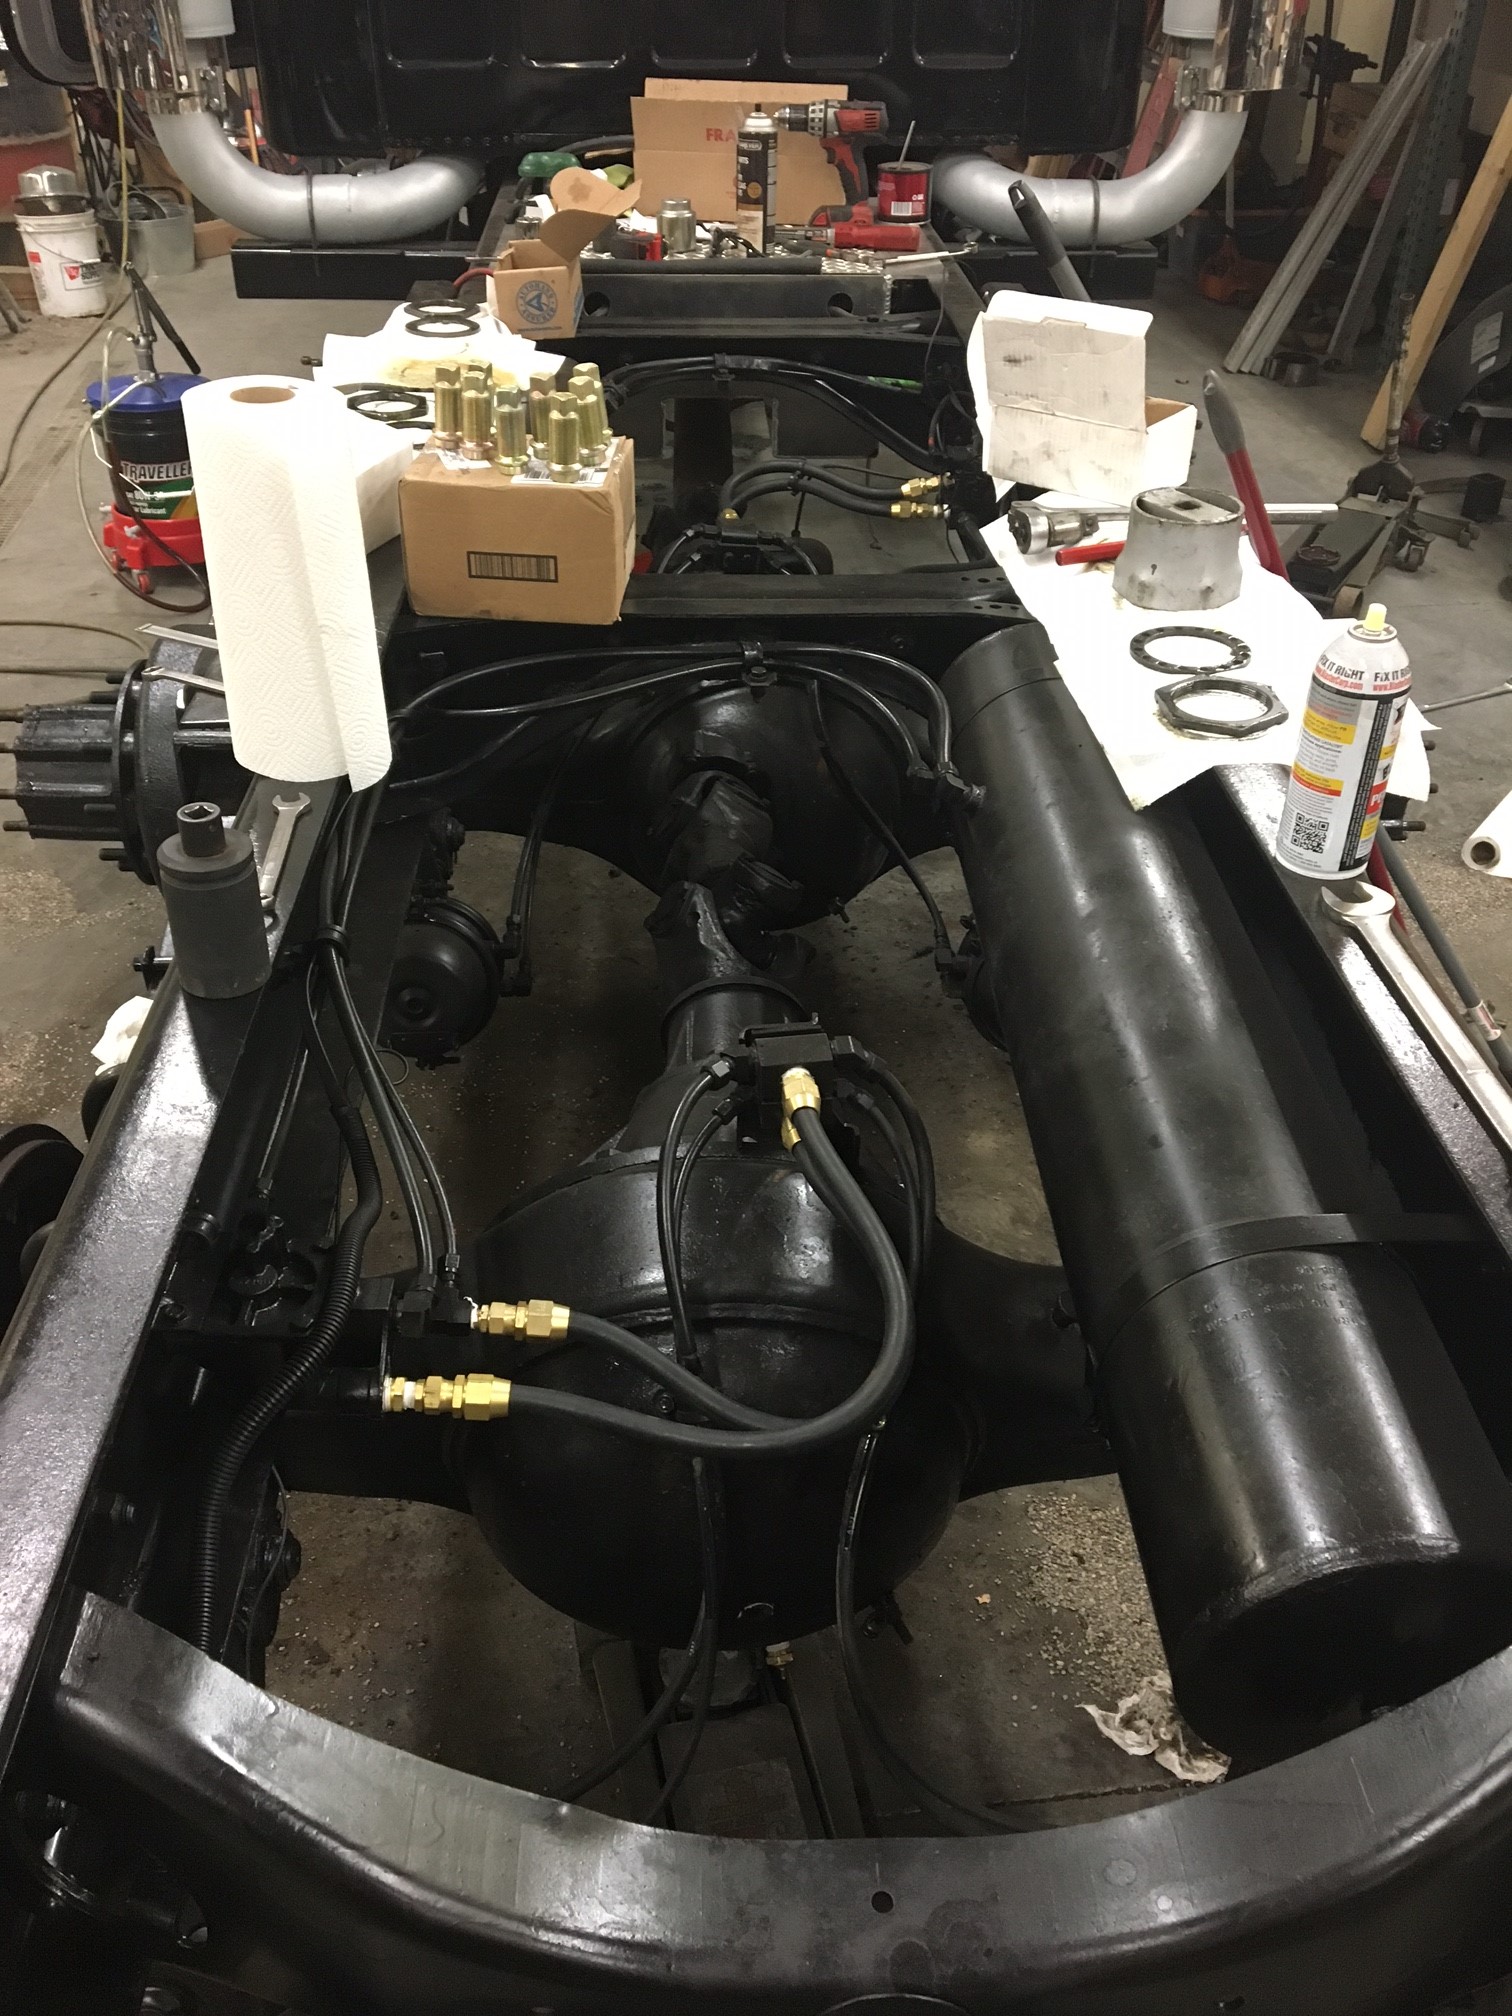
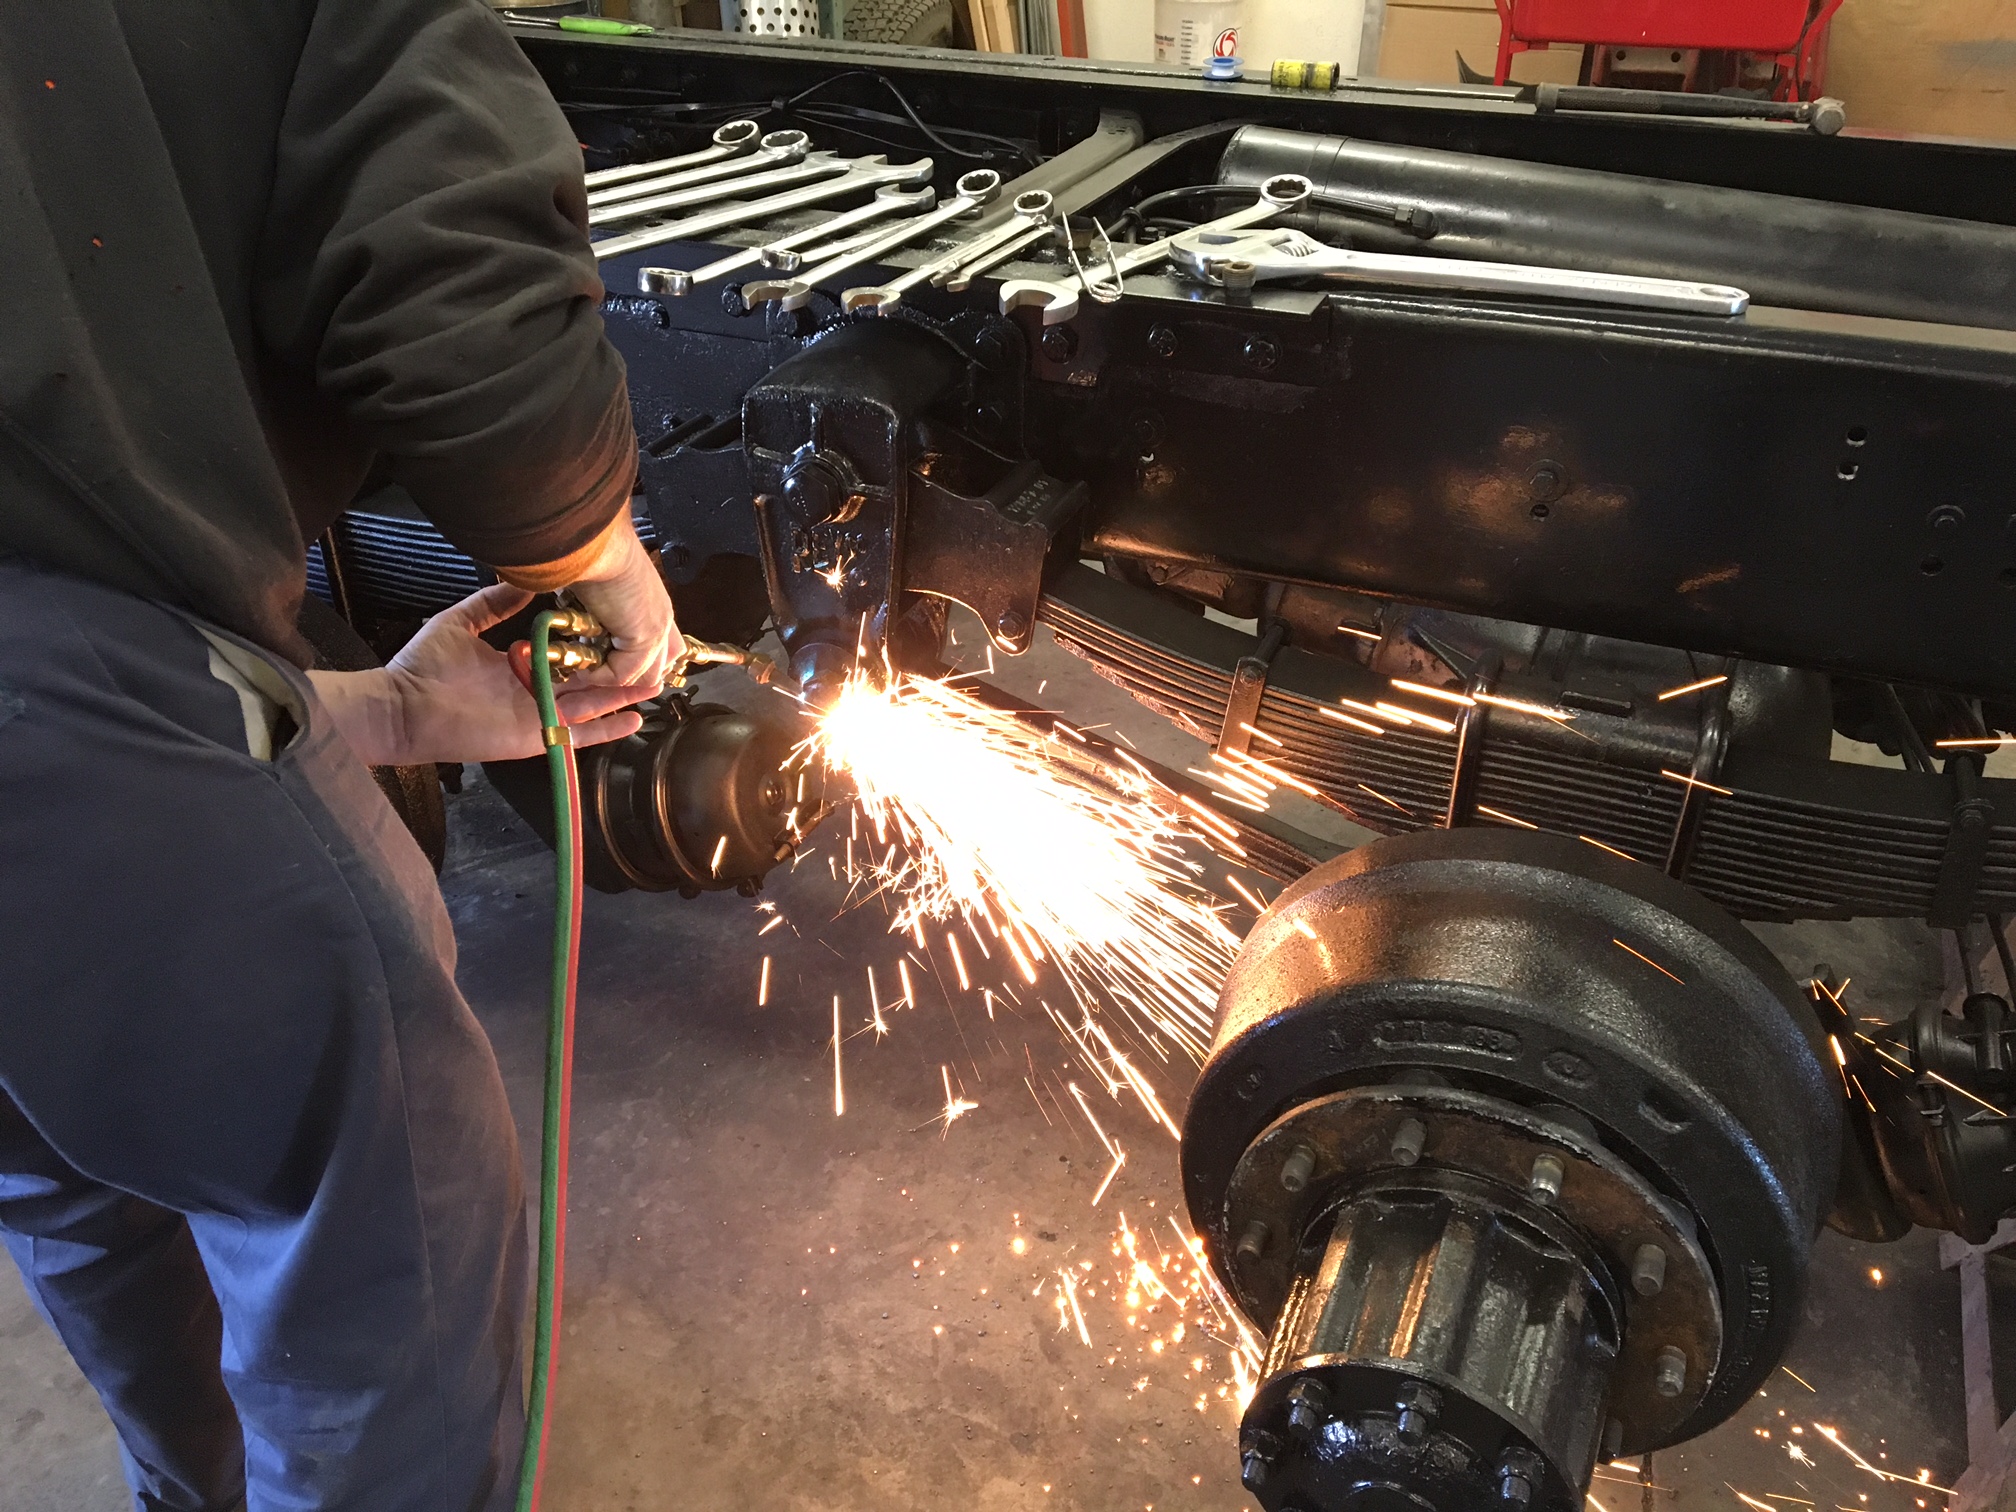
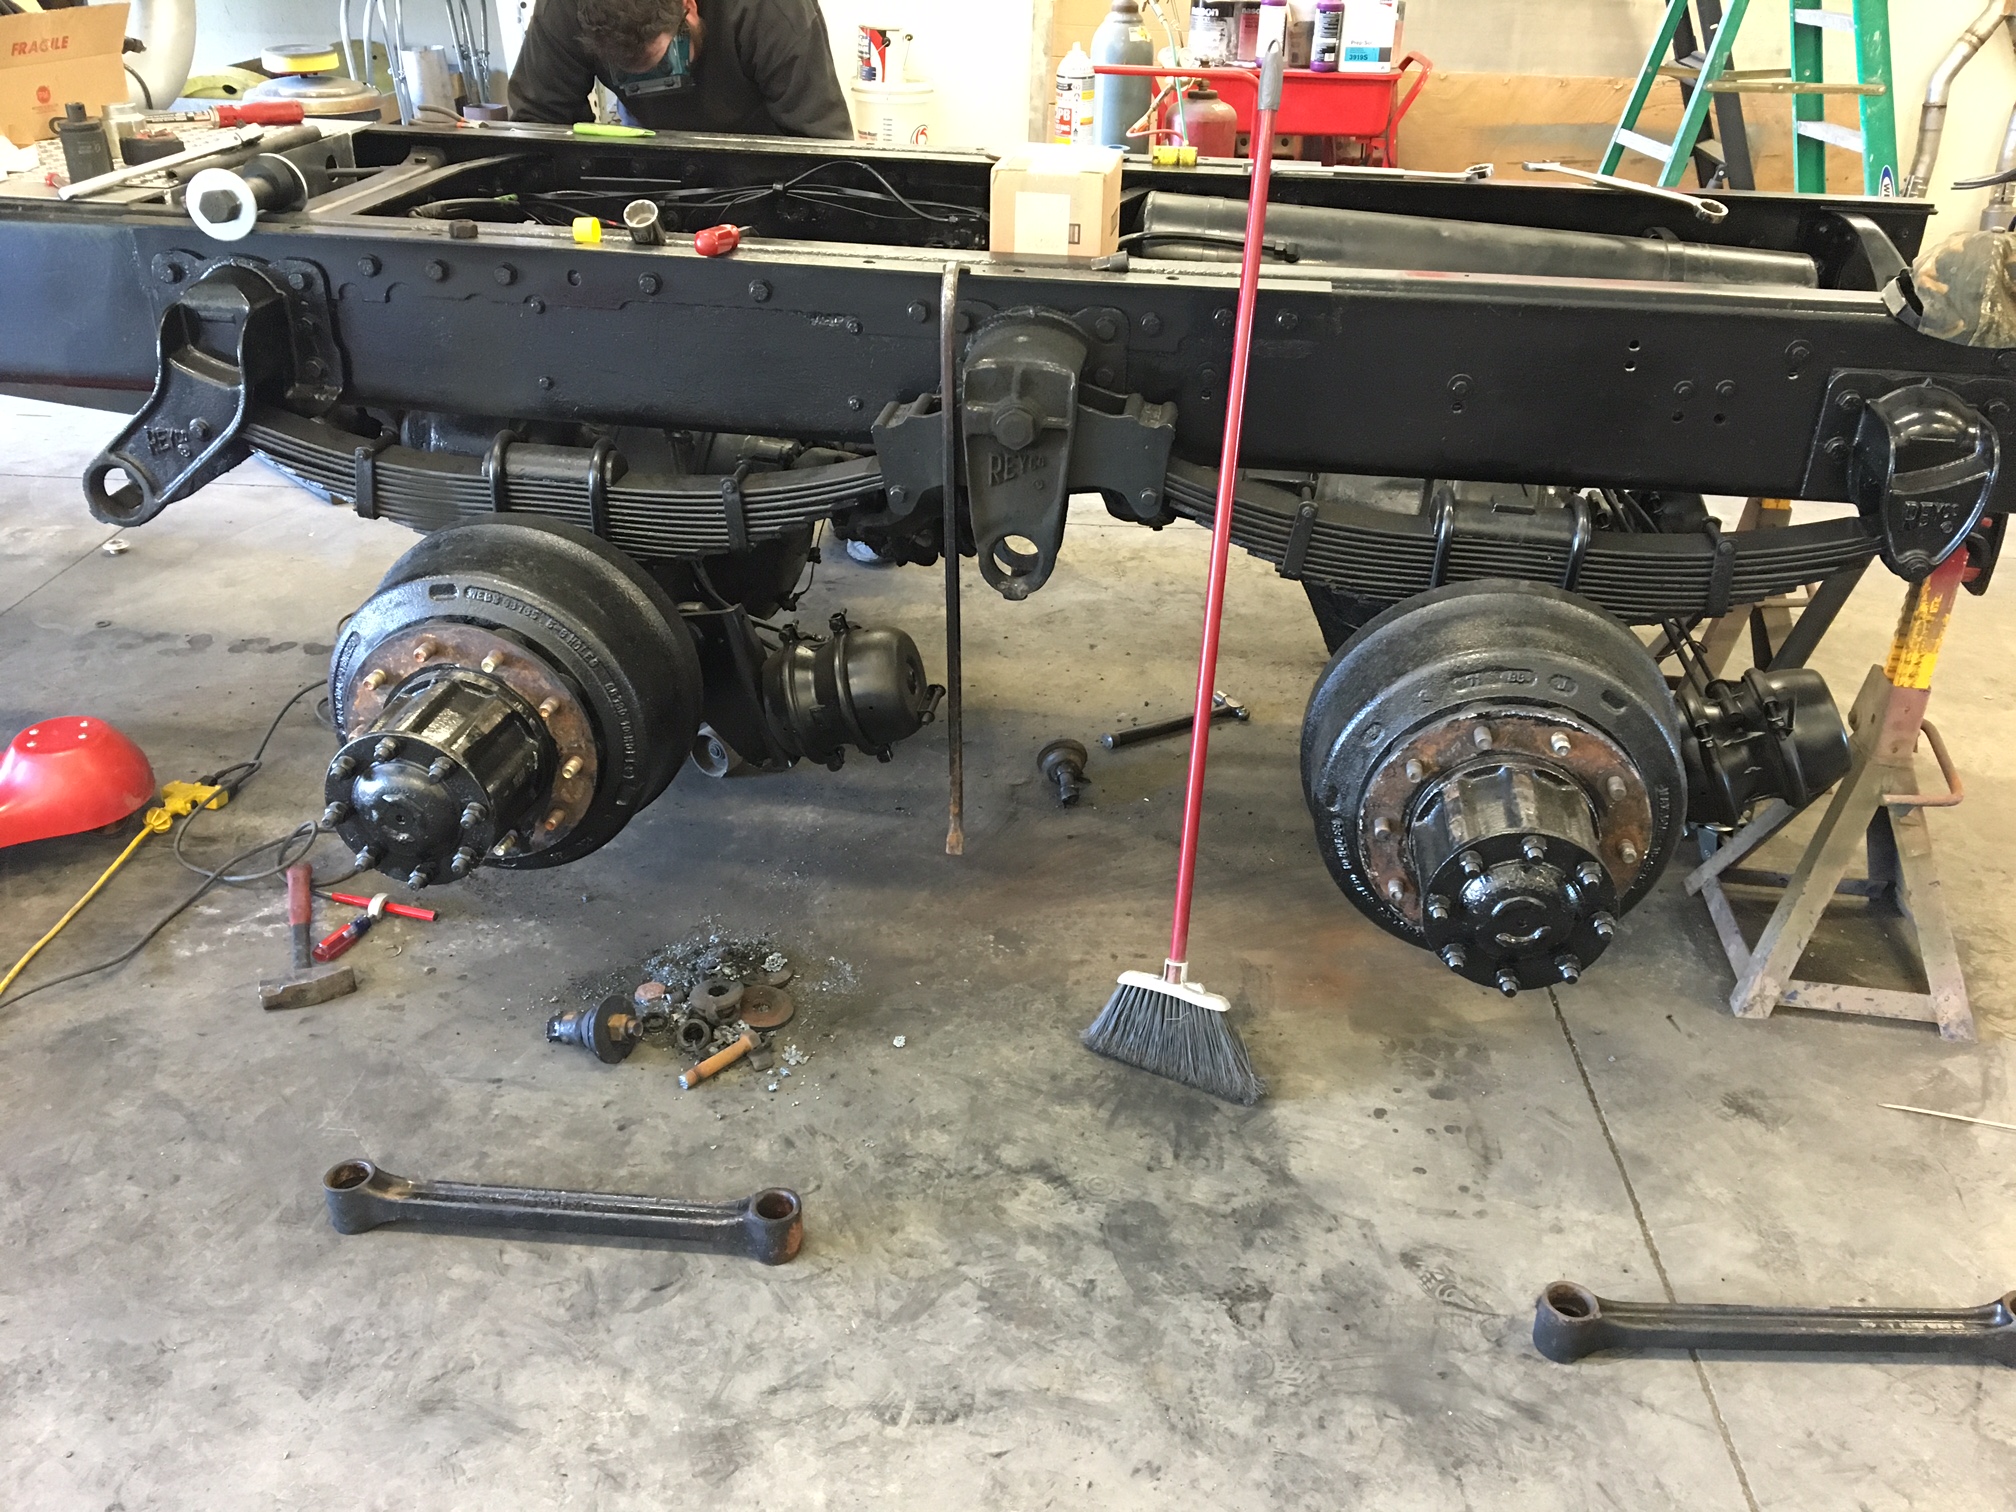
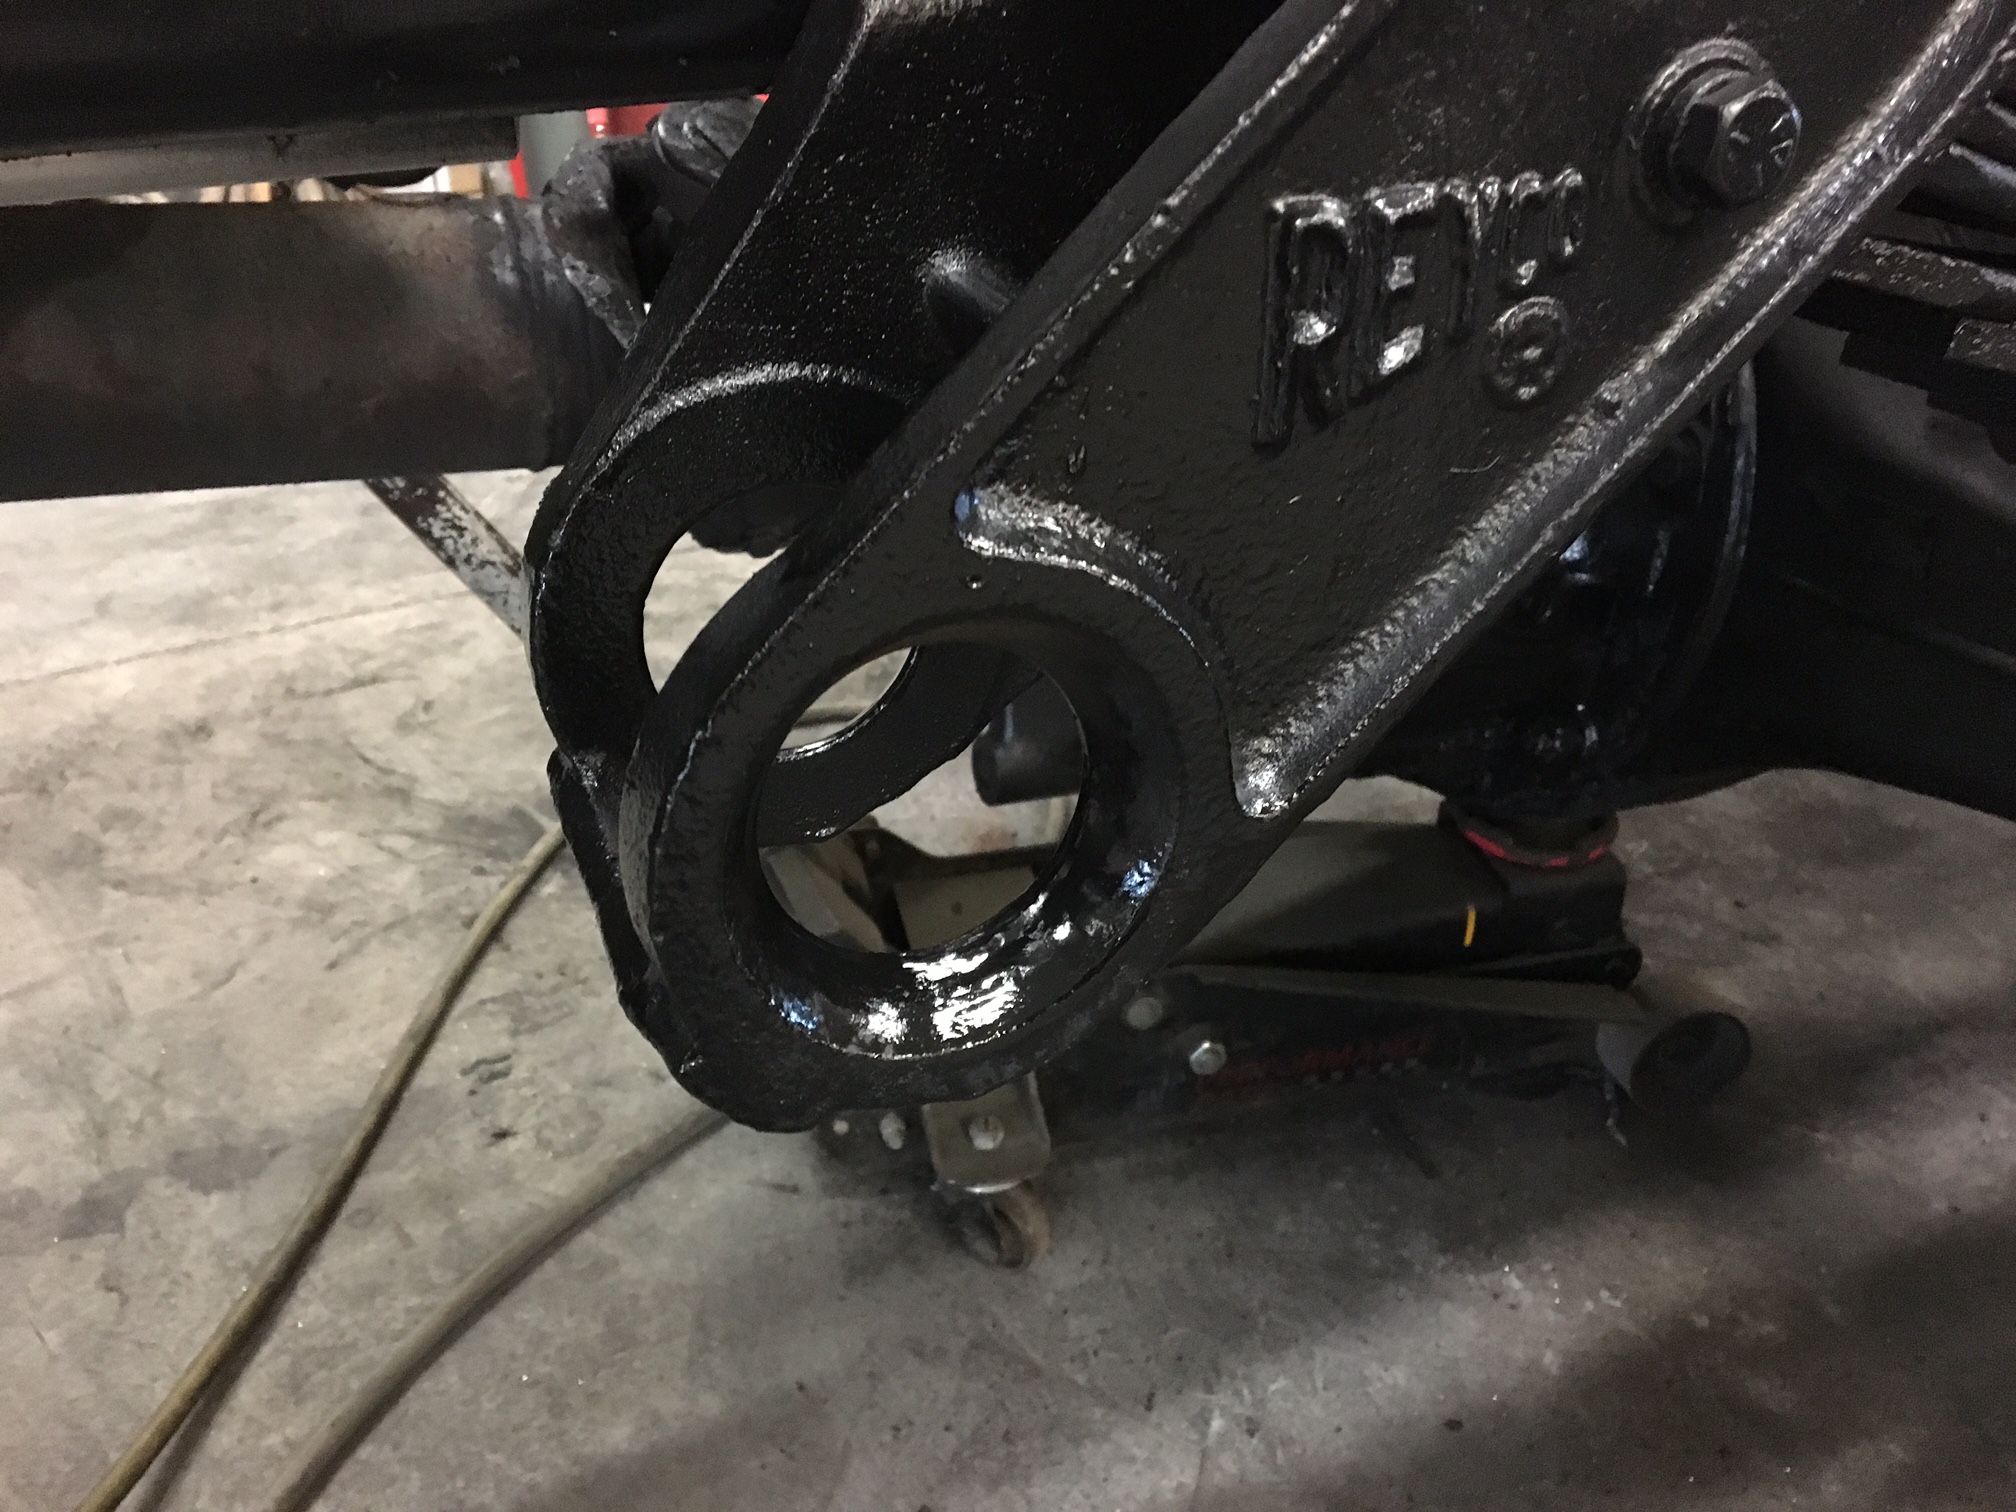
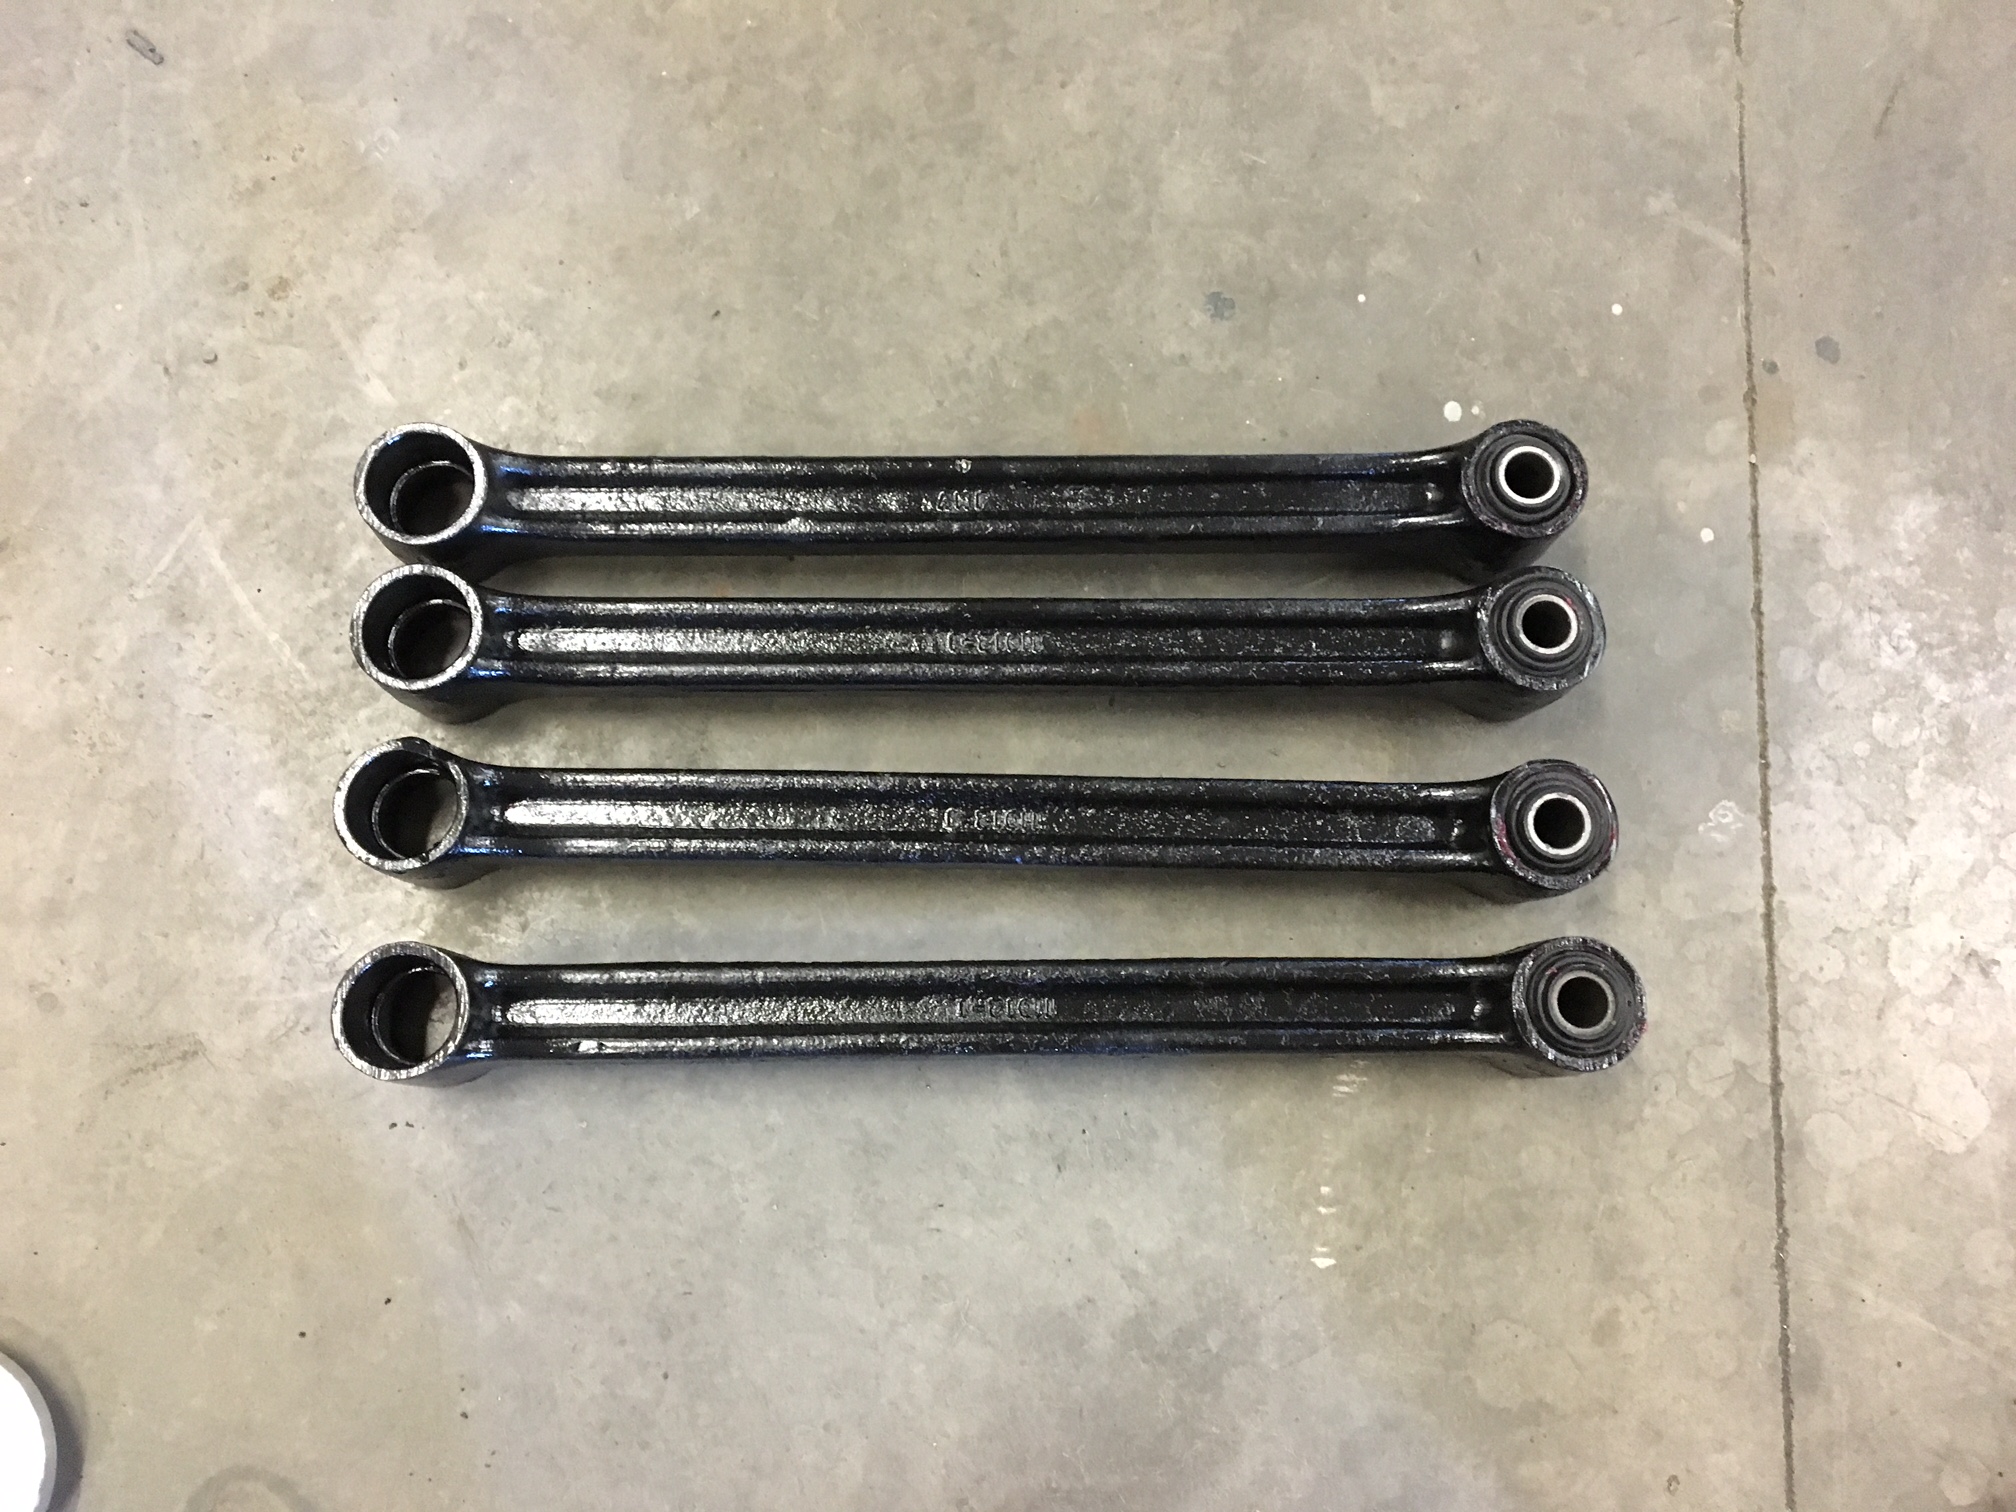
I decided to give up on the cosmetic work for a while and do some more important mechanical maintenance. I put the truck up on blocks and removed all the wheels for easier access. First step was draining the gear oil from both axles. The rear axle was full of fluid but it was also full of metal. At this point i just pulled all the plugs and diff temp sensor, clean those up and put a fresh 5 gallons of 80w90 in it. Ill run it and see what happens. The front axle had clean oil but only about 2 gallons in it. Once again i pulled and cleaned all plugs and temp sensor and put a fresh 5 gallons in. The rear most torque arm bushing on the driver side was pretty much missing. I told myself in the beginning i would run it this year and adress it next winter. OF course i coudnt deal with that so I decided to change it. Upon investigating the other bushings, I figured I might as well change all of them. The brakes are good, so once i address these bushings, there should be no reason to pull these wheels anytime soon. So I enlisted a friends help because he has a lot more finess with a torch than I do so we torched out all 8 bushings/bolts and removed all 4 torque arms. Sand blasted the arms, painted, and pressed new bushings in the axle end, then assembled the new eccentric bushings on the frame side. I finished assembly yesterday morning so i figured I would grease all the brake components then start putting the wheels on with the new nuts. My goal was to have all 8 drive tires on and torqued for good. I put the two rear insides on. hand seated all the nuts, bottomed them lightly with my 1/2" impact then got the torque wrench out. Started torqueing the drivers side to 400 ft/lbs. did 5 nuts then took all the threads off one stud. F$%K. So then I started googling everything about dual alcoa setups. Not a lot of hard facts out there but the numbers I came up with is that I should have 1.33" to 1.88" of stud standout off the drum face. I have 1.125". It looks like the only option now is to pull all the drums and change 40 studs unless im missing something again. This has been been quite the learning experience. On that note, anybody near Rochester have the tool to change the studs while the hub is still on the truck???


-
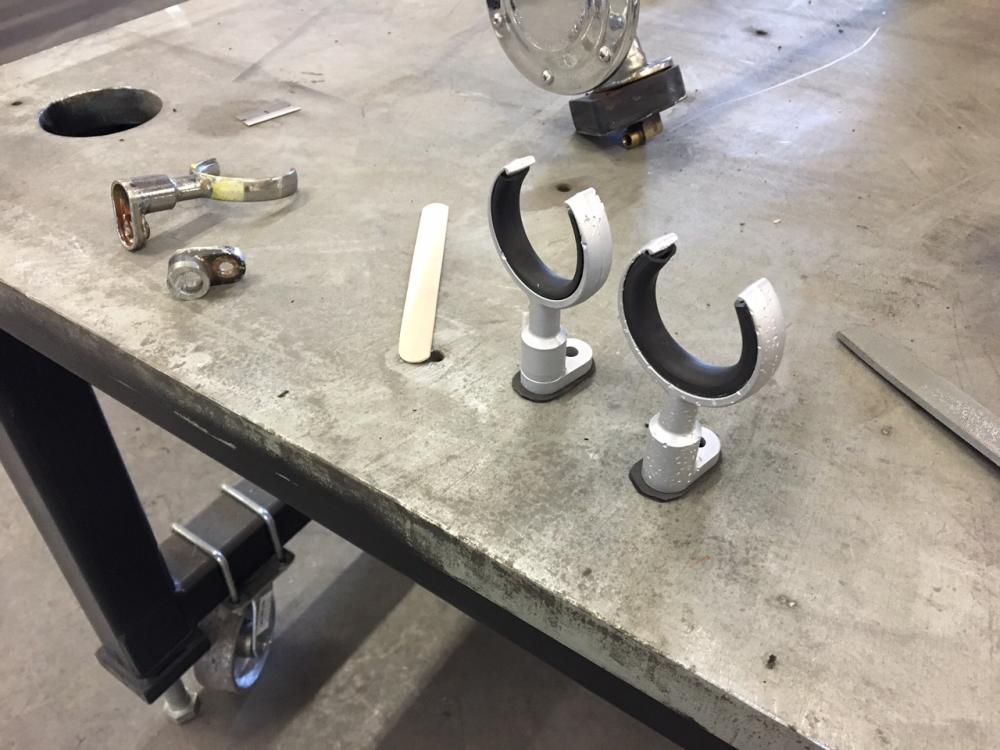
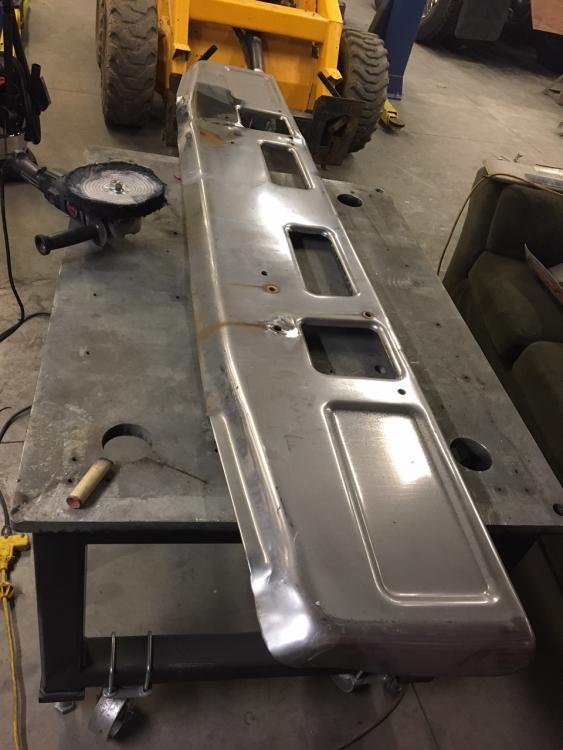
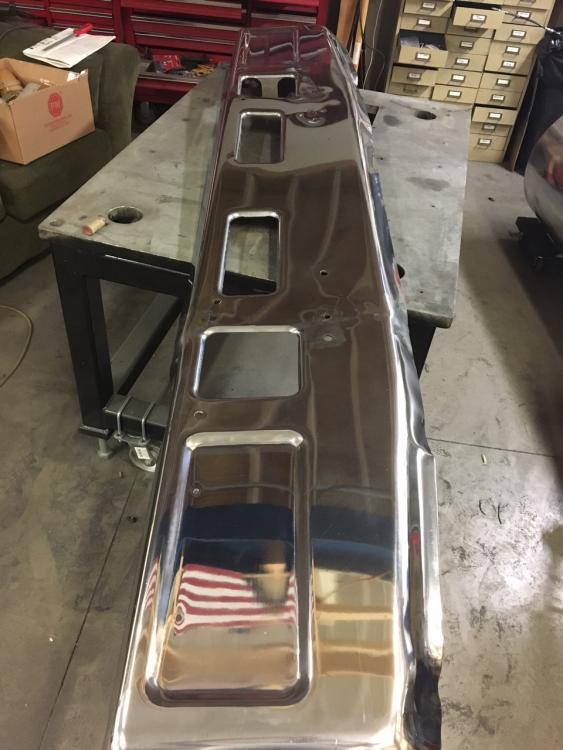
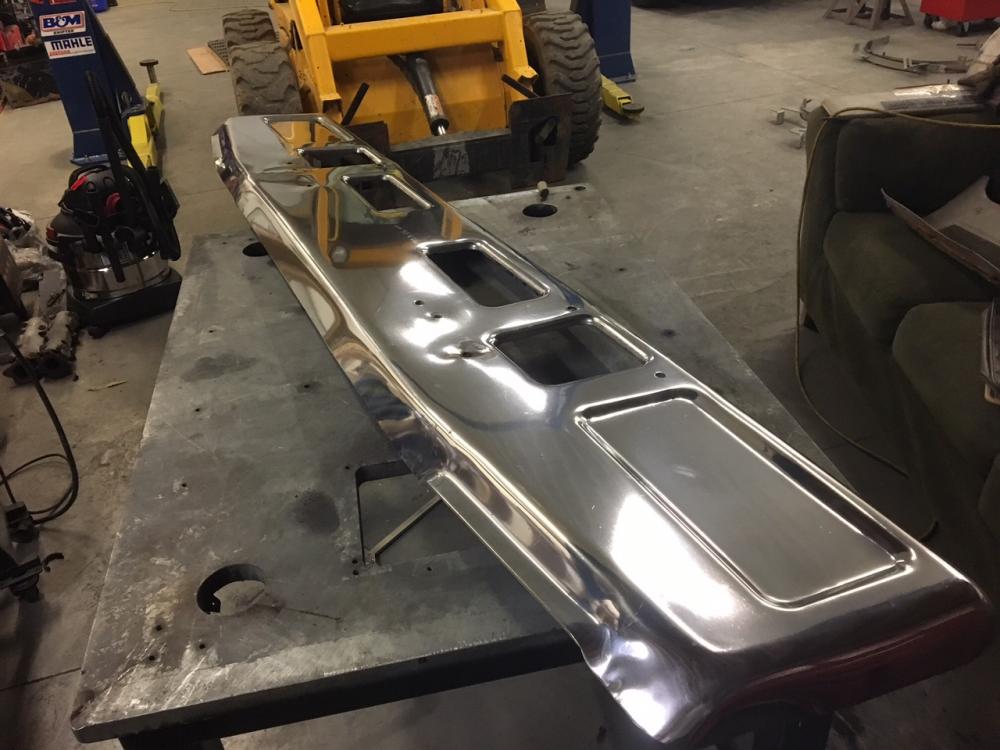
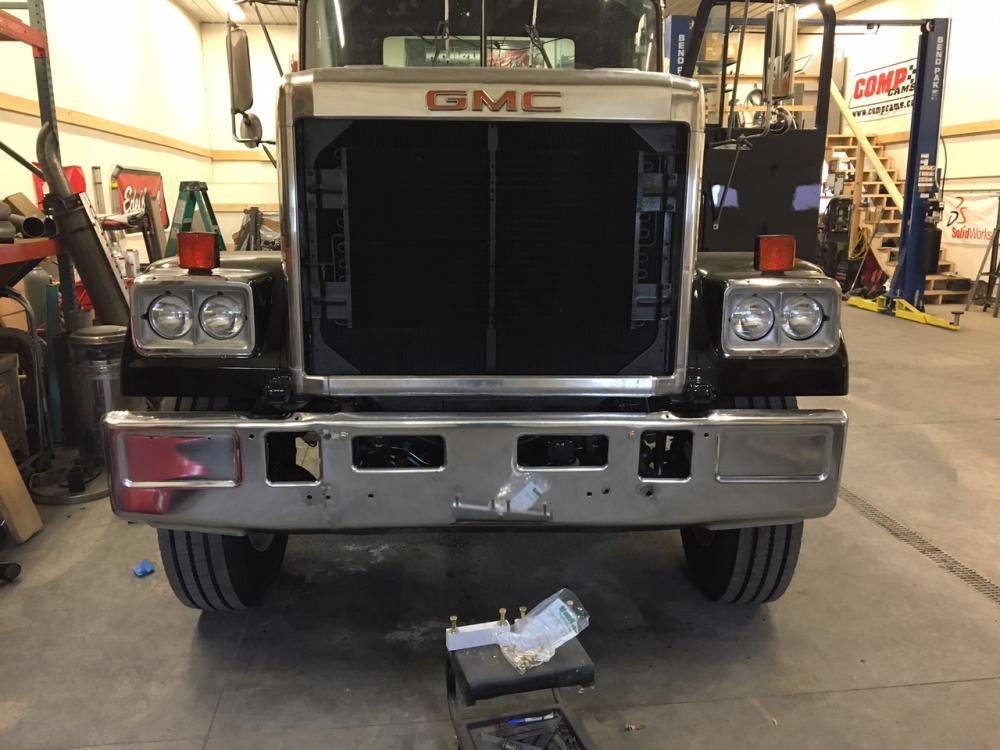
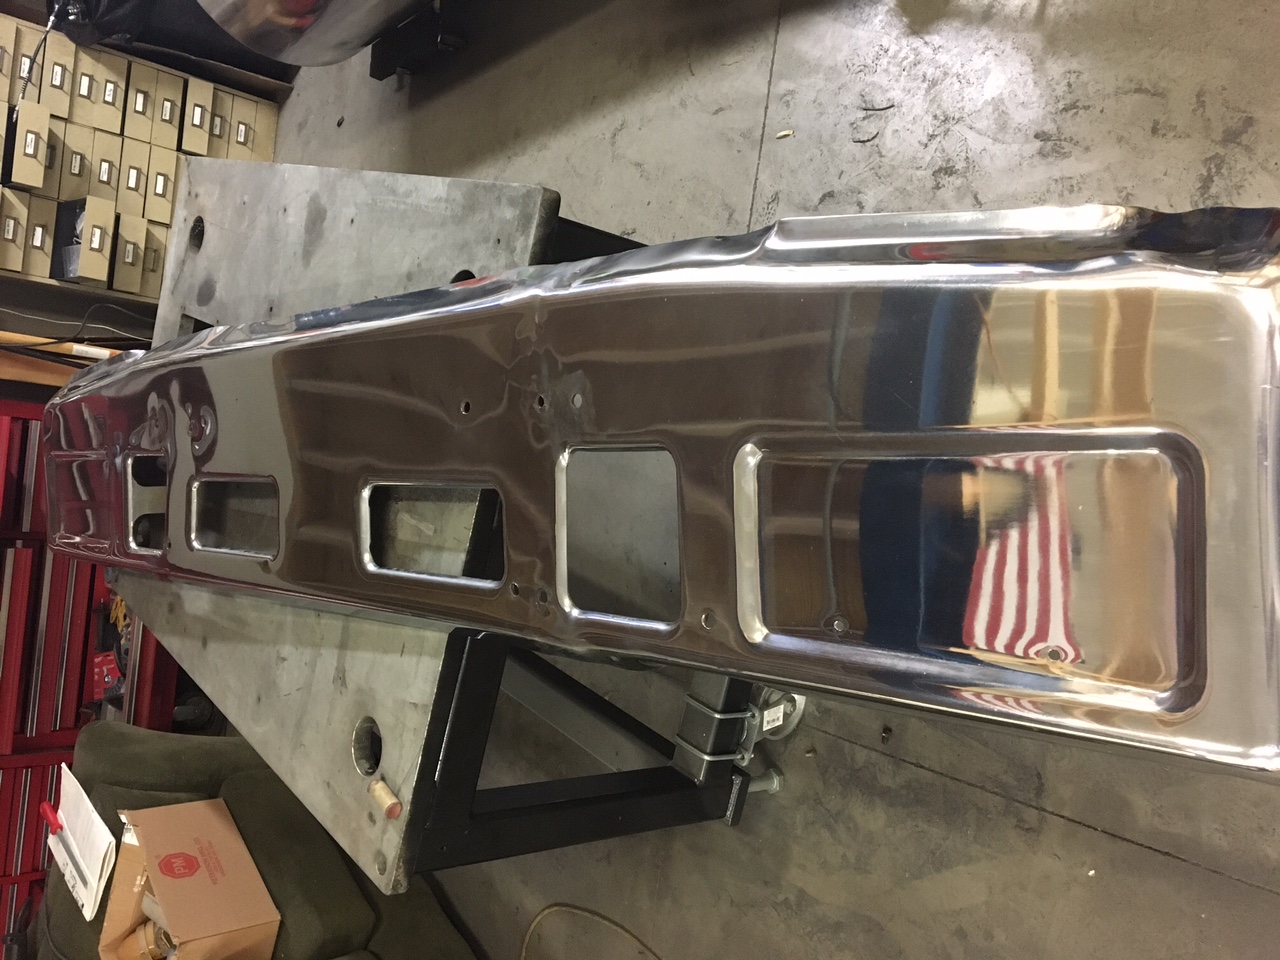
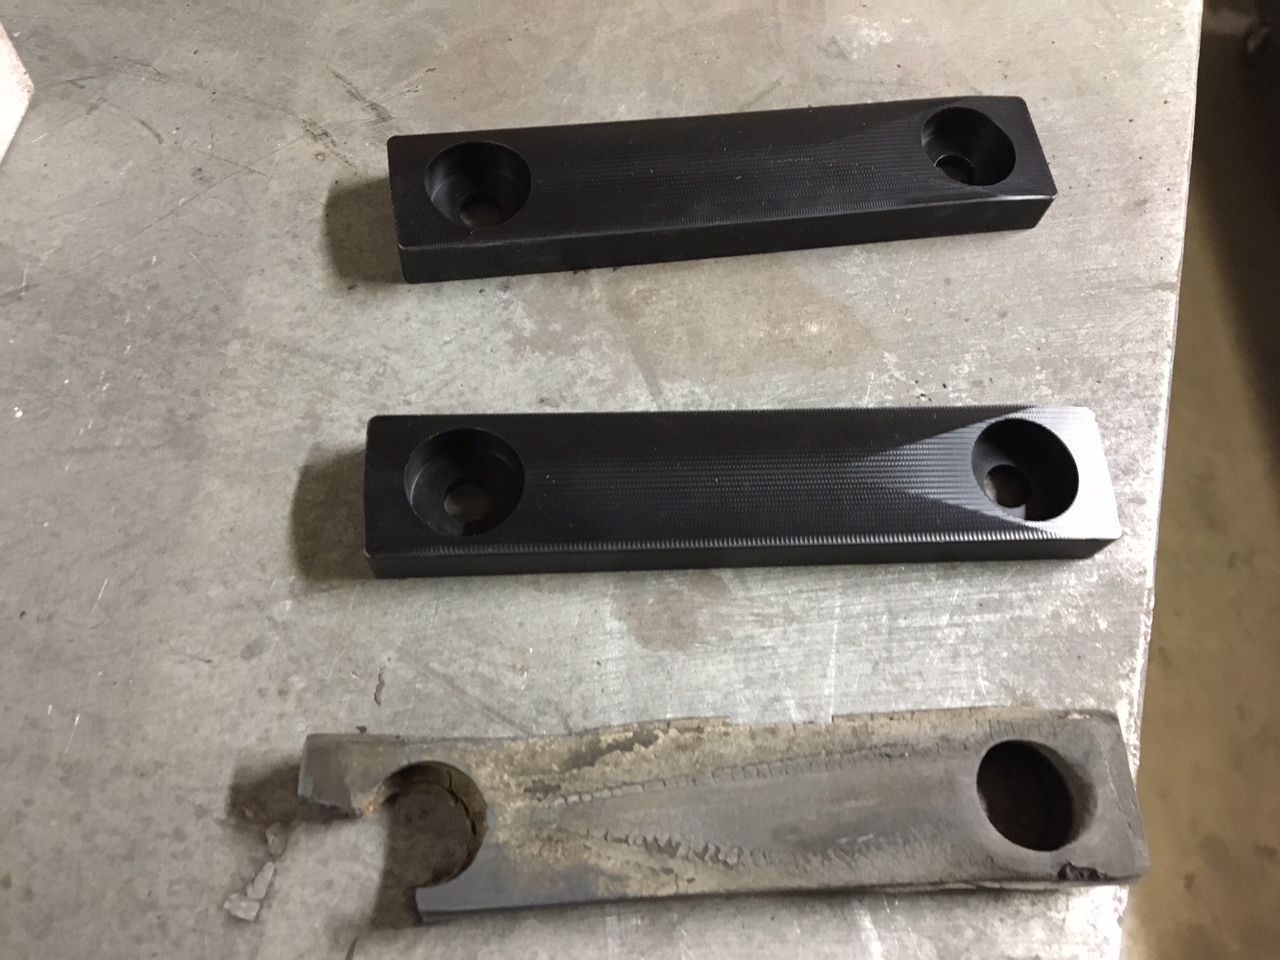
Next I decided to straighten and clean up the bumper. The passenger side of the bumper was pretty tweaked and creased pretty good. I would really like a new bumper, but thats not in the budget at the moment. I spent a few hours with a sledge and a welder and my skid steer getting it somewhat presentable. They i polished it quick with the same compound i used on the tanks. For how dirty and stained it was I was happy with how it turned out, until i mounted it on the truck. I cant believe I didnt notice it before, but the holes are not symmetrical or straight. Now that that bumper is straight its very obvious that the whole thing is shifted to the passenger side 1.5 inches. Its almost like somebody at some point bought a blank bumper then just blasted some holes in it without caring. The fact that it is not centered bugs me more than the ripples in it from straightening it. The sliders on the inside of the hood latches were all cracked and broken so I had friend of mine make me up some Delrin replacements. Very happy with those.
-
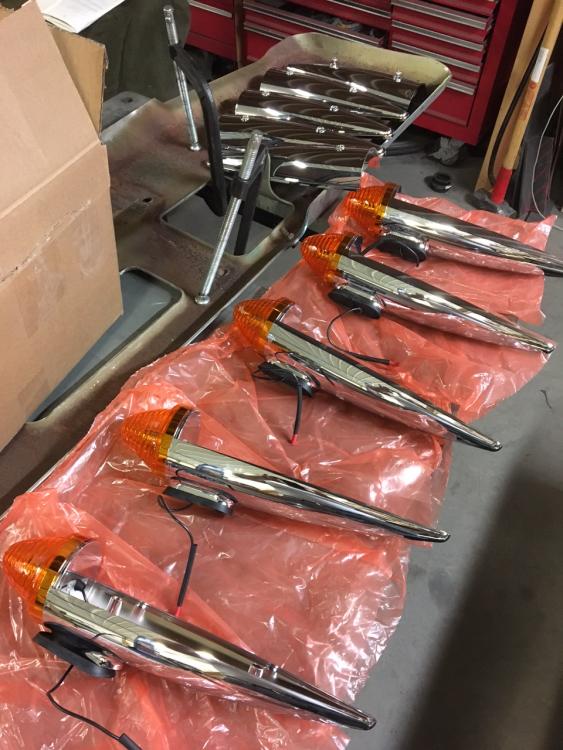
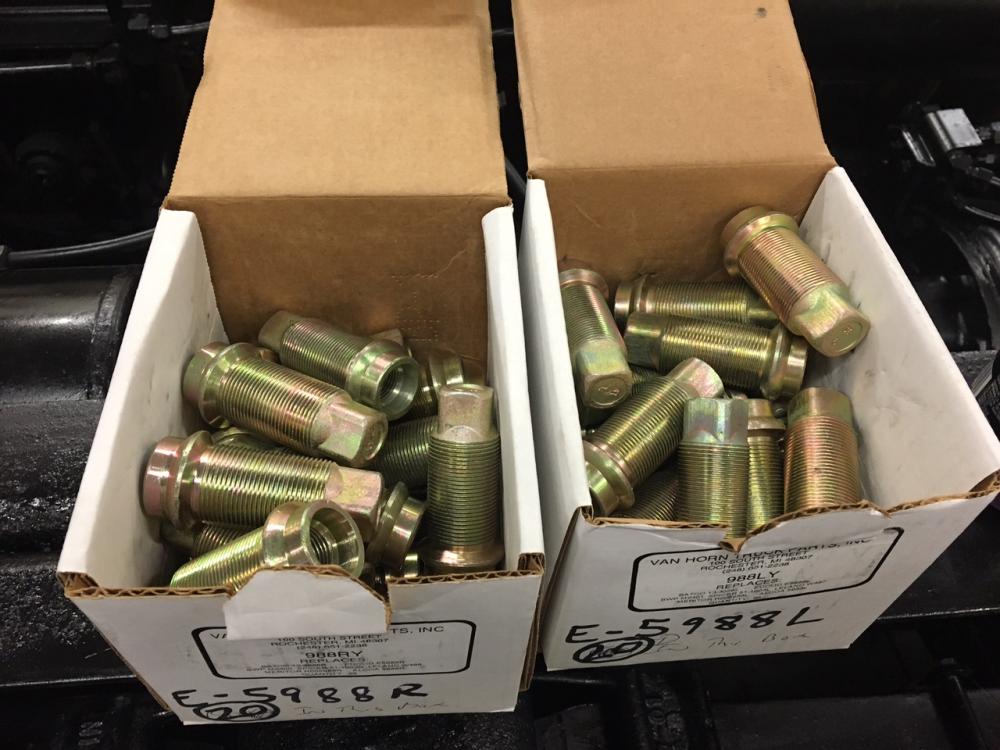
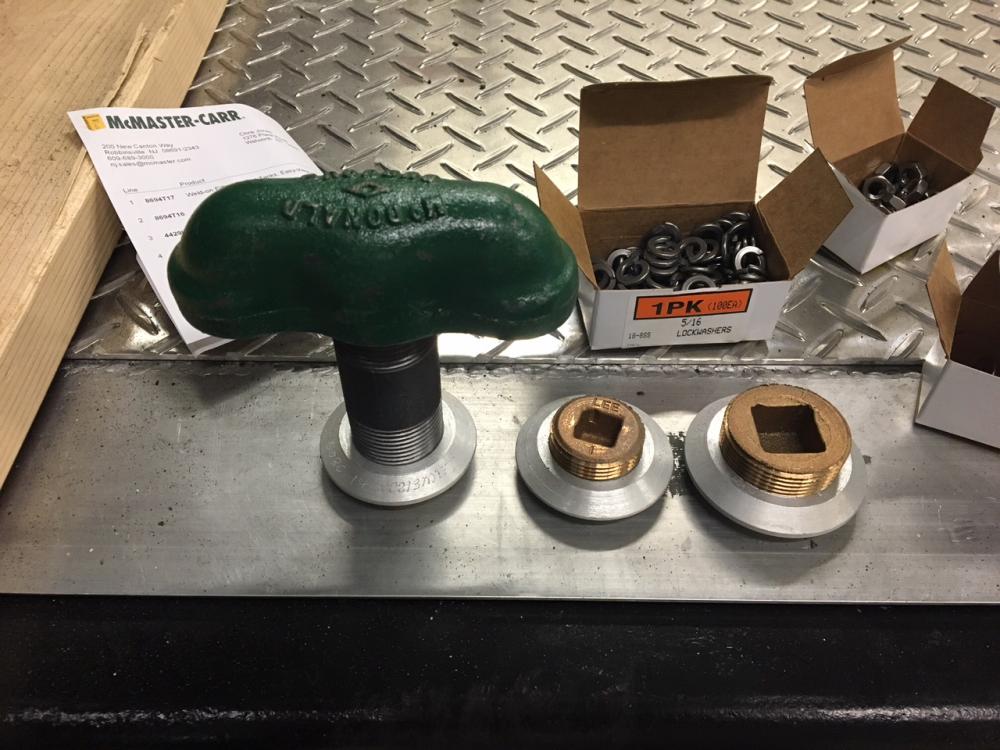
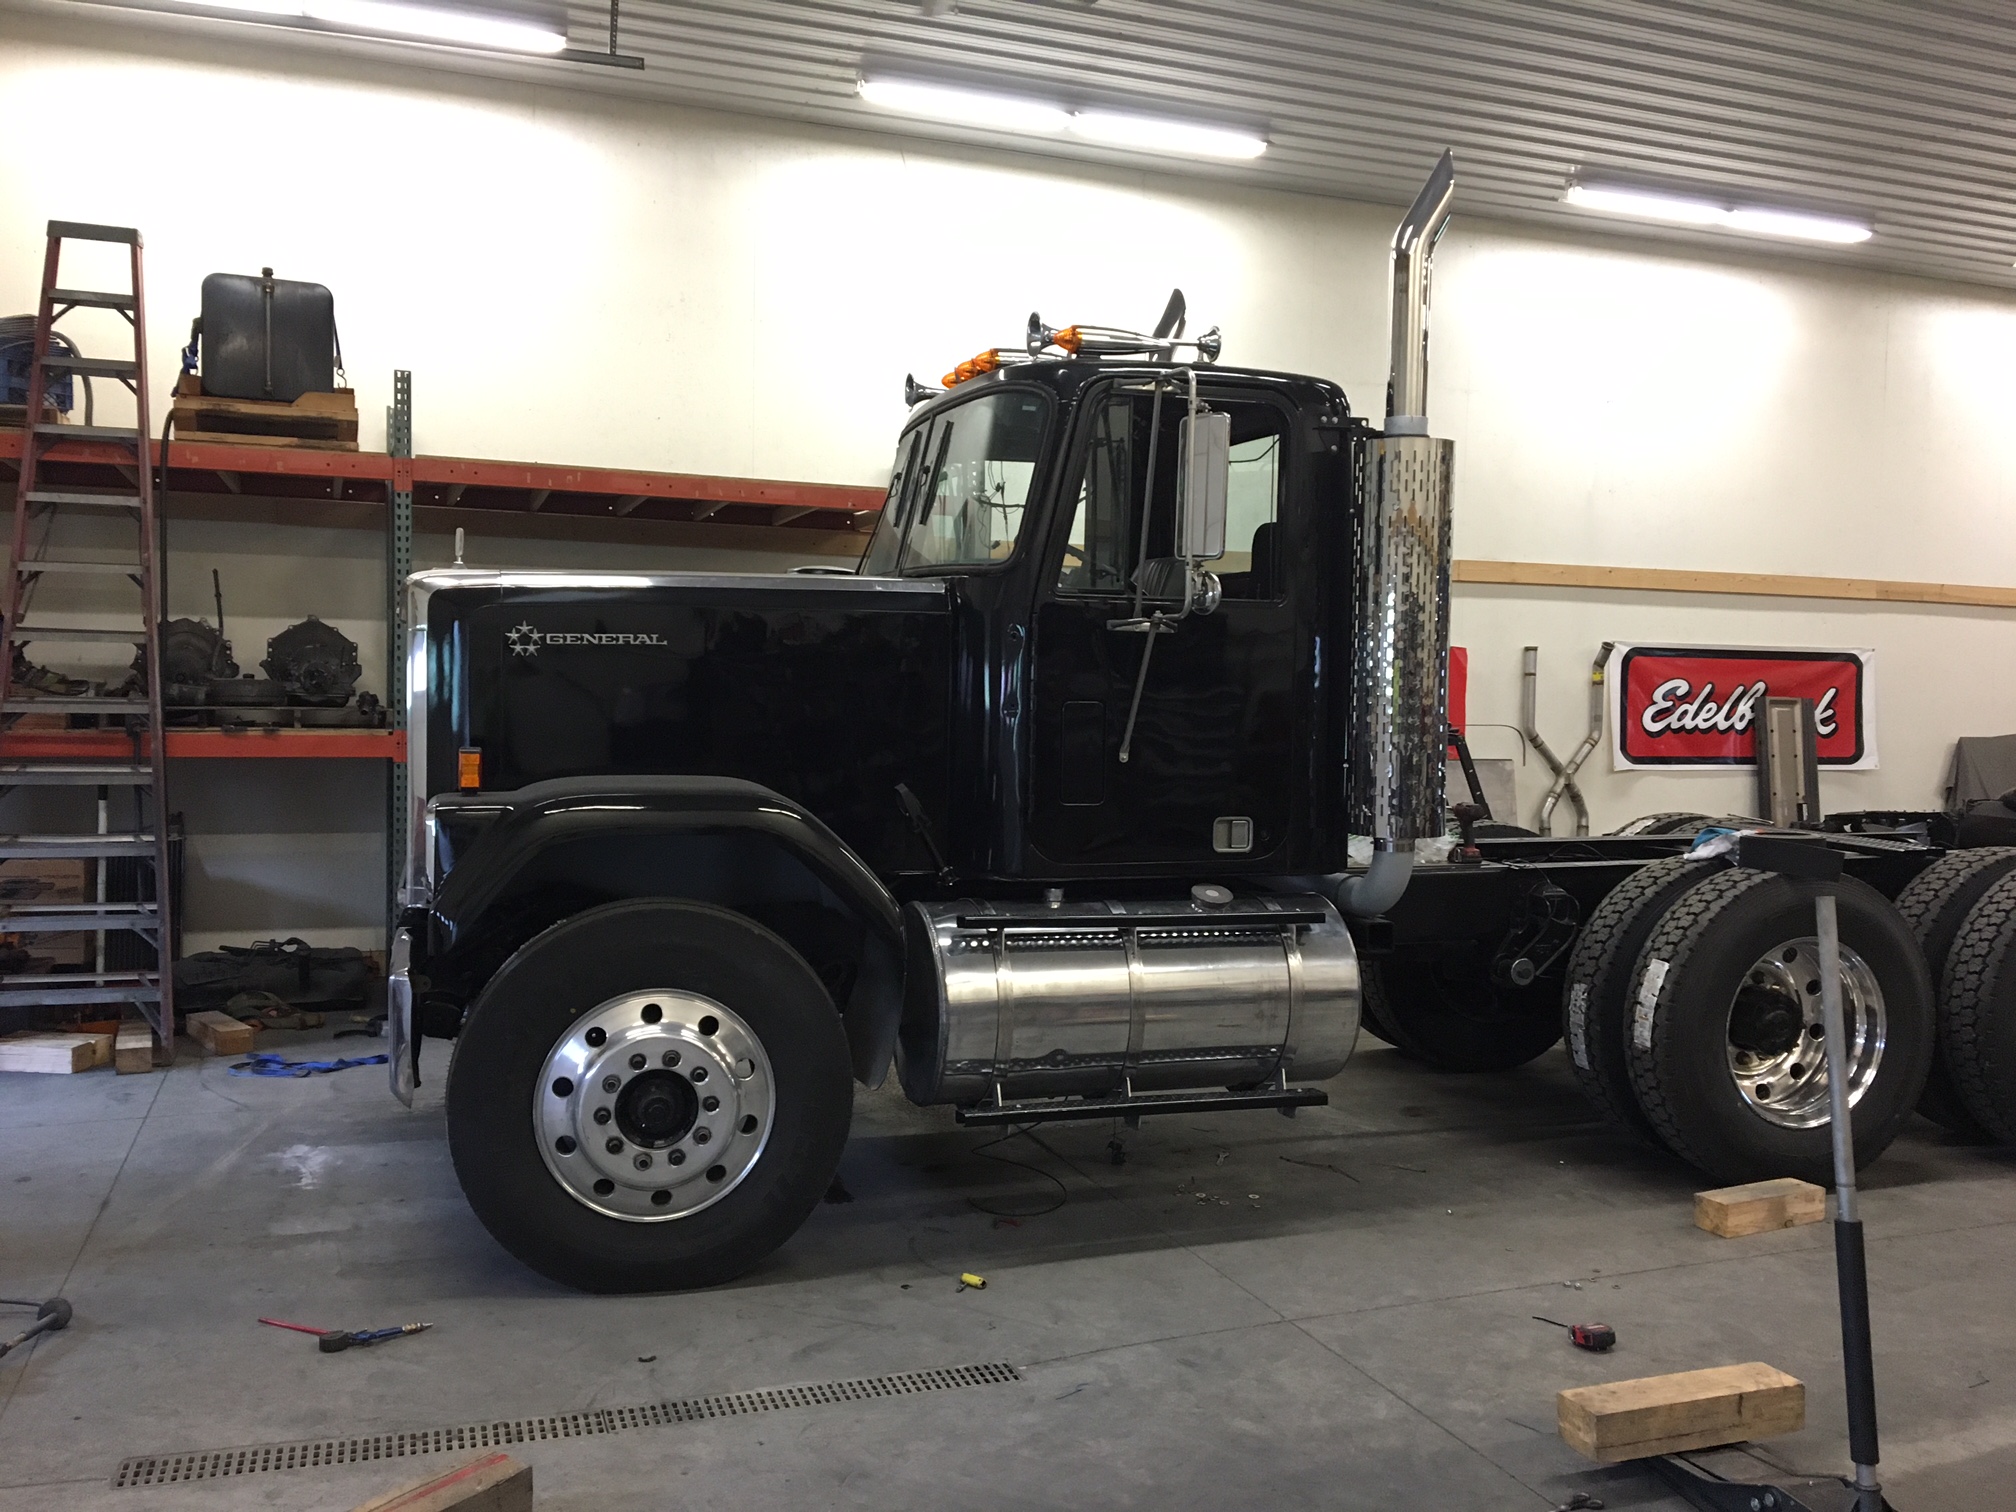
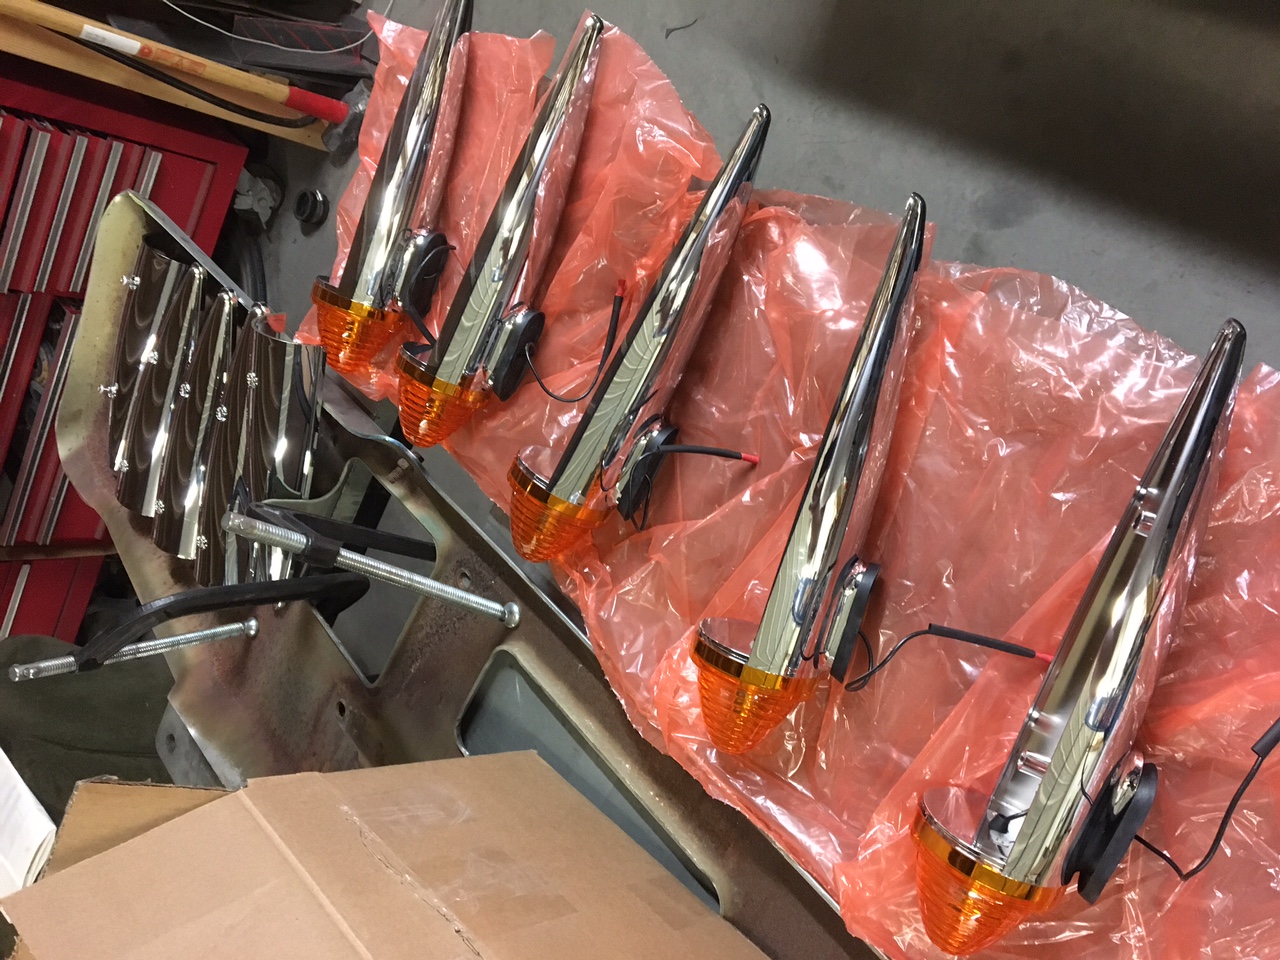
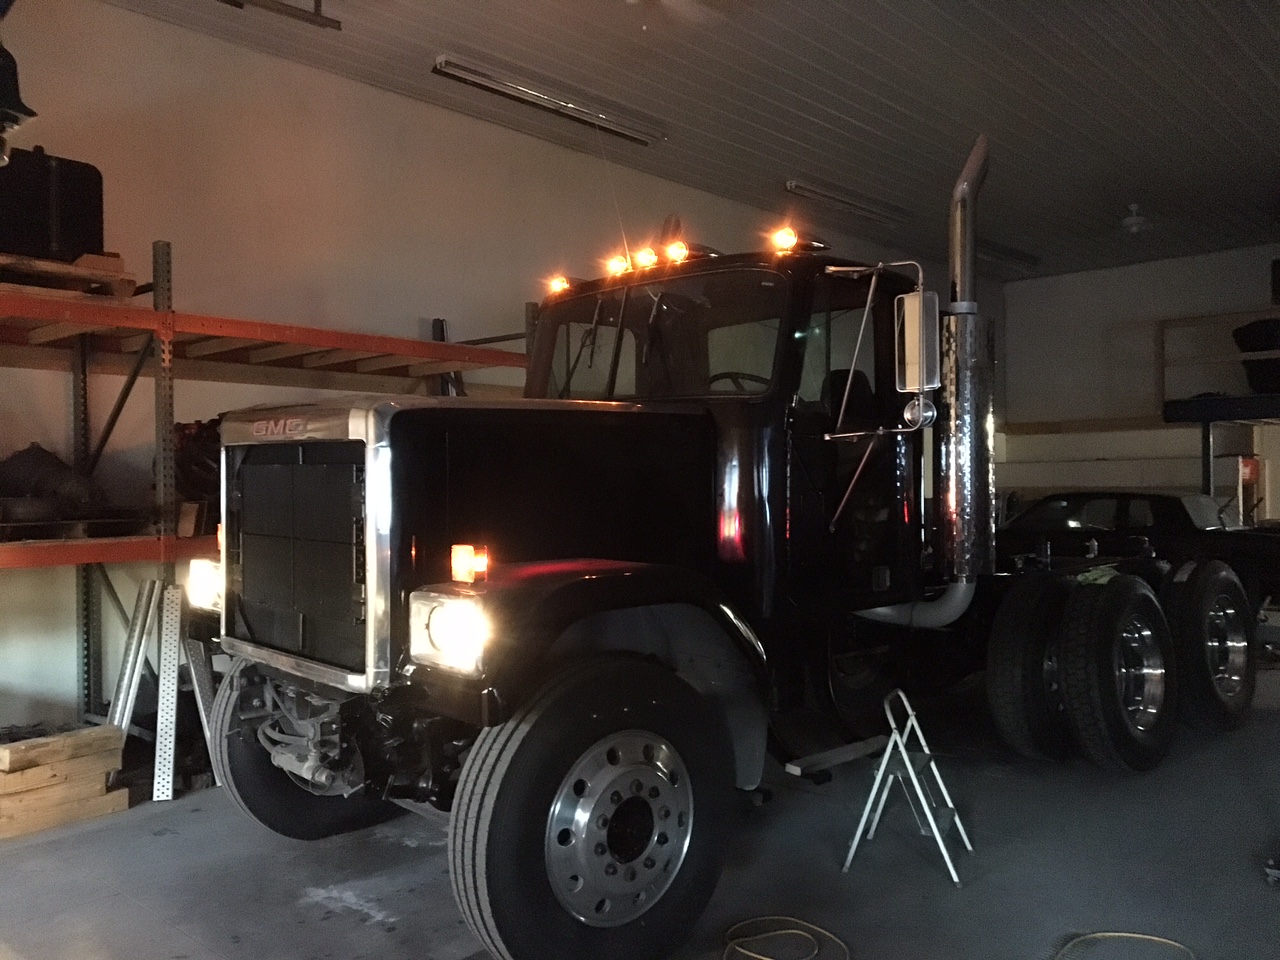
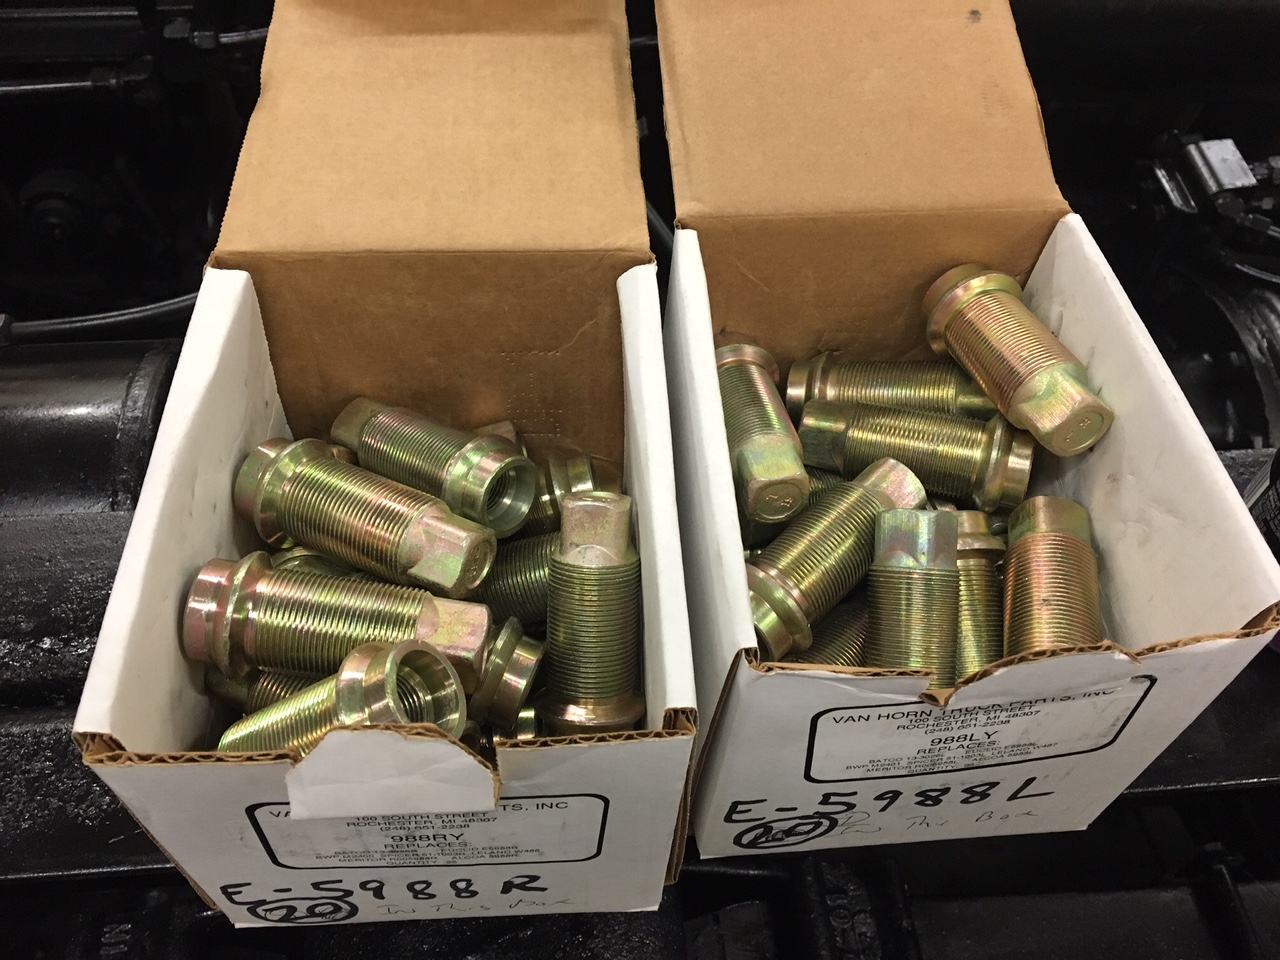
Been making some progress but not as much as I would have hoped. I got the roof buffed and the new cab lights mounted and wired. Very happy with those. The new inner lug nuts for rear showed up really fast in 3 days (more on that later) so i would recommend Van Horn truck parts to anybody. I also started to collect the aluminum bungs and vent that i will need to put in the driver side fuel tank to use as the hydraulic tank for the wet line kit in the future. I'm mimmicking the fittings and sizes off of a friend's Peterbilt since his works so well and I will most likely be using his low-boy or dump trailer.


.JPG.daf7d446f9bbba5adb7b4d79dbc8af6e.JPG)


BMT Forum Logo
