

Wobblin-Goblin
-
Posts
589 -
Joined
-
Last visited
-
Days Won
10
Content Type
Profiles
Forums
Gallery
Events
Blogs
BMT Wiki
Collections
Store
Posts posted by Wobblin-Goblin
-
-
Been very busy with the truck. Lots happening. Just haven't had the opportunity or gumption to take pics and post them.
One thing I wanted to do is to fix the glove box cover. The cover was there, but the hinges were snapped off and the part of the dash that the latch catch was fastened to was previously massacred, so the entire cover was simply screwed into the dash to hold it there.
Yesterday my dad and I cleaned the back side of the dash and made little wooden braces to hold the stubby ends of the hinges up and visible. Then we made a platform for the cover to sit on in the "open" position with the other half of the hinges touching the braced halves. Then I welded the hinges back together. OK, now the cover can open and close normally.
Next, I cleaned (spelled: Dremel) up the mess around the catch area and then welded a tab to give me something to screw/bolt a little catch tab to. I've got a button coming from Roser, so when that gets here, I should have a completely functional glove box lid.
-
 1
1
-
-
Today's progress:
1. Did body work and some welding on the driver's door. Overall, it was in good shape, especially the internals. Primed the door inside and out. Primed the door panel and the window ring. Painted the interior of the door, the panel, and the ring with the interior green. Exterior will have to wait for the other door and the hood.
2. Topped off the steering box with 80w/90 and power steering reservoir with ATF.
3. Took hood off the truck, disassembled the sides. Took off all remaining emblems. Used a body work hammer to take as many of the dings and dents out as I could. It looked like some gravel dropped on the hood, so there were plenty of dings.
Perhaps I'll have pics tomorrow.
-
6 hours ago, thomastractorsvc said:
Wheres all the pictures???
Been so busy on the truck, I haven't had time to take many. I'll post a few soon.
-
While the price is high, that's actually a pretty decent specimen for an LJ.
Oh, and those Clariben hoods sure are ugly. Functional, yes, but ugly.
-
Today's progress:
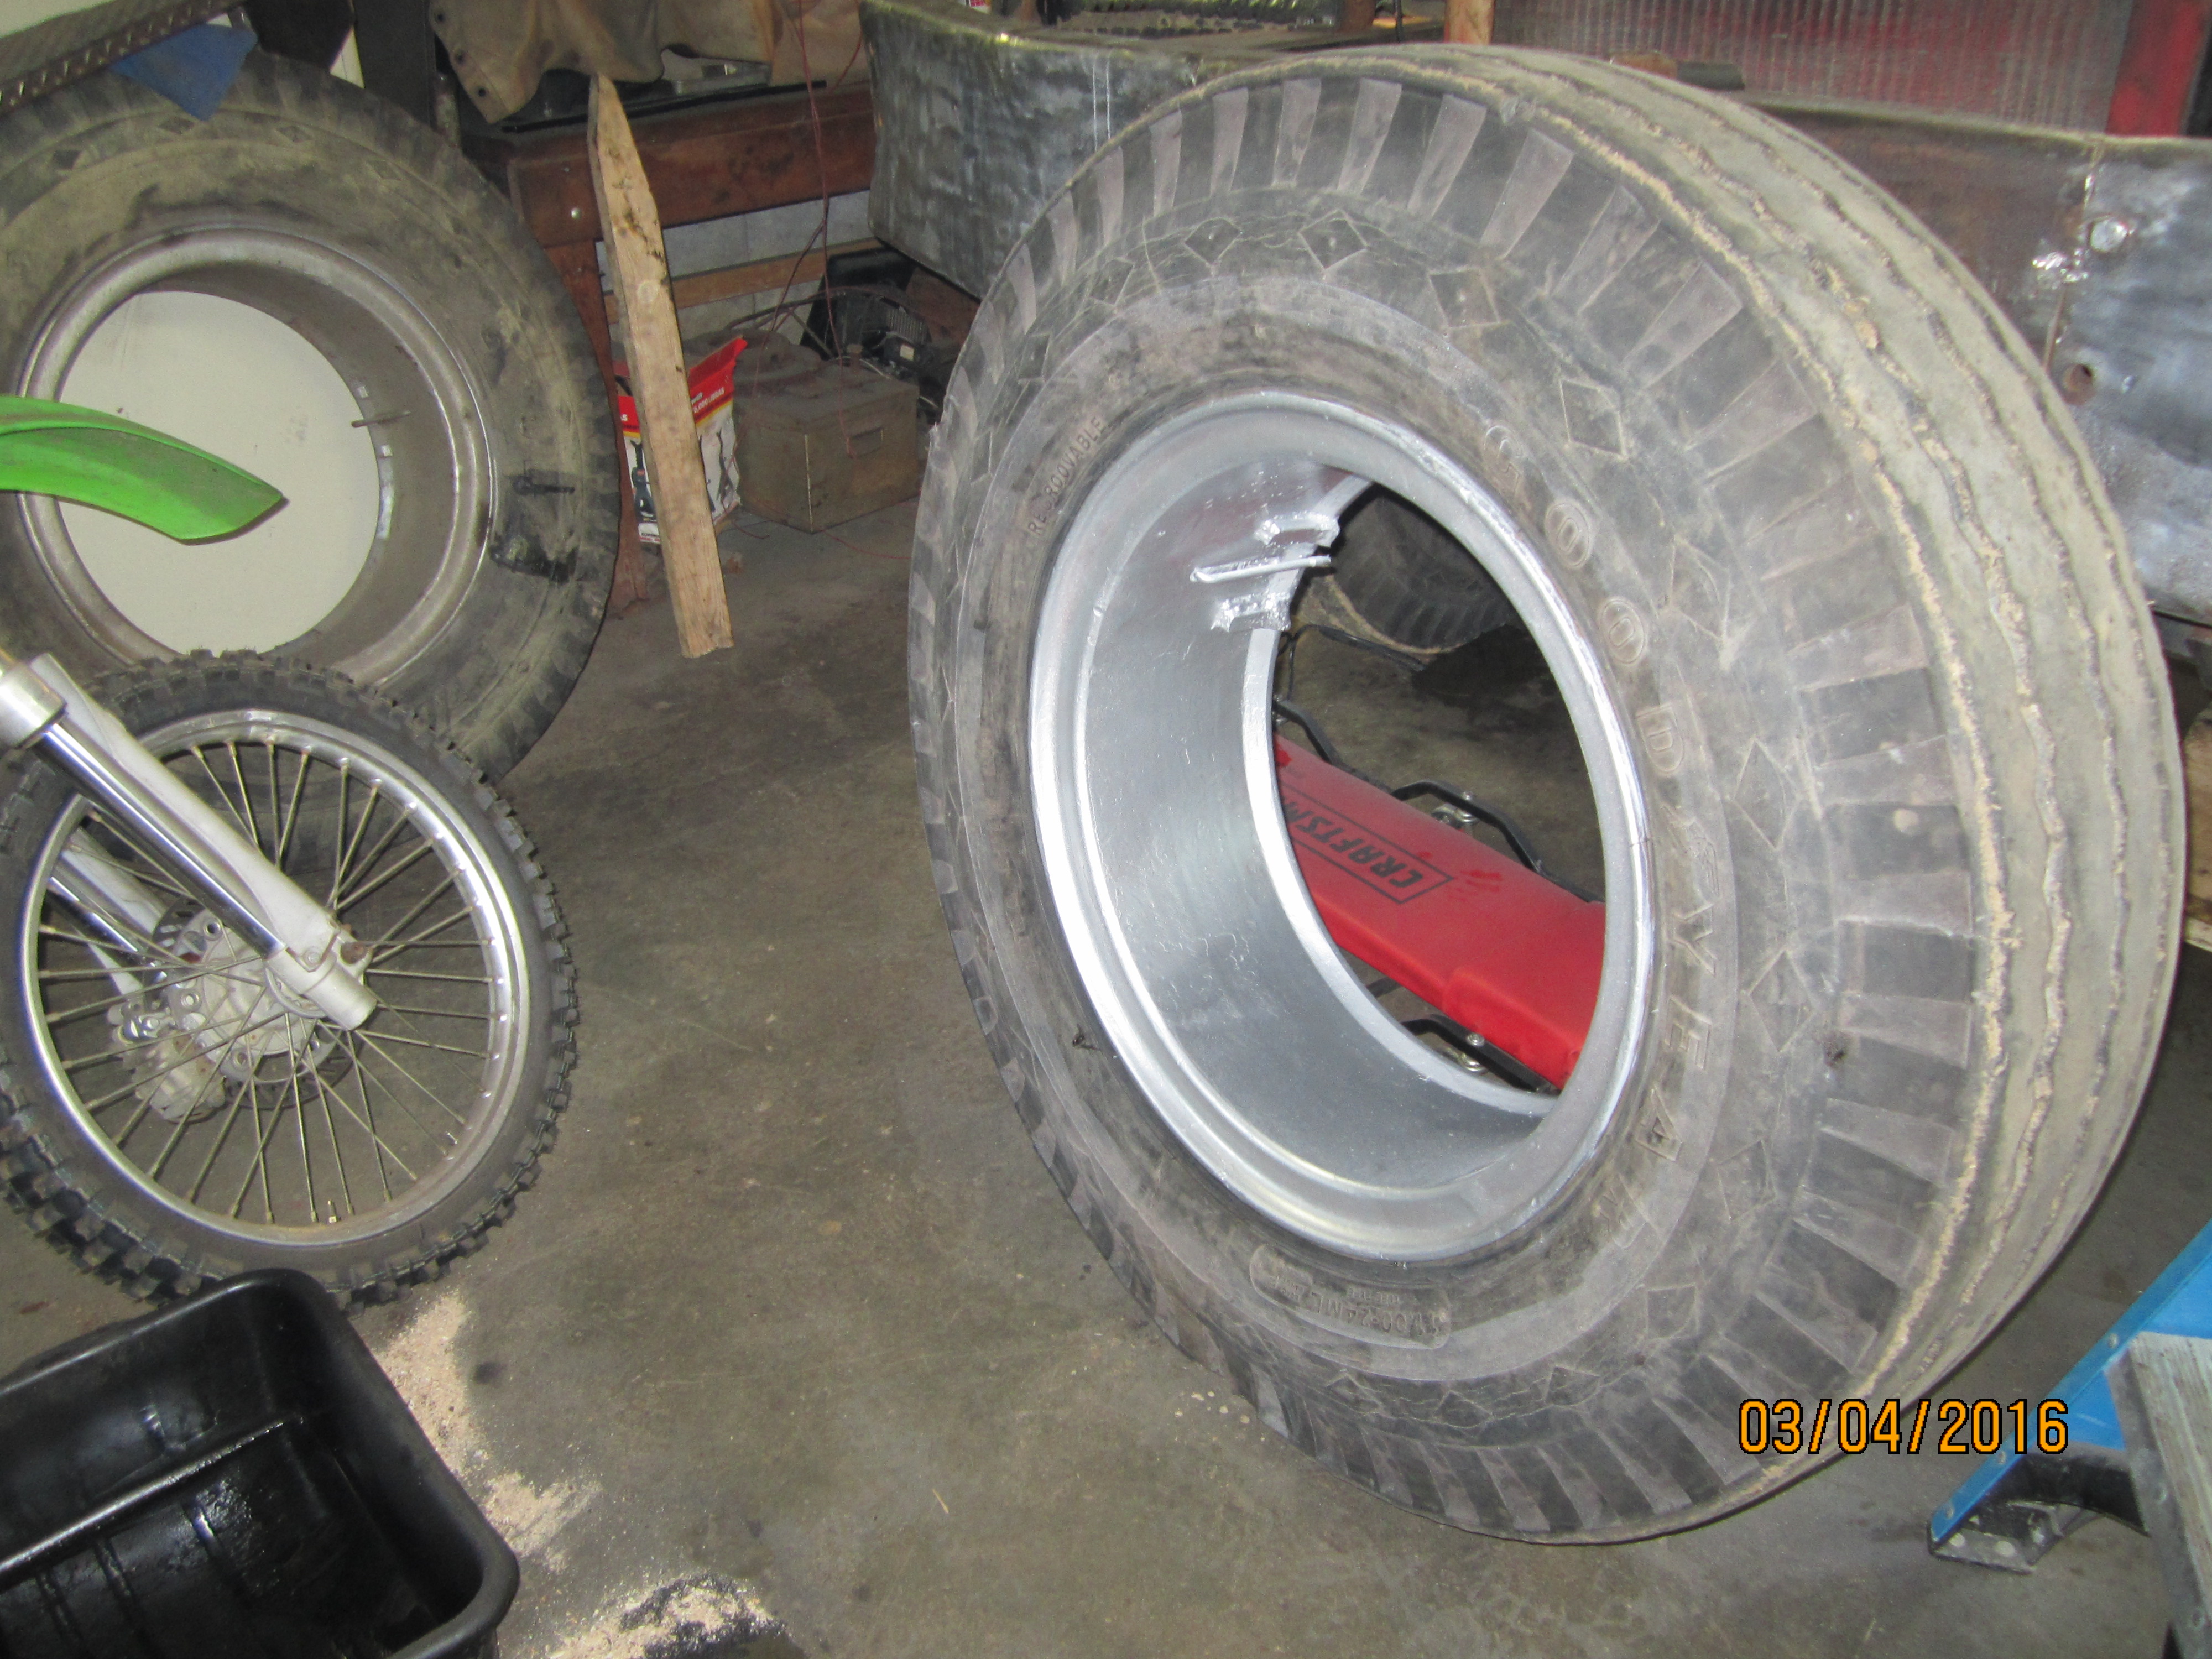
1. Mounted right front tire/wheel.
2. Made a plate to cover opening where the series parallel switch box was. Primed, painted, and installed it over the hole.
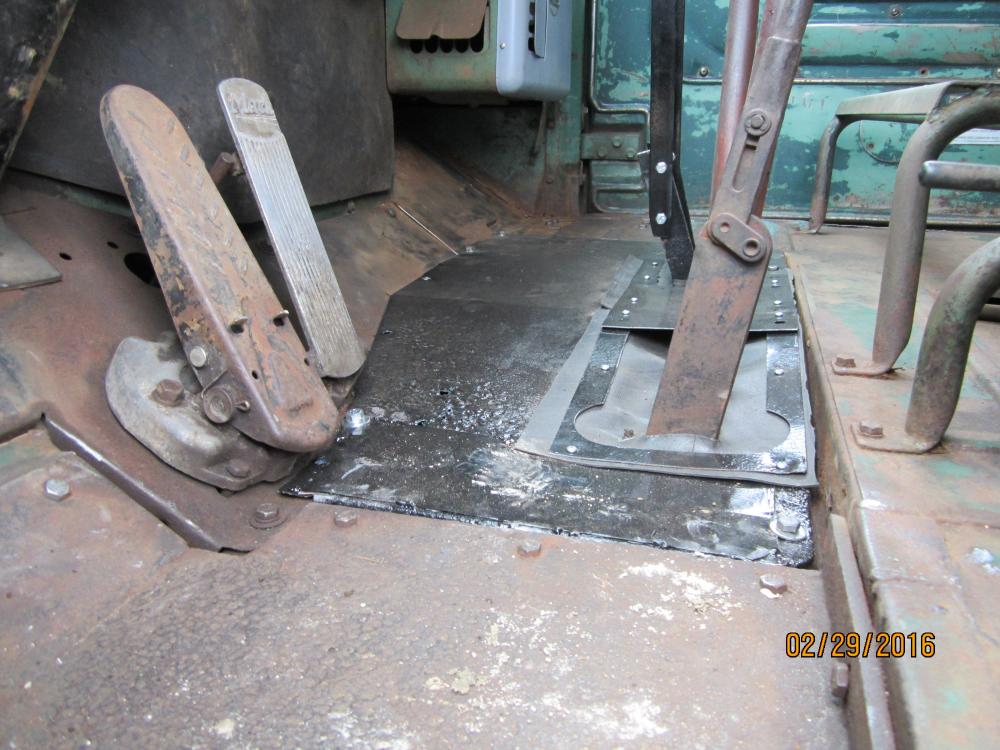
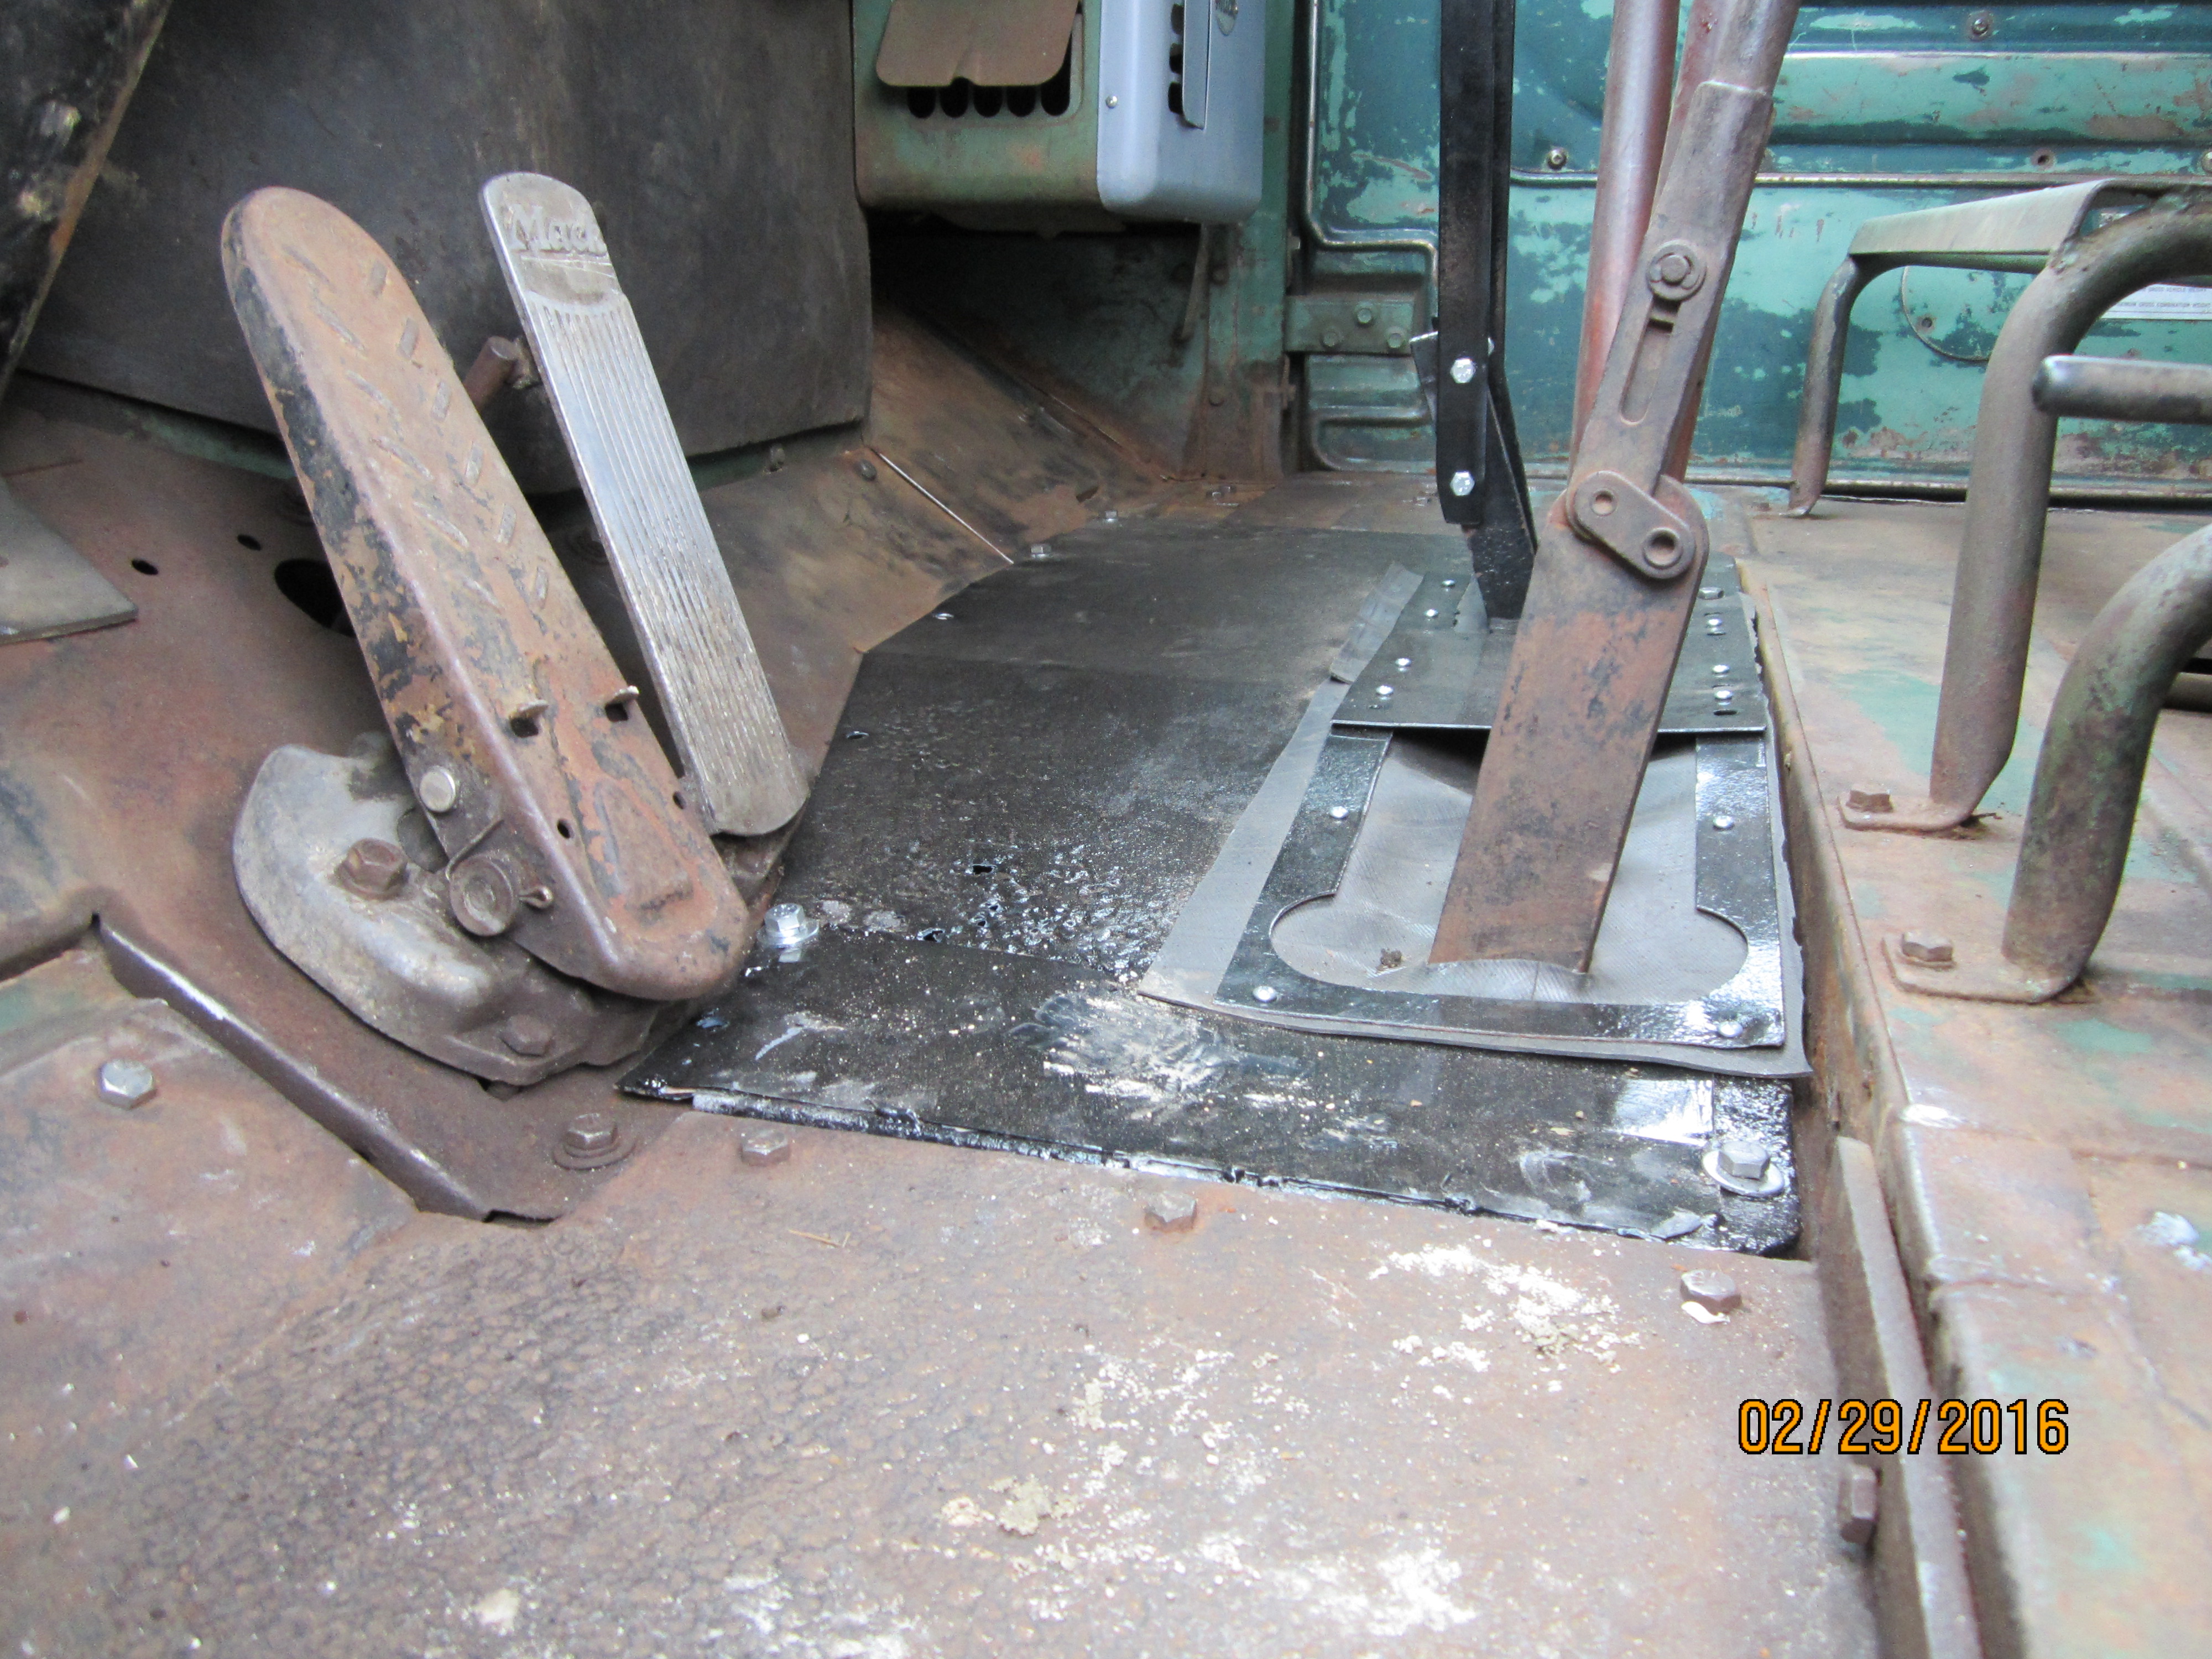
3. Re-installed the front floor mat. It looks fairly recent, but whoever initially put it in did a quick job, so there were gaps and stuff that had to be addressed. I used the Wal-Mart floor mats from last year's project to fill those gaps in and seal up the penetrations in the floor board (clutch, steering column, throttle).
4. Removed the air valve setup (for the plow) from the dash.
5. Removed the old push-button directional box from the dash.
6. Installed the seats.
7. Disassembled the driver's door. Started rebuilding the internals that needed addressing (mostly window channel stuff). Lubed the window crank assembly. Will have to weld the infamous weak spot on the door (by the vent window post).
-
1
-
-
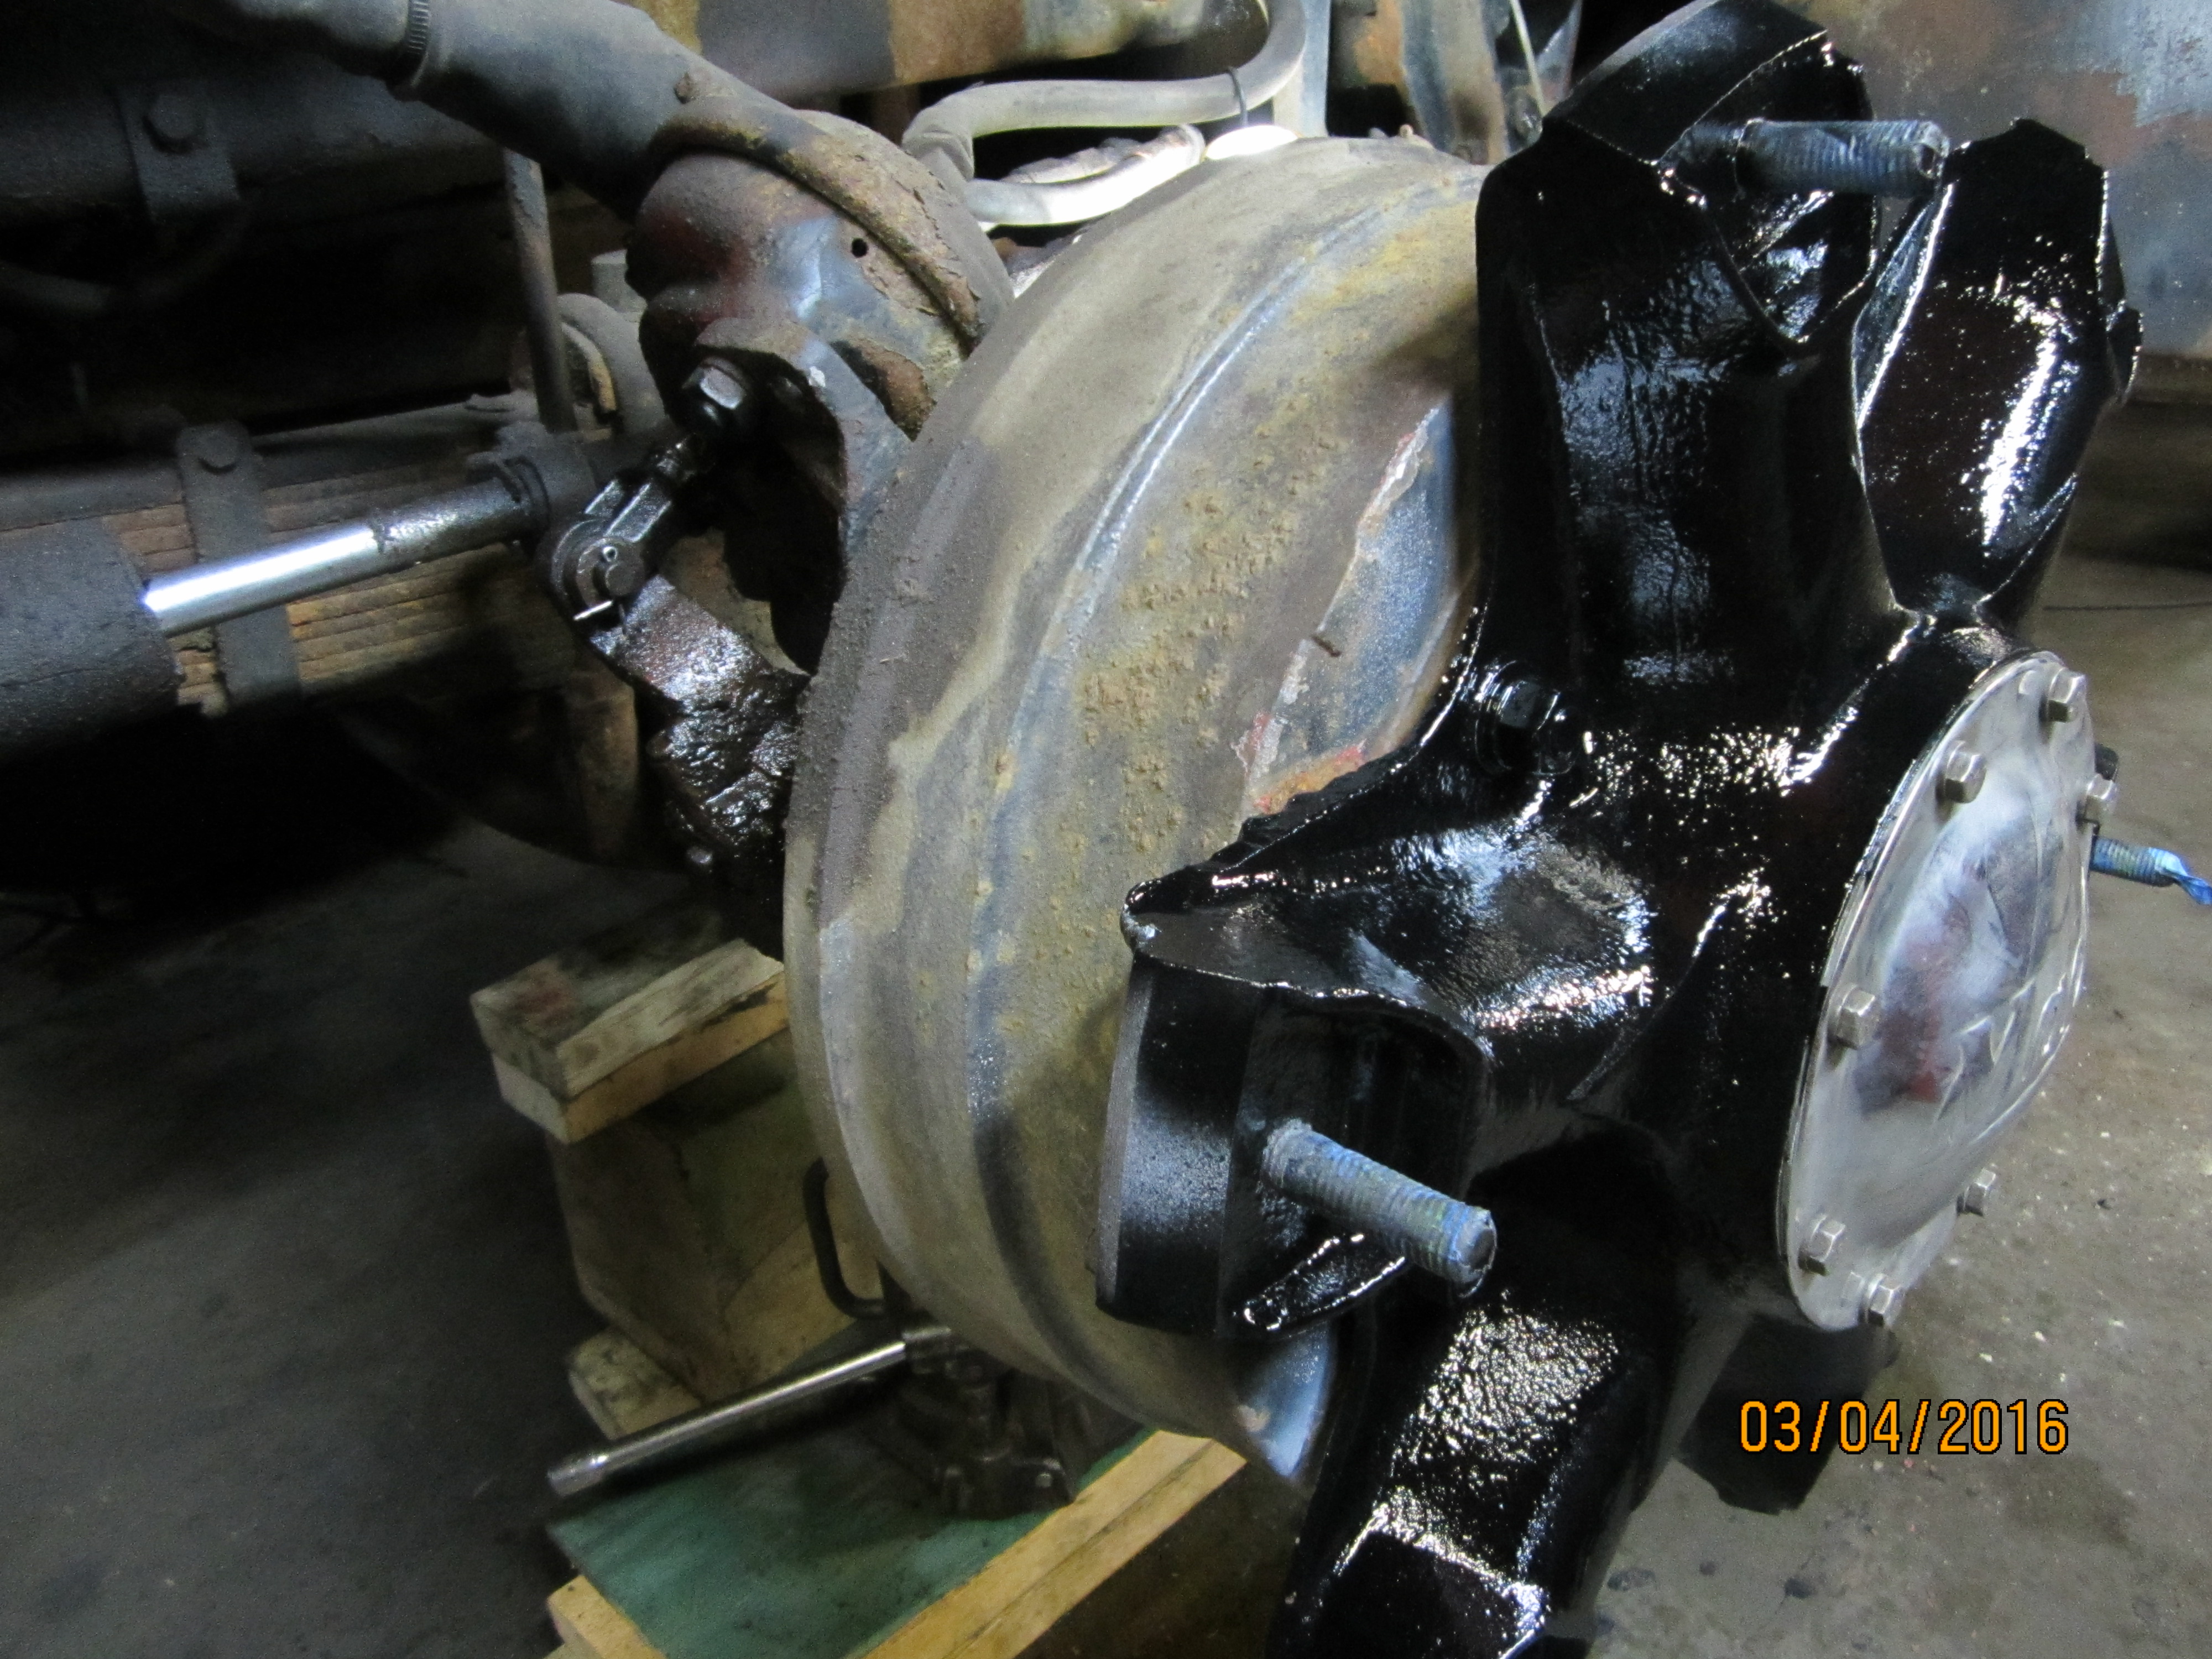
I did it. The B61SX how has Maxibrakes. Had to use the 20 in order to make it fit.
-
1
-
-
Today's progress:
Stripped, primed, and painted the right front spokes, wheel, nuts, and clamps.
-
2
-
-
Today's progress:
1. Mounted the left front tire on the truck.
2. Stripped the paint off the left angle fender and welded a few tears up to repair it.
3. Removed right front wheel. Adjusted the brake. Freed up the pin on the clevis that attaches to the slack adjuster and slobbered it with never-seize.
4. Greased the king-pins on the right side while the axle is jacked up and wheel is off.
-
2
-
-
One of the best looking LTLs I've ever seen.
-
Tightened up driver's side front cab mount today, adjusted the front brake on that side, and greased the kingpins while the axle was jacked up and tire off.
-
1
-
-
-
9 hours ago, thomastractorsvc said:
What is left on your punch list?
Everything. Heheheh.
I'm kind of just going through the truck and addressing things as I see them. For instance, today I noticed the front cab mounts (under the fenders) were loose. Now I'm digging into the truck to remedy them. Also, while I have the front wheel off, I noticed the pin holding the clevis to the slack adjuster was frozen. It took a while (with plenty of lube and heat) to get it free.
As far as the stuff I intend to look at and address, my best guess is the following:
1. Body work and paint on the exterior.
2. Paint the interior.
3. Paint all the wheels/spokes.
4. Take dump body off, fix issues with it, sandblast it, and paint it.
5. Install maxibrakes on it like I just did with the B61SX.
6. Re-wire lights as needed.
While I am doing those things, I am sure to bump into issues that will arise and have to be dealt with.


-
1
-
-
Today's progress:
1. Removed the seats. Cleaned them. Put screen over the air holes to keep rodents out.
2. Cleaned, primed, painted the seat frames.
3. Removed left front wheel. Stripped, cleaned, primed, and painted the wheel (silver) and spokes (black).
4. Stripped diamond plate upper flat piece of bumper. Straightened out some dents and stuff, too.
I'd post pics, but my phone is giving me fits.
-
'Mater now has Maxibrakes!
-
2
-
-
Stripped the paint off the bumper today. Looks like I'll be doing some surgery on it soon.
Also, the middle floorboard is done and installed, along with the rubber seals around all the levers through the floor.
I also ran an air line to the shutterstat for the radiator shutters.
PS- not liking the new format. Can't upload more than one pic. That blows.
-
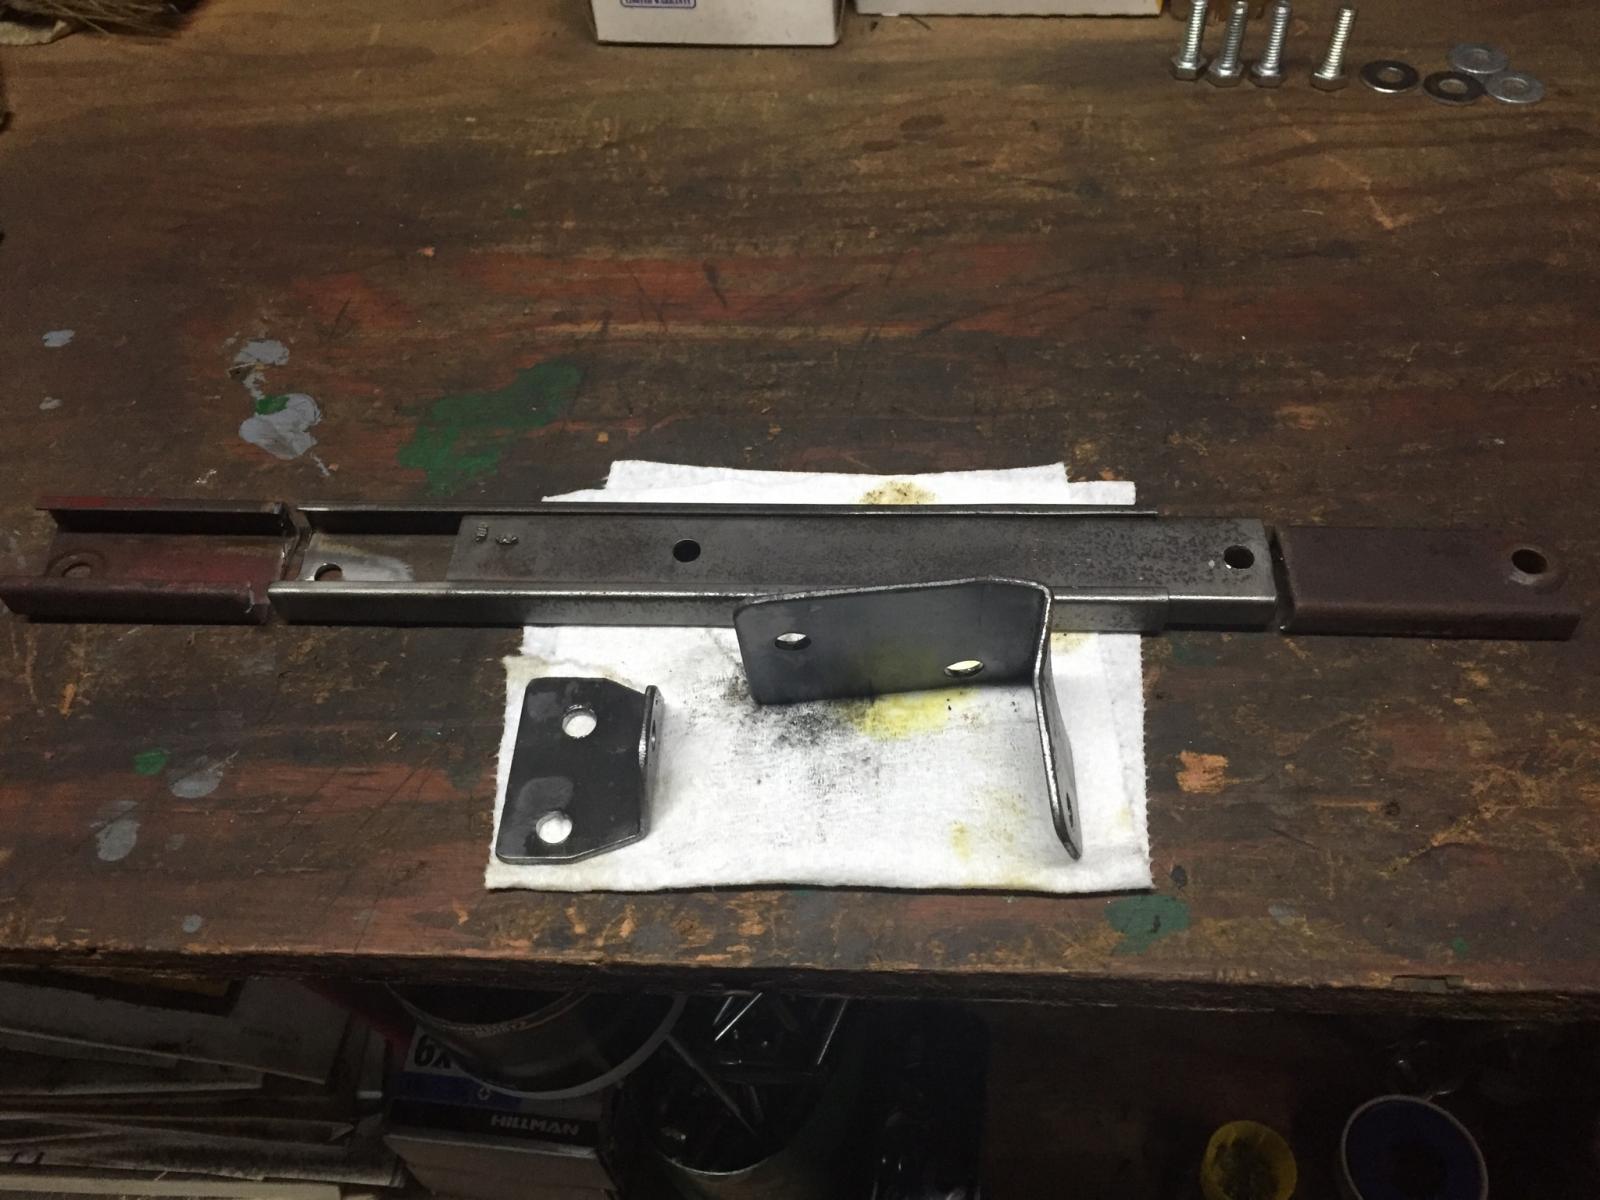
Arms cut down and re-drilled. Bolt-on "feet" fabricated to be nearly identical to factory.

-
1
-
-
My solution was to cut the arms down and re-drill them. I will post pics later today.
-
how about some pictures of under your hood and cowl so we can see your problem
The arms I have are too long.
-
Thanks a bunch for the pics. Precisely what I was looking for. I have to cut these arms down. They came off an International Loadstar and looked like a virtual match for the ones on my B61.
-
Can you just relocate the cowl mount?
By six inches? Nope.
-
Mine measure 11.5" collapsed and 17" in the extended locked position when I square up the ends. I believe they are shorter than 60 series parts but don't have a set to look at.
Well, that's it then. The arms I have are 13.25" collapsed and 22.5" in the extended locked position. That's what the problem is. I'll have to cut them down to the dimensions you posted.
Thank you for that information, bud.
-
Still trying to figure out the hood support arms. I made the small steel connectors for bolting the arms to the hood and firewall, but the arms are apparently too long. Strange, they are identical to the arms on my B61....
Drained the transmission and re-filled with new 80w-90.
-
After messing with it again today, perhaps the support arms are shorter on a B81.
Something's different, I know that much.
-
I found supports that are identical to what's on my B61. Yesterday I installed them on my B81 (with home-made bolt-on connectors), and they didn't work due to the distance/geometry being different. Apparently the pieces that attach the arms to the hood and firewall are not the same on a B81. At least, that's what I'm thinking.


BMT Forum Logo

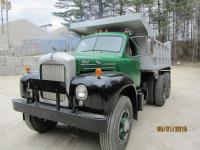
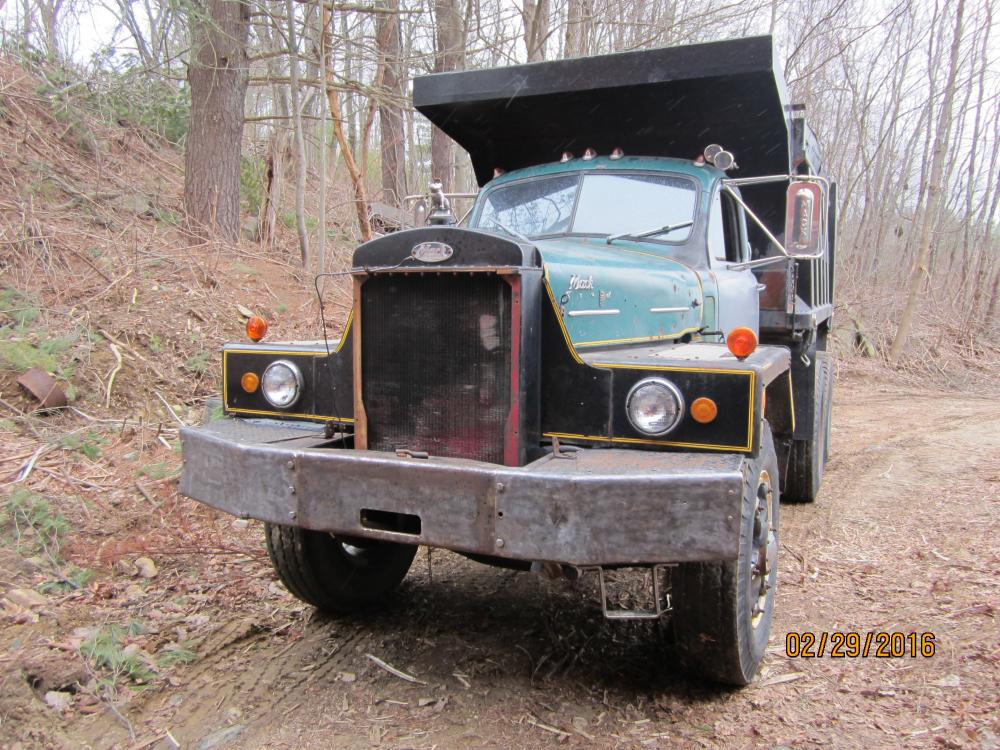
B81SX is now in its new home
in Antique and Classic Mack Trucks General Discussion
Posted
Yeah, you know what they say about pulling on threads....
By the end of this week, I'm hoping to have the interior painted (one door is already done), the new windshield rubber on and sealed up, the radiator, fenders, and bumper ready to paint, and all the bodywork on the cab (minimal) done.