


77_Cruiser
-
Posts
30 -
Joined
-
Last visited
77_Cruiser's Achievements
")


-
Tricky Pitman Arm Location on '77 Cruiseliner Cabover
77_Cruiser replied to 77_Cruiser's topic in Driveline and Suspension
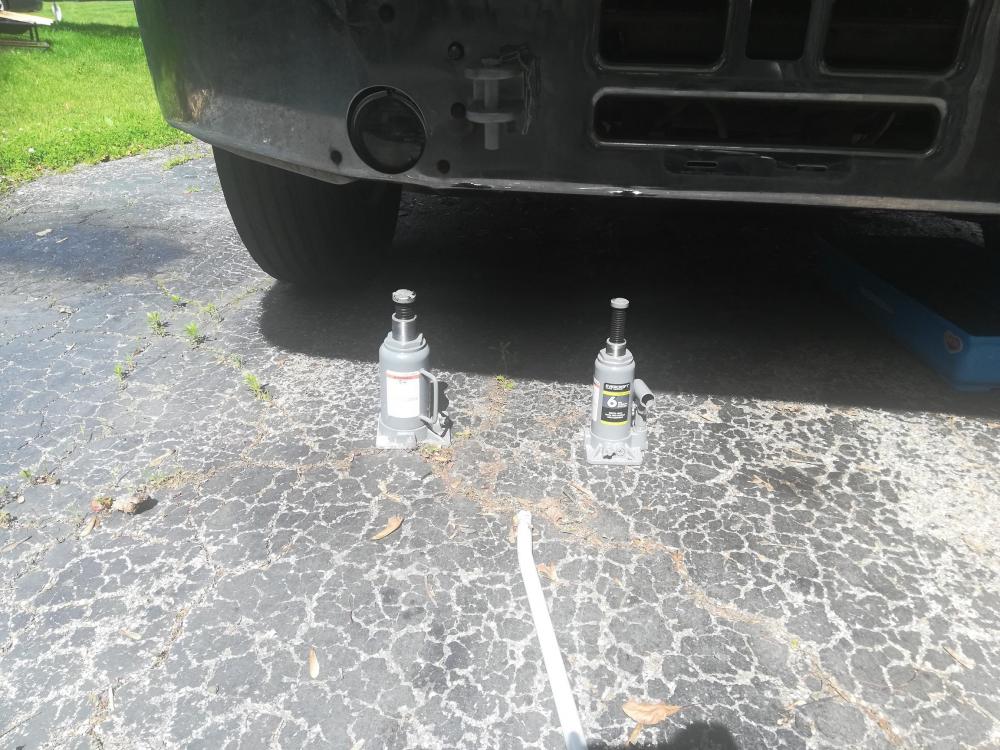
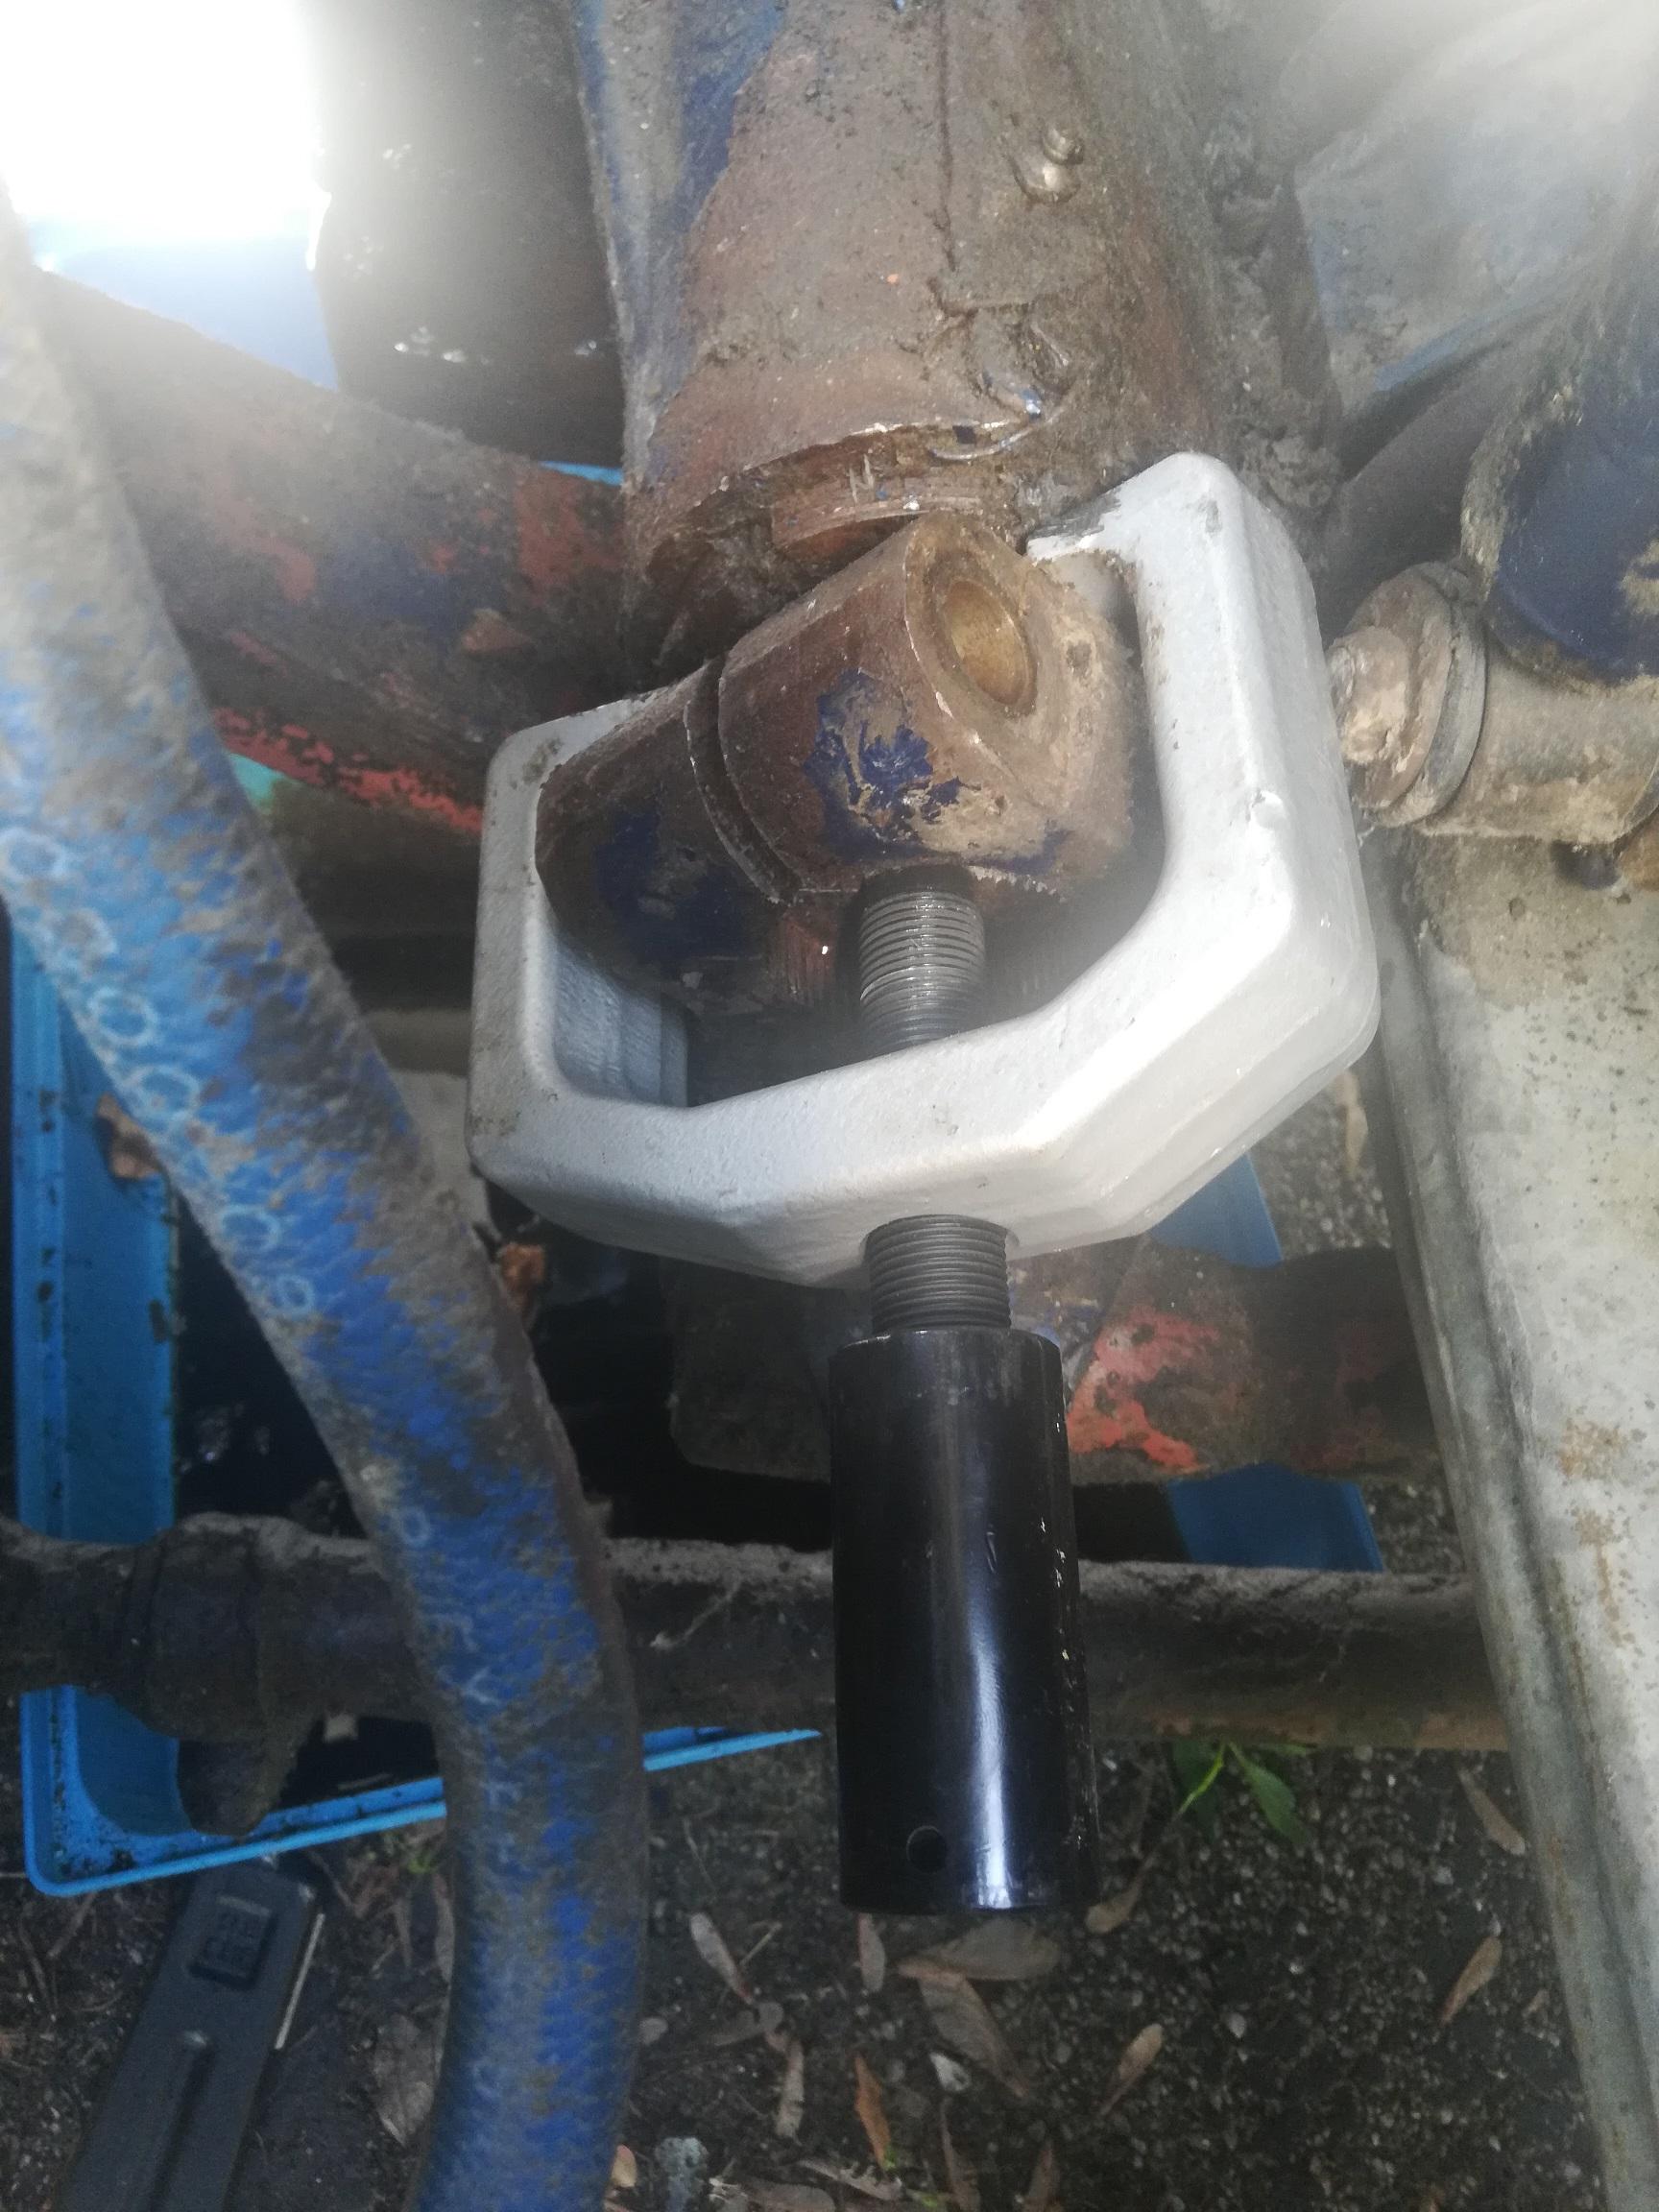
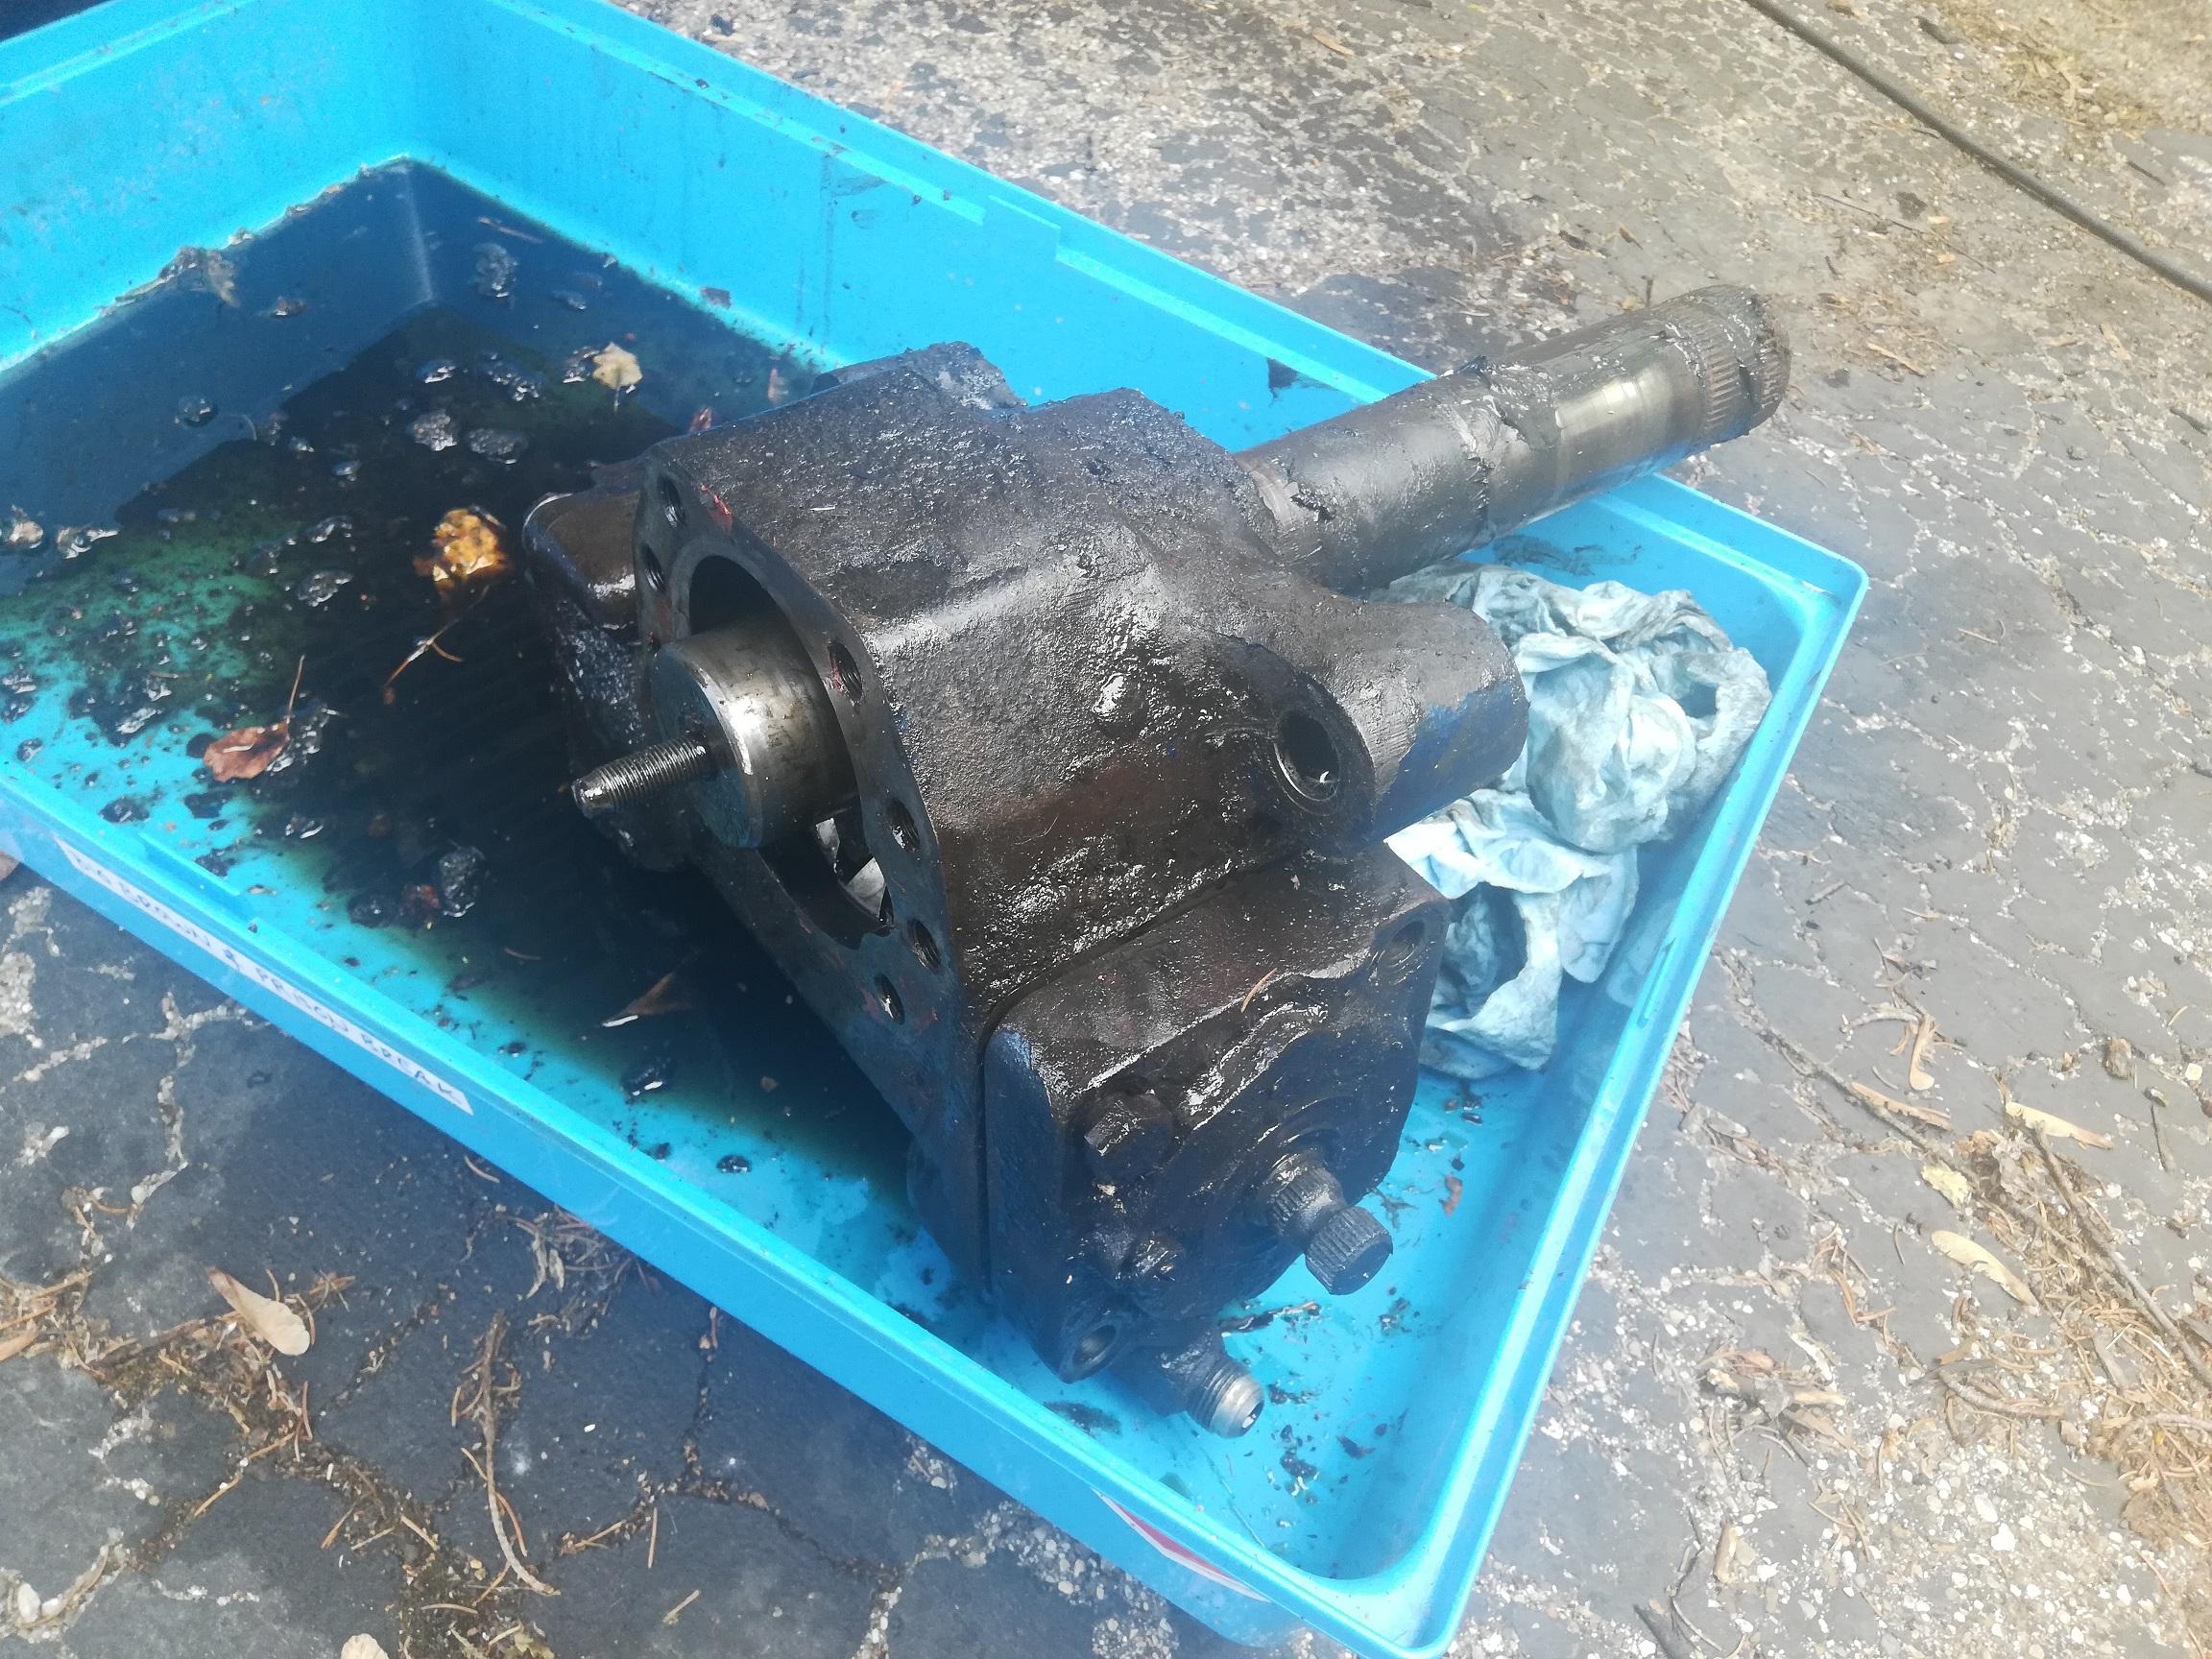
Finally got the sun-bich off. In the end the big game changer was an OTC 5056 automatic slack adjuster puller from Amazon. It fit just around the gap between the shock and the pitman arm. Used a 440/350 ft-lb plug-in impact gun which was also key to getting the part off. Added some WD-40 Specialist as well but almost got completely screwed as the pitman harm started to slide off at an angle and nearly cross thread. Next thing is to get the part number of the steering box and get a rebuild kit hopefully within the week. I did pull the bolts eventually for other reasons (to fit the puller around the pitman arm), but I suspect you all are right that it would have given trouble eventually. I did have to use a wood splitting wedge to pry open the arm towards the end when the cross threading was getting close. That would have been impossible if the bolt was still in like before. Had to lift the front axle to change the steering angle as mentioned above as the steering box was no longer in a position where I could steer from the steering wheel. Thanks for all the advice. I'm a M-F office worker so every little victory is a big deal. Feel like a 'man' again. haha.


-
Pitman Arm Puller Recommendations
77_Cruiser replied to 58GreenMackB's topic in Driveline and Suspension
Going to give this a try for my unorthodox Cruiseliner setup. Thanks for the part #. -
Tricky Pitman Arm Location on '77 Cruiseliner Cabover
77_Cruiser replied to 77_Cruiser's topic in Driveline and Suspension
It is a very different setup, but worth a try. Will repost regarding the results in a few days. -
Tricky Pitman Arm Location on '77 Cruiseliner Cabover
77_Cruiser replied to 77_Cruiser's topic in Driveline and Suspension
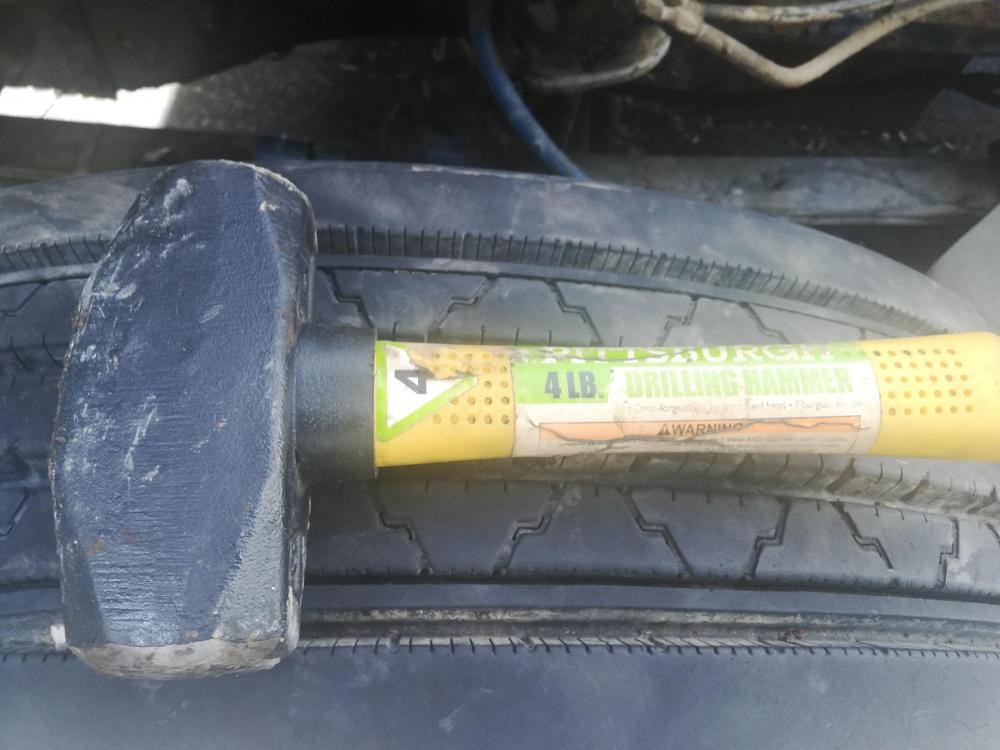
I see on another post that there may be away with a slack adjuster puller and maybe some butane. The throat is 2.5". I see big and small slack adjusters on Ebay. Any guess which size would be best to try? Also, since it is a clamp style arm with an opening, could a jack hammer work here?
-
Tricky Pitman Arm Location on '77 Cruiseliner Cabover
77_Cruiser replied to 77_Cruiser's topic in Driveline and Suspension
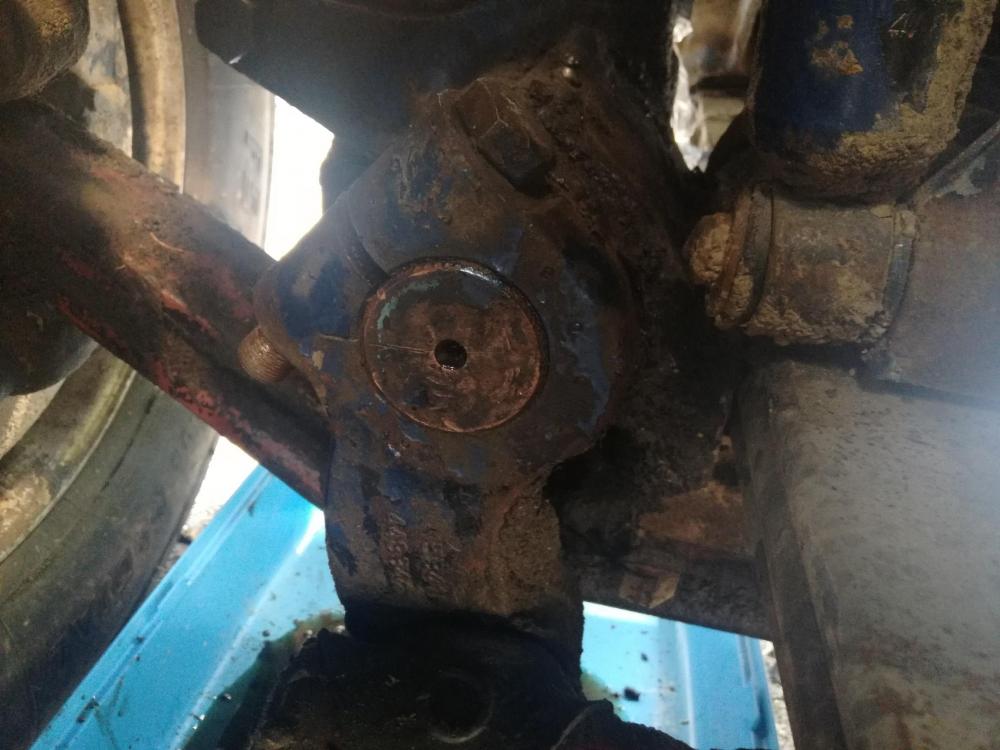
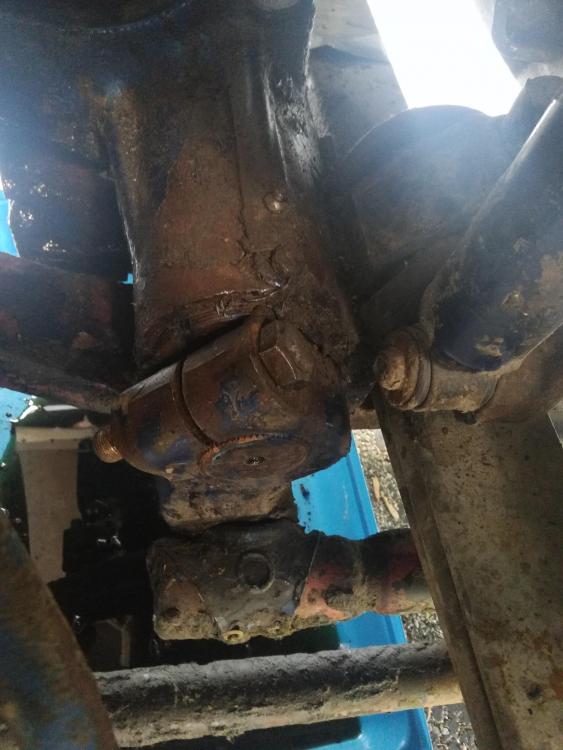
Unfortunately, that bolt cannot move out of the slot as is due to length restrictions. But it is not a tight fit. It wobbles in all three rotation directions in there so I think at least this arm can be removed with the bold sitting there. I understand that is probably not usually the case, but hopefully this is the exception. Otherwise, I need to start breaking down the frame and I don't think that was the intended approach from Mack. But, I could be wrong. I guess it is only the shock in the way in that location... -
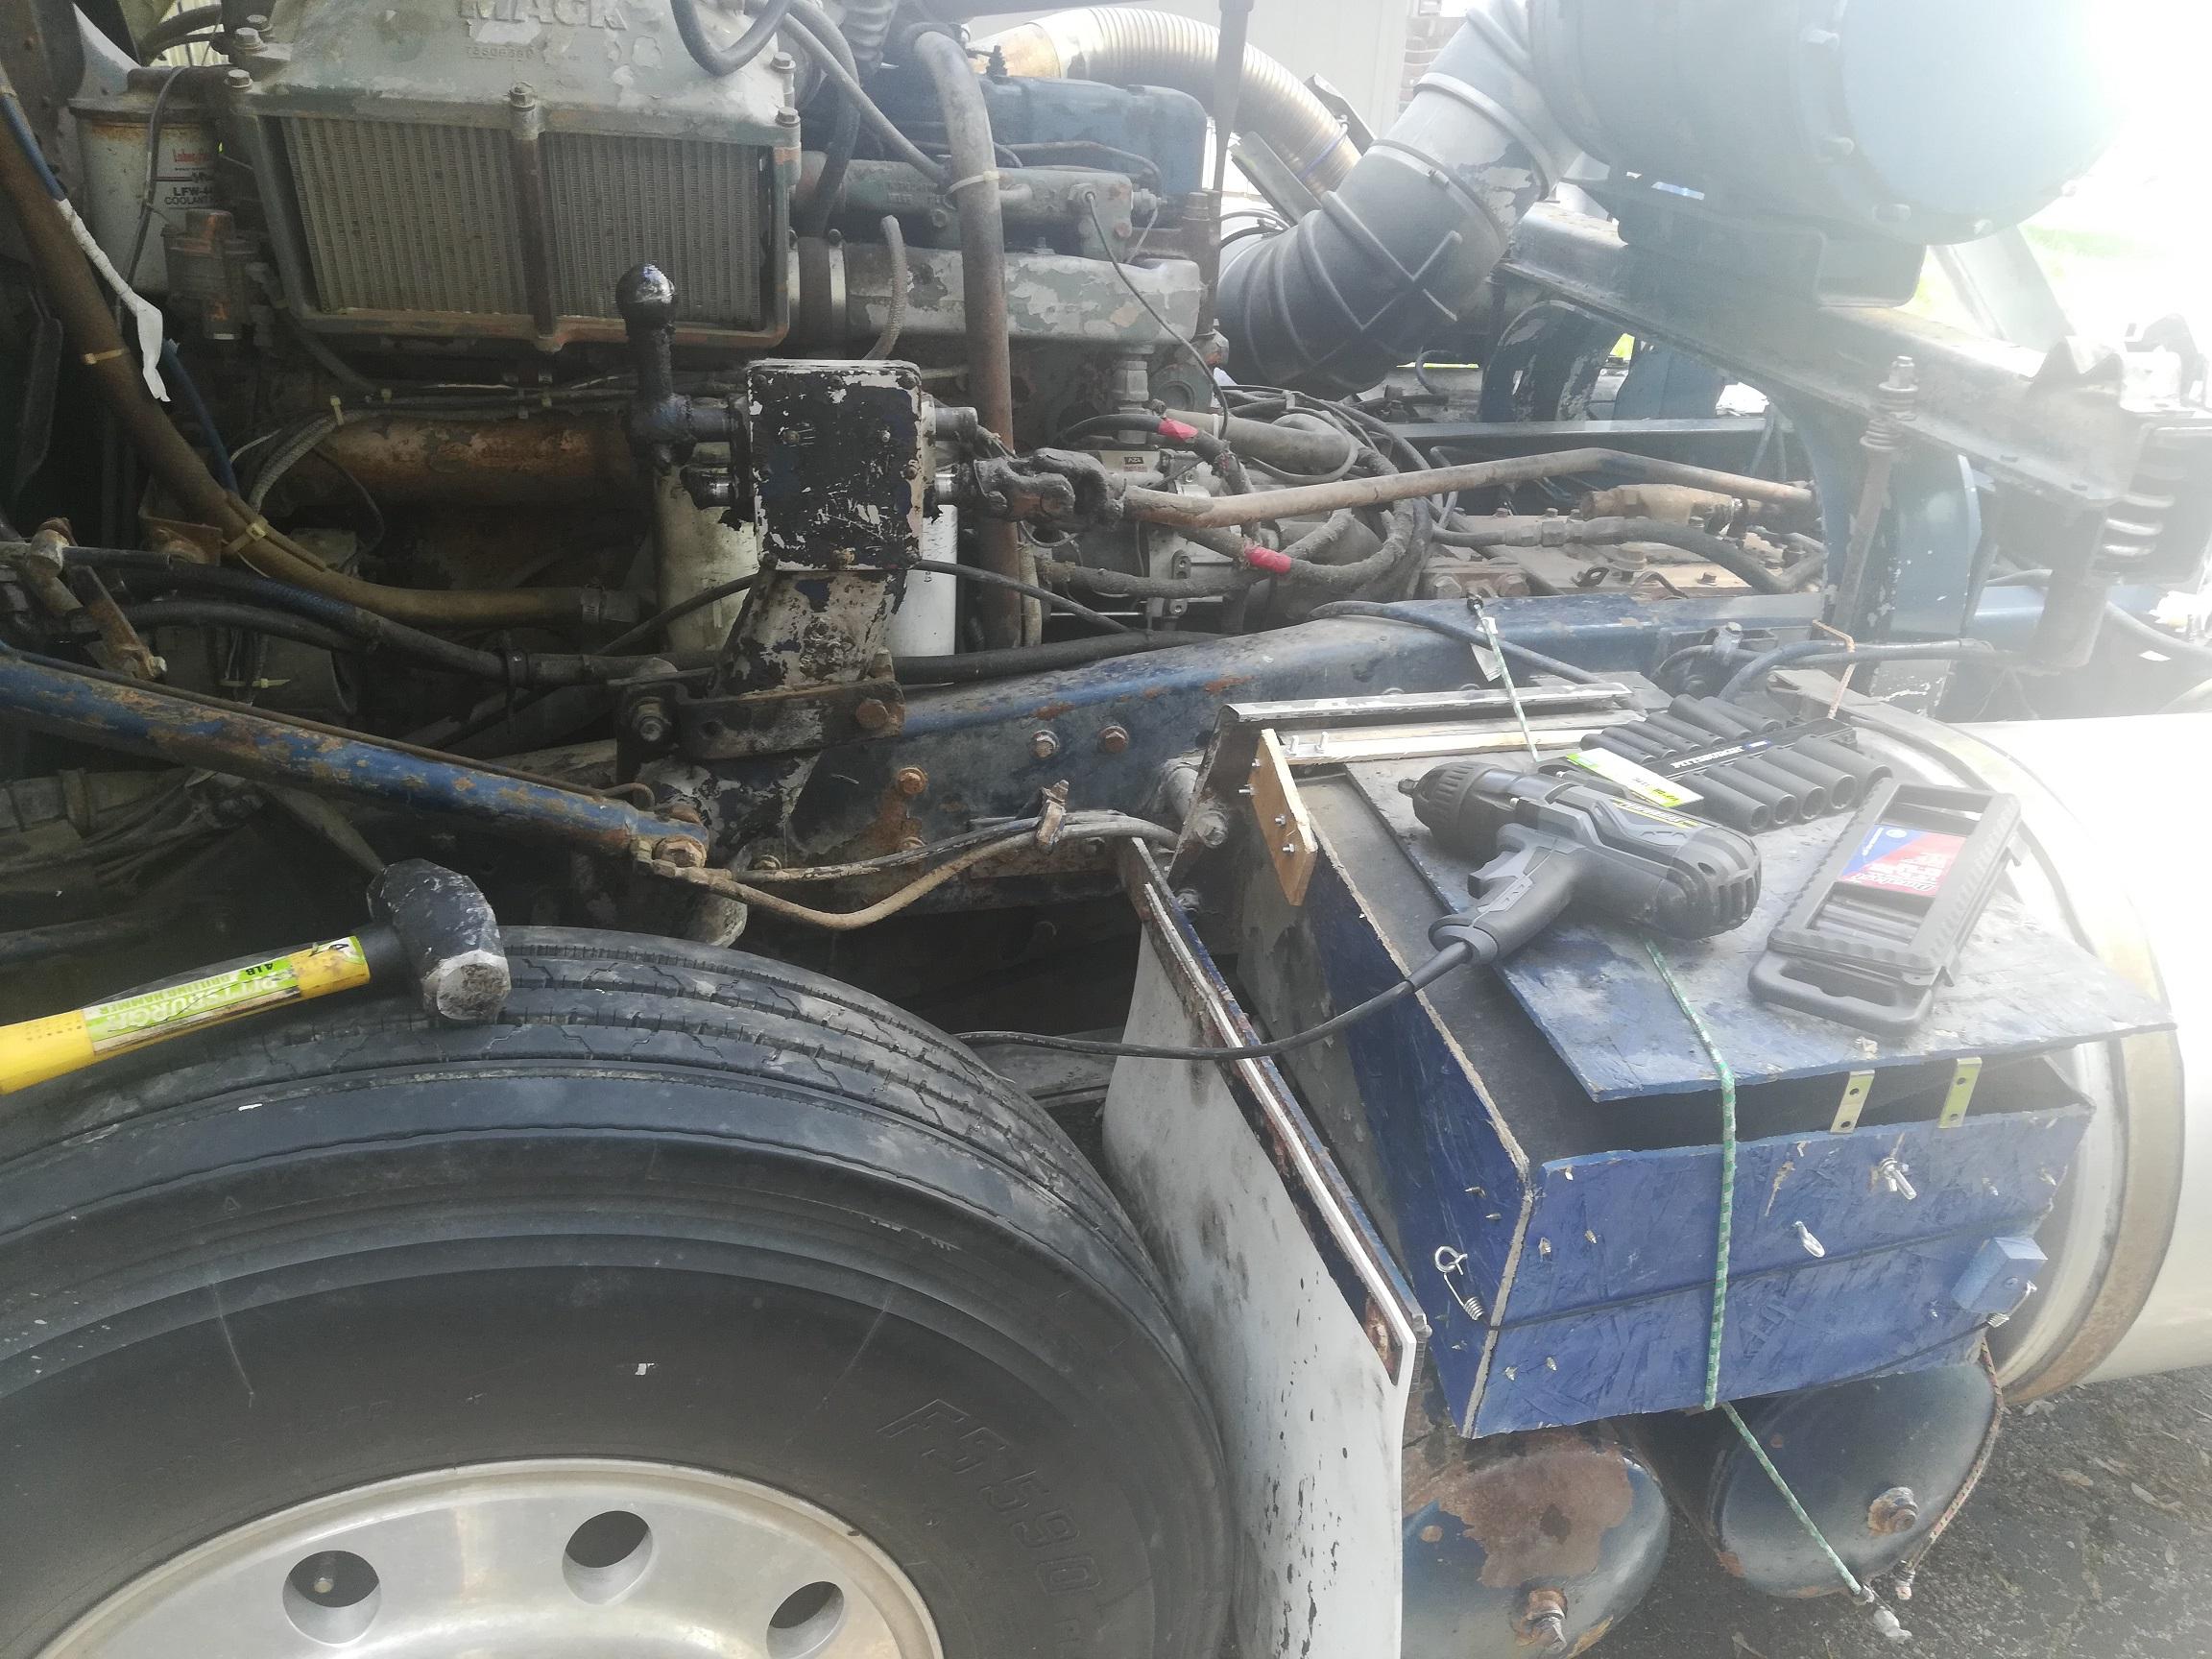
Hey, Just looking for any tips on how to address getting this steering box off. It is leaking and needs a full internals overhaul but I cannot do anything with it locked in place. However, I tried a fancy $400 Pitman arm puller and could not even get the thing to fit around because of the unorthodox installation angle of the arm and steer box in the Cruiseliner. I am aware of some generic pullers that you can get on Amazon for instance, but not sure if they are even worth the trouble. My guess is that the arm has been in place since 1977 so I need a serious approach if possible. Otherwise, not sure if I can do a full overhaul on the steering box while it is still attached to the axle. Suggestions are more than very appreciated. Thank you.
-
Electrical Connection "Box"
77_Cruiser replied to 77_Cruiser's topic in Electrical, Electronics and Lighting
Yep. 10 speed Eaton. Thanks man. I think I have enough to start debugging now. -
Electrical Connection "Box"
77_Cruiser replied to 77_Cruiser's topic in Electrical, Electronics and Lighting
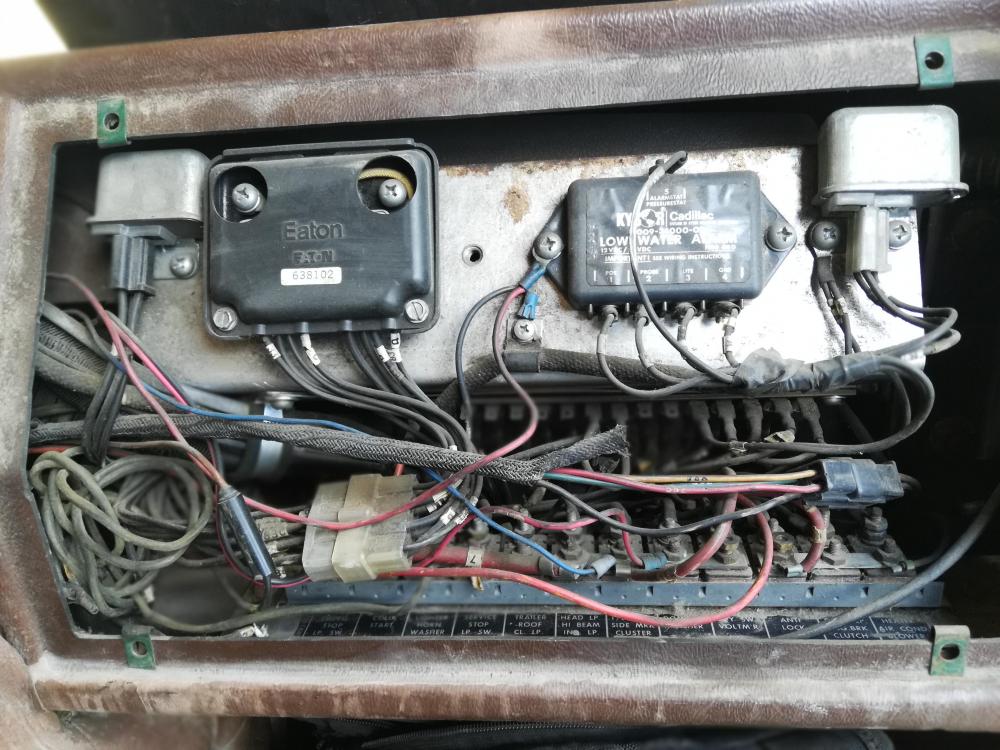
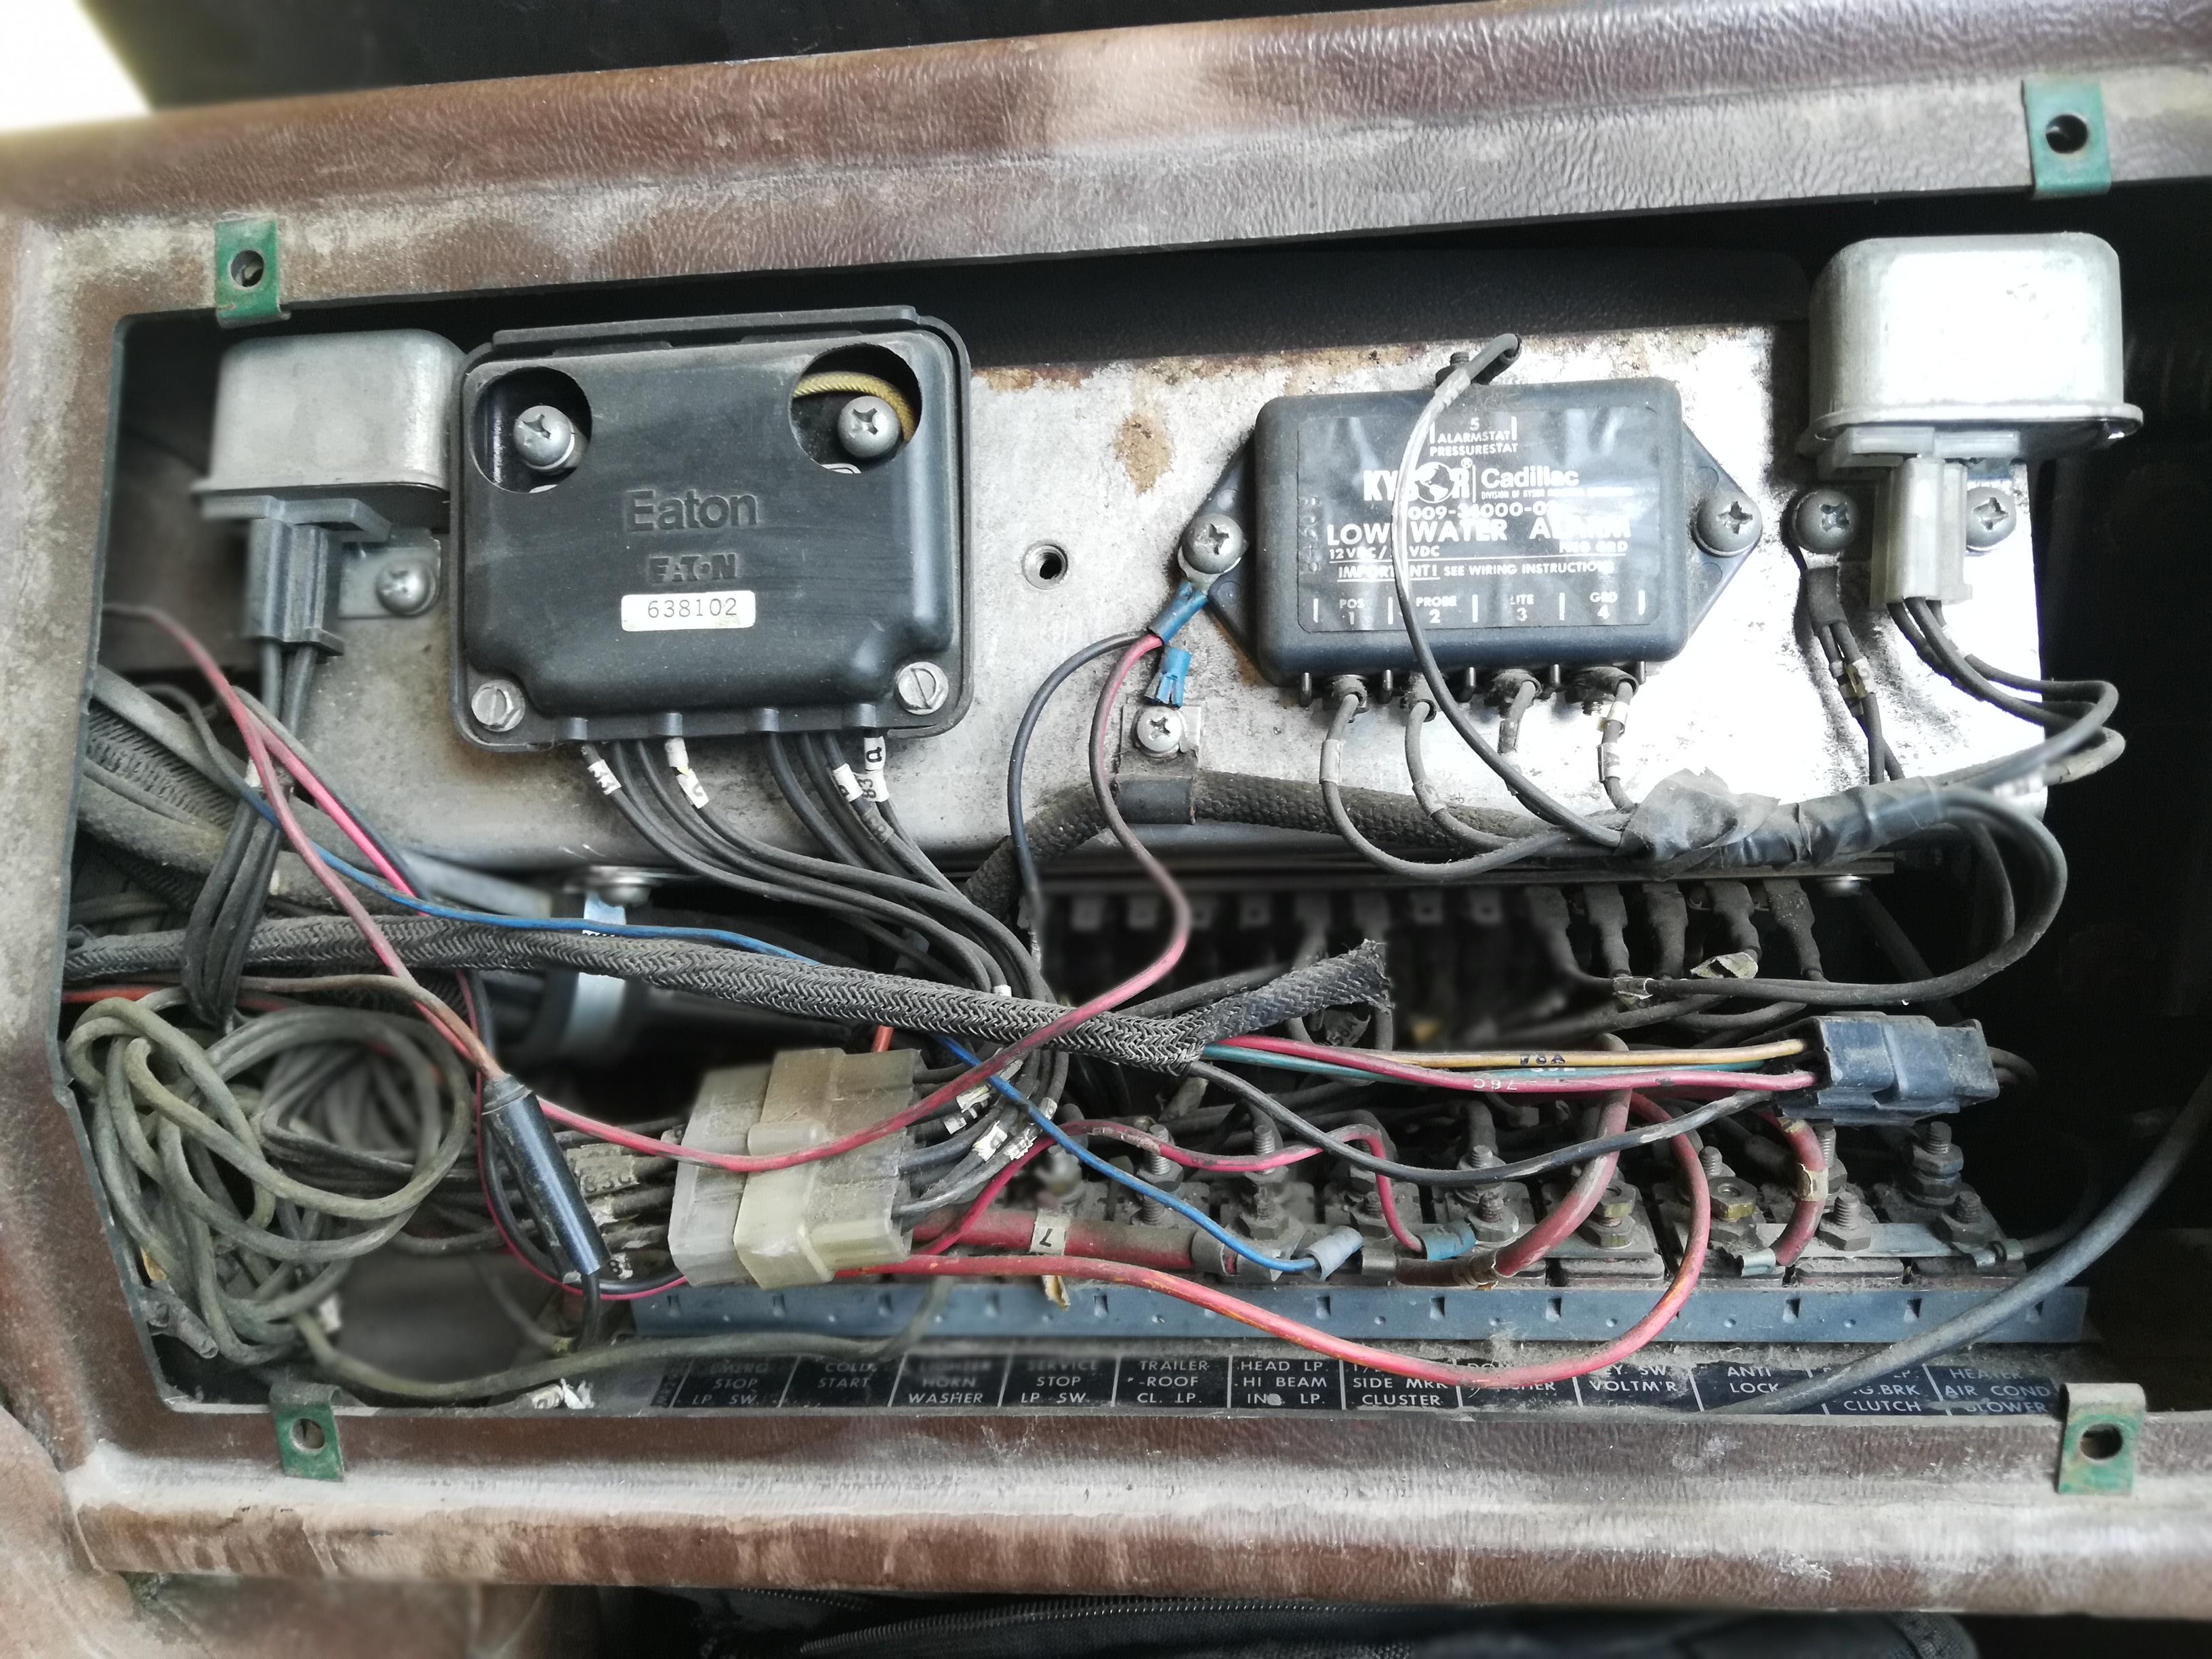
Basically talking about the black lines to the chrome block up top. Though the more I look at it and think about it, that is probably a controller/alarm block as the low water alarm connectors are tied into it on the right... -
Electrical Connection "Box"
77_Cruiser replied to 77_Cruiser's topic in Electrical, Electronics and Lighting
Thought those where main power buses. Okay, idiot perception 1 addressed... Thank you. And ideas on the back row all black? Are those main power? -
This is from a 1977 Cruiseliner. I was opening this hoping to see some fuzes. Not exactly what I was expecting. Just a bunch of terminals. Are all these subsystems really running without overload fuses??!! And I see a completely unmarked/unlableled back row of black connectors. Anyone know what is going on there?
-
Thanks Alex. I had no clue this was considered common. Helps a lot. I will look locally and see how good the deals are.
-
Looking like the solenoid on my 1977 350 E6 might be sticking. Where is the best place to find a replacement solenoid for this type of starter? Thanks, AB
-
77 Cruiseliner, No Electrical Power
77_Cruiser replied to 77_Cruiser's topic in Electrical, Electronics and Lighting
Yep, a bad ground. Got the lights on. The starter still isn't right though. Time for a new thread... -
77 Cruiseliner, No Electrical Power
77_Cruiser replied to 77_Cruiser's topic in Electrical, Electronics and Lighting
Well, thanks ws721 and 70mackMB for the insight. This is a 12 volt western model. I did get back out there and tested some different connections. I think I accidentally did the thing I was supposed to do to test that grounding problem. Basically, as the snow got heavier, I decided to pack it in for the day. Disconnected all terminals on the driver side with the passenger side still connected. With the positive wire on the driver side hanging mid-air I tried to clear the negative wire out of the way to replace the top portion of the battery box. The negative wire hit the bottom half of the box that is bolted to the frame and sparks started flying. Meaning, the 2 6V batteries on the passenger side were not properly grounded (right?) Otherwise, there should not have been sparks with the negative line on the driver side touching the piece of the battery box connected to the frame/ground. So I am going in tomorrow morning planning to address a grounding issue. Going to use jumper wires to create a temporary ground line on each side connecting the negative terminal on each side to the frame. Hopefully some lights start turning on or something... -
77 Cruiseliner, No Electrical Power
77_Cruiser replied to 77_Cruiser's topic in Electrical, Electronics and Lighting
Thank you Lmackattach. Will give it a go in a bit.


BMT Forum Logo
