


szafram
-
Posts
30 -
Joined
-
Last visited
Content Type
Profiles
Forums
Gallery
Events
Blogs
BMT Wiki
Collections
Store
Posts posted by szafram
-
-
That's what I was afraid of. I can clean the line off, and make sure all surfaces are clean, but it is as tight as I can get it (it's in a very hard to reach spot). I'm hoping I don't need a new line, so I will clean that one off and see what I can do. Thanks!
-
Does anyone happen to know what size o-ring goes on the end of the injectors, on the outlet side of the injector for and ENDT675 engine? I have a fairly substantial leak coming from my last injector (farthest from the cab), that only happened after I cracked the injector off to prime the engine. I'm thinking that the seal was damaged by my help that day...thanks for any insight!
-
Cool, that helps a lot. Thanks!
-
Thanks for the reply Paul! Sadly, my trucks are 76 and an 81. After looking through the book more, the paint numbers I am looking for are Med. Red # 3469 and #77928. Thanks again for what you had though!
-
Does anyone have or know where to find a spec sheet with Mack colors on it? I've got the original color numbers from the factory for my trucks, but would like to see what those colors actually looked like (both trucks have been repainted), and possibly use them for restoration purposes. Both trucks were red coming from the factory. Thanks!
-
The front bumper is chromed steel, but the sides are just plain steel. They're magnetic, so they're not aluminum. I've tried Shield Solutions acid, which I believe is the same thing. I bought some Rust-O-Leum over the weekend, so I'll try that when I get a chance. Thanks for all the advice!
-
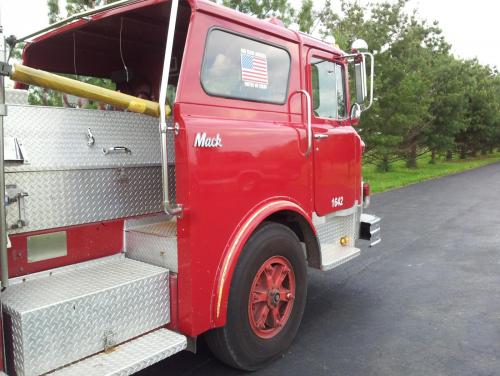
I'm trying to polish the side steps. The footwells have been replaced and are aluminum, the bumper is chrome plated, but the side running boards and the tail board are what I would like to polish.
-
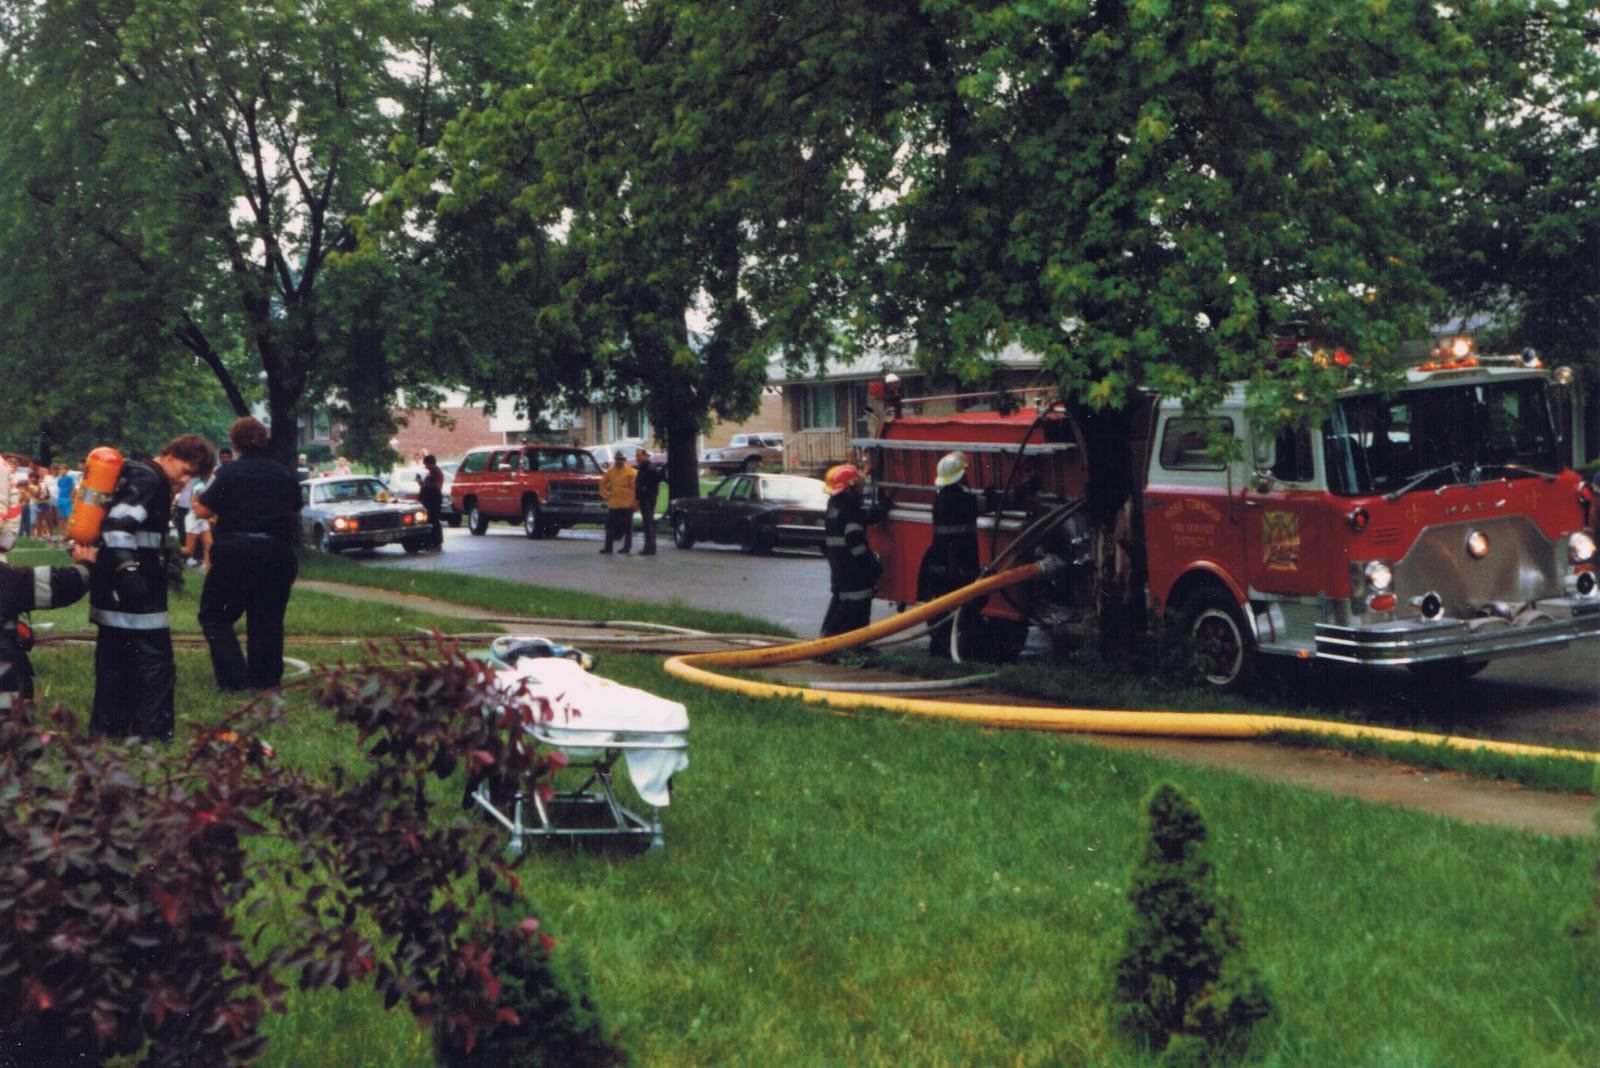
Here are a few more pics. The first two are from polishing again, and the third is from the truck working a fatal house fire in 1987:


-
 2
2
-
-
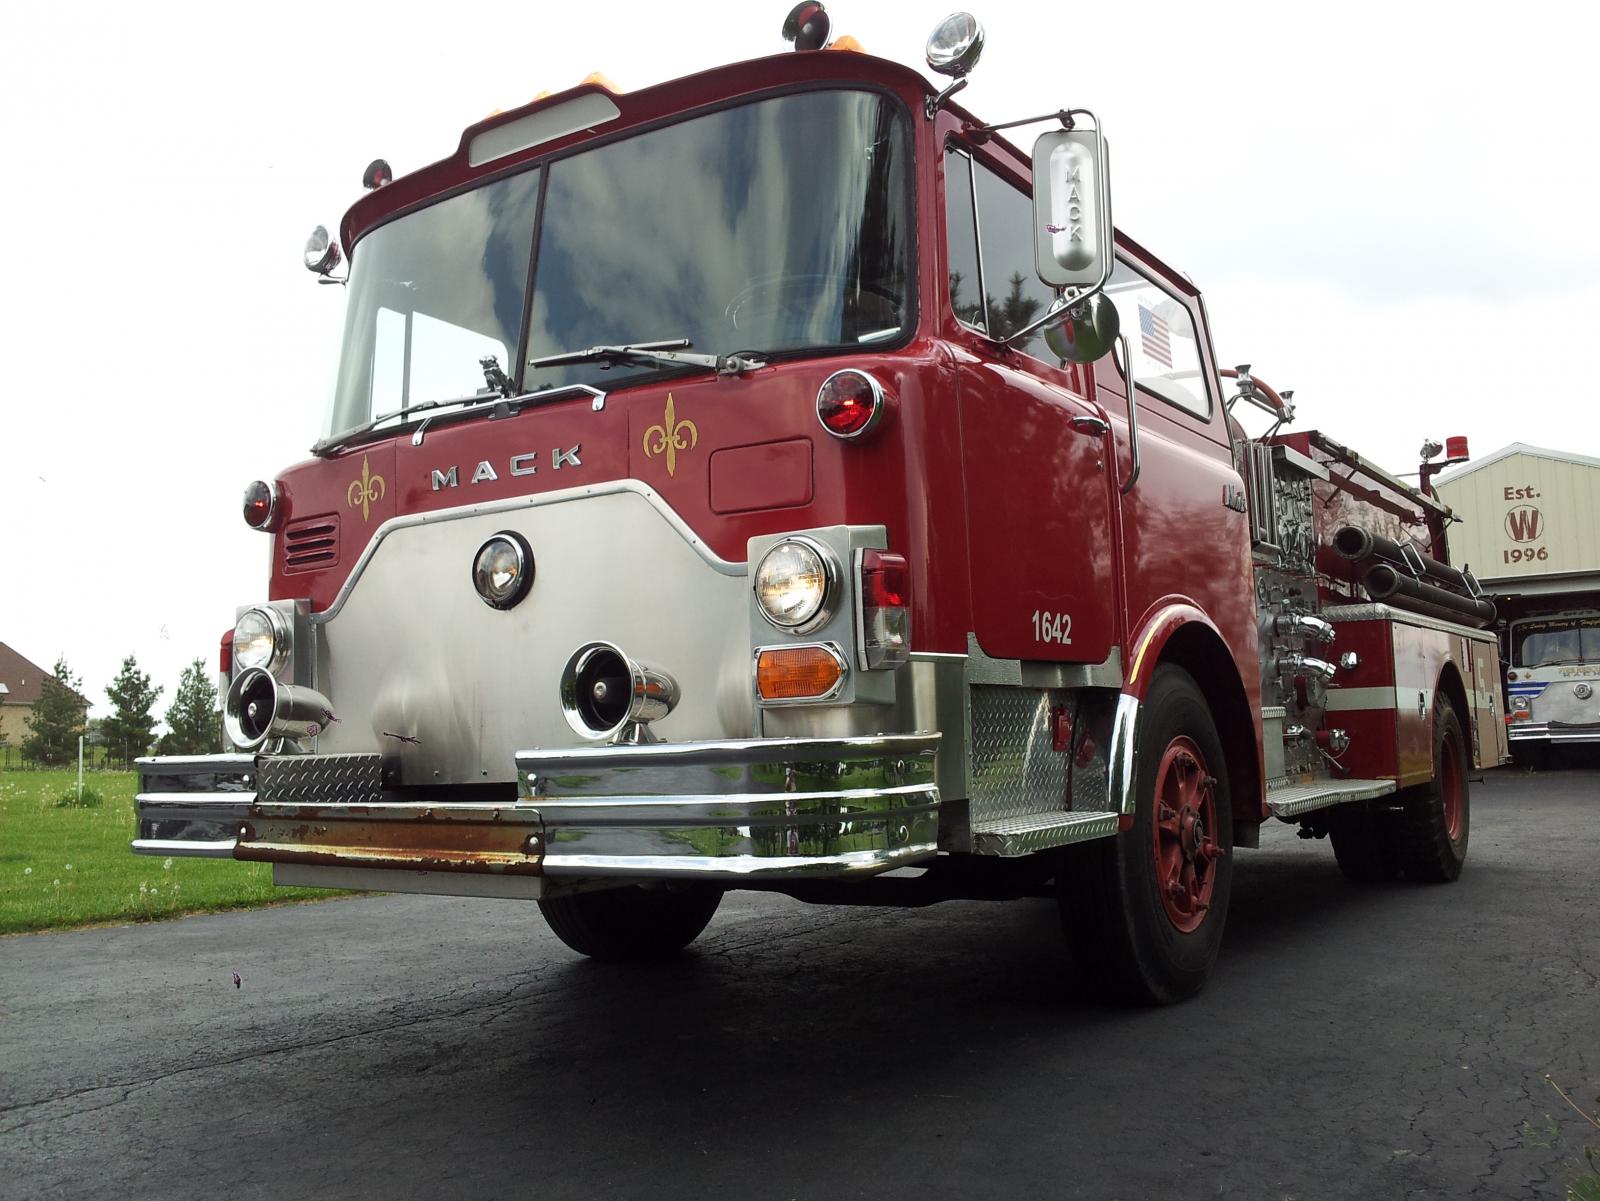
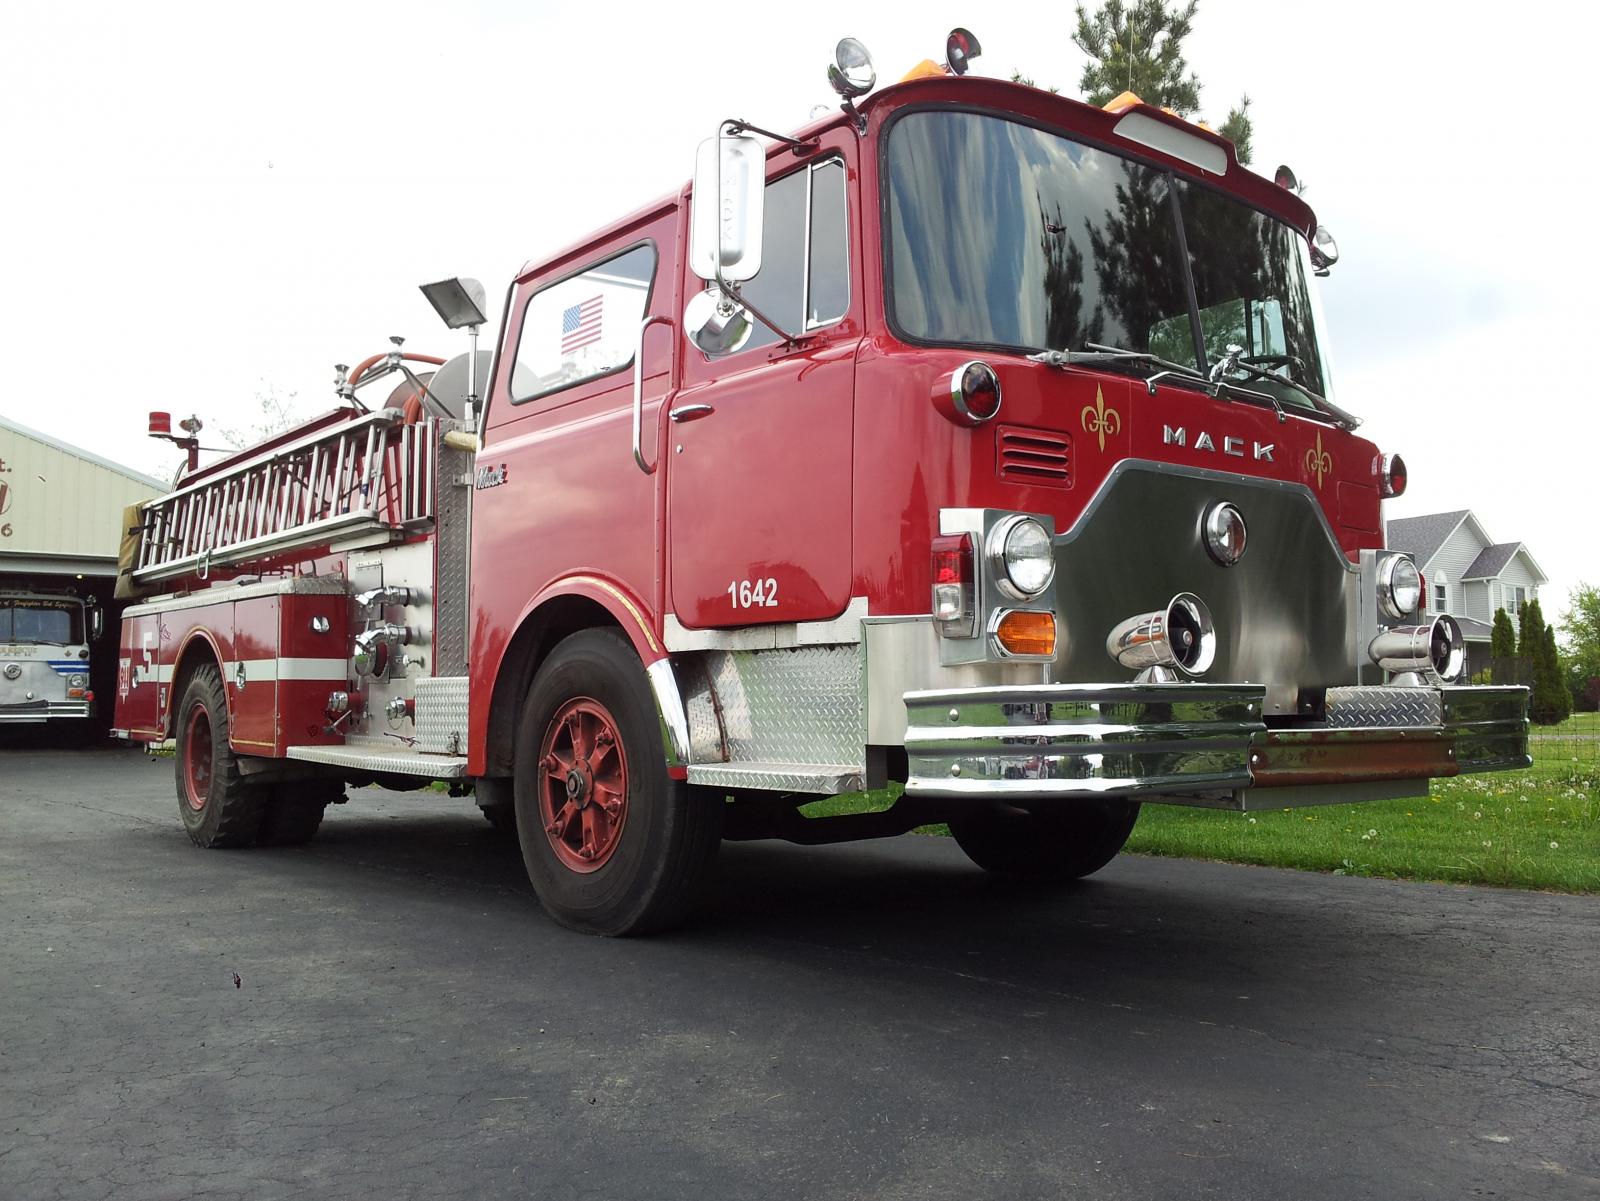
This is a pitcure of it a few weeks ago after I cleaned and polished the paint, as well as the delivery picture:


-
1
-
-
I am basing my assumption of some delivery photos, as well as some of the polishing I have done on it. I have somevery small sections (about 3-4 little diamonds) polished up to a very shiny, reflective finish. I know it is steel because it is magnetic, and have checked multiple times. I'll post pictures of that section when I get a chance to snap some. But the aluminum paint may be what it was when it was new. I'll look into getting some of that as well and see where it goes. But I will post a few pics when I get a moment
-
I've been able to get a nice shiny finish with WD-40 and a ton of elbow grease (It was originally a polished surface when the truck was new), but that is a very time consuming way to do it. It's mostly just the oxidation built up on the surface, and getting it off is the hard part. I'm just wondering if there is a specific cutting compound that people have had success with. I have two buffers (10" and 6"), so that part is covered. I guess "mirror finish" would be the wrong term. I'm just looking for shiny and not dull...
-
I'm trying to polish up the diamond plate on my 81 CF, and am looking for any tips you guys may have. I've tried about everything I can find, and am having no luck. The diamond plate is steel, not aluminum, and not stainless steel. It's not in horrible shape, but I'm trying to polish it up to as close to a mirror finish as I can. Any thoughts or ideas? Thanks!
Here is a lits of the things I've tried so far:
WD-40
3M Rubbing Compound
Mother's Mag and Aluminum Polish
Flitz Metal Polish
Turtle Wax Rubbing Compound
Turtle Wax Chrome Cleaner
NeverDull
White vinegar
Shield Solutions Aluminum and Metal Cleaner (Diluted Acid product)
Zaino ZPC Paint Cleaner
-
Ok, if the WD40 doesn't work, I'll try that. Thanks!
-
Ok, I will try that. The filters are full, so hopefully it doesn't take long to fire up. Thanks for the help!
-
Does anybody have any ideas on how to easily prime the fuel system on a 76 CF600? I've got fuel to the exit of the pump, but the injector lines are full of air. I also think my hand priming pump is frozen...I've tried cranking it over a bunch, but I still can't get all the air out and get it to fire. I can crack one of the injectors loose at the engine, but the other 5 are a pain to reach without taking tons of things off the engine...
-
I bought my fuel filters at a local carquest for around $30 each, and just changed them myself. They are very simple and fairly easy to reach from under the truck. Just make sure you fill them before you put them back on. It's probably cheaper to do it yourself than have someone else do it. And you may want to check the air filter before you replace it. If I remember correctly, you may be able to clean it with soap and water, or blow it clean with air (directions would be on the filter itself). Nice looking truck though! I especially like how they enclosed the cab and kept the curve of the body, looks great!
-
Yep, higher heat is what it needed. It's now cleaned and back in place. Thanks for the help!!
-
I tried the heat method, but I didnt have any luck with it. Im not sure if it just wasnt hot enough, but it was weeping out moisture from the aluminum housing every time I tried. Do I just need a more pwerful torch then, or am I out of luck with that method?
-
Rob, I dont have the regular radial seal shown in that drawing, mine is an o-ring. Will applying heat to the spot where the shaft enters the housing still work? Or is there something I can spray on that joint to free it up?
-
Yea, I picked up the seal today, and Im hoping to change it tomorrow. And yes, I have the governor off already, but the pump is still on the truck. Thanks again for the help!
-
Ah, that makes perfrect sense, thanks! I'm probably going to try the fuel method since the whole pump is still on the truck, and I really dont want to take it all off if I can avoid it. Is it just a rubber seal thats holding it in place then? Mines painted over, so I'll have to get past that part first...Do you know where I can get a replacement seal for one at? Thanks again!!
-
After today I am positive it isn't the governor. I pulled it off the side to access the shut off shaft, and it moved like butter once I took it off. The shaft however still will not move at all. I can manually move the rack no problem as well, but that shut off shaft is still frozen. I took the snap ring off that holds it in place, hoping I would be able to take the shaft out and clean everything up and regrease it. Not only will the shaft not turn, it is frozen in place and will not come out either. All of the pieces are there and appear to be in good shape, its just stuck and wont move. Ive soaked it in PB blaster a few times, but still no luck. Any thoughts/ideas?
-
Ron, I had a little more time to play with it, and all the barrels seem to move freely with little or no resistance. I can't find the air cylinder you are talking about on the front of the pump, but I did find this owners manual (http://www.ambac.net/images/model_ape_6bb.pdf) of the one that I have. From the exploded view, part number 56 and number 57 are the ones that are frozen. The front side of the pump (assuming front is the side farthest away from the governor) is completely covered and looks to be hooked into the engine at that point. Any other thoughs on what I can do, or which number on the exploded view is the air cylinder you were refering to? Thanks again for all your help!
-
Ron, pulled the side panel off, but didn't have a lot of time to move the barrels and such, but I think they should be free as the truck was recently driven. I will try that more tomorrow though, and hopefully that frees it up. In the meantime, here is a link to a picture of the exact pump that I have (http://www.oldengine.org/members/diesel/Injection/AmbacManual13.htm), and #3 is the component that is frozen and won't turn. Should I still keep working the barrels when I get a little more time to try and free that up, or is there a different, possibly more effiecient way to do it? Thanks!

BMT Forum Logo

negative vs positive ground
in Fire Apparatus
Posted · Edited by IndianaFireman
I believe Mack switched from positive to negative ground in 1971 in fire trucks. (I had a 1970 CF that was delivered in December of 69 that was one of the last time come off the line as positive) I have also attached wiring diagrams from that truck from the original manual. Hopefully they help you out!