

ff6cav
-
Posts
301 -
Joined
-
Last visited
Content Type
Profiles
Forums
Gallery
Events
Blogs
BMT Wiki
Collections
Store
Everything posted by ff6cav
-
So the place I checked with about the header says they don't work with anything that big, so I'm checking one other place before having my current one fixed. I pulled one of the spark plugs, and it's a Champion J8C- any idea if this is "correct"? It seems wrong to me, but then again I could be wrong
-
We were just in Hillsboro this past week visiting my wife's family! Maybe I can convince her to go back up this weekend
-
Thanks for the research and advice; I'm planning on going tomorrow to a custom exhaust place here in Gettysburg to see what they say as far as a quote and go from there.
-
That thought had crossed my mind, too
-
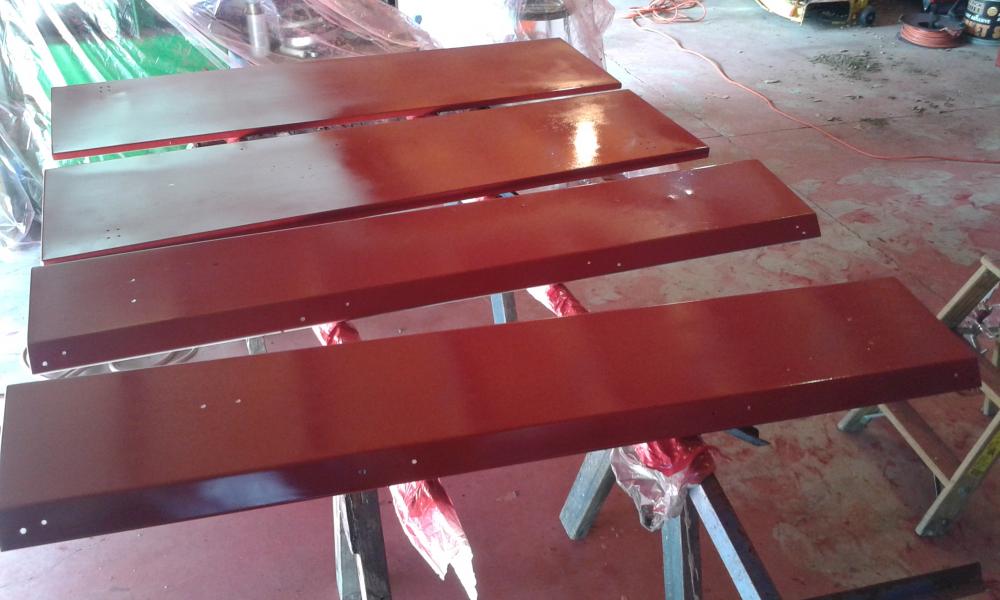
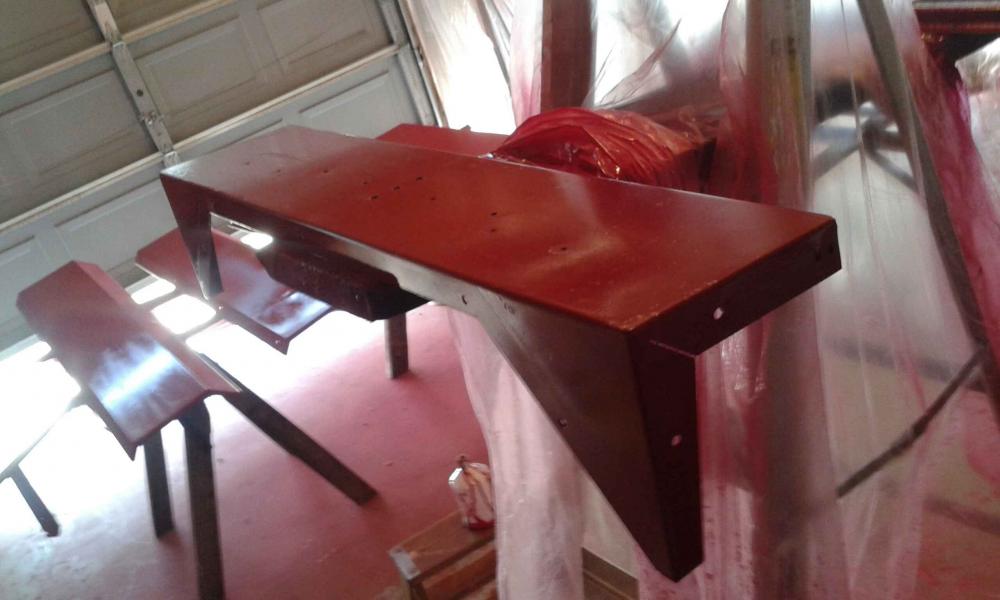
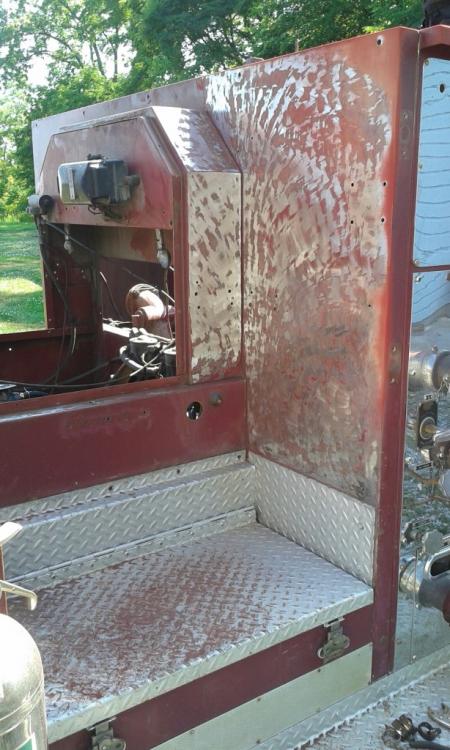
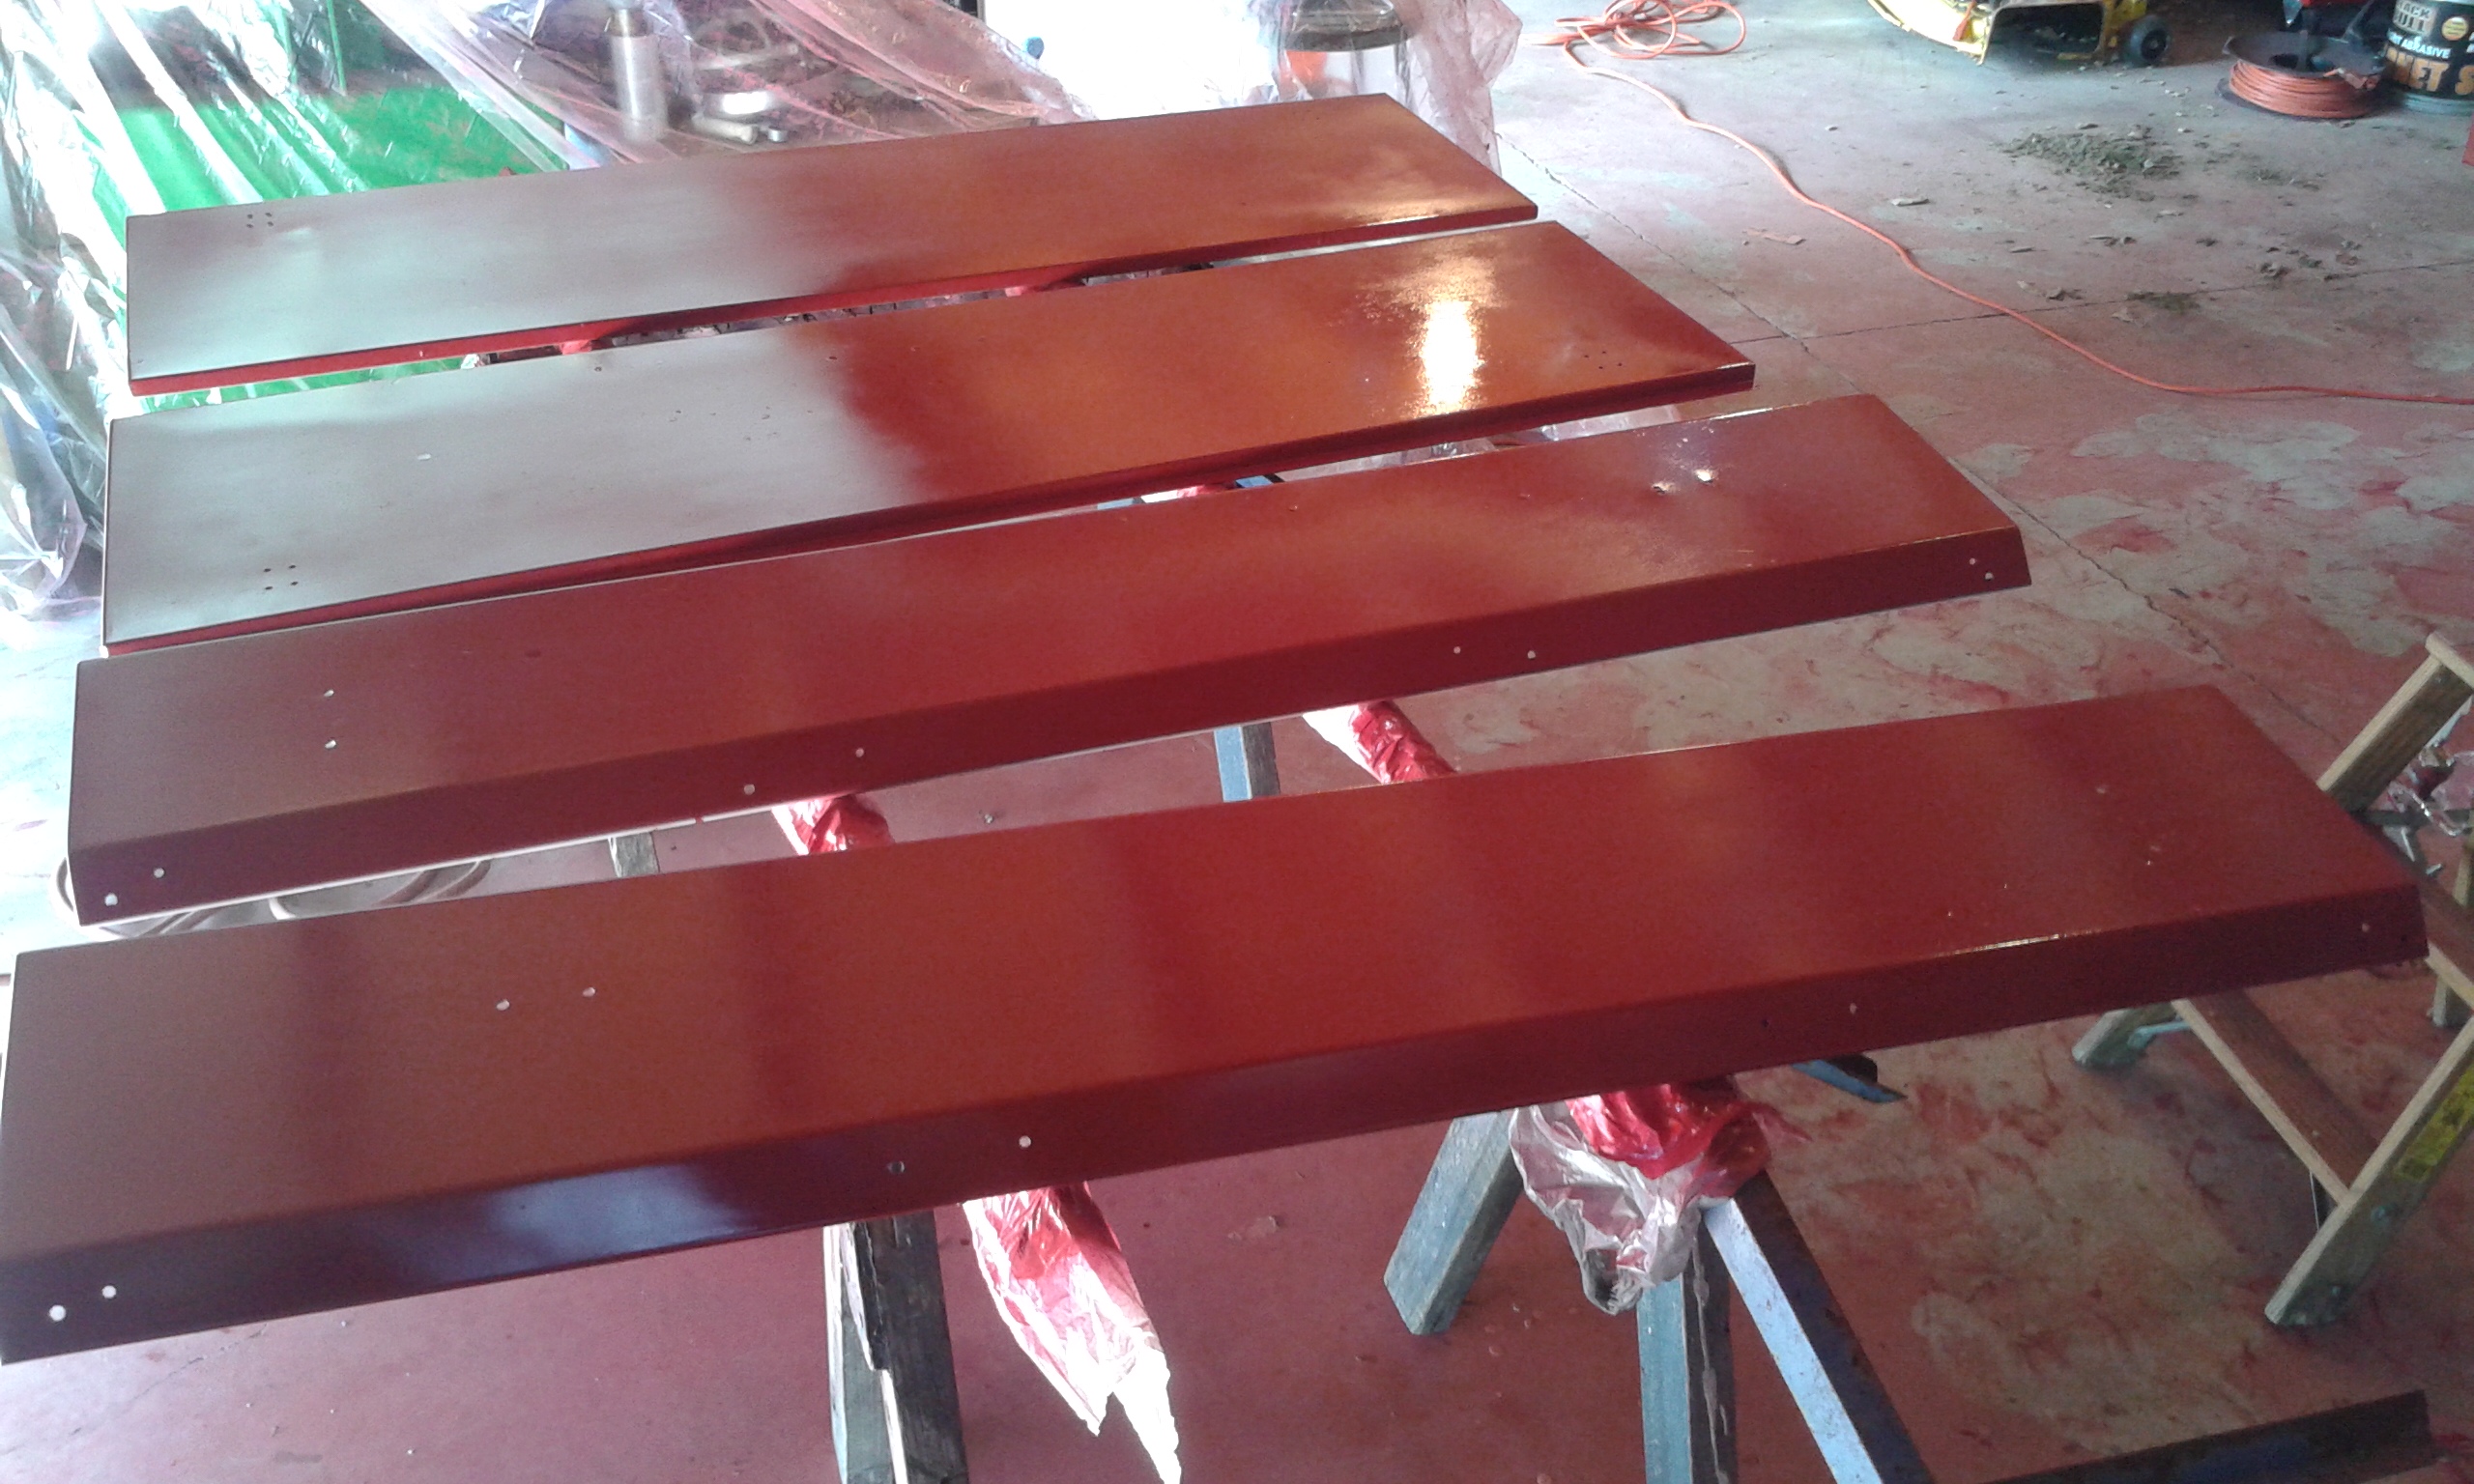
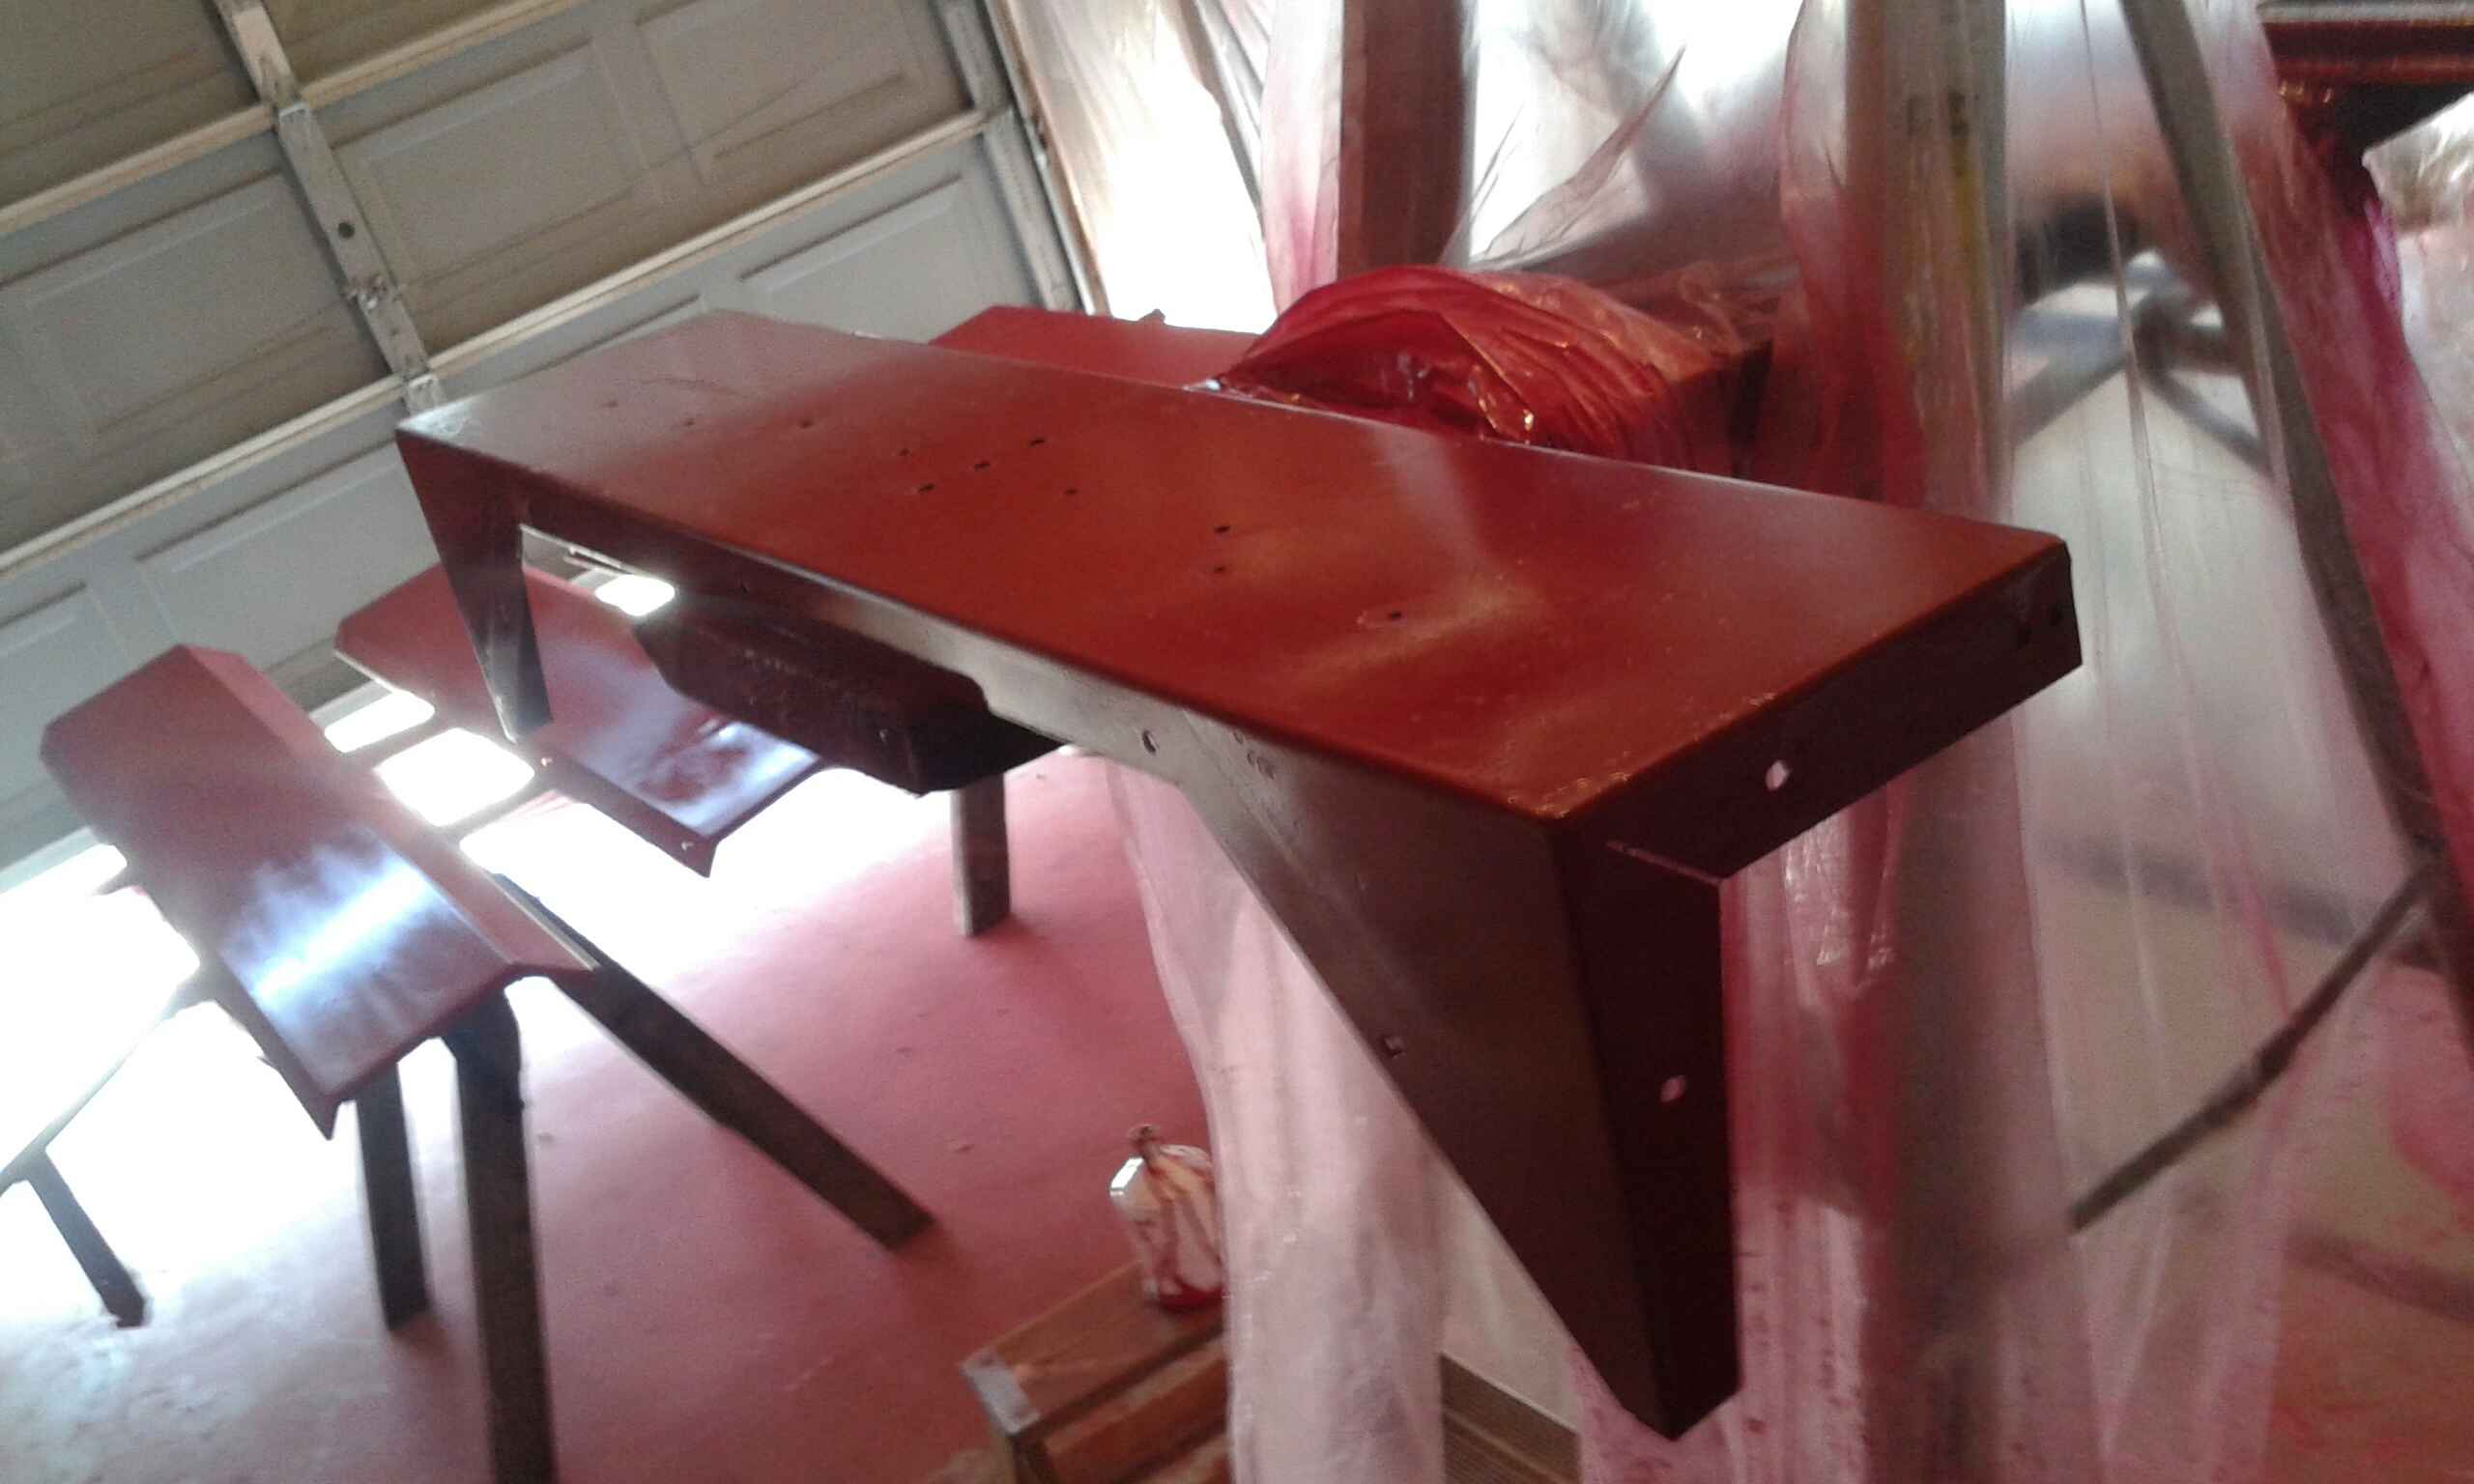
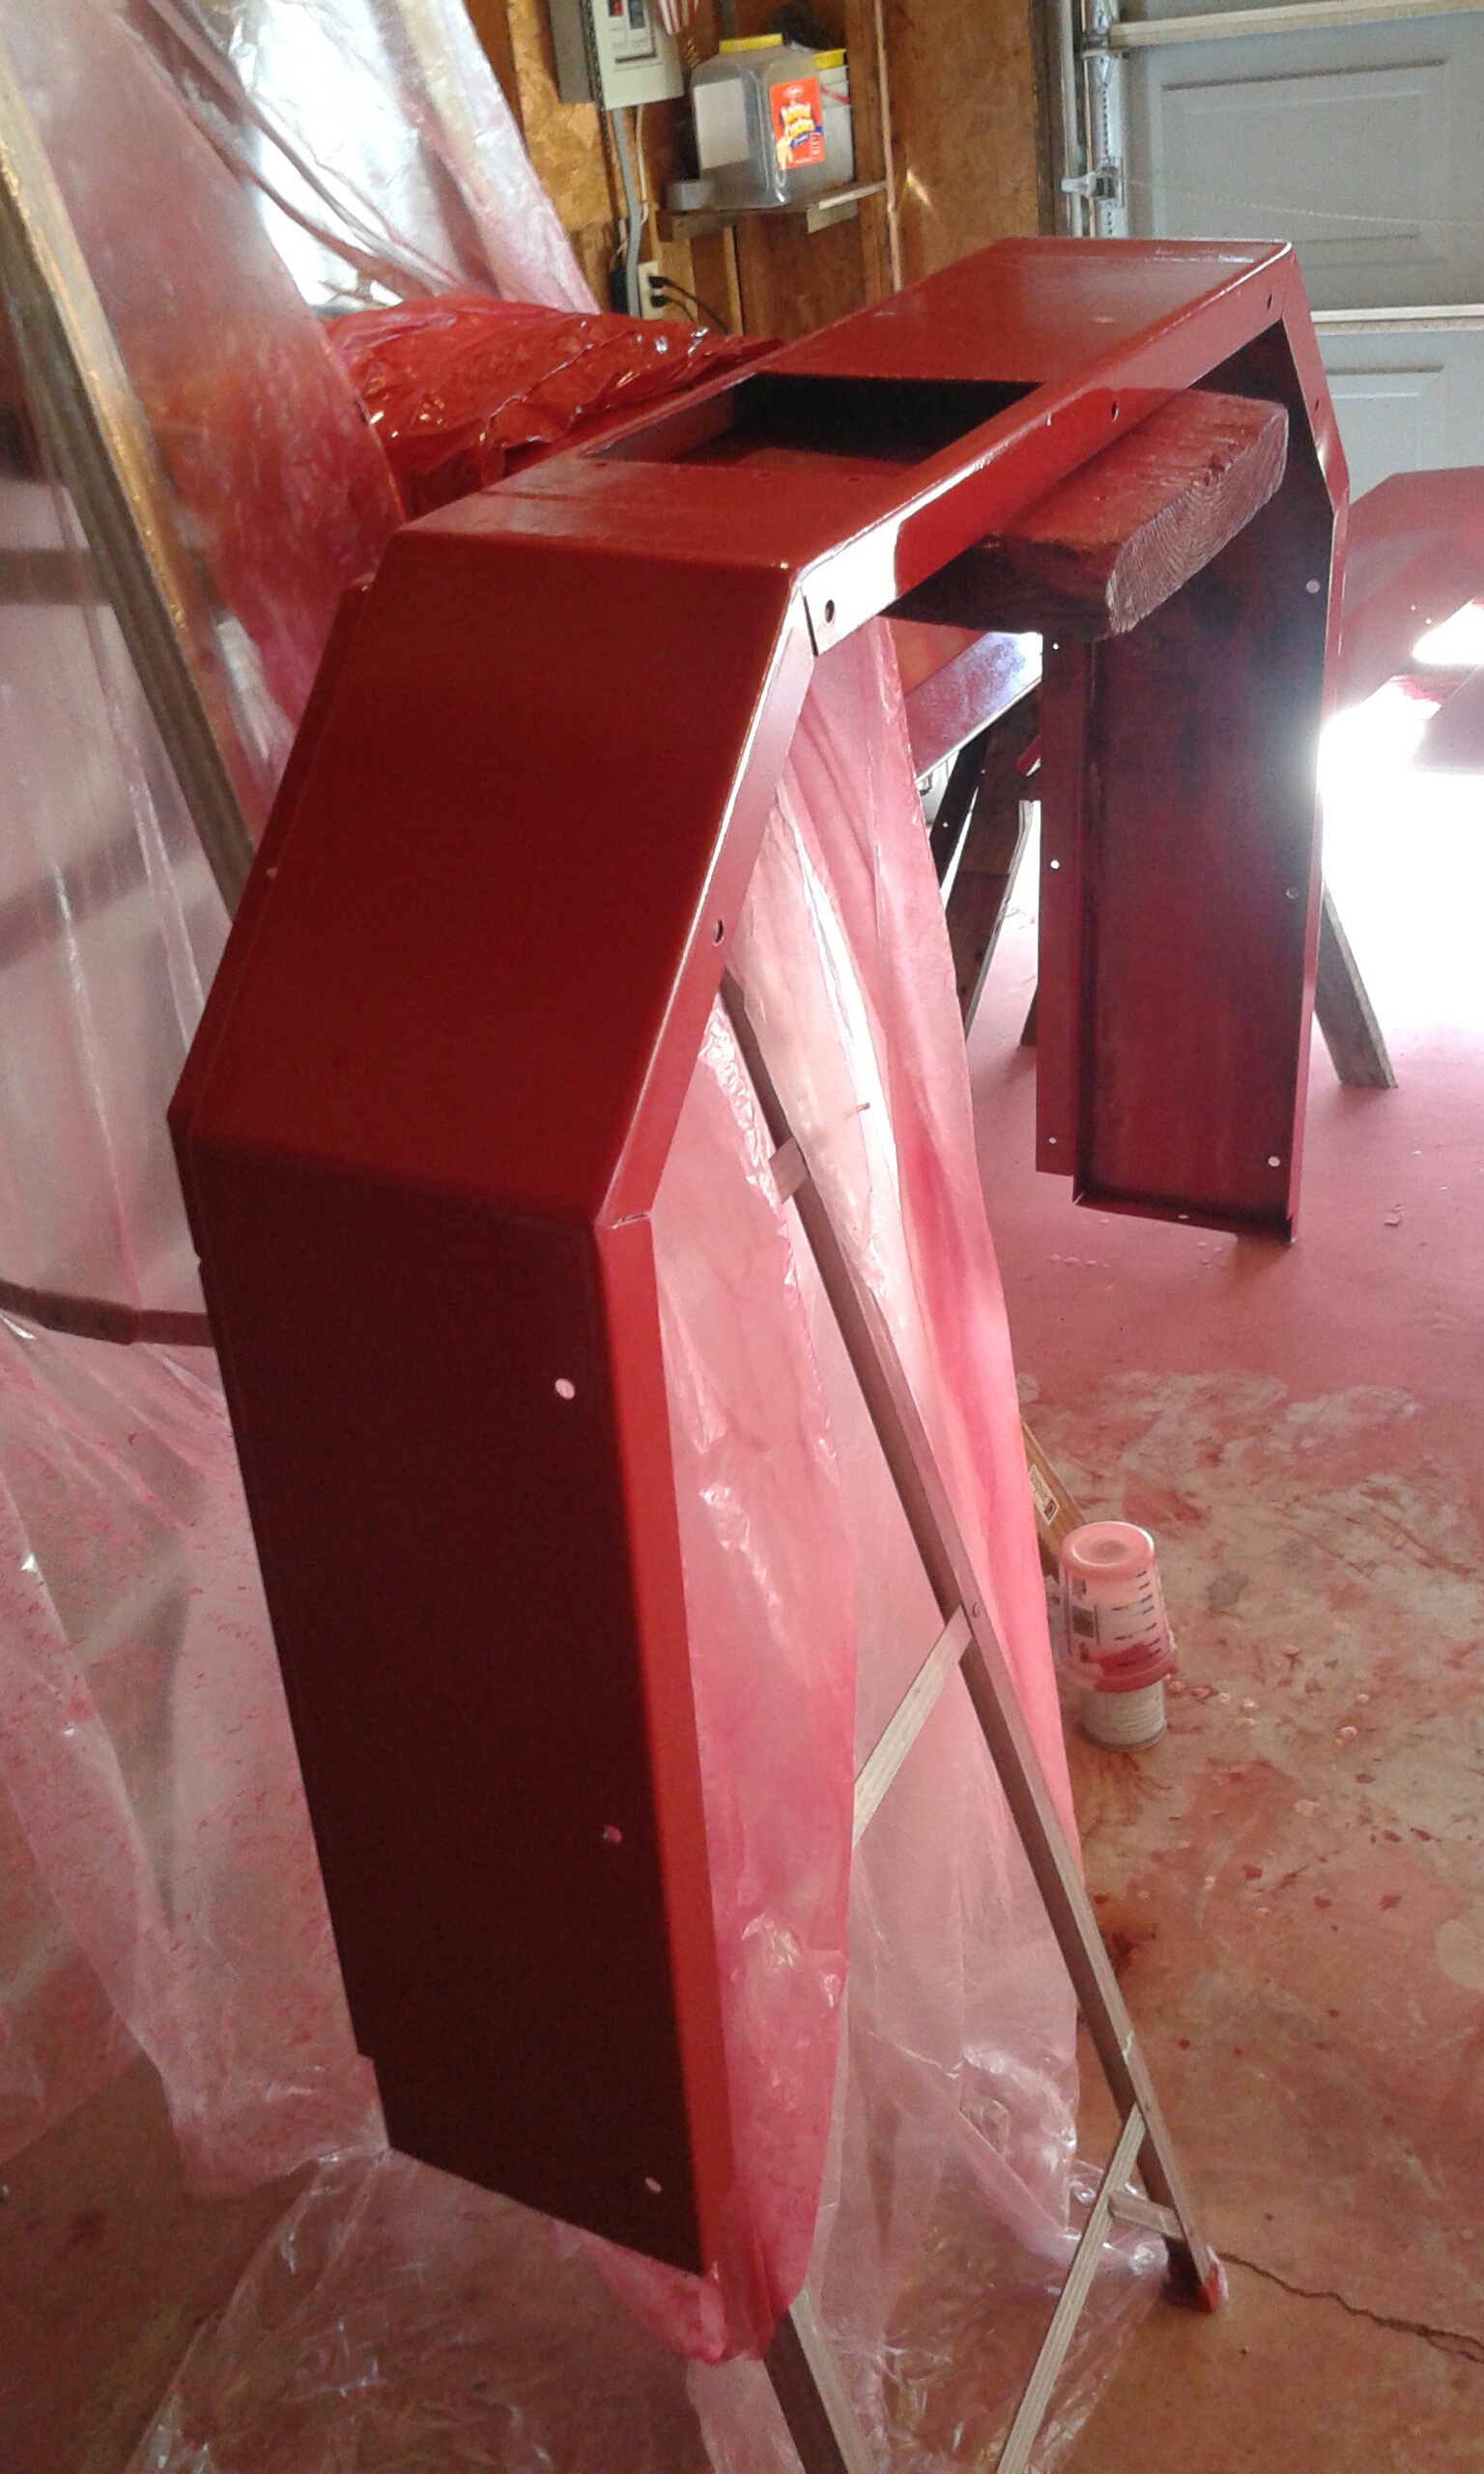
Did a little paint work over the last few days on the pieces of the dog box. Still scouring the interwebs for a replacement exhaust manifold

-
10-4 on that, any suggestions on where to look? Nothing on ebay at the moment, and can't think of where to look locally other than Cal Little
-
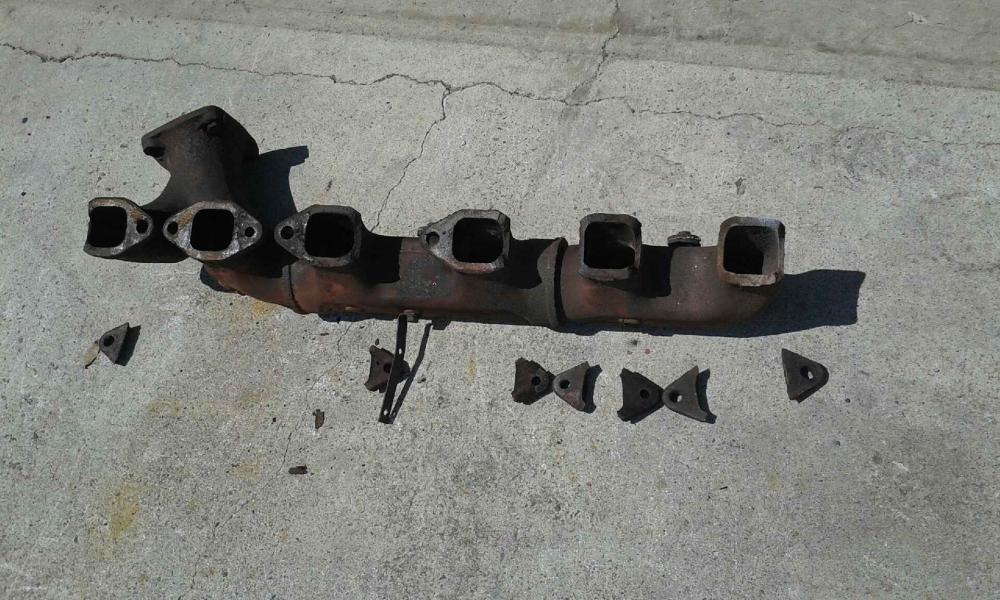
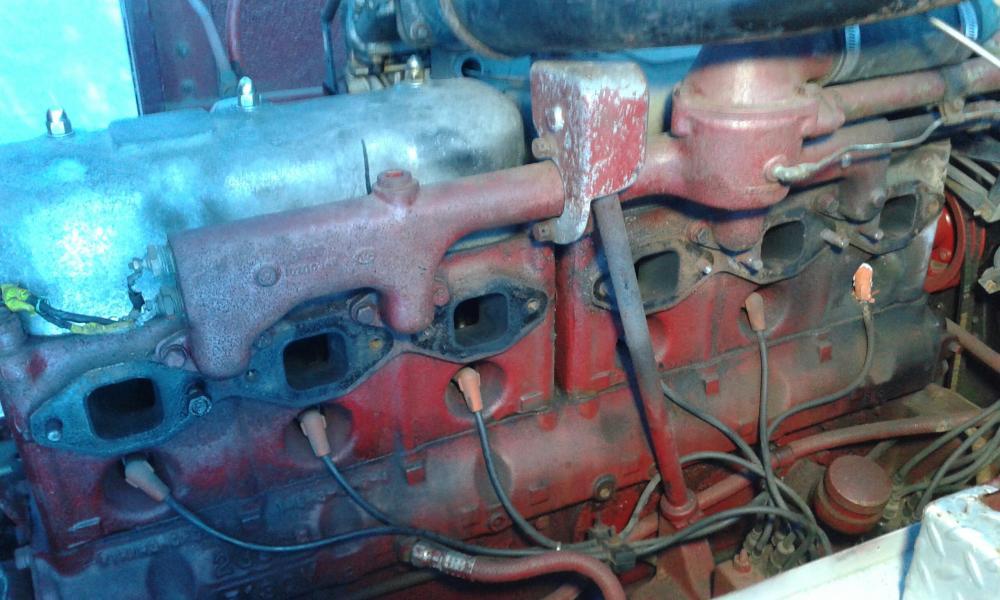
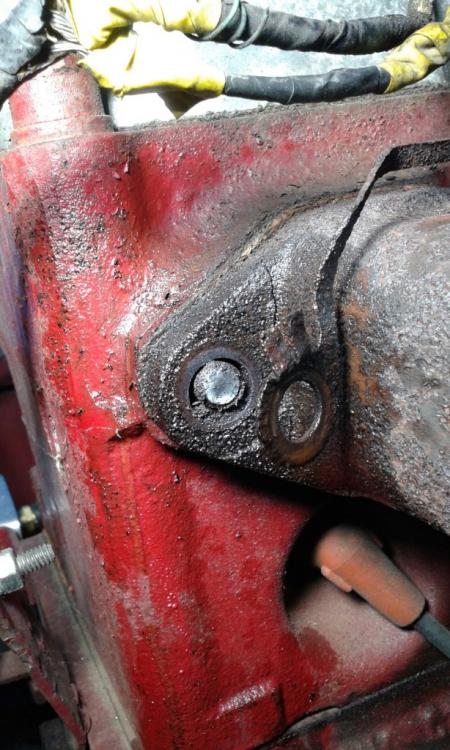
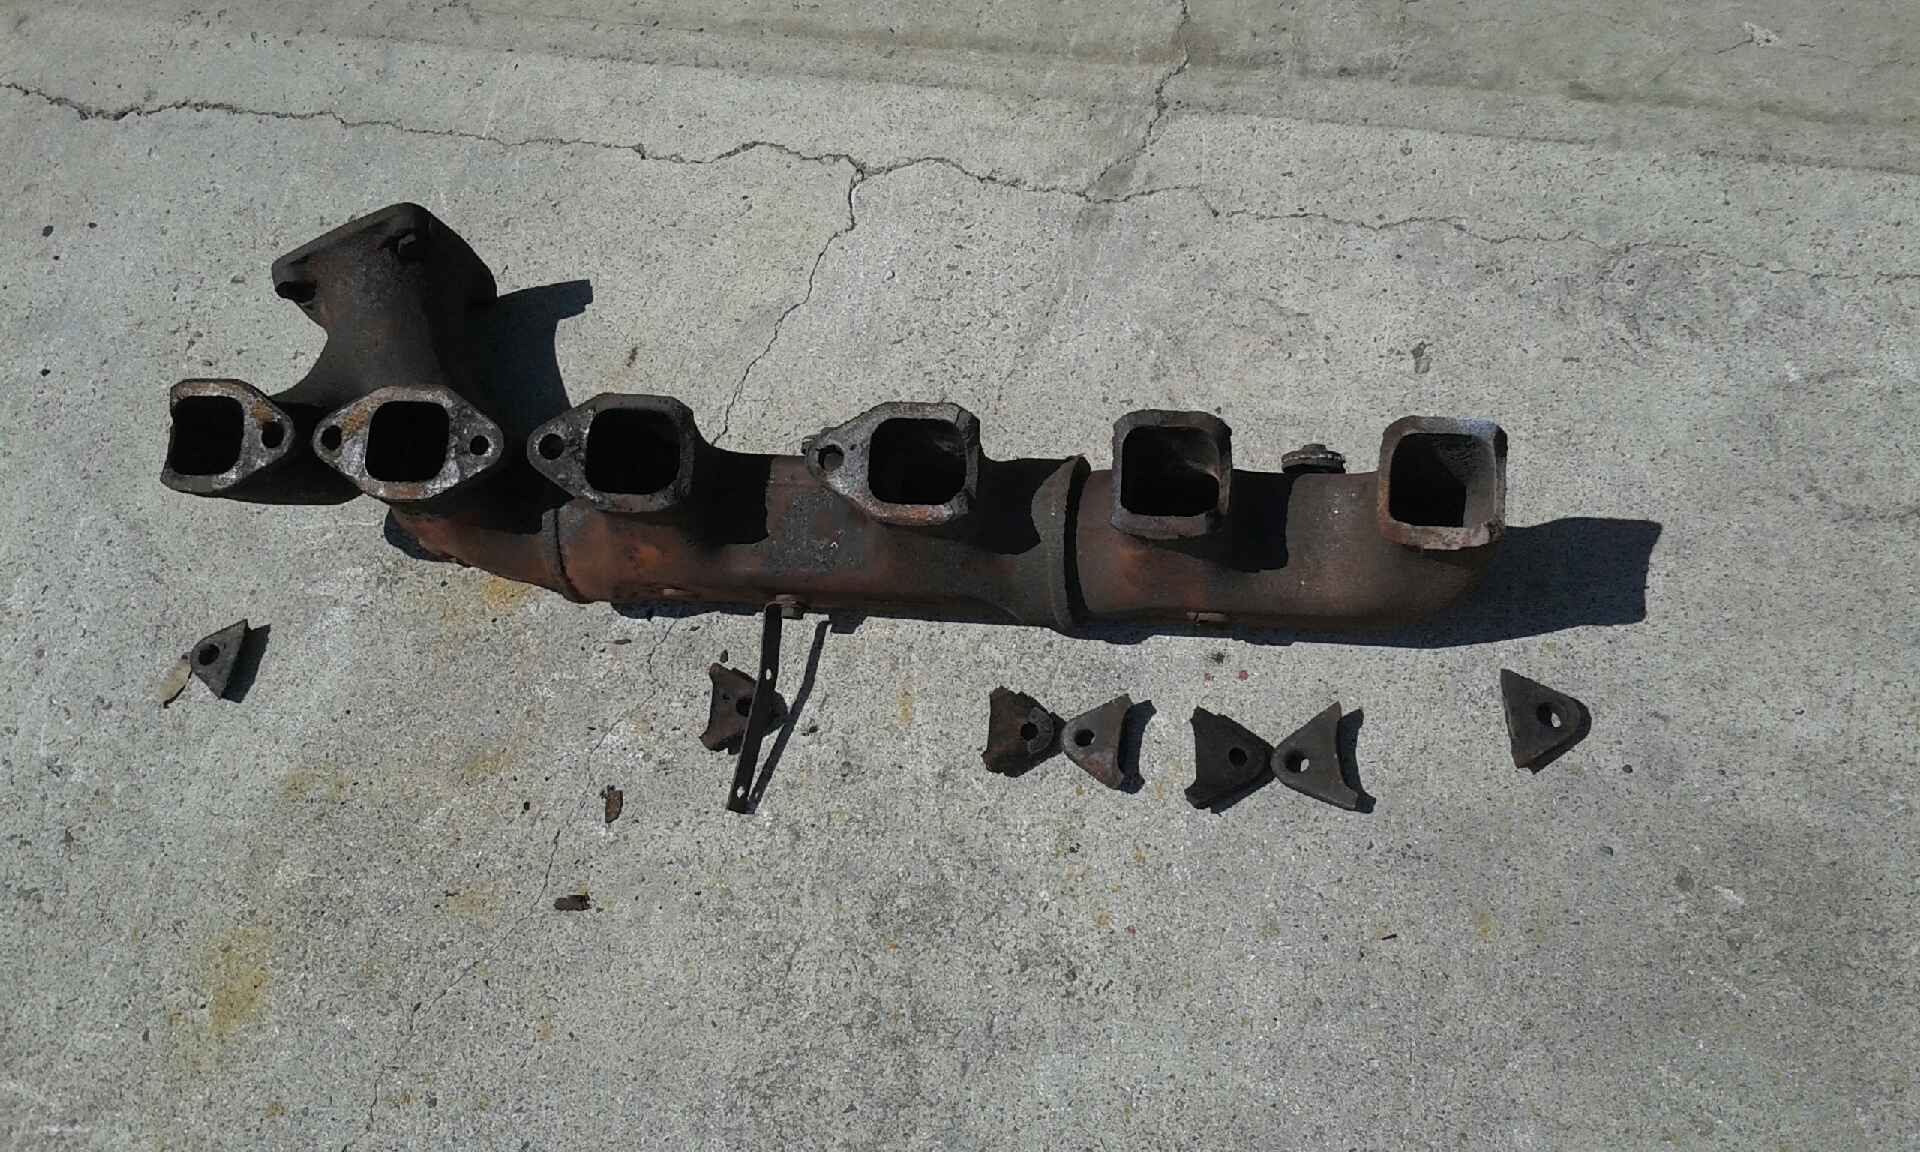
Some more progress over the last few days. The exhaust manifold is off after a lot of sweat, heat, PB Blaster, and more than a few choice words directed at the rig! Some of the nuts are a huge pain in the @$$ to access to try to remove! The manifold was a little worse than originally thought, with 7 of the ears cracked all the way through. I have a guy who says he can weld it, but he advised that I would probably be better off trying to find a good used one first, so with that said, I'm in the market for a 707 exhaust manifold. I also plan to replace the right side spark plugs and at least some of the plug wires while the manifold is off; at least one was bad from the exhaust leak blowing directly on it for the last year and a half(and who knows how long before I got it), and we accidentally lit one on fire while working on the manifold
-
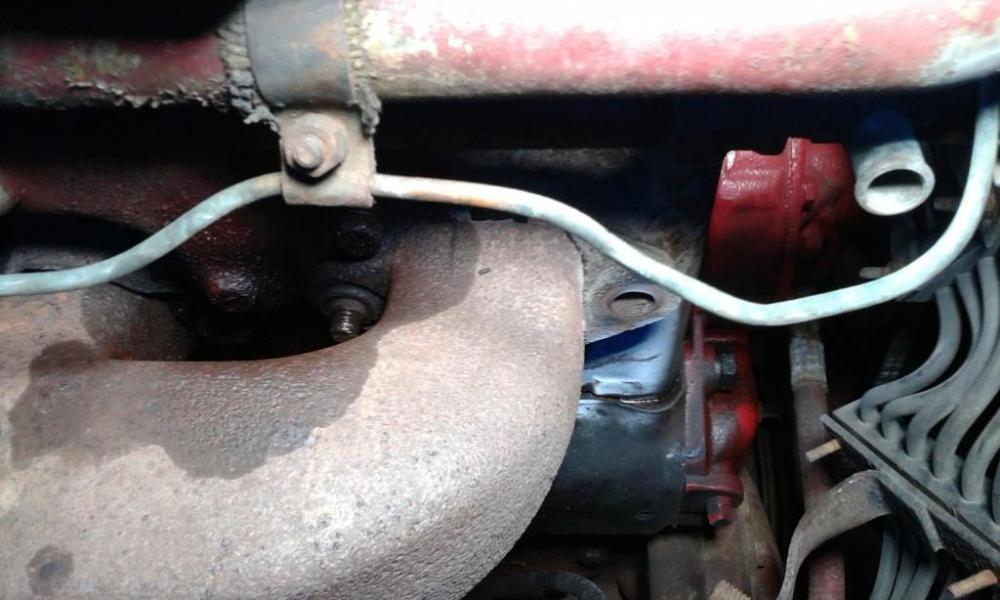
Started the process today of removing the exhaust manifold so I can get it fixed. Soaked the nuts with PB blaster, and got 3 of them off before I had to go to work tonight. 1 whole stud came out, 1 just the nut came off(used some heat on that one), and 1 the stud broke off; there is enough sticking out that I should be able to get it out after I get the whole manifold off. Also a few days ago, I began prepping to paint some of the parts around the dog box, this is an in-progress shot
-
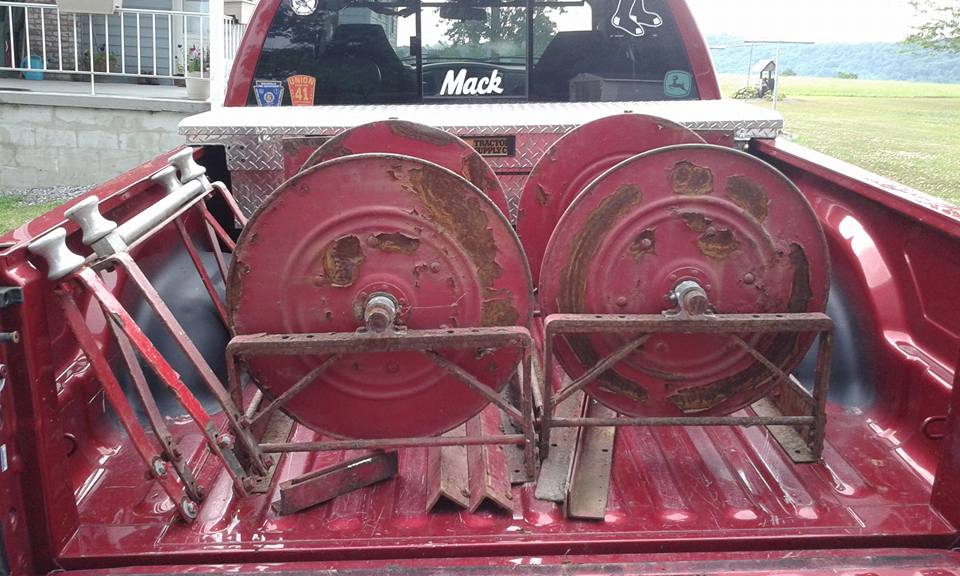
Today, I acquired a set of hose reels, thanks to @Mike Rugh!
-
That appears to be the solution, thank you!
-
So in attempting to cap off the heat exchanger, I've found that nobody seems to carry fittings that fit those size lines. I believe they are 7/16", because 3/8 is too small and 1/2 is too big, but can't find the correct size anywhere- advance auto, autozone, napa, even tried lowes and home depot in the plumbing section. I was hoping to do the same thing as I did for the drain lines, cap it off with unions and plugs. Anybody else done this before or have any insight?

-
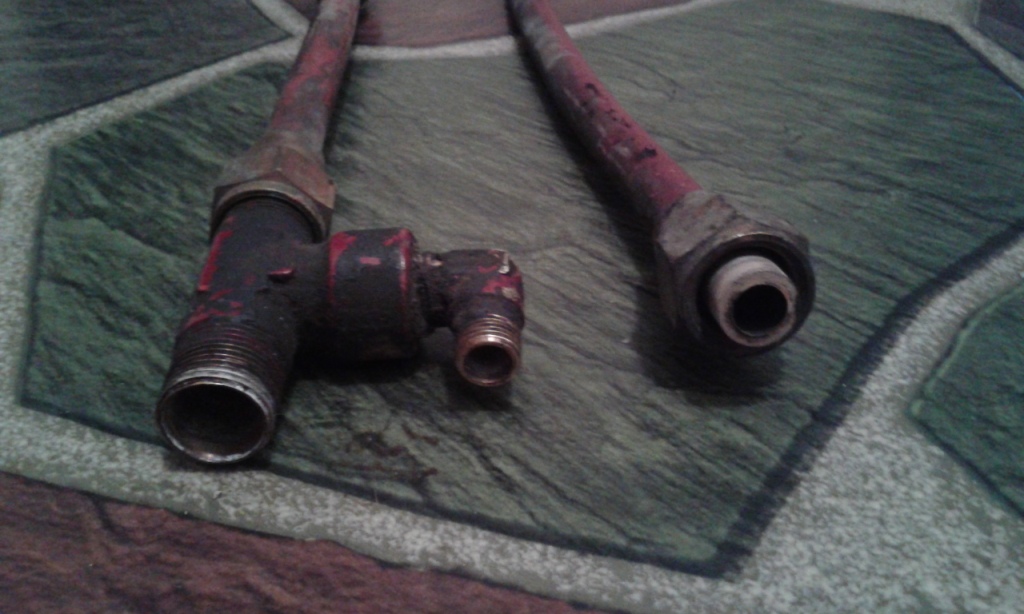
I spent this afternoon working on taking out the lines for the heat exchanger and removing the broken drain lines for the pump. The drain lines had already been isolated and capped off at the pump. One of them had 2 holes, and the other had 1, it appears that they had frozen at one time and split.
-
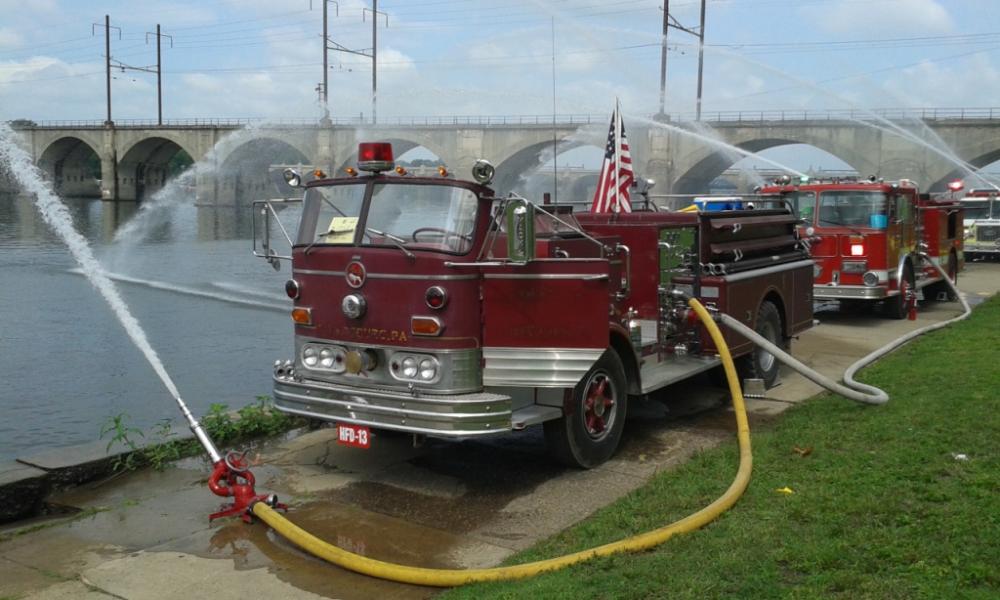
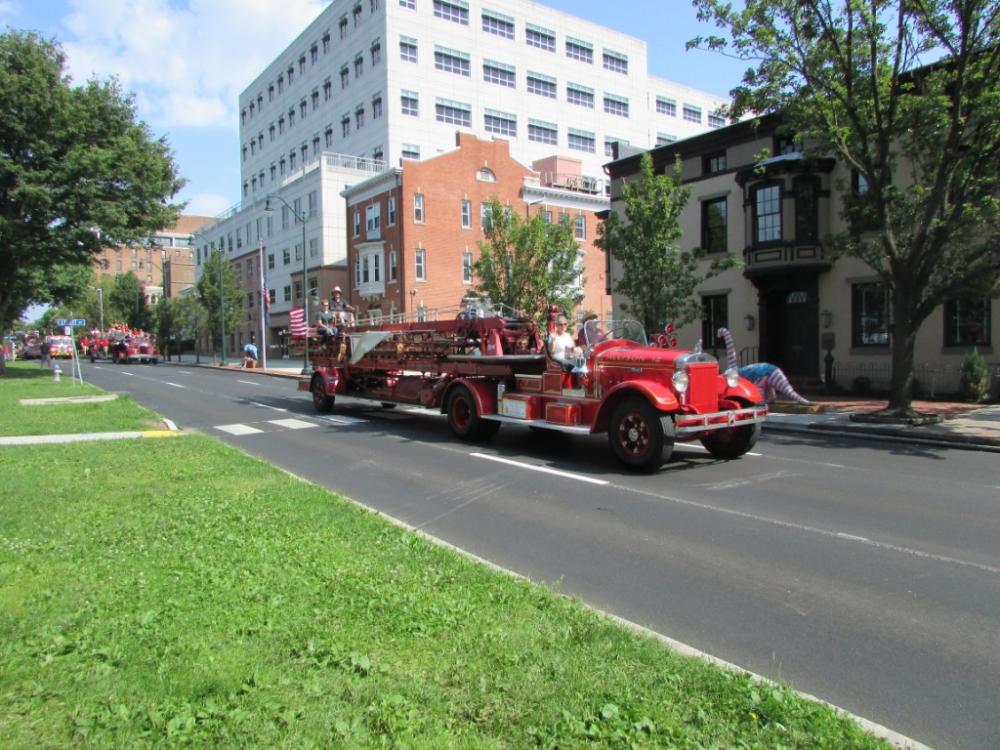
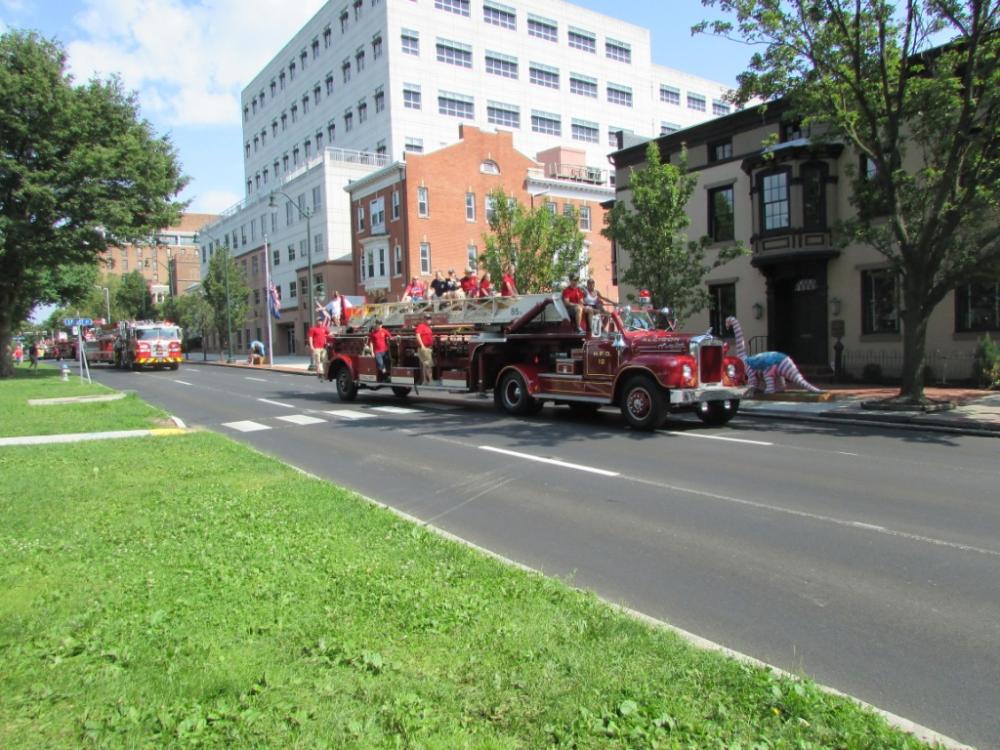
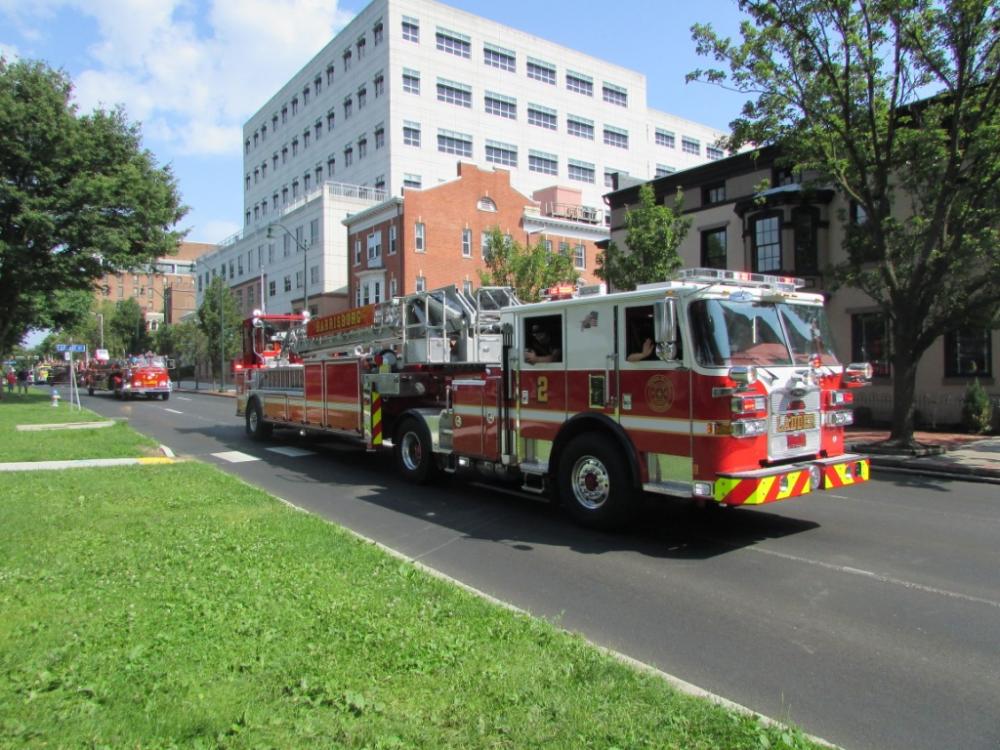
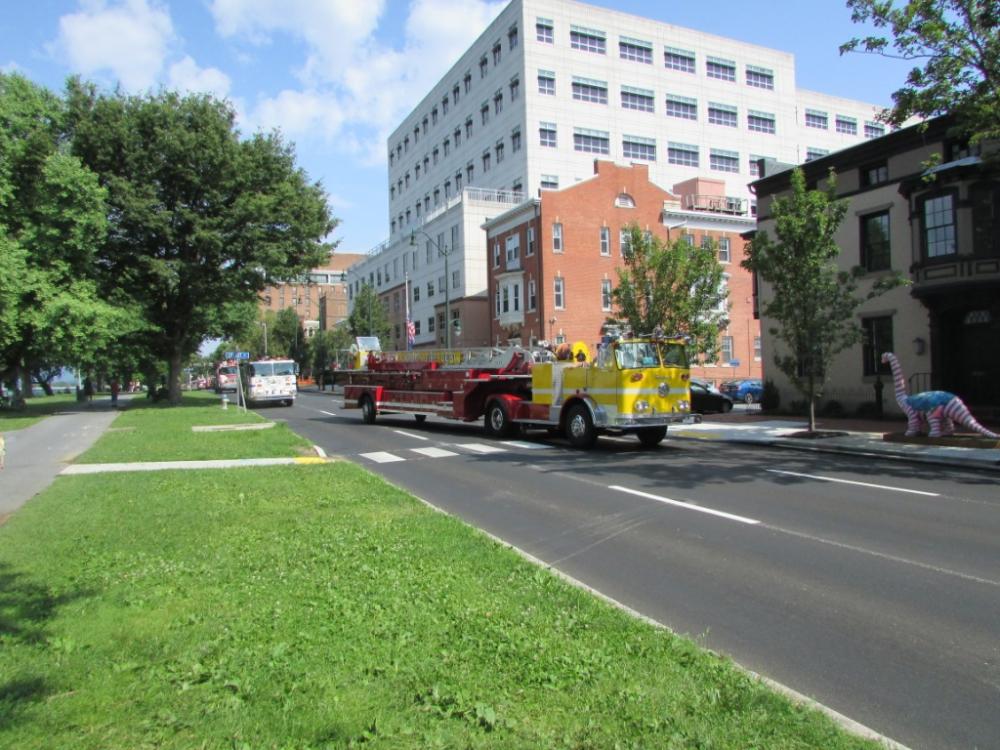
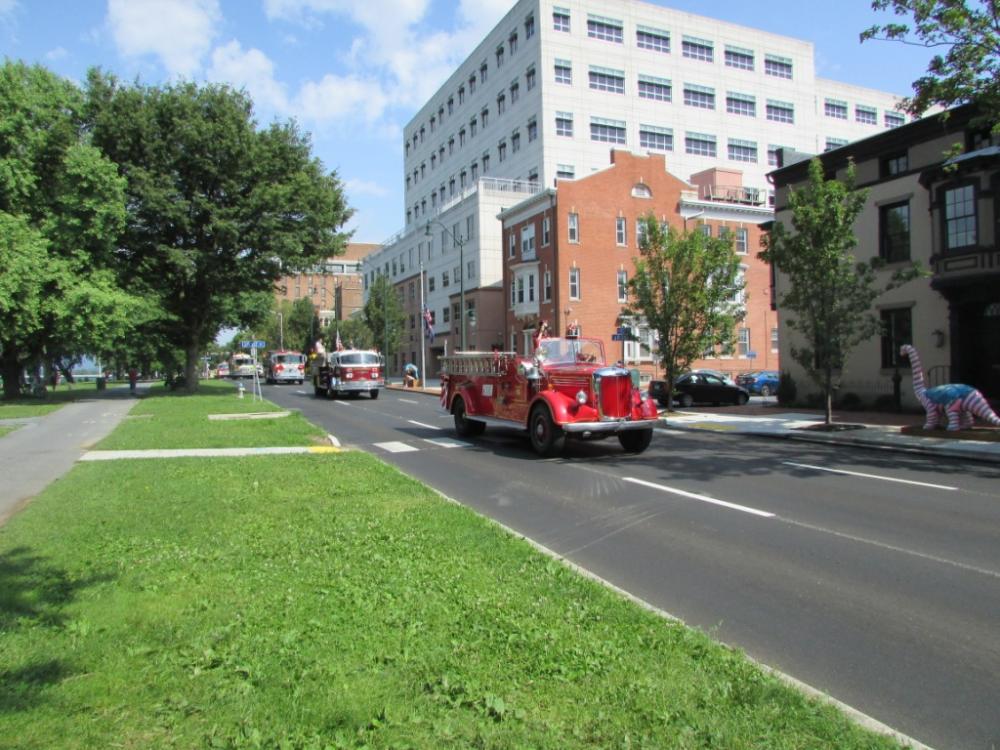
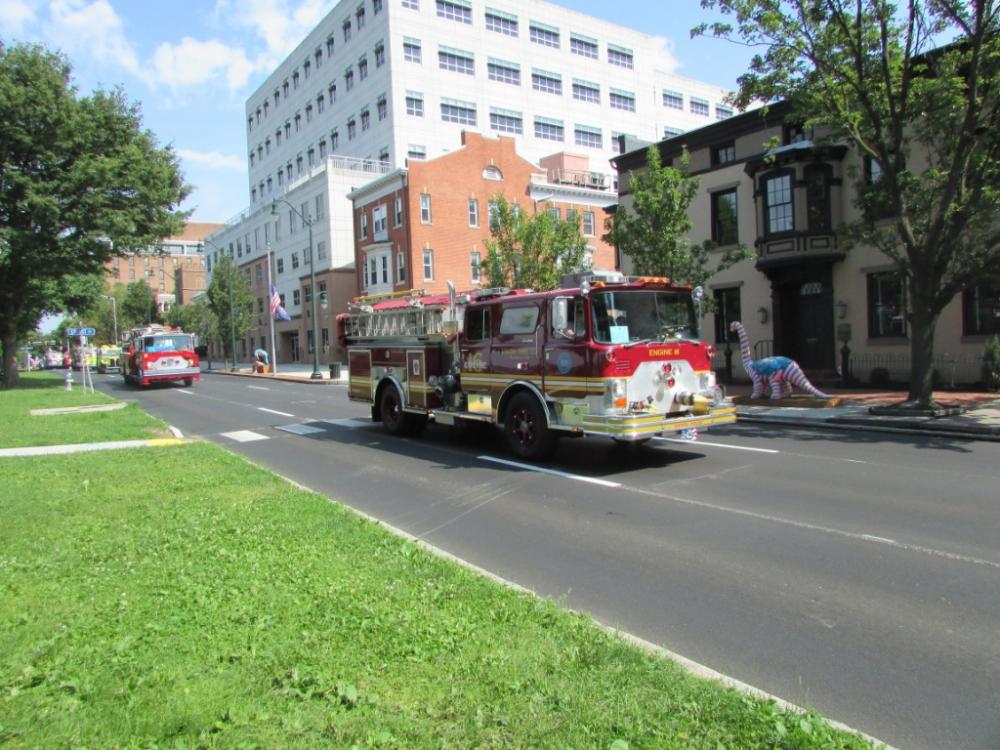
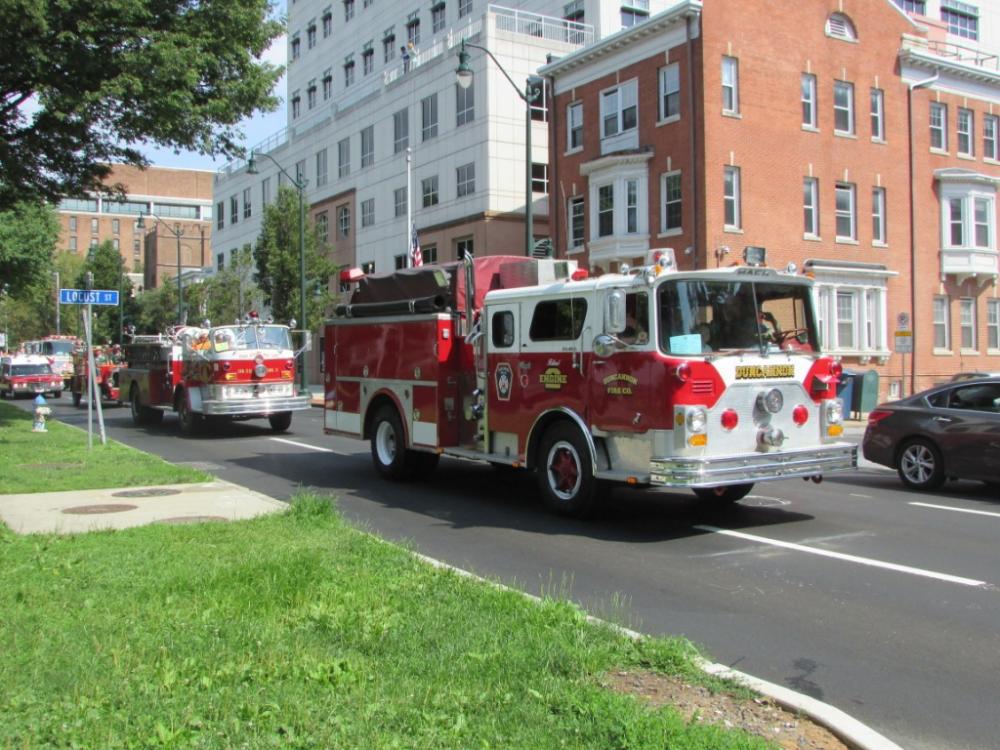
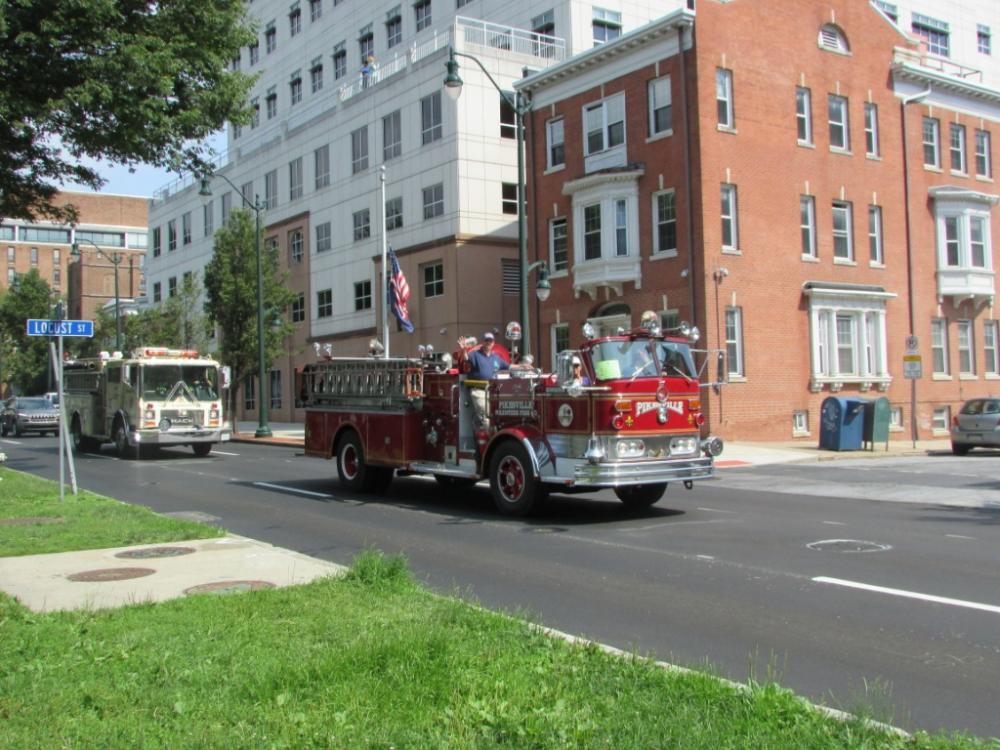
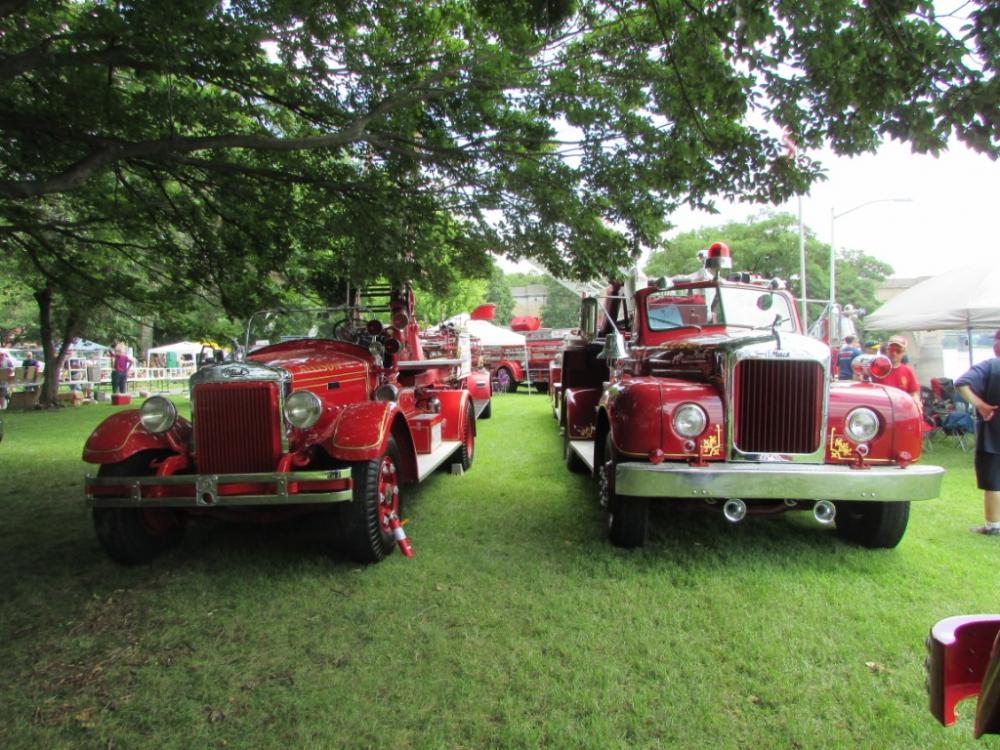
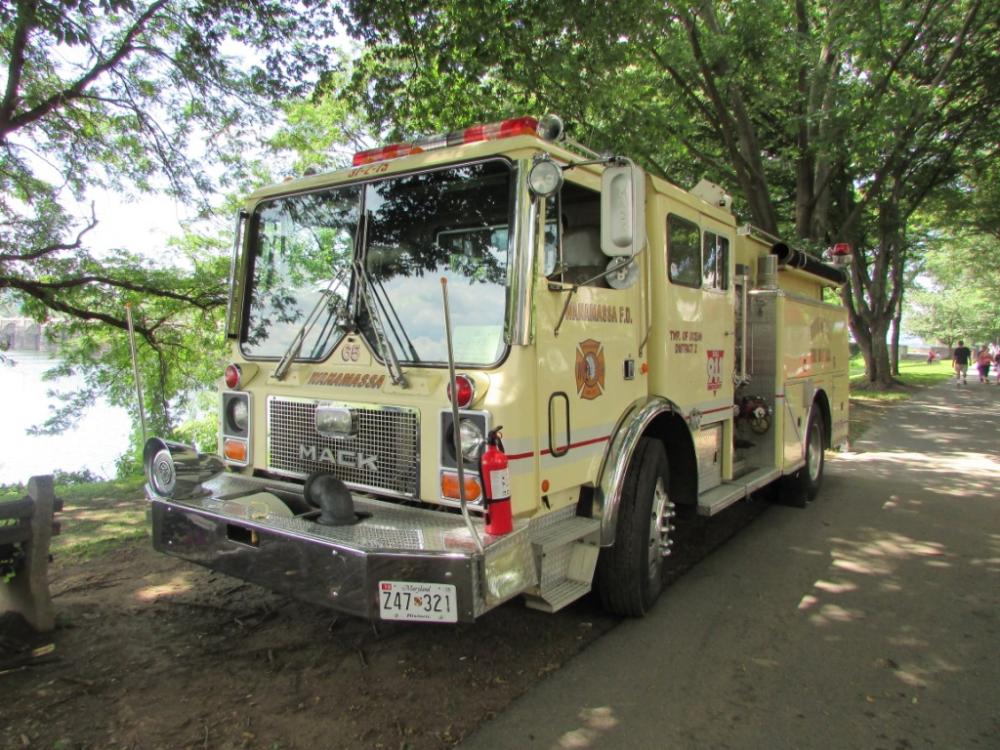
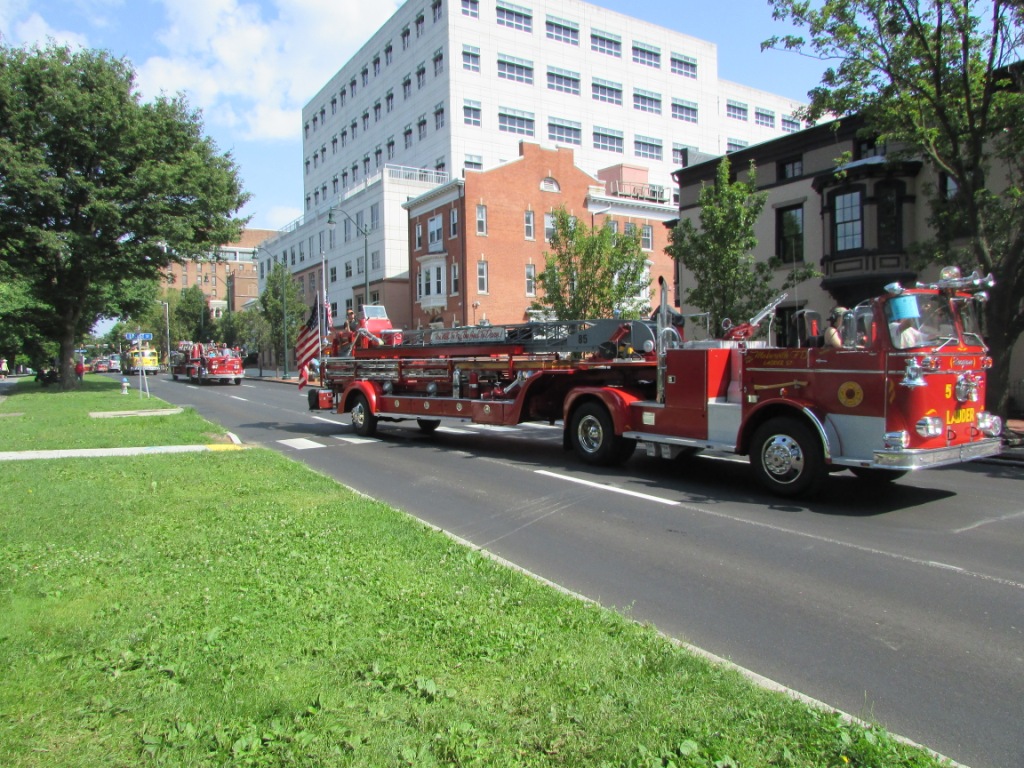
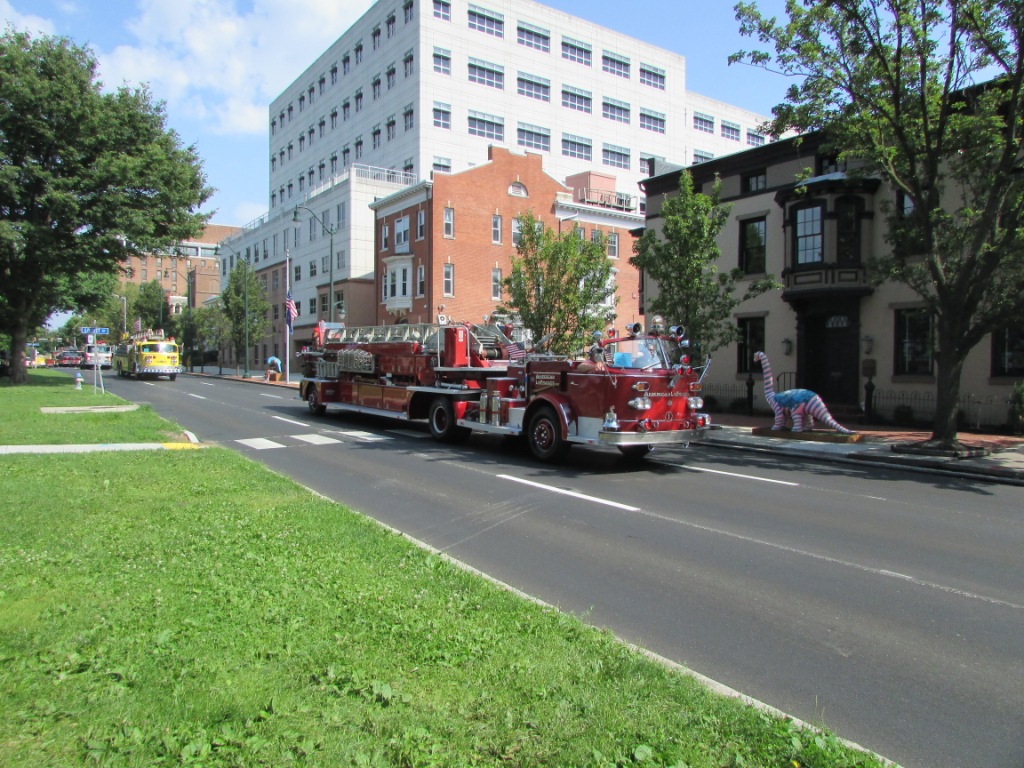
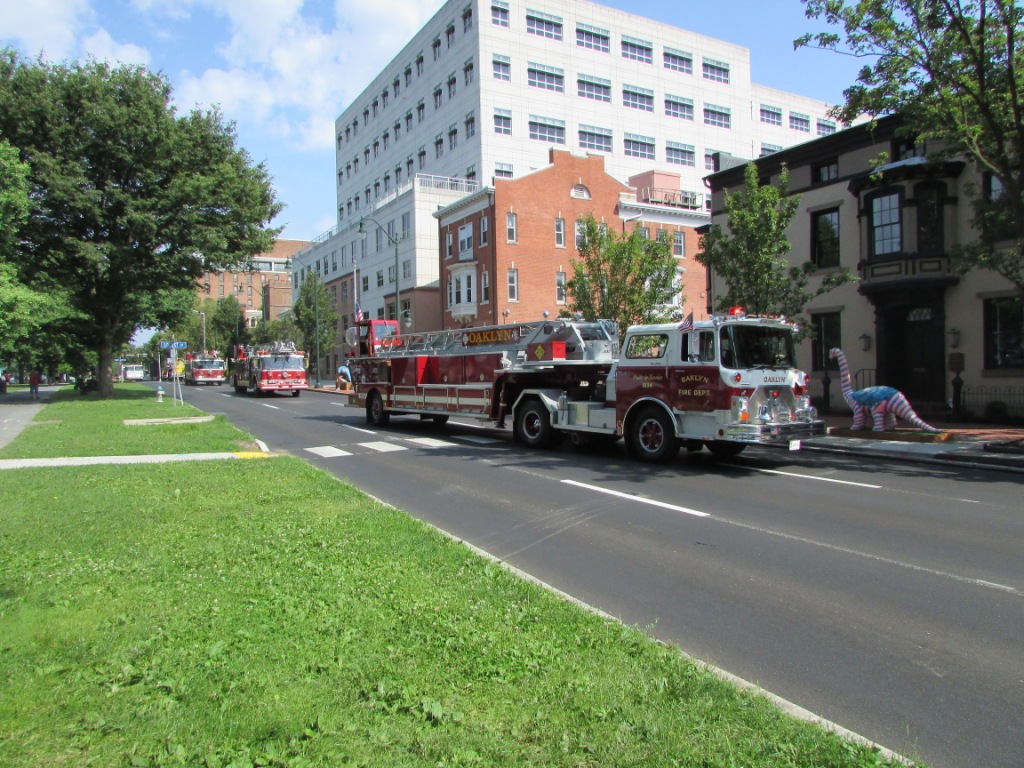
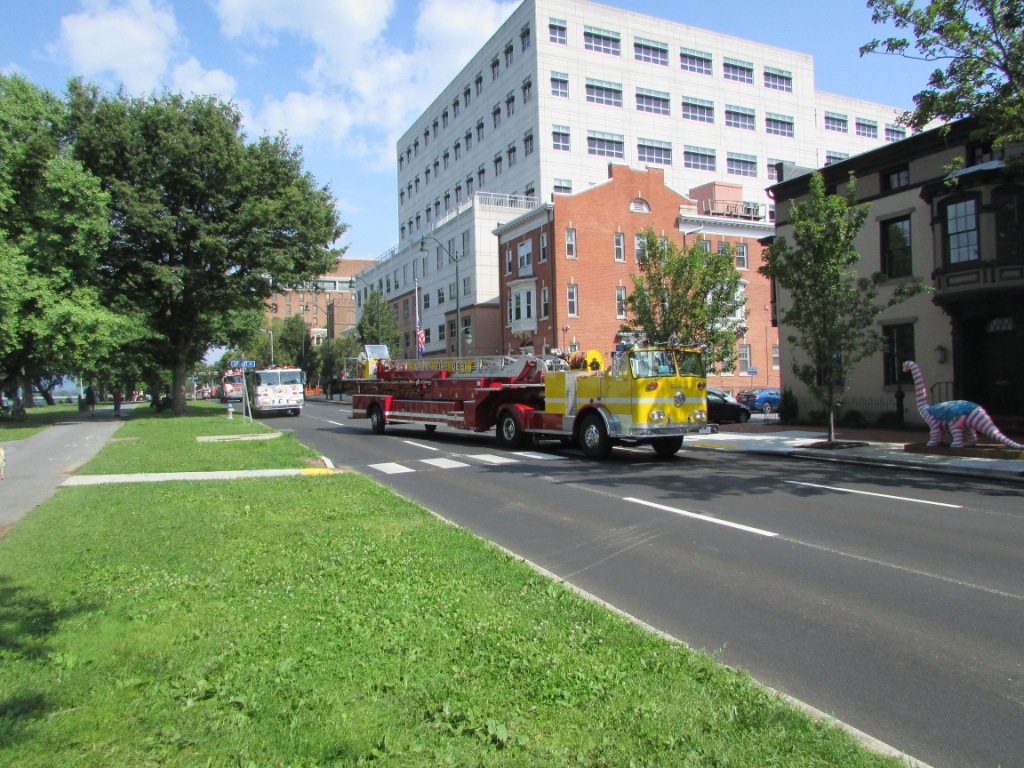
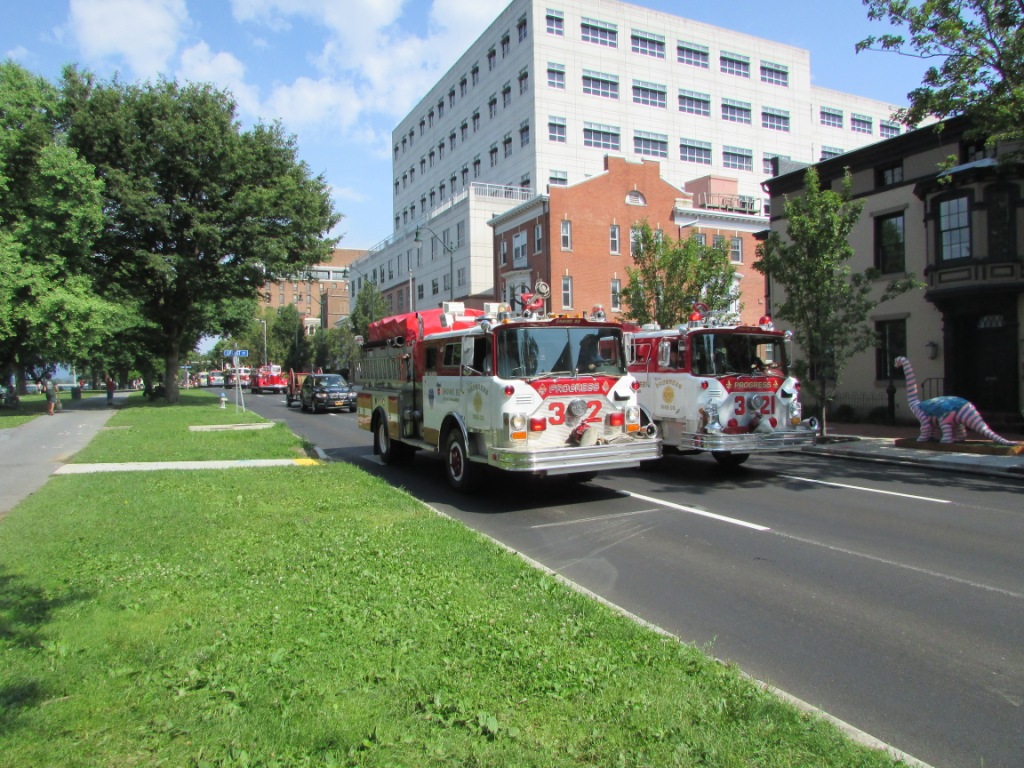
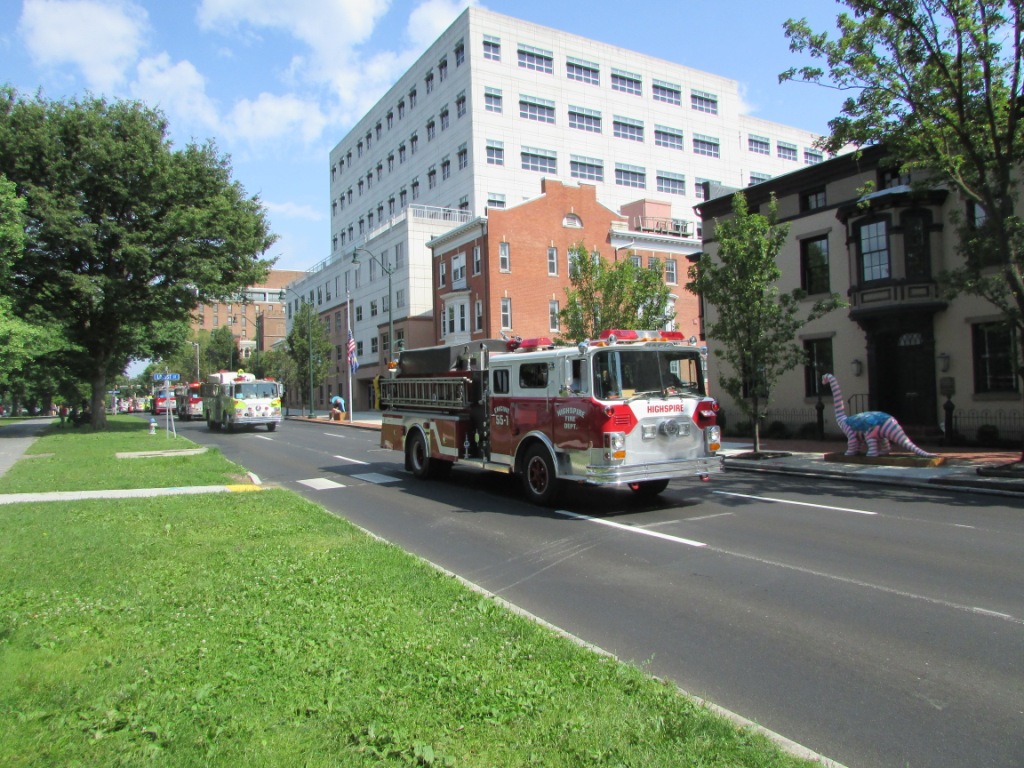
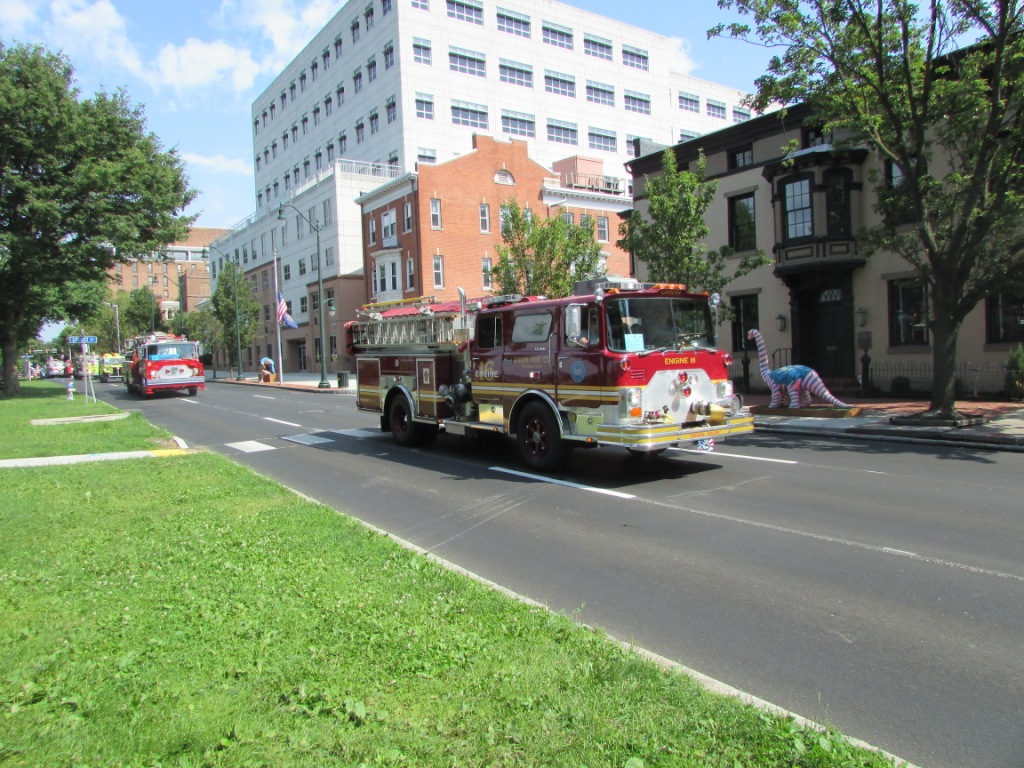
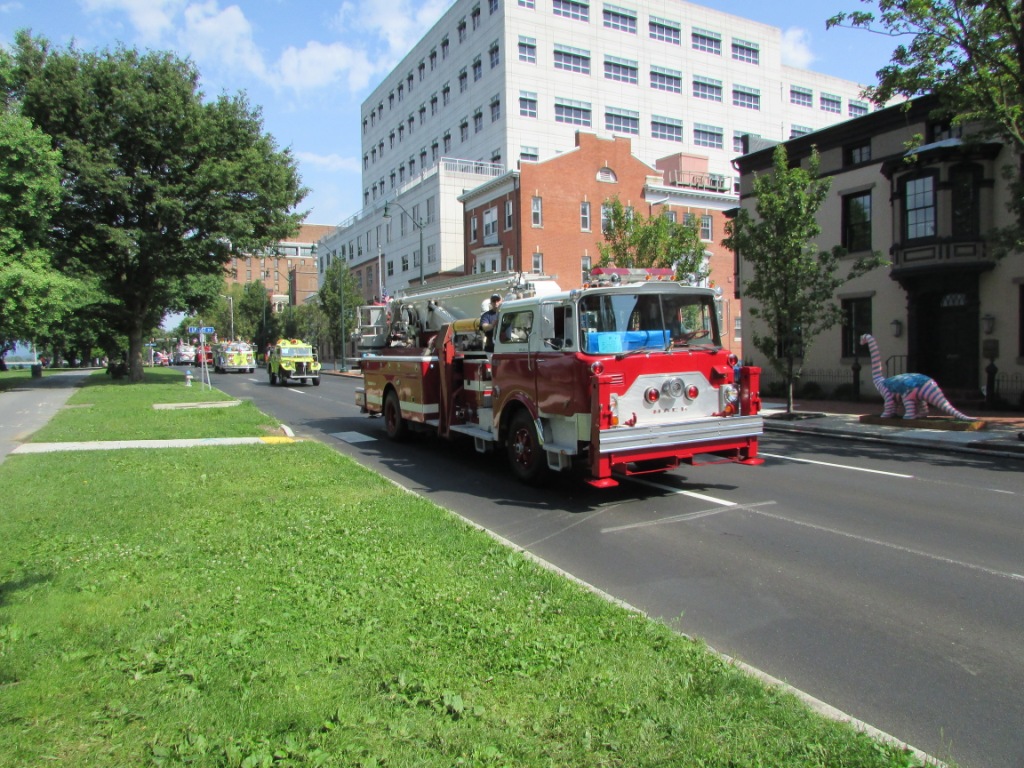
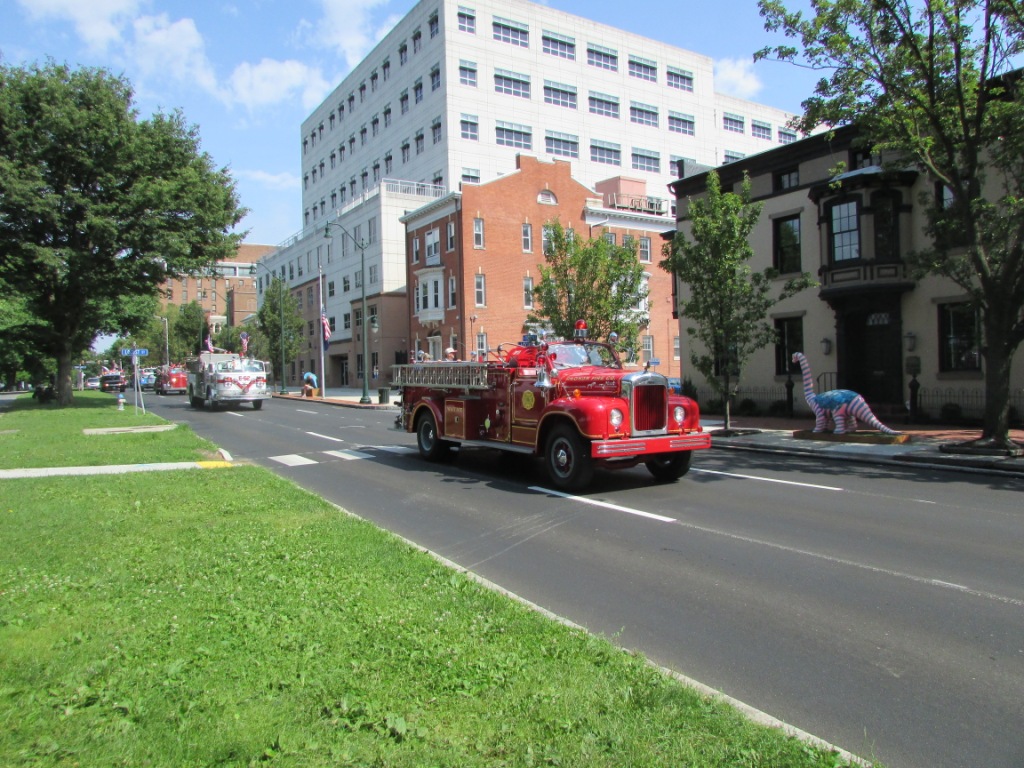
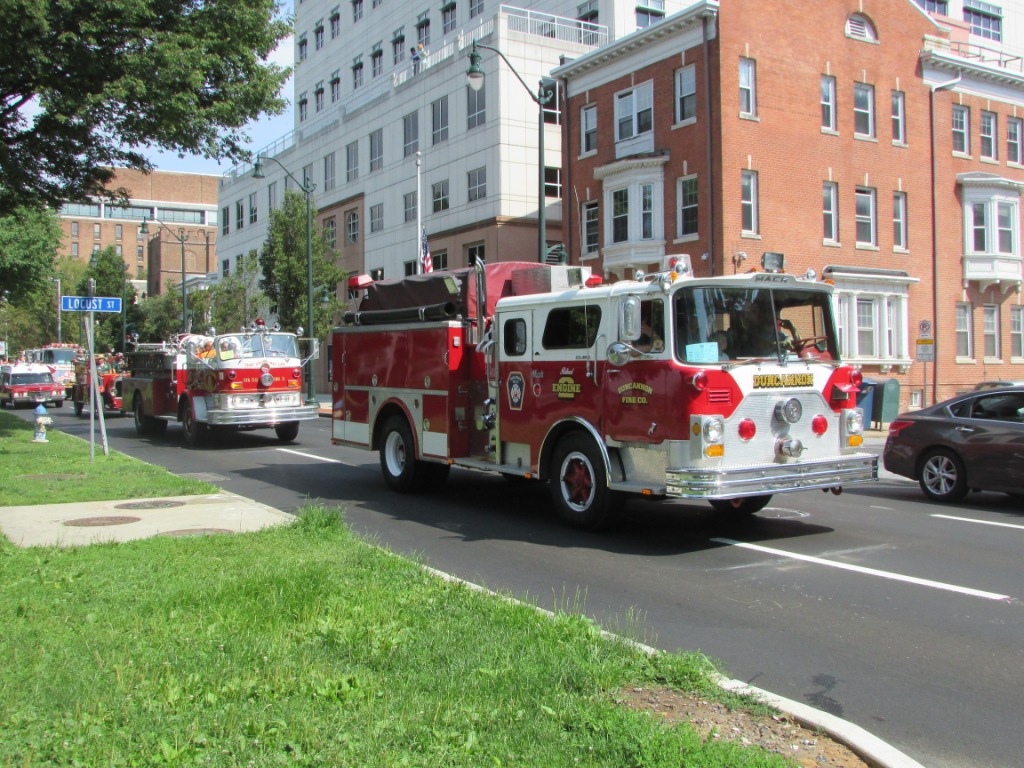
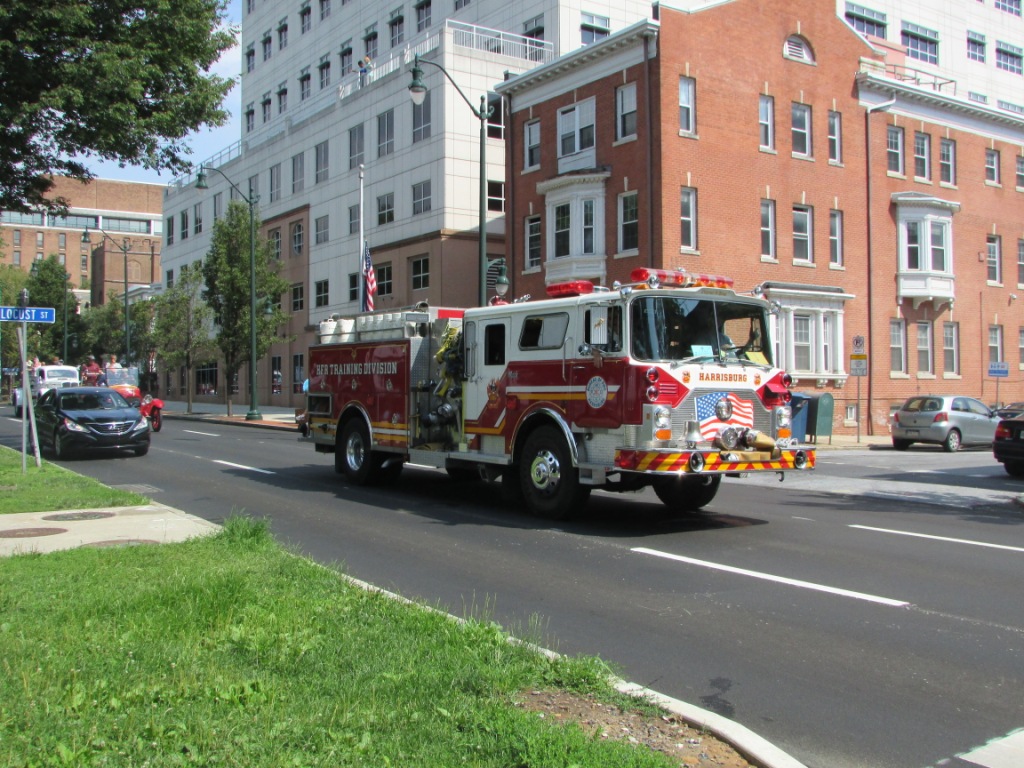
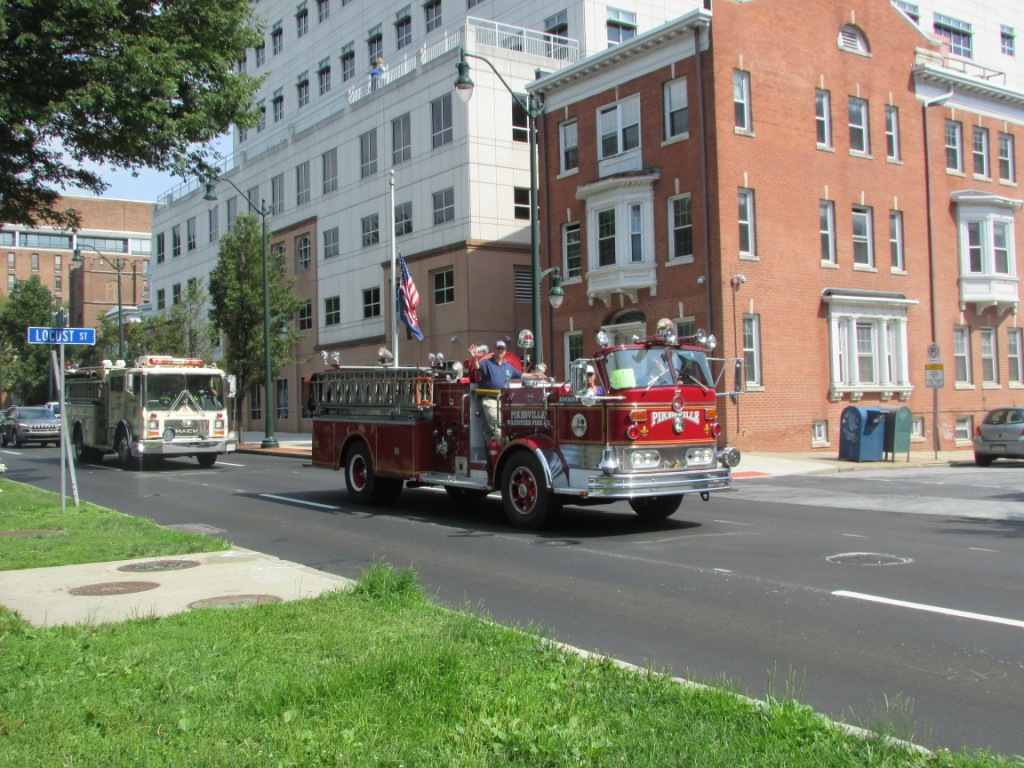
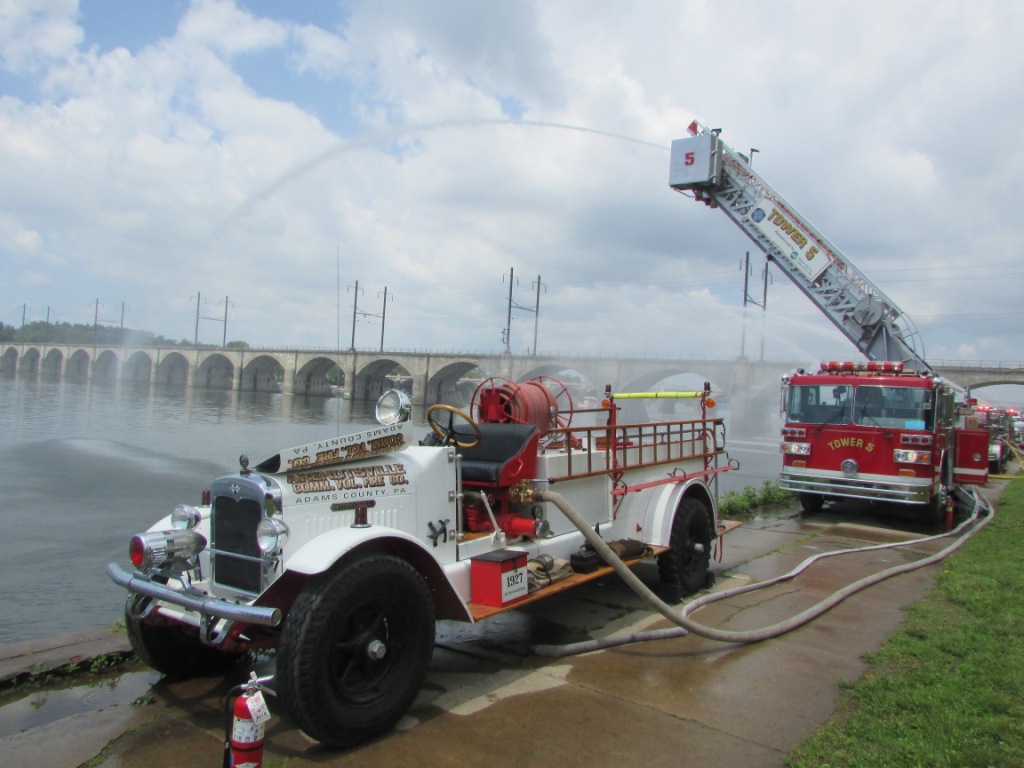
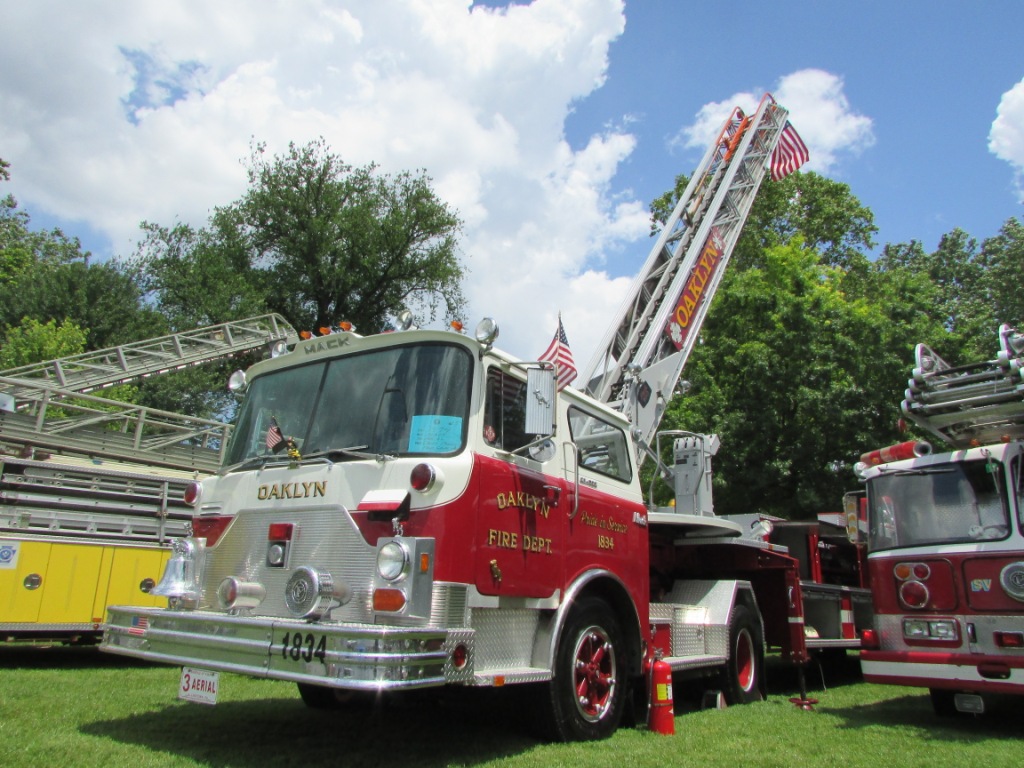
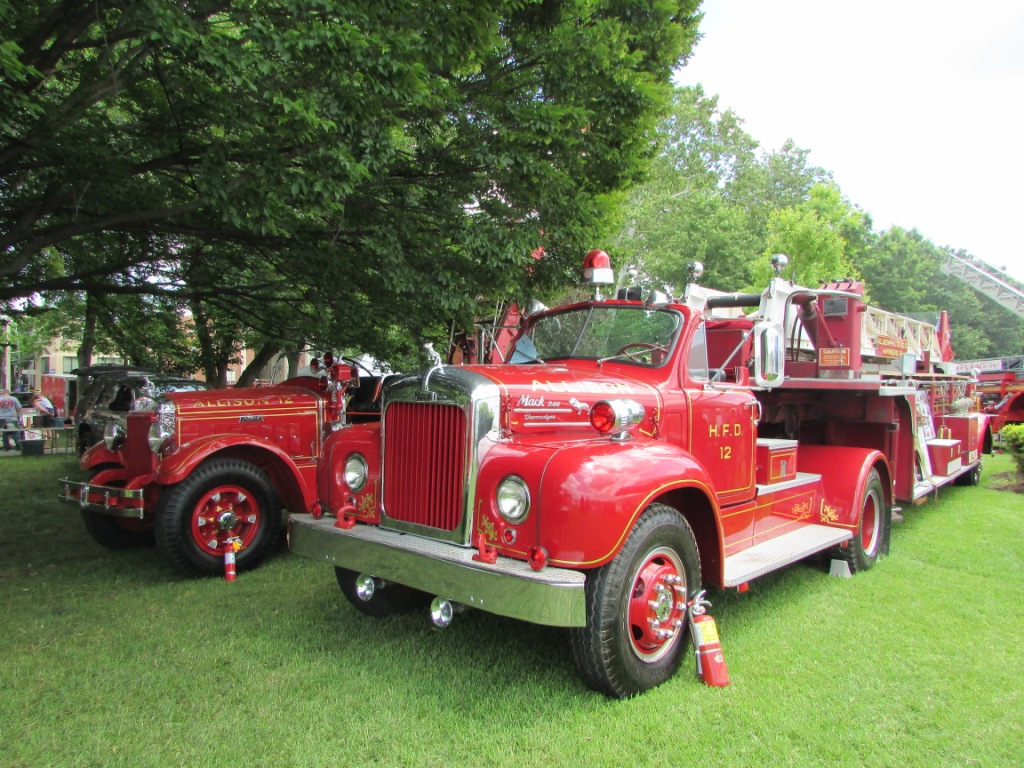
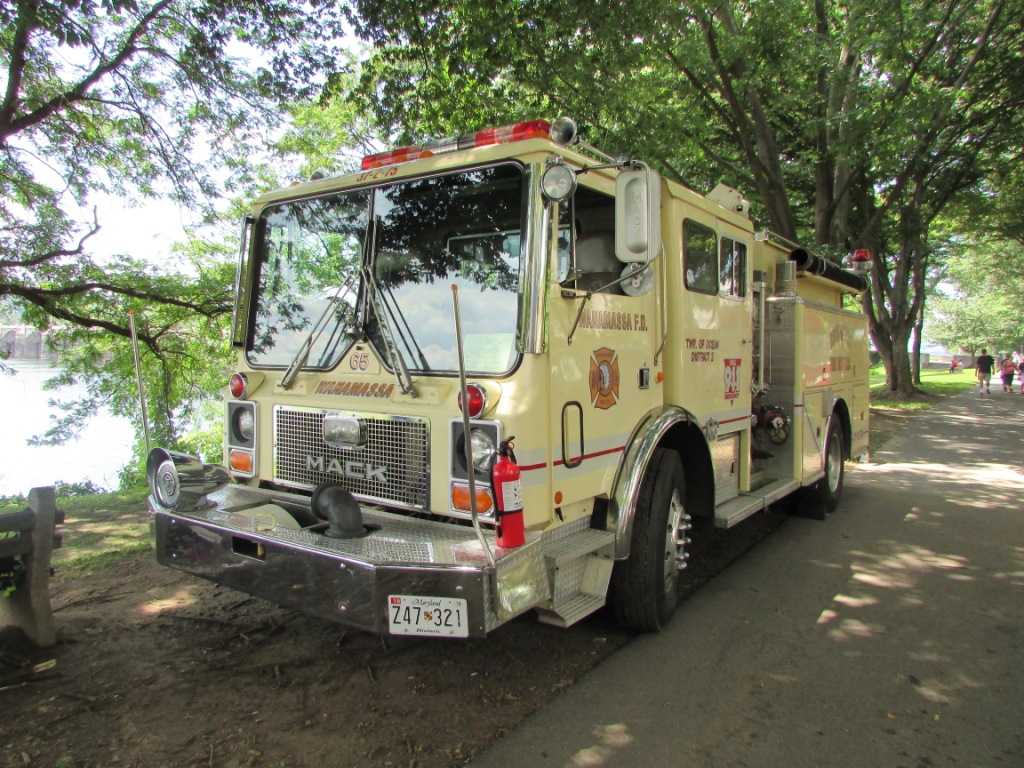
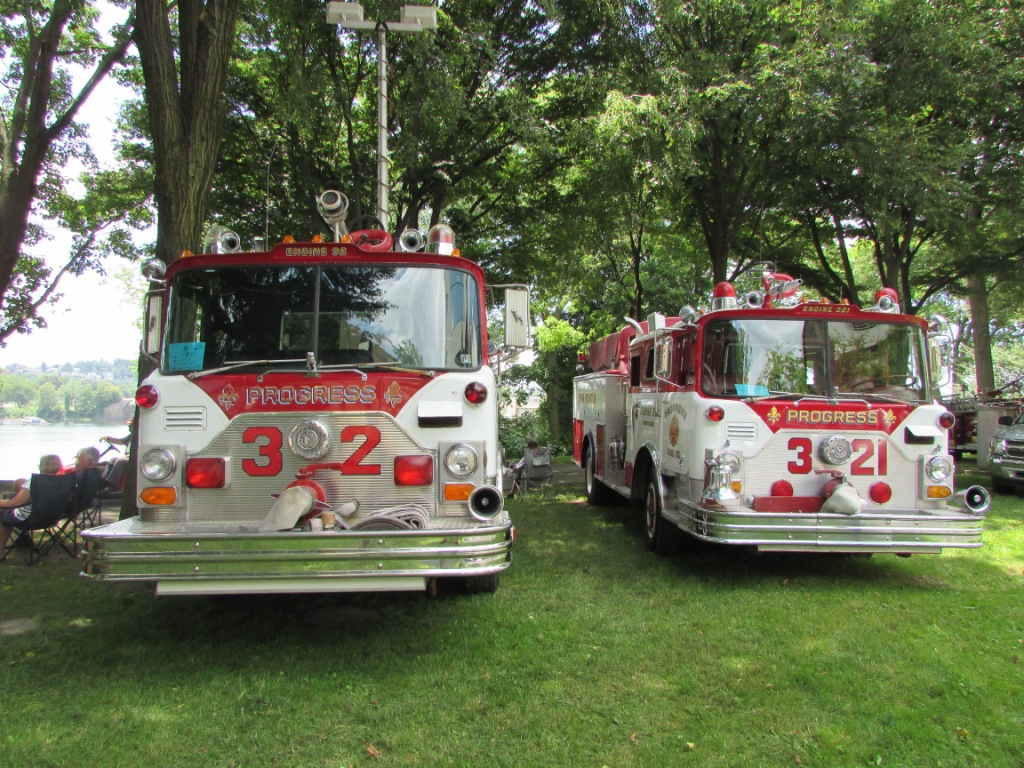
Pics from this year's Pump Primer's Muster. We had perfect weather, thankfully the forecasts calling for storms turned out to be wrong. There were reportedly 115 rigs registered this year! Didn't get pics of every single Mack, but I think we got most of them. Being a central PA muster, it was a very Mack-heavy event, plus 7 tillers were in attendance! My engine gave a valiant effort, but just couldn't keep a prime pulling through 2 hard sleeves, so we had our neighbor supply us for about 2 hours. Parade photos were taken by my wife. Arendtsville's '27 International supplying their '87 Sutphen tower:


-
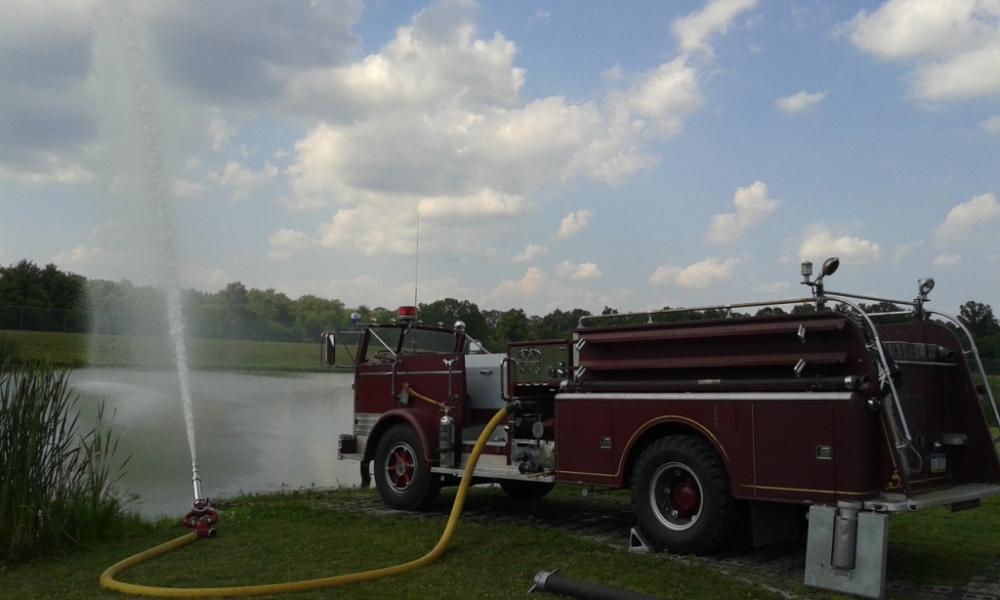
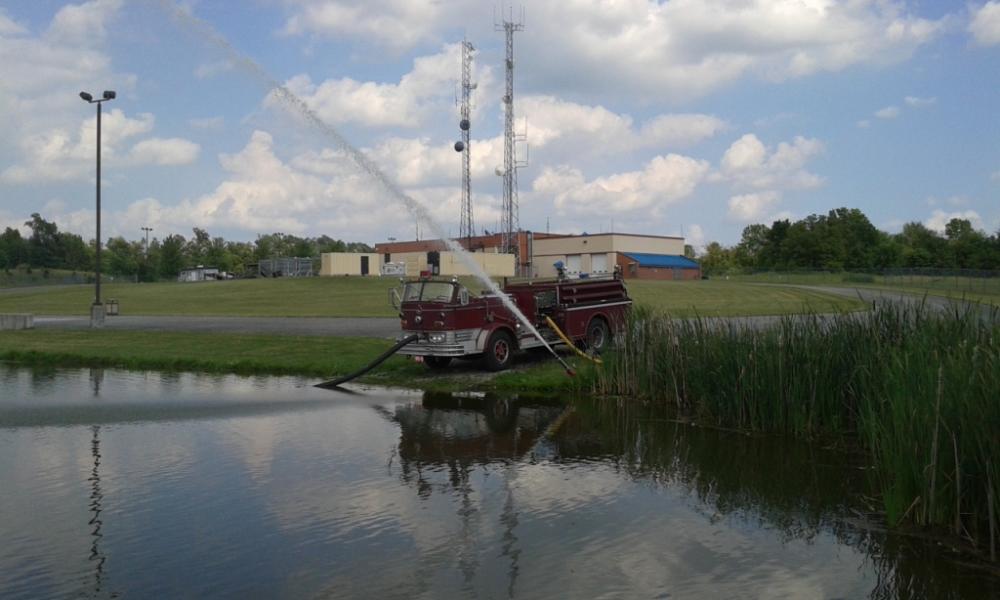
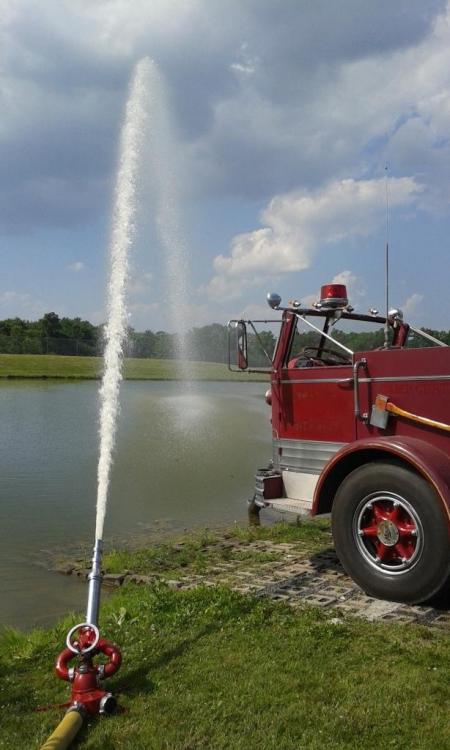
Went out drafting today, and the rig pumped for about 45 minutes with no problems! Yesterday, I figured out which drain lines were broken and leaking, and capped off the ports for those lines where they come out of the pump; I'm pretty sure that was the main thing impeding it from keeping a prime before.
-
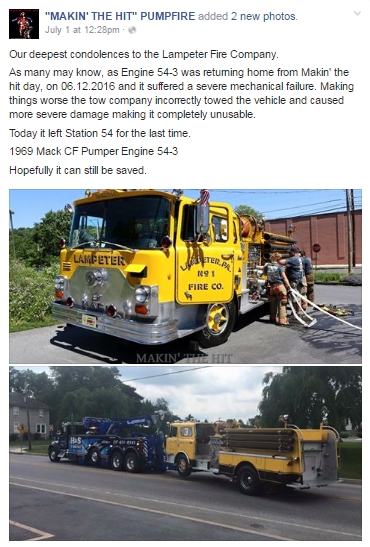
It's a shame that a momentary lapse in judgement meant the end for such a nice and apparently well-maintained rig
-
Word is, the original breakdown was the short drive shaft breaking
-
According to comments on the original post, the driveshaft was not properly secured before towing and broke loose, breaking the pump, tank, and flaying the frame rails.
-
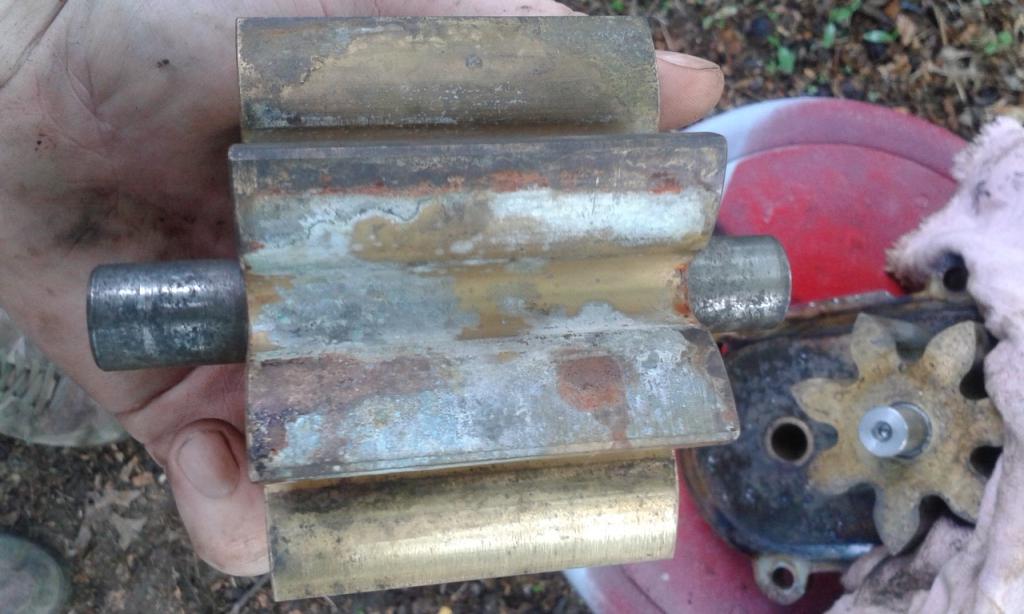
Got the primer put back together yesterday, and the motor back on today with a new solenoid, and the primer works great. I tested it out by drafting out of a small kiddie pool at my parent's house, and it pulled a prime in less than 10 seconds using 1 section of hard sleeve on the 4-1/2" intake, but couldn't keep primed for more than a few seconds. My thoughts on the lack of prime are this: 1. There are 2 pump drain lines that are cracked and leaking at a steady rate (water running out), which would introduce air into the pump and disrupt the draft 2. The cap on the 2-1/2" suction was not the same threads as the collar and was only on by about 1-2 threads, which resulted in a bad seal. The ball valve on that suction was also leaking. 3. After I packed everything up, I double checked all of the discharge/intake caps, and found a few that were not as tight as they should be. 4. The kiddie pool wasn't very deep/big I wasn't expecting it to hold a prime, since to my knowledge it's been around 10 years since it drafted, and was mostly drafting just to make sure the primer would do its job. At least now I know what else I need to work on! Short video of the drafting attempt: https://www.facebook.com/896316497056489/videos/1160698303951639/
-
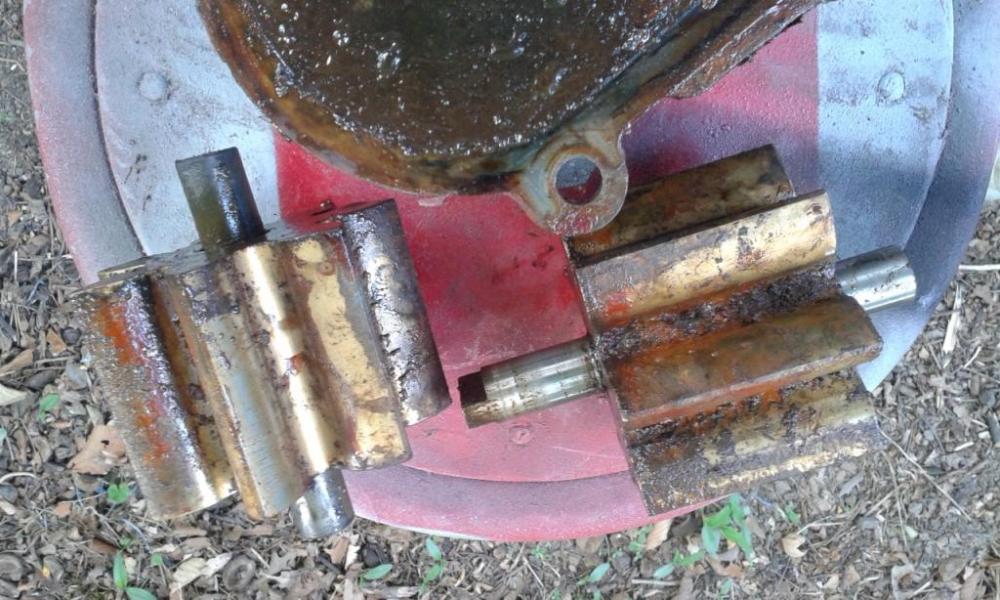
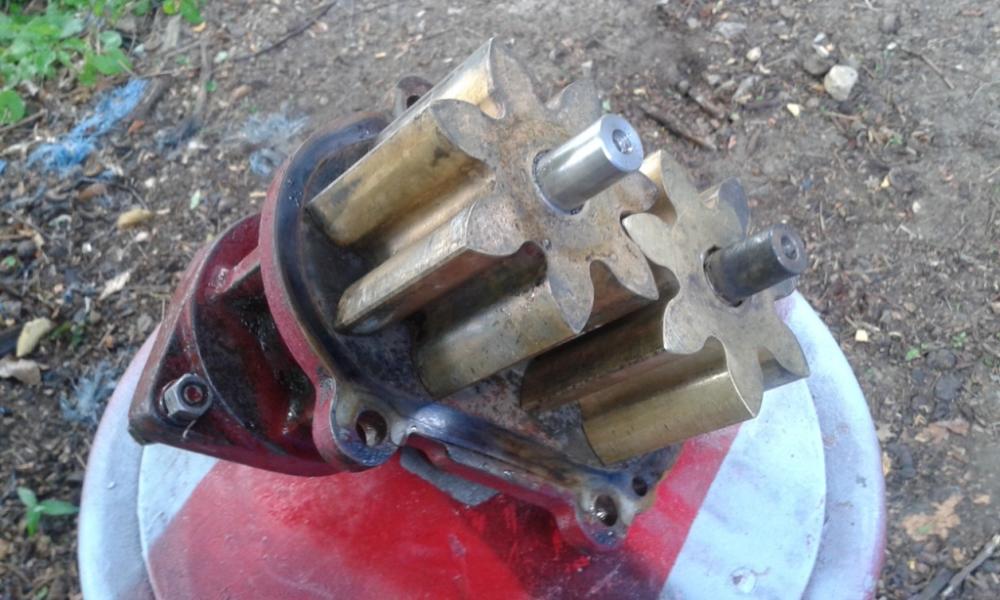
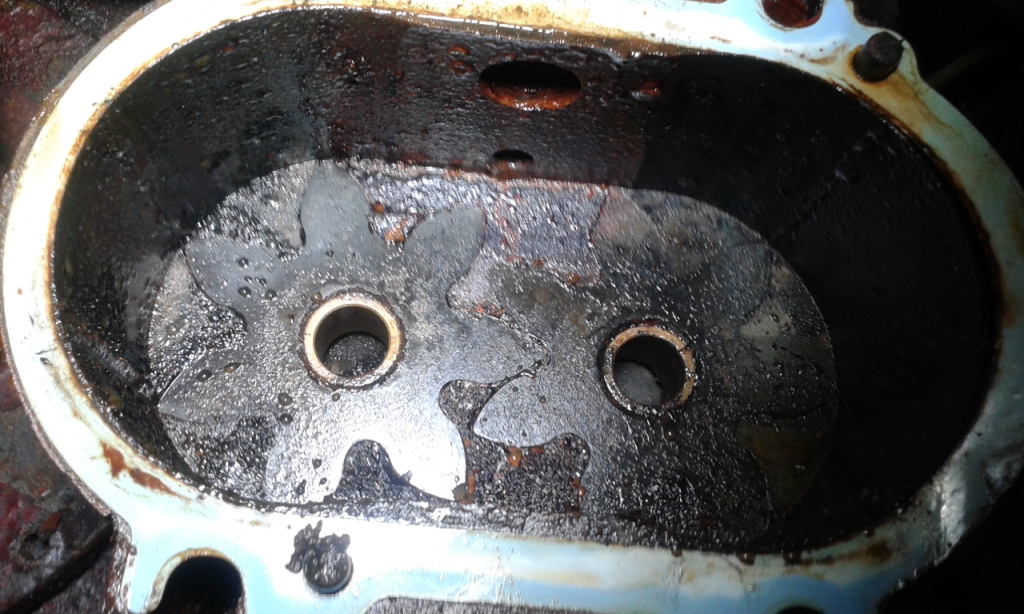
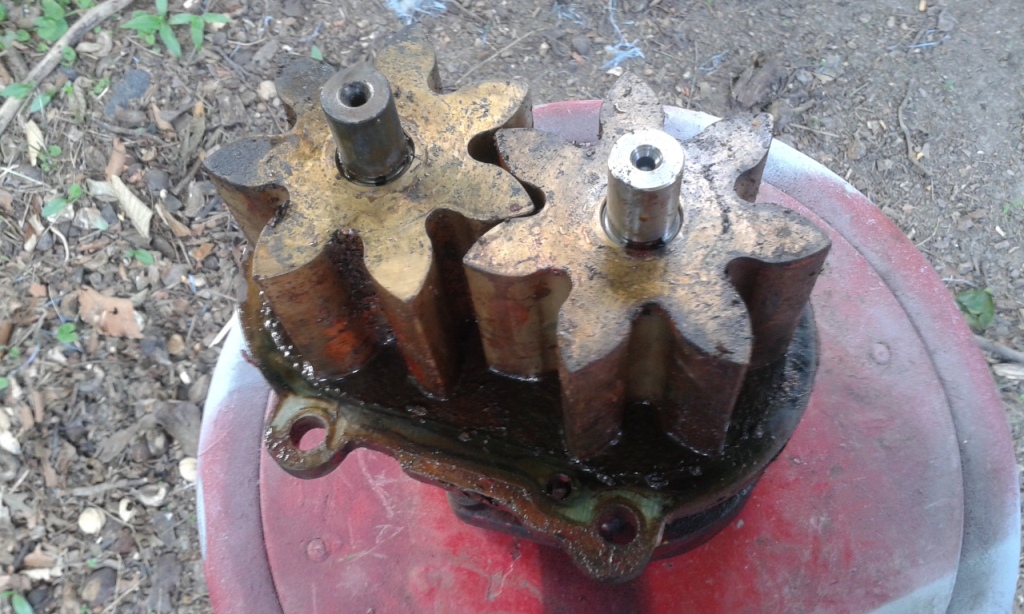
Decided to bite the bullet and take the primer apart to see what was ailing it. Looks like maybe just enough corrosion to keep the sprockets from moving? I did a little bit of cleanup on them, but ran out of time to do anything else before I had to go to work tonight. Cleaned up a little bit:


-
Good point!
-
That makes sense now, thank you! Would there be anything wrong with replacing the copper lines with, say, rubber fuel line?
-
Negative, Susquehanna Valley- Gettysburg area
-
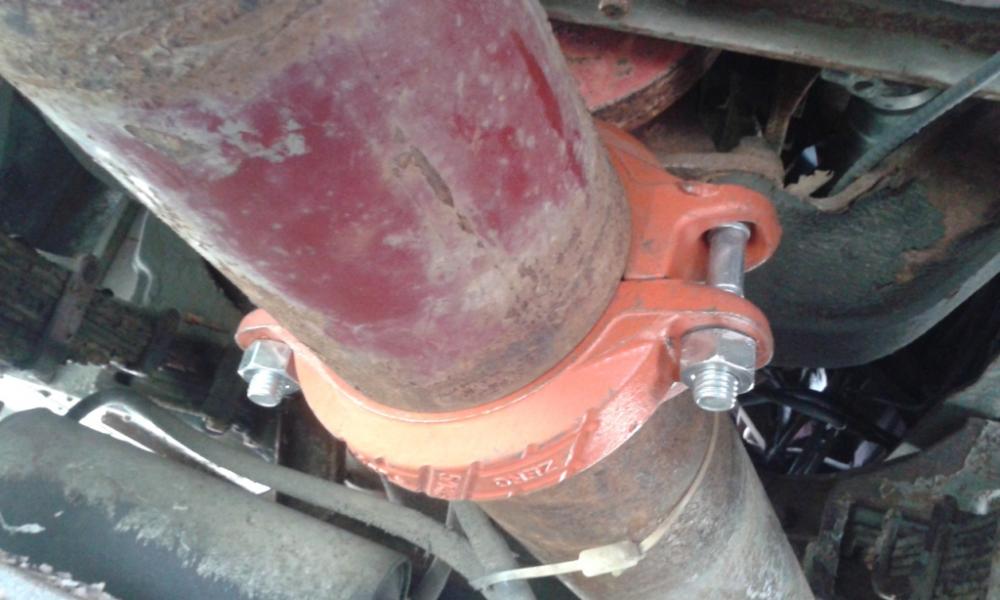
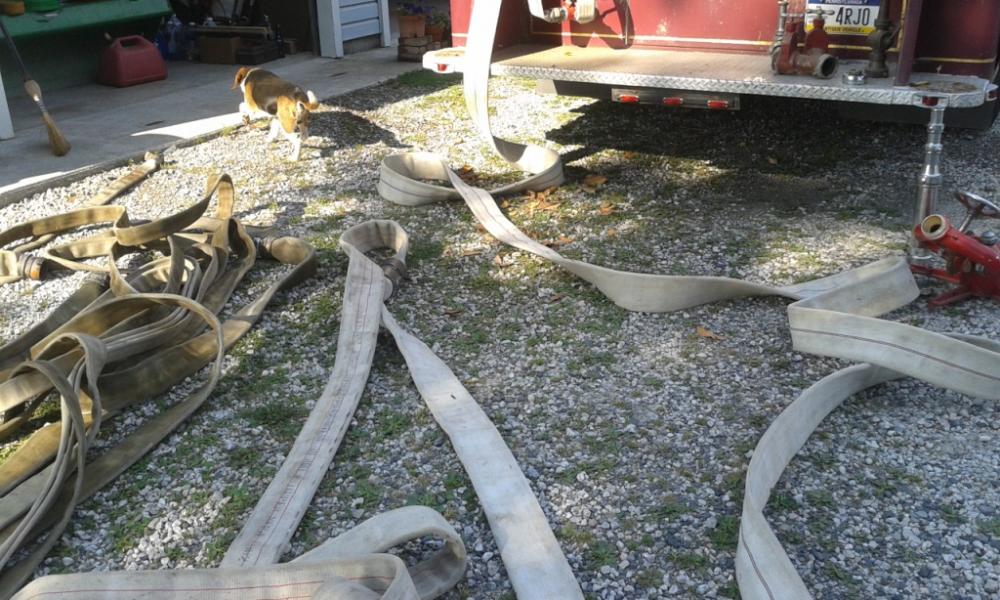
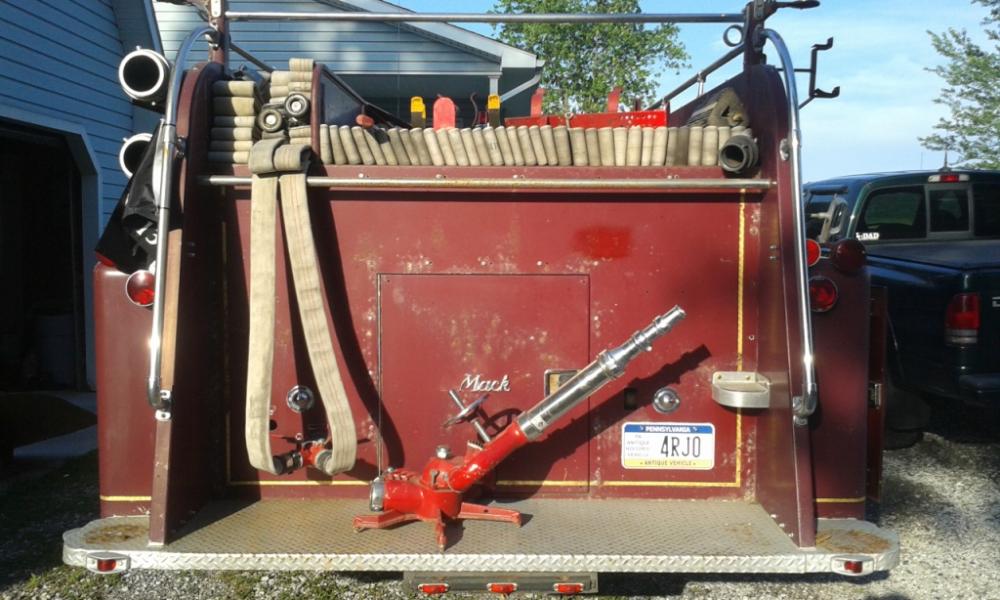
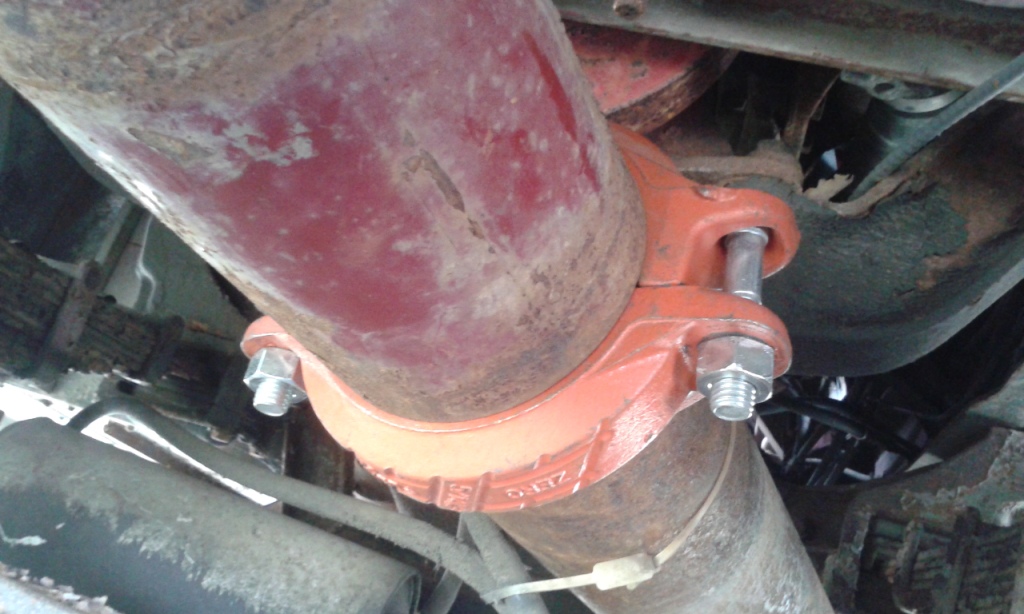
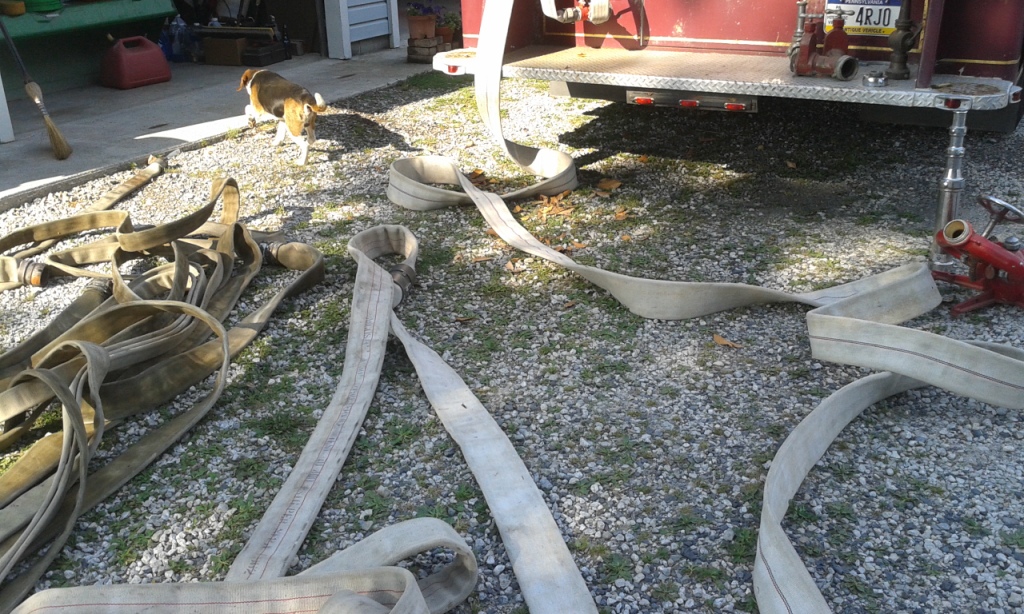
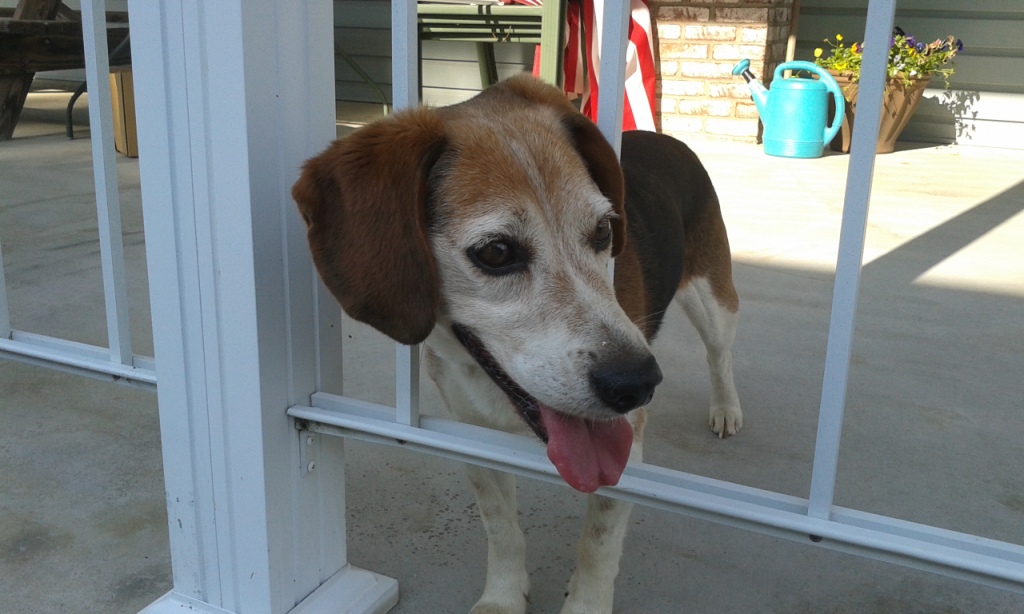
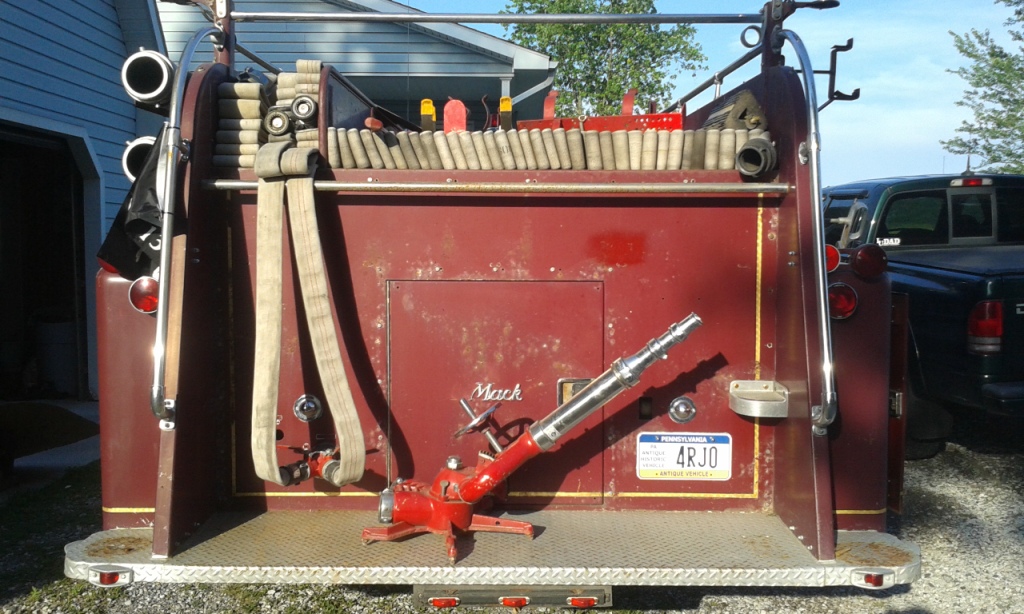
A little bit of progress from yesterday: New Victaulic clamp on the front intake piping Loaded some "new" hose that I acquired from the Bendersville Fire Co. 150' dead load 3", (2) 200' 1-3/4" attack lines, additional 50' of 3" in the compartment Shot of my little helper; he doesn't like to sit still very long!

-
I checked with one of their members and that is correct
-
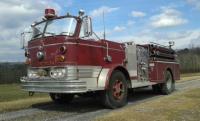
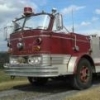
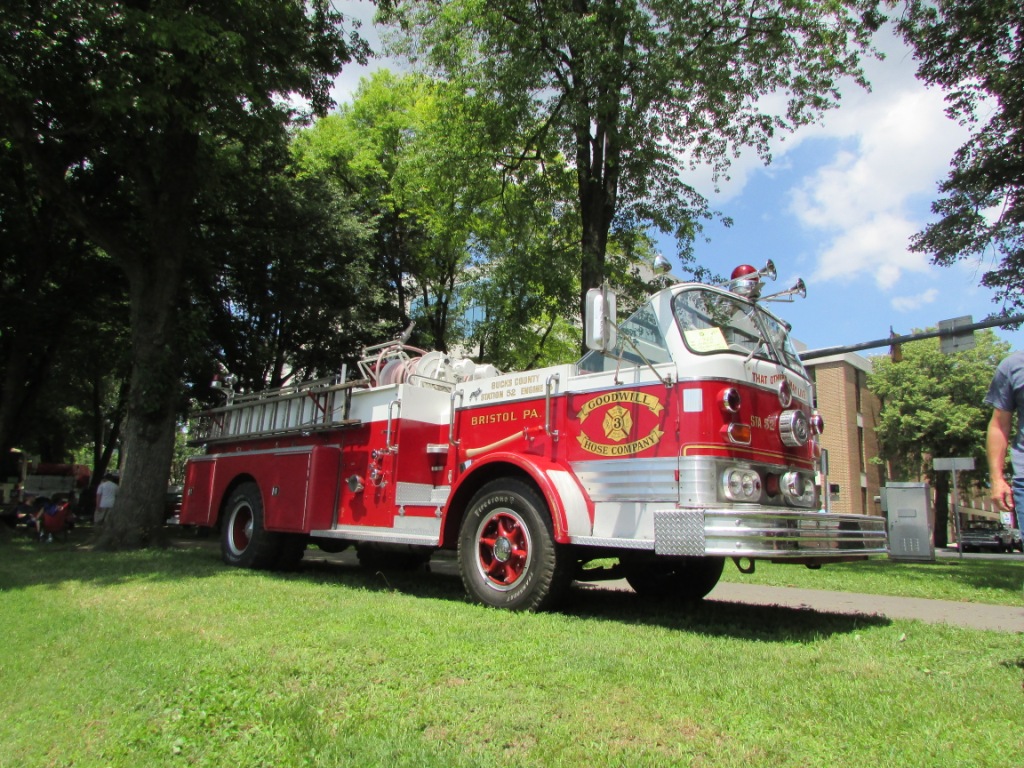
Now retired and privately owned by the owner of PA Fire Apparatus


BMT Forum Logo
