


mattb73lt
-
Posts
1,178 -
Joined
-
Last visited
-
Days Won
137
Content Type
Profiles
Forums
Gallery
Events
Blogs
BMT Wiki
Collections
Store
Everything posted by mattb73lt
-

Coca Cola LJ Mack colors
mattb73lt replied to 1961H67's topic in Antique and Classic Mack Trucks General Discussion
Pretty soon he's not going to be able to stand up in there like that!! He's getting big. -
B-73 Restoration
mattb73lt replied to mattb73lt's topic in Antique and Classic Mack Trucks General Discussion
Here’s another quick video of it running just after I got it hooked up several years ago. It’s in really good shape with little wear on the ways. It still pretty tight, overall. 7075352D-39FA-4BC3-A8E1-D5A039AC6163.MOV -
B-73 Restoration
mattb73lt replied to mattb73lt's topic in Antique and Classic Mack Trucks General Discussion
Yes, if you look at the video, you’ll see a large pulley in the center of the line shaft with no belt on it. That would be the one for the belt with the twist for reverse rotation. The clutch lever pushes in both directions to engage one or the other drive pulley off the same shaft. The way this is set up I can only drive in one direction. You need a longer run to make that twist and I don’t have the space to do so. -
B-73 Restoration
mattb73lt replied to mattb73lt's topic in Antique and Classic Mack Trucks General Discussion
IMG_2099.m4v This is the lathe running with one of the brake drums on it. It required a 3" spacer under the headstock for clearance. That's why the side cover is open for the lead screw drive. It just fit and truing up the drum before I turned it wasn't easy due to it's weight. The white handgrip above the drum is the clutch lever for starting and stopping the lathe. -
B-73 Restoration
mattb73lt replied to mattb73lt's topic in Antique and Classic Mack Trucks General Discussion
I've wondered that too, thinking of that time period. Could've been steam, gas, water or electric. I was in a mill once up near Cooperstown, NY. It was a wood shop that was powered by a 20' wide water wheel. When they opened the sluice gates, the waterwheel would fill and start to turn. The whole mill was set up with line shafts and flat belts. You'd pull individual levers near each machine to activate them. Once the water wheel came up to speed the whole building came alive. it was really amazing to witness. -
B-73 Restoration
mattb73lt replied to mattb73lt's topic in Antique and Classic Mack Trucks General Discussion
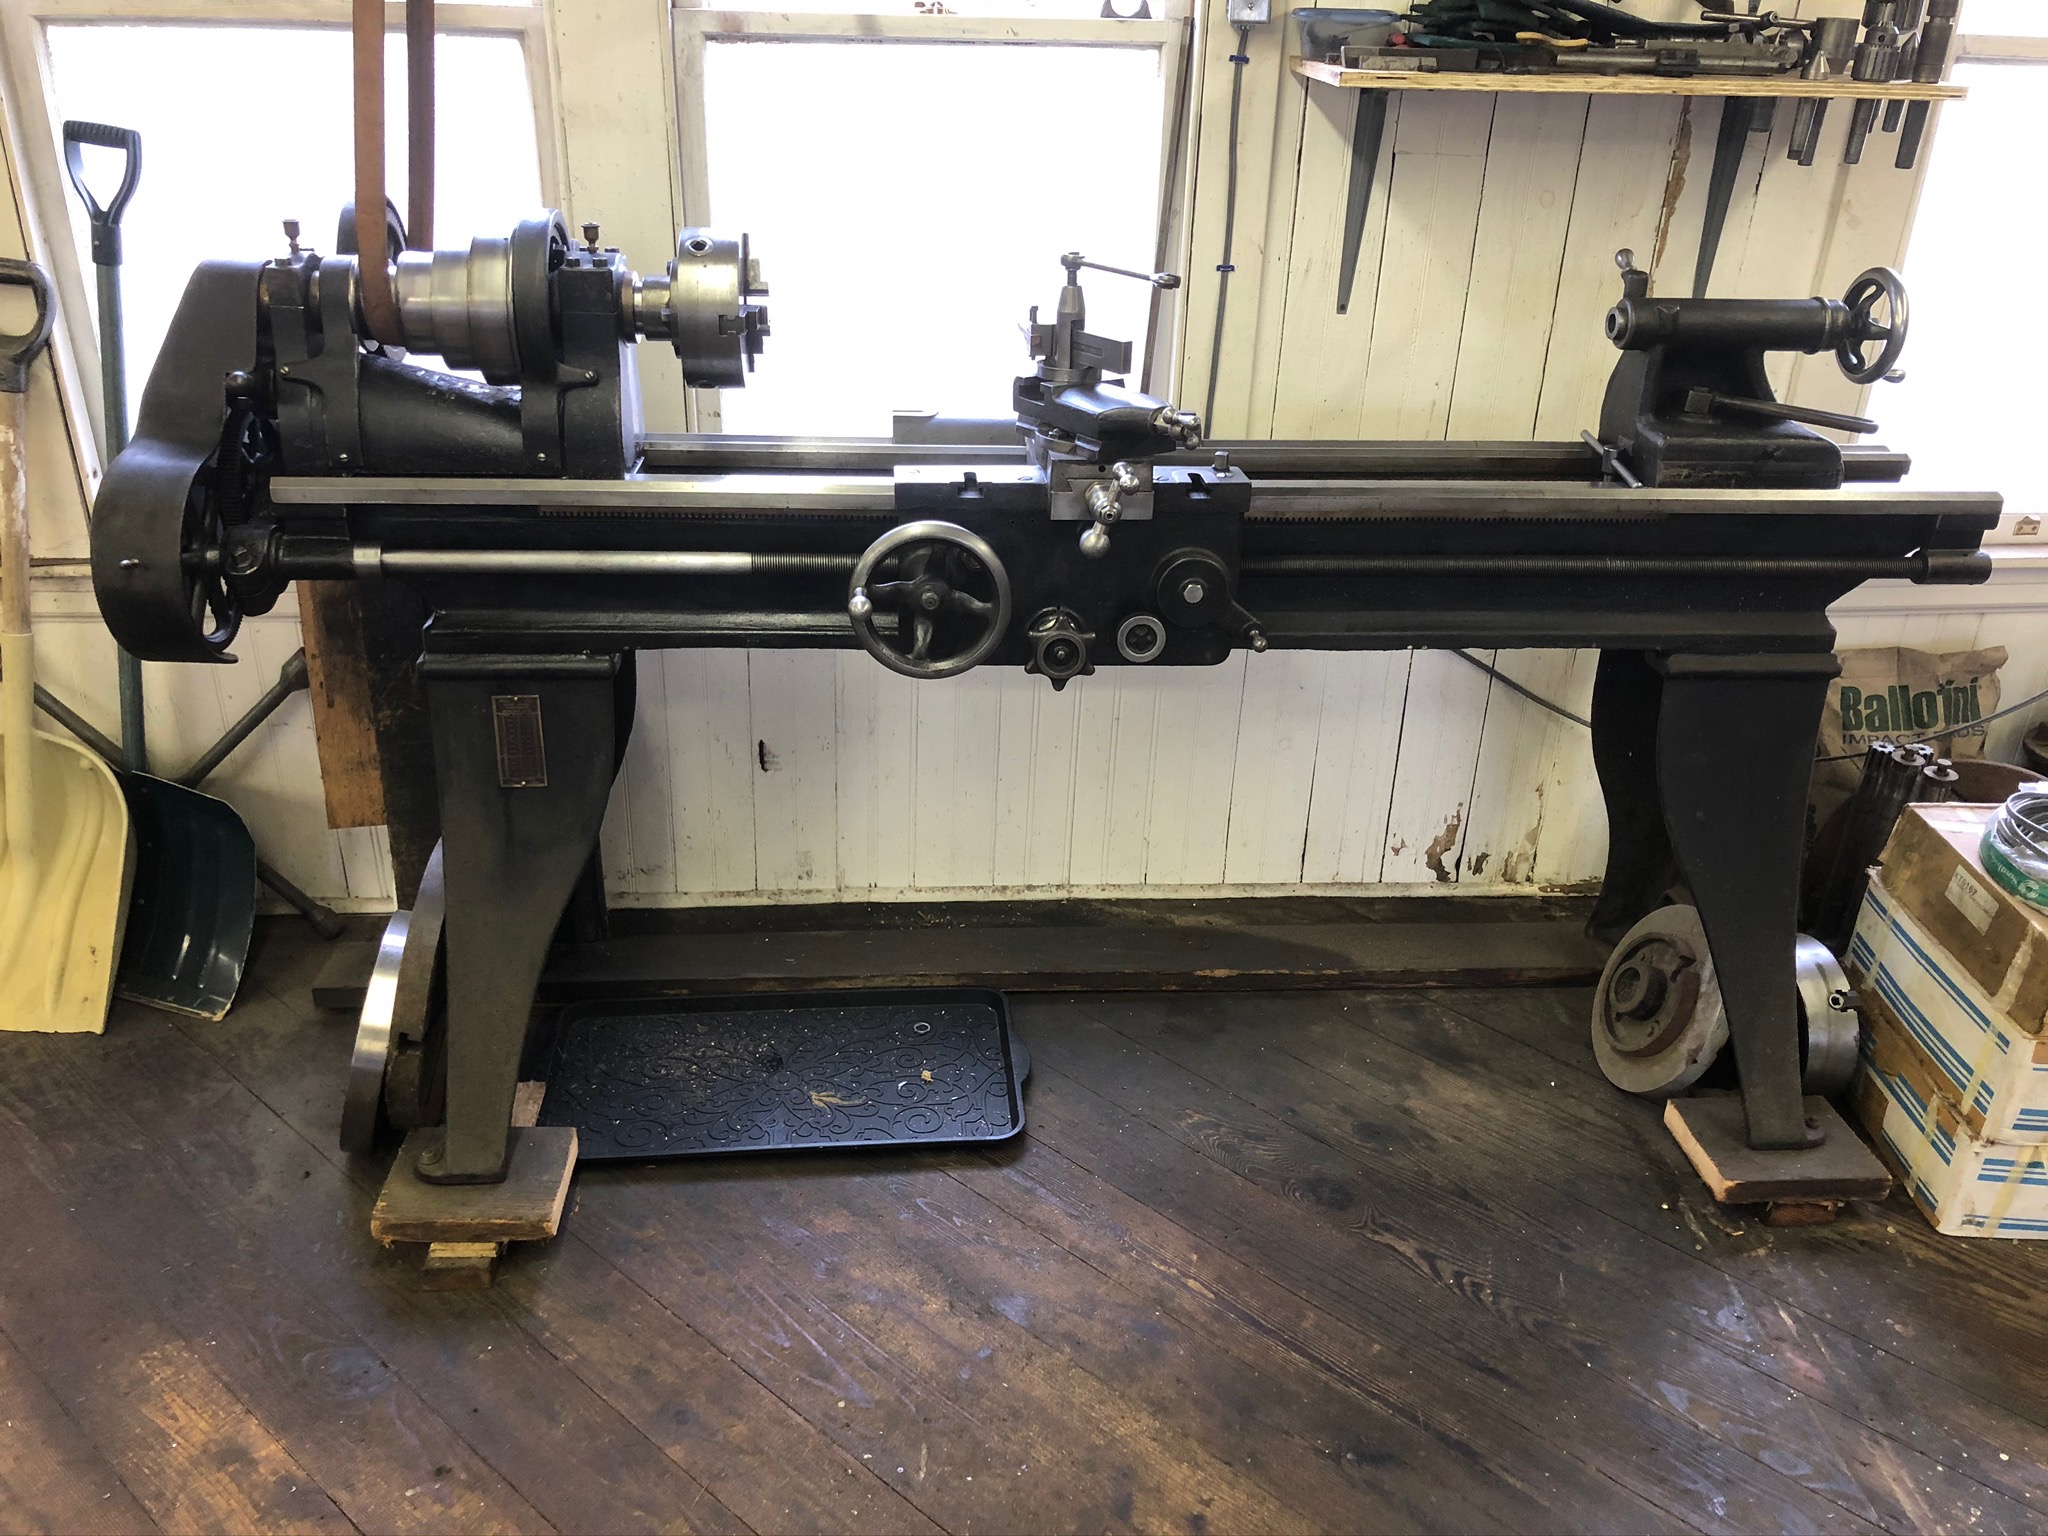
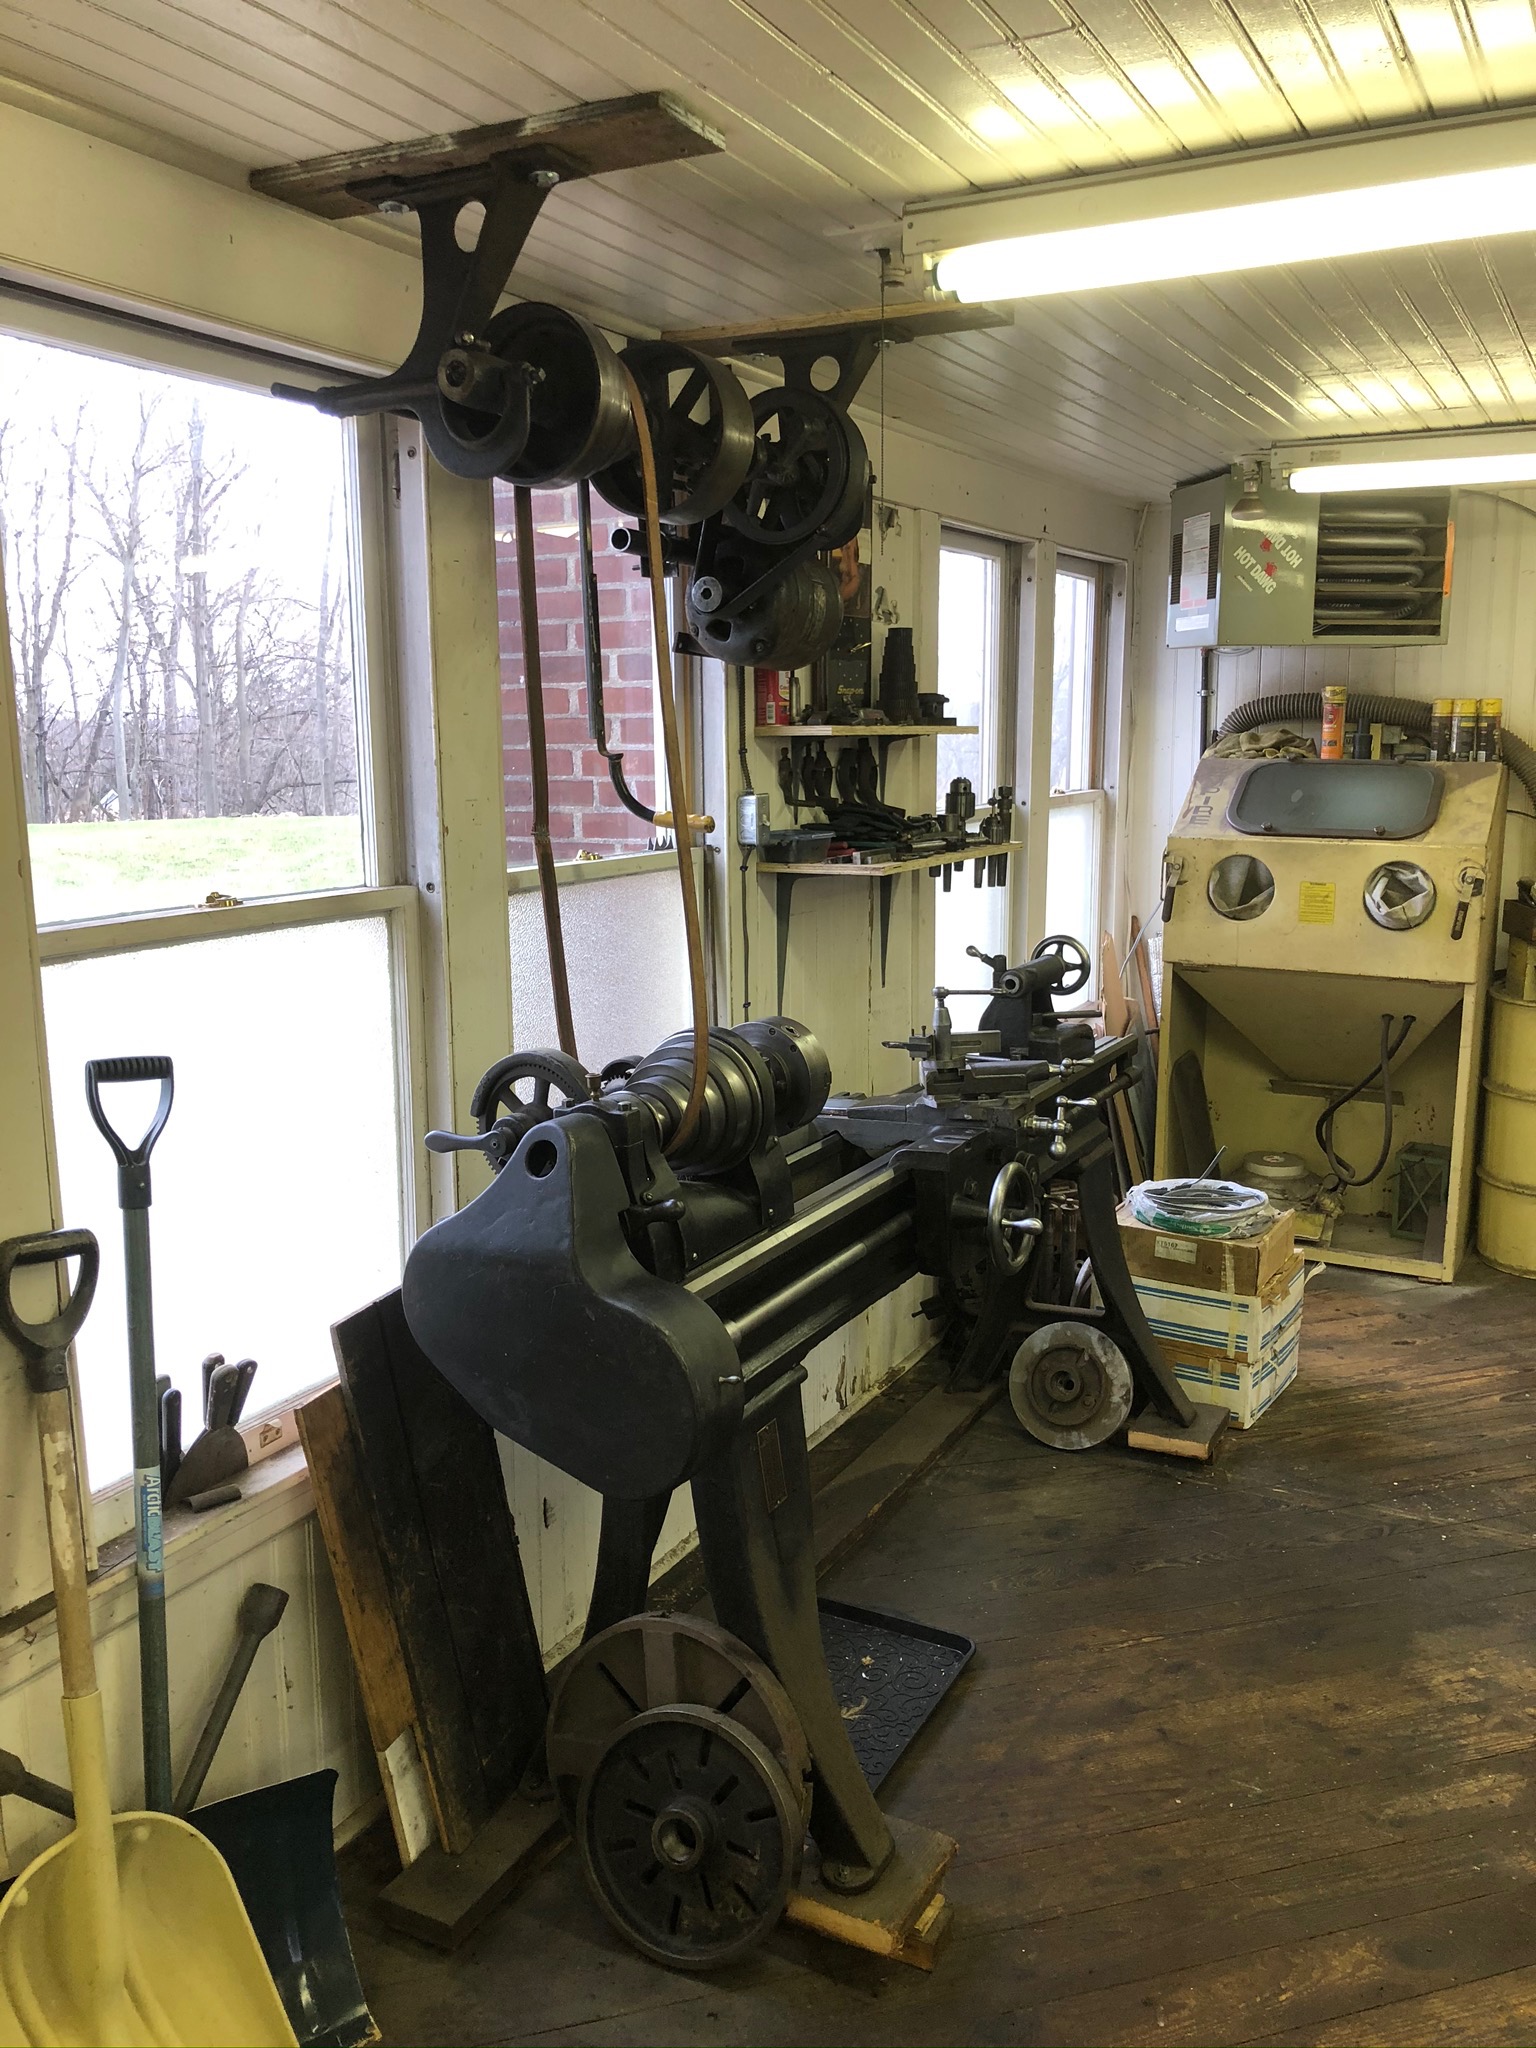
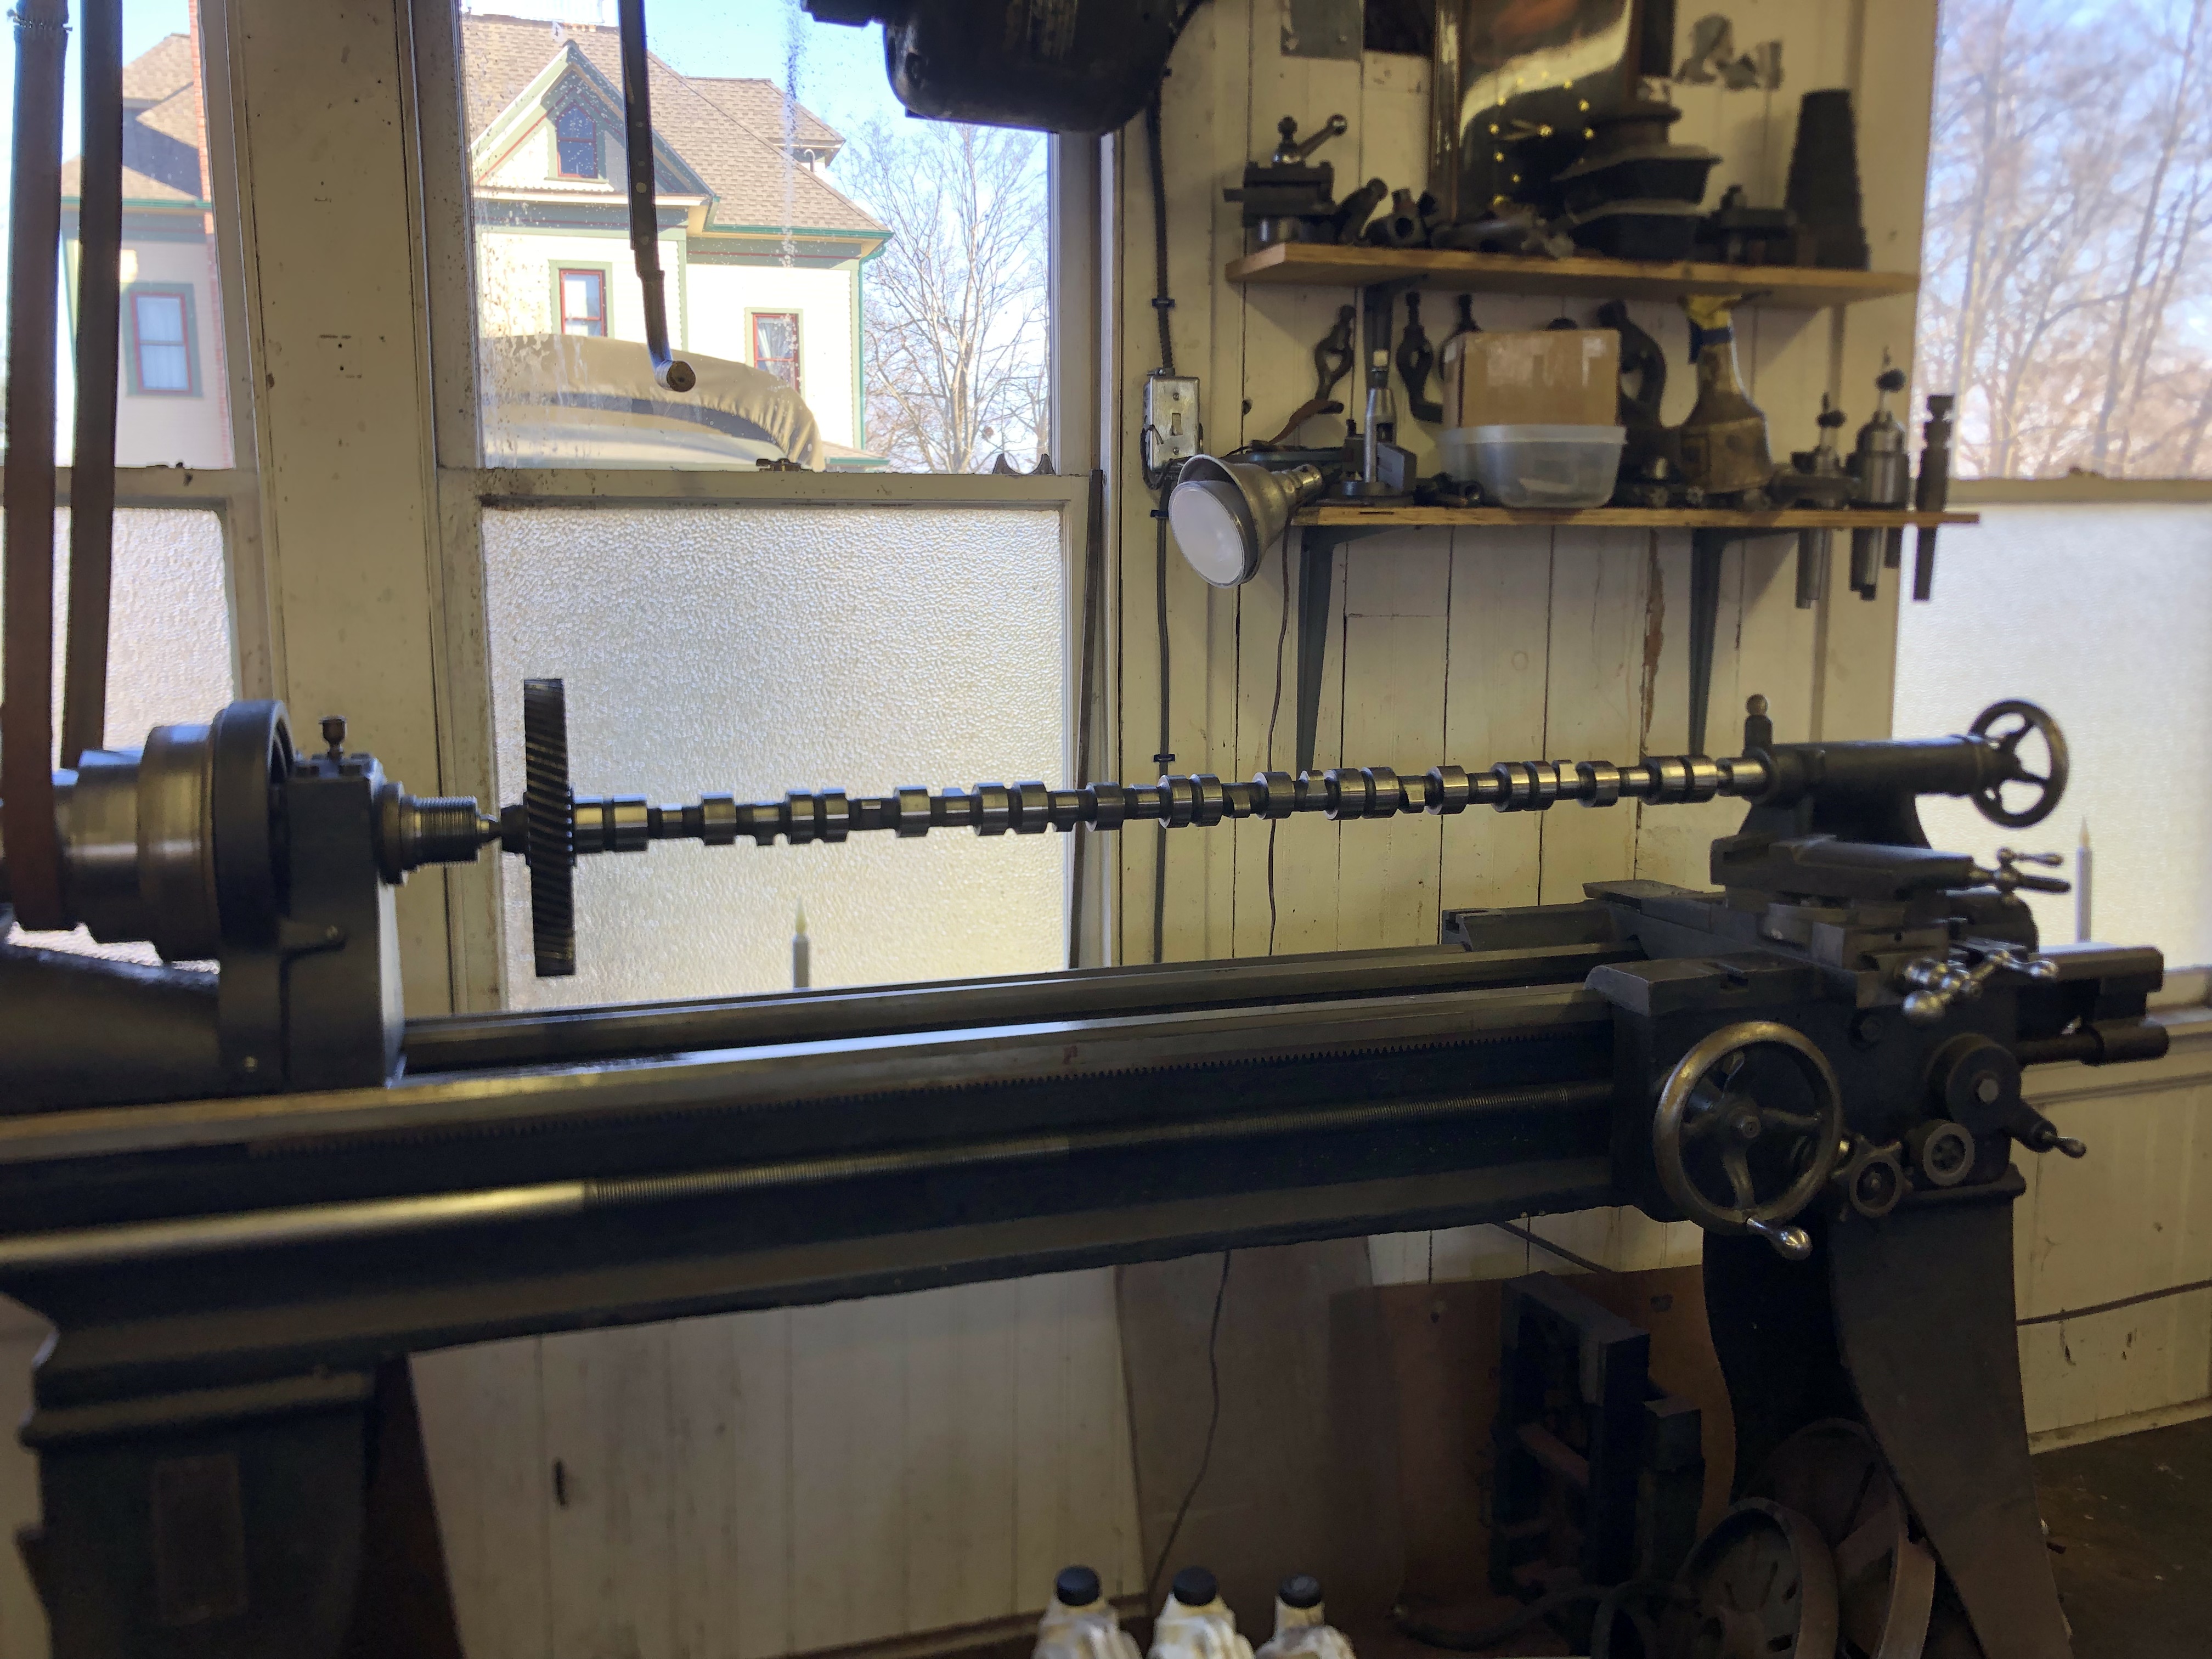
It's a South Bend, believe it or not, from 1916!! Got it from a gentleman I worked for in high school. It was his father's and he used to build race cars. It's very complete and had a lot of accessories/attachments that came with it. It sat in my shop for a long time before I hooked it all up. Not the easiest lathe to set up due to having to mount the drive pulleys to the ceiling. I wouldn't want that crashing down on you while you work. Certainly not the most modern one I've operated and I'd love to have a more modern one, but the price was right. It certainly comes in handy for the work I do. The biggest thing I've turned were the 85# front brake drums for the B73 to open up the pilot holes. Here's a few pics of it.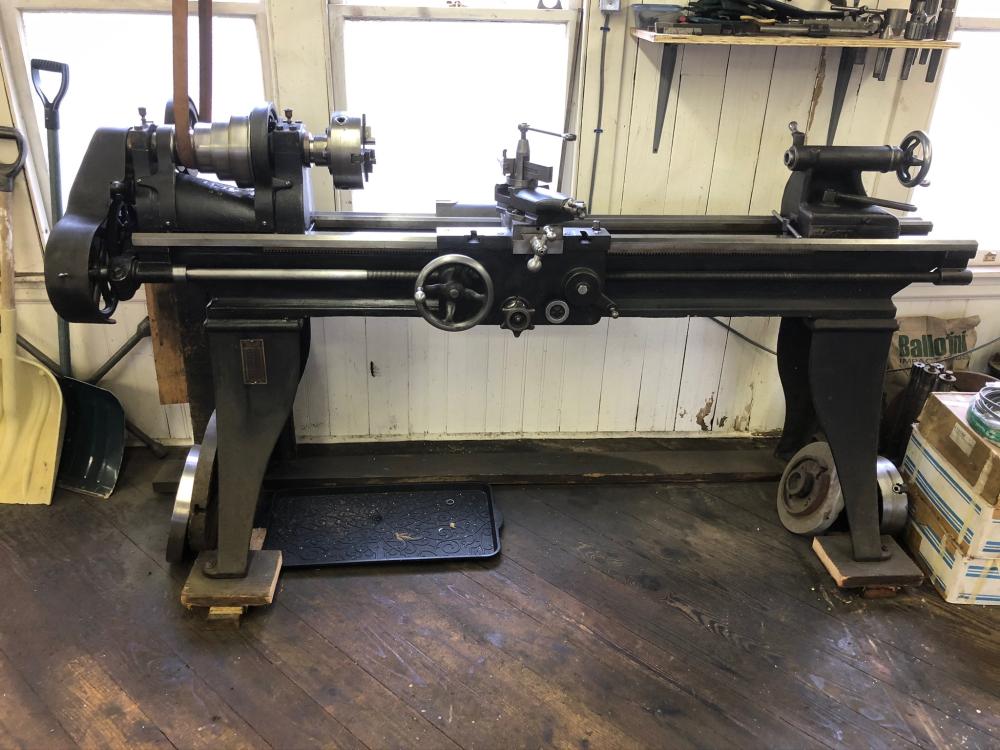

-
Very nice. Excellent work and a great storage area, too!!
-
B-73 Restoration
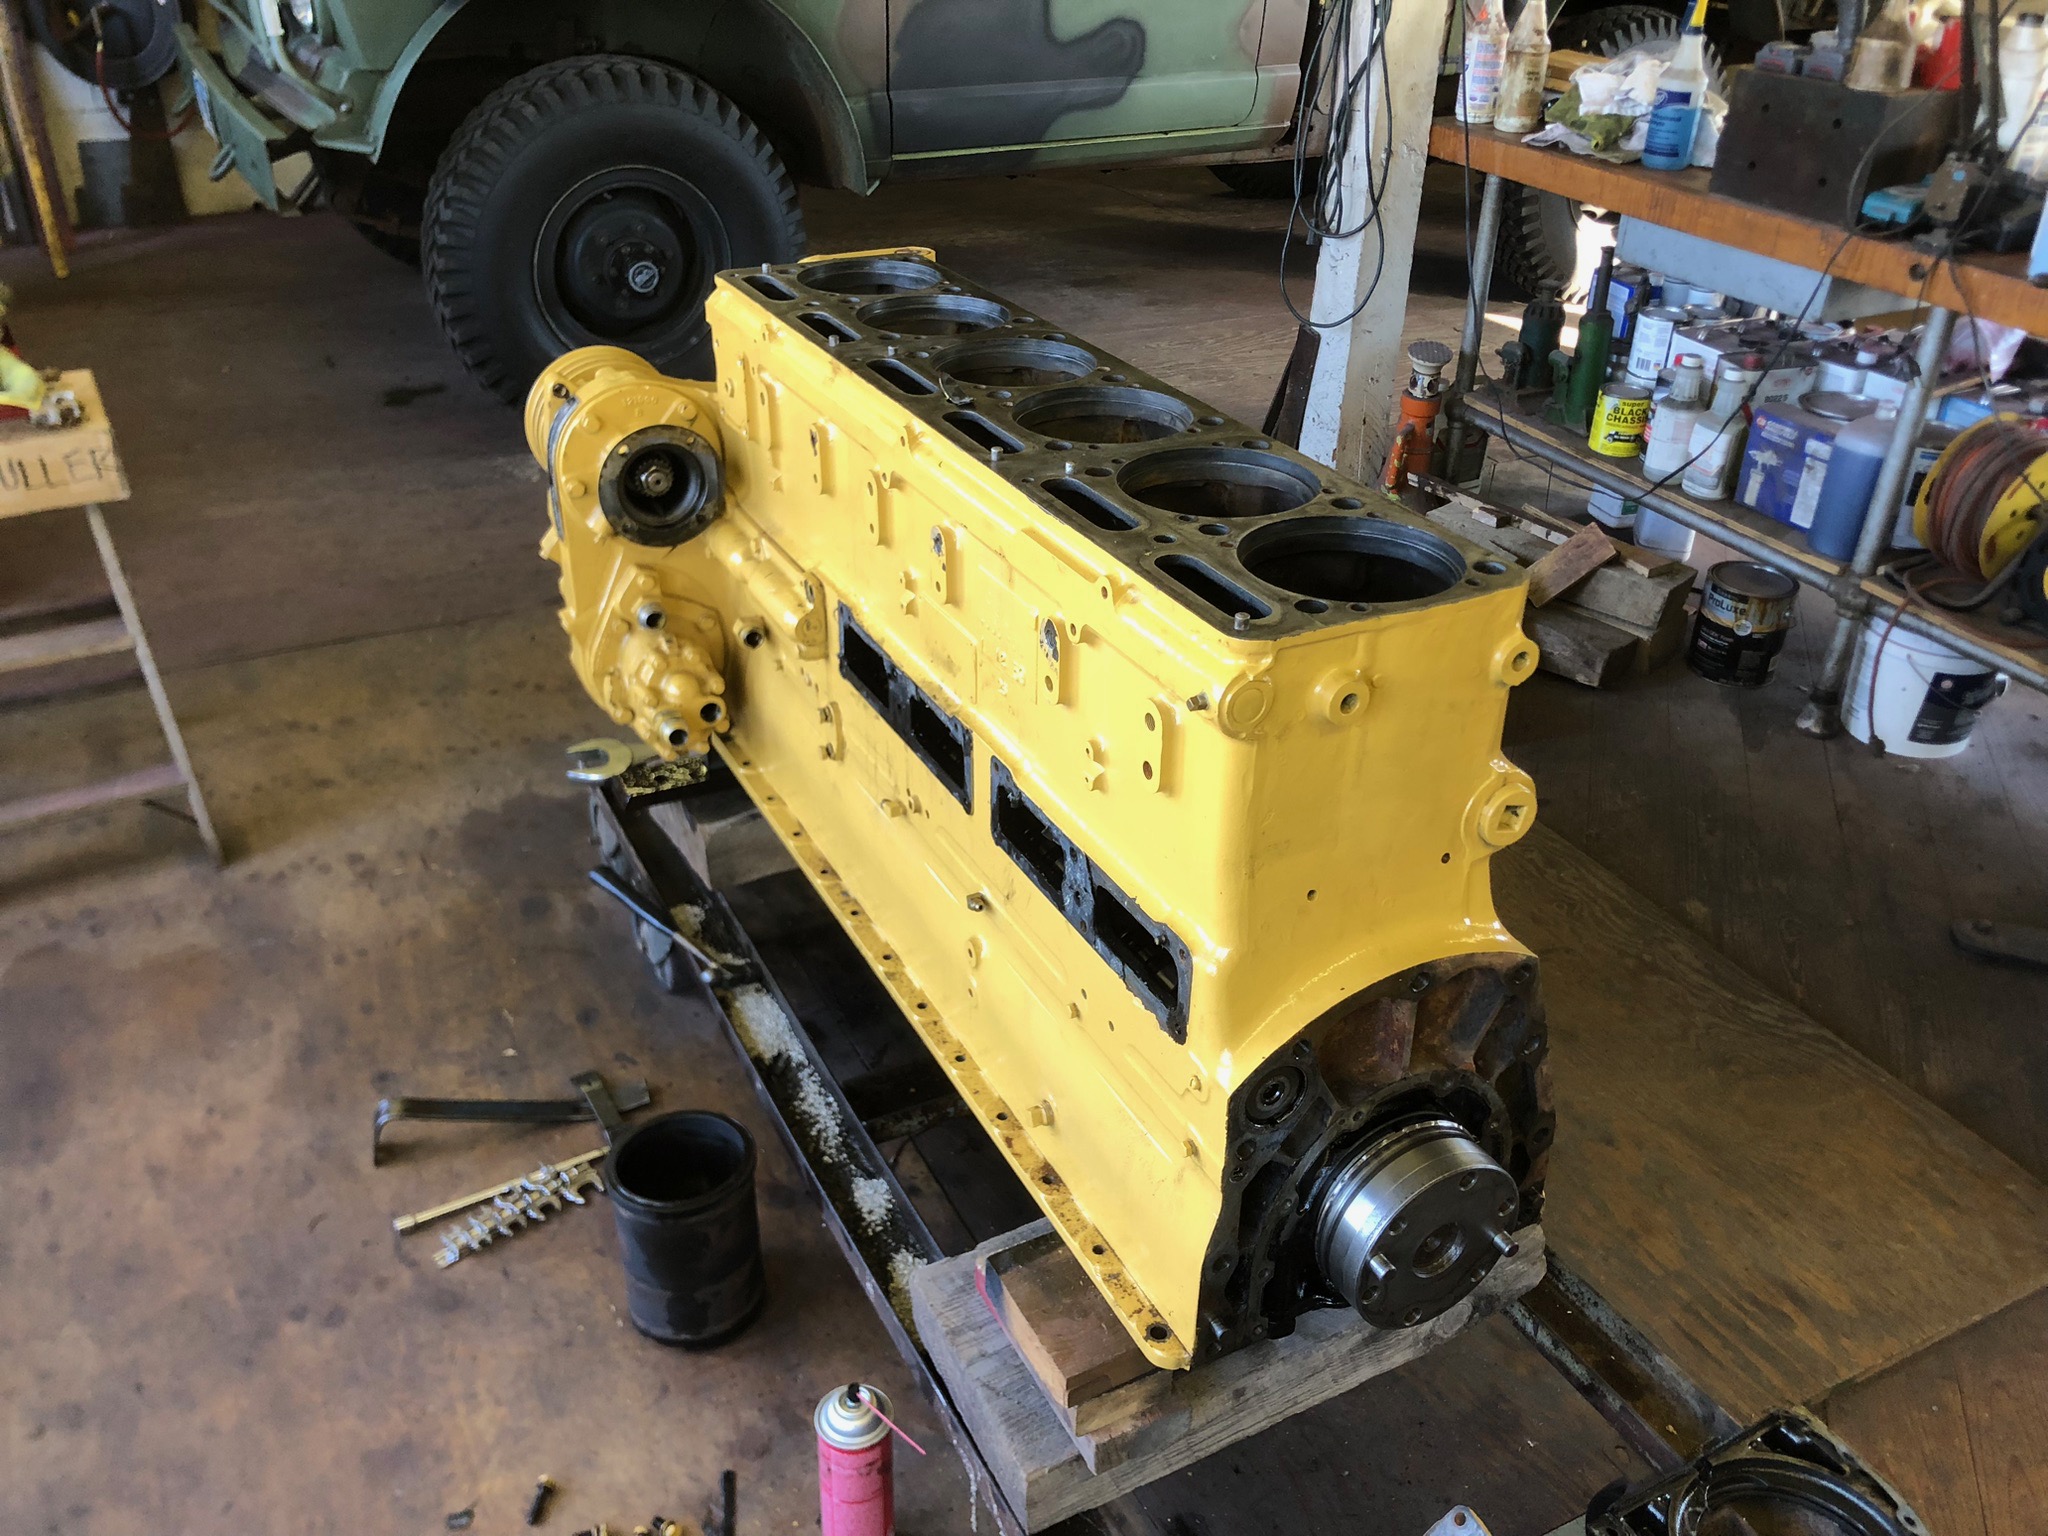
mattb73lt replied to mattb73lt's topic in Antique and Classic Mack Trucks General Discussion
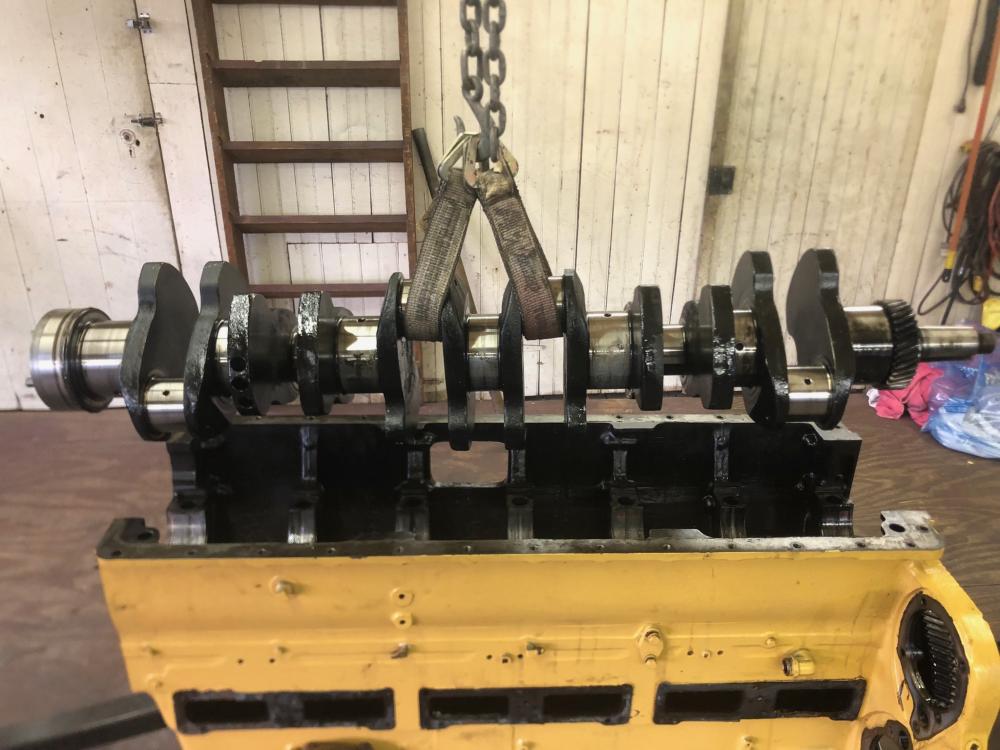
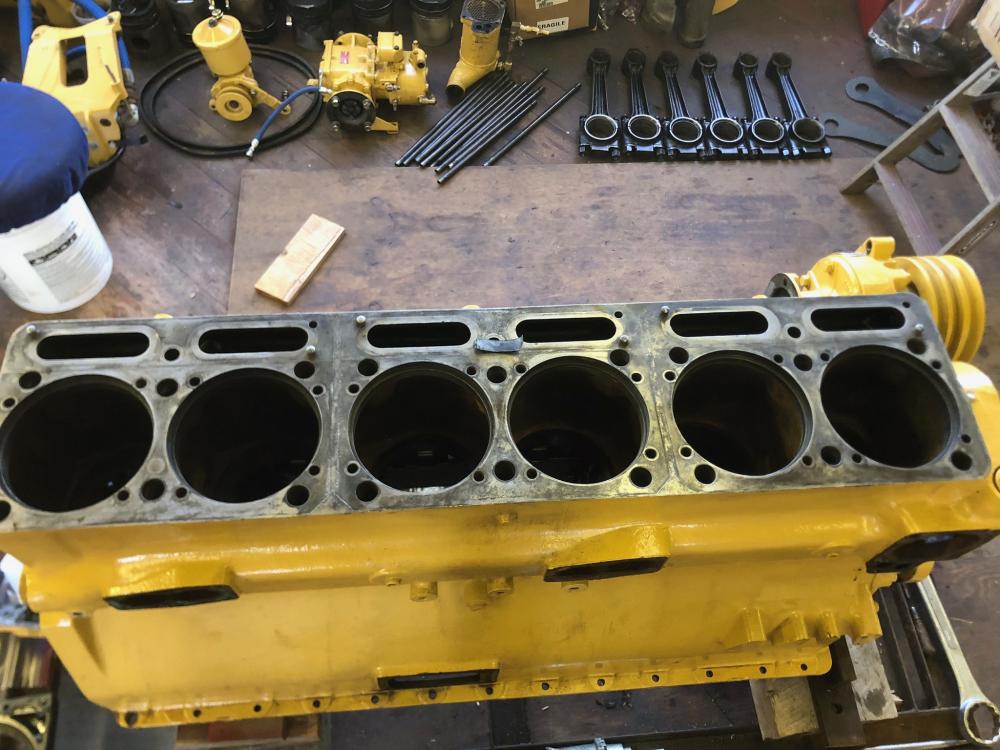
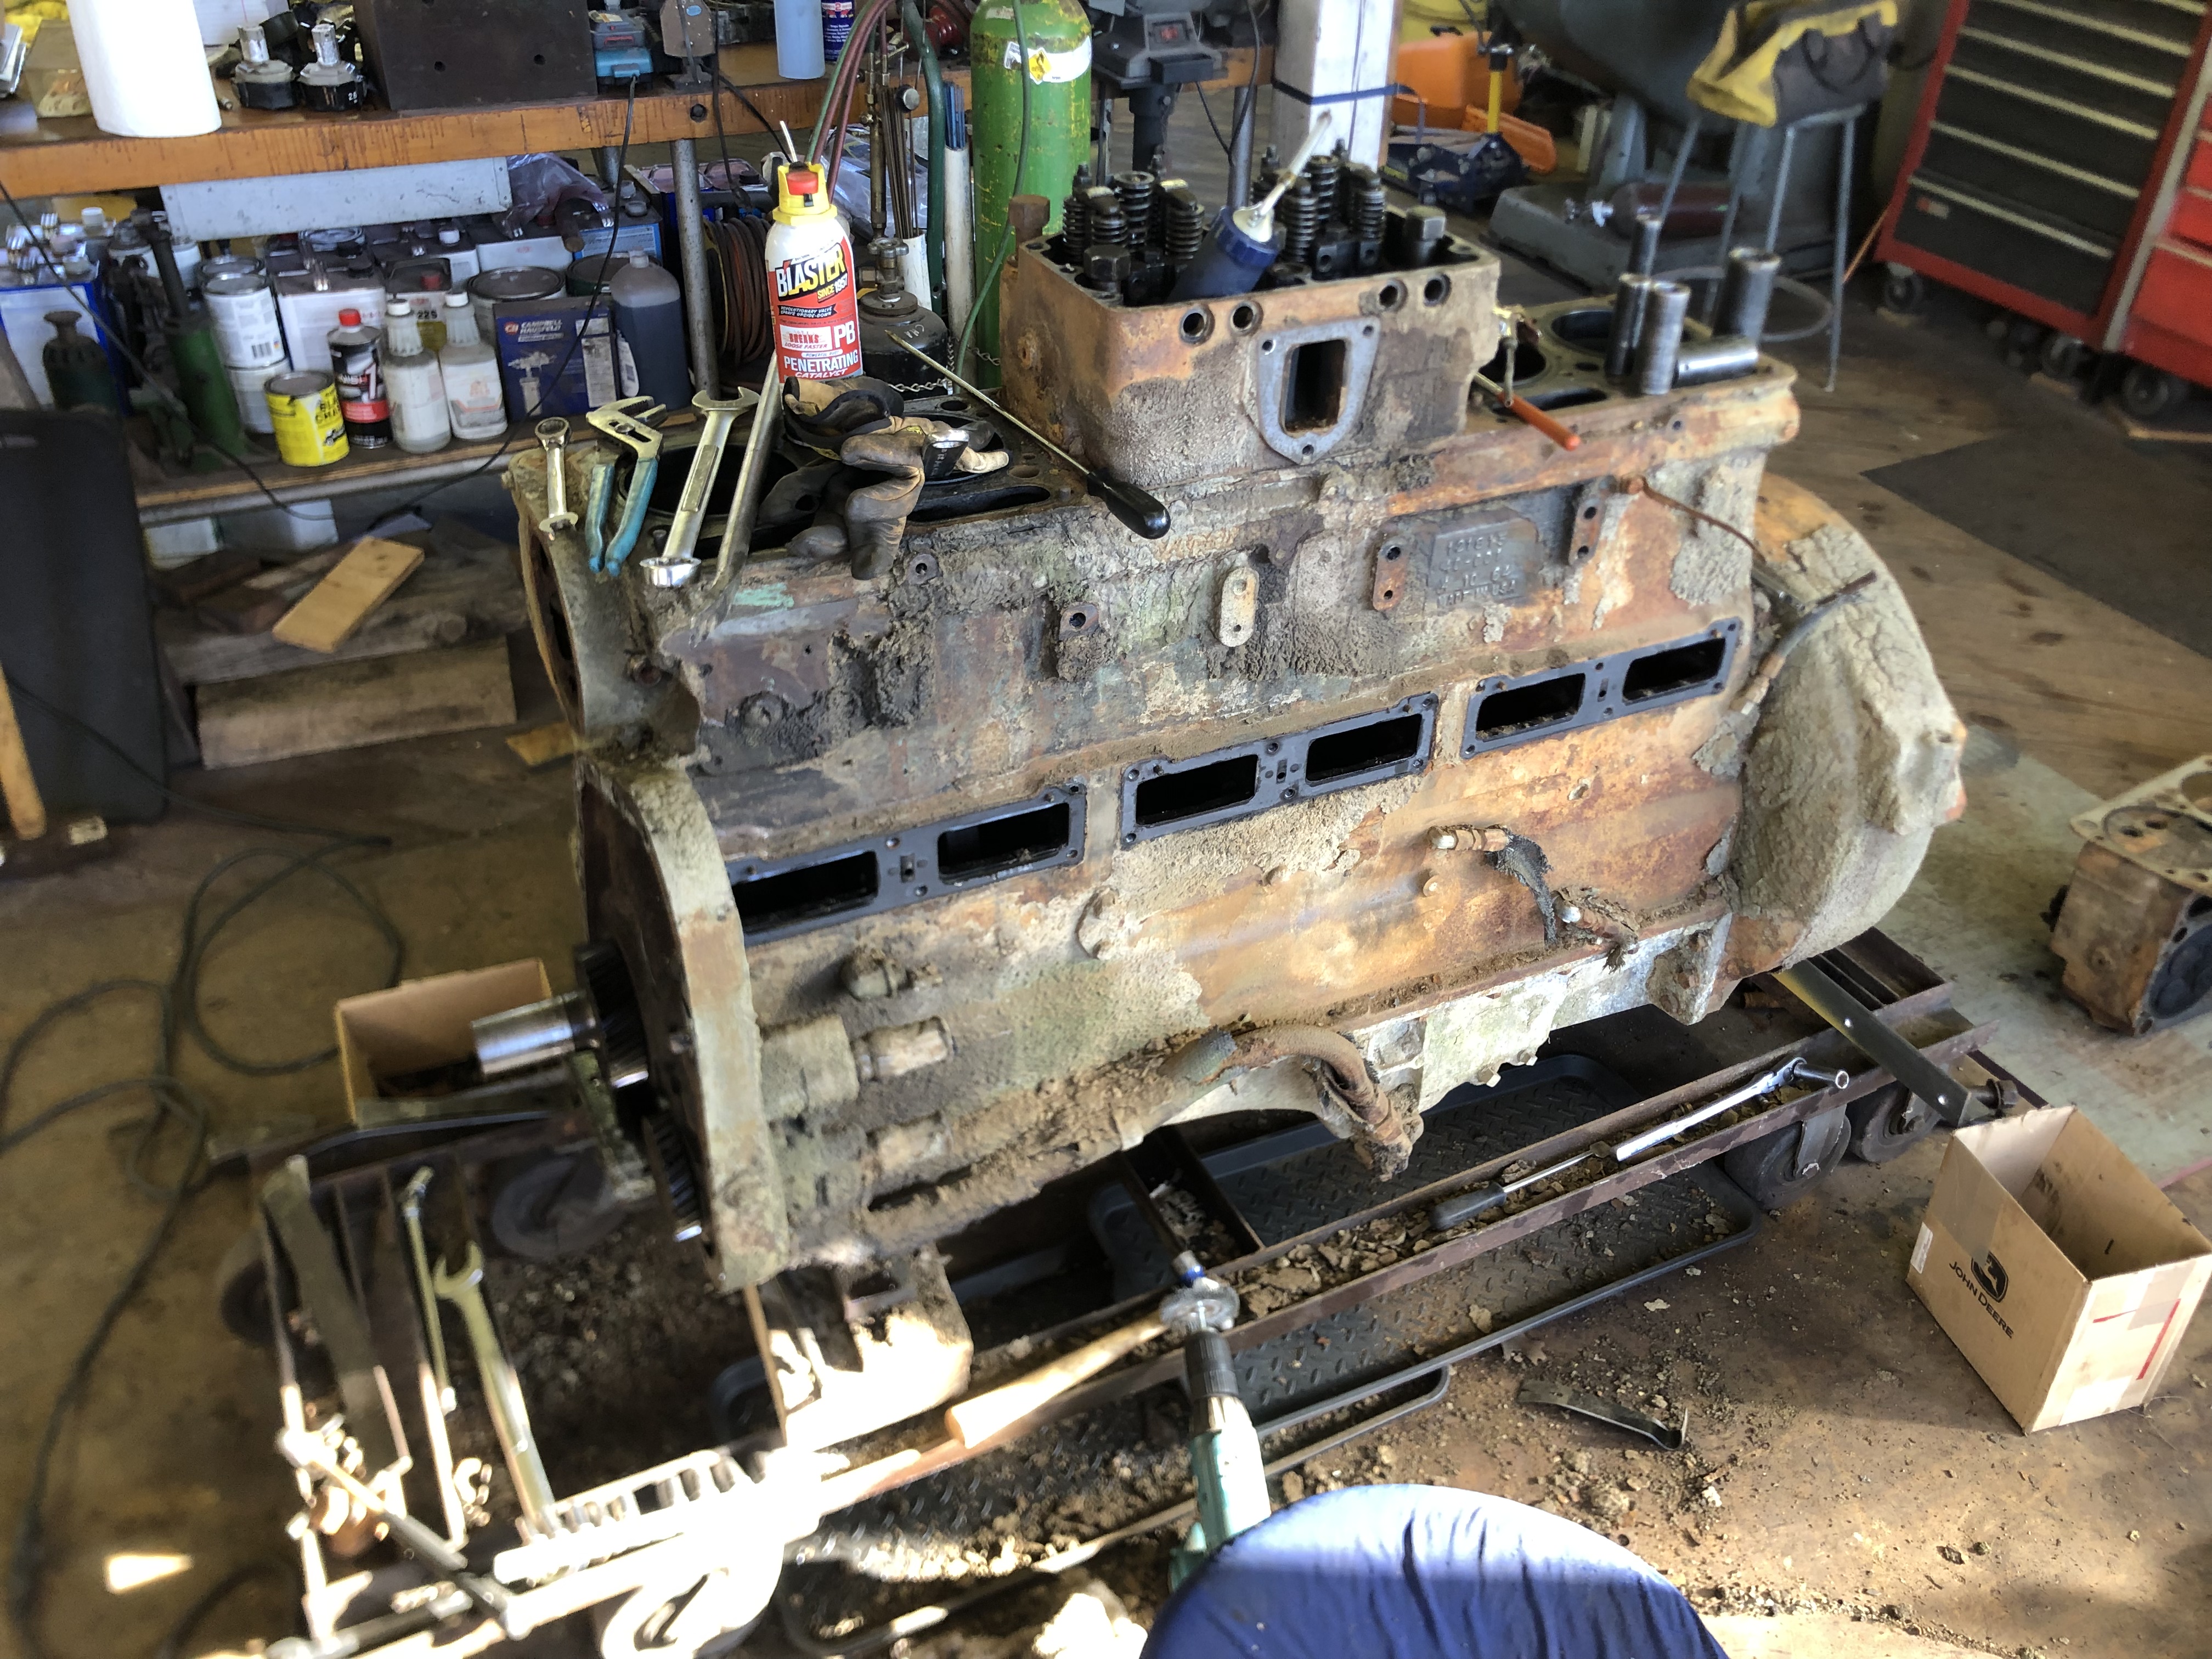
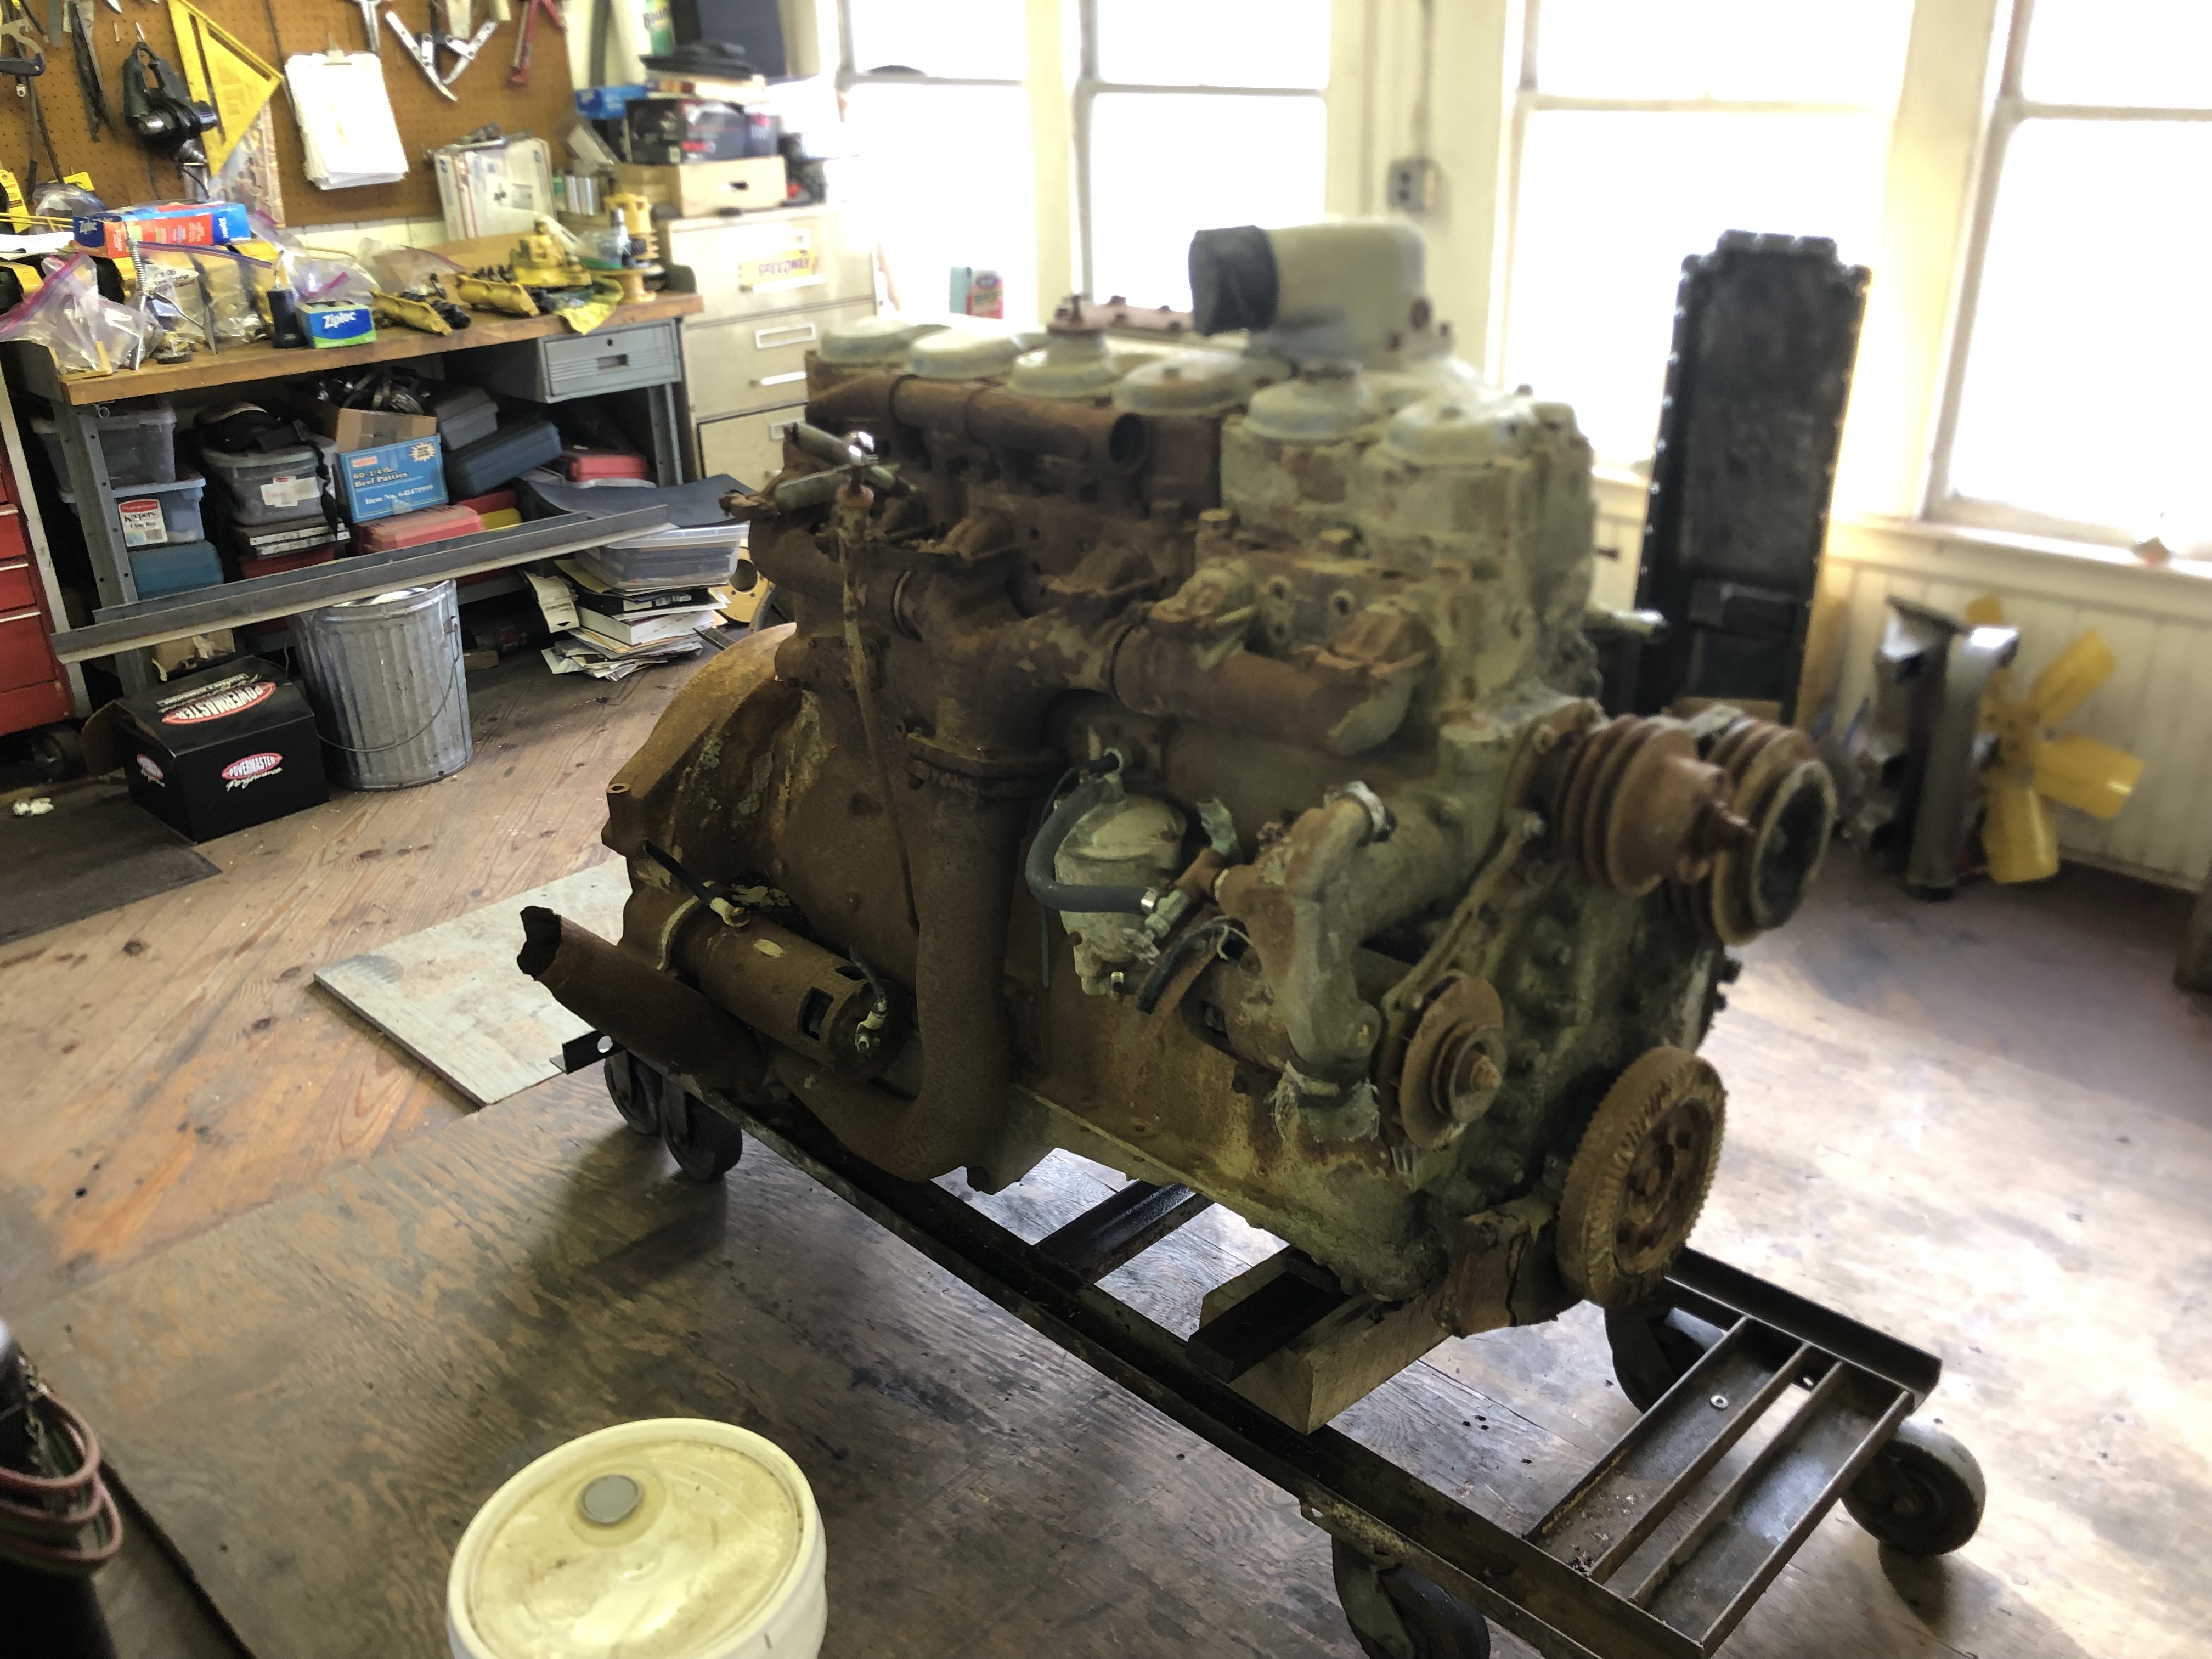
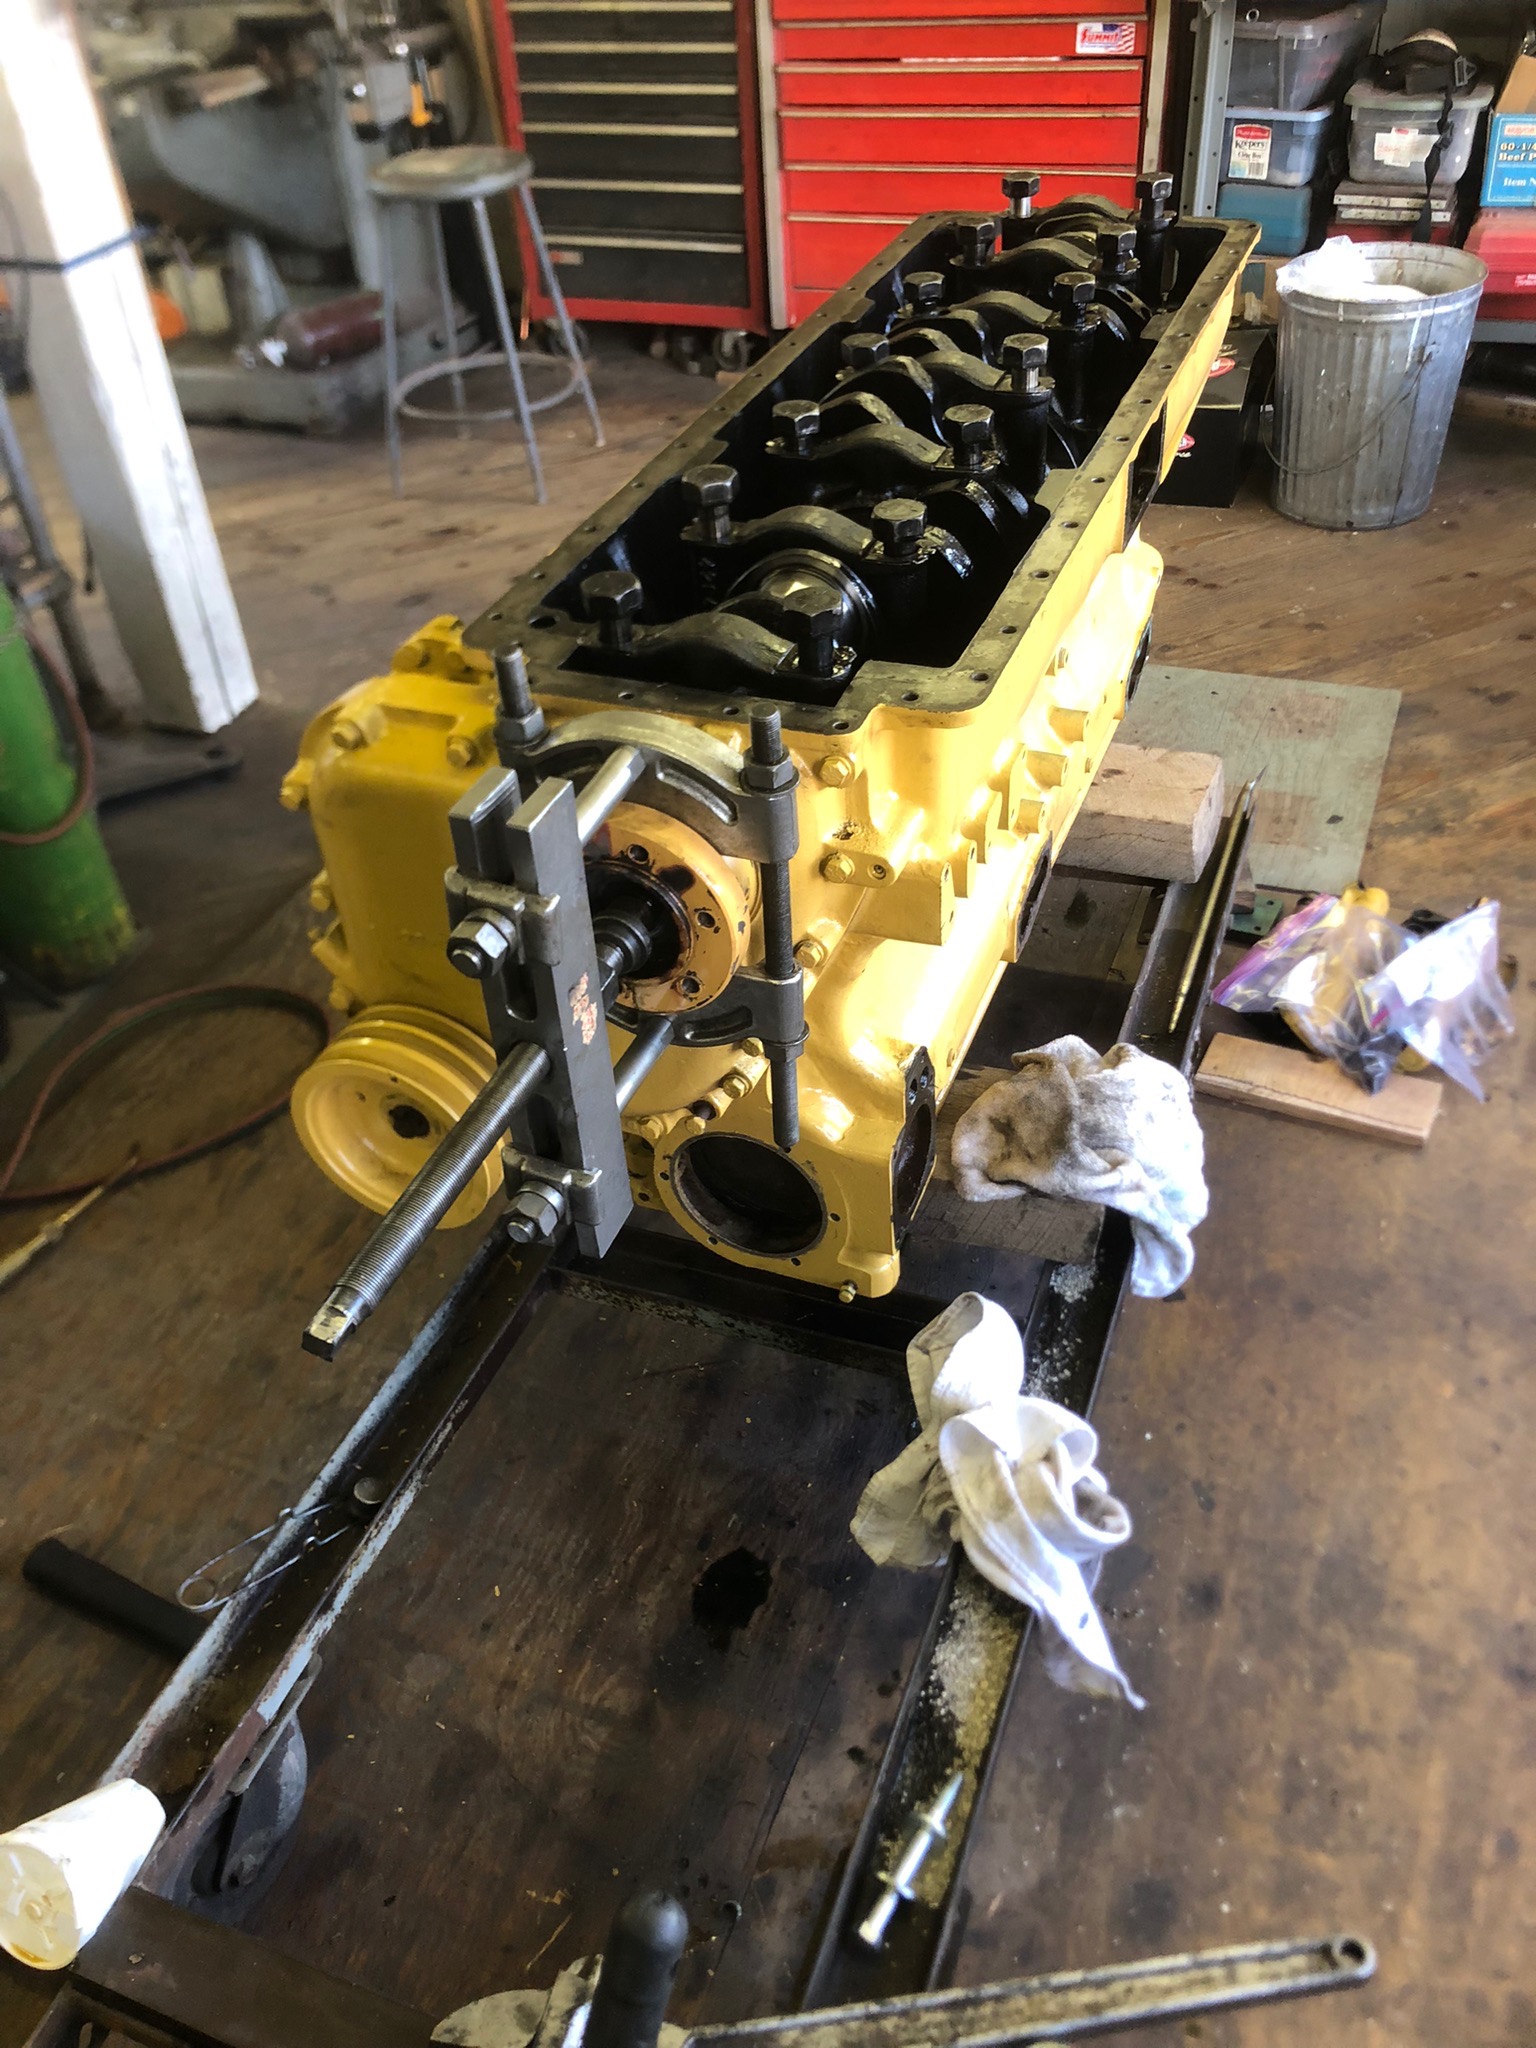
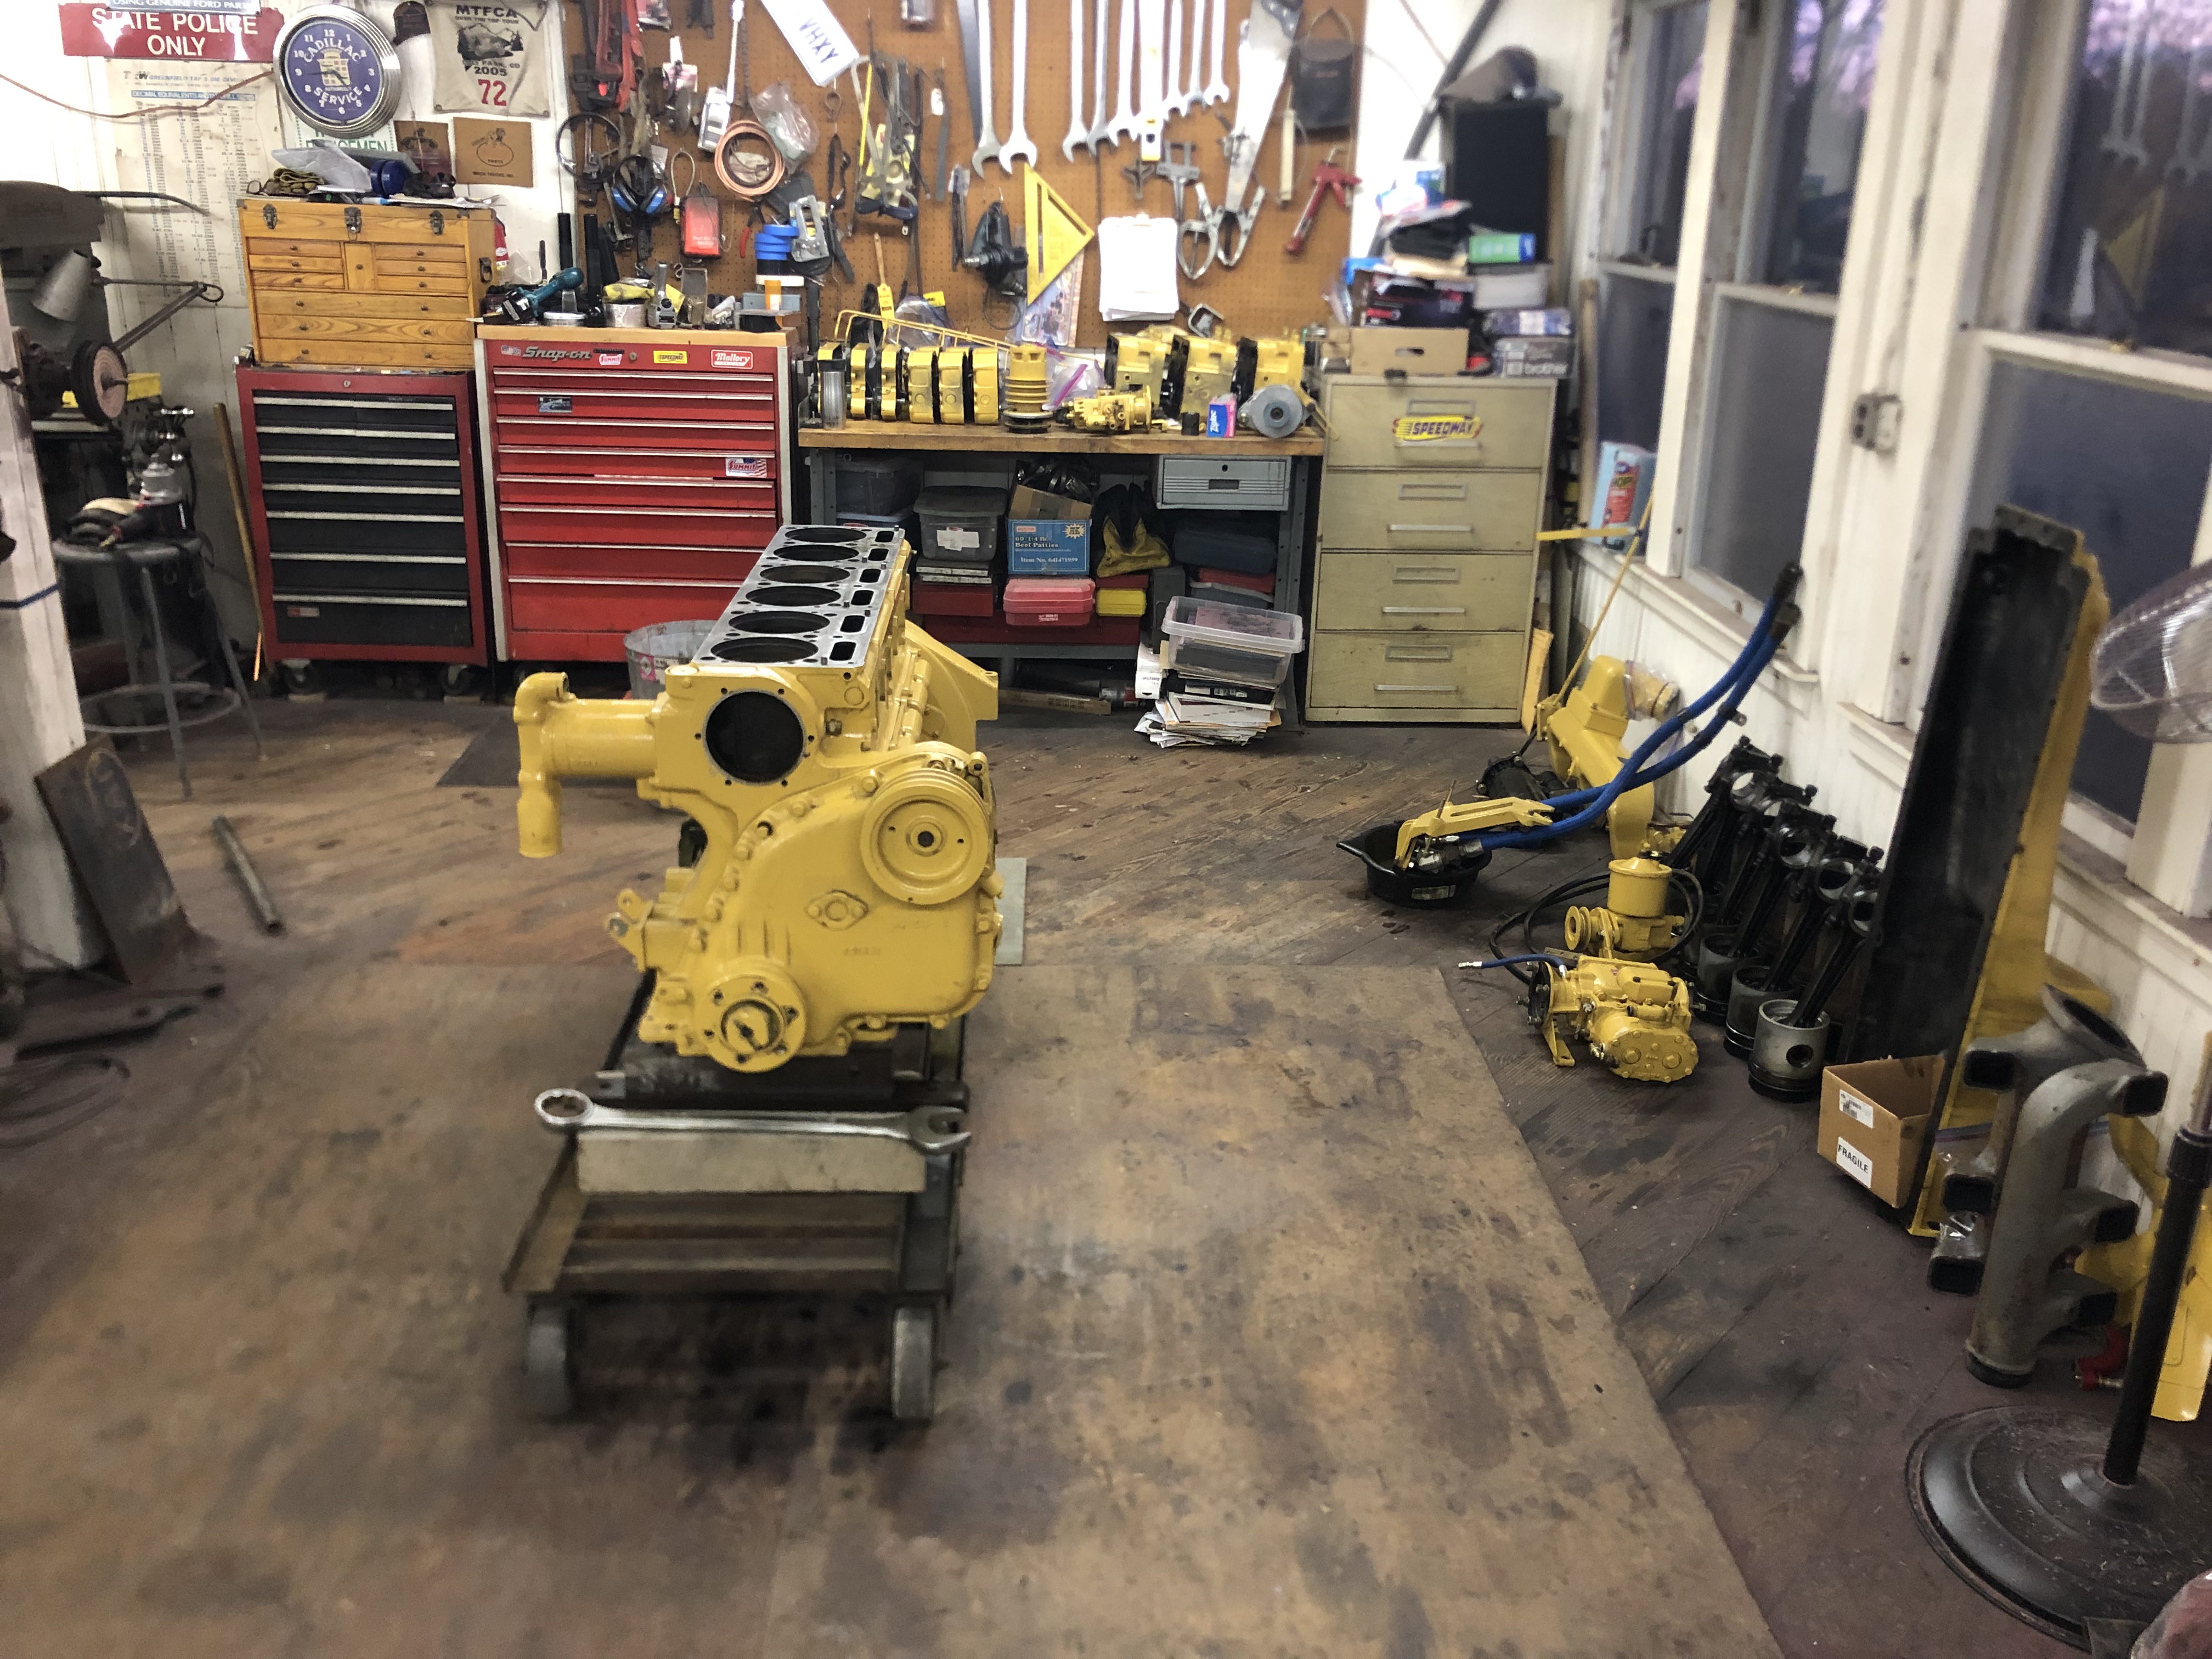
Gutting this 220 out. Removed the important camshaft today. Quite the effort to get to it. Threw it on my lathe to spin it by hand and clean it. Pushrods are all serviceable, saving about $800+ for new ones. Getting to the connecting rods tomorrow. As crusty and gummed up as this block is, it seems in better shape than the one I have. The deck is really clean and it is newer, 1964 vs 1959. So it could become a runner if mine proves bad or uneconomical to rebuild.

-
B-73 Restoration
mattb73lt replied to mattb73lt's topic in Antique and Classic Mack Trucks General Discussion
It did, now I have one!!
-
B-73 Restoration
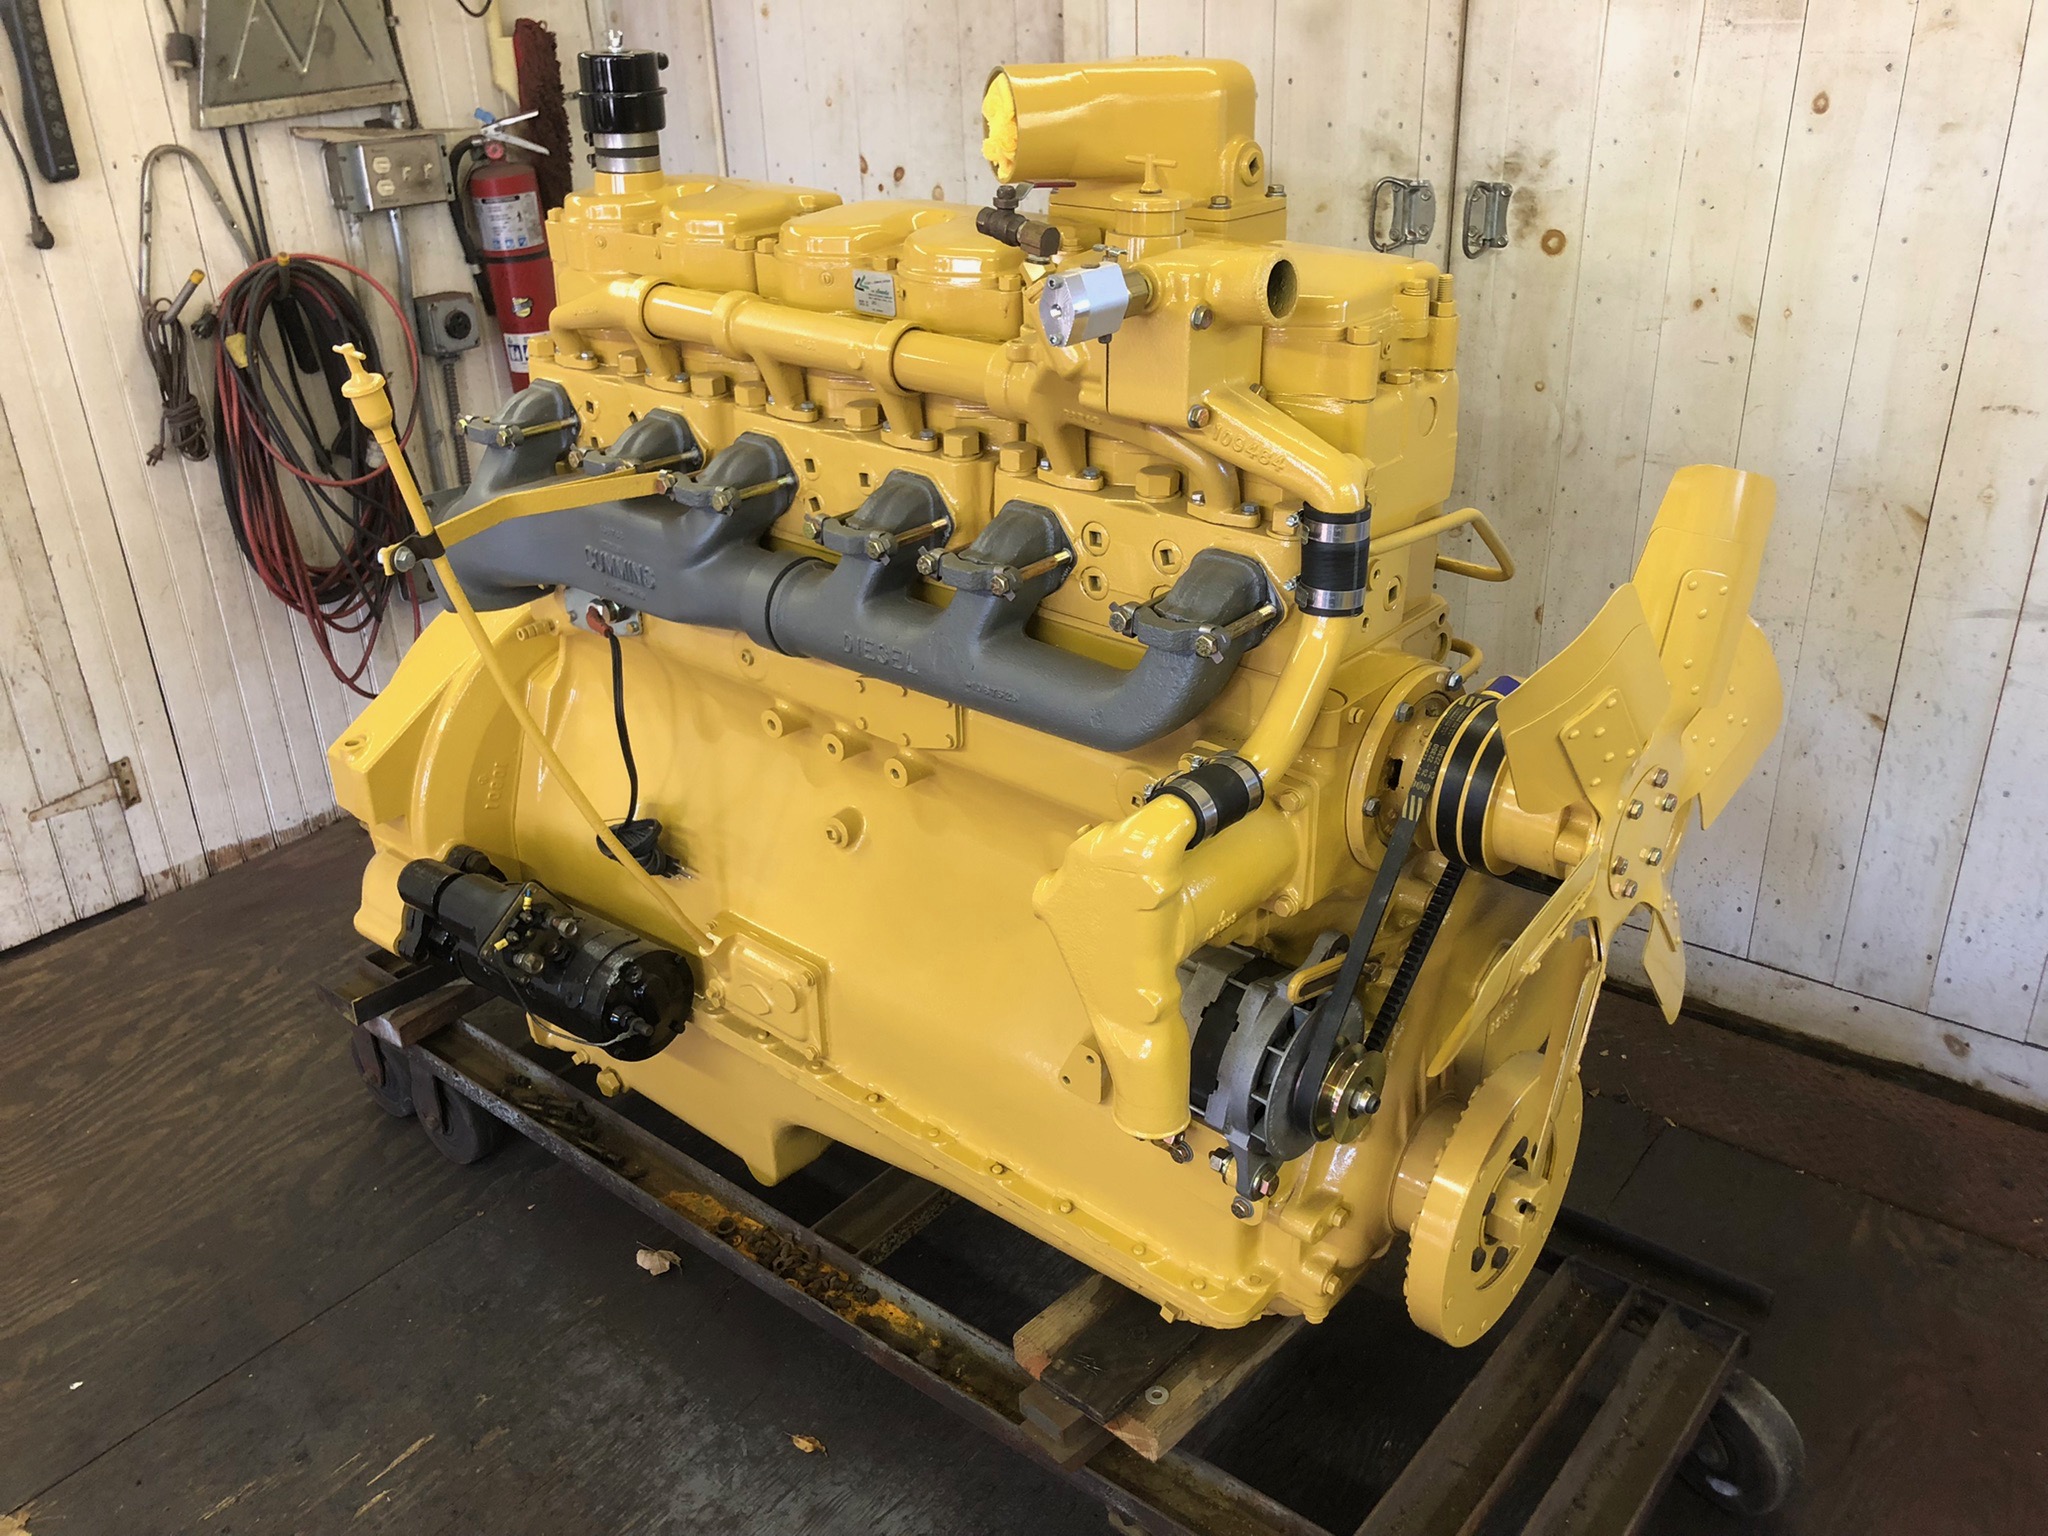
mattb73lt replied to mattb73lt's topic in Antique and Classic Mack Trucks General Discussion
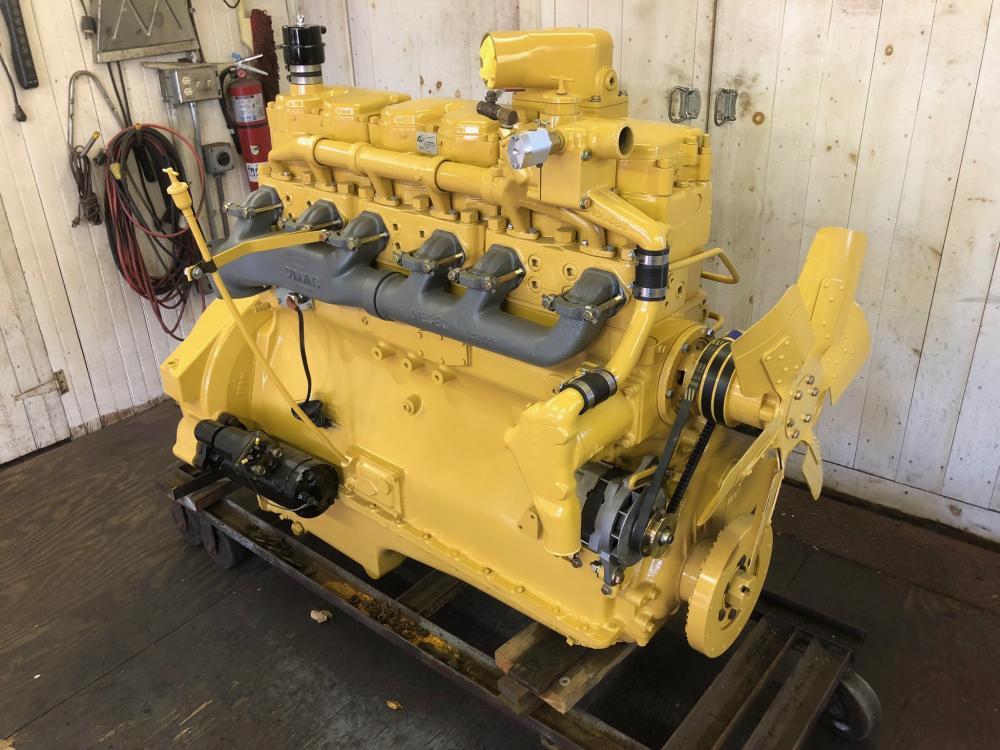
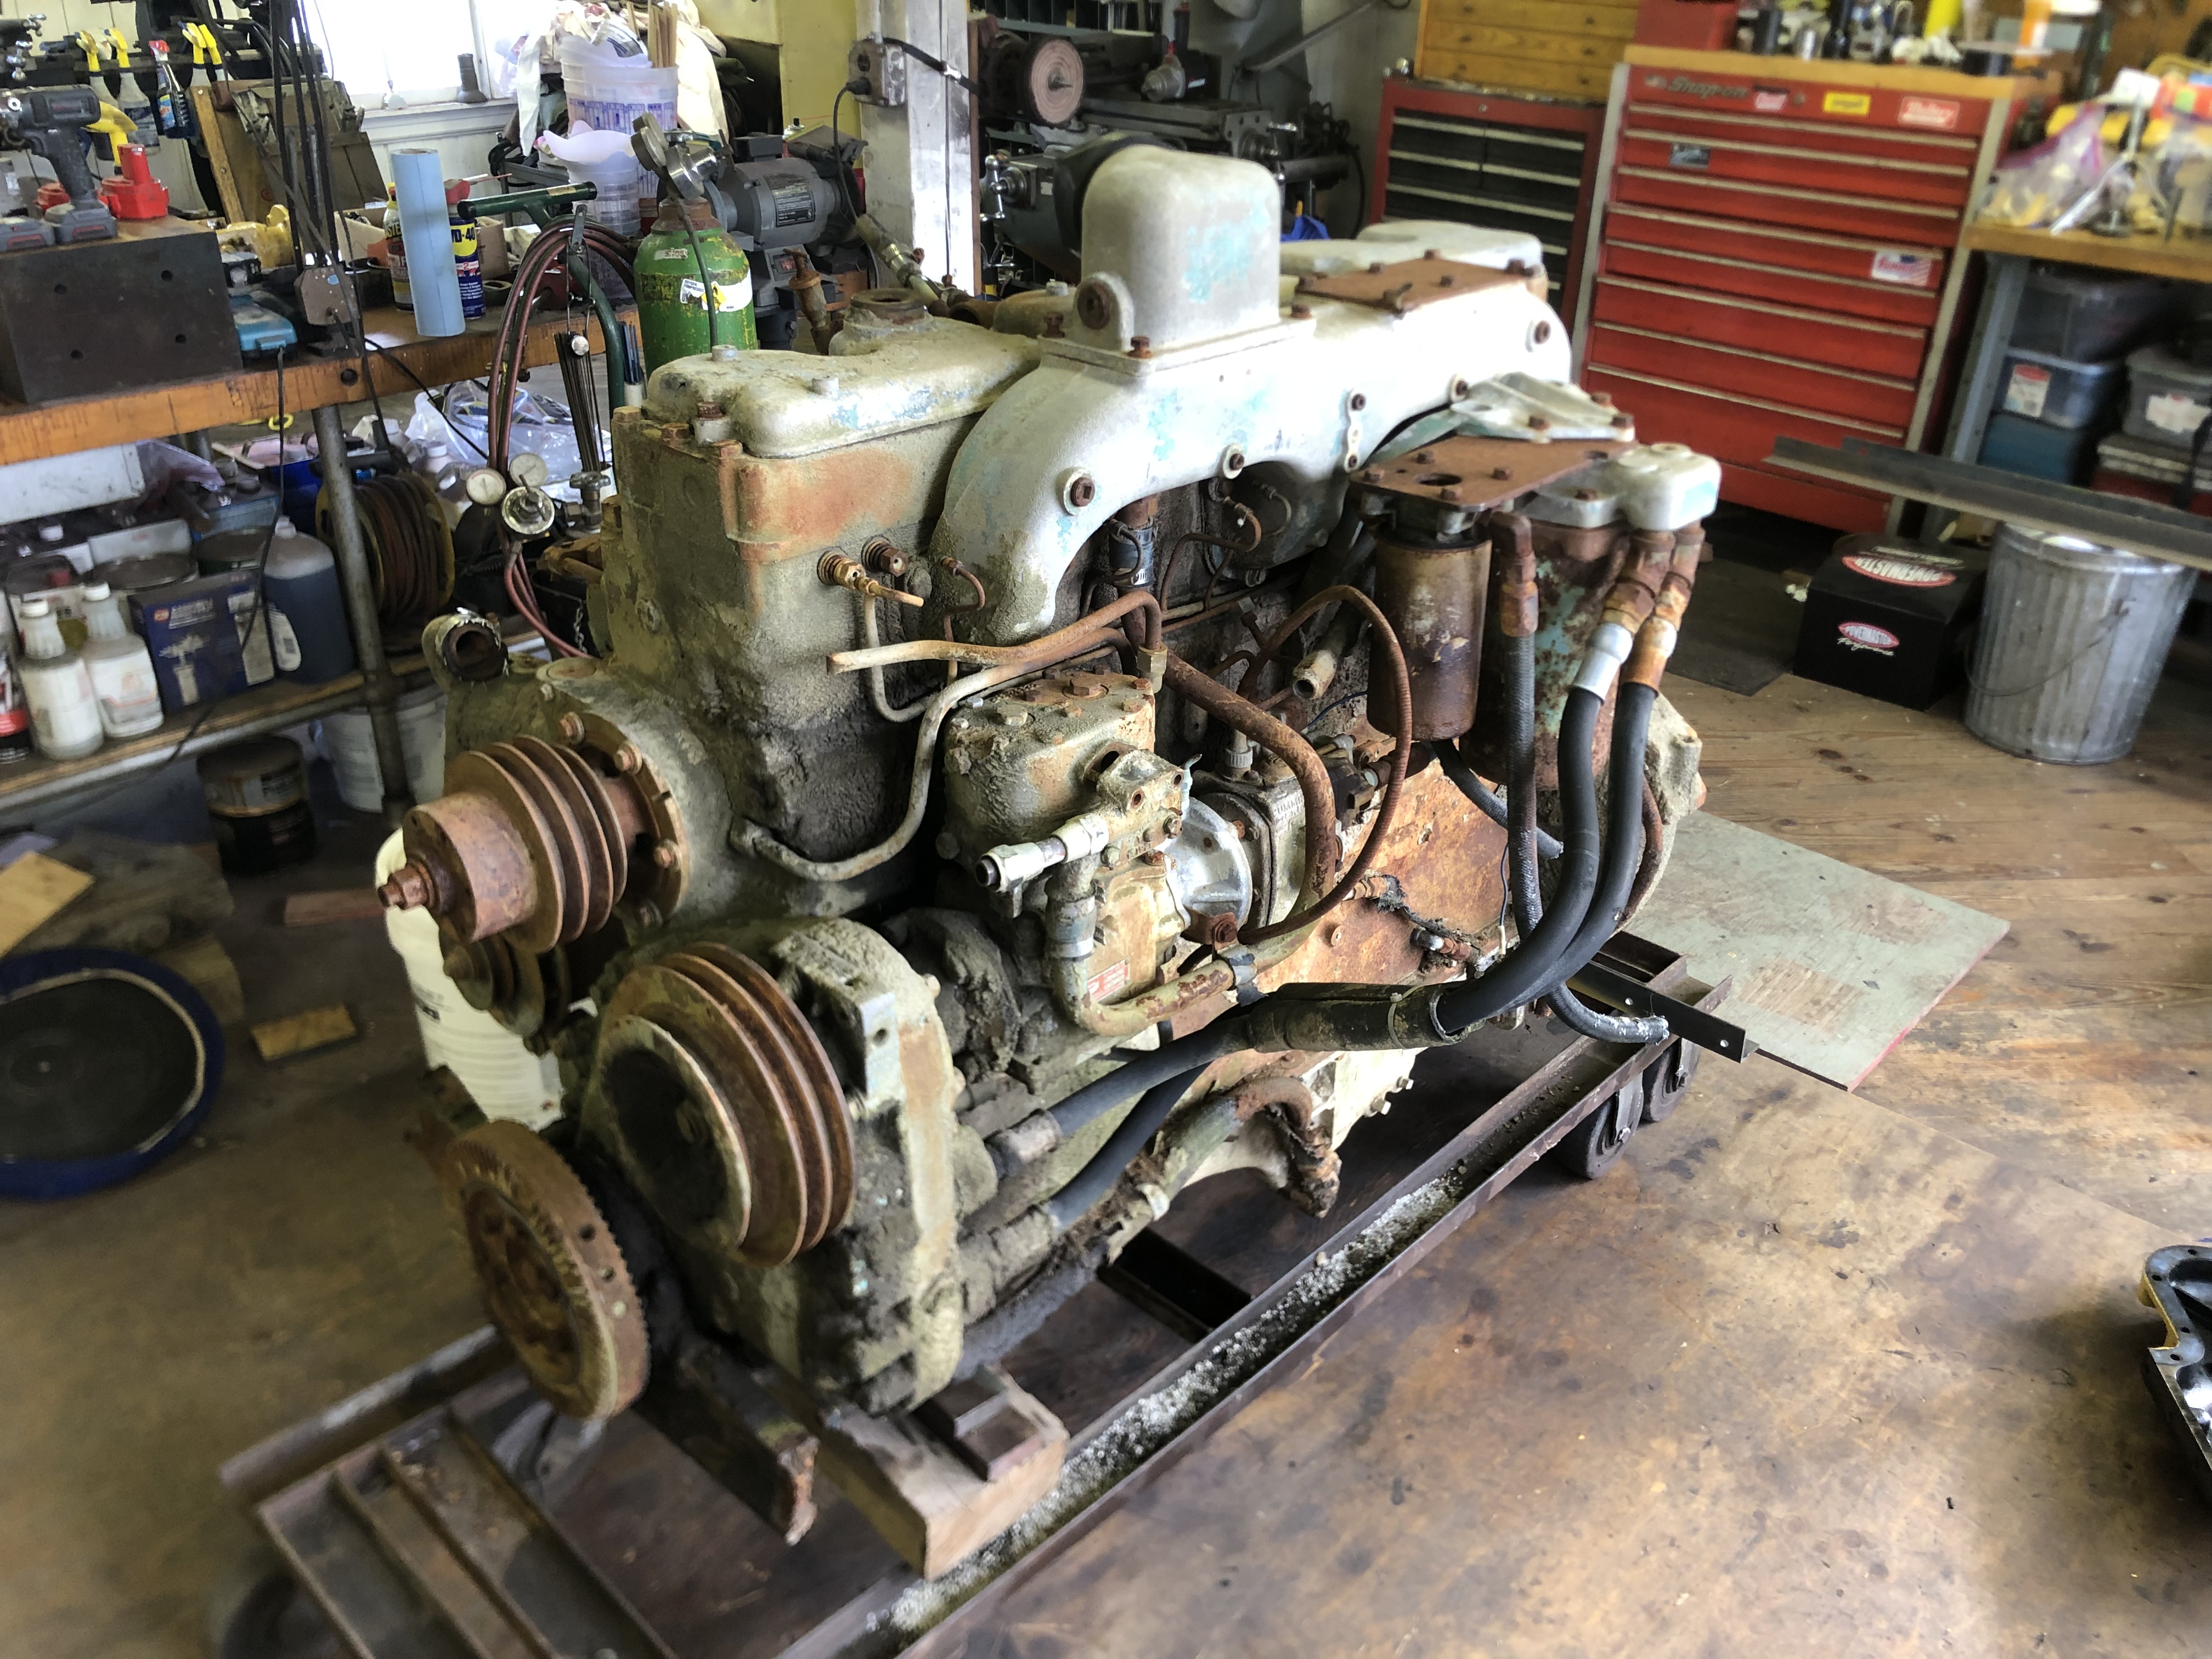
That was quick. Got the engine back from the machine shop. I think it has the right patina to match the truck!! Actually, a “Loaner” clapped out 220 a friend loaned me so I can rob parts off to fix mine. A bunch of internal parts need to be replaced on mine that we found on tear down.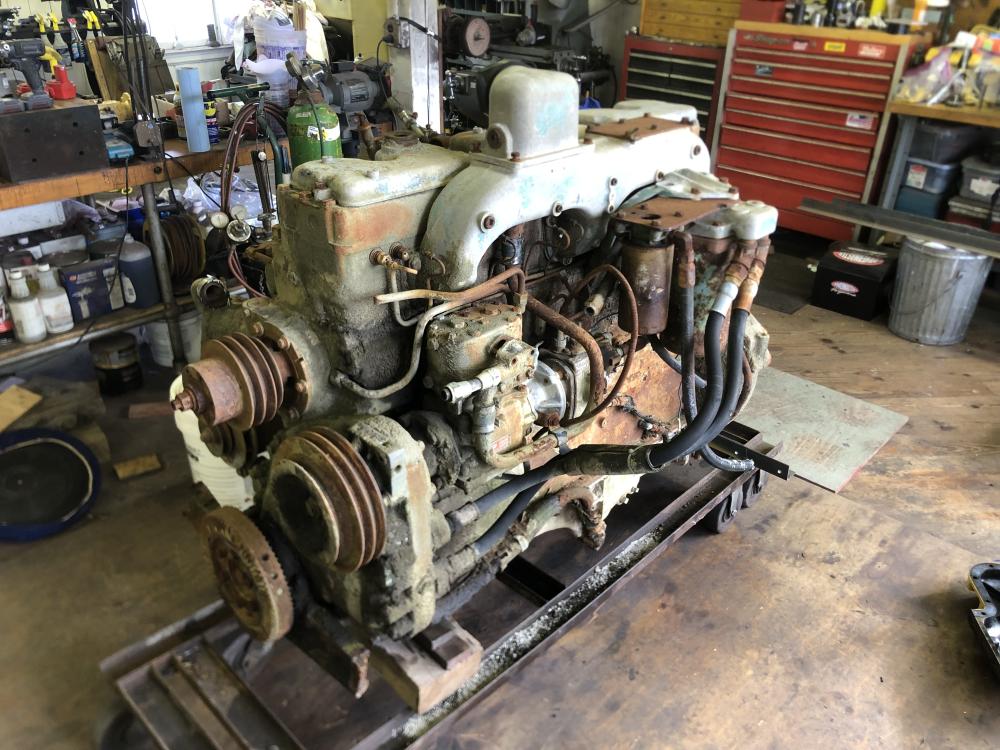

-
1956 B 42 T ..6 or 12 volt ?
mattb73lt replied to TIMWAR's topic in Antique and Classic Mack Trucks General Discussion
They were both, 6 & 12 volt positive ground. Mine was 12V+ ground, a 1963. My friend has one, but 6V+ ground and a 1956. I think early production was 6 and later was 12, but that’s just what I’ve seen. Check the voltage regulator cover, a flasher or maybe the size of the battery box. Something electrical will be marked with the voltage. -
Coca Cola LJ Mack colors
mattb73lt replied to 1961H67's topic in Antique and Classic Mack Trucks General Discussion
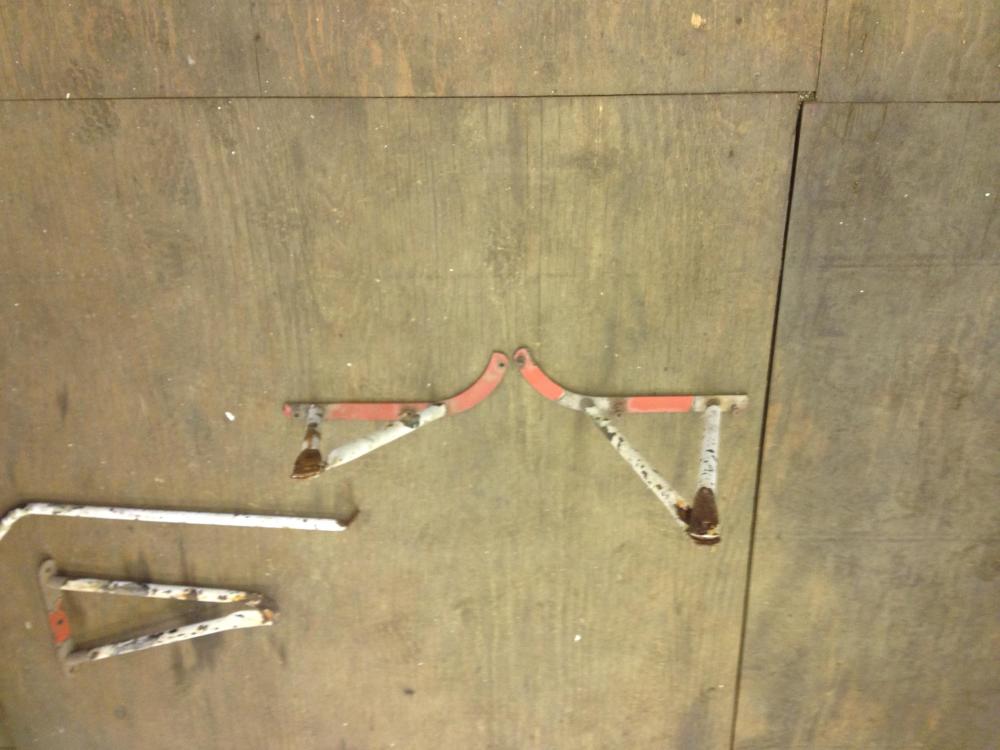
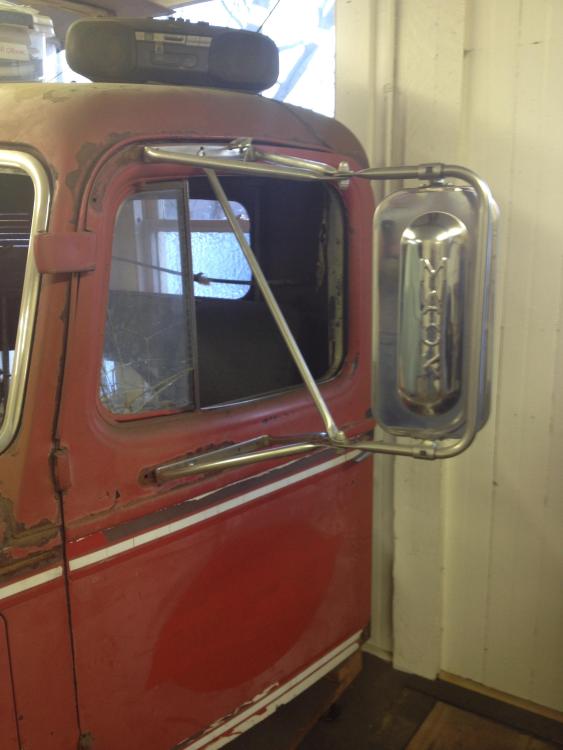
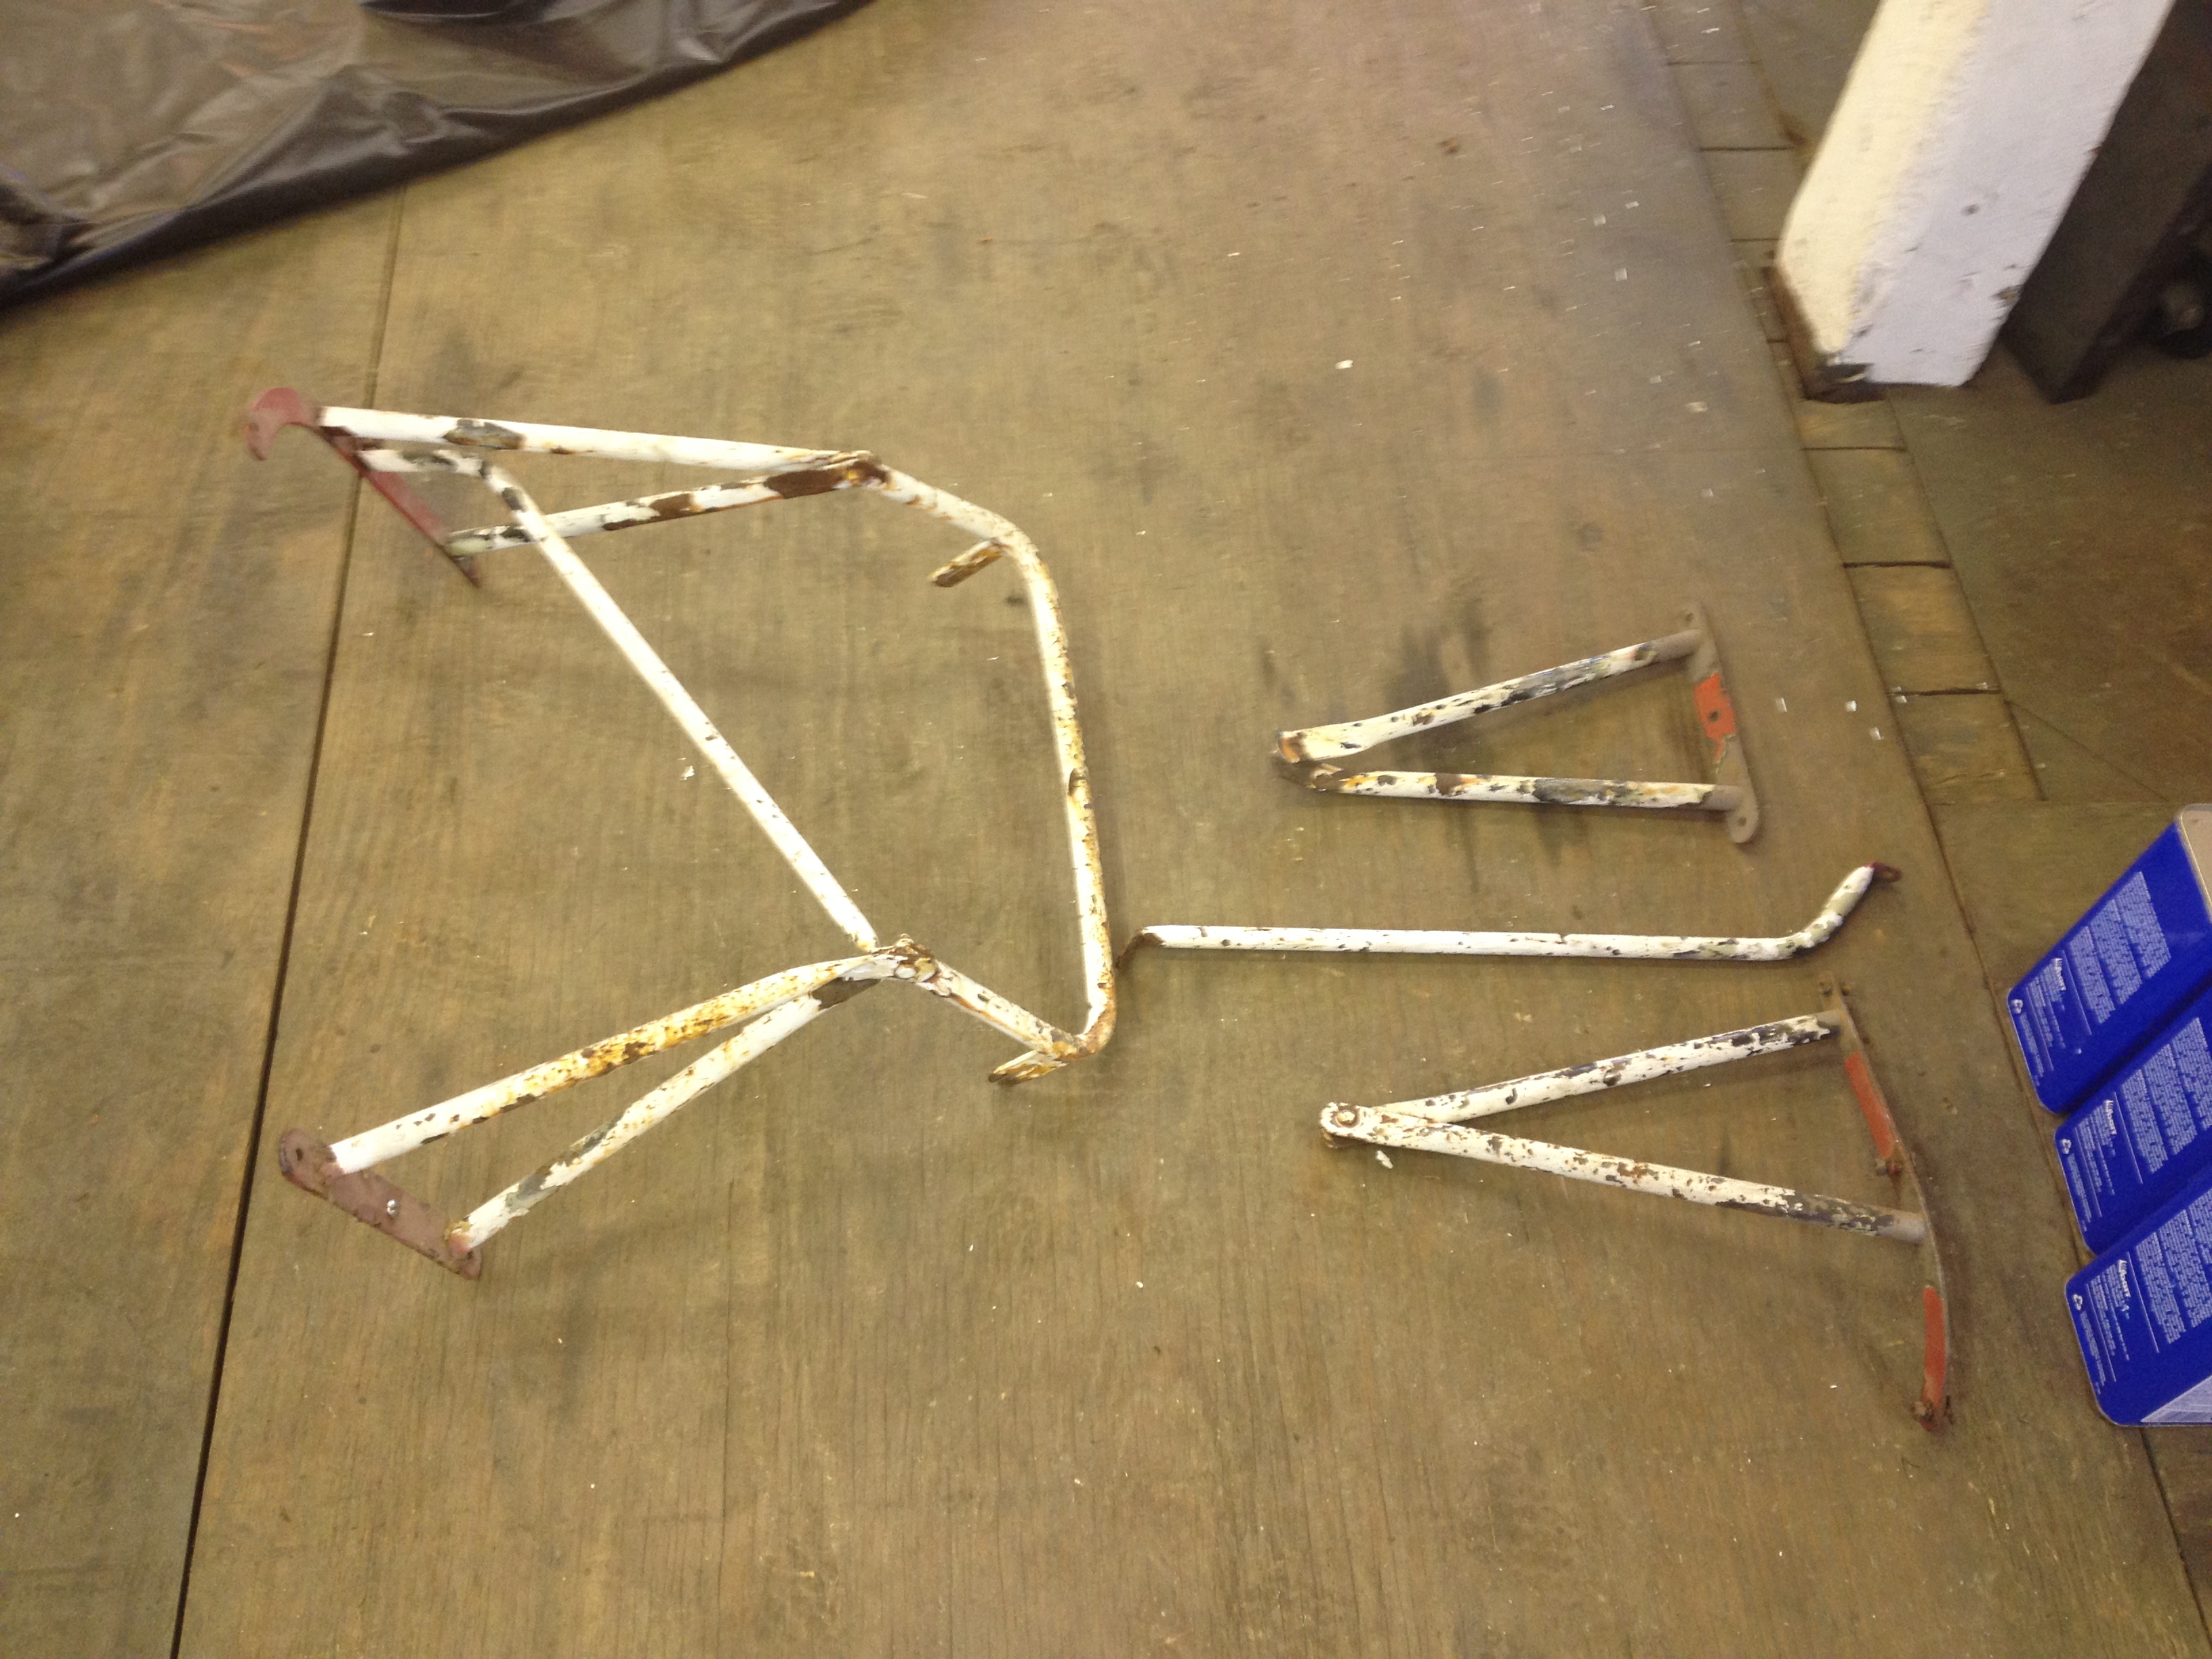
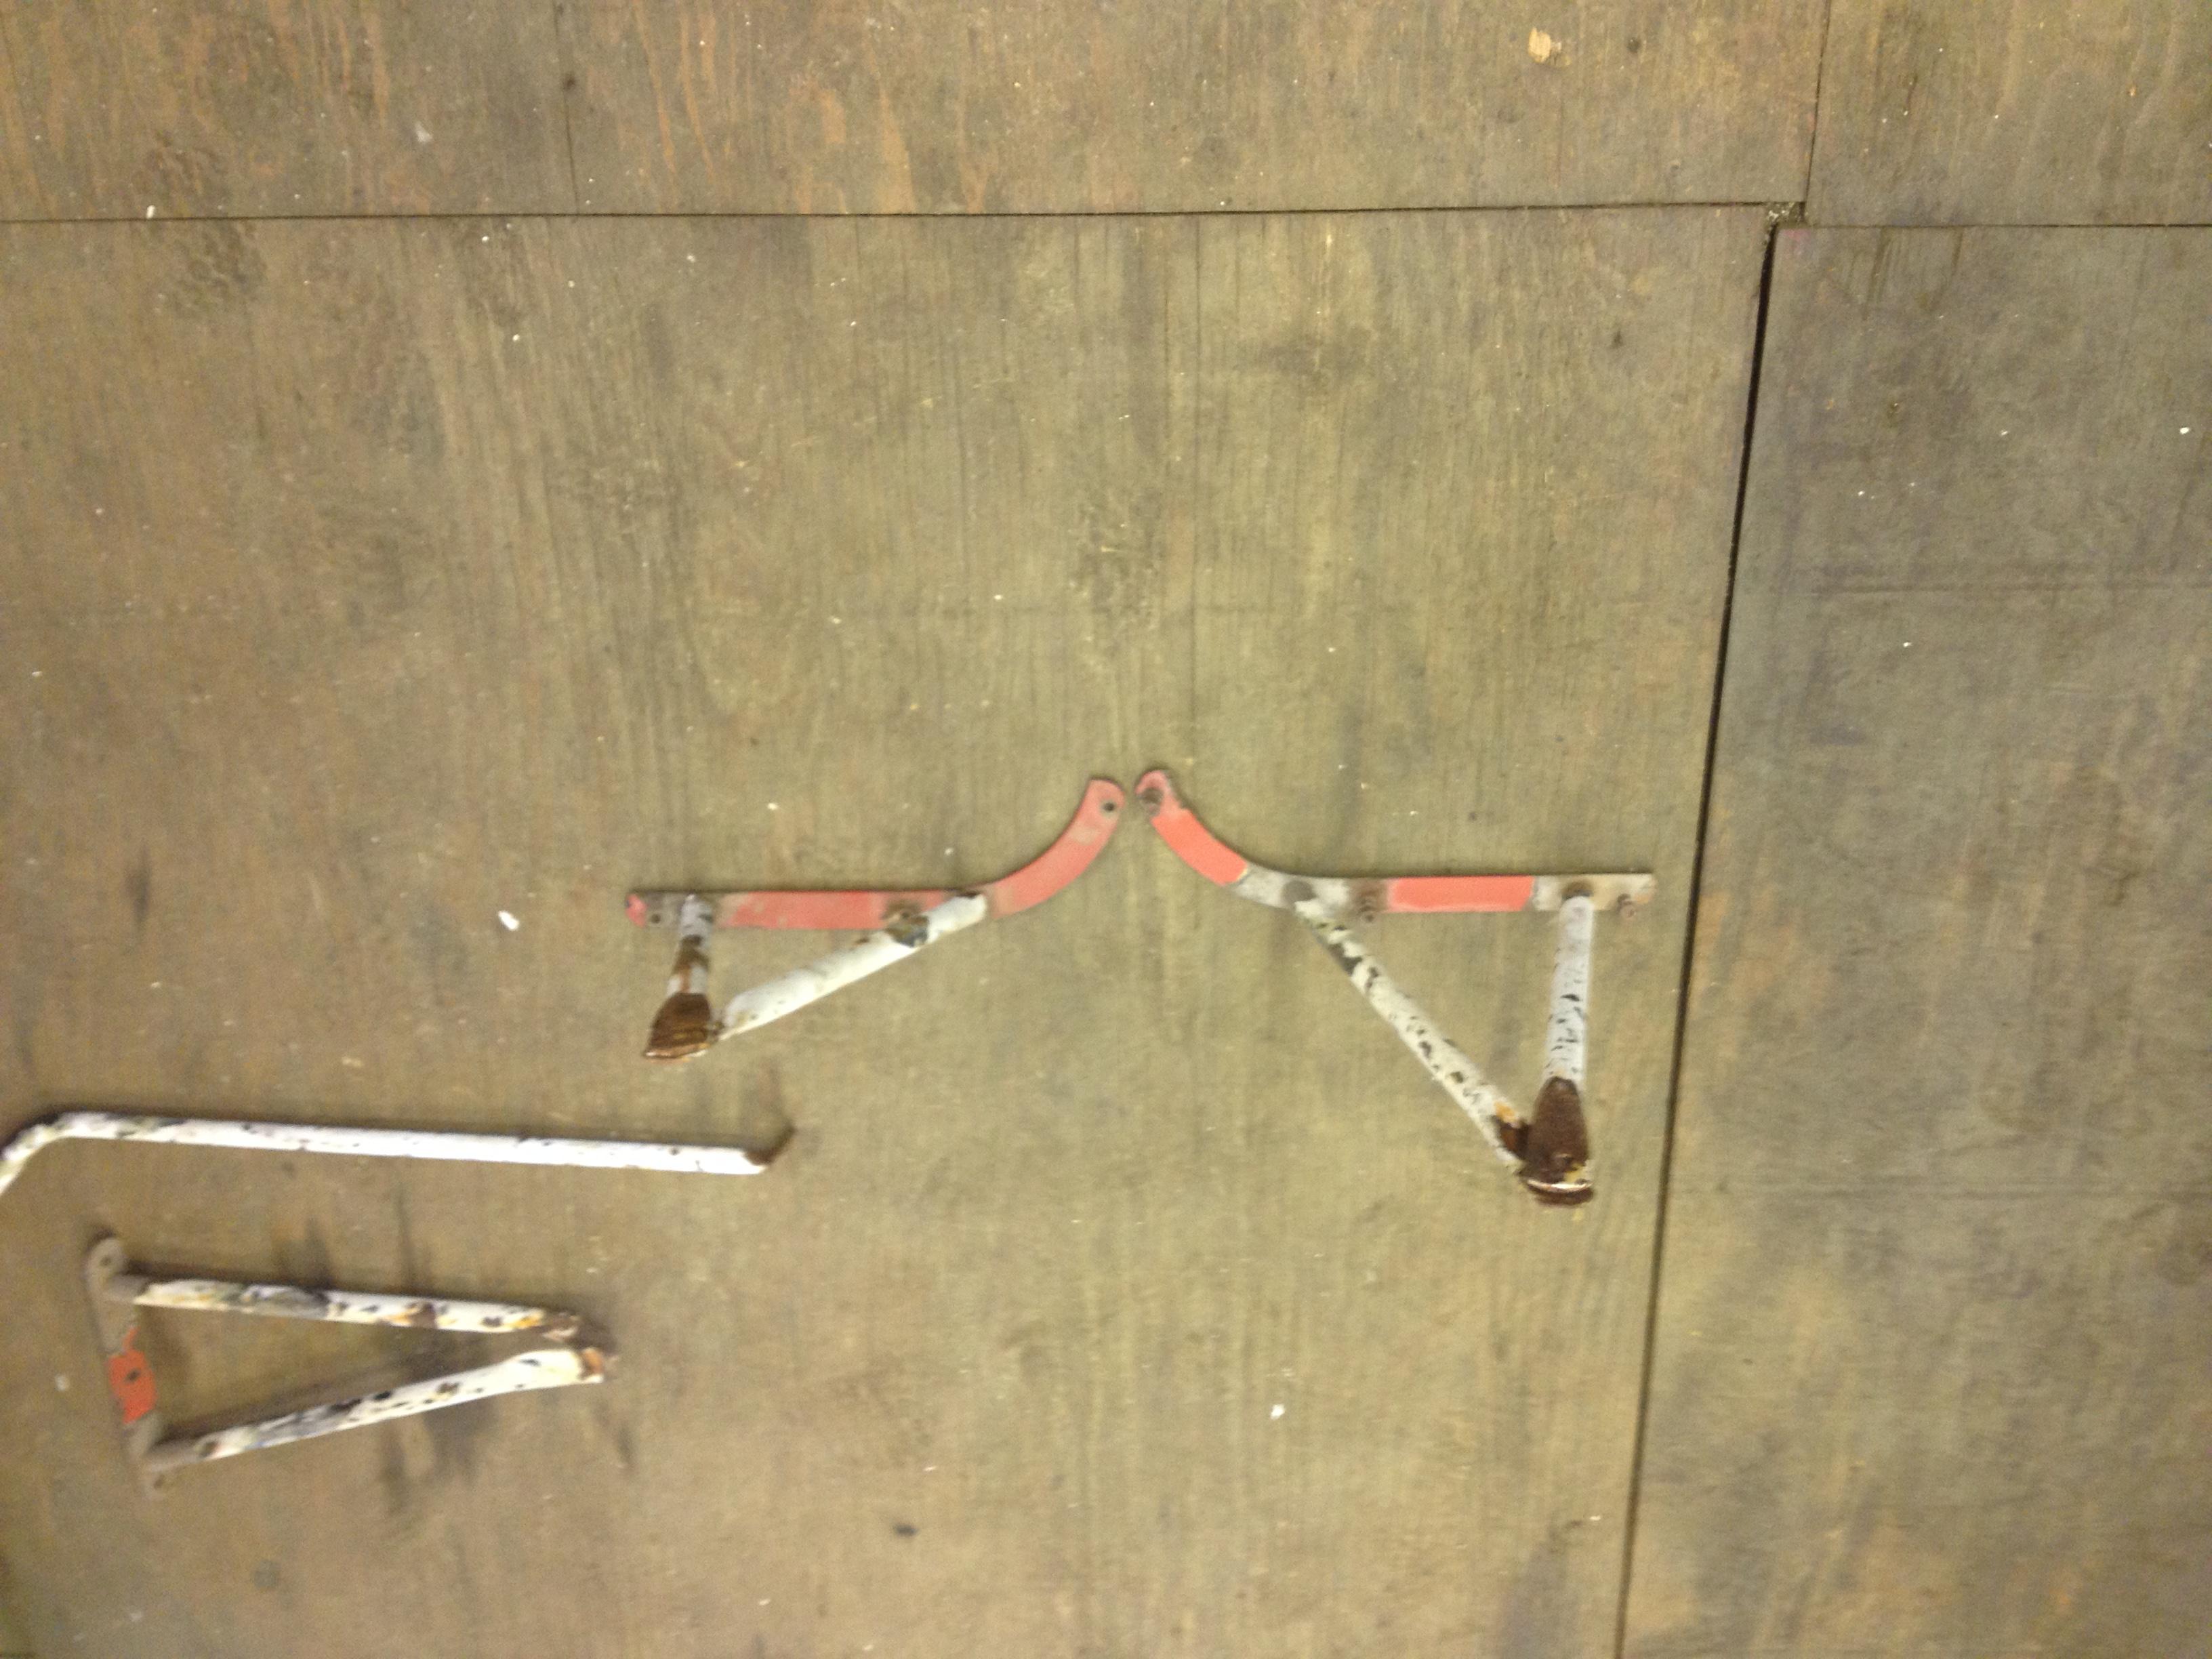
I believe the mirror heads are still available in stainless along with the the brackets they mount to. The arms to the doors are the hard things to find. I was lucky enough to find a complete set in stainless of reproduction ones. They’re styled after the B model ones and I had to fill and redrill the holes in the doors as they were a different pattern. I still have the original steel ones if you need some? They could be chromed.
-
I think those are pretty rare. I've only seen a few in pictures plus the one in that movie. Maybe they were early production? The single air motor design in the cowl was a better arrangement, though.
-
B-21 Fire truck
mattb73lt replied to MorrisMe's topic in Antique and Classic Mack Trucks General Discussion
Nice find. Be careful waking up the Hall-Scott, those are pretty rare engines now and parts can be hard to find. If you can, keep it indoors. Fire trucks don't do well stored outside due to all the chrome. -
Mack "B" Model Question
mattb73lt replied to bulldogboy's topic in Antique and Classic Mack Trucks General Discussion
My B42 had fixed (non-operating) shutters when I got it, having a EN402 installed from the factory. From what I've seen, I believe they were an option on smaller gas jobs. I put them in, from a donor, when I converted it to diesel. The diesel engined B's all seem to have them, except the very late production ones the had that fixed grill. Fire trucks are a whole different animal. I would think they would've had shutters as they were built to operate statically for long periods while pumping. The shutters would help keep the engine at operating temps while in extreme cold conditions. -
B-73 Restoration
mattb73lt replied to mattb73lt's topic in Antique and Classic Mack Trucks General Discussion
He’s 76, Rocky Rockwell. The Murphy Rd Cummins by Brainard Field is long gone and now an O&G stone place. I used to go there when I worked at Brainard. Cummins Metro Power in Rocky Hill is the place now. Not too helpful, unless you spoon feed them what you need. -
B-73 Restoration
mattb73lt replied to mattb73lt's topic in Antique and Classic Mack Trucks General Discussion
Yeah, no major damage or spun bearings. Dodged a big bullet there. The machine shop will go through it and magna-flux everything for cracks after it's hot tanked. Once they figure out if the crank needs to be ground, I can start sourcing what's needed for reassembly. -
B-73 Restoration
mattb73lt replied to mattb73lt's topic in Antique and Classic Mack Trucks General Discussion
All stripped down and hopefully heading off to the machine shop tomorrow for some needed work. Well, I gambled and lost with this engine. I thought I had a good one from the trusted person I bought it from all those years ago. From all the evidence we saw as it came apart, it was definitely played around with internally and really should have had a major overhaul back then. A lot of unqualified stuff done or let go. Nothing horrible, but all things that led to it's demise. It'll get done now, properly. Luckily, nothing really got destroyed but the sleeve and piston on #6. And that crankshaft is just huge!!
-
Engine Repainting
mattb73lt replied to skydawg's topic in Antique and Classic Mack Trucks General Discussion
I’d use something heavier, if it’s dirty. Scrape the heavier stuff first, then degrease. A steam cleaner would be great if you can get one. If not, oven cleaner like Easy-Off can really work well, especially if the engine is still in the truck. Wear gloves if you use Easy-Off as it’ll burn your hands, it’s pretty caustic.You want it as clean as possible for the paint to stick. I wash it down with a good pre-paint wash like FT 200 that you can get at NAPA. Then get a good engine enamel from Eastwood or Bill Hirsch. Those paints are worth it as they’re formulated to last and made just for engine applications. A small touch up or detail spray gun is great for putting it on and getting all the nooks and crannies without putting out too much product and making a mess. -
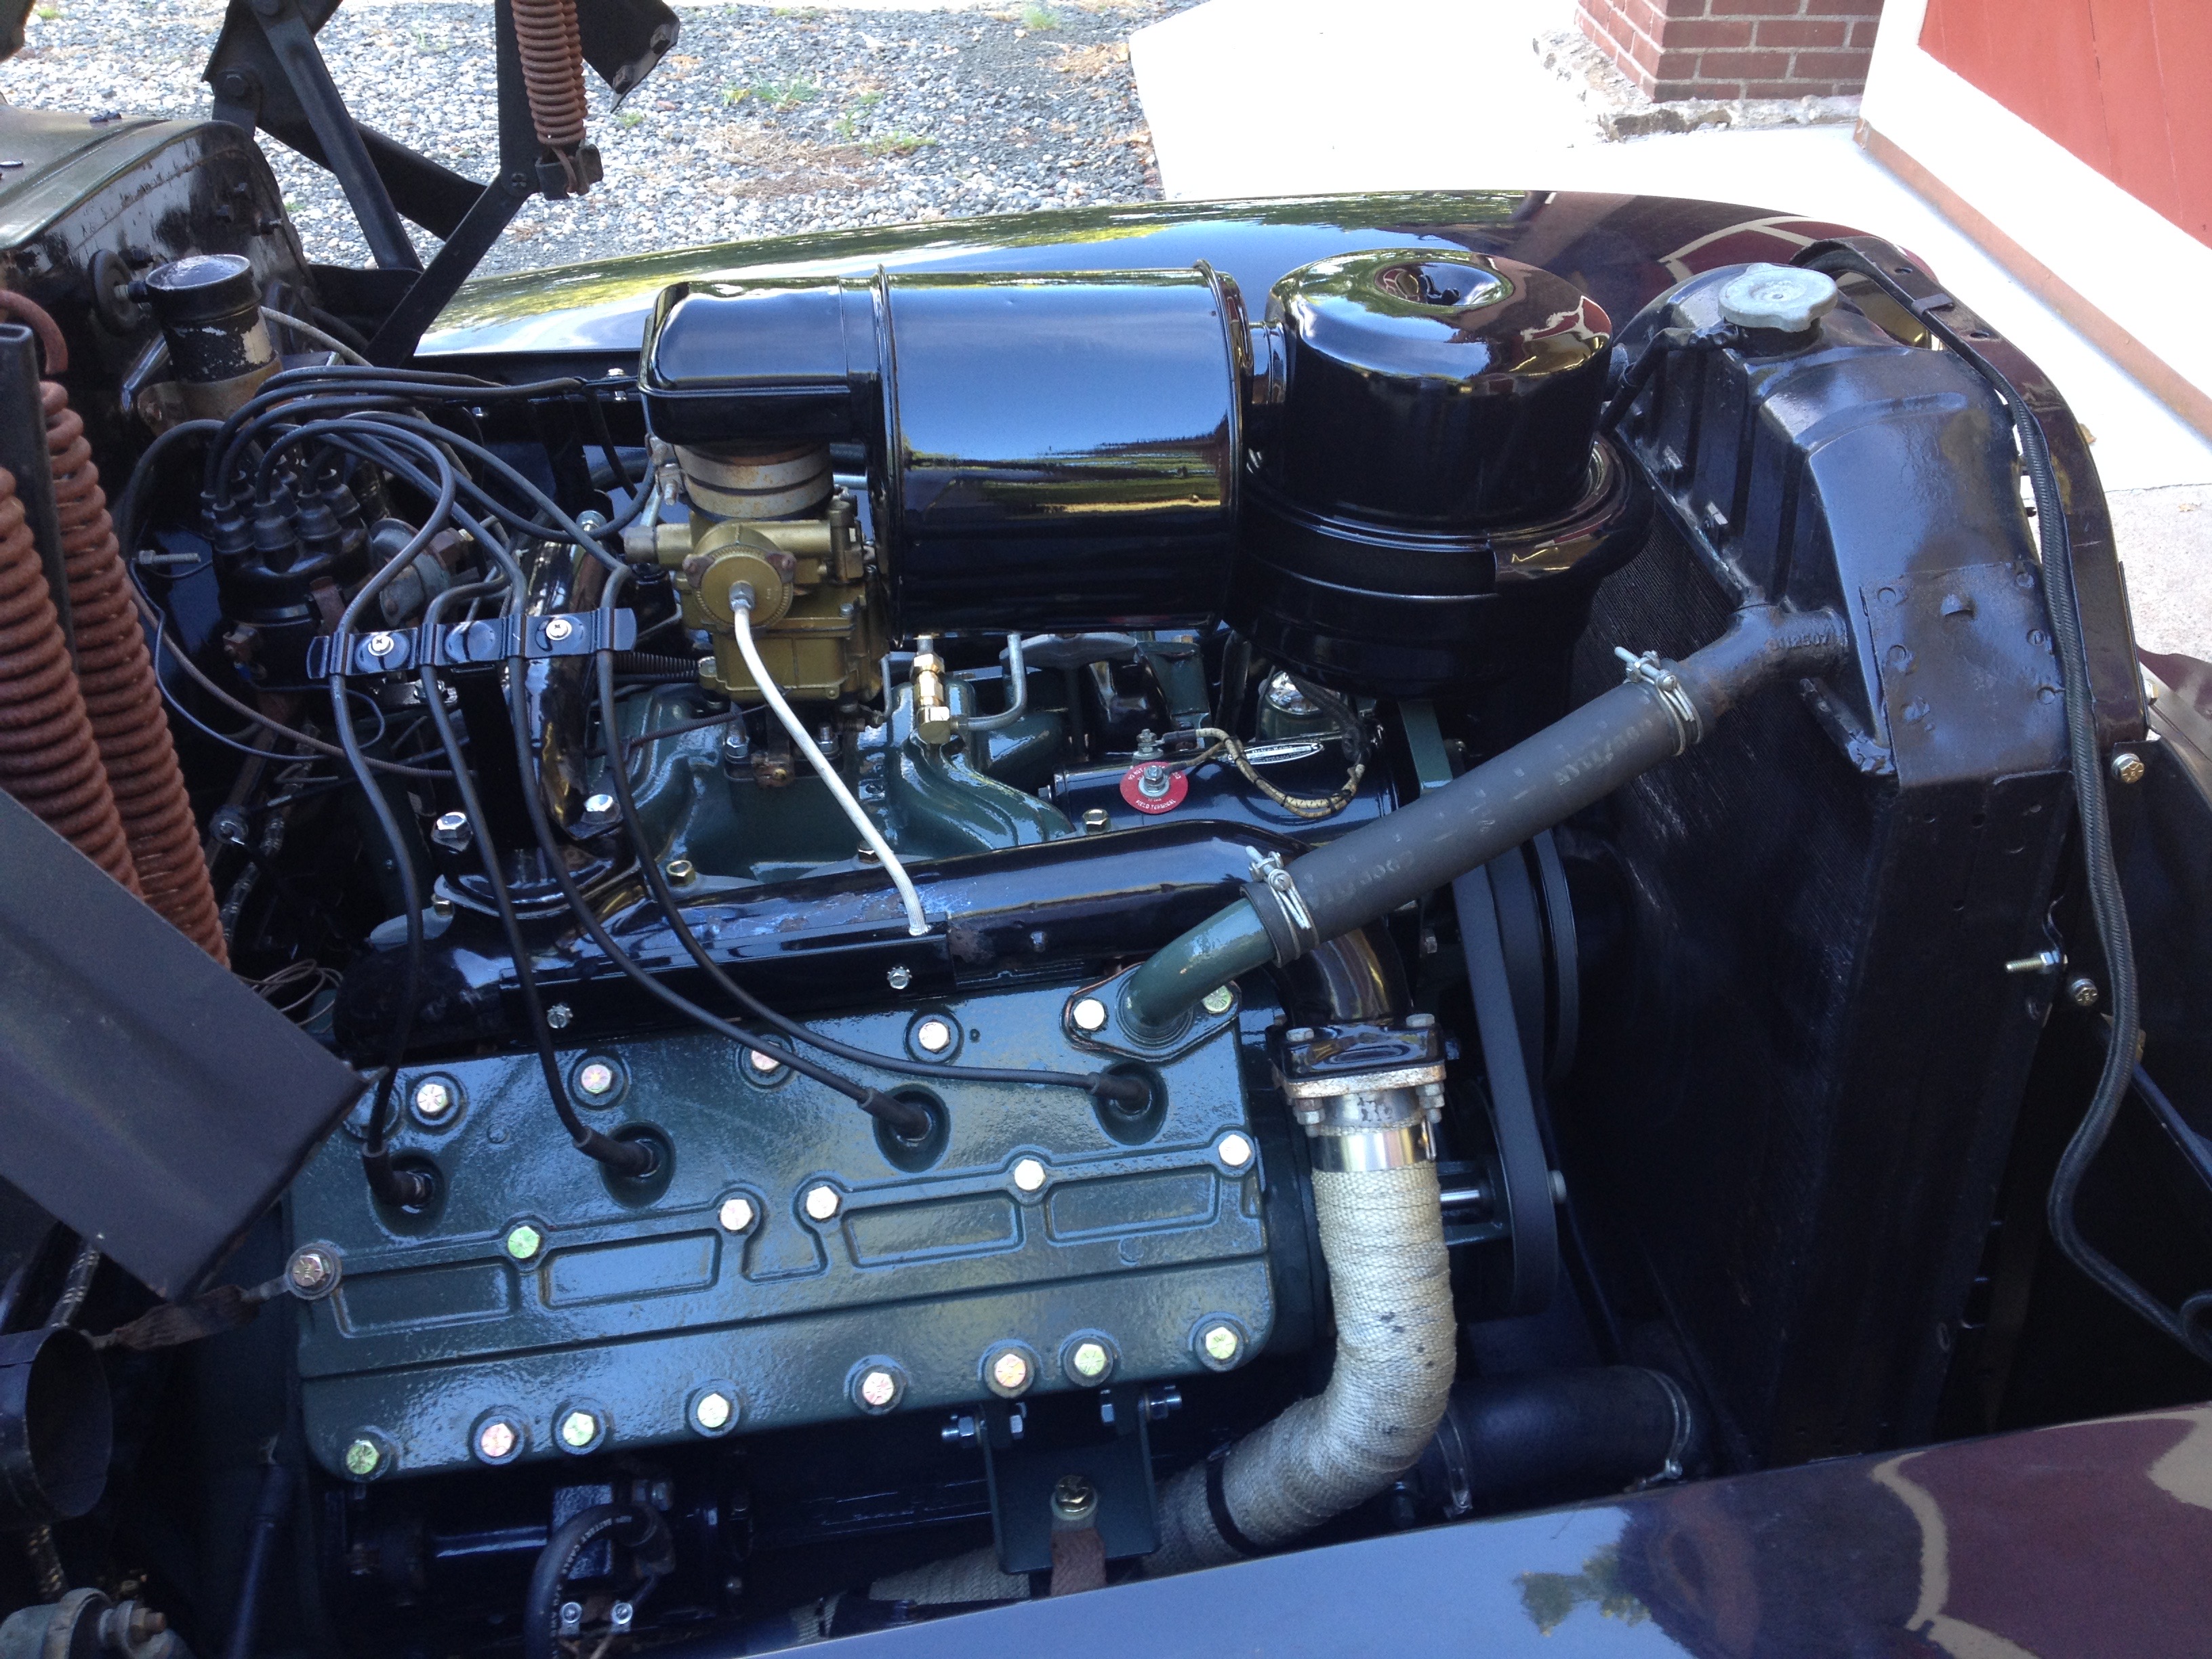
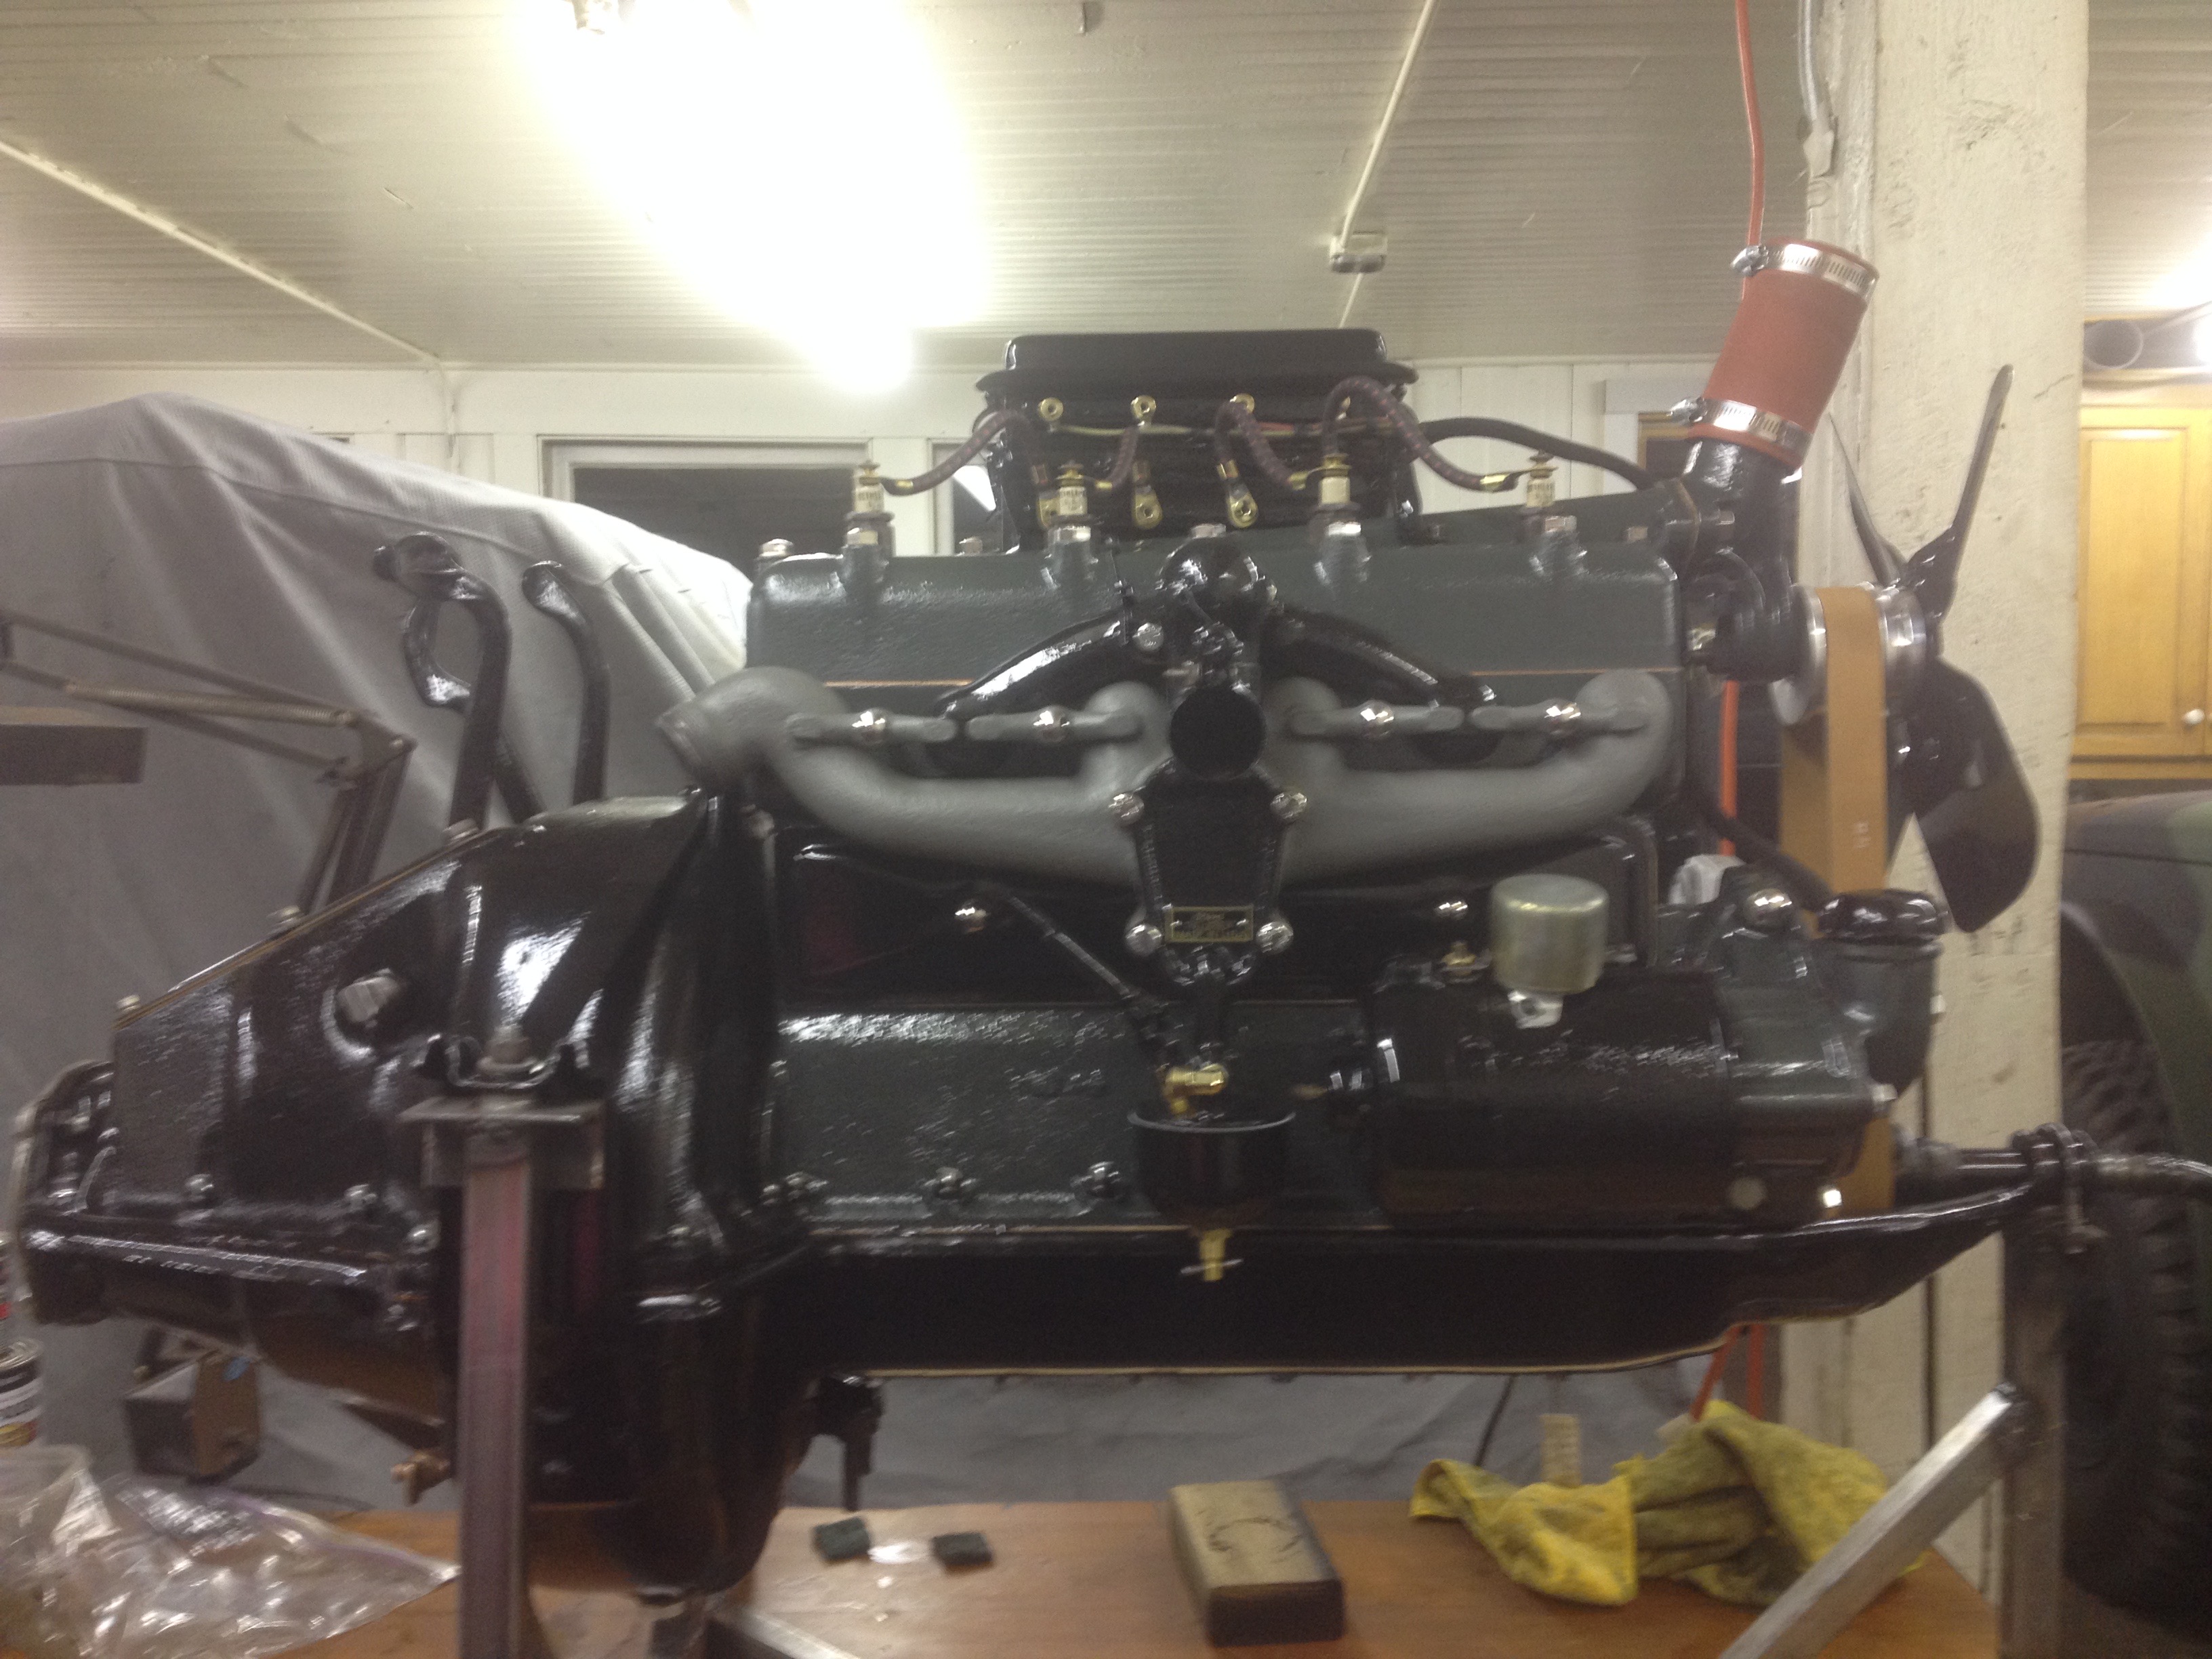
Engine Repainting
mattb73lt replied to skydawg's topic in Antique and Classic Mack Trucks General Discussion
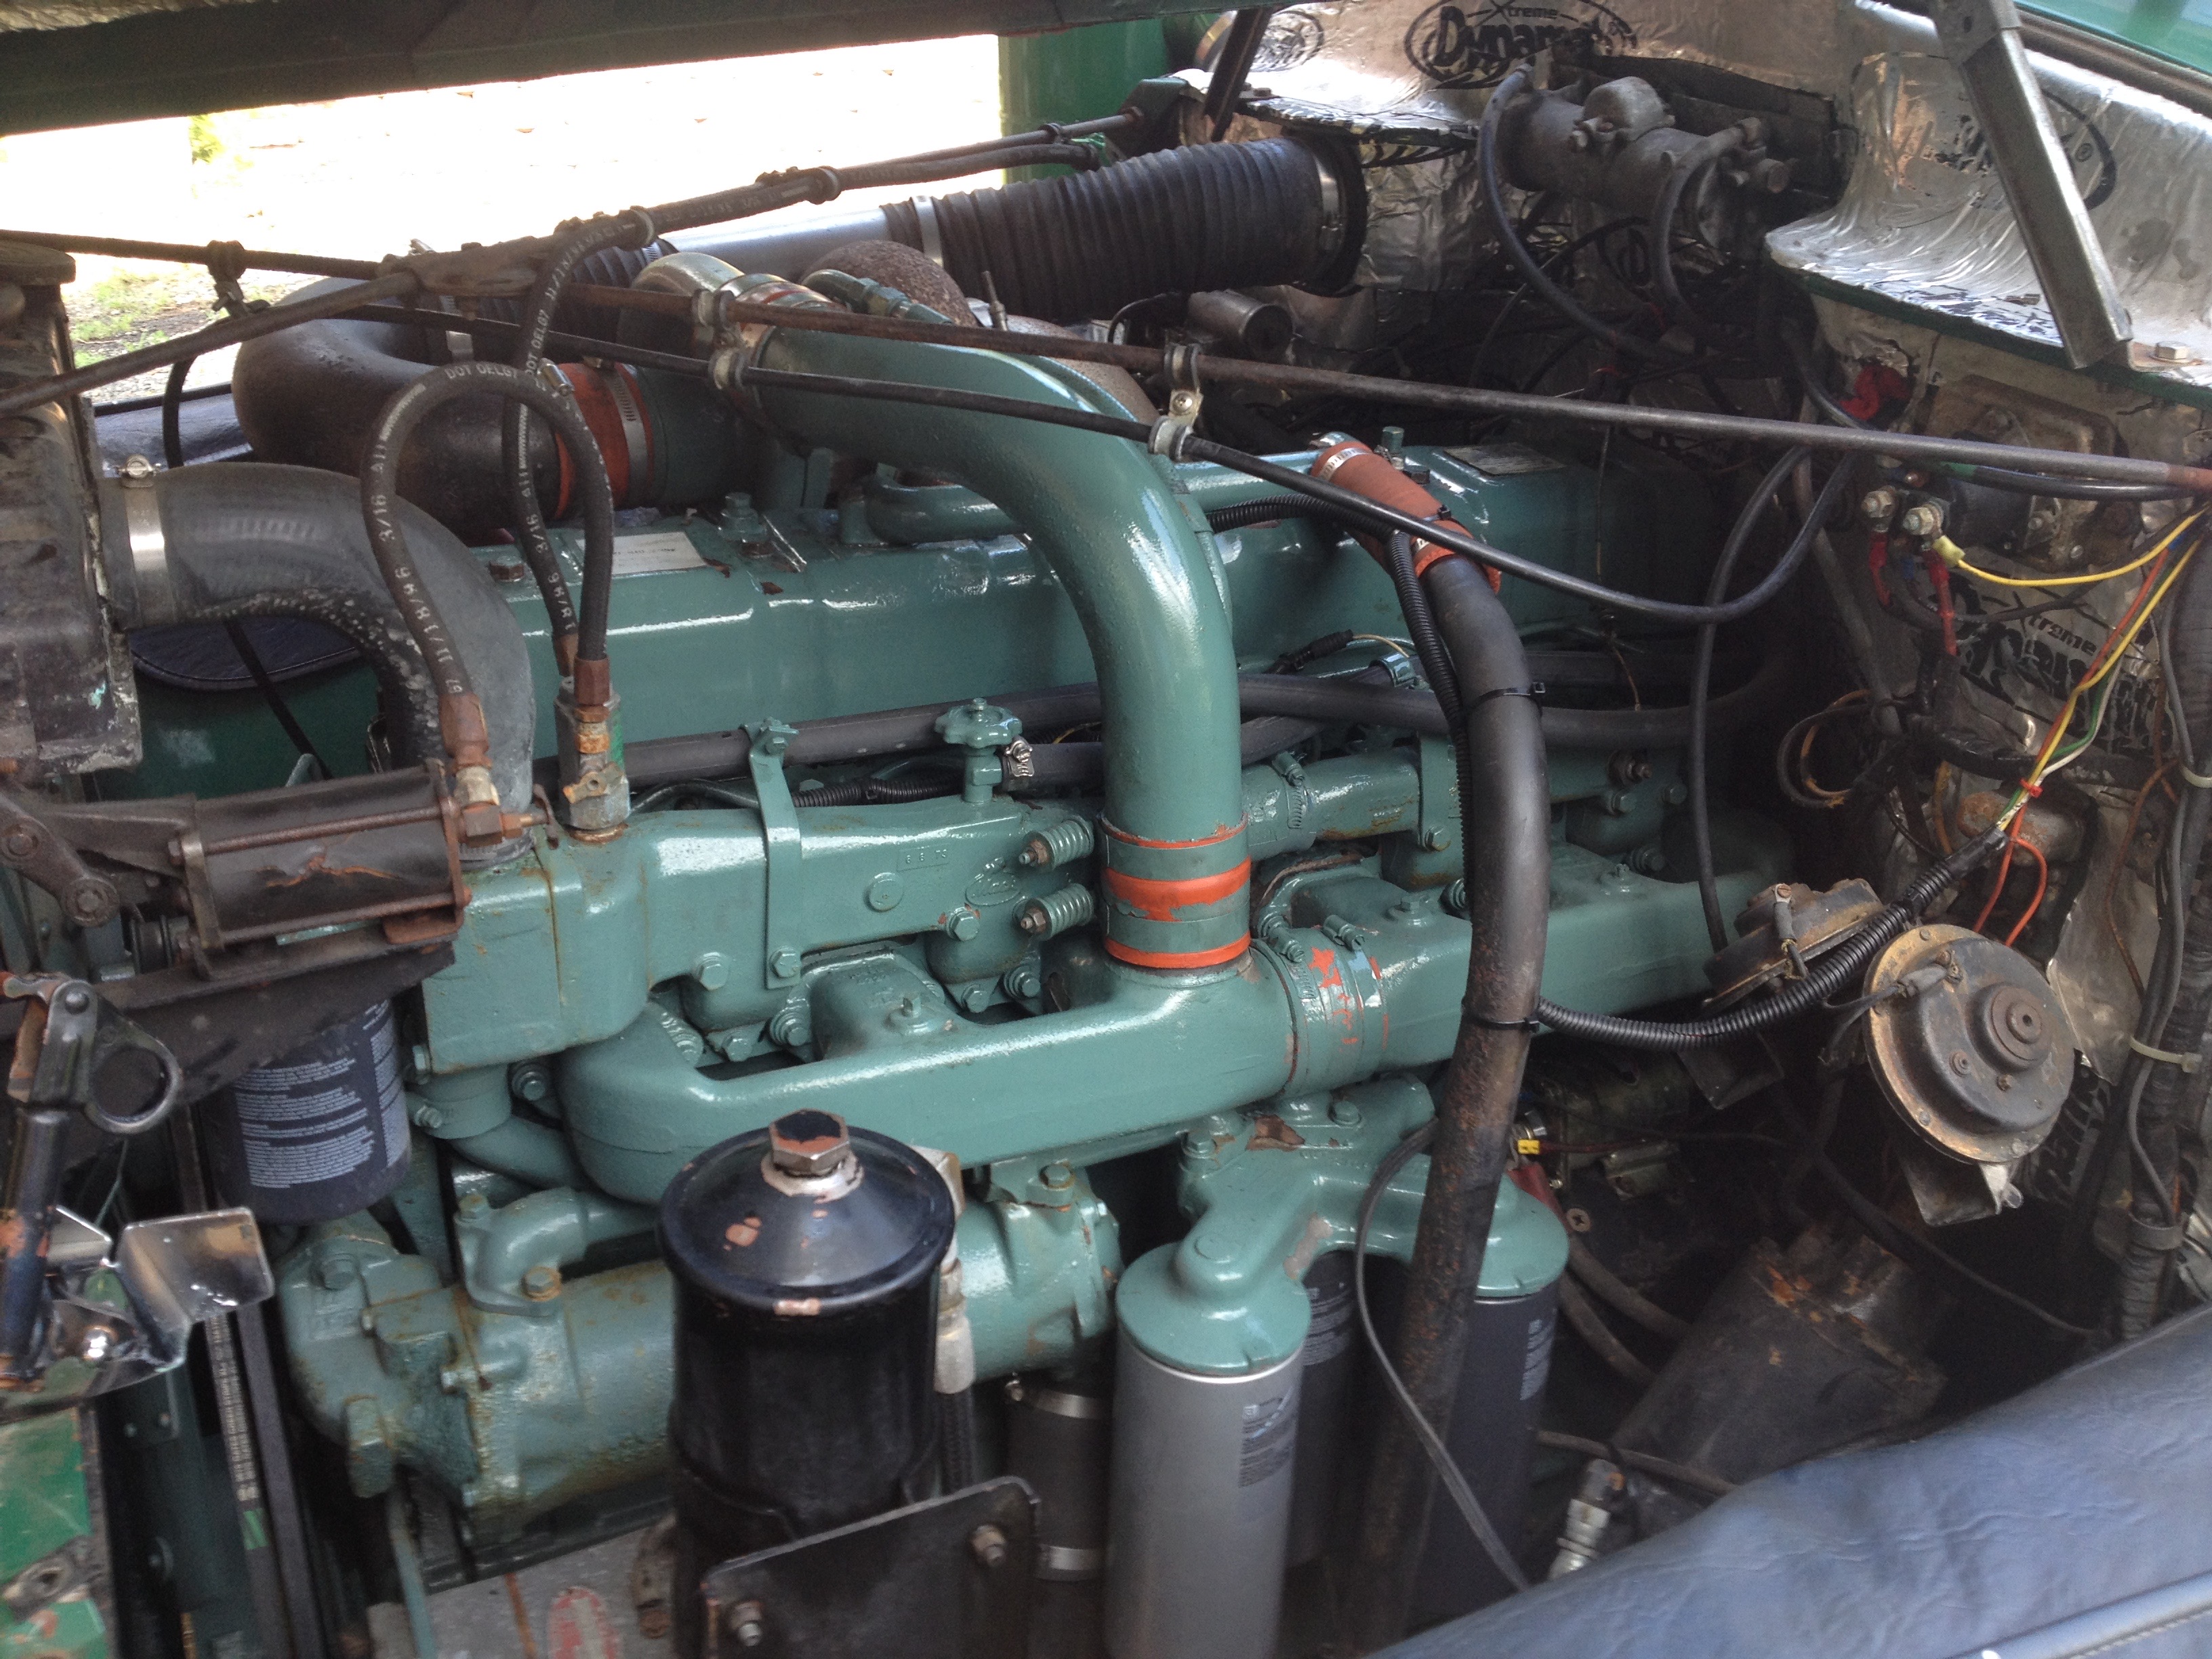
It depends on what you want. To really paint it it needs to come out. It can done installed, but that can be really hard and get overspray where you don't want it. A lot of times when I'm fixing things I'll paint the new components the color of the engine and then bolt them on. Paint matters, too. Rattle can or aerosol paints will only last a few years. A good engine enamel will last years, but will break done with time and use. There's a few tricks to using tape to keep the paint off tags or bare areas, if you're really getting detailed. If you're going to use it, it'll leak oil and peal over time. Here's a few pictures of various engines I've done, with varying levels of detail depending on what the overall patina of the vehicle it was going in. When an engine is sprayed by the manufacturer, they most often spray the whole thing when it's completed. Some of the connections won't but everything else will be.


-
B-73 Restoration
mattb73lt replied to mattb73lt's topic in Antique and Classic Mack Trucks General Discussion
No, a ‘68 Kaiser-Jeep M715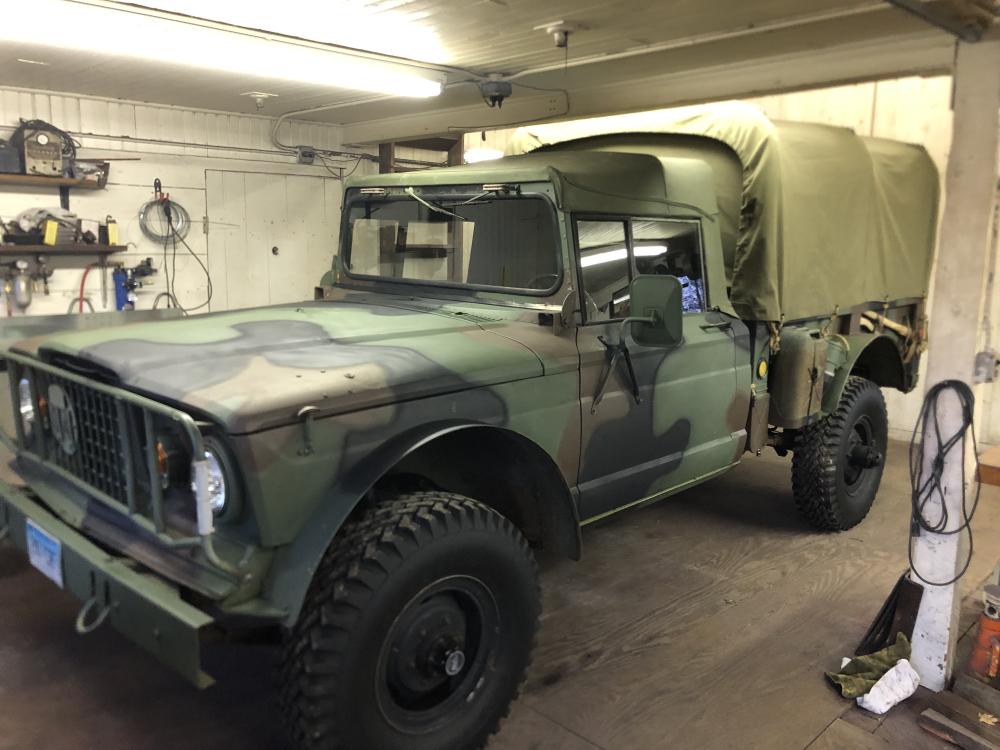
-
B-73 Restoration
mattb73lt replied to mattb73lt's topic in Antique and Classic Mack Trucks General Discussion
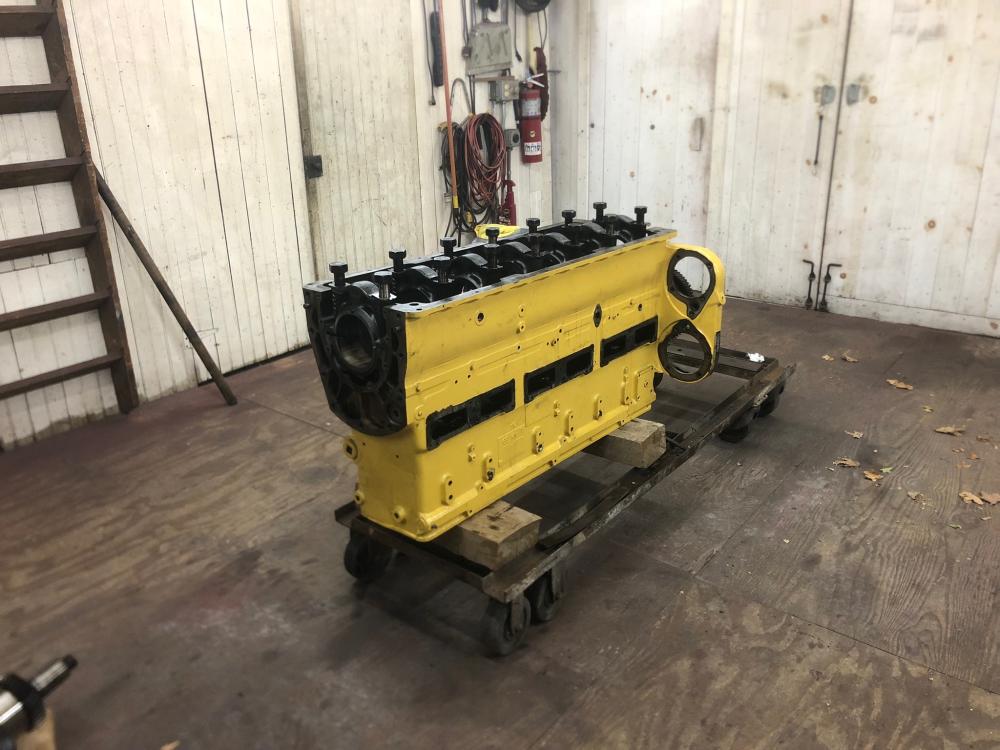
Happy Thanksgiving, everyone!! I hope you all have a great time with family and friends. Yesterday was a good day. I had an old time Cummins/diesel mechanic at the shop to evaluate what I have. While I'm pretty decent when it comes to engines, this guy was just amazing and a wealth of knowledge. After a few hours of work, it would appear that the block is sound enough to move forward with the rebuild. We made several calls to the machinist that he uses and confirmed there's enough material on the top of the block to deck it and do the counterbore's. He immediately found several things he didn't like with a several parts and they'll need to be replaced. Like most of the push rods, the lower ends had been brazed at some point. He felt the block has never been completely disassembled or had a major overhaul in it's life, but someone was definitely in there. The goal now is to completely strip the block for the machine shop and once he says it's good to go, start sourcing what's needed to reassemble it. So, it looks like this engine will live on and be about as fresh as when new when it goes back in.

-
B-73 Restoration
mattb73lt replied to mattb73lt's topic in Antique and Classic Mack Trucks General Discussion
A little more disassembled, cleaned up and organized. I’ve got a Cummins guy coming by the shop next week to help me evaluate the block and crank to see where they stand. If the block isn’t worth putting the effort into it, I’ve got a line on another to possibly use. Been in touch with Mahoney’s in NH about availability of the liners and pistons. Tom says he can still get what I need to rebuild it. He’s ever so helpful and remembers me from when he helped me put the Jake on. The gentleman with the block has the whole rest of the engine along with the new parts to assemble it. But I have some big concerns regarding their current condition. A reasonable price the everything, but not if I need to redo stuff, like the heads. So we’ll see as we move forward with the evaluation.
-
B-73 Restoration
mattb73lt replied to mattb73lt's topic in Antique and Classic Mack Trucks General Discussion
Purchased from Iowa80, Quiet Muffler insert for 5” stack, P/N 185086 -
B-73 Restoration
mattb73lt replied to mattb73lt's topic in Antique and Classic Mack Trucks General Discussion
Sure, give me a bit to dig it up.


BMT Forum Logo
